 Sometimes you just don’t have the right gear with you. I had gone to Juanita Bay after work and was only carrying one camera with the 500mm on it. Looking down in to the water to one side of me, I was quite taken by a stump in the water that had a new growth of a small tree coming from the top of it. It was too far away to get a decent shot with the phone so the 500mm was the only option. I took a sequence of shots to stitch together later on. I quite like the separation that you get with using such a long lens for a shot like this. I wonder how large the tree will ultimately grow to be given the limitations of its home!
Tag Archives: lens
Why Am I Struggling with the Butterflies?
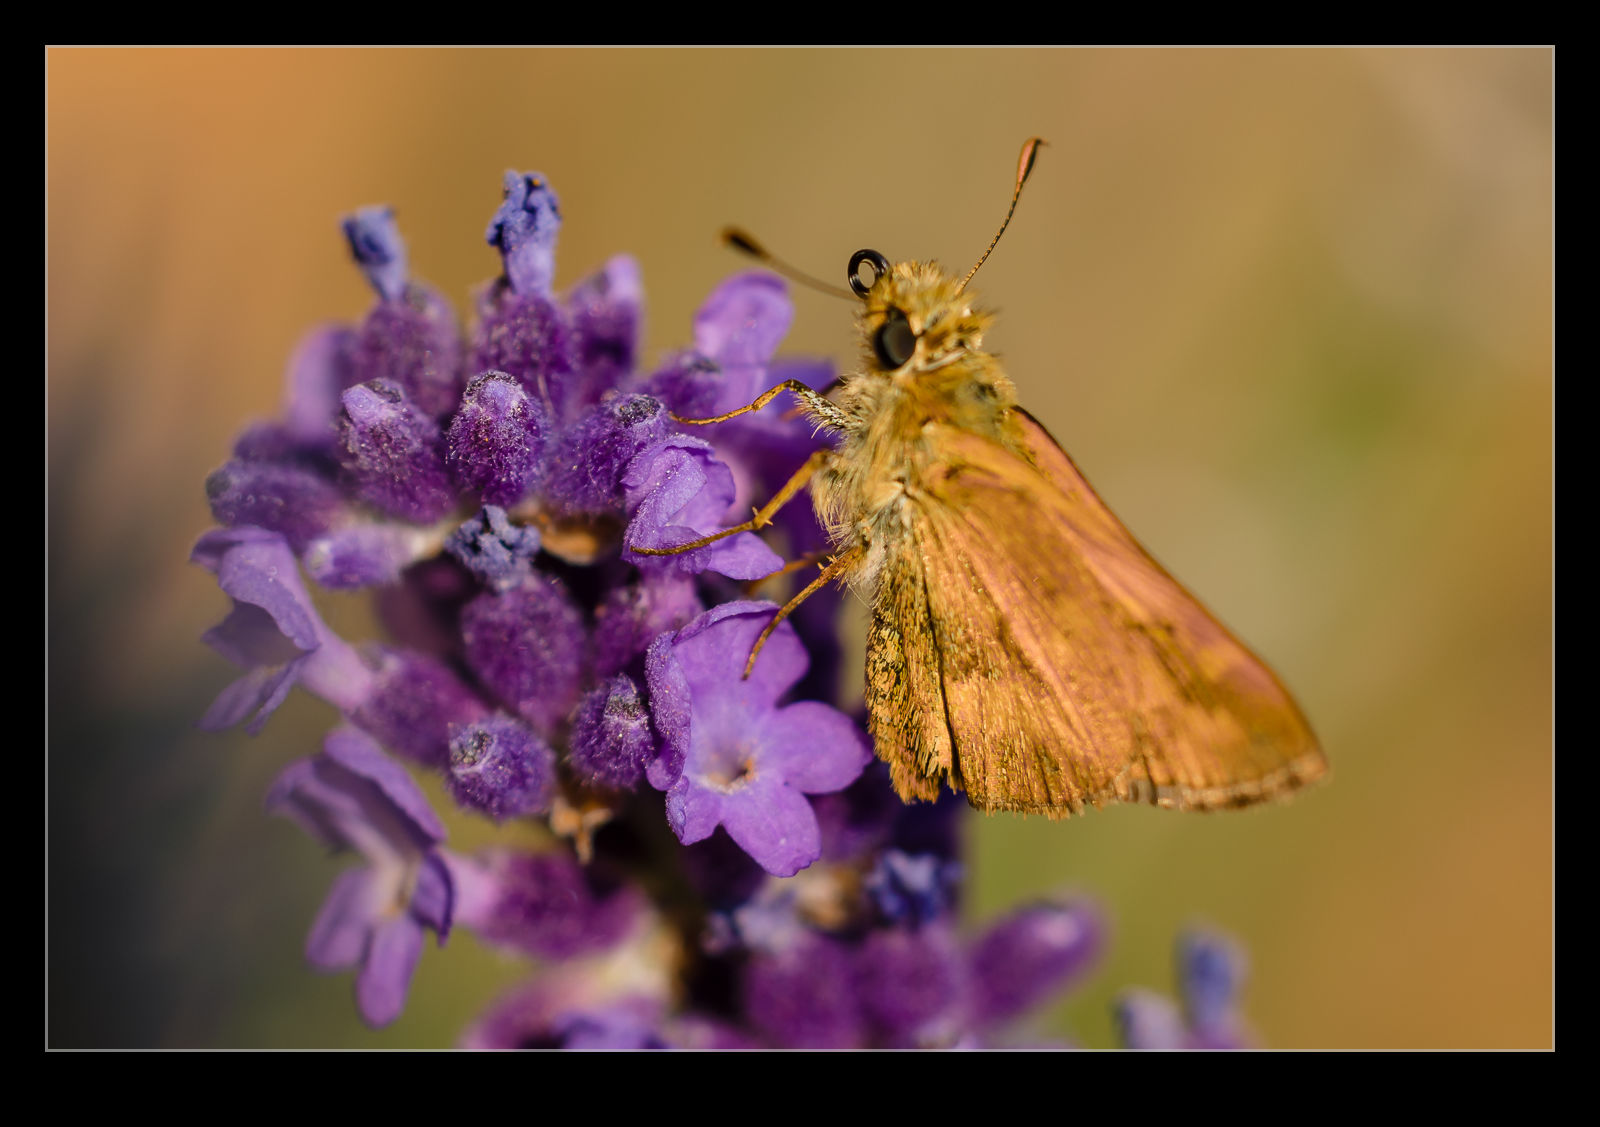
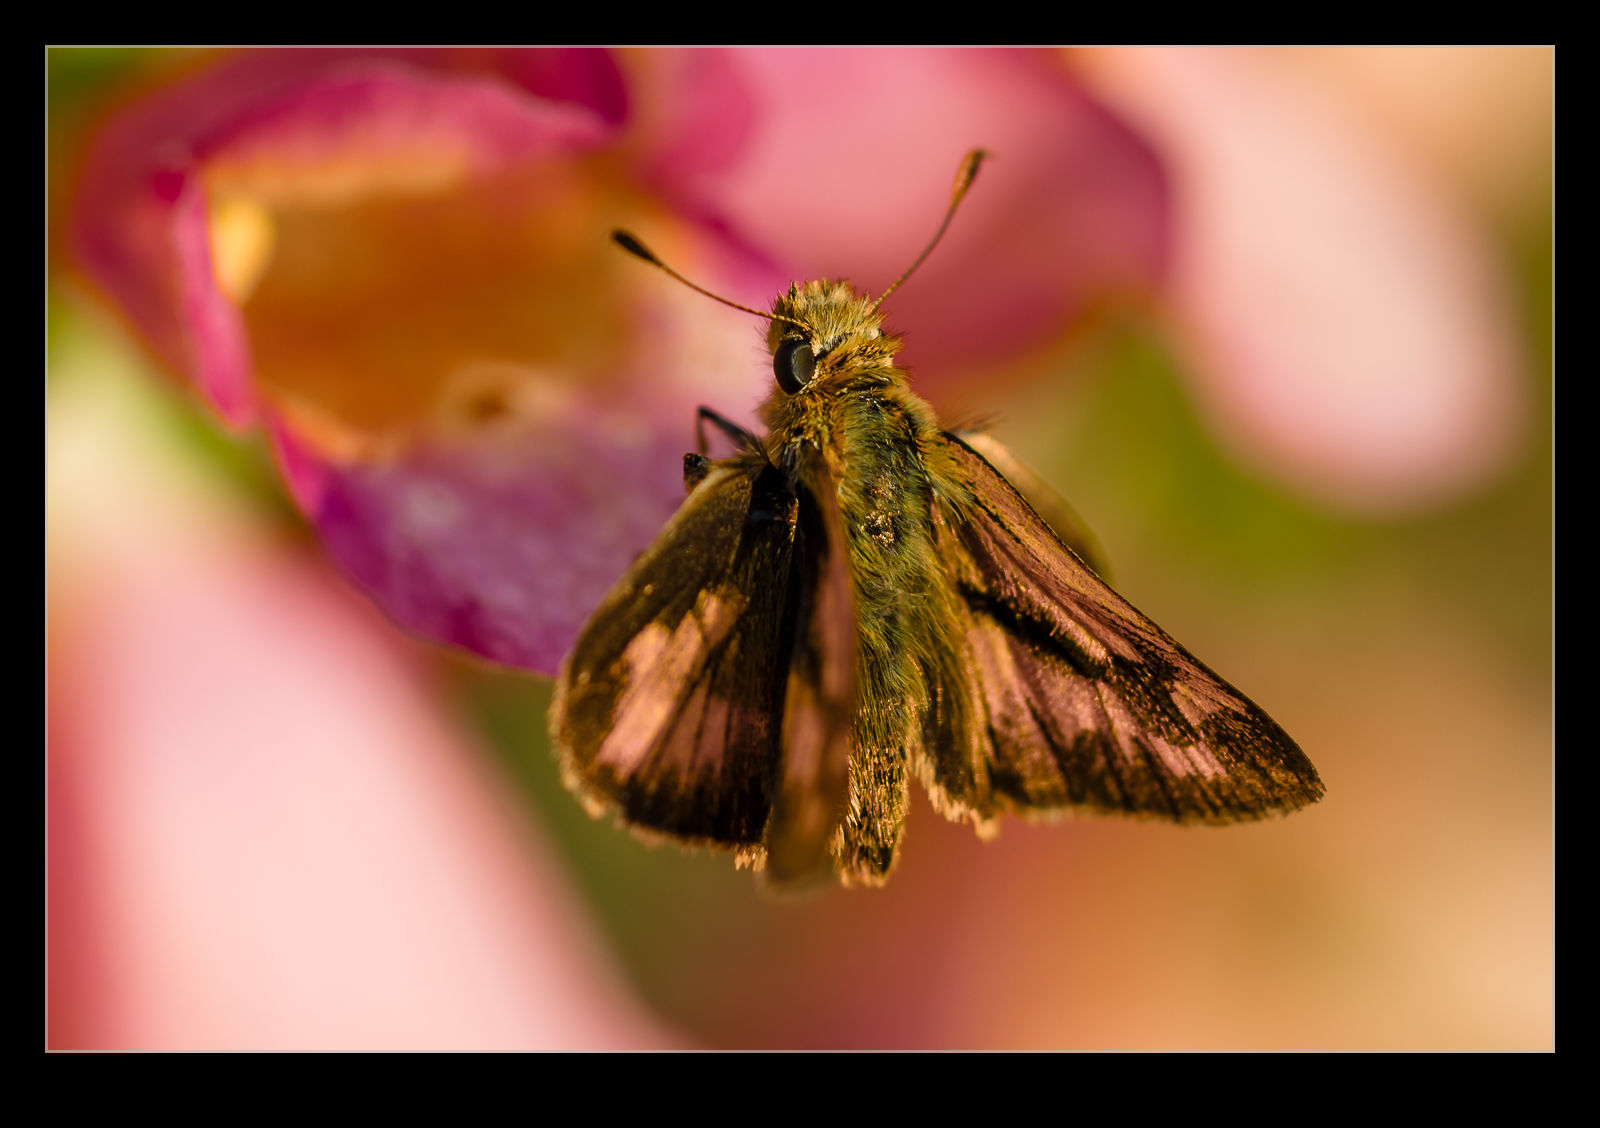 The flowers in our back yard are very popular with butterflies and, with nice evening light in the garden, I was bound to drag out the macro lens. However, when I tried getting some shots, the camera was having a really hard time focusing. I often ended up using the manual focus ring to get something close when the camera kept focusing on the background. I had struggled with a couple of other subjects previously and I was beginning to get really annoyed. This was not a cheap lens, and the camera certainly isn’t cheap but why wouldn’t it focus on a butterfly? I was using animal mode so thought it would cope.
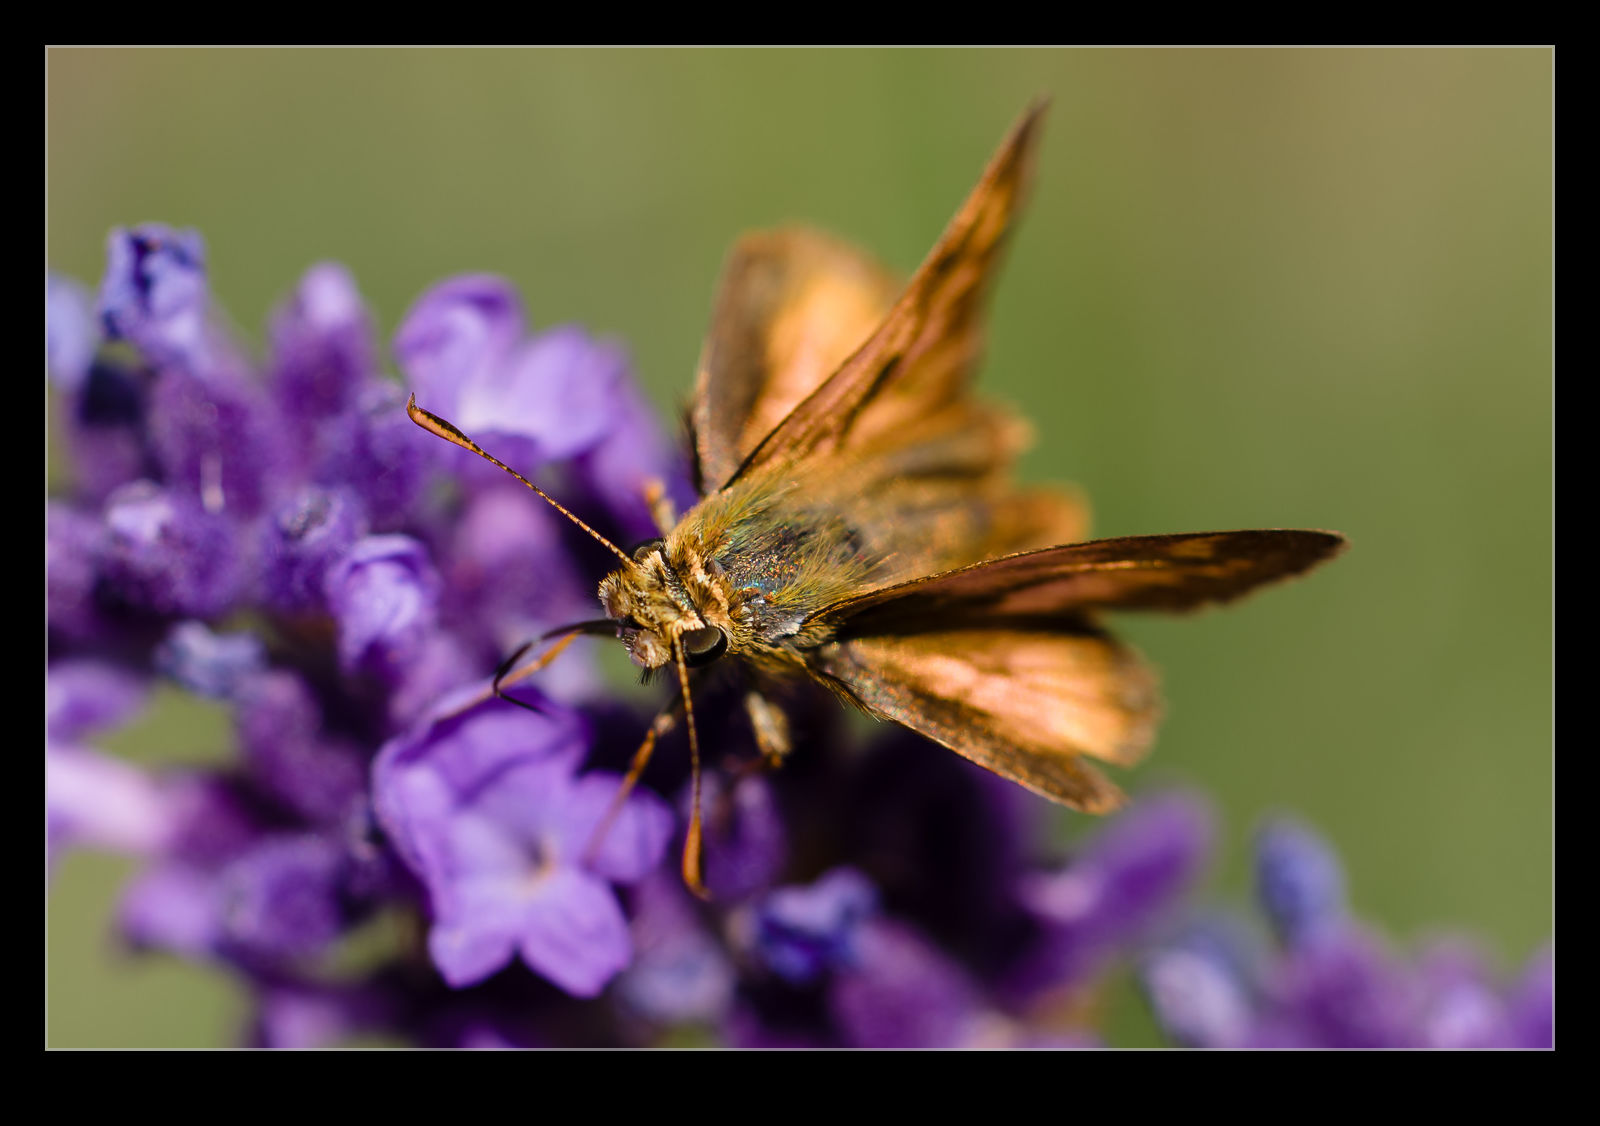 I ended up trying different focus area modes. Narrowing it down to the small focus spot and moving that around by hand rather than using the subject detection modes was my next effort. I seemed to have some better luck, but it still was unreliable and was giving me a red box around the focus area. Why wouldn’t it work. I took a look in the menus to see if there was something in there which was going to be an issue but nothing there either. I was beginning to be fearful I had a dud. Then I noticed something. The focus limit switch had moved from the full range to having a minimum focus distance of 0.5m. That would certainly be an issue. Put it back to where it should have been and suddenly the focus was working perfectly. What a dope. Not sure when I had knocked that switch but it might have been a while back. Doh!
Go With The Long Lens
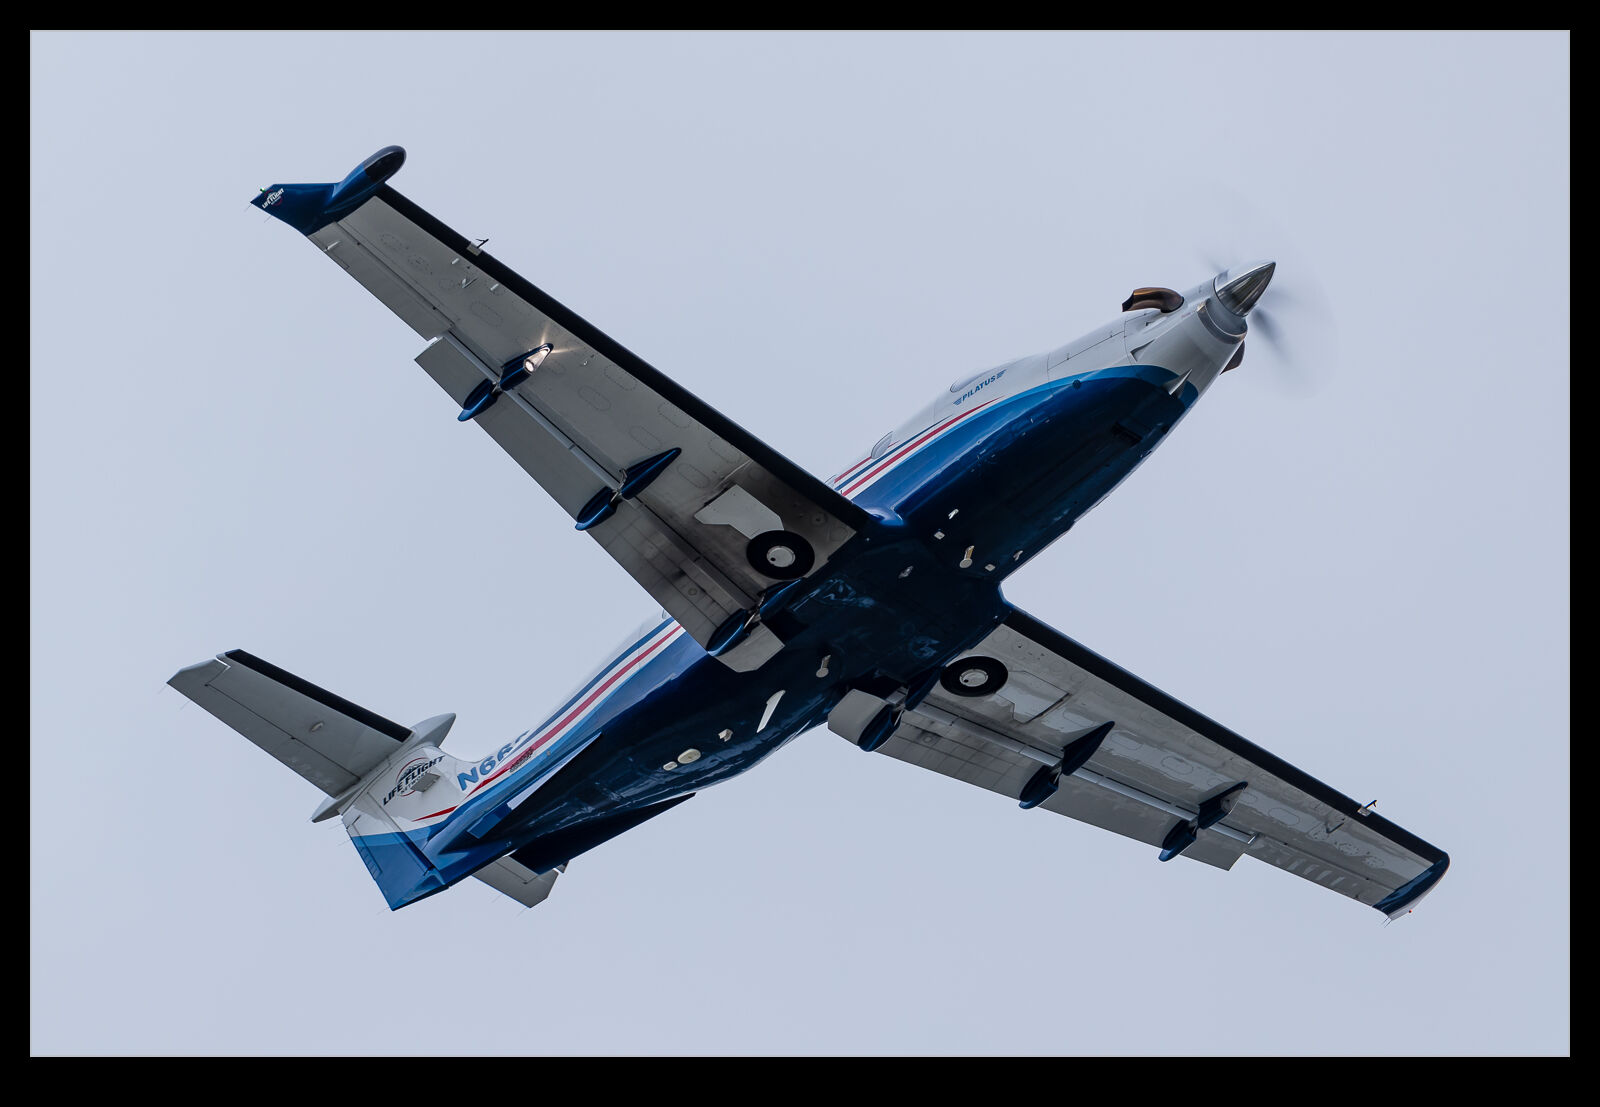
 For quite a while I have been shooting almost exclusively with the 100-400mm lens while photographing aircraft. Recently, I knew I had a couple of smaller aircraft inbound and I picked up the 500mm which hadn’t got a lot of use for a while. While it is a fixed focal length and therefore inflexible for things getting too close, with something small, it works out fine. When I checked out the images later, I noticed that I had a far higher keeper rate at low shutter speeds than I have got recently with the 100-400.
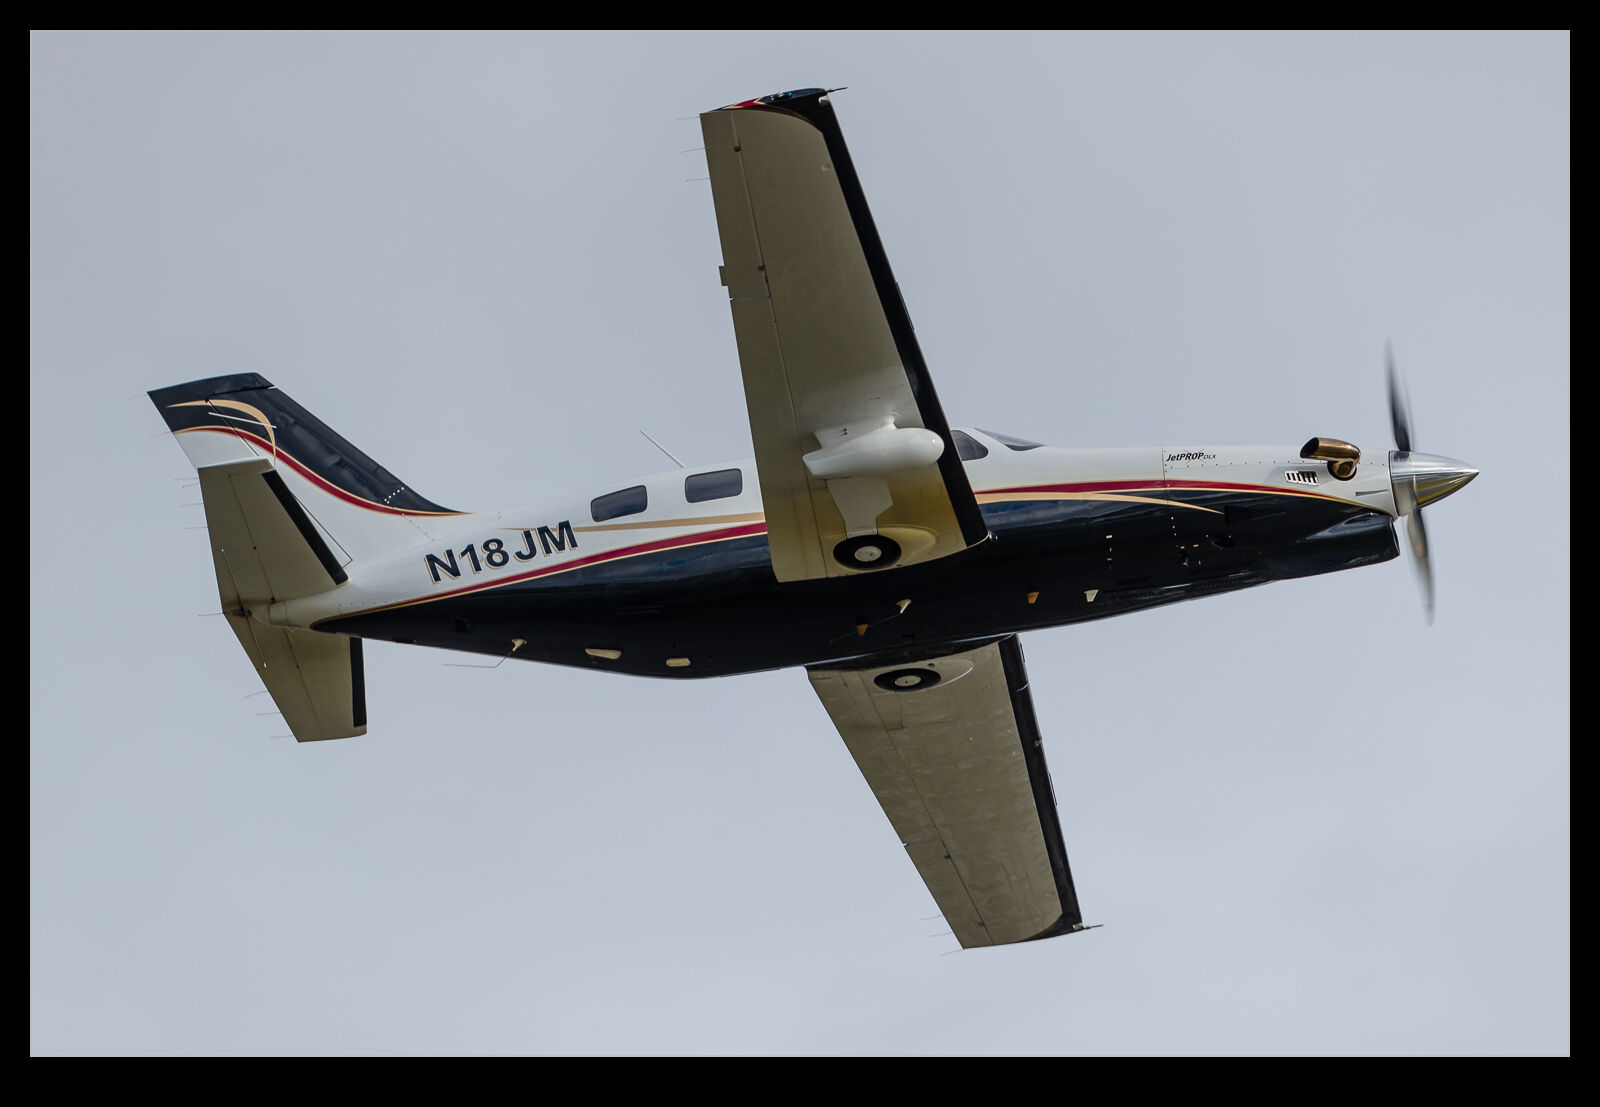 I decided to stick with it again on another day of shooting and had similar results. I decided even to sacrifice the closer shots and work with the long lens to get framing I wanted further away and to then go for close ups of details when things got too large. I was overall very happy with the results. I think the weight of the 500mm is such that it is a lot harder to disturb it with small twitches. The 100-400 is so much lighter, maybe it is more sensitive to my lack of smoothness. The inertia of the big lens is a benefit. I think I shall be using it more again going forward. Besides, it is so sharp when you get it right!
Lens Envy
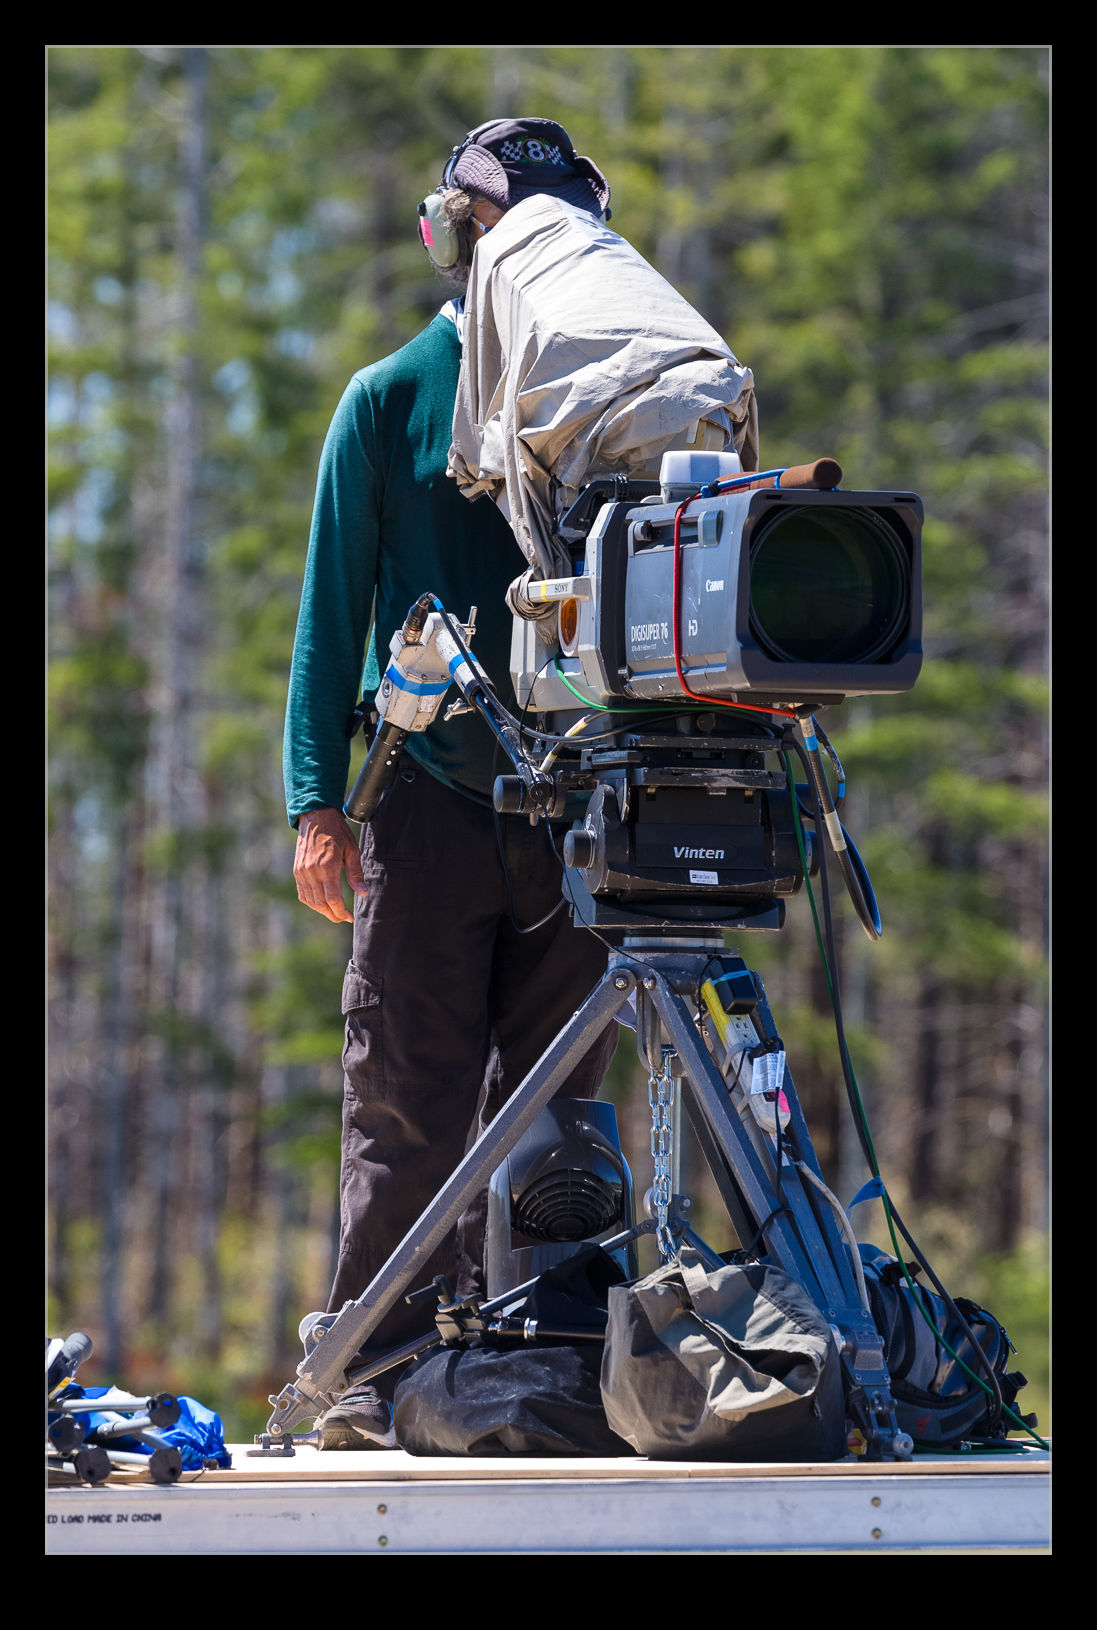 Camera gear is always something that you can find a better and more expensive version of. However, you really feel like an amateur when you go up against the TV guys. There were a few camera locations I passed by when shooting at Ridge. They were using these huge Canon zoom lenses. They would be a bit of a nuisance to carry around and cost more than I care to think about but you still feel a little envious.
Disassembled Bicycle Tire Valve
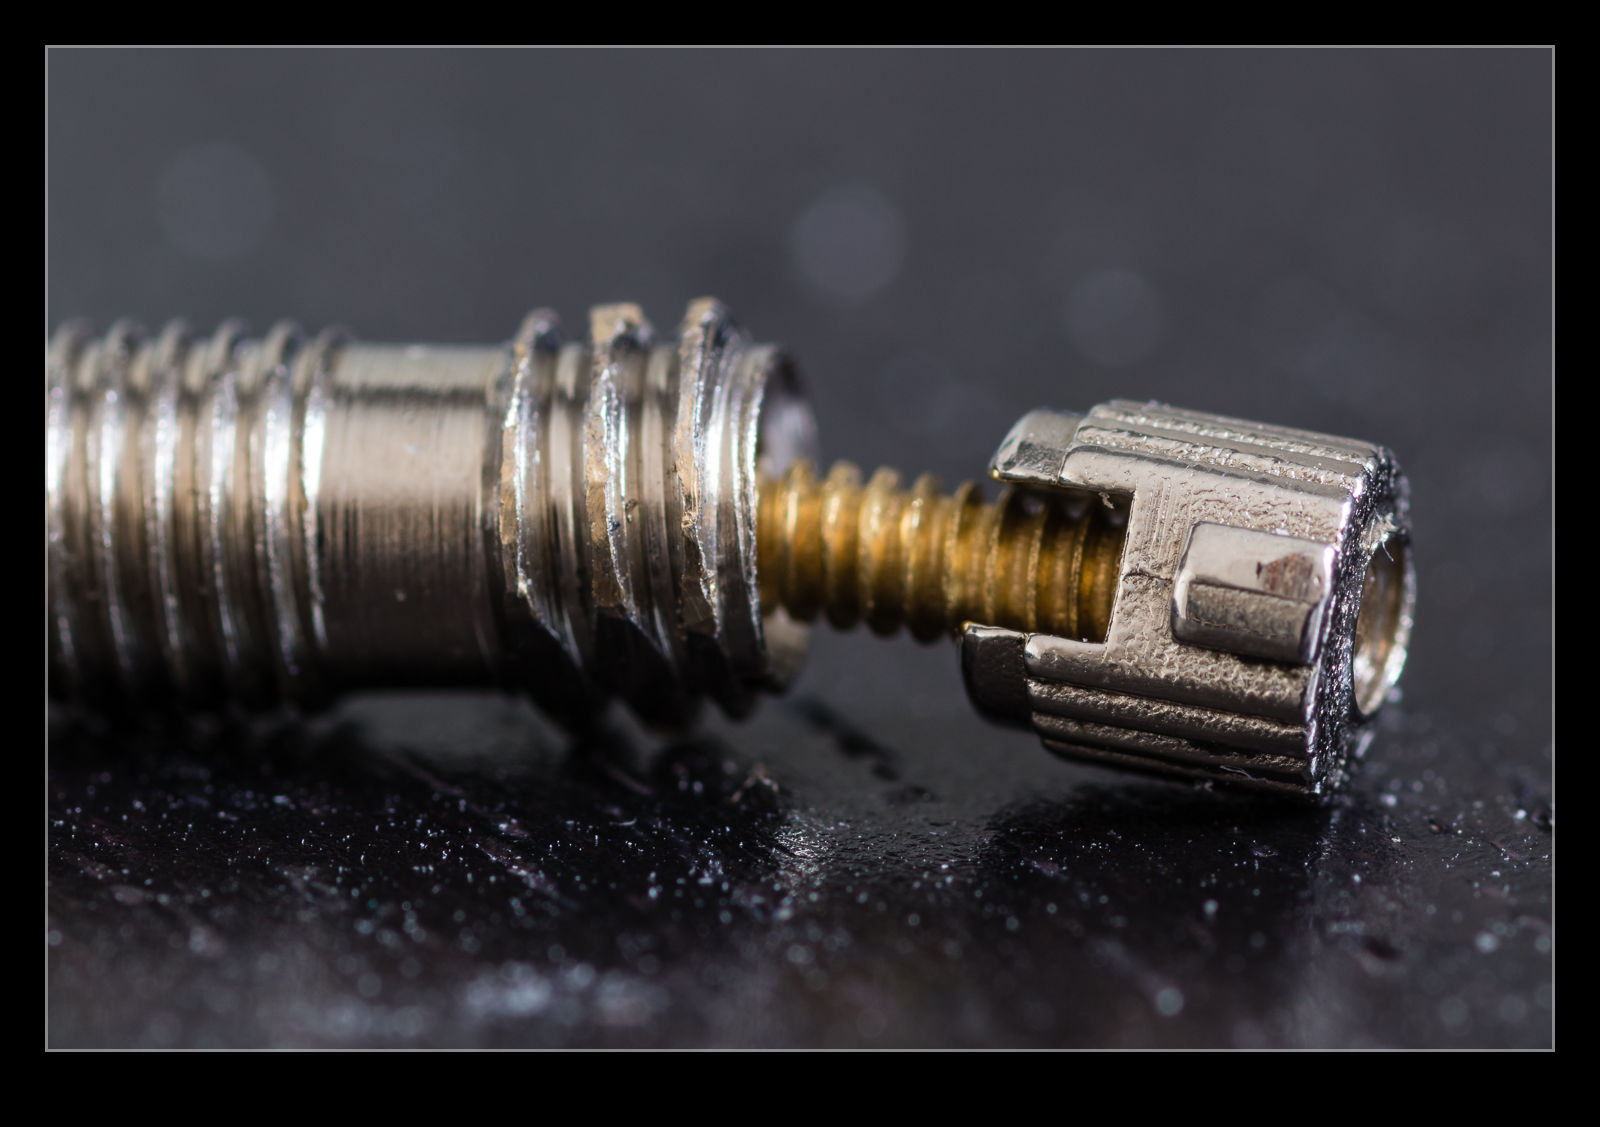
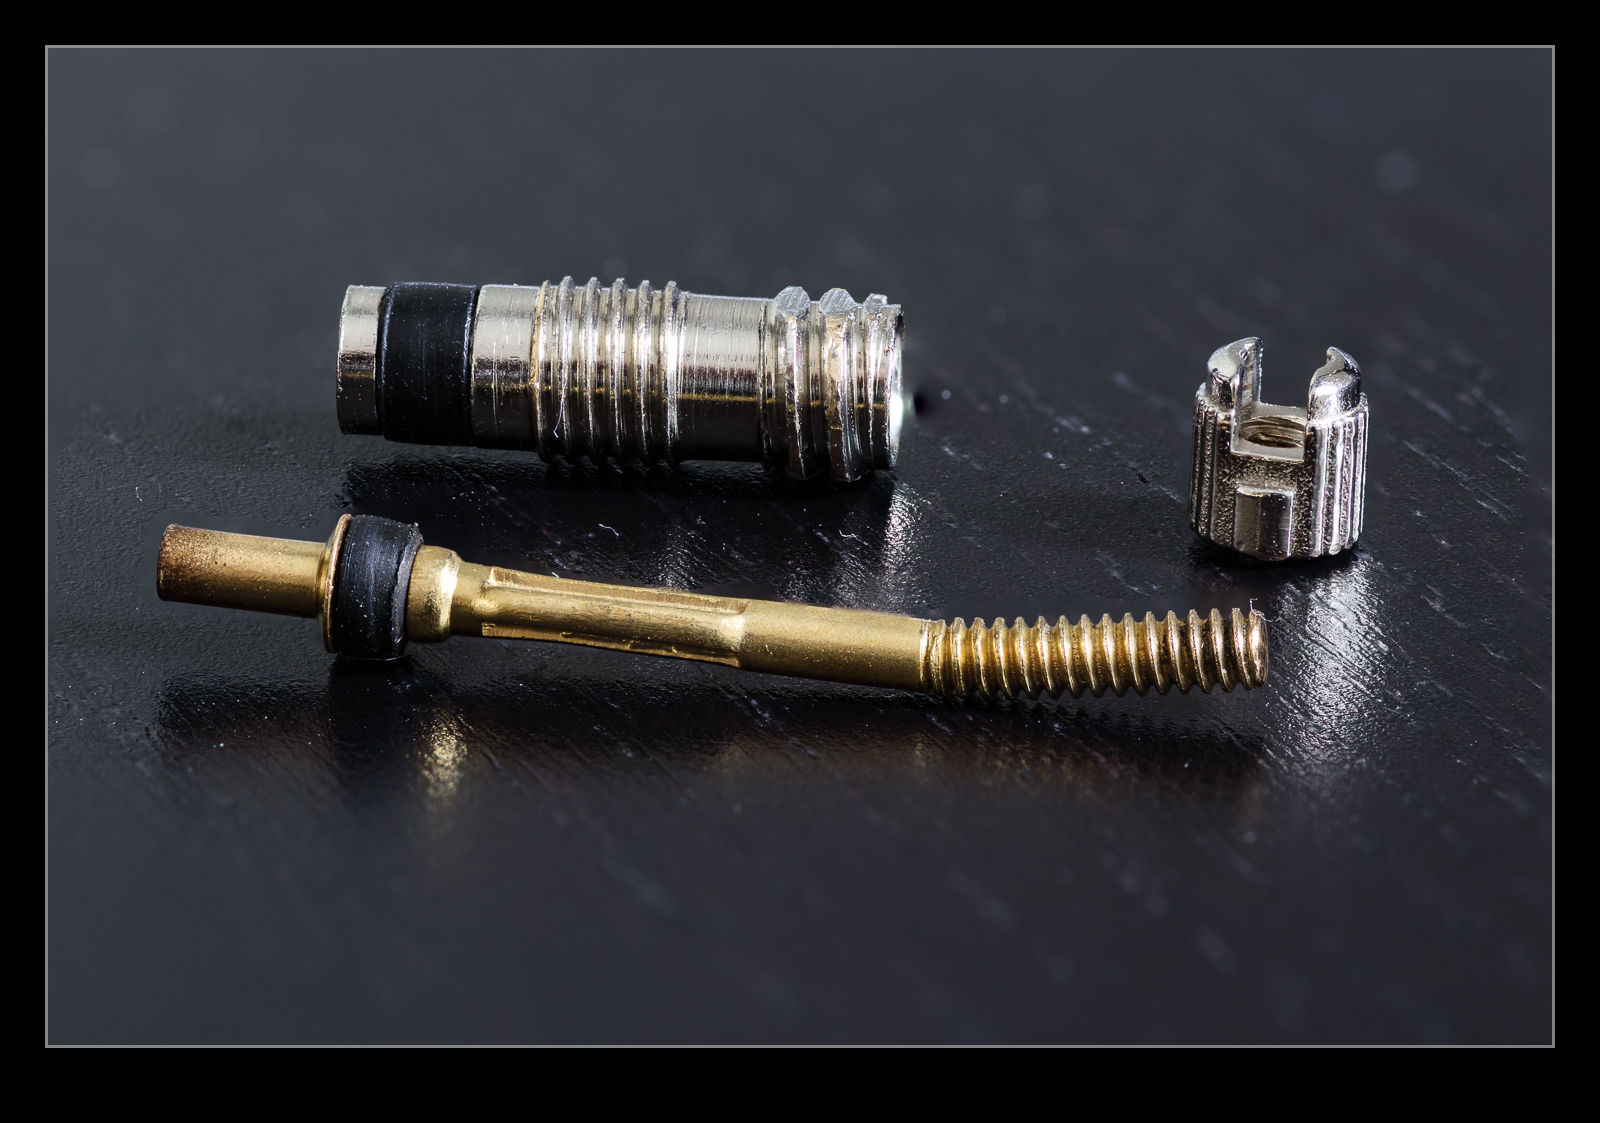 I recently bought some replacement valve cores for my bicycle tires. I notice that part of the core was bent so decided to replace it. It is a quick job to change the core over and, prior to throwing the old core away, I figure I would play with the macro lens. I first too a picture of the still assembled core trying to angle it to show how badly bent the part was. Then I figured I could take the core apart altogether. Another focus stack and I could show the parts separated. I love the detail you get of the metal surfaces when you shoot macro.
The Benefits of Lens Compression
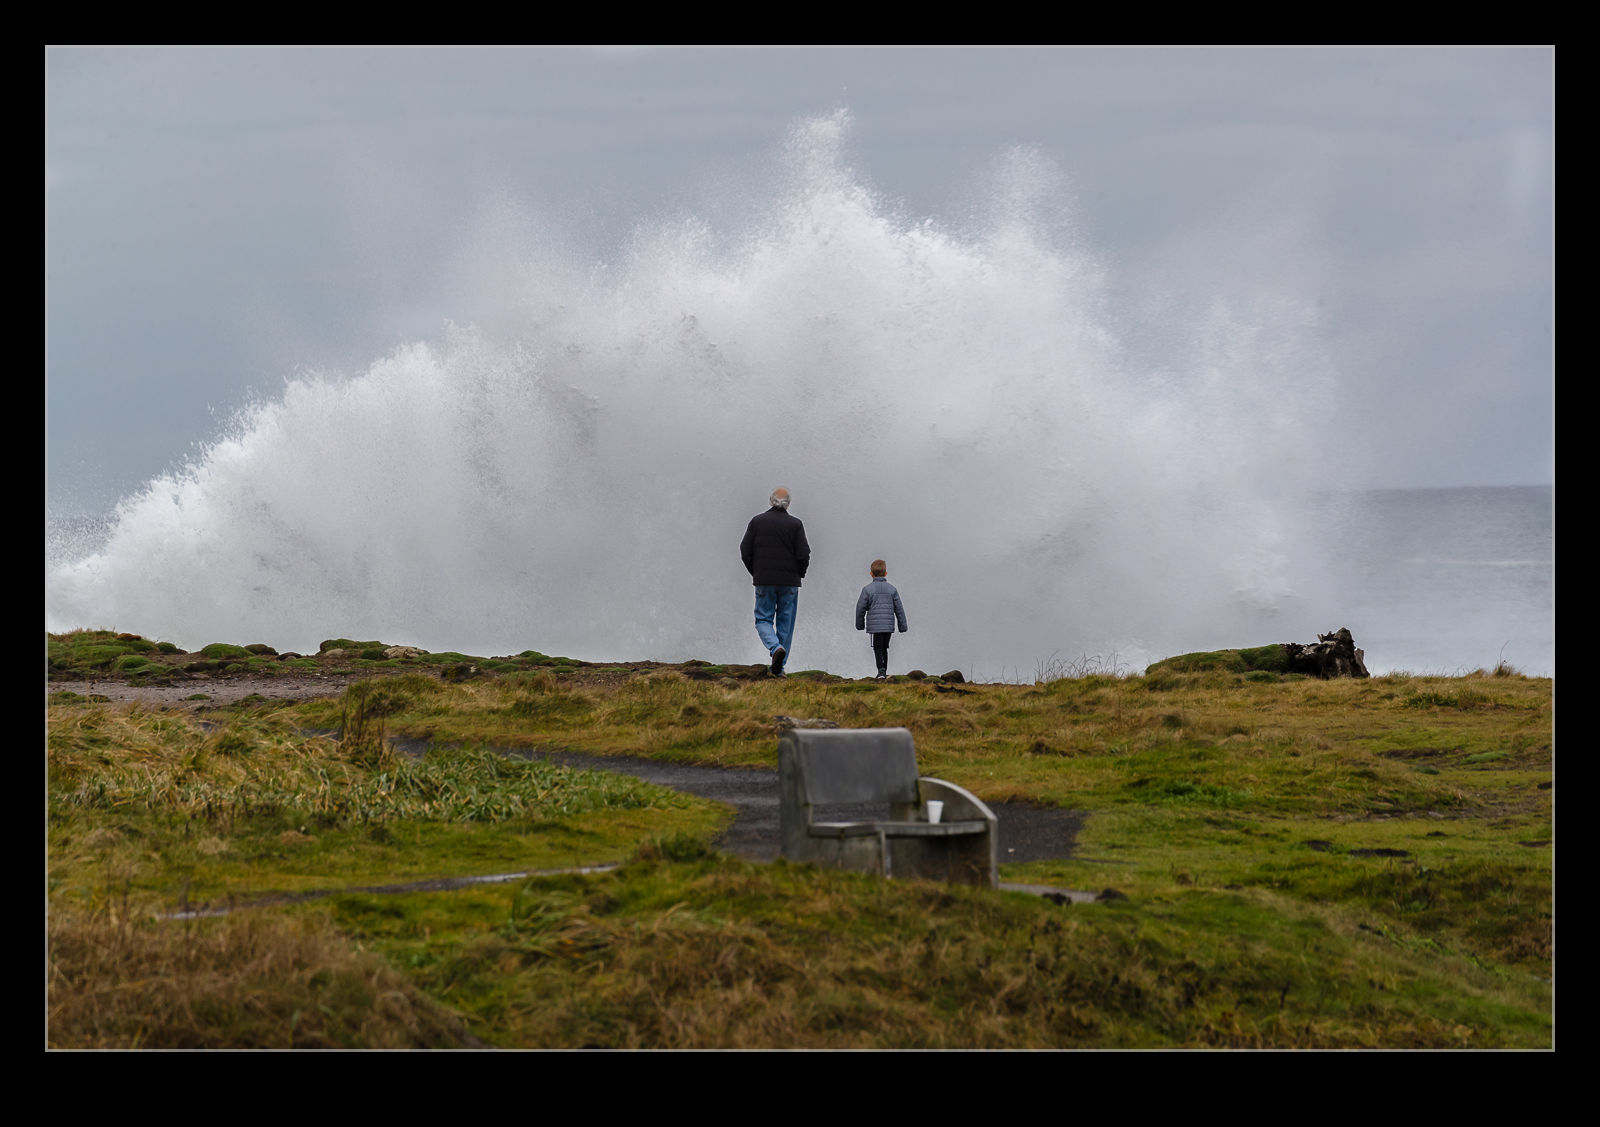 The stormy waves coming ashore in Yachats were providing some great splashes as they broke on the shore. They would crash into the rocks and send spray high into the air. If you were further along the shore and looked back at the people closer to the rocks, they would occasionally be silhouetted against the plume of spray. The cool thing about shooting this with a long lens is that it looks as if they are almost being overwhelmed by the waves. Get a bit closer and they are clearly a long way from the water and in no danger of getting wet (except for a bit of the mist if you are downwind of the impact point).
Creating Lens Profiles for Adobe Software
UPDATE: It turns out, the upload process for the profile sends to an address that doesn’t work. While I try to fix this, if you want the profiles to use, you can download them by clicking here.
Within Adobe processing software, there is lens correction functionality built in to the Lightroom Develop module (or Adobe Camera Raw in Photoshop) that compensates for distortion and vignetting in the lens the image was taken with. Adobe has created a large number of lens profiles but they never created one for the Canon 500mm in its initial version. Adobe also has an online tool for sharing profiles but this does not include one for this lens either. The 600mm had a profile and it was supposedly close so I had been using that for a while. Recently, though, I was shooting with the 1.4x teleconverter fitted and this introduced some new effects which required some manual tweaking to offset.
I still wasn’t happy with the result so I decided it was time to bite the bullet and create some profiles from scratch. Adobe has a tool for creating a lens profile. It involves printing out some grid targets which you then shoot a number of times to cover the whole of the frame. It then calculates the profile. I was shooting at both 500mm and 700mm so I needed a few targets. To make a complete profile it is a good idea to shoot at a variety of focusing distances and with a range of apertures. The tool comes with many targets. Some I could print at home but some of the larger ones I got printed at FedEx and mounted on foam core to make them more rigid. Then it was time to shoot a bunch of very boring shots.
The software is not the most intuitive I have ever worked with but it eventually was clear what I had to do. (Why do some manual writers seem like they have never used the process they are writing about?) I found out how to run the analysis for different charts and distances separately and append the data to the profile as I go. I did need to quit the program periodically because it would run out of memory which seems like an odd bug these days. After much processing and some dropped frames as a result of poor shooting on my part (even on the tripod I got some blur occasionally with very slow shutter speeds) it got a profile out. The proof of the pudding is in the eating of course (that is what the actual phrase is for those of you that never get past the pudding part) so I tried the profile out on some recent shots. It works! I was rather delighted. I may shoot a few more samples in good conditions to finish things off but this was a rather happy outcome. Once I have tweaked the profiles sufficiently, I shall upload them to Adobe and anyone can use them.
Fisheye Correction in Lightroom
I have a pretty well defined routine for importing and processing my images in Adobe Lightroom. I have presets for importing images that put them in the right folders, apply copyright information and apply development presets. I can then edit from there as I go. One of the settings I have set as a default is the application of the lens correction settings. This setting deals with any natural vignette in the lens as well as some distortion. Occasionally this can be tricky if you have something close to the edge of a wide lens and it gets slightly chopped by the correction.
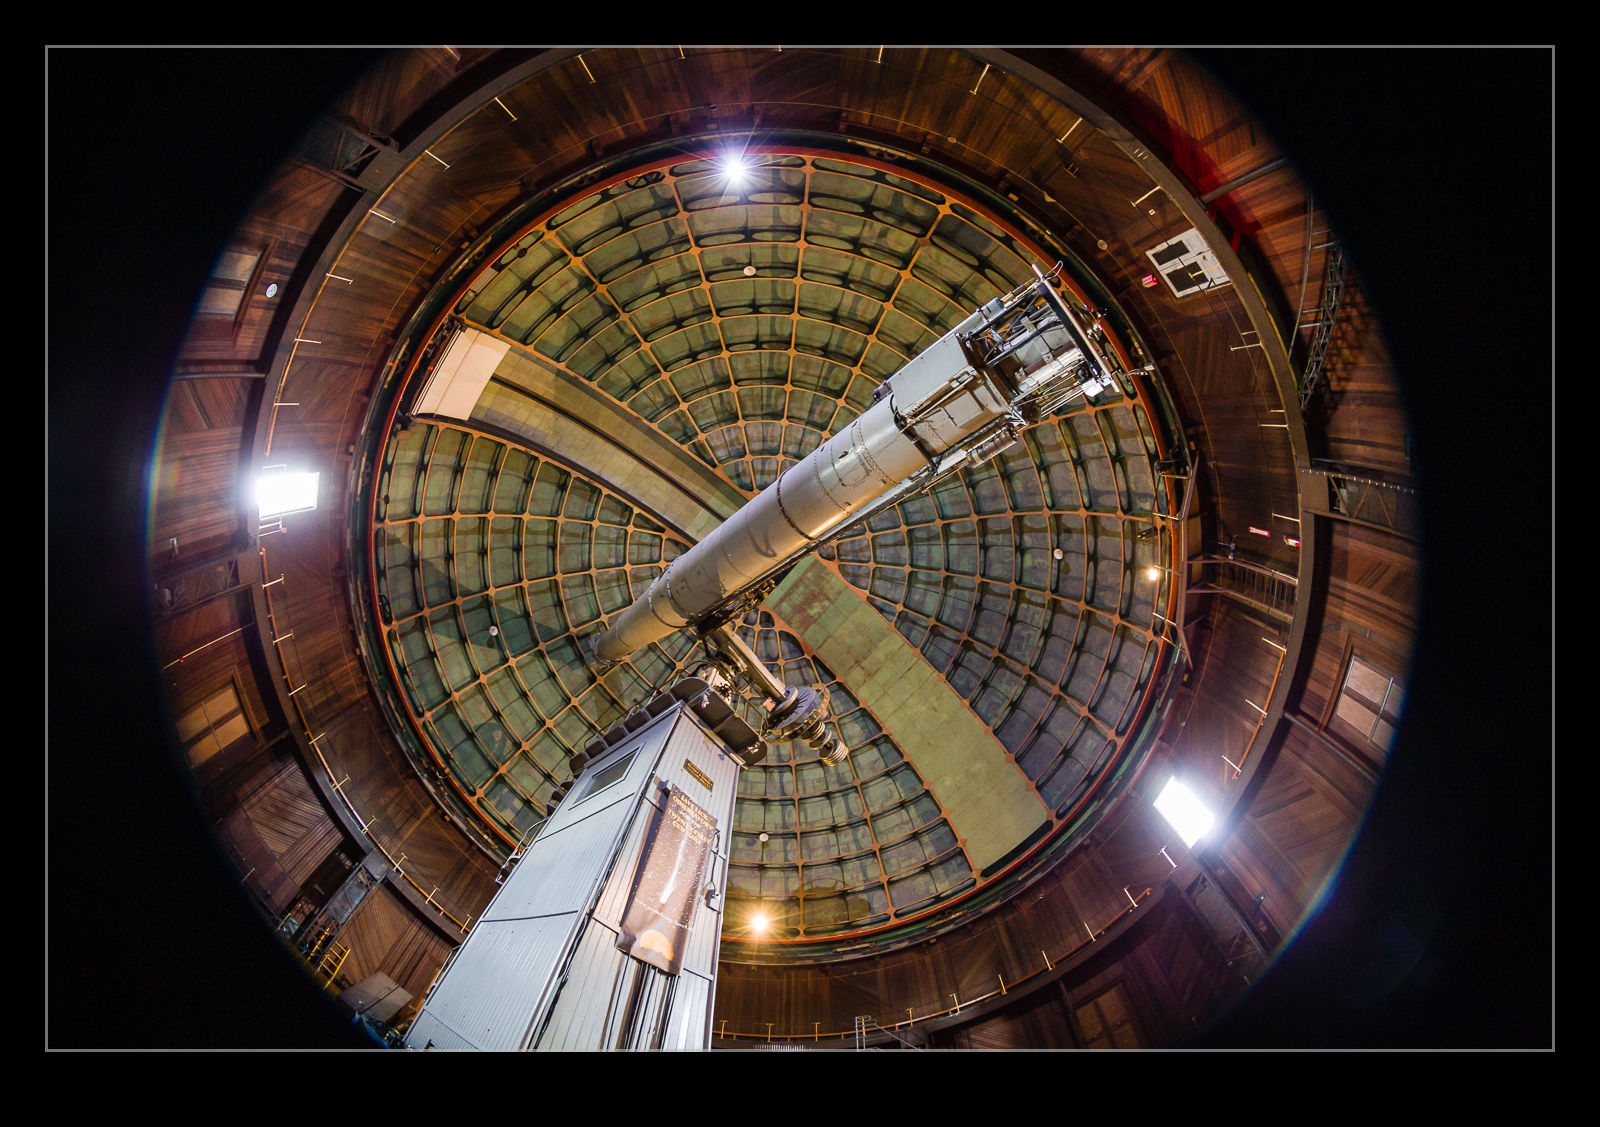
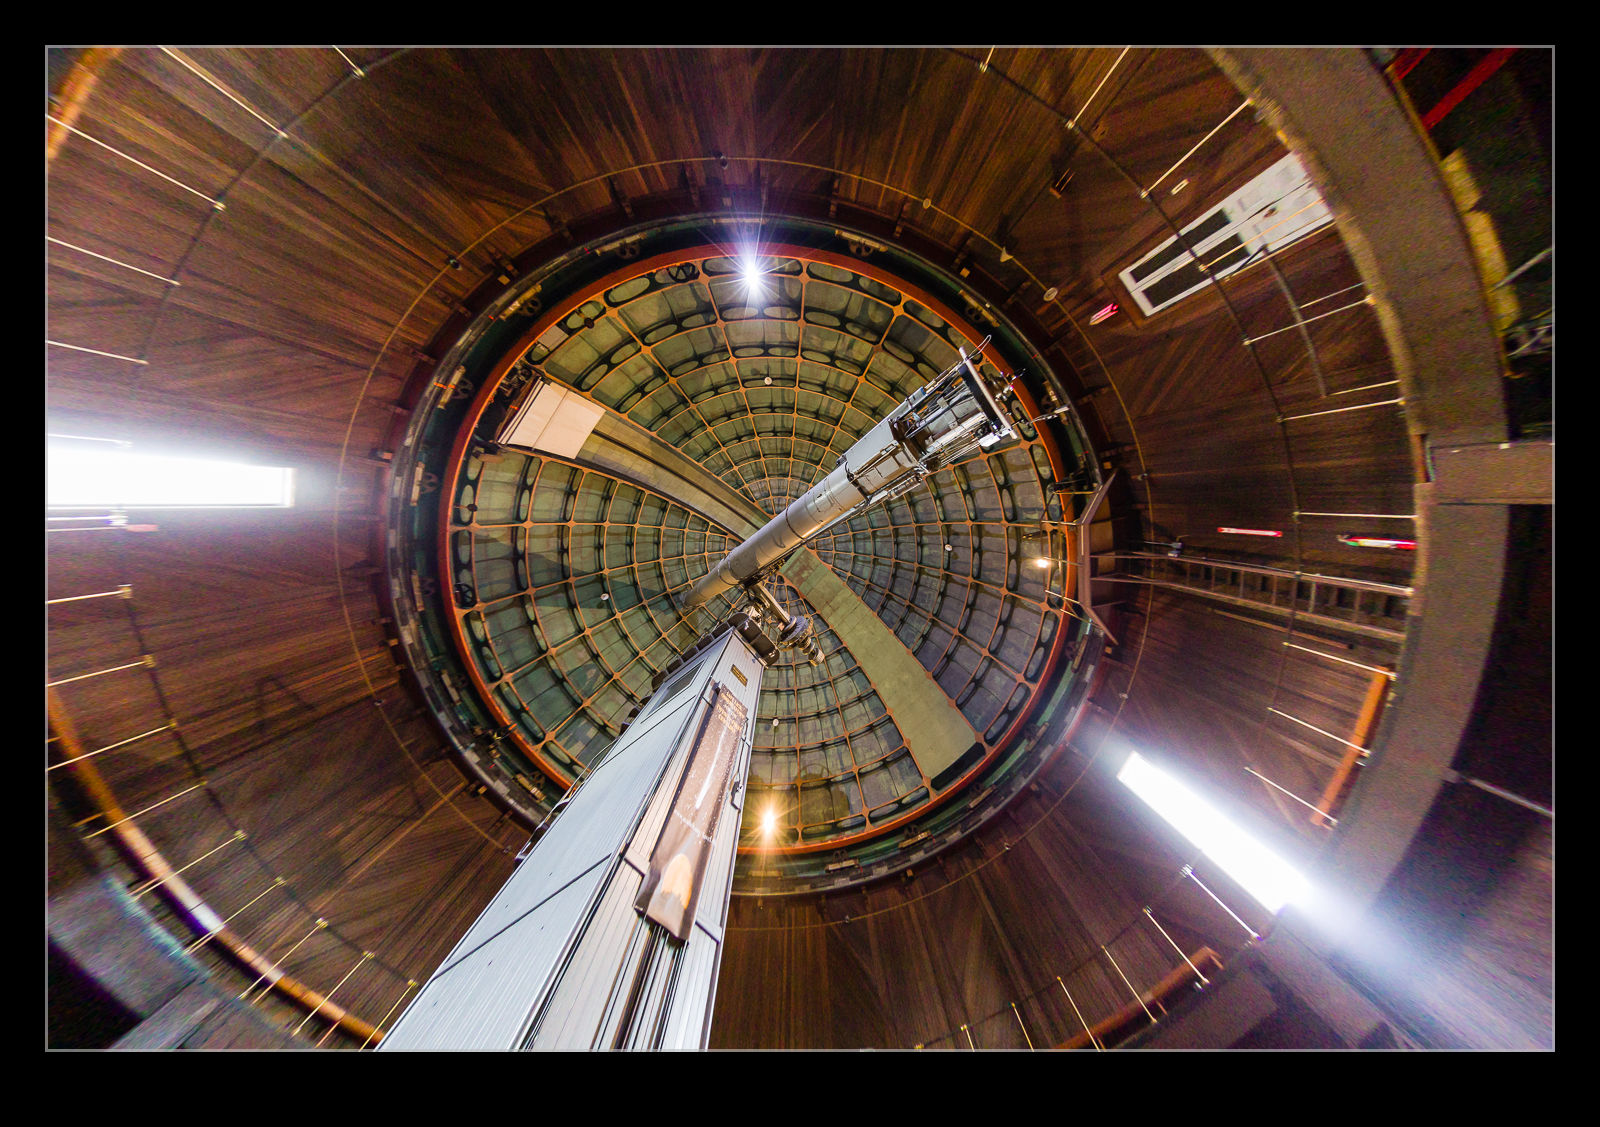 I discovered a more extreme version of this while processing some shots from the Lick Observatory. I had taken my 8-15mm fisheye zoom with me as I thought there might be some use for it in the telescope buildings. It turned out to be a good thing to have. When I first had the lens, Adobe had not created a profile for the lens so the shots came in uncorrected with the fisheye look I expected. More recently, Adobe have created a profile for this lens. It was added in one of the updates and, since I don’t use the lens all of the time, I hadn’t noticed.
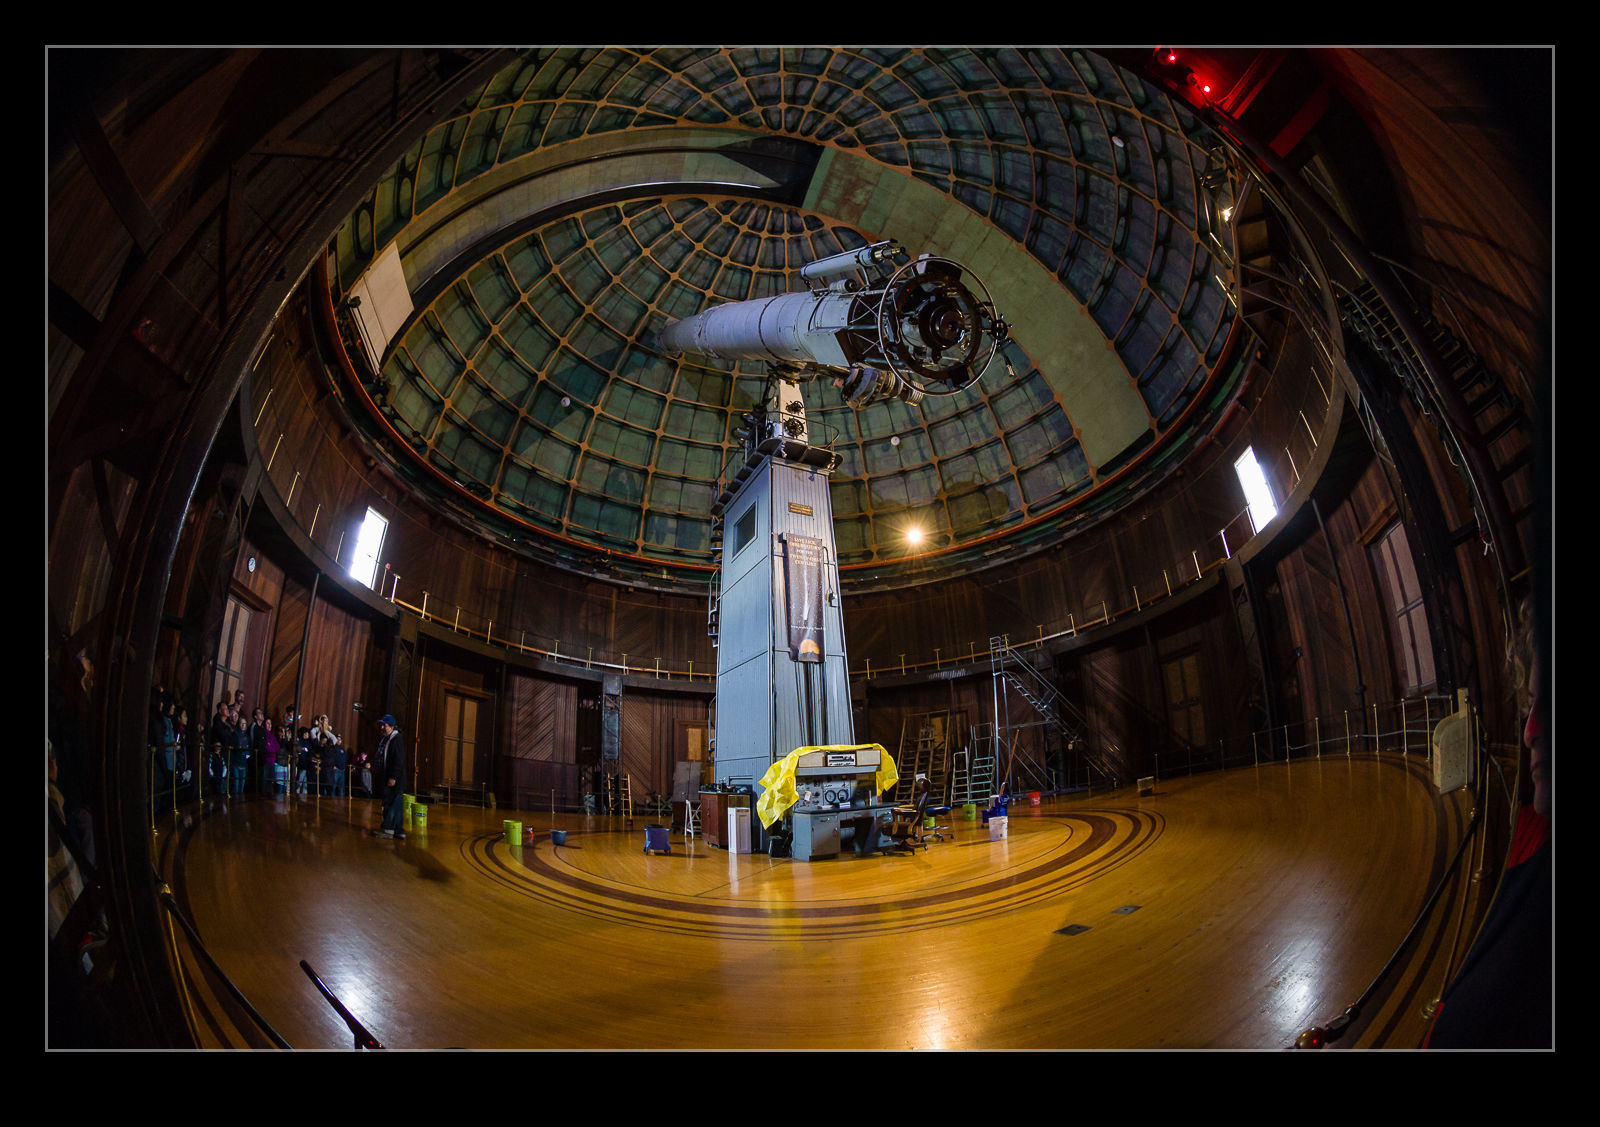
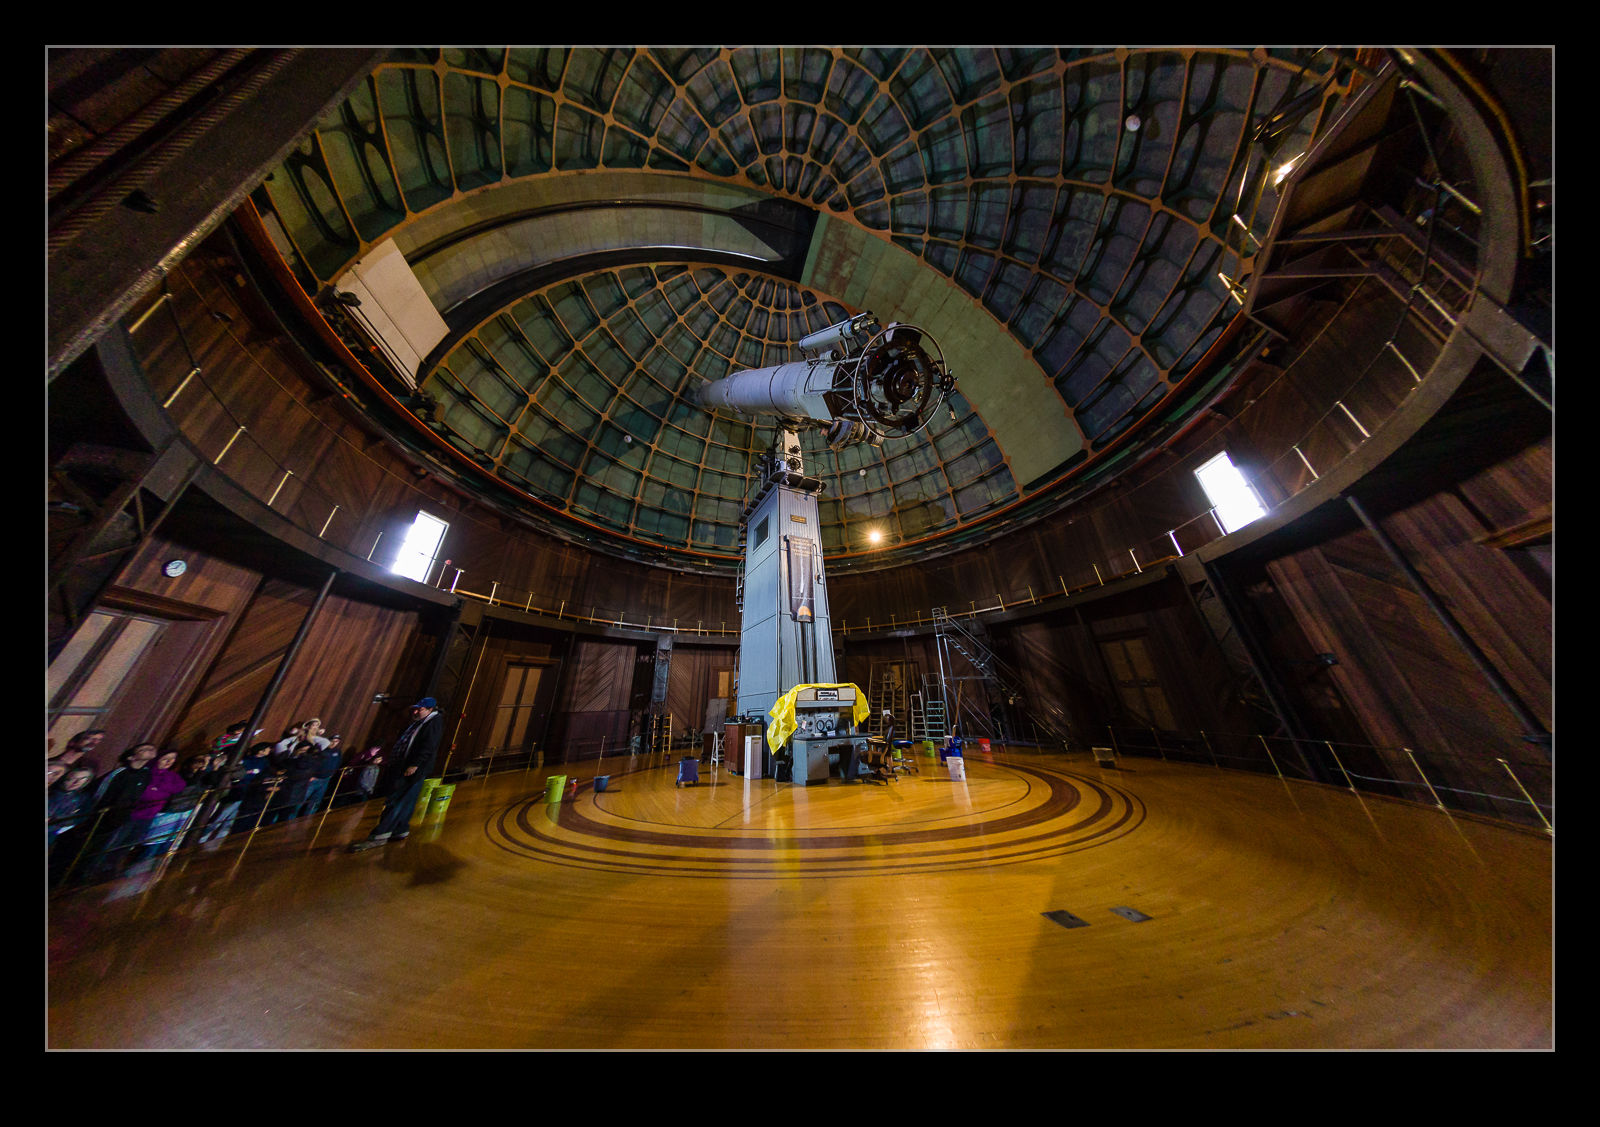 When I was going through the shots, I noticed the wide shots had some strange distortion at the edges. I was perplexed by this and also wondered where the circular fisheye shots were because I was sure I had taken some. Only then did I realize that these were those shots and the corrections were being applied. Here are some examples of the before and after with the correction to give you a idea of what the transformation is. A pretty dramatic change. I might make use of this sometimes but I shall also have to remember switching this off when shots with this lens are involved.
Yet More on the 100-400
Here is the latest update on the 100-400 saga. As reported here, I got the 100-400 back from Canon and they had indeed found something wrong with it. This was, as I noted then, a relief as I wasn’t imagining things or just not being able to use it properly (although that is still a real issue with my photography as a whole!). However, until I had been able to get out and about and given the lens some significant use, I didn’t know whether I would really see the difference.
Now the jury is in. I went out over the weekend and shot a lot of stuff in some nice conditions. Over the last couple of days I have been going through the images from the shoot. Let’s just say I have a very big grin on my face. The problem I was seeing before is gone and now I am seeing some really nice image quality all across the frame when shooting wide open. This is great news. After having the lens for a year and feeling less than happy, it is like I have got something new to use. I am a happy camper! Expect some of the shots from this shoot to make their way on to here over the coming weeks.
Update on the 100-400
Nearly a year ago I got the new model of the Canon 100-400 EF lens. I had it on back order when it first came out and it arrived just before Christmas so became an impromptu gift to me! Almost everything about the lens I liked. However, if you read my initial thoughts on the lens which I covered here, you will have seen I had a concern about softness in one part of the image. I have used the lens extensively since then and, while I have not always had an issue, I have continued to be concerned about the output in one area – particularly when compared the the excellent sharpness the rest of the image was displaying.
I sent the lens to Canon earlier this year for a service. I explained my concerns and they took a look and told me it was functioning properly and returned it. I took it on another shoot and got more shots which did not look right. This time I emailed CPS and provided them with some sample shots. They suggested it didn’t look right and told me to send the lens back in with a description of everything to date along with more sample images on a card.
I now have the lens on its way back to me. Here is what they found.
Your product has been examined and it was found that the optical assembly was broken causing the auto focus to operate improperly from time to time. The 6th group lens and 2nd group lens were replaced. Product functions were confirmed.
It is nice to know that I wasn’t imagining things but a little disappointing it took this long to get to the bottom of things. Of course, I could have done some of this sooner if I had been more certain of the problem. In future, I will be a bit more willing to trust my instincts. Now to get the repaired lens in my hands and test it!
