 I made a big mistake a decade back when the Space Shuttle Endeavour was moved through the streets of LA from the airport to the California Science Center where it has been on display ever since. I was in California and could have made a trip down but, for various reasons, didn’t end up doing so. I have regretted it ever since. The beginning of 2024 was the time when they relocated the shuttle from its horizontal position to a new installation where it is stacked on the external tank and boosters in the launch position.
 I had a work trip in January that took me to LA and I was really hoping to see the stacking because the external tank was due to be lifted into position between the boosters. Sadly, there was no spare time from arriving to departing and I didn’t get a chance to see it other than a brief glimpse from my Uber as I drove to and from the airport.
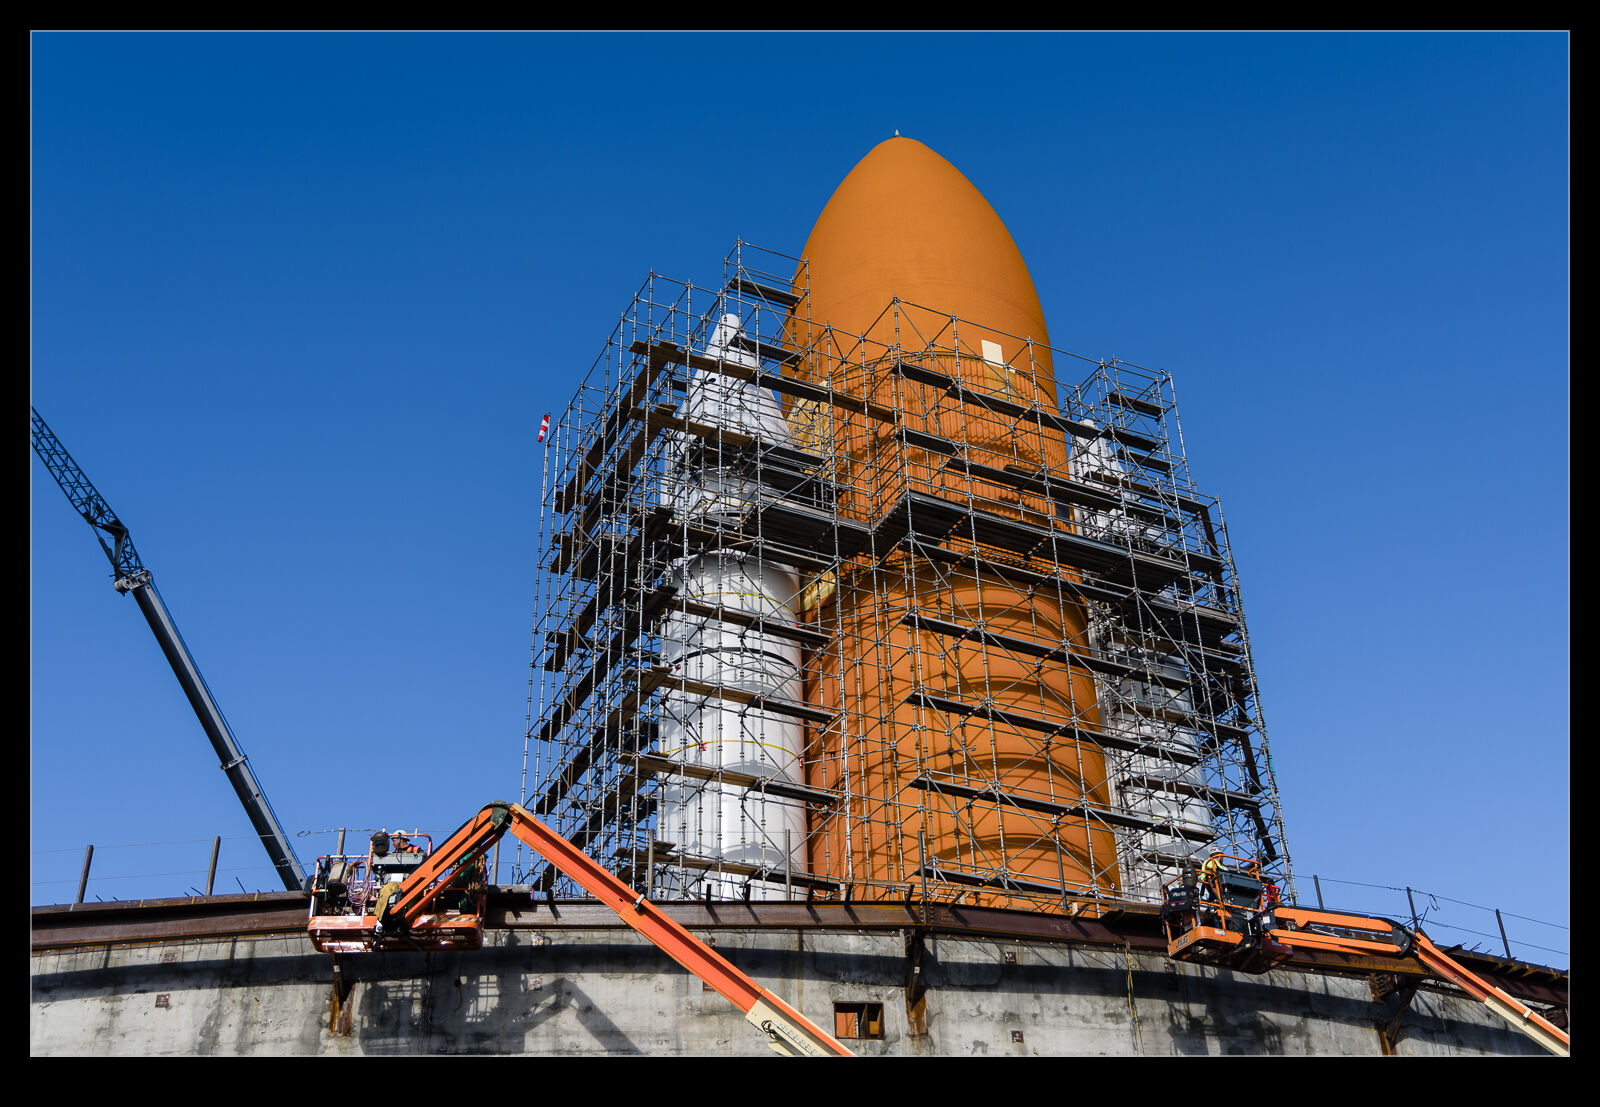
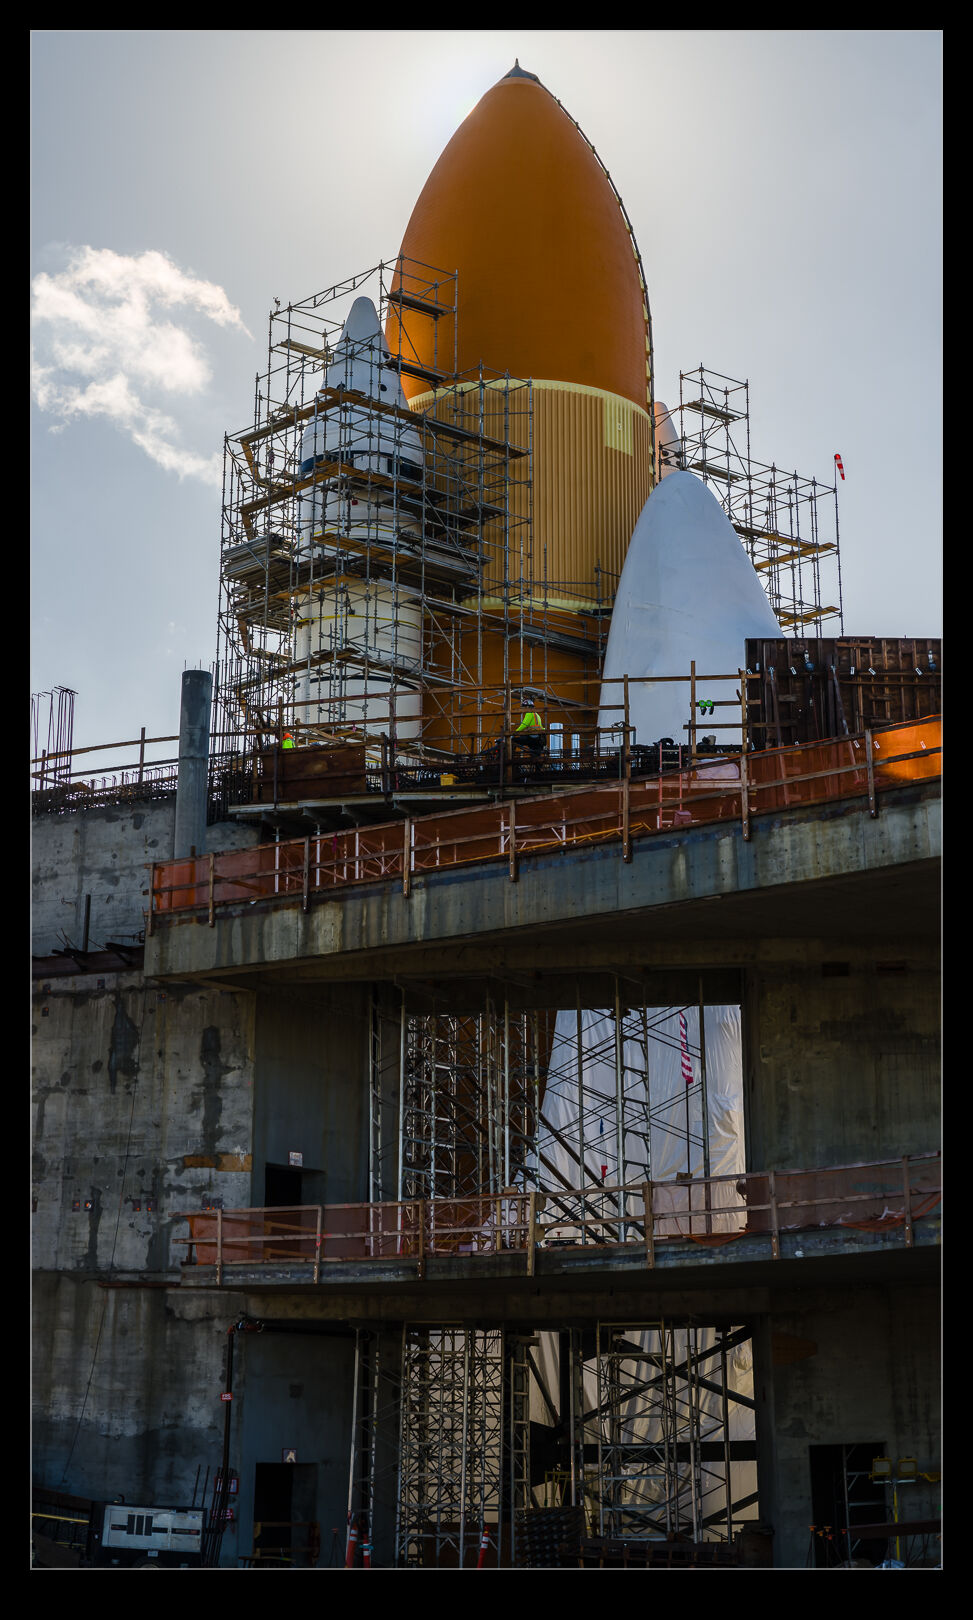
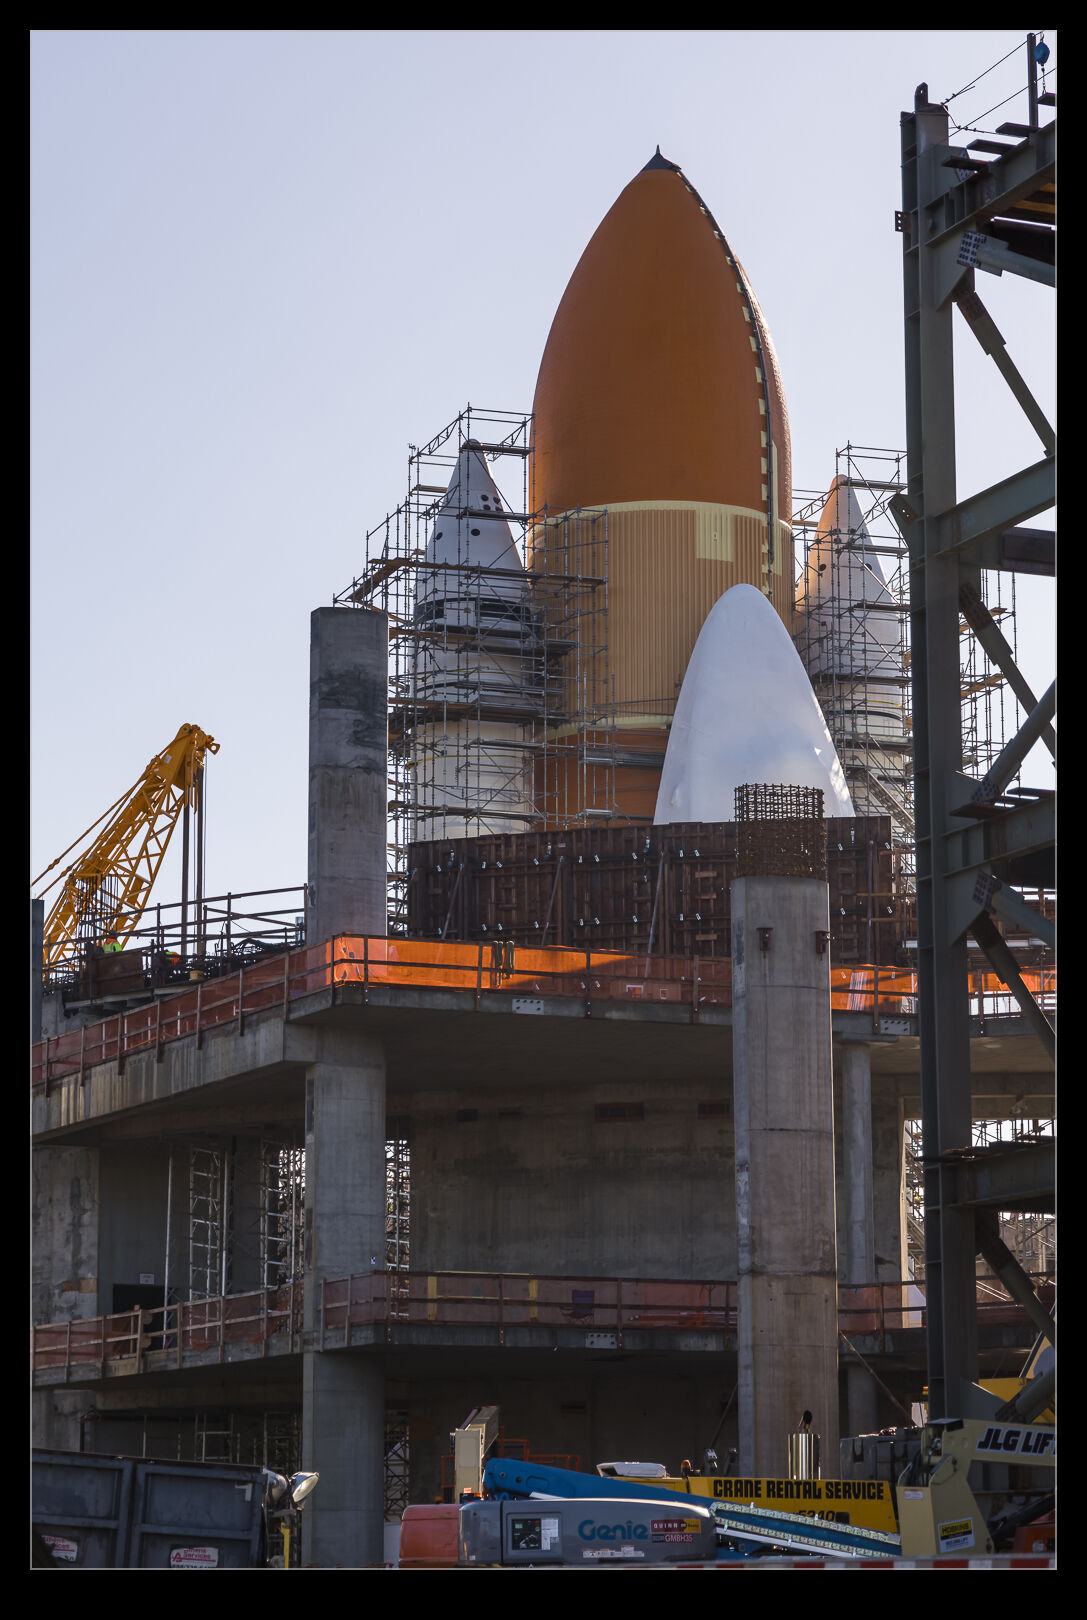
 A couple of weeks later, I had to go back again. By this time, the shuttle orbiter had been lifted into position on the stack too. It is wrapped up to protect it from the weather since the whole stack is outside until they finish constructing the rest of the museum around it! On the final day of my trip, I was heading to the airport in the morning. I figured I could just squeeze a quick detour down to have a look at the shuttle before I went to the airport.
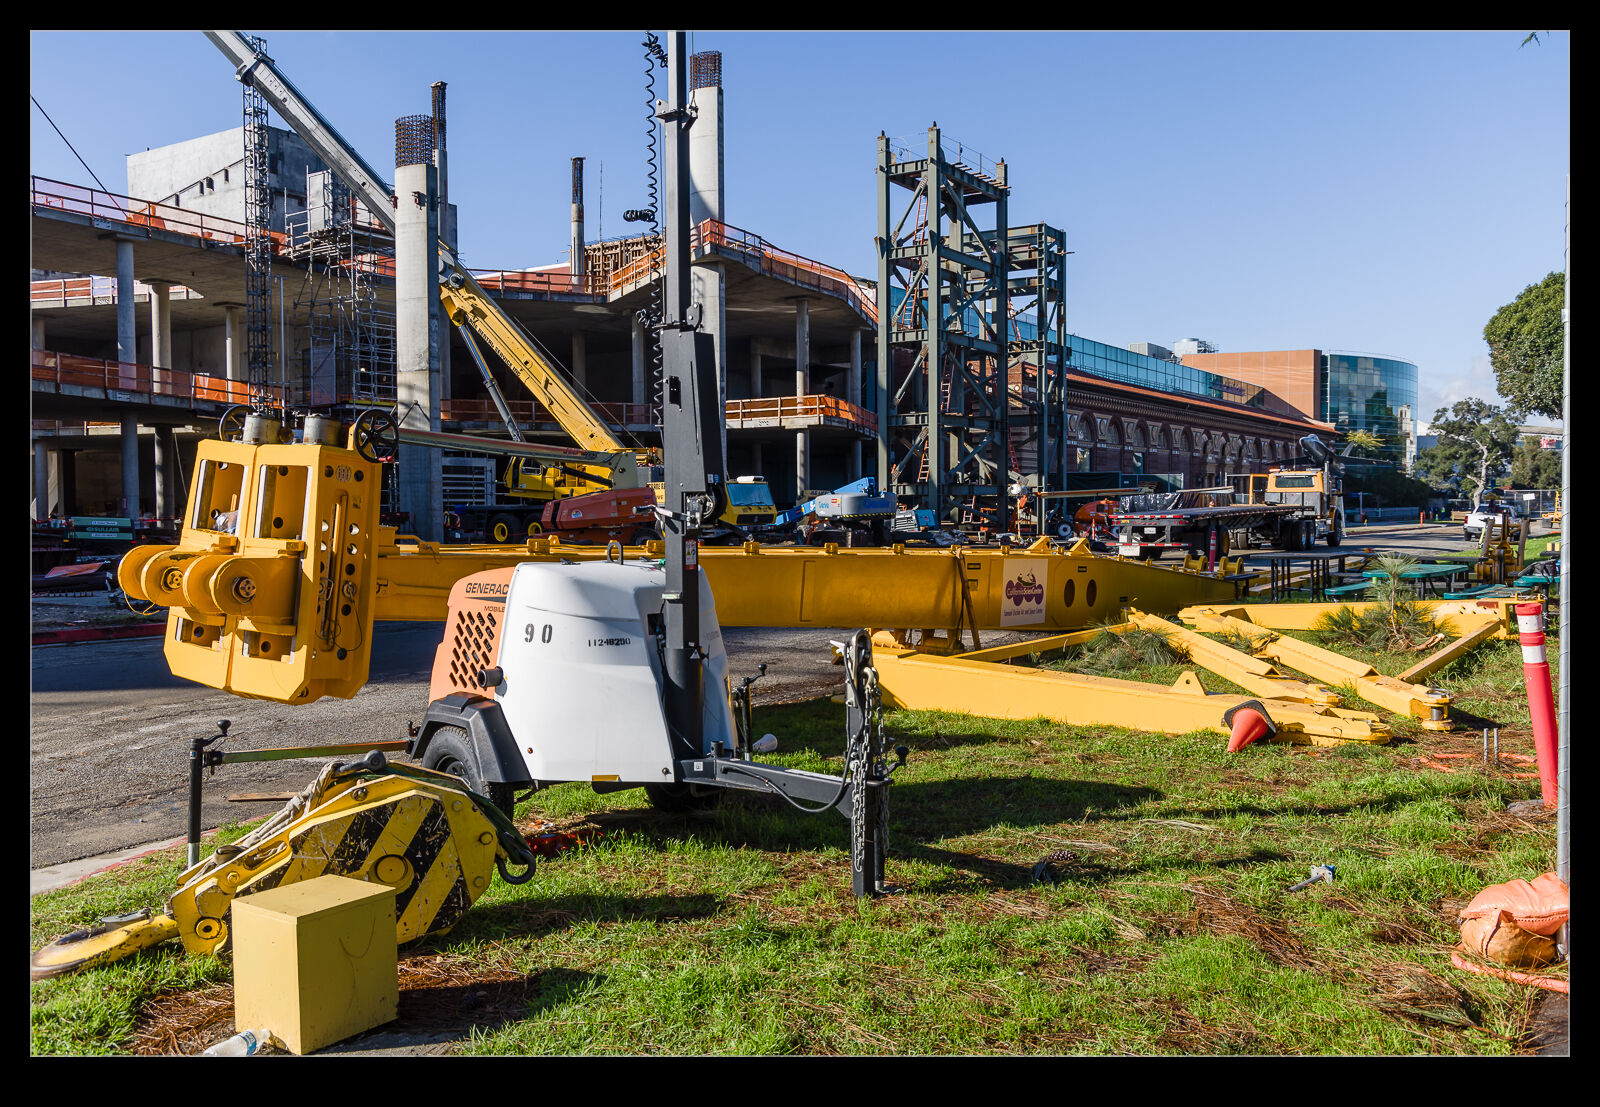
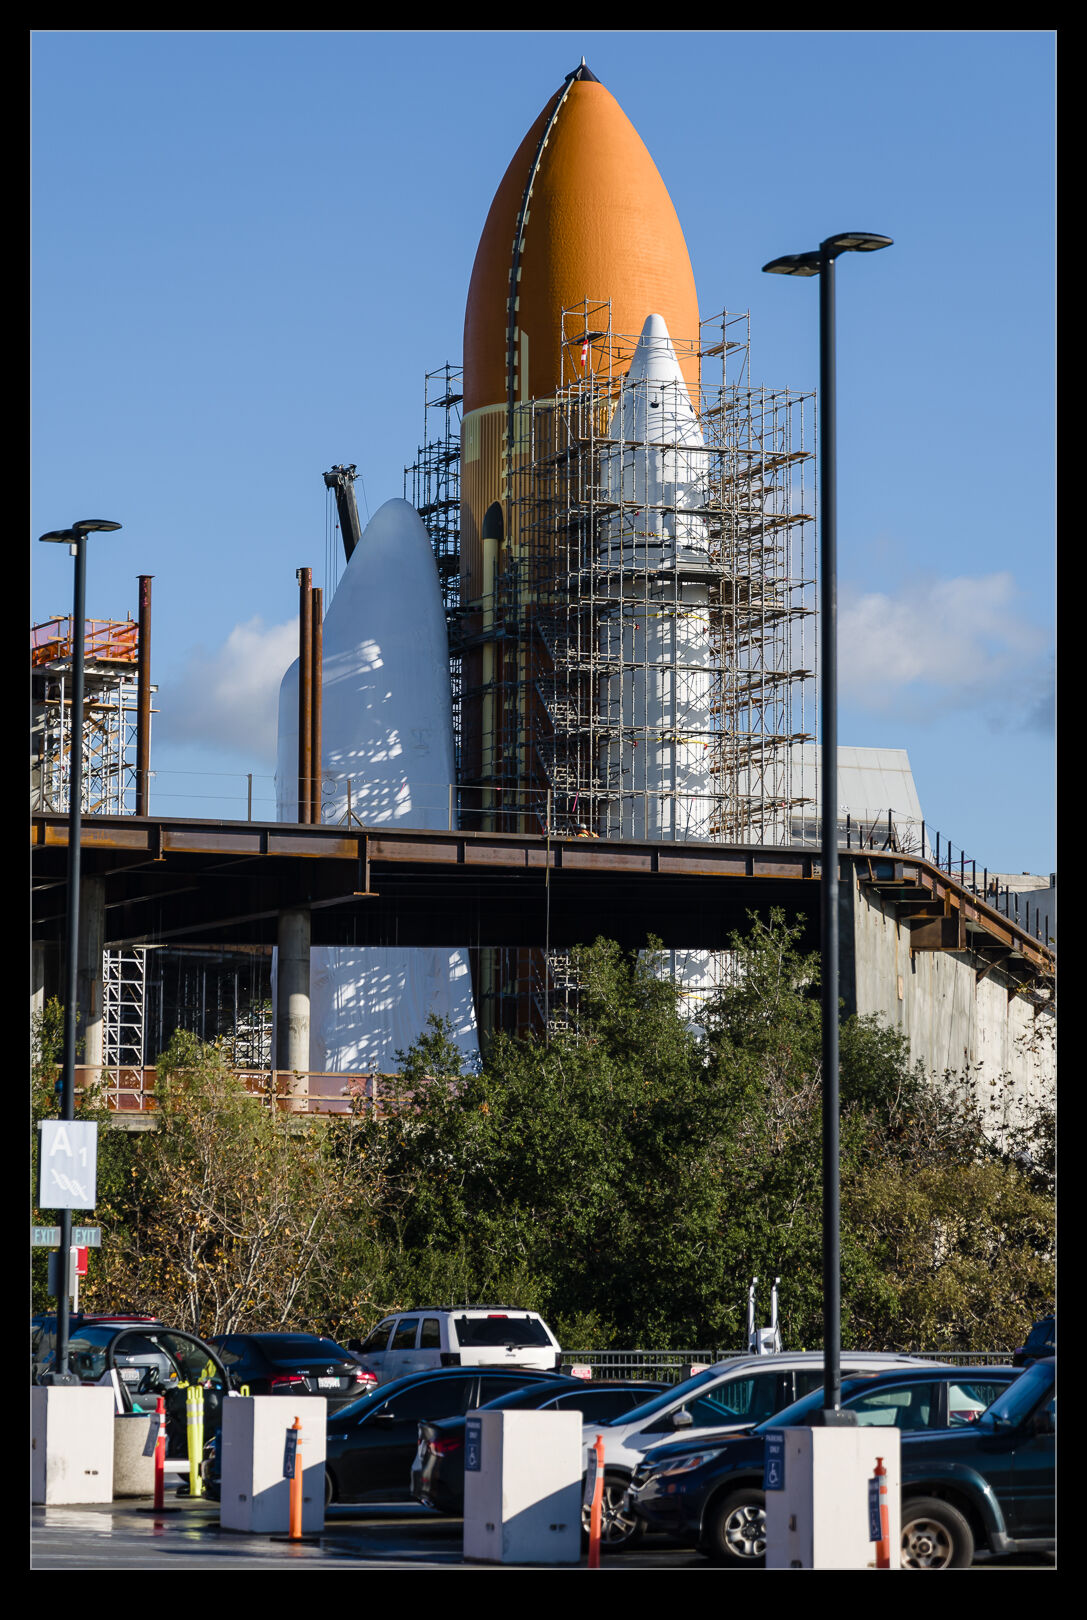 It is quite surreal seeing a stacked shuttle in the middle of a park. It is even more strange because there is a lot of construction all around it obscuring your view of the subject. I walked all around the area (at least where it was possible to go given the ongoing construction) looking to see what I could see. Some of the angles had a better view but these were also backlit. I ended up trying hard to find ways to let the tank block the sun! I also was surprised to come across the lifting frames for the orbiter which, having served their purpose, were now sitting on the ground by a fence. Not sure what happens to them now!
 Construction of the museum will continue through this year. I read somewhere that the structure will be completed by about July but I am not sure how accurate that is and whether that includes all of the fit out. When it will be possible to visit the finished exhibit, we shall see. It should be something to see when it is done. I have seen Atlantis and Enterprise so, after this, I just need to get to NASM to see Discovery.