I have a pretty well defined routine for importing and processing my images in Adobe Lightroom. I have presets for importing images that put them in the right folders, apply copyright information and apply development presets. I can then edit from there as I go. One of the settings I have set as a default is the application of the lens correction settings. This setting deals with any natural vignette in the lens as well as some distortion. Occasionally this can be tricky if you have something close to the edge of a wide lens and it gets slightly chopped by the correction.
 I discovered a more extreme version of this while processing some shots from the Lick Observatory. I had taken my 8-15mm fisheye zoom with me as I thought there might be some use for it in the telescope buildings. It turned out to be a good thing to have. When I first had the lens, Adobe had not created a profile for the lens so the shots came in uncorrected with the fisheye look I expected. More recently, Adobe have created a profile for this lens. It was added in one of the updates and, since I don’t use the lens all of the time, I hadn’t noticed.
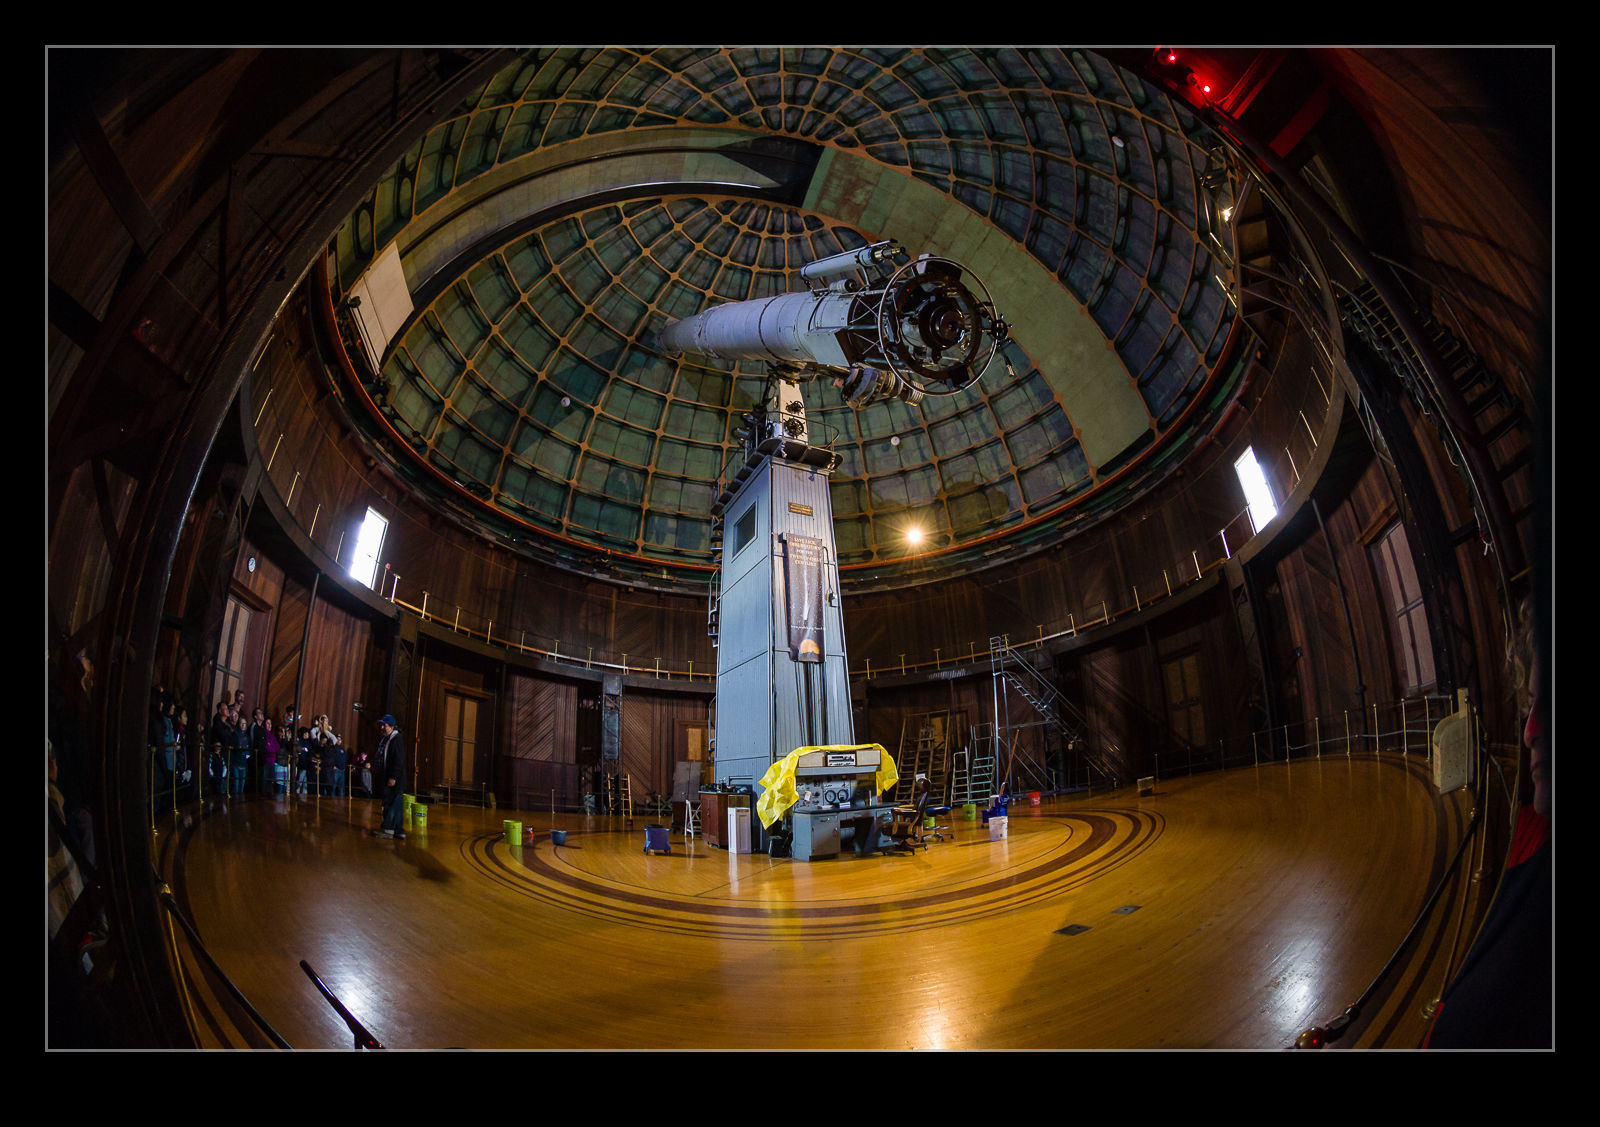
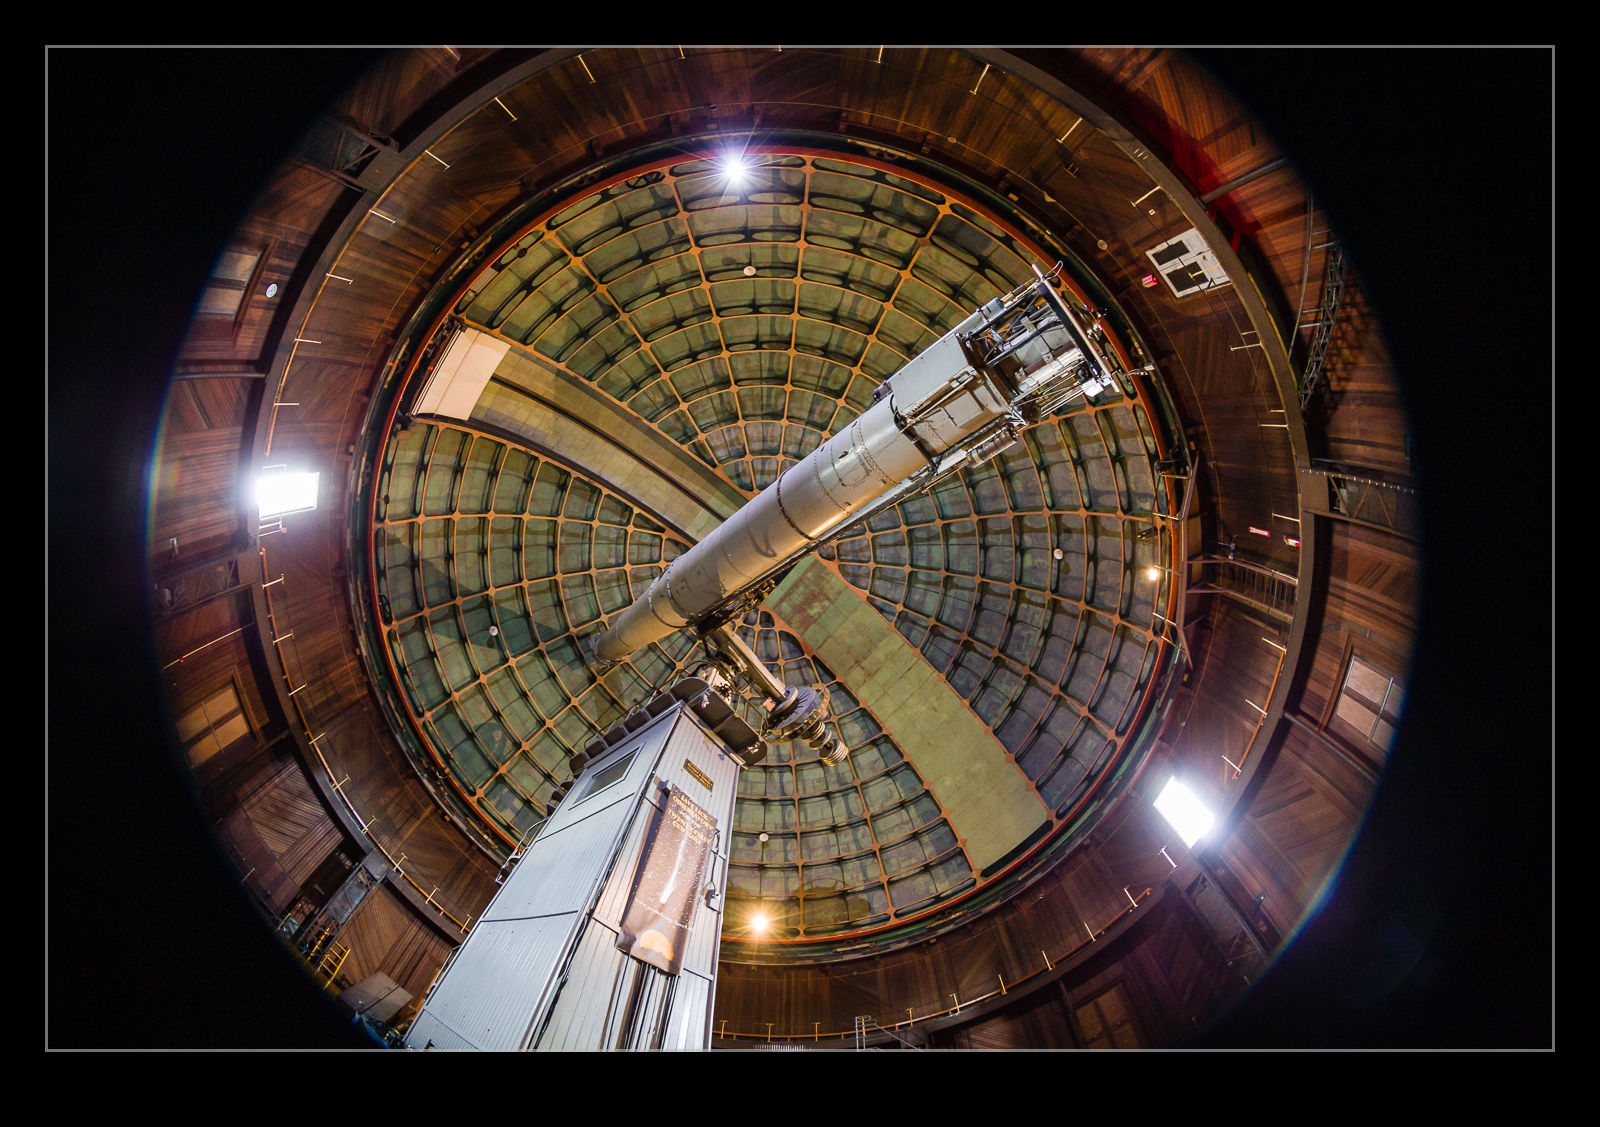
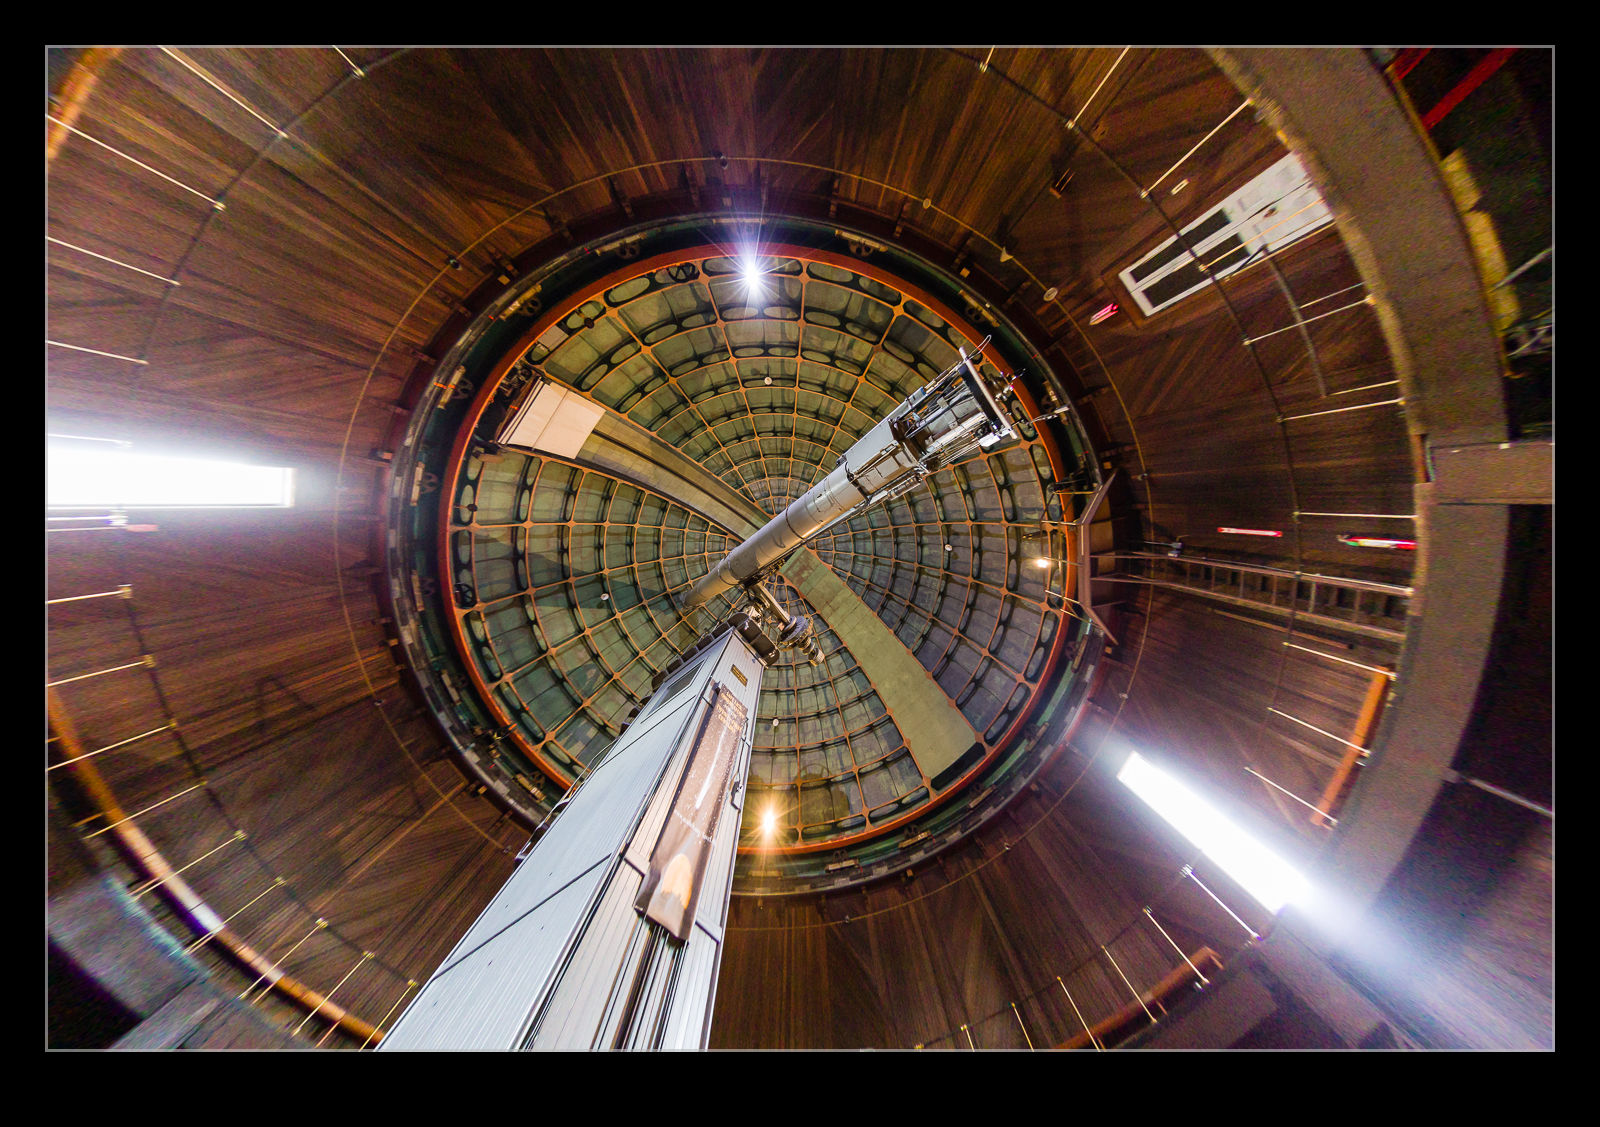
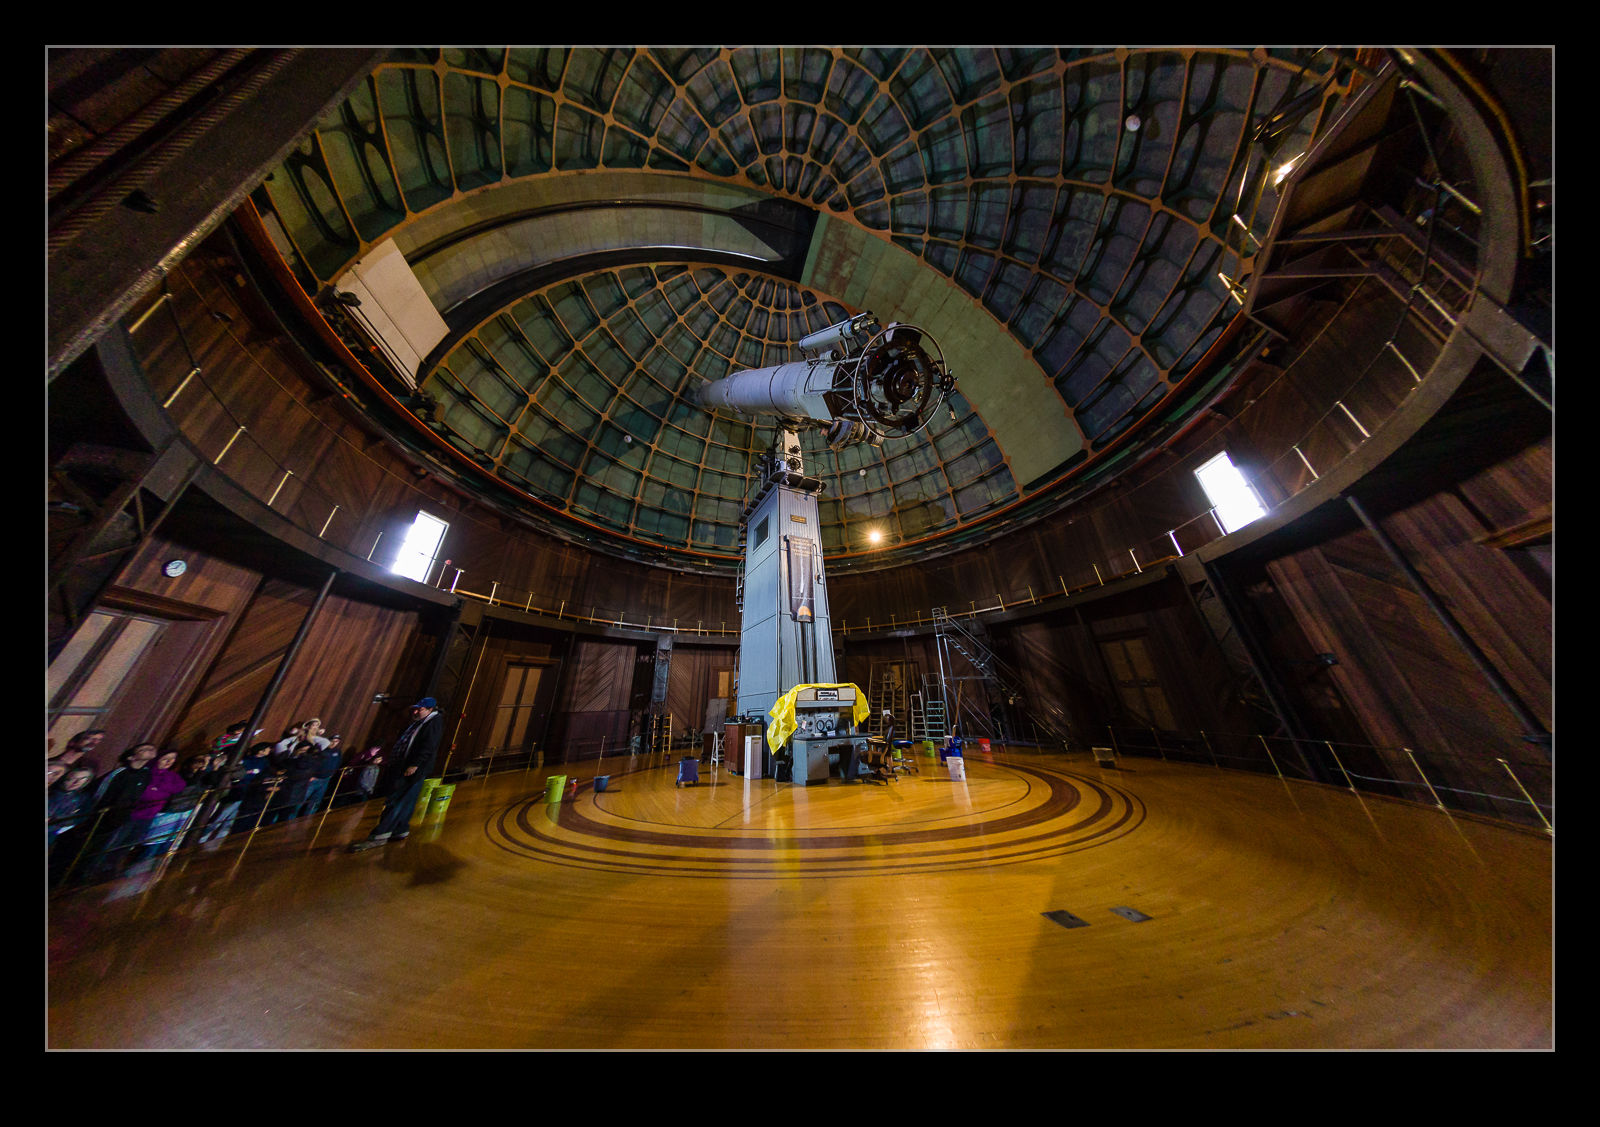 When I was going through the shots, I noticed the wide shots had some strange distortion at the edges. I was perplexed by this and also wondered where the circular fisheye shots were because I was sure I had taken some. Only then did I realize that these were those shots and the corrections were being applied. Here are some examples of the before and after with the correction to give you a idea of what the transformation is. A pretty dramatic change. I might make use of this sometimes but I shall also have to remember switching this off when shots with this lens are involved.