Tag Archives: camera

Playing With the Insta360

I did a little filming on a bike ride with an old GoPro Hero 5 of mine.  The current generation of action cameras has all sorts of clever tech built in which can deal with rotation of the camera and stabilizing the image.  The Hero 5 doesn’t have any of that and I ended up spending a lot of time stabilizing the images in post processing to try and get something usable out of it.  I was surprised how badly it came out and started thinking about an upgrade to incorporate all of the newer capabilities.  It was at this point that I got a little silly.  I had seen videos before about the Insta360 cameras and had found them intriguing but not so much that I wanted to get one.  Now I was looking for a new camera, the capabilities that they have seemed like it could be a good step forward.
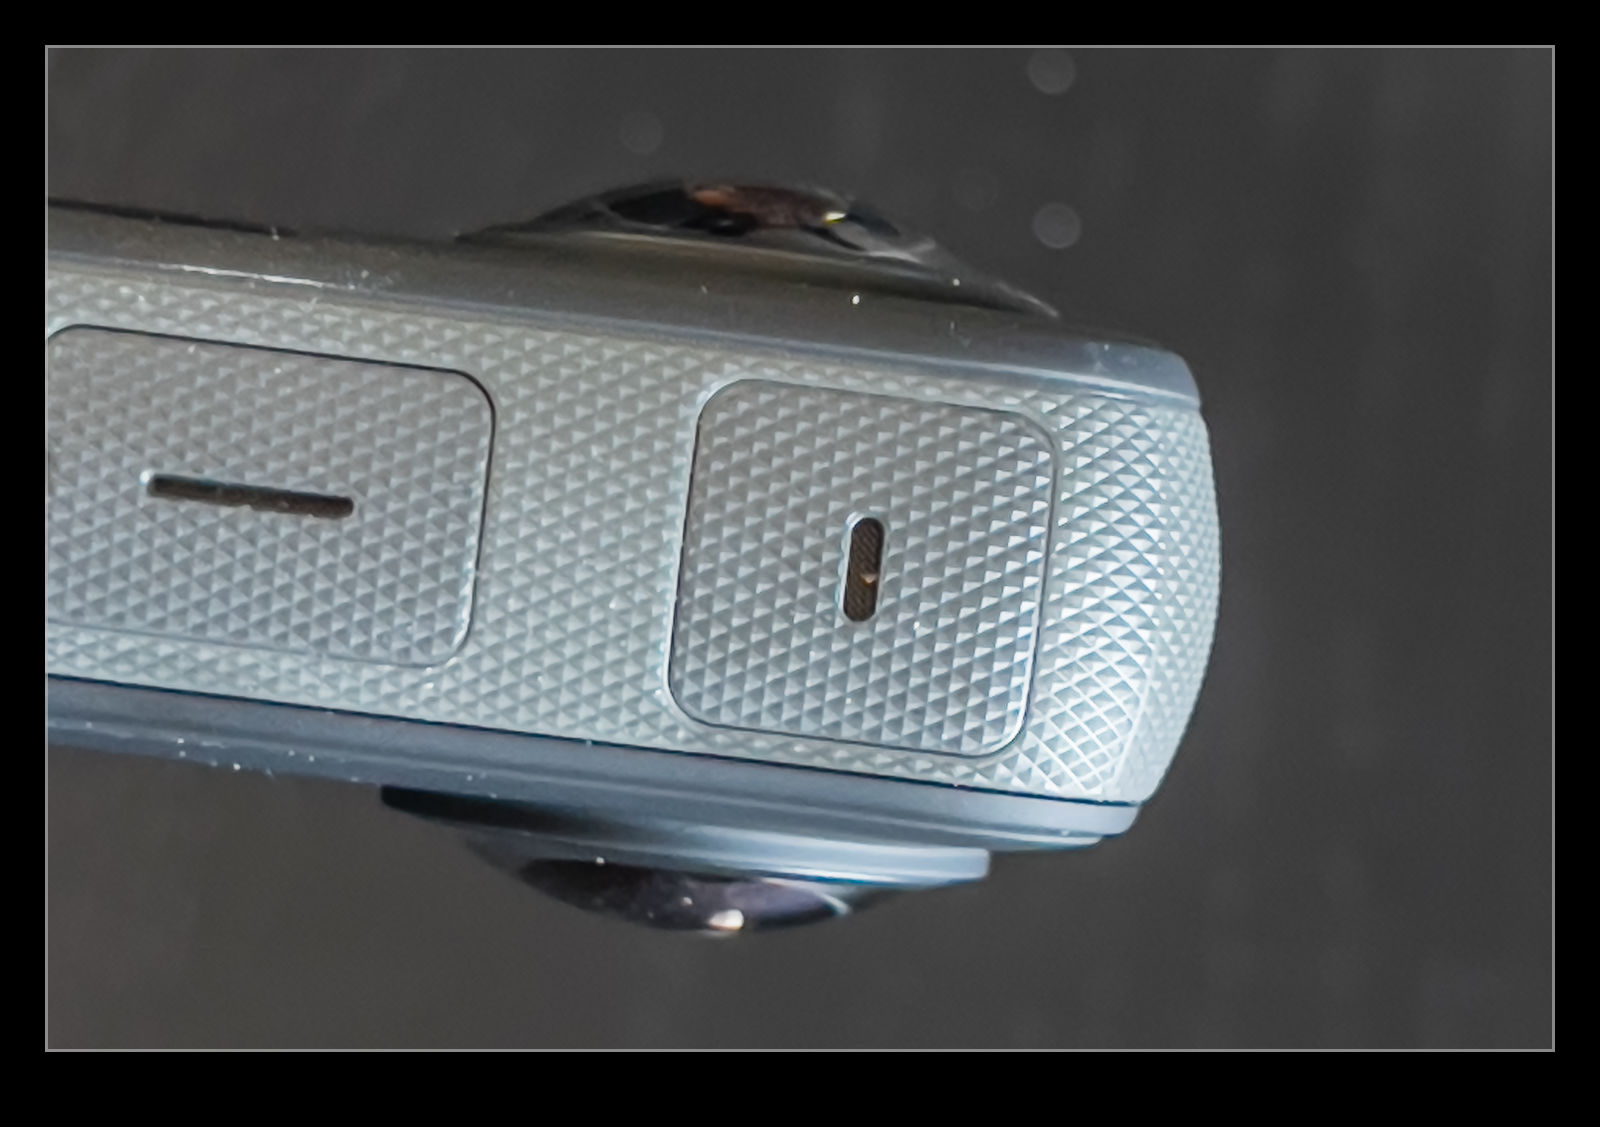
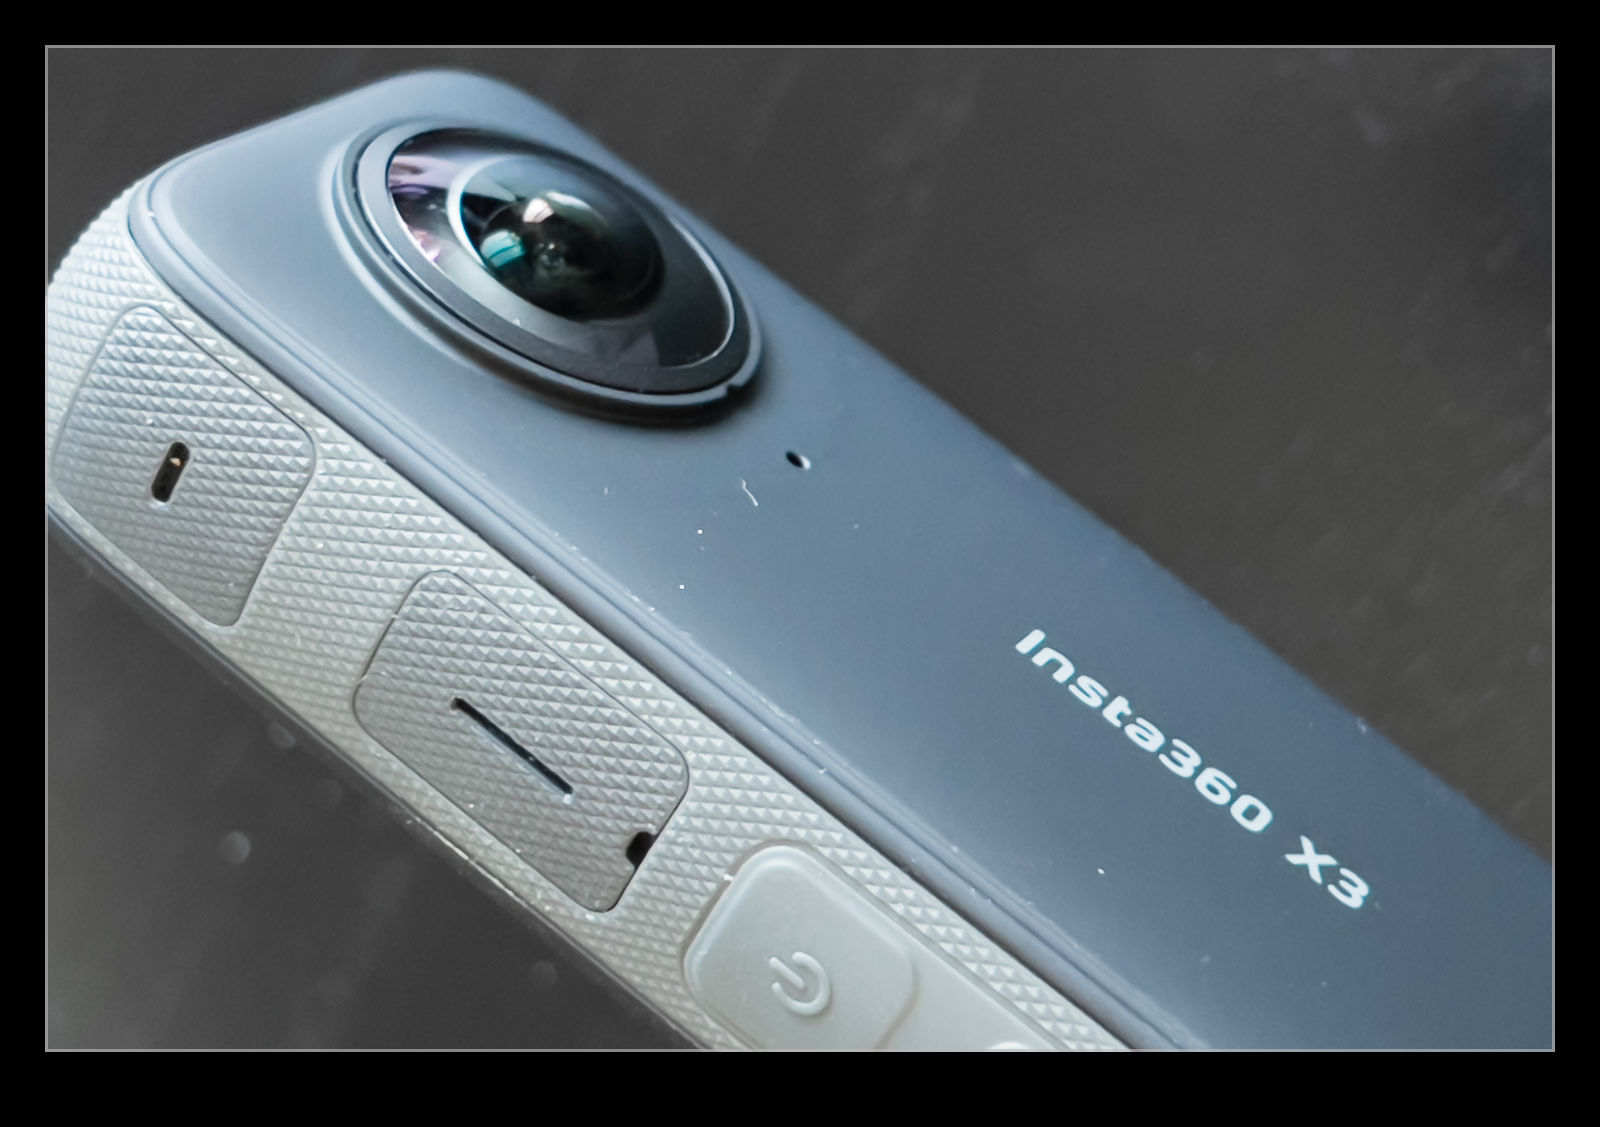
For those that haven’t seen one, the Insta360 in its current X3 form has two cameras on opposite sides of the body with fisheye lenses with over 180 degrees of coverage.  The sensors are 5.7K resolution and the camera can stitch the two outputs together to give spherical coverage.  It also has a stick on which you can mount it which the camera will recognize the location of and take both images to effectively remove the stick from the video.  With the high resolution of the original files, you can then use their software – either on your phone or using the desktop app – to pan and zoom around the original files and generate video output of whatever you want.
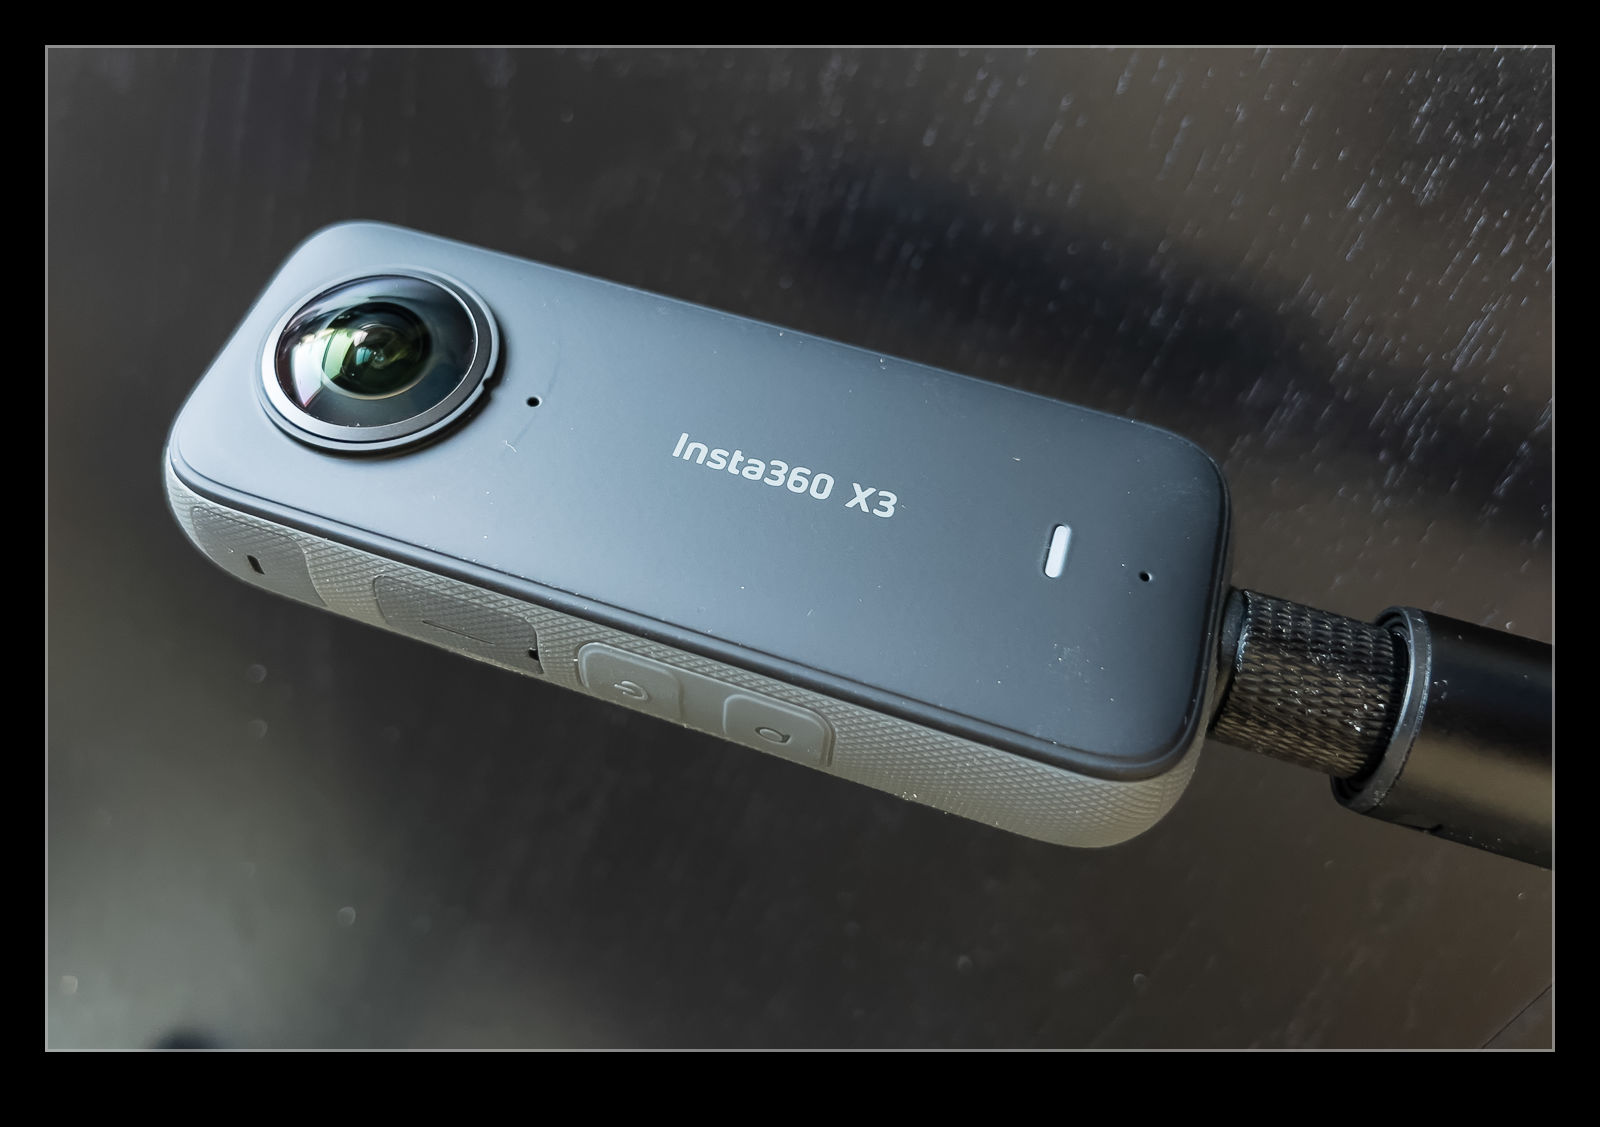
What this means is that you don’t have to frame a shot when you are shooting.  The only thing you have to do is have the camera in the right place.  You can worry about where it is pointing later on which is great when you are already doing something else.  The removal of the stick is very impressive, only slightly undermined but the fact your hand that is holding it now looks a little odd.  Also, if the shadow of the stick is in shot, the software doesn’t know to do anything about that!  (As an aside, there is a mode where you only shoot with one side like a normal action camera if you want.)

What is the downside to all of this?  Big files!  You are shooting a lot of data on two cameras simultaneously so you can fill up cards fast.  You do also have to then review each clip and pick your angles for the shots, but you would have had to do that beforehand otherwise so no great loss.  Other than that, not a lot to complain about.  I have tried it on a few occasions so far.  The length of the stick makes it seem like you have a drone flying above you if you put it up there.  A cool result.  I took it out on a bike ride to see how things came out and I have a short video below that shows you the result.  No great cinematography here but an introduction to what can be done.  Remember that each shot is only moving the camera around and the panning and zooming is all done back at home.  Amazing tech!
First Experience With The R3

My 1DXII bodies have been doing sterling work for the last five or so years and continue to be reliable.  In the interim, the camera world has made a shift from SLR technology to mirrorless.  Canon was a slow starter in this space but has since got in to gear.  I am not an early adopter and waited until something came along that really appealed to me.  The R3 body was that thing.  It combines the latest of the mirrorless technology with a body like the 1D series and the associated great battery life.  It was enough to make me take the plunge.

Getting one was a different story.  I ordered one in the fall of 2021.  I wanted to get one first to work with it and make sure it was the thing for me before committing to a pair of them.  Recently, I got the call that my body had finally come in.  I was very excited to try it out.  I then got a call from the store within an hour of the first saying that the second body was on.  I had ordered this much later with the intent of knowing whether I was happy or not before it showed up.  I decided to defer it and see how things went.  I think the credit card was pleased with that decision too!

I have now had a week of playing with it having shot some aviation and some wildlife.  I have not really had a chance to dig deep yet so this is just first impressions.  Overall, it is really impressive.  The ergonomics are familiar after years of shooting with 1D bodies.  However, the controls are more complex and things are not identical so I am taking a while to get comfortable with where everything is.  This will probably take me a while.

Battery life has been very good.  I was expecting it to be worse than the 1DXII but it seems to have stood up to a lot of shooting with tons of life left.  New batteries don’t hurt of course and we shall see how things play out.  The small megapixel bump is fine but it really is barely noticeable compared to the 1DXII.  24Mp versus 20Mp might sound like a big increase but when you look at the linear pixel count it is only a small increase.

Autofocus is amazing and confusing.  Its ability to pick up targets and then track them across any part of the image is fantastic.  It seems to have very good accuracy and I am liking the shots I am getting.  Eye detection on wildlife is spookily good.  However, I don’t yet know how to control the autofocus properly.  There are so many ways to customize things that I have yet to understand.  For example, I haven’t yet worked out how to make it focus on a center spot only like my old setup.  Most of the time, the clever stuff is more useful but there are odd times when you want it to do something simple.  With small subjects or cluttered backgrounds, this can be important.

I also have to get used to pressing the button when I pick up the camera.  I am used to looking through the viewfinder to sight a subject before pushing anything but the viewfinder shuts off after a while and needs to be woken up.  It would be good if that could be done with some motion sensing (maybe it can and I haven’t found it yet).

I have tried the eye control a little.  It seems to work pretty well.  Calibration with my glasses was fine and the contract lenses were okay too but I have put that to one side for now while I leaned to understand a whole bunch of other functions of the camera.  I have also connected it to my phone and iPad which has been a handy thing to do.  I did briefly experience with the automatic focus stacking which seemed to work well and I shall try more of that in due course.  I haven’t tried any video yet at all.

I have had to change my cards and card readers since both of the card types are new to me.  That was a nuisance but not the end of the world.  I actually bought them a while back so I wouldn’t have to worry about it now.  I got the 24-105 lens in the RF mount.  My old 24-105 was a bit beaten up and the image quality was not strong so a replacement seemed like a good idea.  They had been as rare as rocking horse poo but fortunately were in stock when I went in so I got one.  I also have the convertor for my other lenses and they seem to be working extremely well.  The combination with in body stabilization has improved them too and I find some of the tracking of moving subjects in the viewfinder easier than it used to be – something which I attribute to the IBIS.

Overall, I am happy so far.  Definitely some things to work on understanding.  At the time of writing (versus publishing), I am about to go on a trip when I shall shoot a lot of planes.  This will be a big test but the initial experience makes me think it should go well.  The camera tracks the cockpit of planes like the eyes of a bird so I am feeling confident it will be good.  I think the conversion to mirrorless is going to be complete for me based on what I have seen so far but within the next month, I should know whether it will work for me or not.

Looking Down On Construction

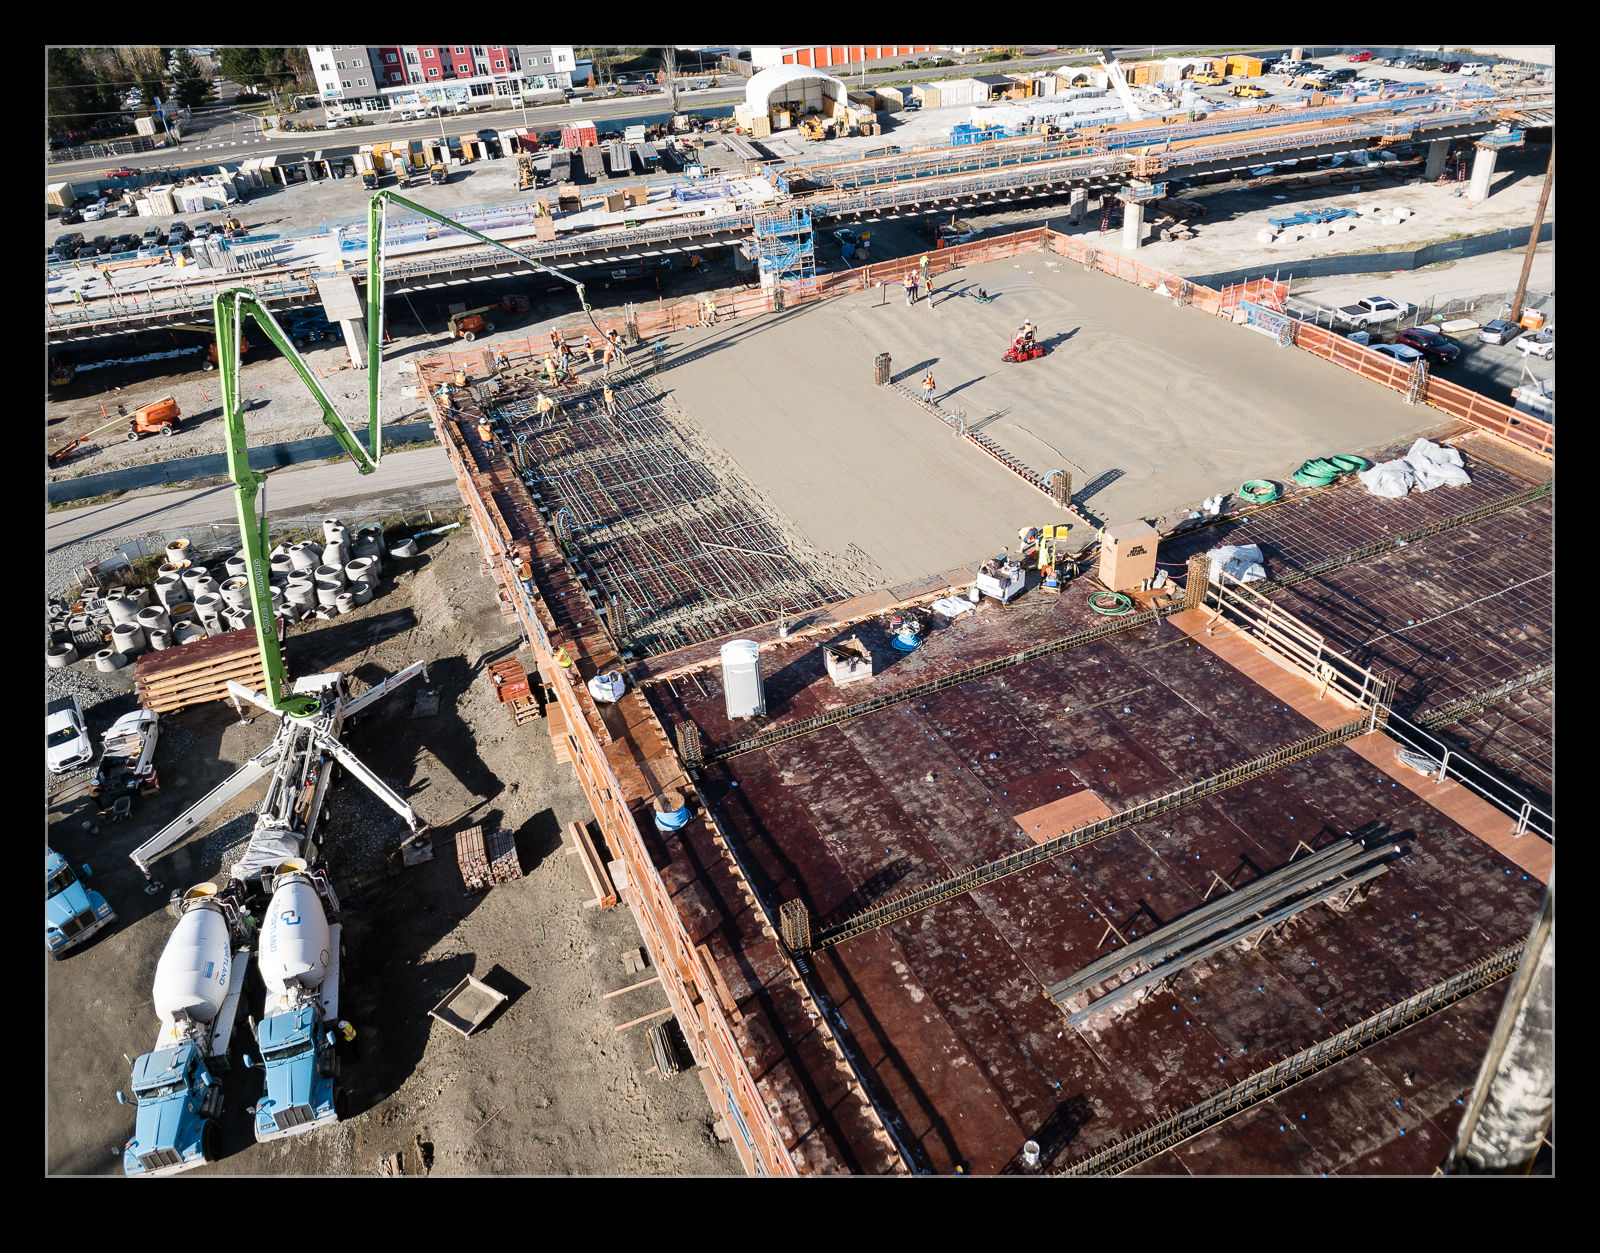
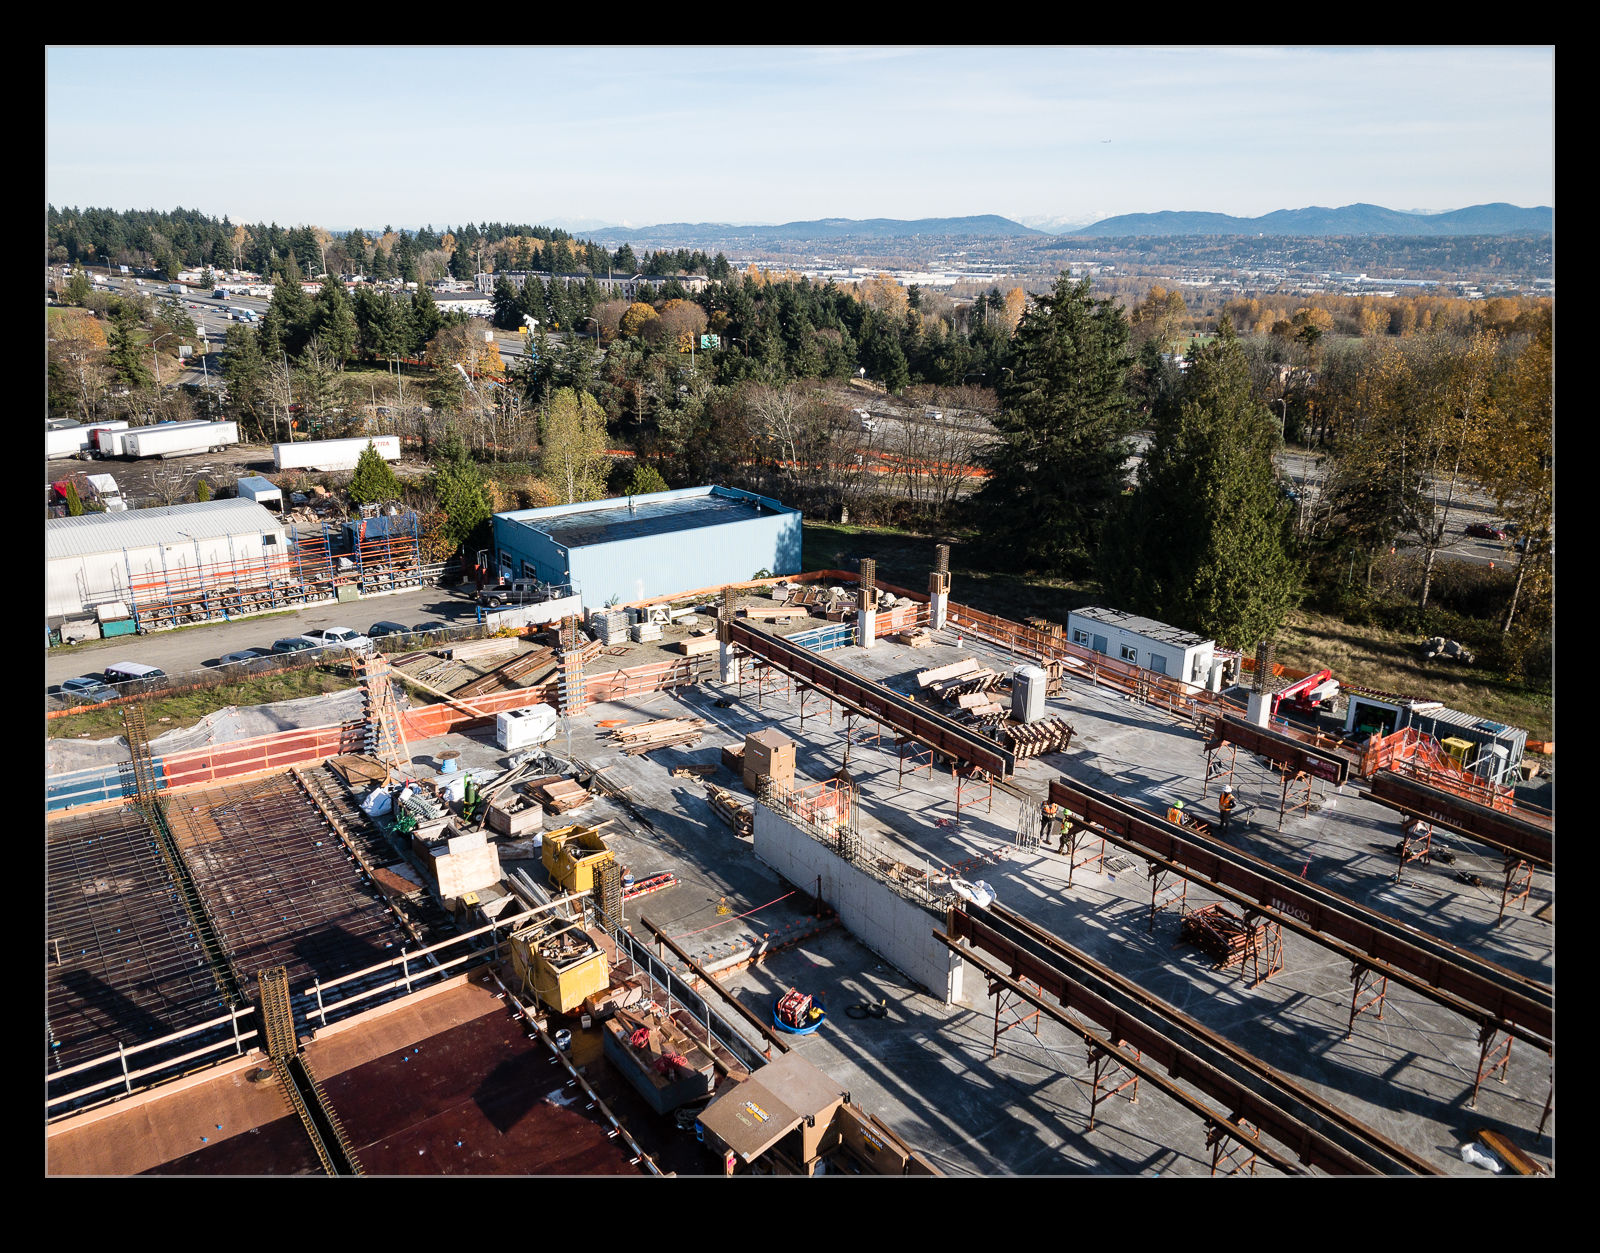
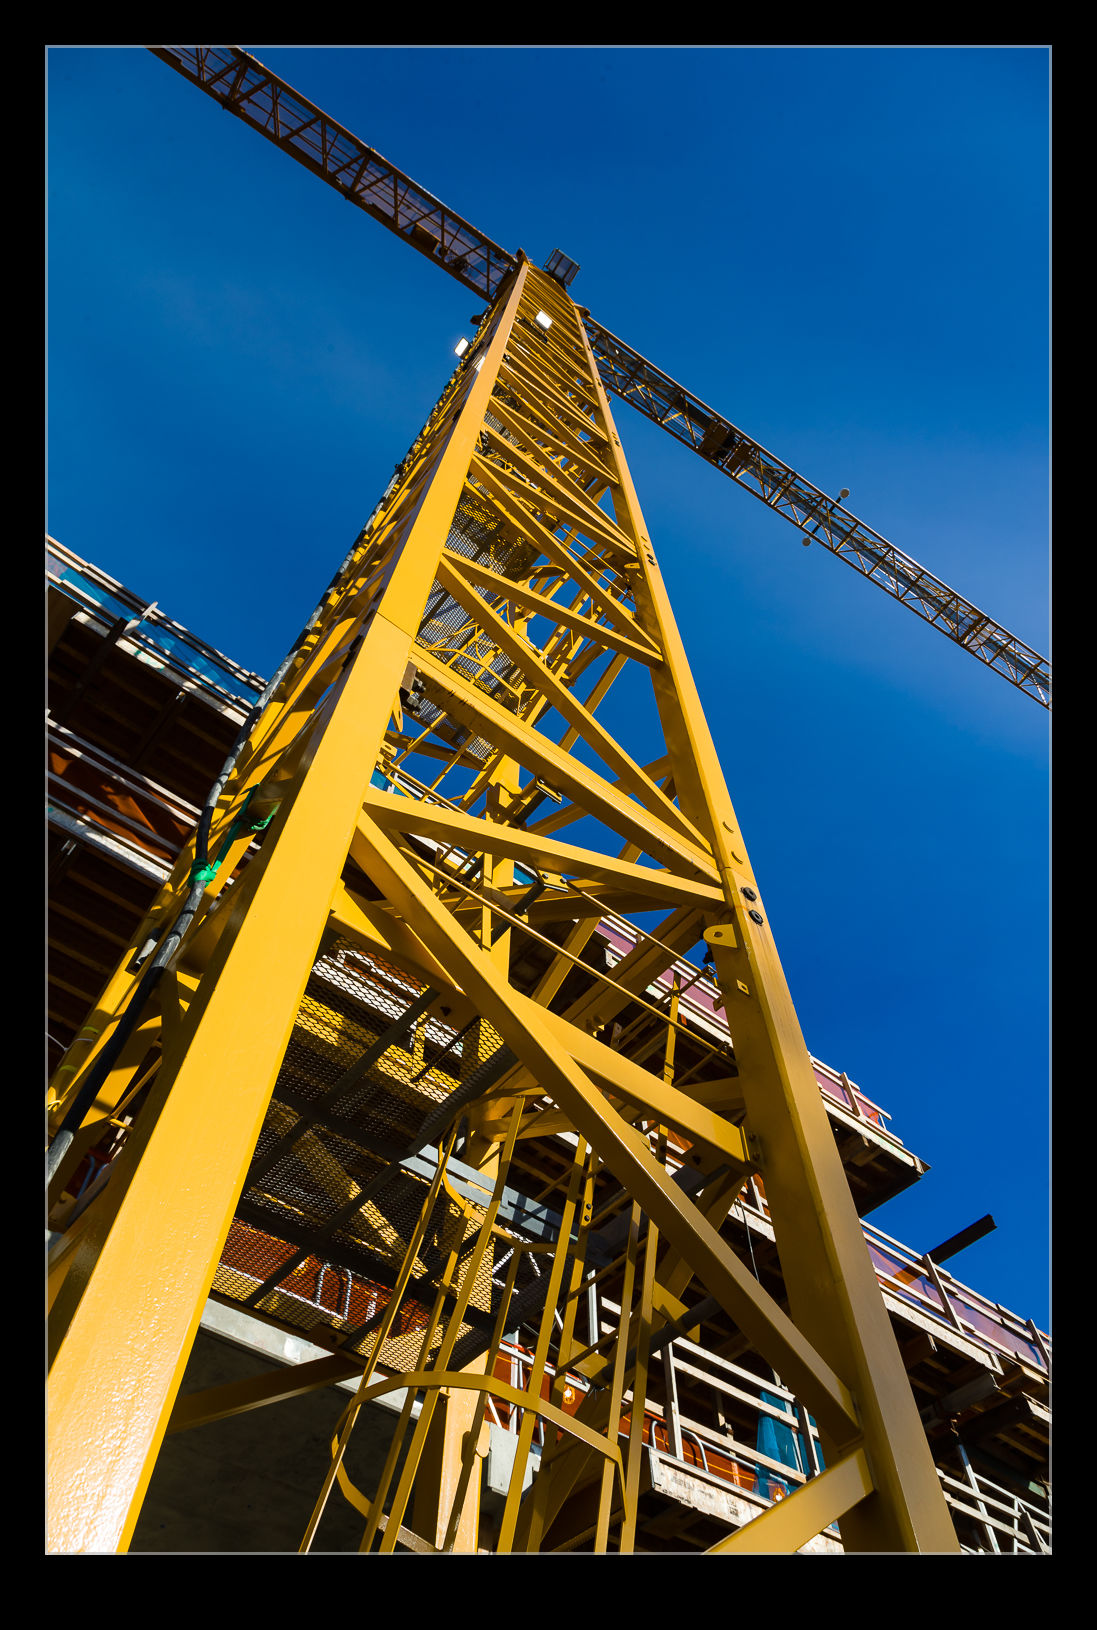
I got to climb a tower crane recently.  This is something I had never done before and, since it provides a good view of a site and it was a new experience, I was keen to go.  I had one of my bigger cameras with me but I didn’t have a strap for it.  This proved to be a poor choice.  Climbing the ladders to get up the tower is not particularly hard but trying to do so while keeping hold of the hand strap of one camera was possible but very slow.

I quickly decided to leave the camera on one of the stage levels and get it on the way back down.  It wasn’t like anyone was going to be passing by.  I still had my phone in my pocket so that would have to do.  I got up to the level just below the cab.  Stopping at a few levels on the way up game me some different views of the construction site.  An elevated position is so appealing to me.  It gives perspective that most people never get to see.

Climbing back down again was a little less easy.  There is something about climbing up something which seems more natural than climbing down.  However, I was soon reunited with my camera and then finished the last couple of levels.  I will take good note of the advice about not bruising your knees as the ladder angle changes.  I might have bashed them once or twice.  Also, next time I shall make sure to have a strap to allow me to carry the better cameras with me!

Lens Envy

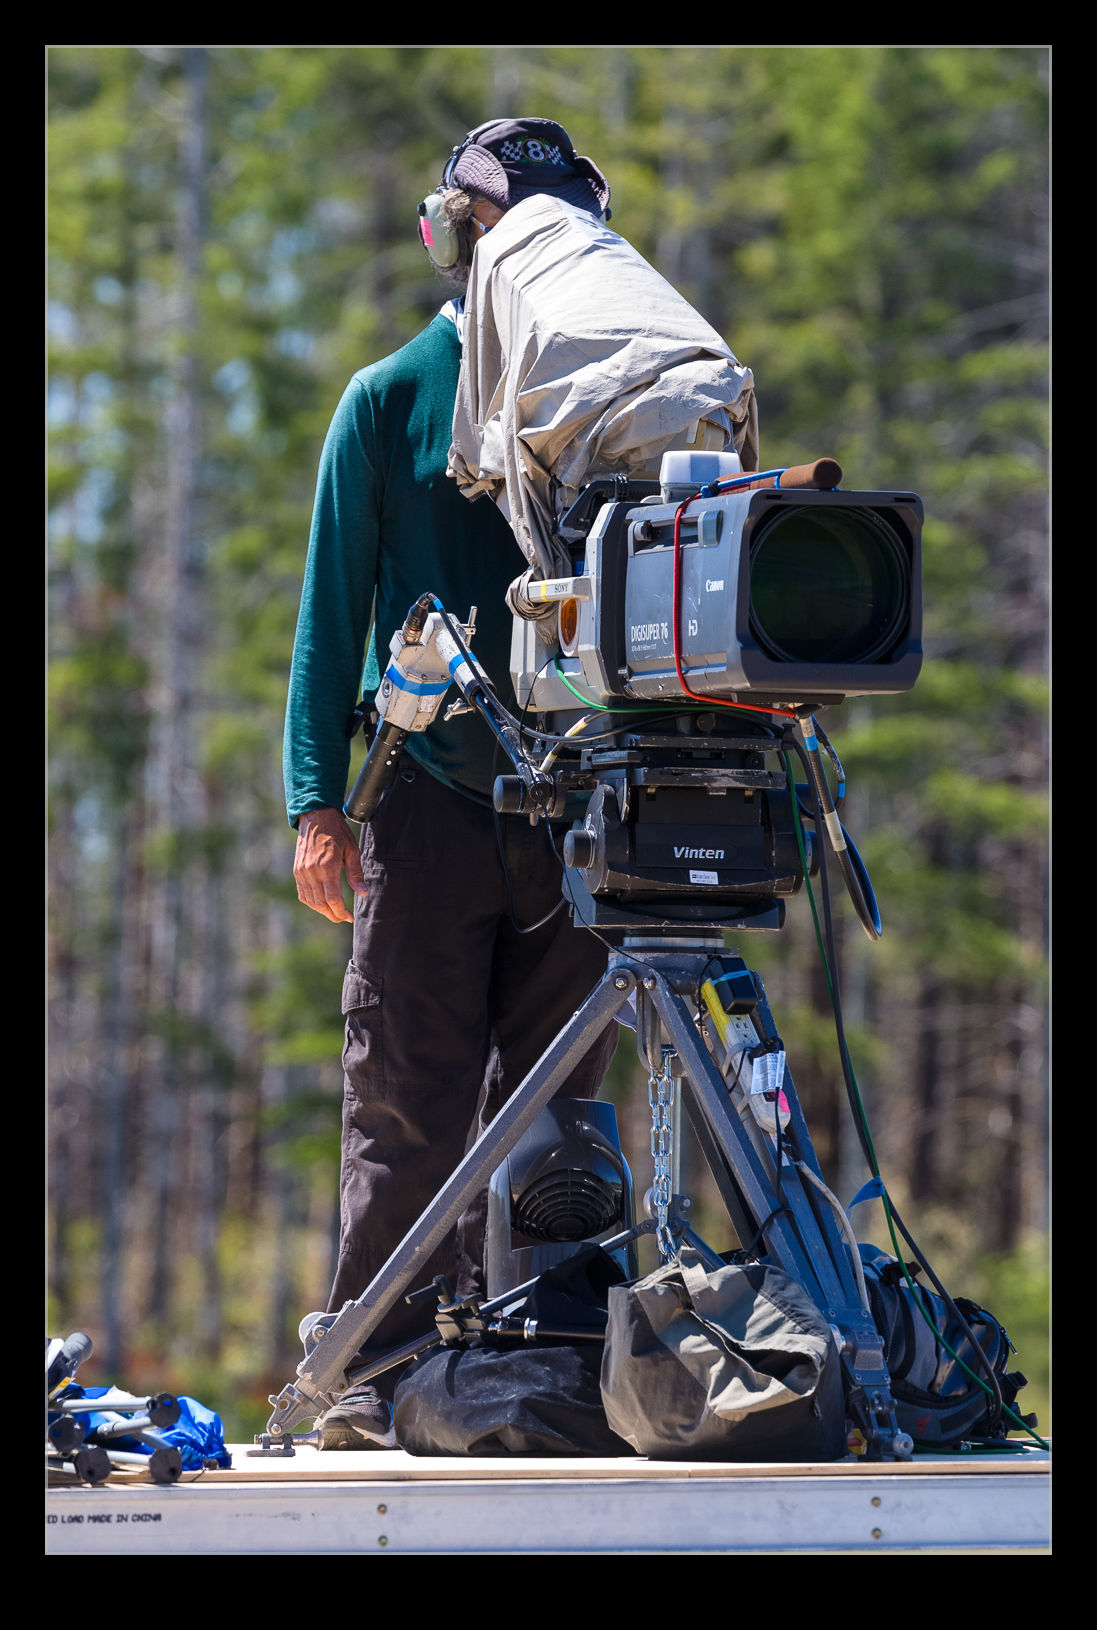
Camera gear is always something that you can find a better and more expensive version of.  However, you really feel like an amateur when you go up against the TV guys.  There were a few camera locations I passed by when shooting at Ridge.  They were using these huge Canon zoom lenses.  They would be a bit of a nuisance to carry around and cost more than I care to think about but you still feel a little envious.

You Forget How Slow Old Cards Are!

My main cameras have two card slots.  One is a CFast and the other is Compact Flash.  I use the CFast all the time but the Compact Flash is a handy backup.  Occasionally, if I have the camera on with the CFast out of the slot, the camera reverts to the second slot and, if I don’t notice, it continues to use it when I next shoot.  This isn’t a particular problem except when it comes to downloading.  I have USB3 card readers for both CFast and Compact Flash.  However, the speed of card technology has moved on dramatically.  When I download the Compact Flash cards and import to Lightroom, I am reminded of just how slow they are.  I used to do this all the time but, once I started using CFast, I got used to the better speed and now, when I revert to the old tech, it feels positively glacial!

Filming a Car Scene in Vancouver

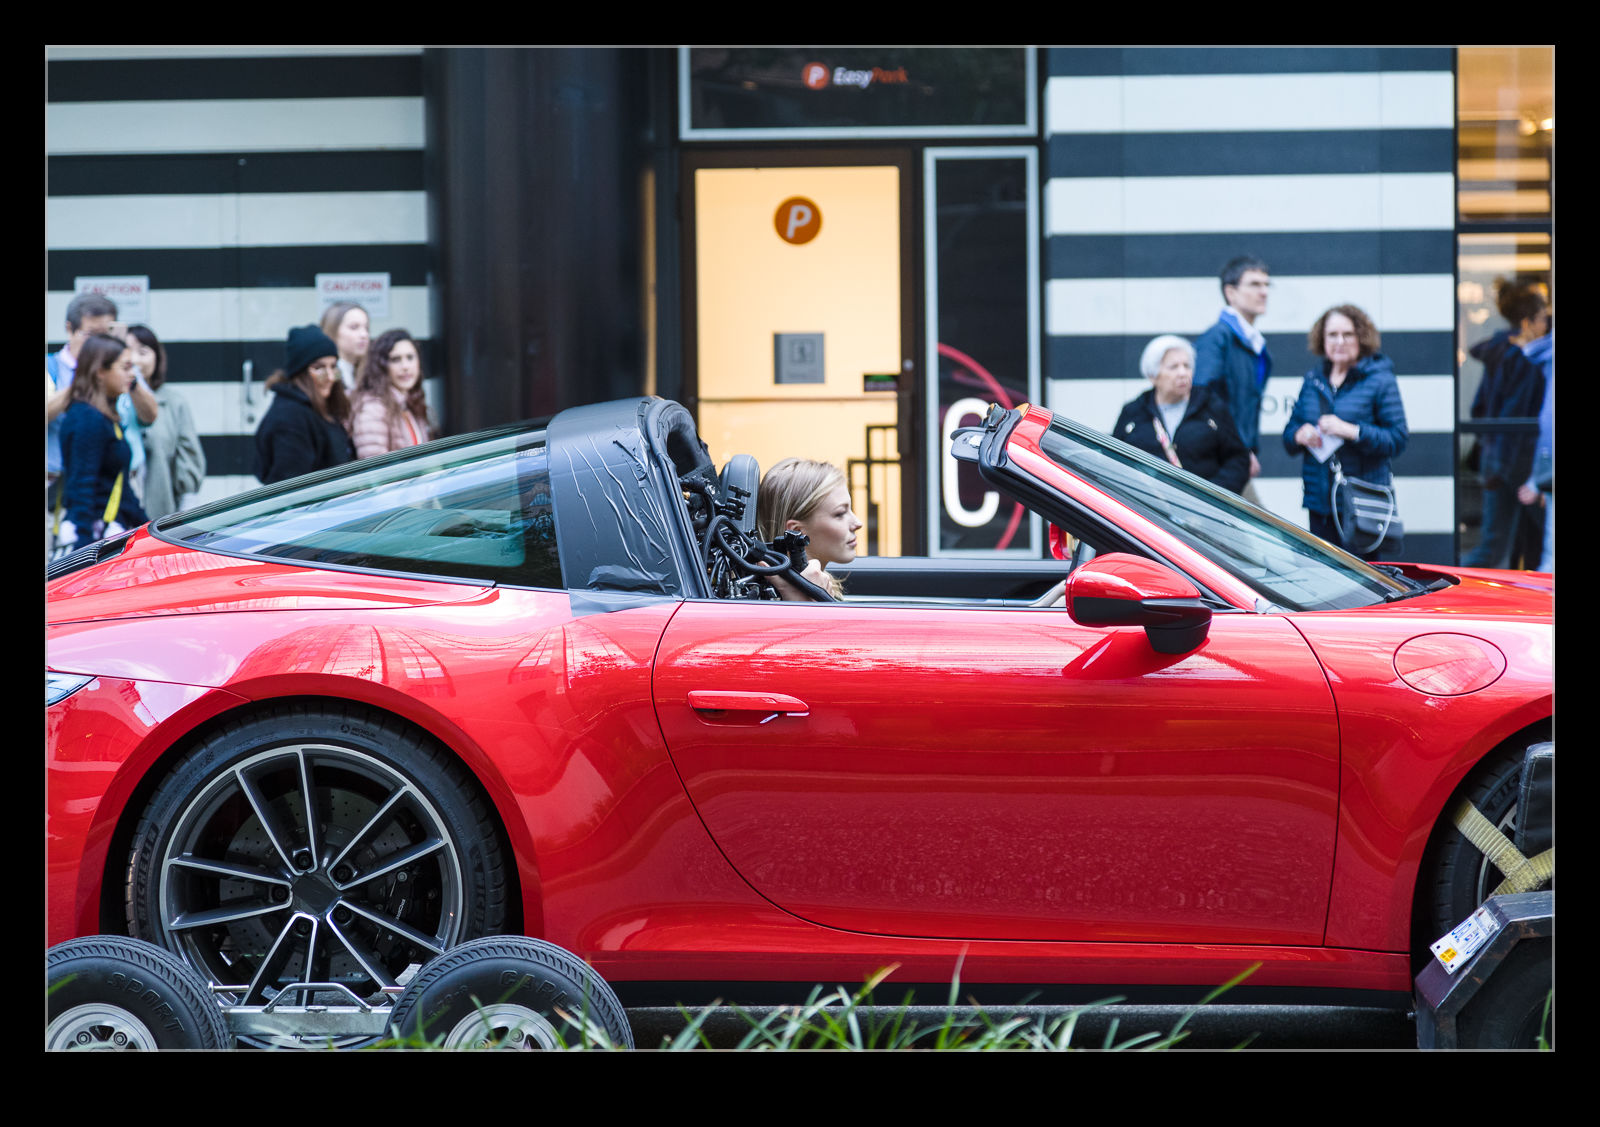
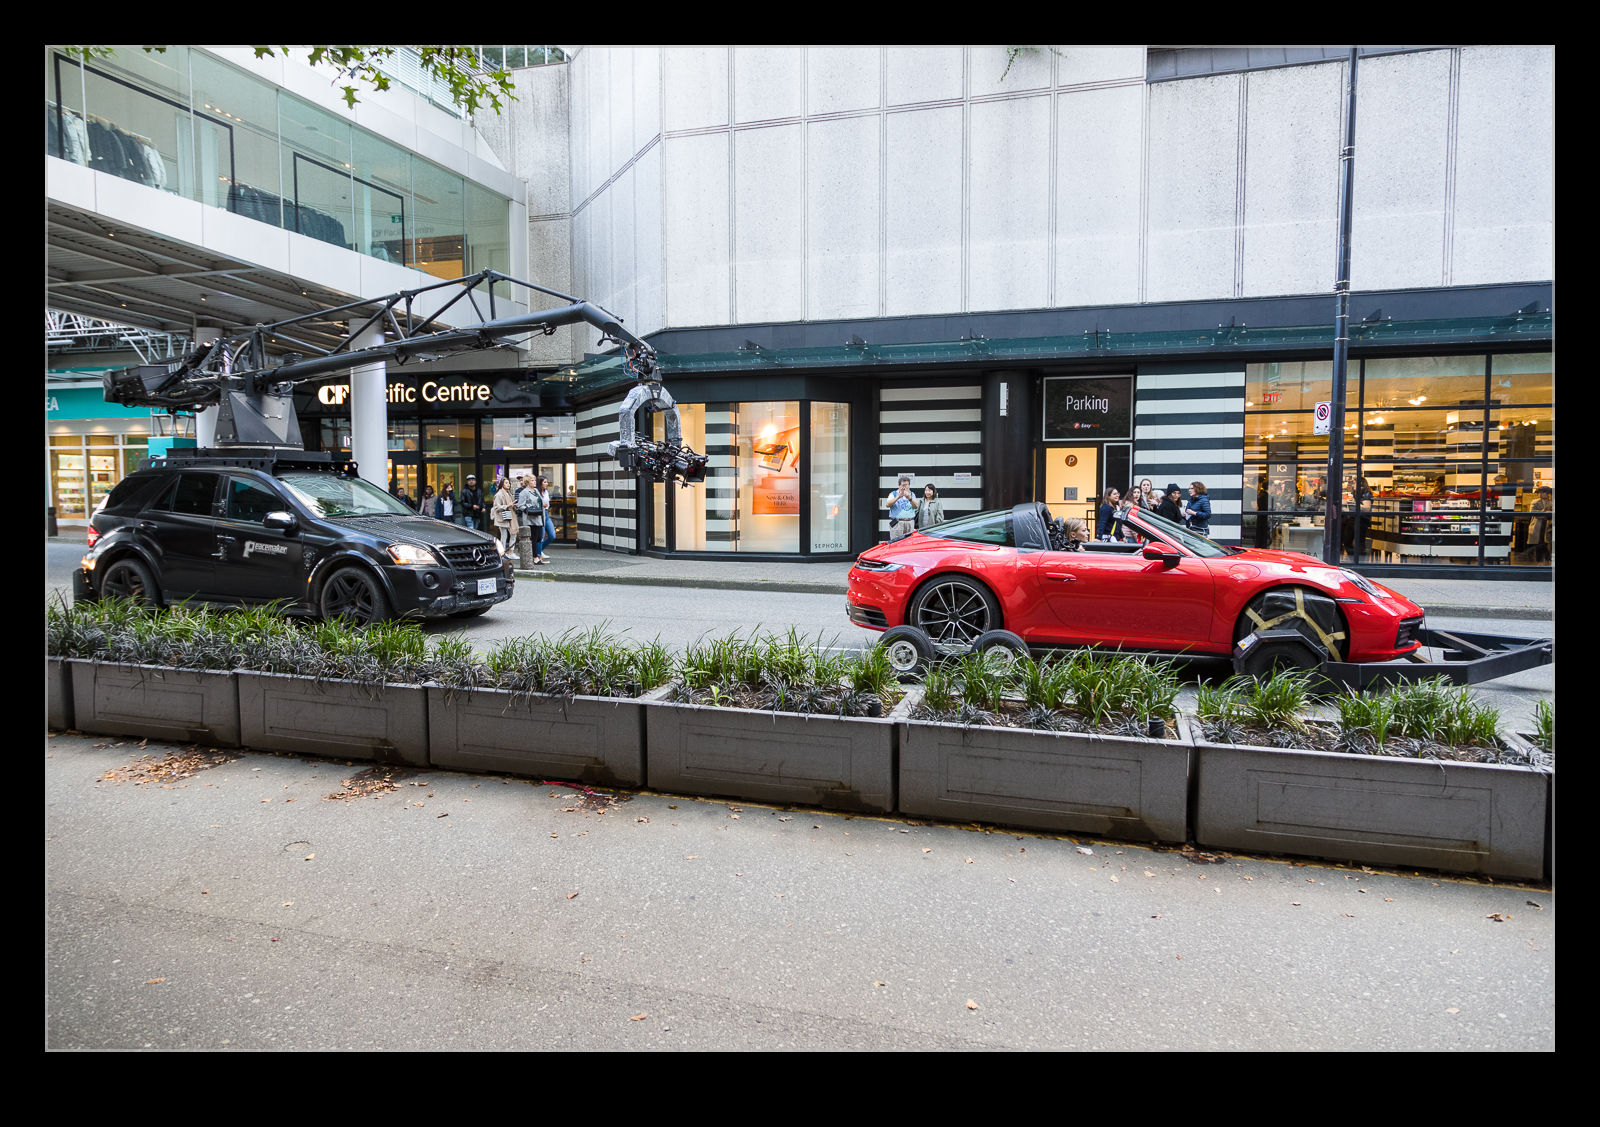
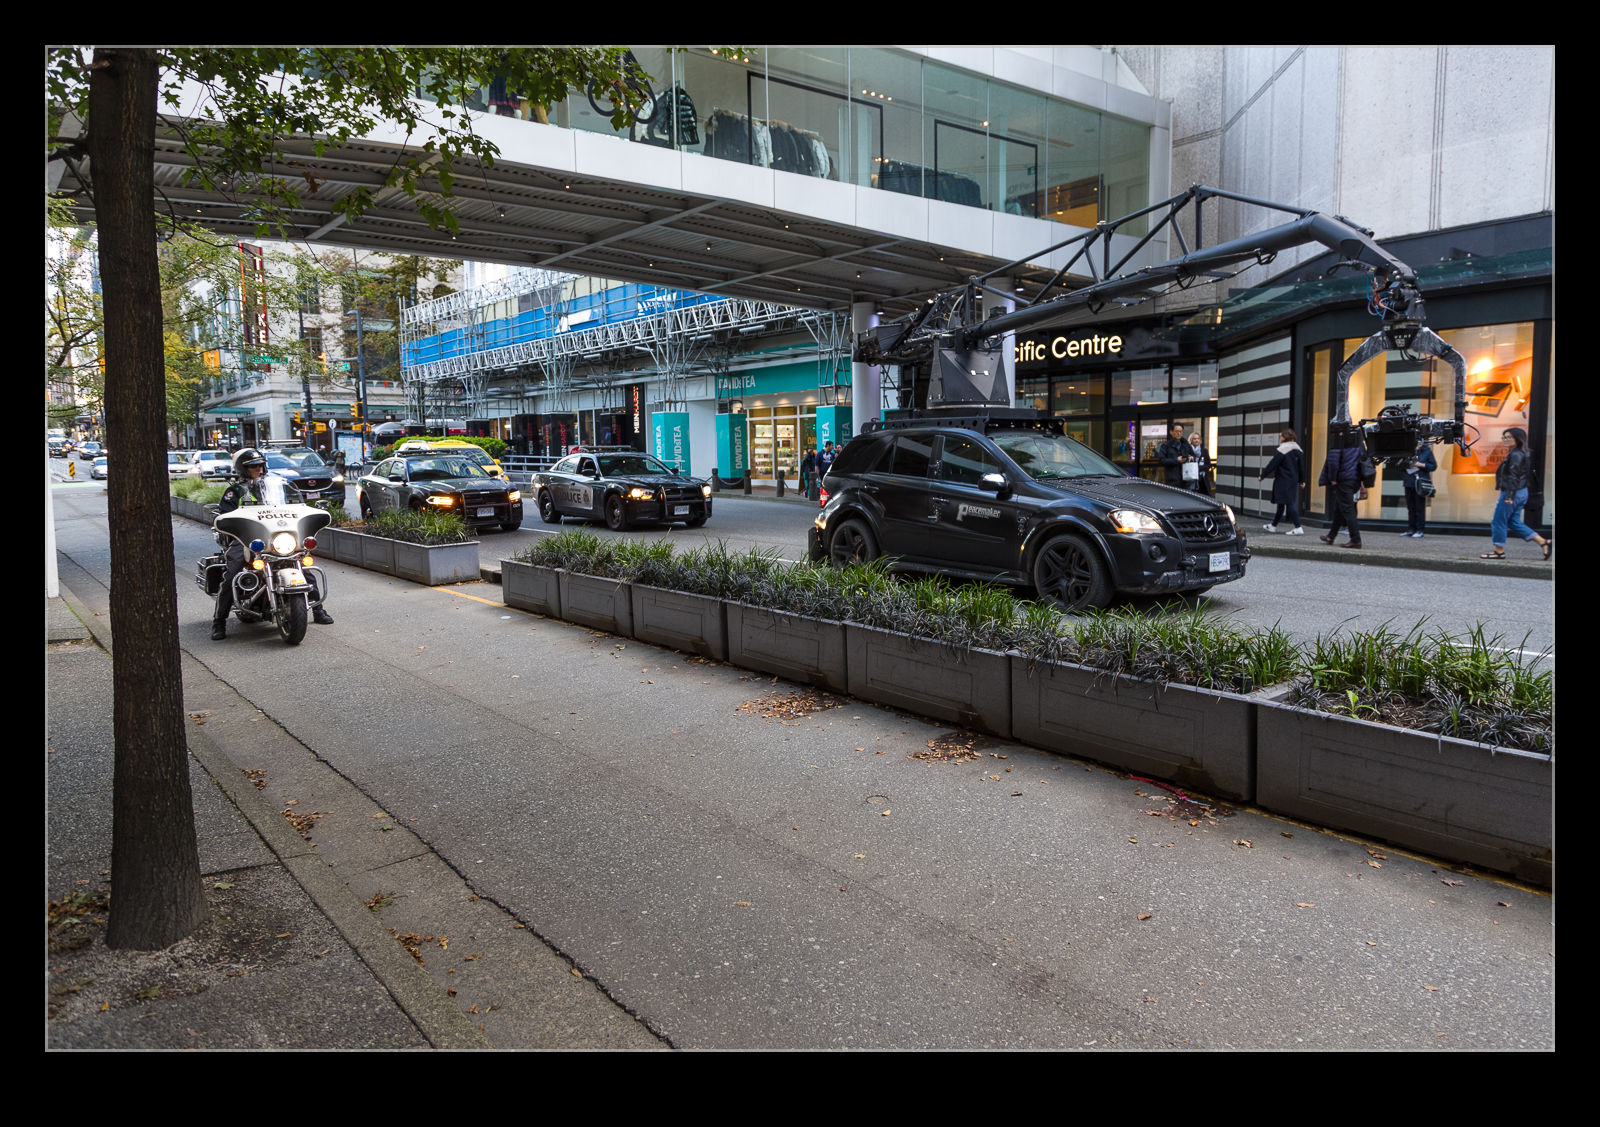
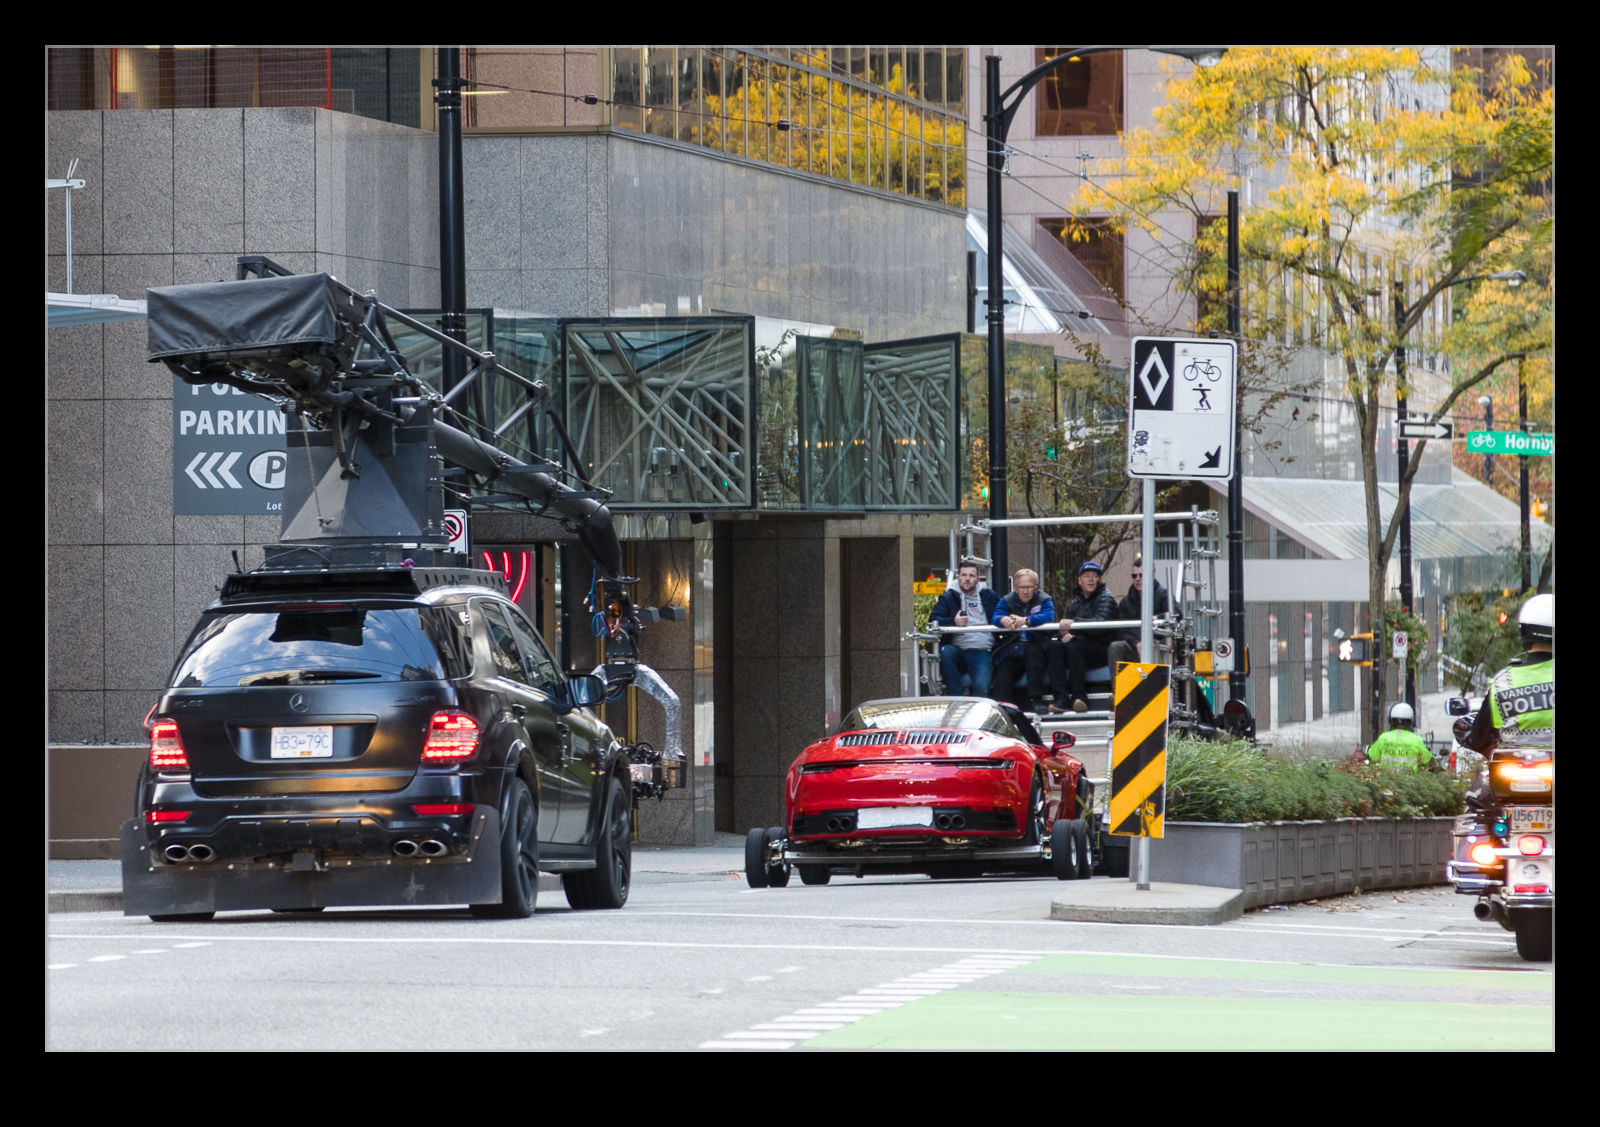
Walking through the streets of Vancouver one weekend, we came up to an intersection.  There was a Porsche sitting on a trailer with two people in it.  It quickly became apparent that they were doing some filming.  The woman was an actor and the man was filming here.  There was a vehicle pulling the trailer with some of the production staff sitting on it.  Initially I was focused on what they were doing but then I started to look around.

The whole convoy was all related to the filming.  There was a motorcycle escort supporting them and other vehicles from the production team.  Everything on the street was controlled.  You often feel when watching street scenes that they are filming in an open environment but a lot of the time it is totally controlled.  Only us and the other pedestrians could be considered random variables in the whole process.  The light stayed red for a while with the cameraman trying a variety of positions and then the lights changed and the whole ground headed off to the next block.  We went on our way too.

Astar Over My Head

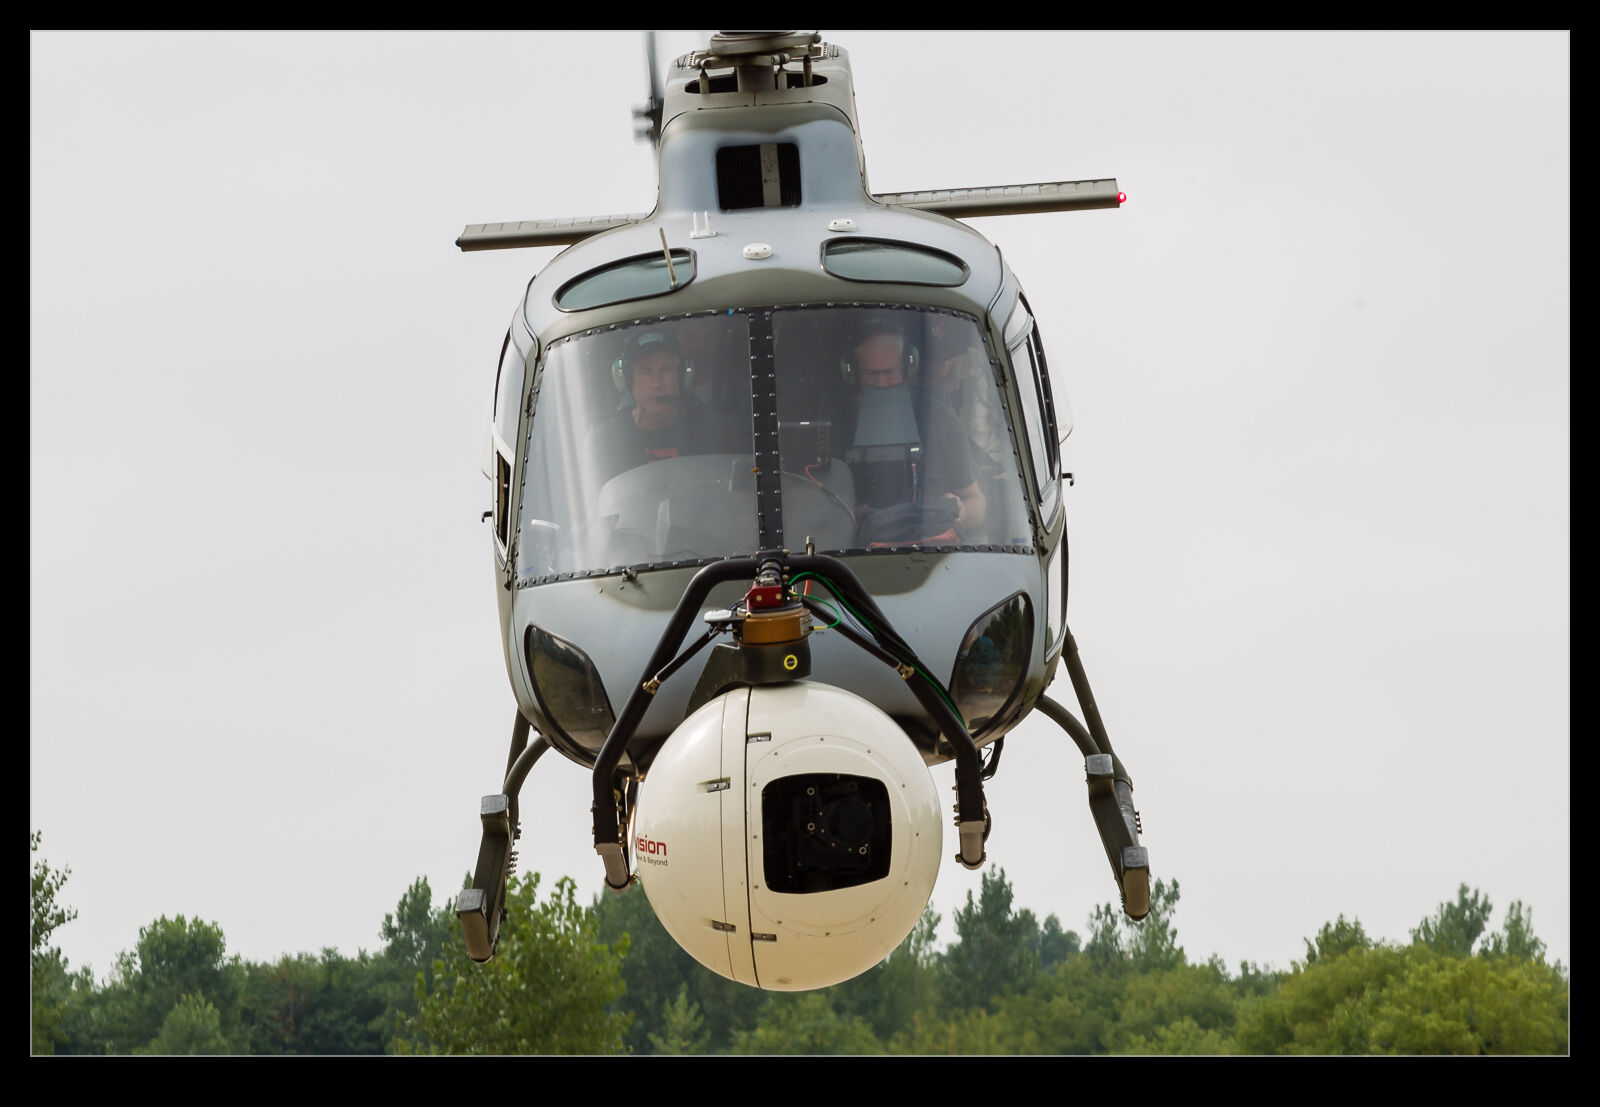
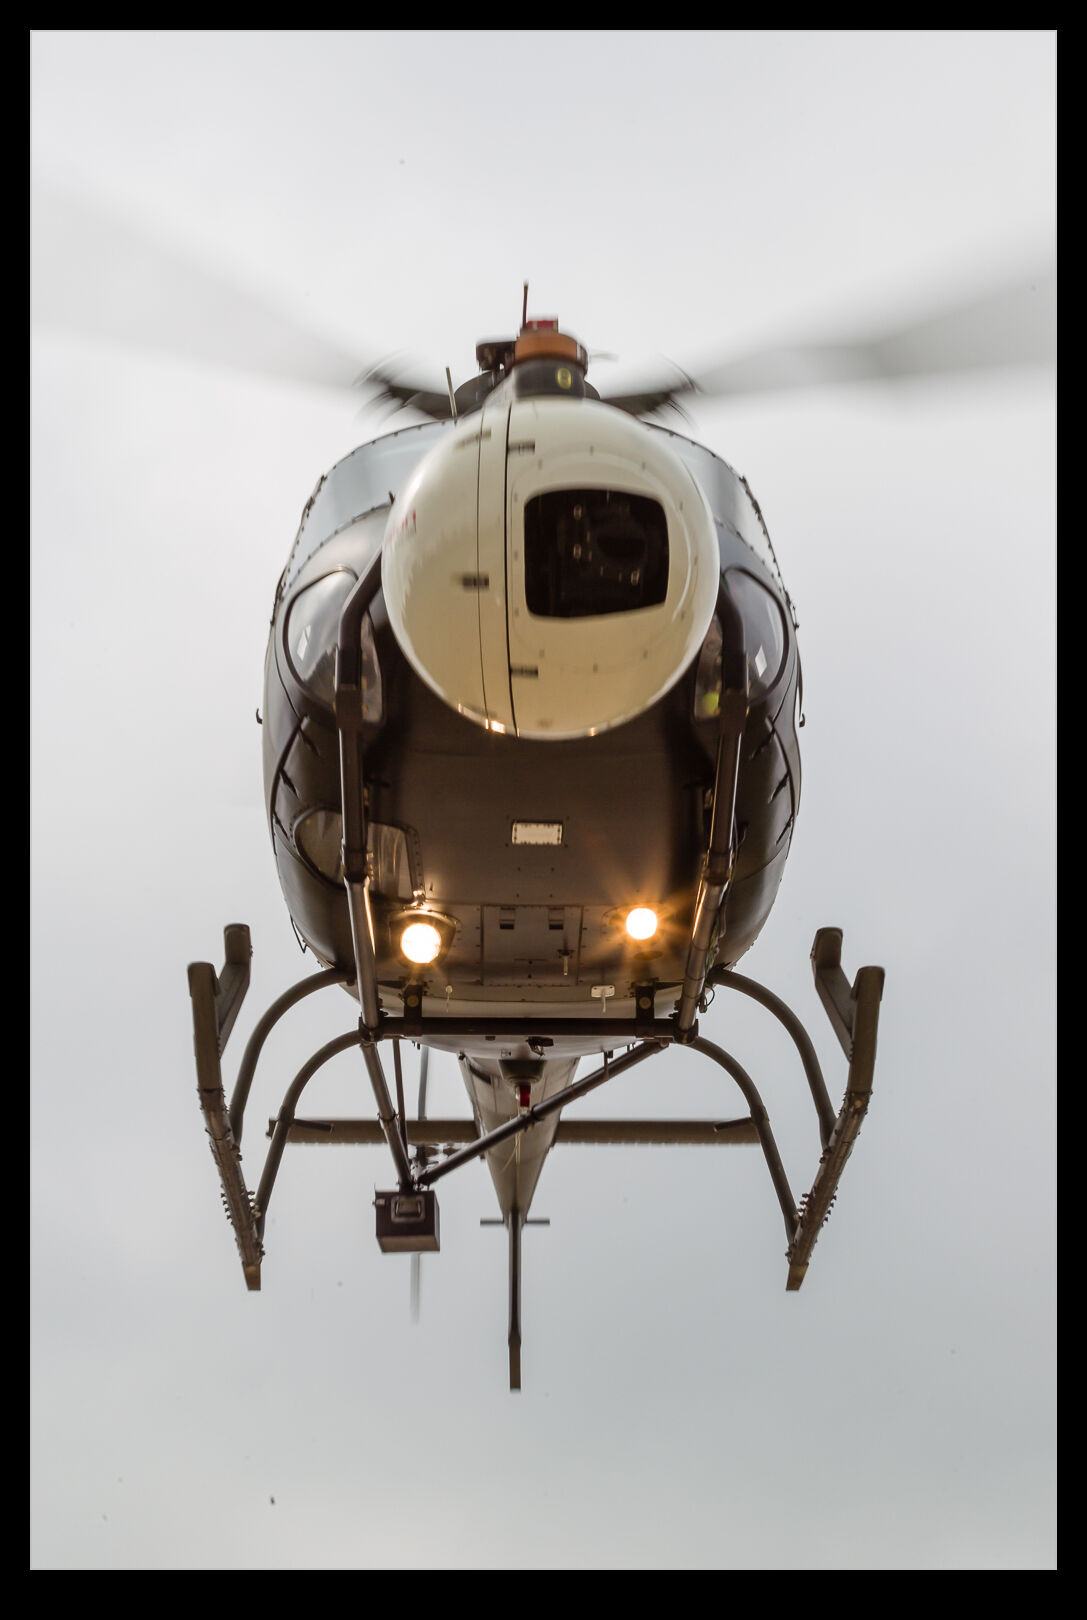
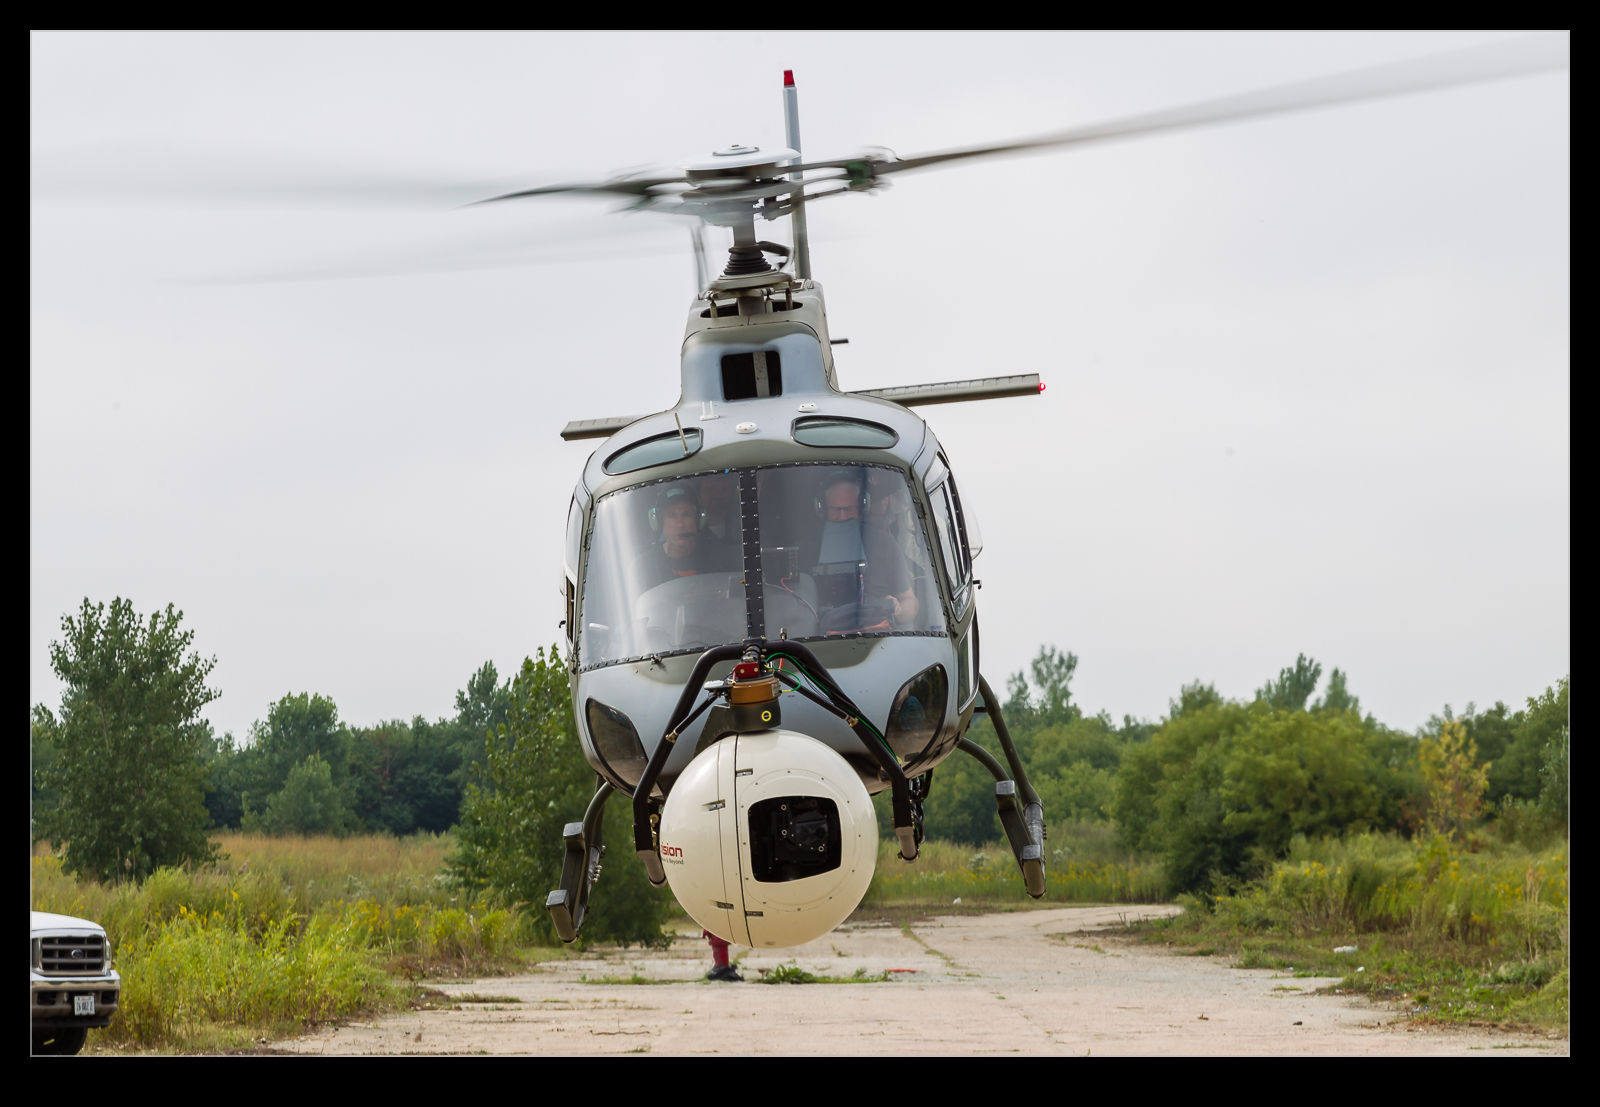
These shots are from a few years ago.  I had the privilege to spend a day with the late Alan Purwin during the filming for one of the Transformers movies in Chicago.  I got to fly with them on some of the shoot but I also was on the ground when they went off on part of the filming.  I put myself directly ahead of the Astar when they took off and Alan buzzed me.  I noticed when going through the images that the cameraman was tracking me with the stabilized mount on the nose as they flew over the top.

Going Mirrorless

Being late to the party is something that I make a habit of.  You could also be more optimistic and say that I am not an early adopter.  A number of friends and colleagues have added a mirrorless body to their collection of gear and I have followed suit.  I am perfectly happy with the performance of my SLRs.  This was to add something rather than replace something.  The primary interest was in size and convenience.  There are times when lugging the heavy bodies around is just inconvenient.

I went with an EOS M6.  I did consider going with a different manufacturer but using other equipment I already have was one factor.  Another was that this camera gave me an option I was quite keen on.  It has a screen for use while shooting but it also has an optional viewfinder to slot into the hot shoe.  This was discounted to only $11 when I bought the camera.  I like a viewfinder hit am okay with a screen.  Nancy, on the other hand, does not like screens so the viewfinder can be brought along if required and will make her happier to use the camera.

So far my experience with it has been very good.  Image quality has been fine, the controls are good and let me make adjustments without needing to enter menus.  The flippy screen is really handy and the kit lens fits plenty of needs.  The app that works with it is also pretty handy which gives a few options I wish the SLR could match!  The time lapse functionality is good too.  I have not tested it fully with my range of lenses and will do so at some point.  However, for what I bought it for, it is doing the trick nicely.

Making Use of the Camera’s Features

One of the things that I was glad to get when I last changed camera bodies was the ability to have exposure compensation while shooting in manual mode.  You might wonder why this is a useful thing to have but I was shooting a couple of time recently when it was useful.  Sadly, the first time I didn’t think to use it.  The second I did though.  This is the result of shooting in dark conditions when the light levels are changing quite a bit.

The problem in the first case was that I was shooting in aperture priority mode.  The light was low, so I went to auto ISO to allow it to adjust.  The camera looks to get a shutter speed that is related to the focal length of the lens you are using.  I was shooting a landing aircraft and, when I was out at the full length of the zoom, it kept shutter reasonably high.  However, as the plane got closer and I zoomed out, the camera dropped the shutter speed down which meant the panning resulted in a lower keeper rate.  I should have foreseen this and I was annoyed with myself.

The next time, I thought through the issue a bit better.  A gray sky meant that I needed to have some positive exposure compensation.  I went to manual mode, set the shutter speed and aperture that I wanted but included the exposure compensation.  Then I set auto ISO.  Now I had the ISO adjusting to get the combination I wanted while including exposure comp.  On my old bodies, this was not possible.  The result was the exposure I wanted with ISO adjusting throughout the sequence.  When conditions are not great and changing quickly, this is an approach I can highly recommend.

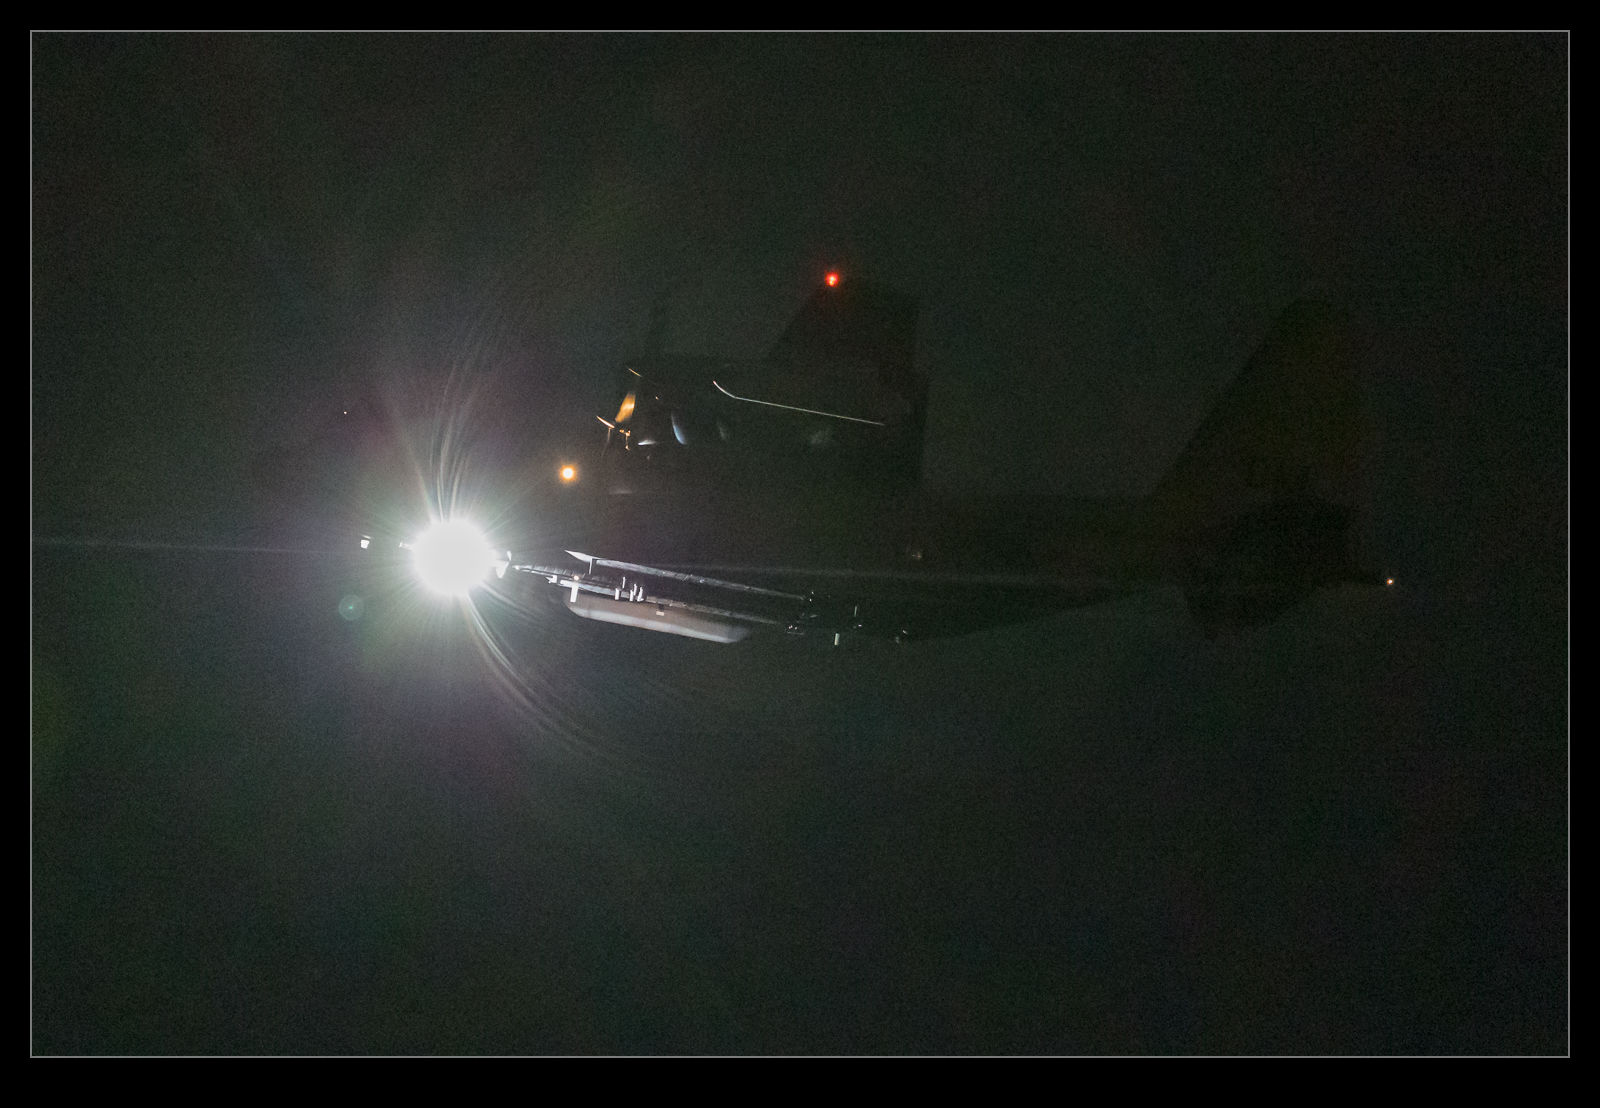
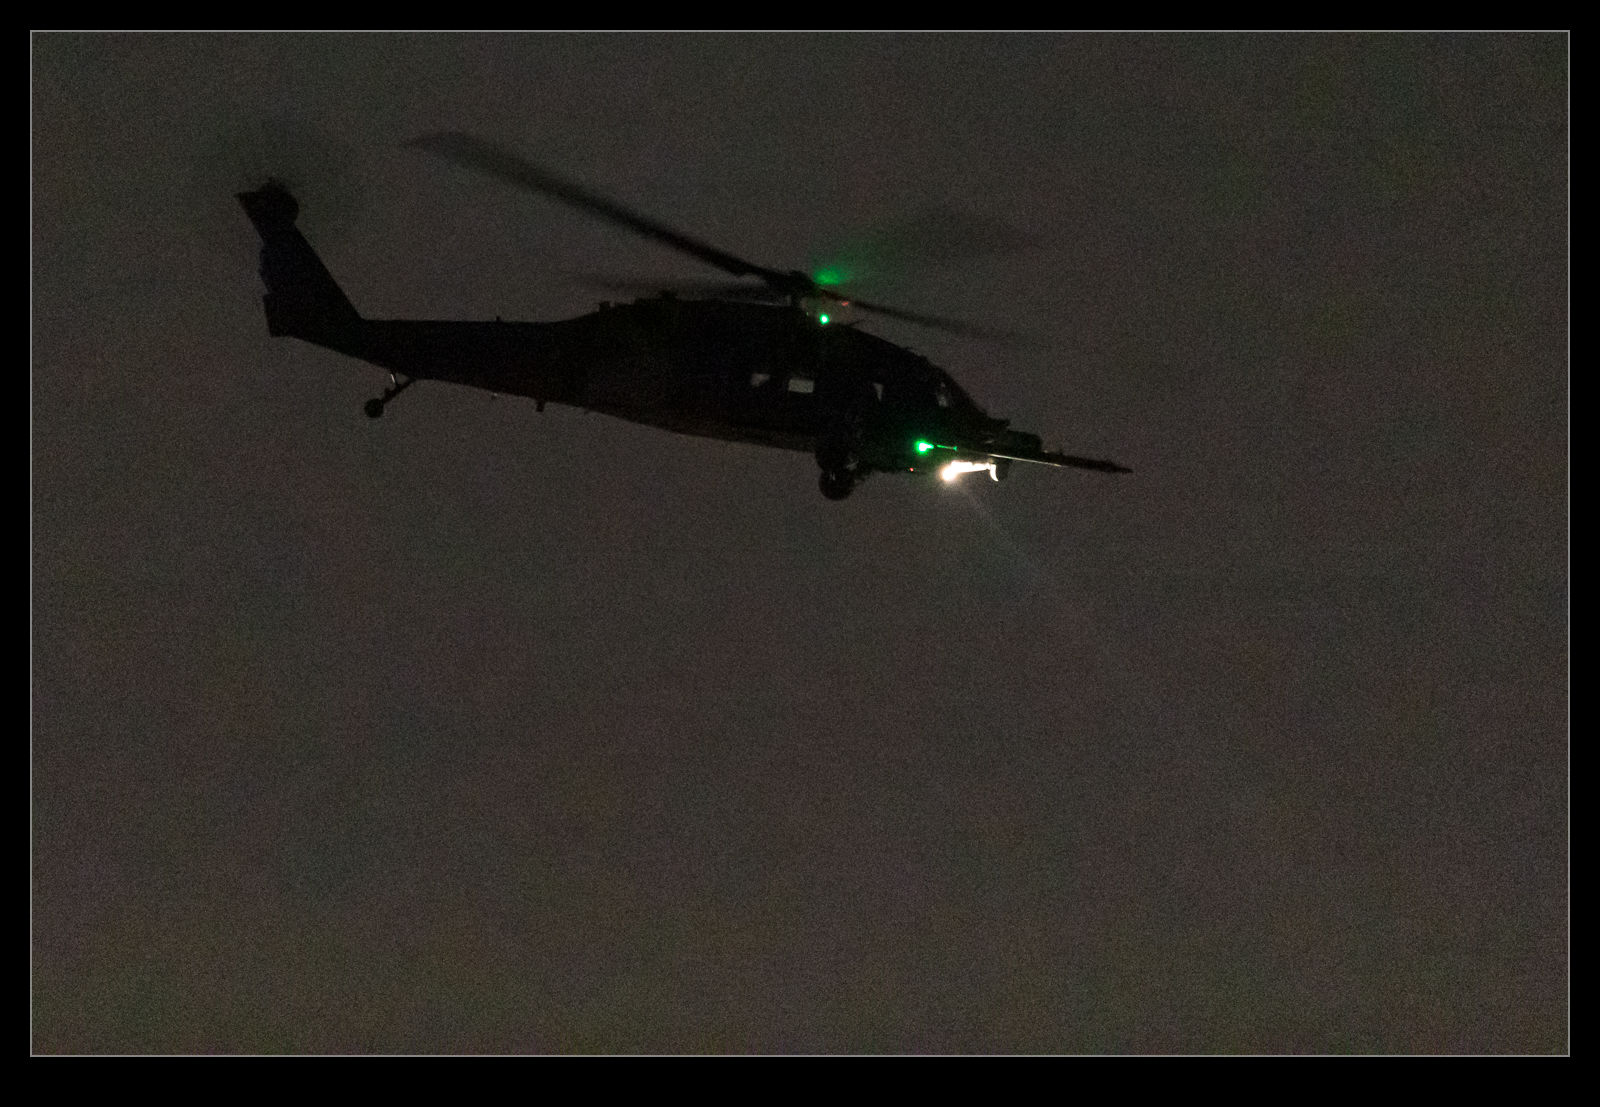
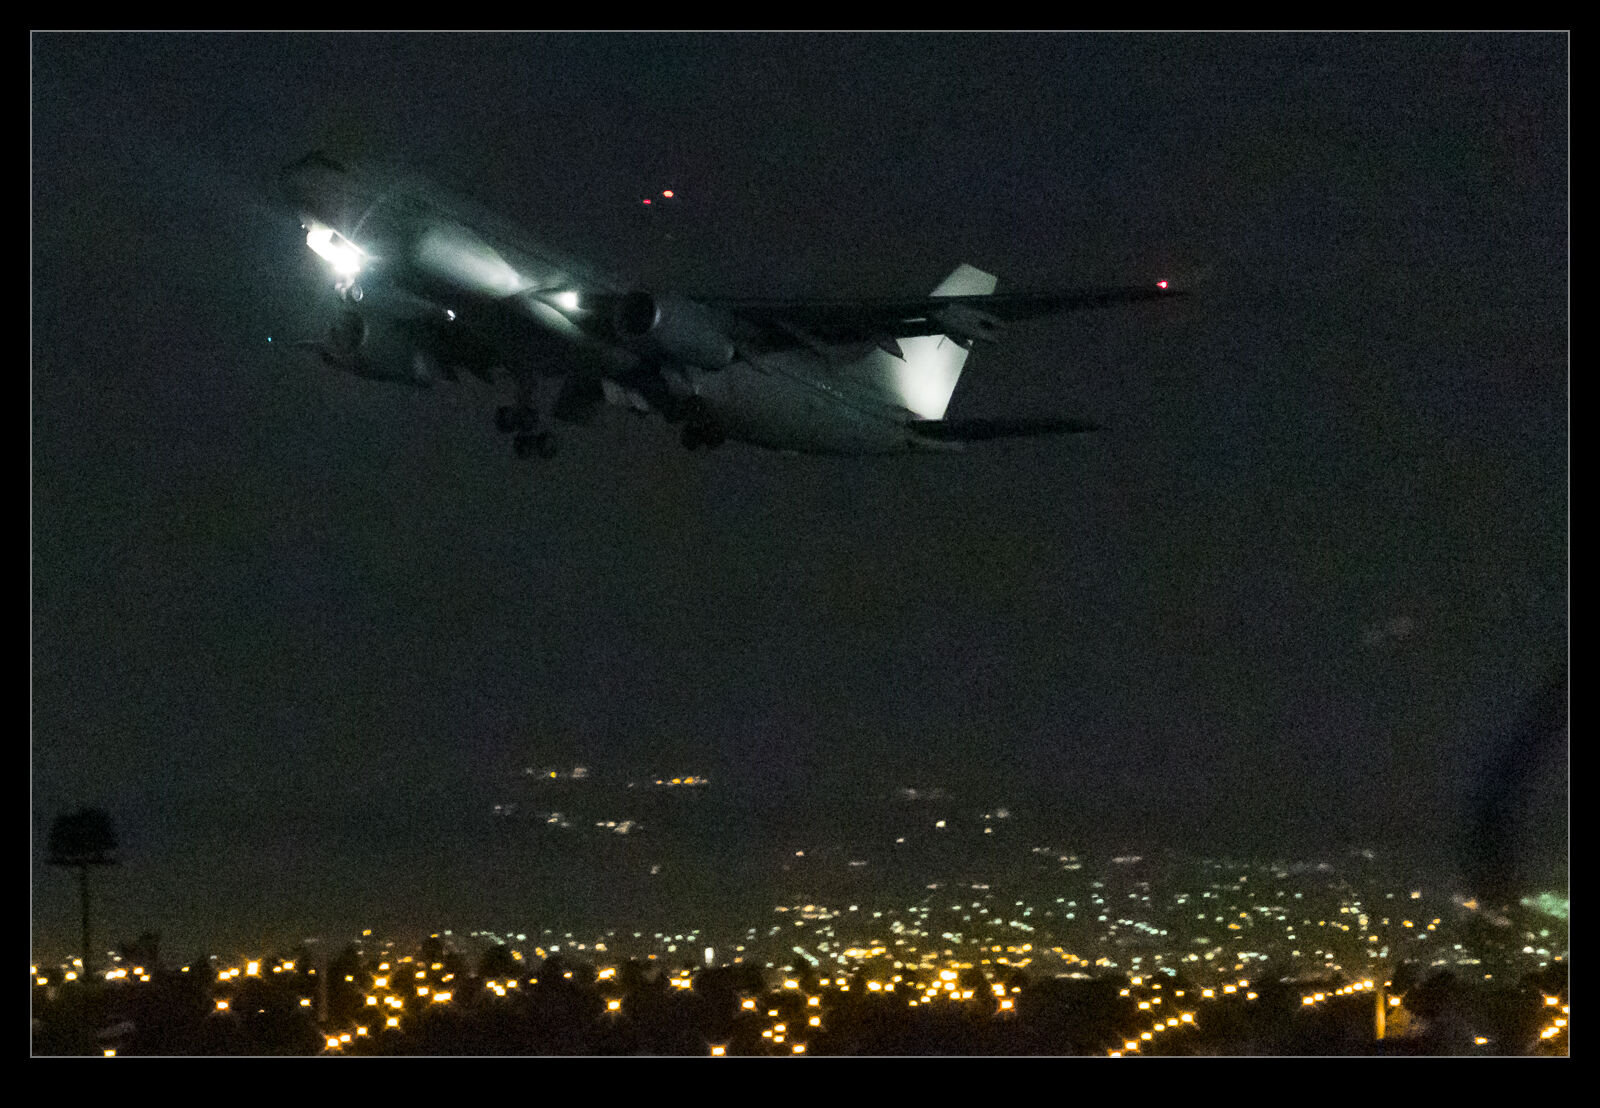
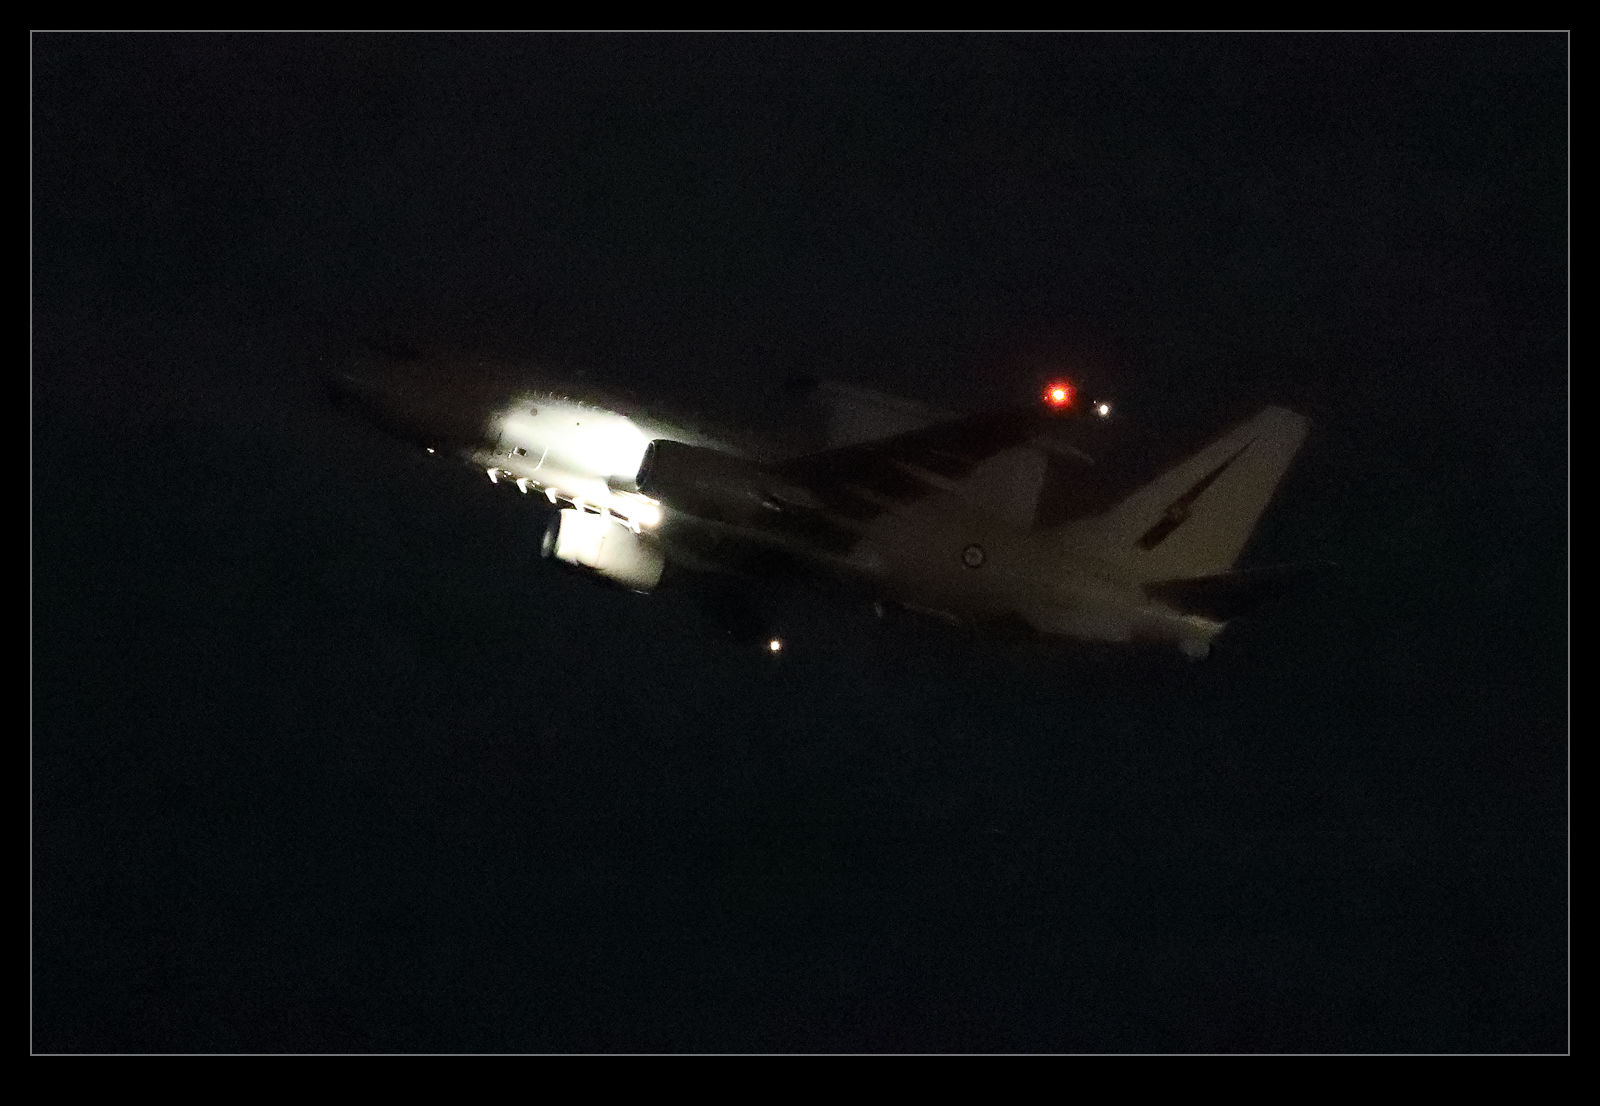
It is Dark at Nellis During the Night Launch

On previous trips to Red Flag I have taken pictures of the departing B-1Bs as they fly overhead.  The burners are really impressive and definitely worth getting a shot of from below.  However, having done this a few times, I wanted to try something different.  The fighter get out of burner very quickly after they get airborne.  They are in mil power for ages before they get to you on the centerline.  I wanted to see what you could get from the side a lot closer in so Paul agreed to try something different.

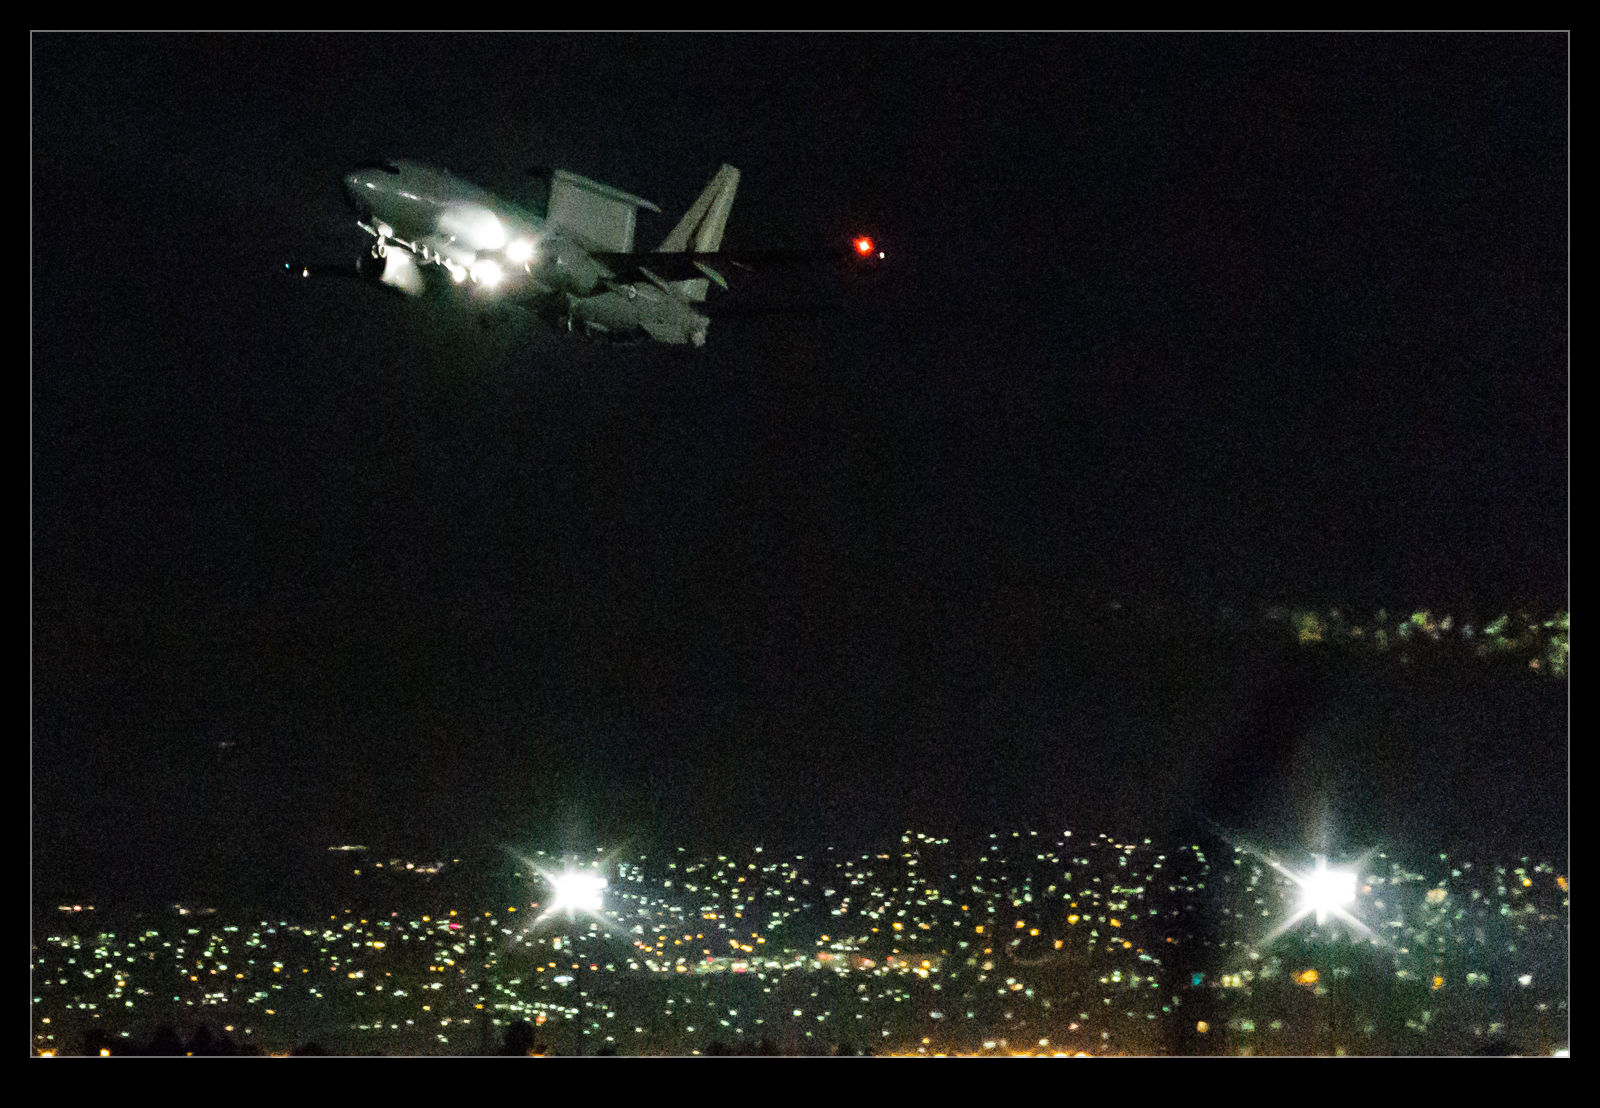
We ended up shooting a lot of side on stuff of departures for the night launch.  Unfortunately, we didn’t appreciate just how dark it is at Nellis at night.  We had a good moon so we were hopeful that there might be some residual light.  It turns out that this is not the case.  Even close in, the fighters are out of burner.  The tankers and the E-7 went out and I got some shots but they were a struggle, event making use of the best high ISO capabilities of the cameras.  The B-1s did show up okay but I still didn’t do as well as I thought I should have.

I learned a bit about the performance of the cameras.  I was shooting at super high ISO settings with the camera wide open.  However, as I review the shots, I realize the camera was behaving in a way that I had not anticipated.  I was shooting in aperture priority with some negative exposure compensation dialed in.  As I look through the shots I see that the camera would start out with a dark shot, gradually boost the exposure and then go dark again.  I would review the shots and see one that was looking good but know that the next would be dark.

When shooting in such limited light, the shutter speeds are very low and the number of lost shots is high.  Therefore, you can’t afford to have the exposure be bad.  I don’t know how many shots I lost since they may not have been sharp anyway but I cut down on my opportunities.  In future, I need to have all of the exposures be acceptable in order to maximize my opportunities.  Therefore, I think I shall have to go fully manual on everything for these shots.  Set ISO up high and then go to manual aperture and shutter speed.  I will still lose a lot of shots but at least I can focus on dealing with my handholding technique rather than worrying about how the camera is metering a dark night.  It’s not too reasonable to expect the camera to get that right every time.  It is a pretty extreme case!