 When you look at any modern car, the aerodynamic design is always going to be advanced since reducing drag is key to fuel economy. However, you will also see a bunch of stuff that is designed to look like it is aerodynamically important, but it is really just styling. Vanes that look like they do a lot are common but the one that is always there is a diffuser. The shaping of the underside of the rear of the car is designed to look like it is there to increase downforce. The underside of the rest of the car is hardly tailored for downforce, so this is really a styling cue.
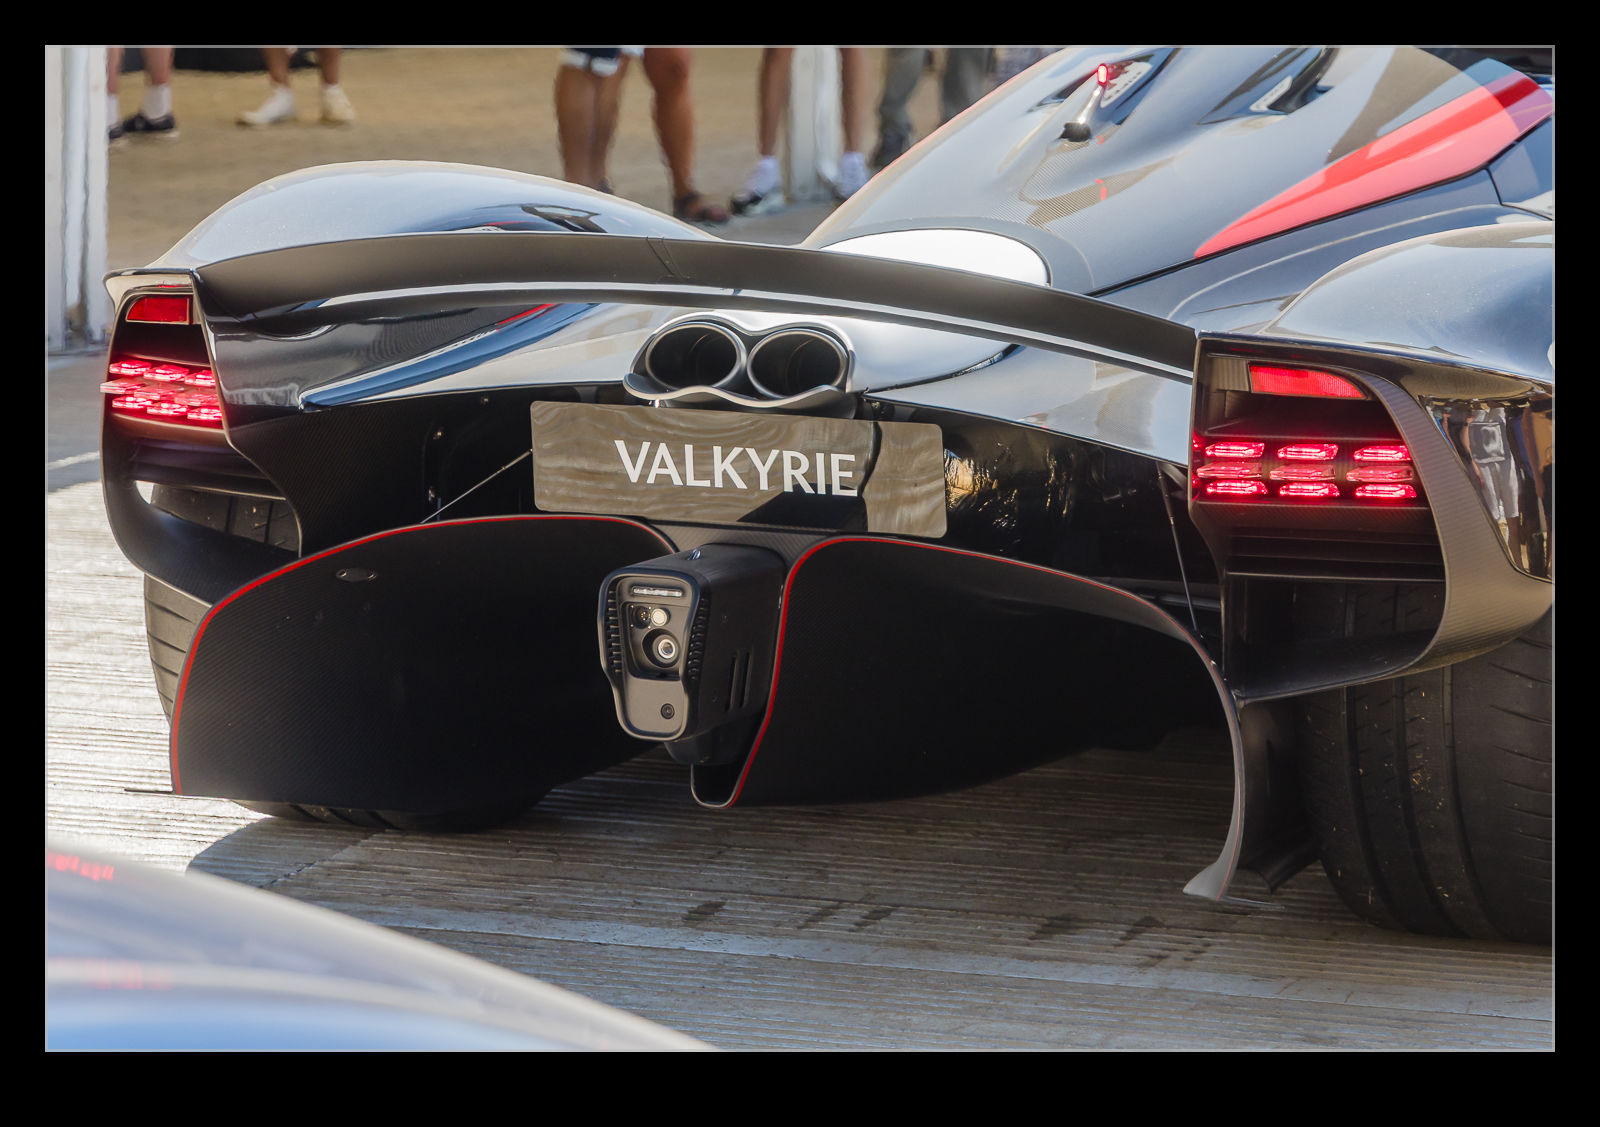
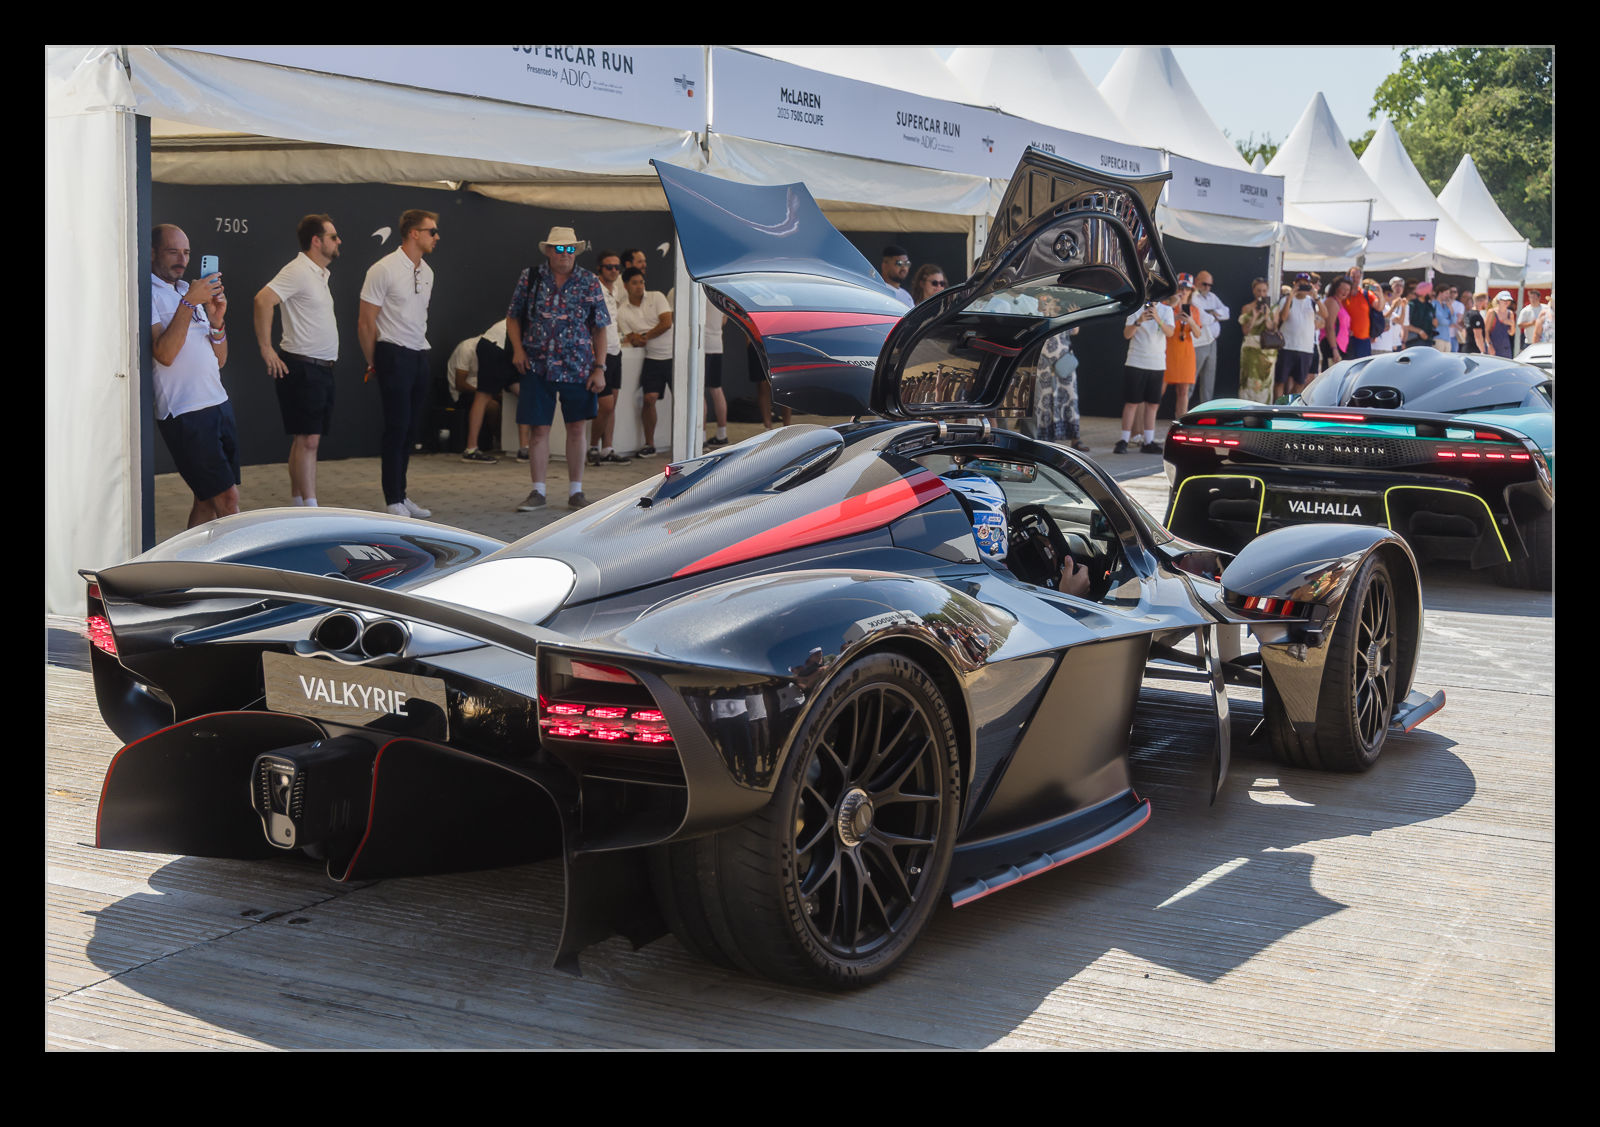 There are cars, where the aero is significant, though. The Festival of Speed at Goodwood included an Aston Martin Valkyrie. This is a car where aero really does matter. In these two shots, focus on a couple of areas. The rear of the car has quite a diffuser and this one is definitely functional. A combination of flow route either side of the centre of the vehicle combining and expanding to enhance the downforce under the car. Then look near the front wheels in the wider shot. The wheels are isolated with the flow coming around them and then back out of the sides. So much effort went into this design.