 When Boeing launched the 777-300ER, they took the stretched fuselage of the 777-300, a model that didn’t sell particularly well and married it to the updated wing that made use of the fuel capacity of the outboard portion of the wing that had been left when the original concept of a folding wing was contemplated. The increased the weights of the jet, added far more powerful engines and, with the increased fuel capacity, came up with a winning formula that has done a very effective job of killing off the 747.
One problem that they had to deal with during development was runway length requirements for takeoff. Even with the bigger engines, the long fuselage limited rotation angles at takeoff and meant a higher takeoff speed was required which meant a longer runway requirement. Boeing came up with an interesting solution (after dumping some slightly more curious ideas). The main gear on the 777 has a triple axle bogie. Previously this had rotated about the pin attaching it to the main gear leg. Boeing’s solution was to lock the bogie level during takeoff.
The result of this is to have the rotation of the jet at takeoff to take place around the rear wheels of the bogie rather than the gear leg pin. The slight aft movement of the rotation point allows the aircraft to rotate slightly more nose up and gain a greater angle of attack. This gives slightly more lift for a given speed. This means an earlier takeoff and a shorter runway requirement.
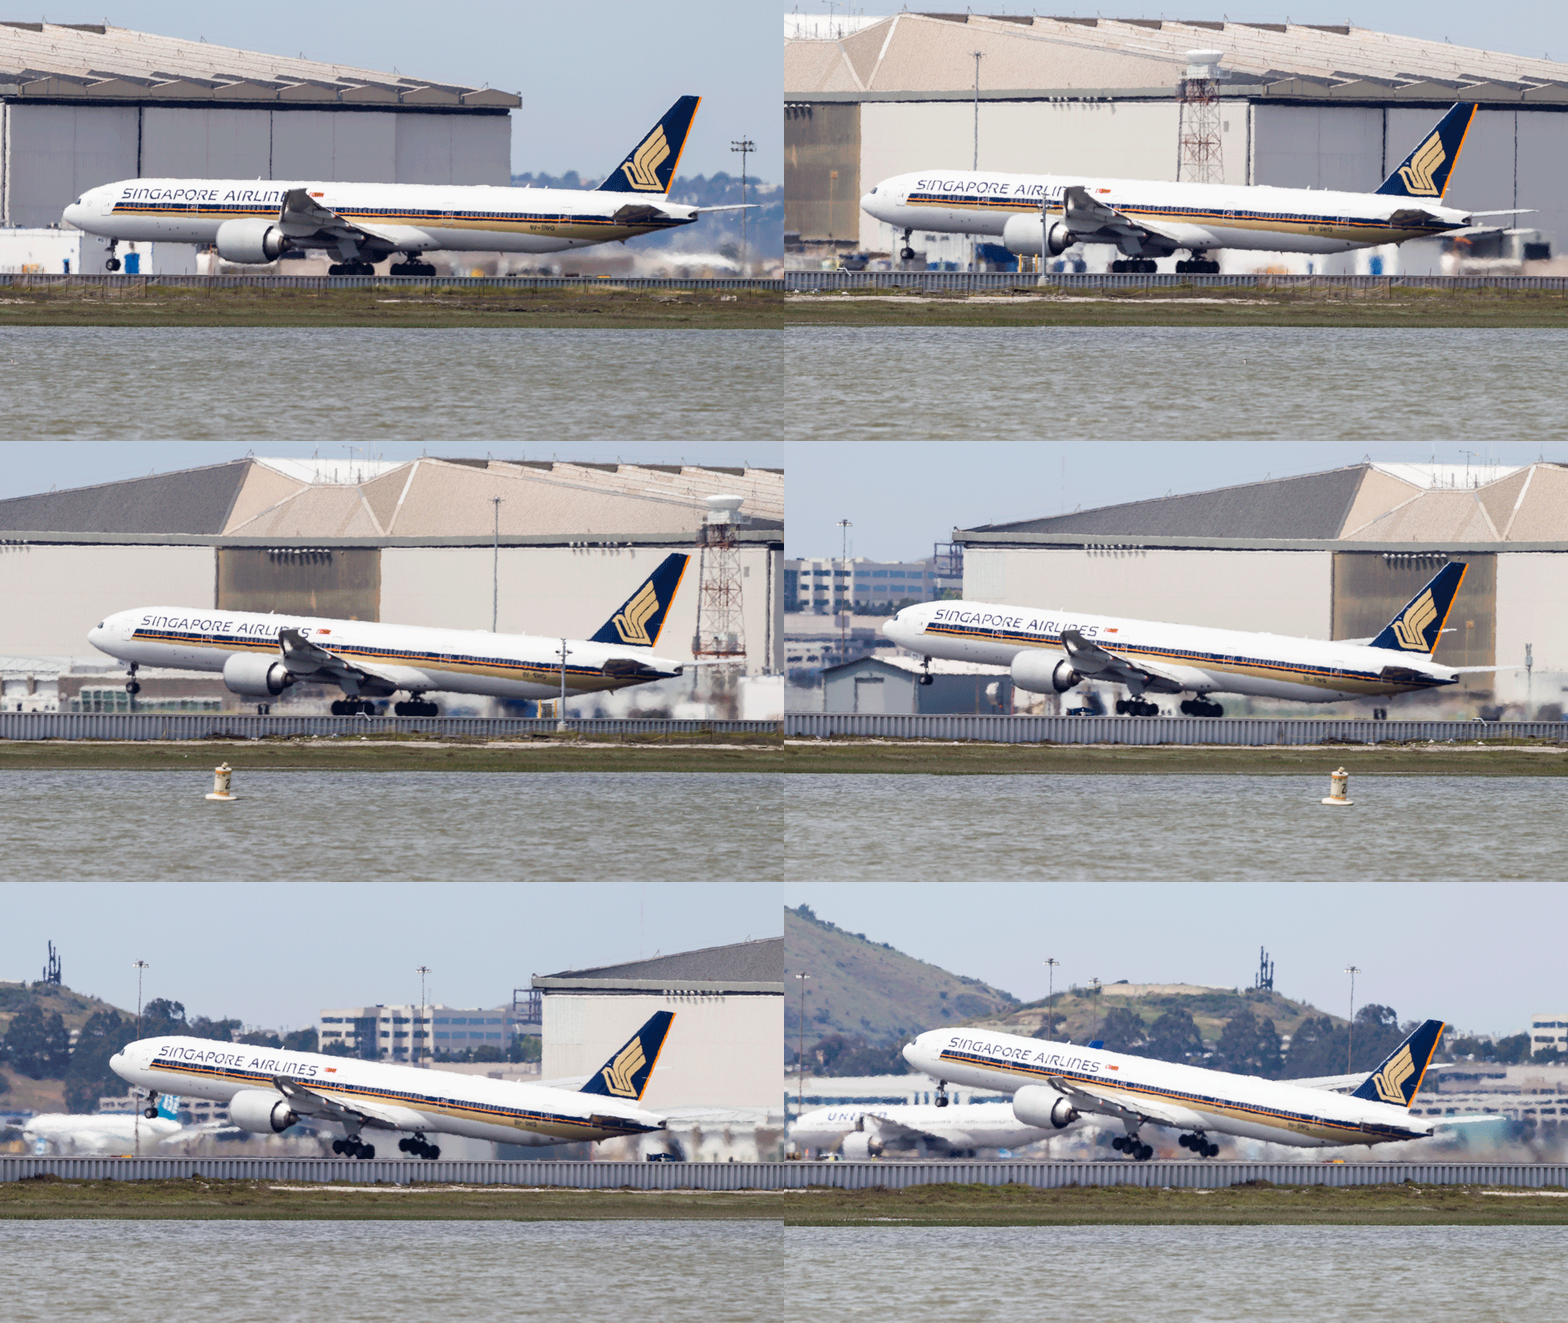
I have tried many times to witness this at work. First, it happens pretty quickly. Second, I am often in a poor position to see the rotation point. Recently I was at SFO to pick up some people. I was getting a few shots prior to their flight arriving and a Singapore 777-300ER was taking off. The rotation point is quite far away (although, if you are in the terminal, you might have a good view) and the heat haze is a problem. However, I decided to get a sequence of shots anyway. Now, how to use them.
Heat haze is crappy on stills but less of an issue with moving images so I decided to animate the sequence. I imported all of the shots into Photoshop as layers in a single document via Lightroom. The hardest part was aligning them. I started at the bottom layer and then progressively made each layer above visible. I then changed the latest top layer blend mode to difference. This makes aligning them a lot easier since everything is black unless it is different. I was focused on the gear so used that as the reference as the fuselage rotated. Once each layer was in place, I changed the blend mode back to normal and moved to the next layer up.
Once they were all aligned, I used the animation timeline to make frames from each layer (and reversed the order since every time I do this they seem to be the wrong way around). Then I could crop in to get the overall view I was after and save the file. A Save for Web allows the generation of the animated GIF and we are done. The image at the top is the final result. It does allow you to see a bit of what is going on if you look closely although it is still a bit hard given the distance, the angle to the ground and the heat haze. I guess I will have to find a location closer next time.
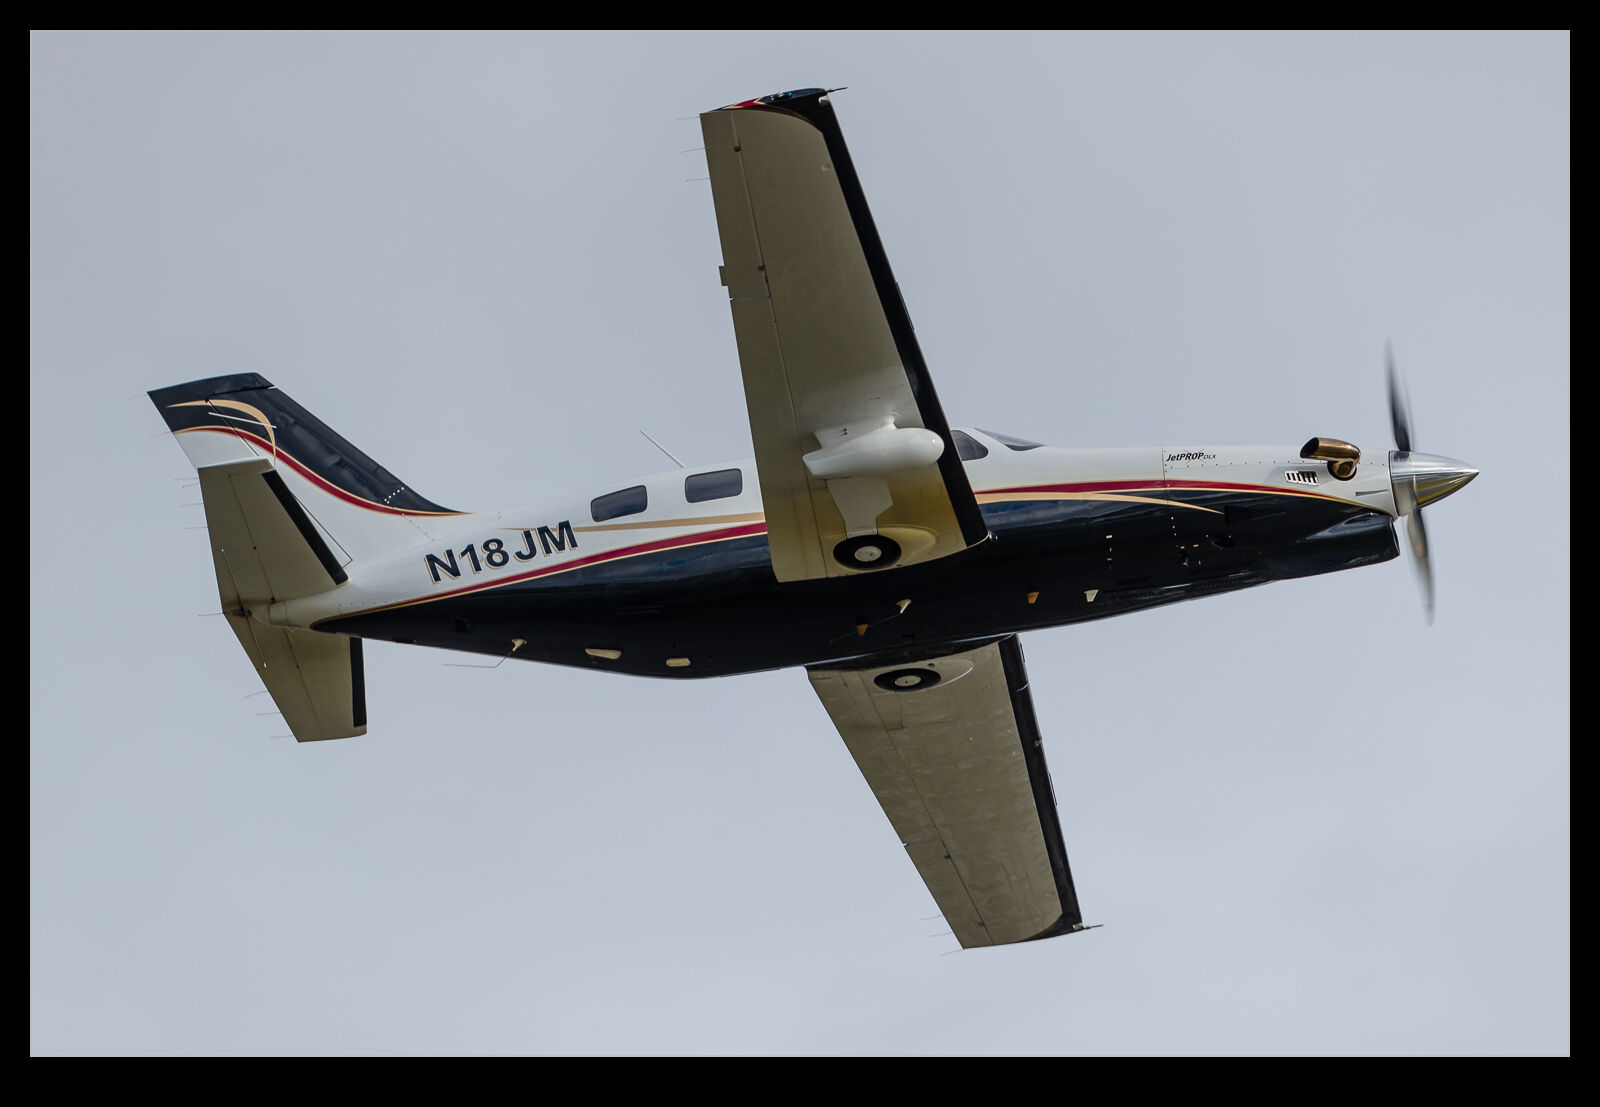
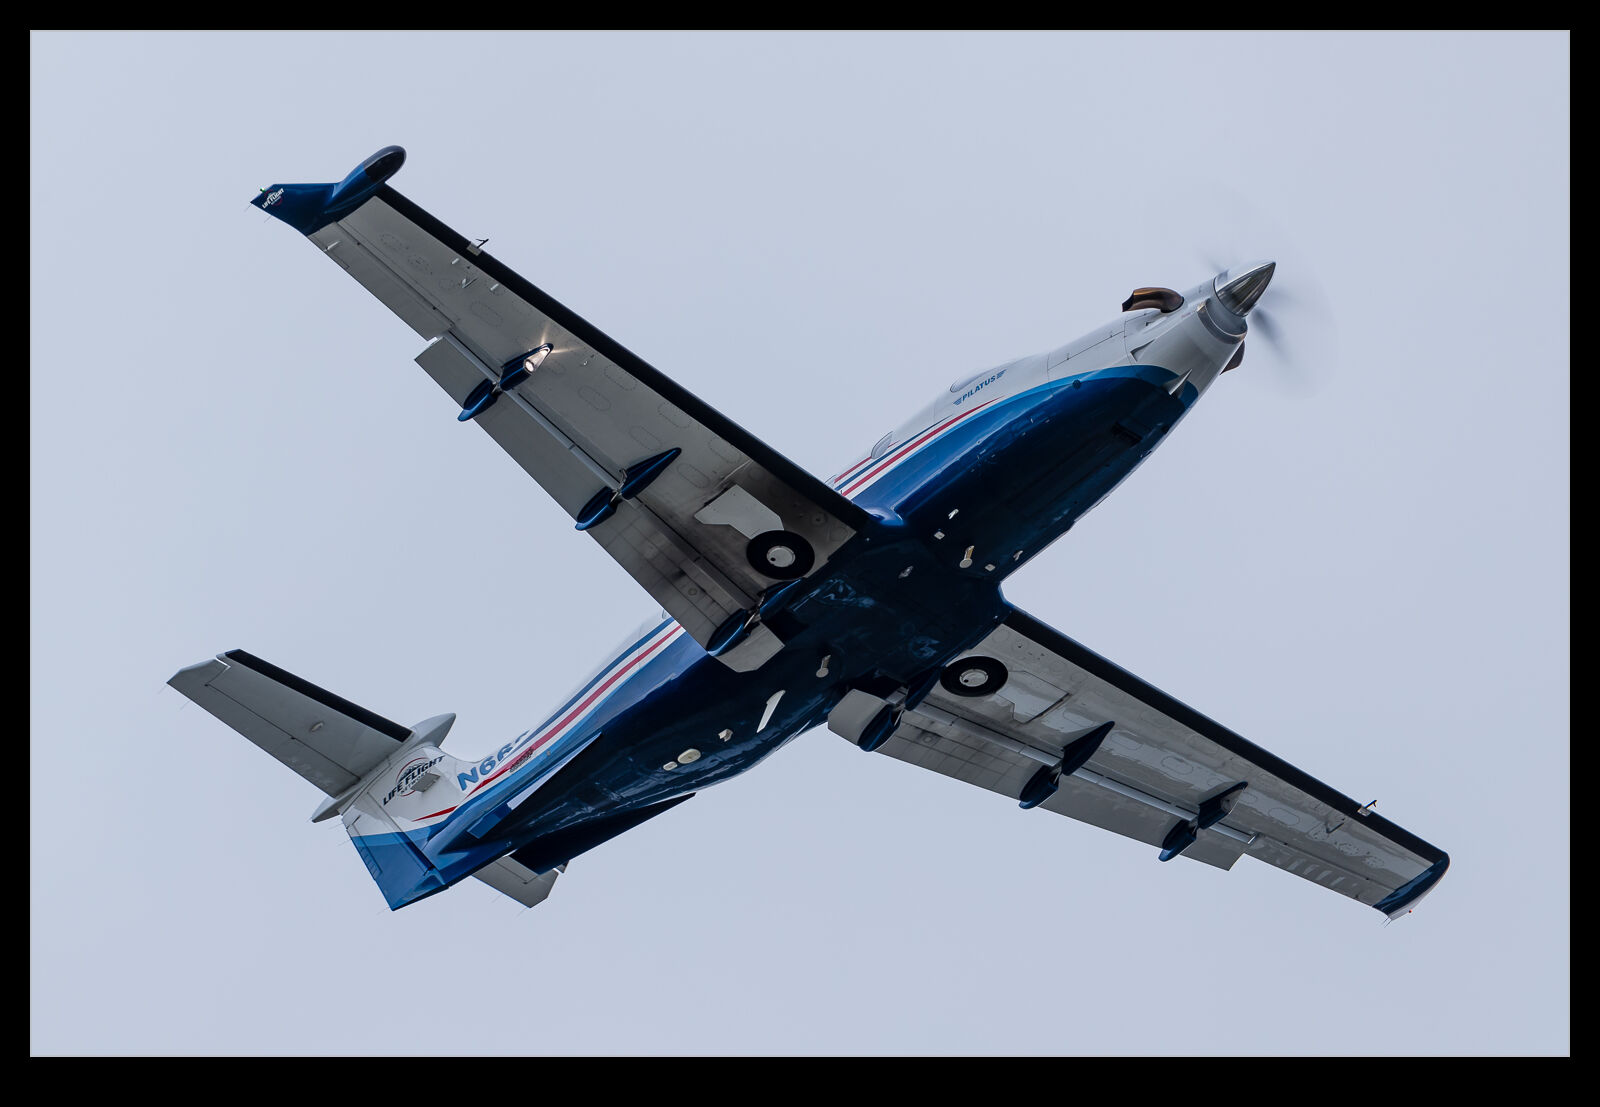
 For quite a while I have been shooting almost exclusively with the 100-400mm lens while photographing aircraft. Recently, I knew I had a couple of smaller aircraft inbound and I picked up the 500mm which hadn’t got a lot of use for a while. While it is a fixed focal length and therefore inflexible for things getting too close, with something small, it works out fine. When I checked out the images later, I noticed that I had a far higher keeper rate at low shutter speeds than I have got recently with the 100-400.
 I decided to stick with it again on another day of shooting and had similar results. I decided even to sacrifice the closer shots and work with the long lens to get framing I wanted further away and to then go for close ups of details when things got too large. I was overall very happy with the results. I think the weight of the 500mm is such that it is a lot harder to disturb it with small twitches. The 100-400 is so much lighter, maybe it is more sensitive to my lack of smoothness. The inertia of the big lens is a benefit. I think I shall be using it more again going forward. Besides, it is so sharp when you get it right!
