I had a short work trip to Scotland that involved a flight from Heathrow early one morning. The morning light was pretty good, and my gate was at the north end of Terminal 5 so I got to see a few of the arrivals while waiting to board. The Air India A350 was a nice catch but I got a variety of other arrivals. Aside from the regular British Airways short haul types, I did get and A380.
Add to that, there was an Air France A220 and a KLM A321neo. United also had an arrival. Shooting through the windows is not ideal and I was using the M6 which is really a step down from the R3 but has the advantage of slipping into my work bag easily so earns its place. I would really like to find something modern that has a similar form factor but is as responsive as current cameras. Sure, I really need another camera!
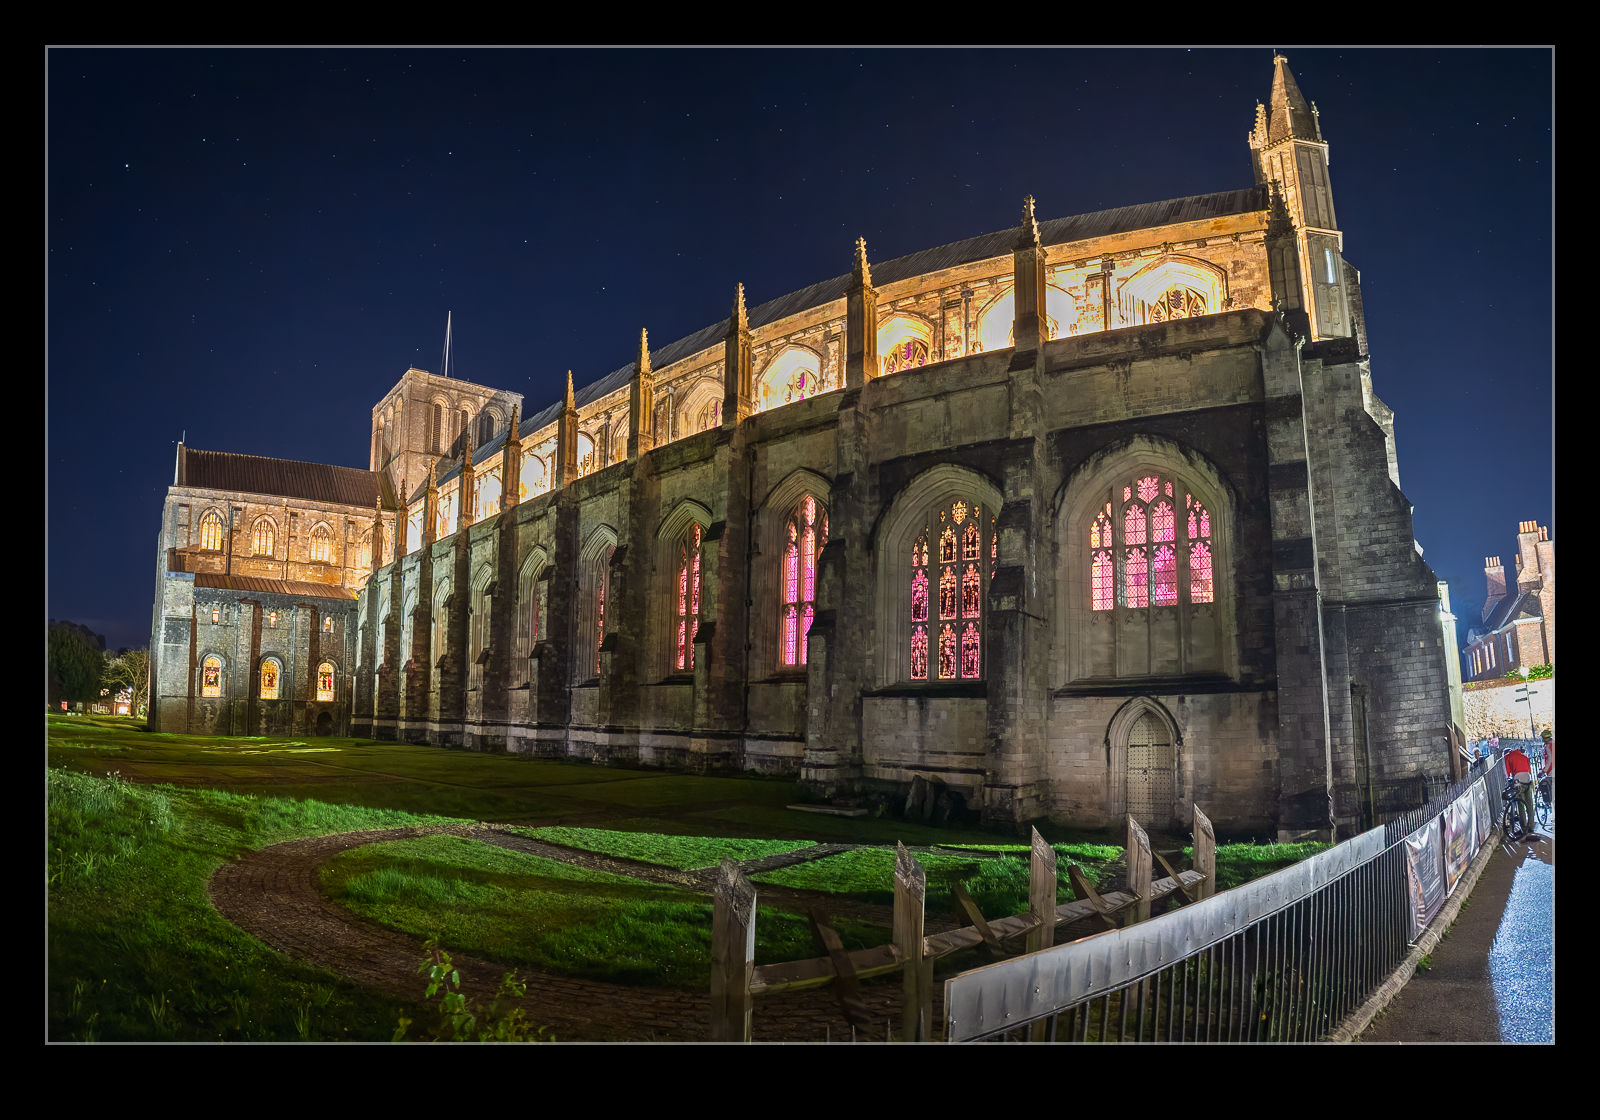
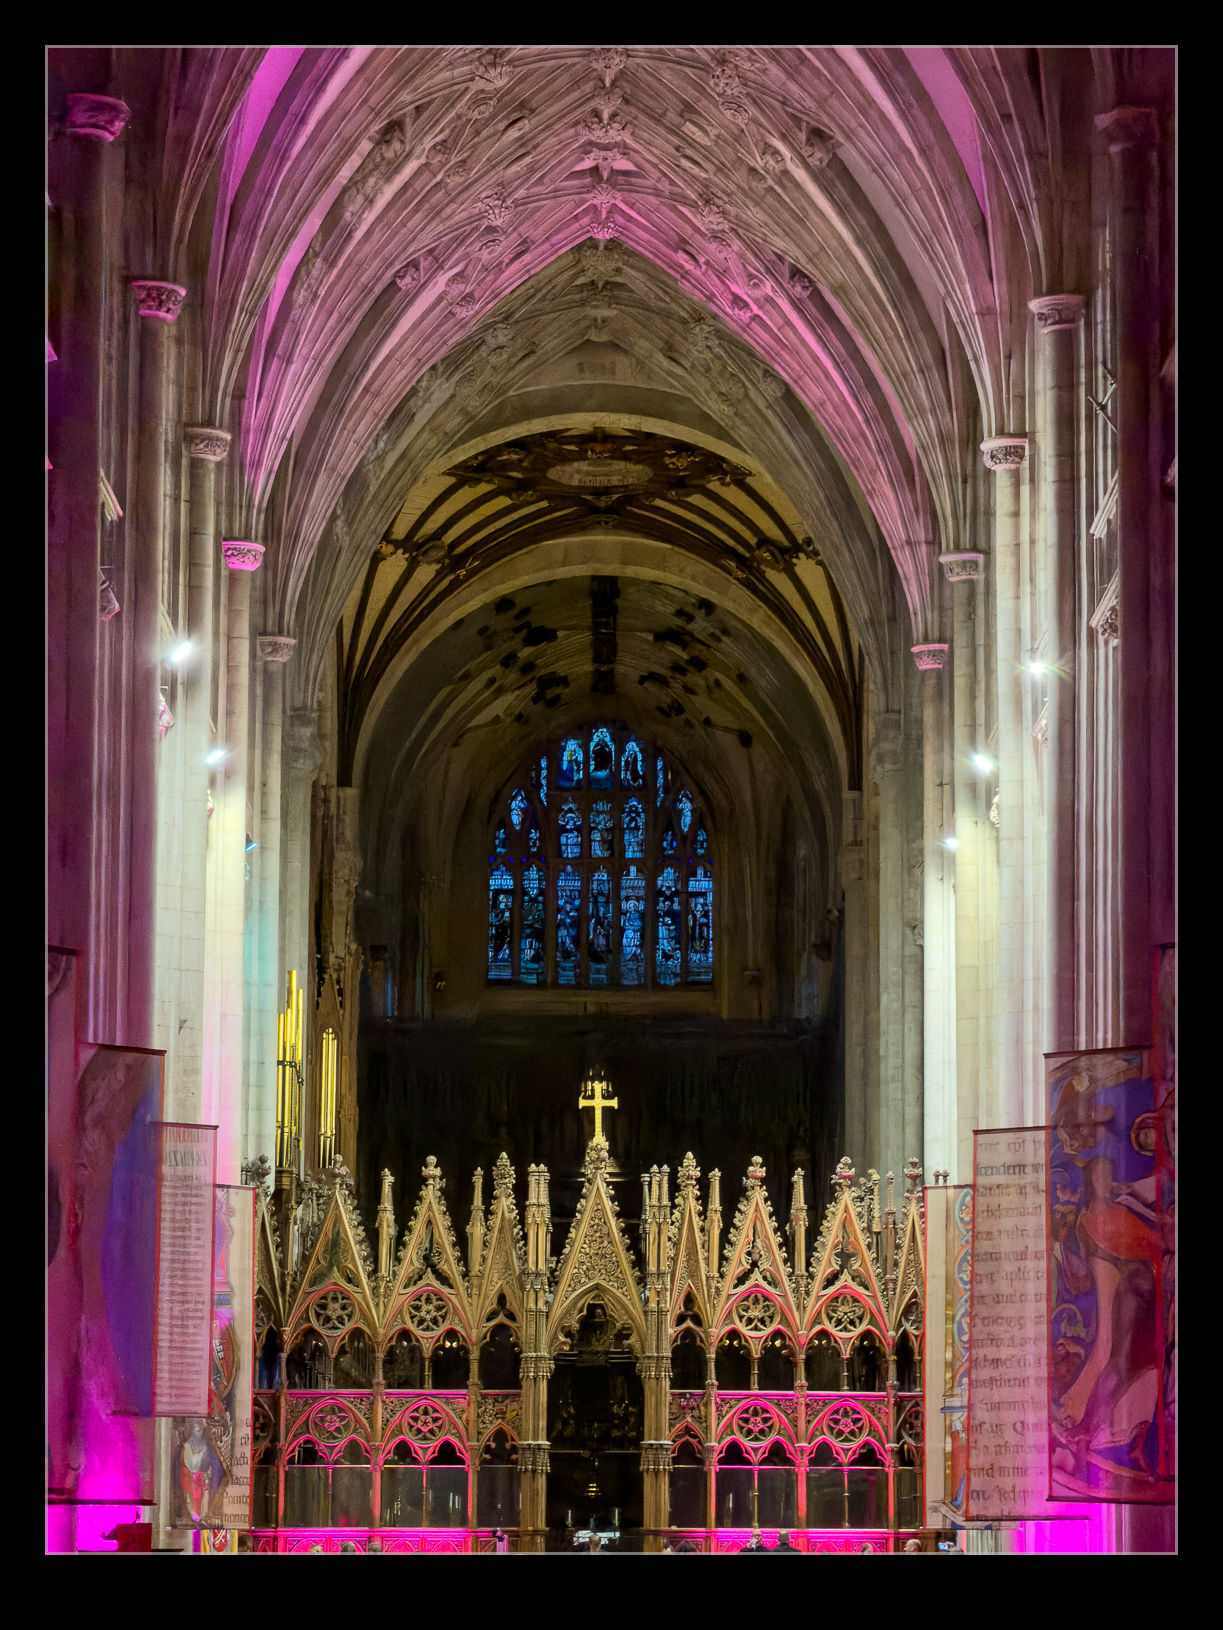
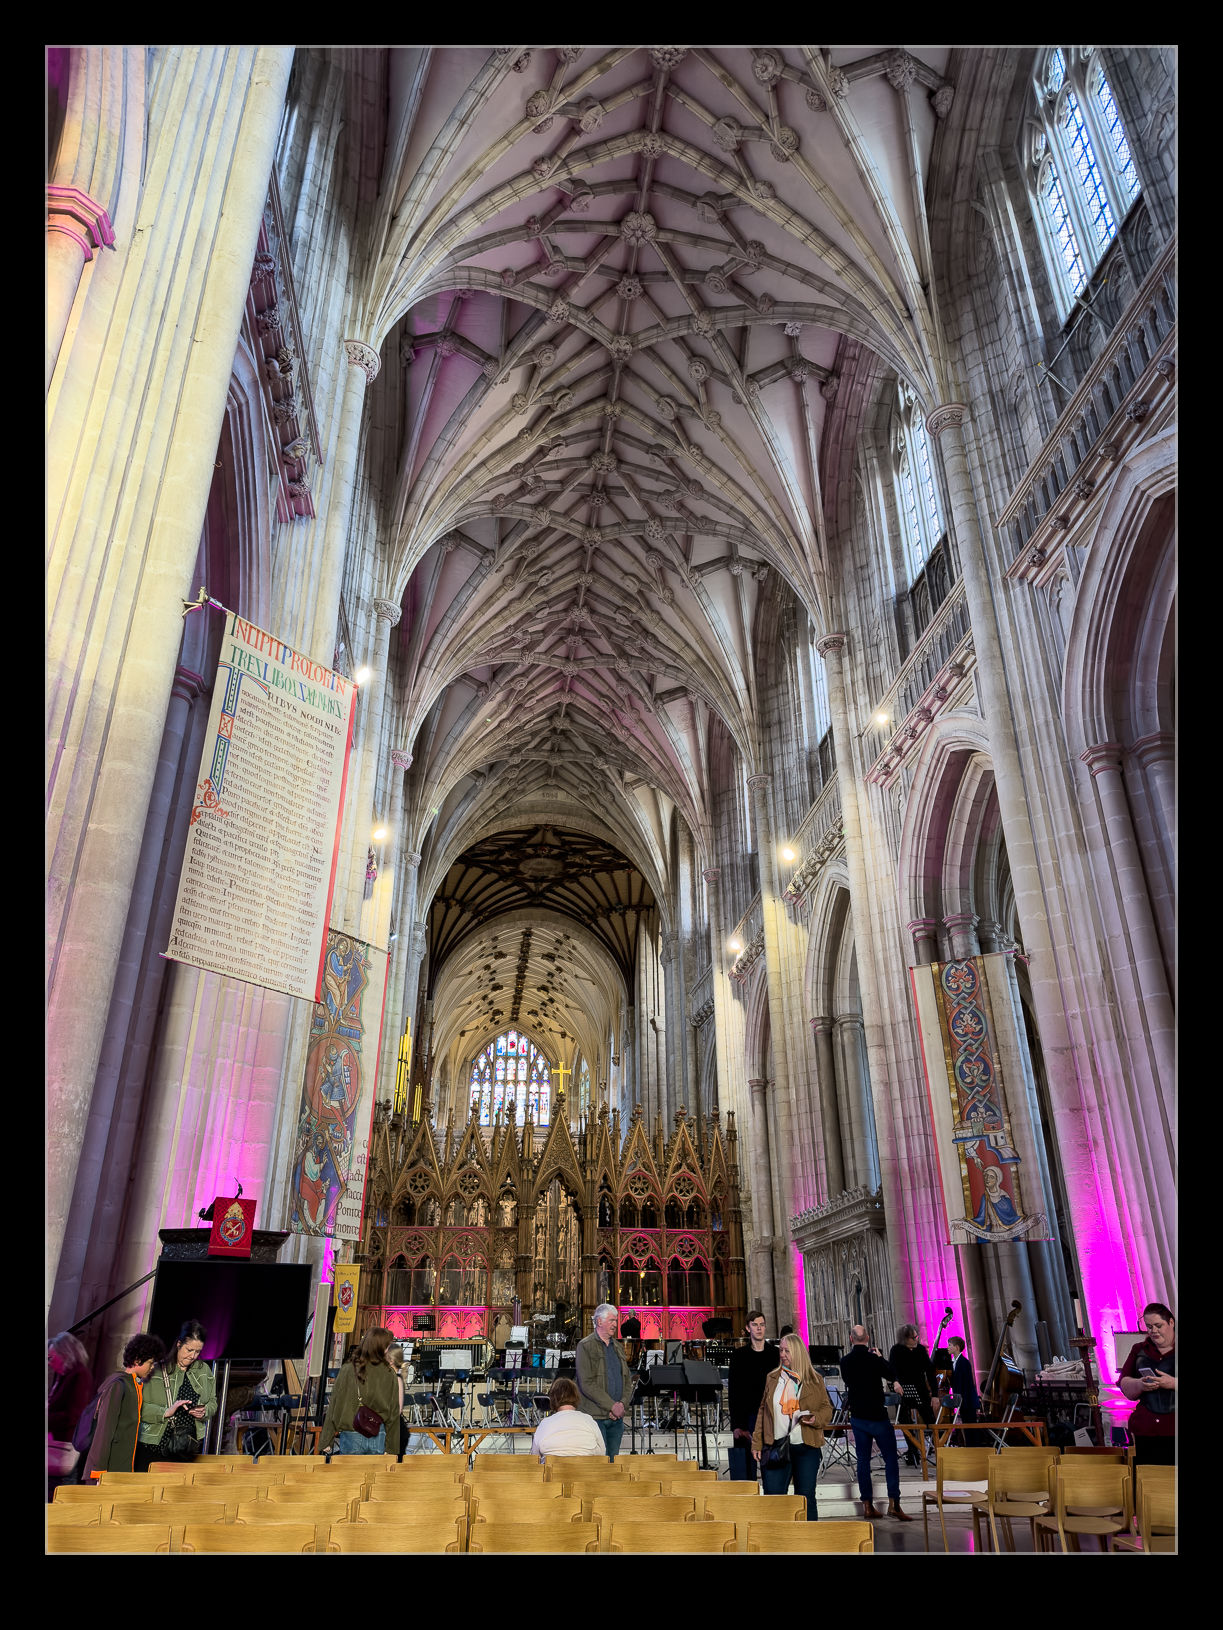
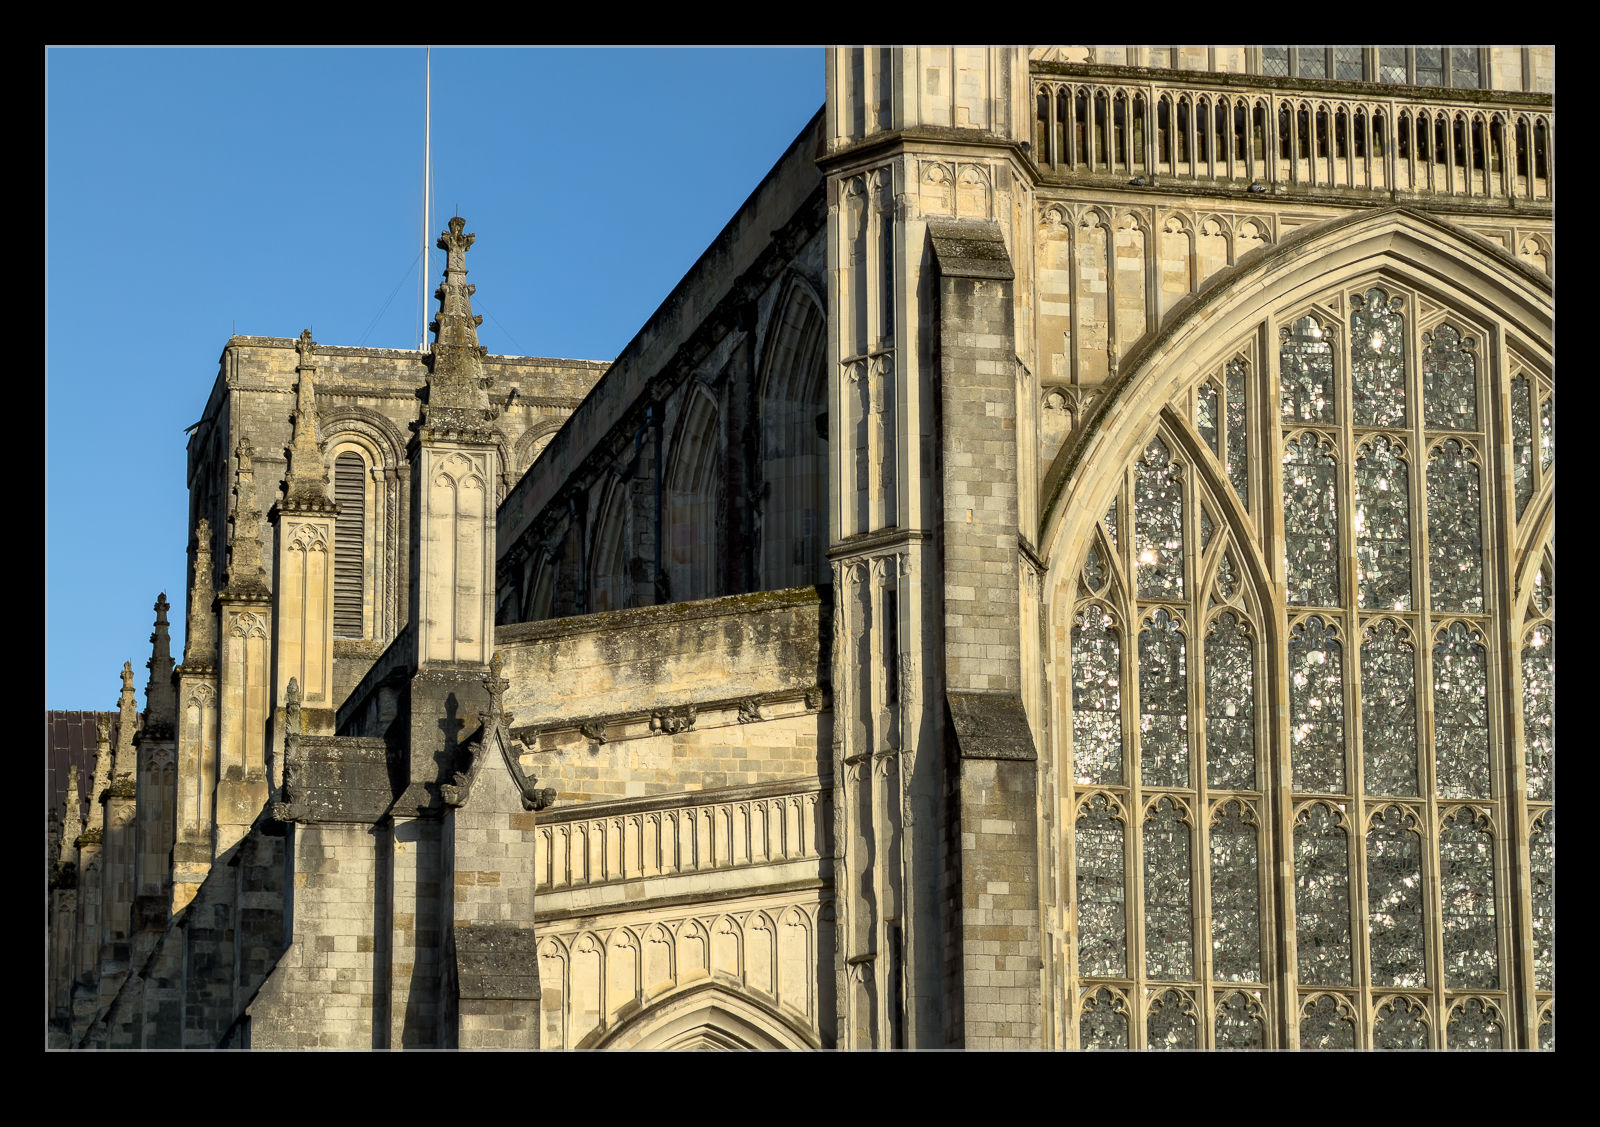
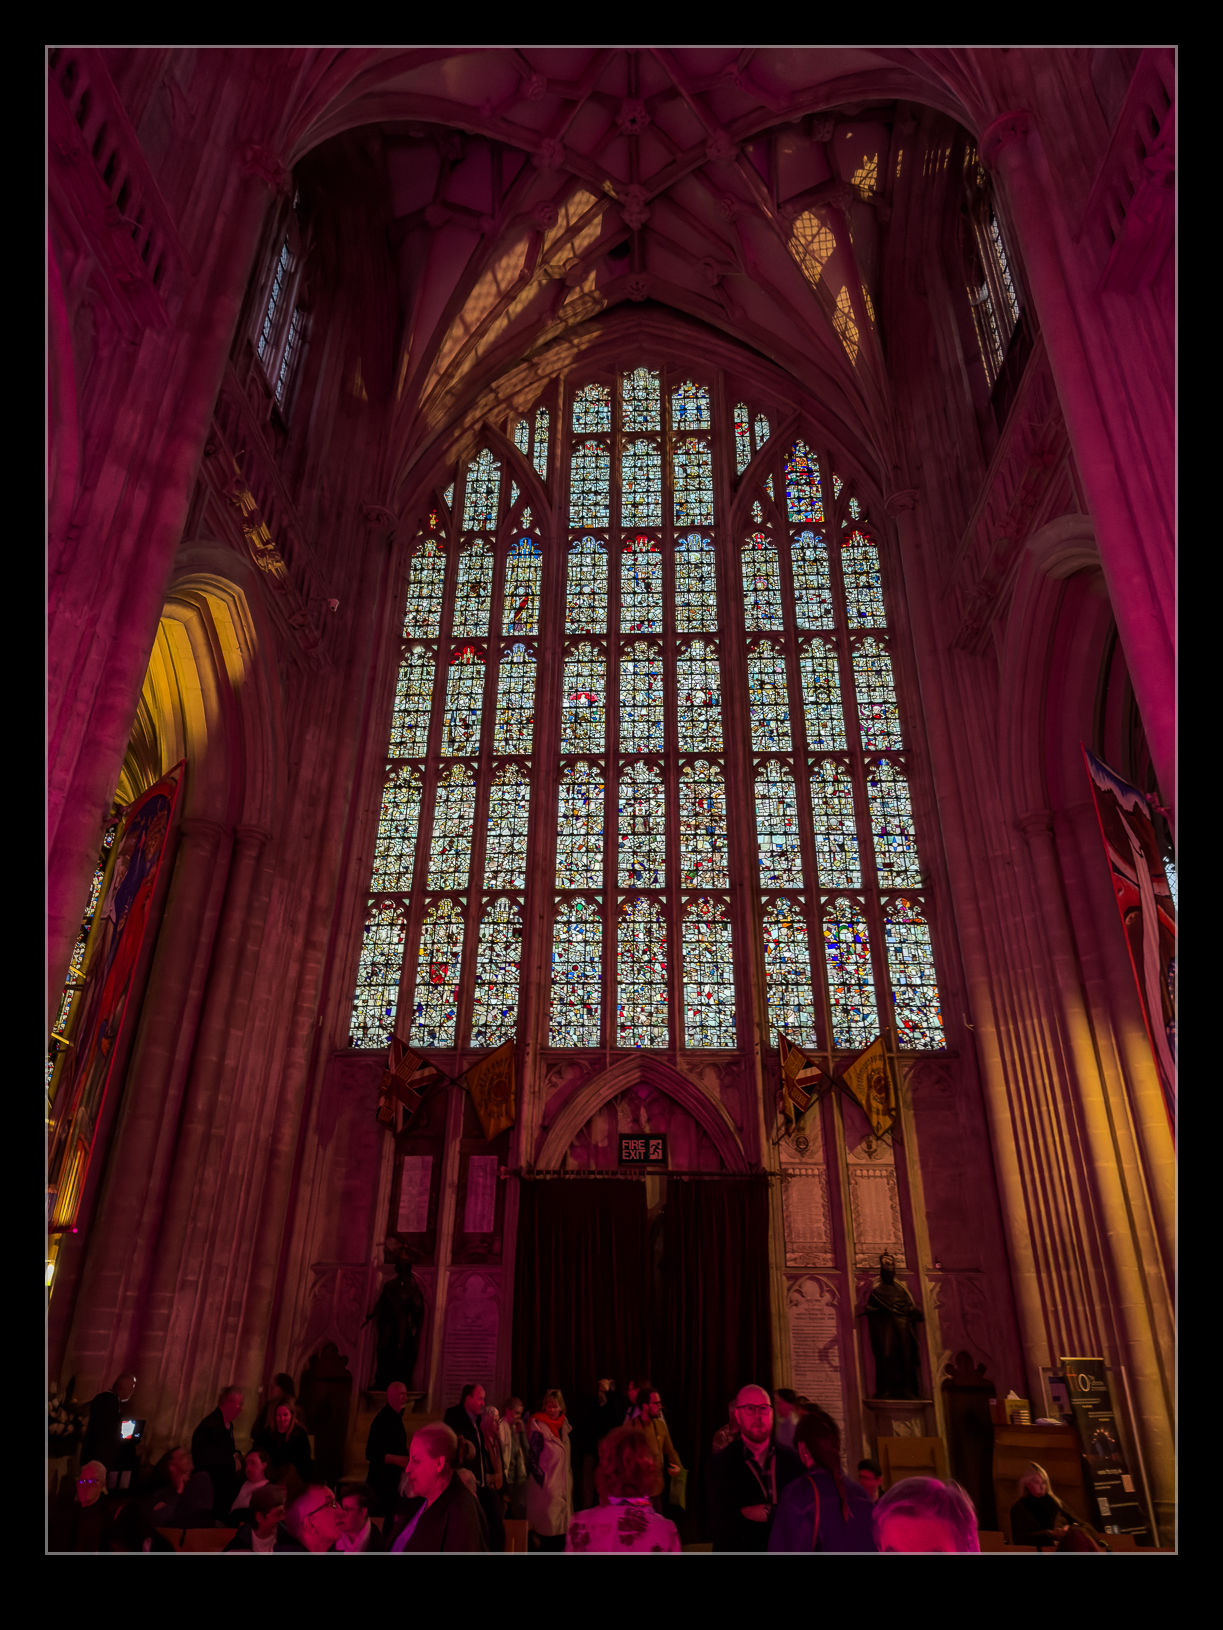
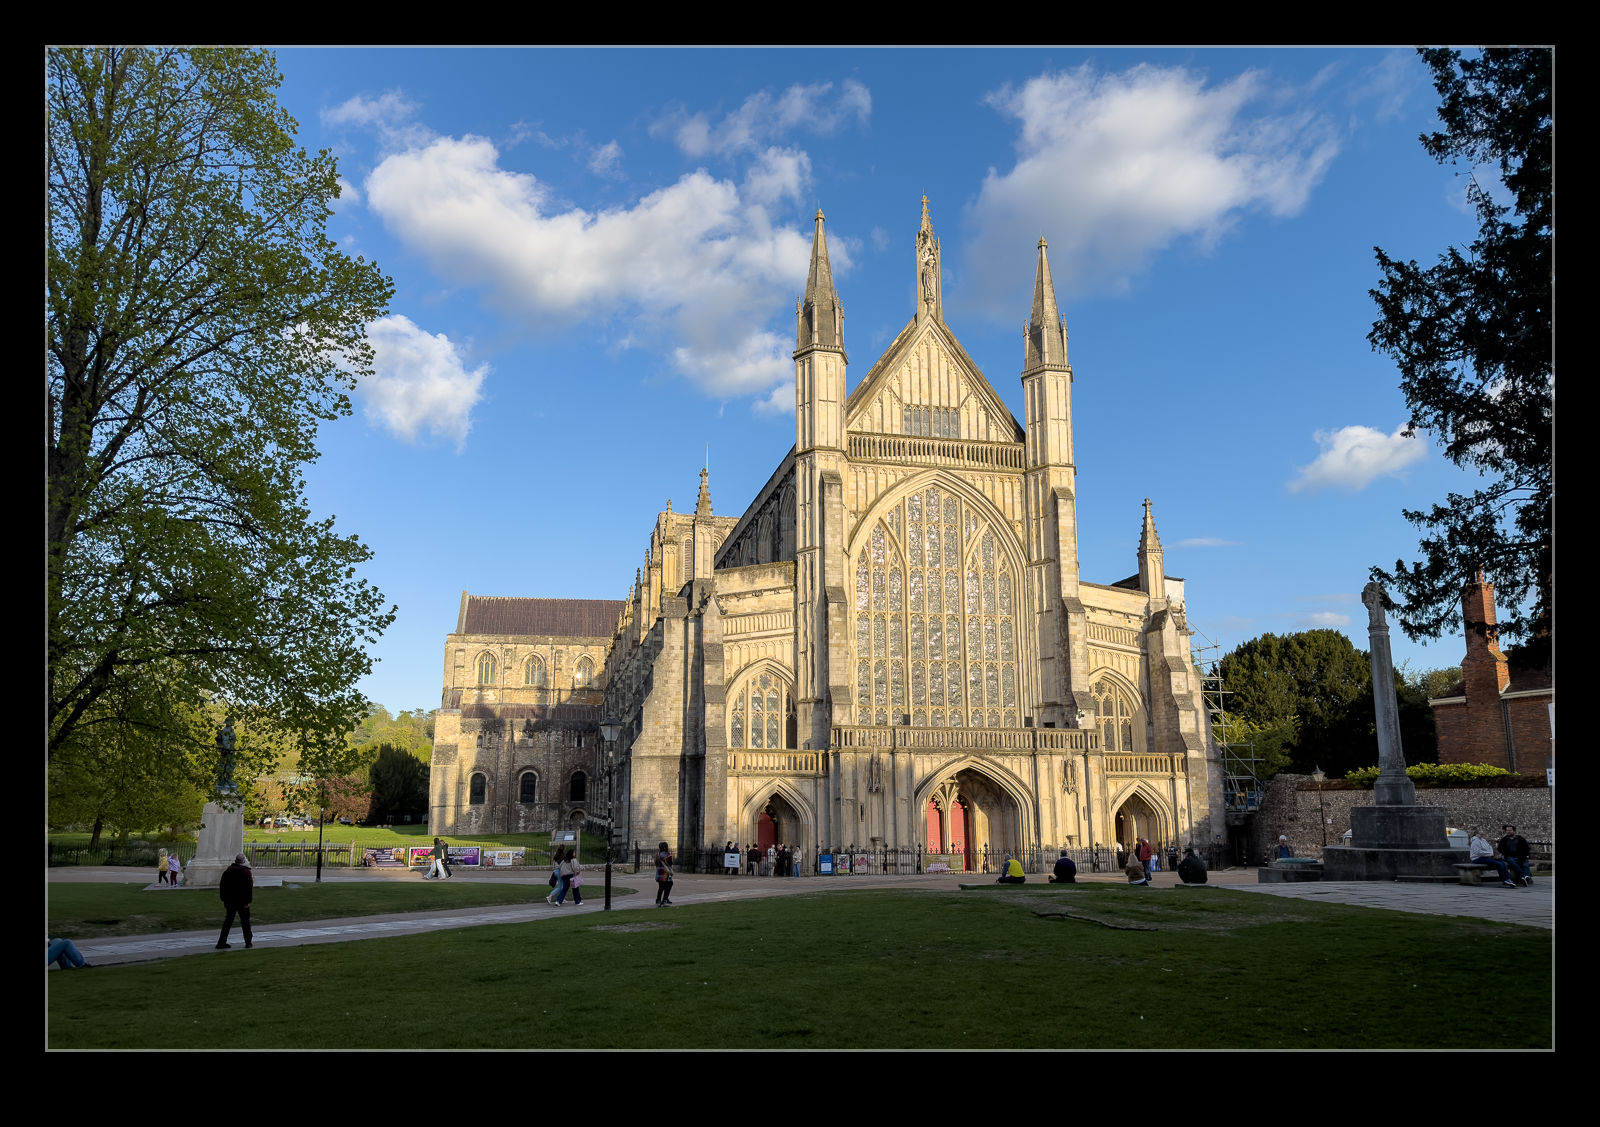
We bought tickets for an orchestral performance of The Planet Suite at Winchester Cathedral. It was still daylight when we went in before the start of the event but, by the time it was over, it was dark outside. The illumination on the cathedral was really nice and the ability of a modern phone to compile an image in those conditions still amazes me. I stitched together some shots to make this image. I also took a few inside the cathedral between the parts of the performance. Low light really does make for more interesting shots.
ightroom has been an integral part of my photography work for as long as it has been around. I was an early adopter of it when it was added to the Adobe portfolio, and I remain a daily user. I built a new computer when we were in Seattle, and it was happily zipping along when I built it whether it was working on photos or rendering video edits. However, in recent times, I found that Lightroom was getting very sluggish.
This was becoming very frustrating. The idea of building a new machine wasn’t top of my priorities right now. I didn’t want to be going through all of the migration issues again. It has got easier over the years and is now not too onerous but there are still things that need to be done that I forget until something minor doesn’t work. Before embarking on that, I did start paying attention to the performance metrics of the current machine.
As I was using Lightroom, I noted that the processor was rarely getting heavily used and I have a ton of RAM and, while that was getting quite well used, it also wasn’t getting maxed out. However, the offload to the graphics card did seem to be making that get used a lot. I took a look online at recommendations for graphics cards and decided that my first port of call would be a card upgrade.
Graphics cards are not cheap. The demand for the AI sector has put pressure on graphics chip pricing. I am also competing with the serious gamers which means even more upward pressure on the price. However, I got something that was identified as having good capabilities for Lightroom. It showed up quickly (doesn’t everything these days – how strange it feels when something is going to have a long lead time) and I went about squeezing it into the case. The previous card was considerably smaller and required a lot less power. I had to remove some of the internal elements to get this to fit. It also needed three power cables versus the one for the previous card. All of this was relatively easy although far less so than it would have been if I was putting the thing together from scratch.
I powered the system up and, after a few driver installation processes, the machine was ready to fire up Lightroom. It opened up and I immediately noticed the difference. Scrolling through the catalogue, previous rendered immediately and the log in scrolling was gone. I opened up an image and created a virtual copy to play with the masking functions. The first mask model was rapidly created and then the brush functions were tried. Absolutely no lag and great responsiveness. It was like a had a new computer.
Looking at the performance metrics, the processor and RAM were much as before but the new card was working away busily and was using a load of RAM. It was certainly doing what was hoped. This wasn’t a cheap upgrade to make but it has effectively given me a new level of performance by changing one component and leaving everything else as was. That seems like a win to me.
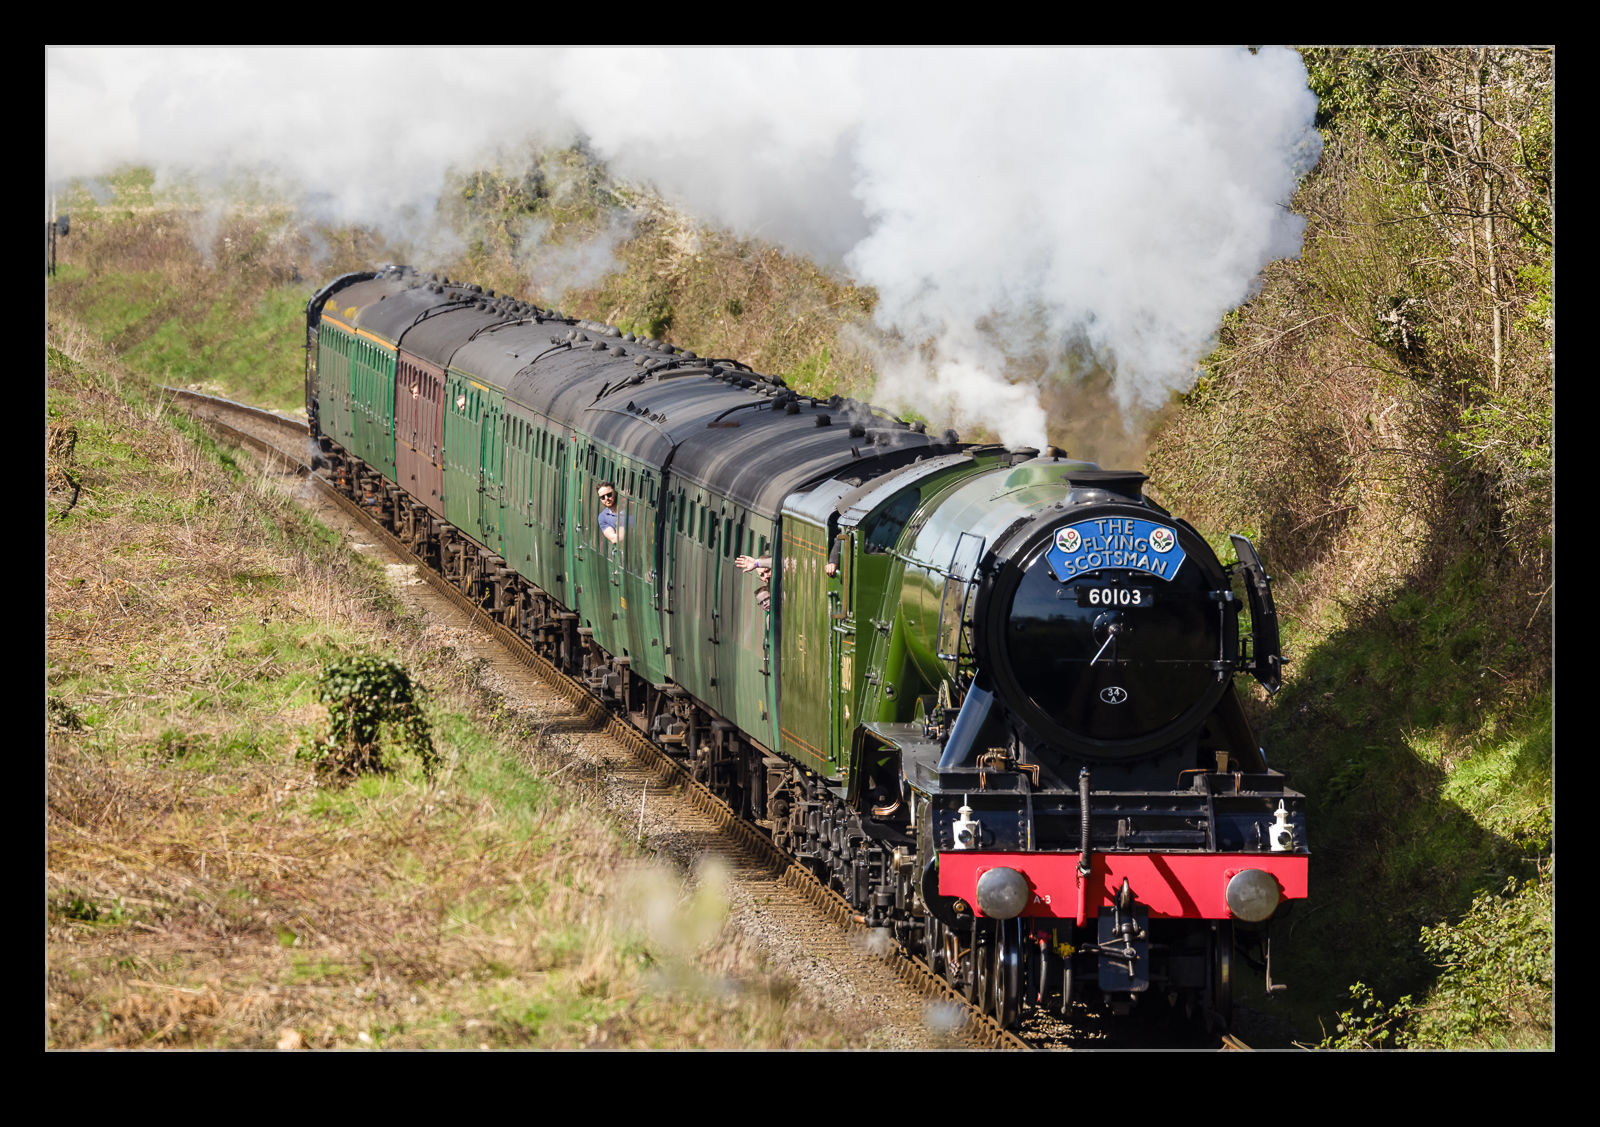
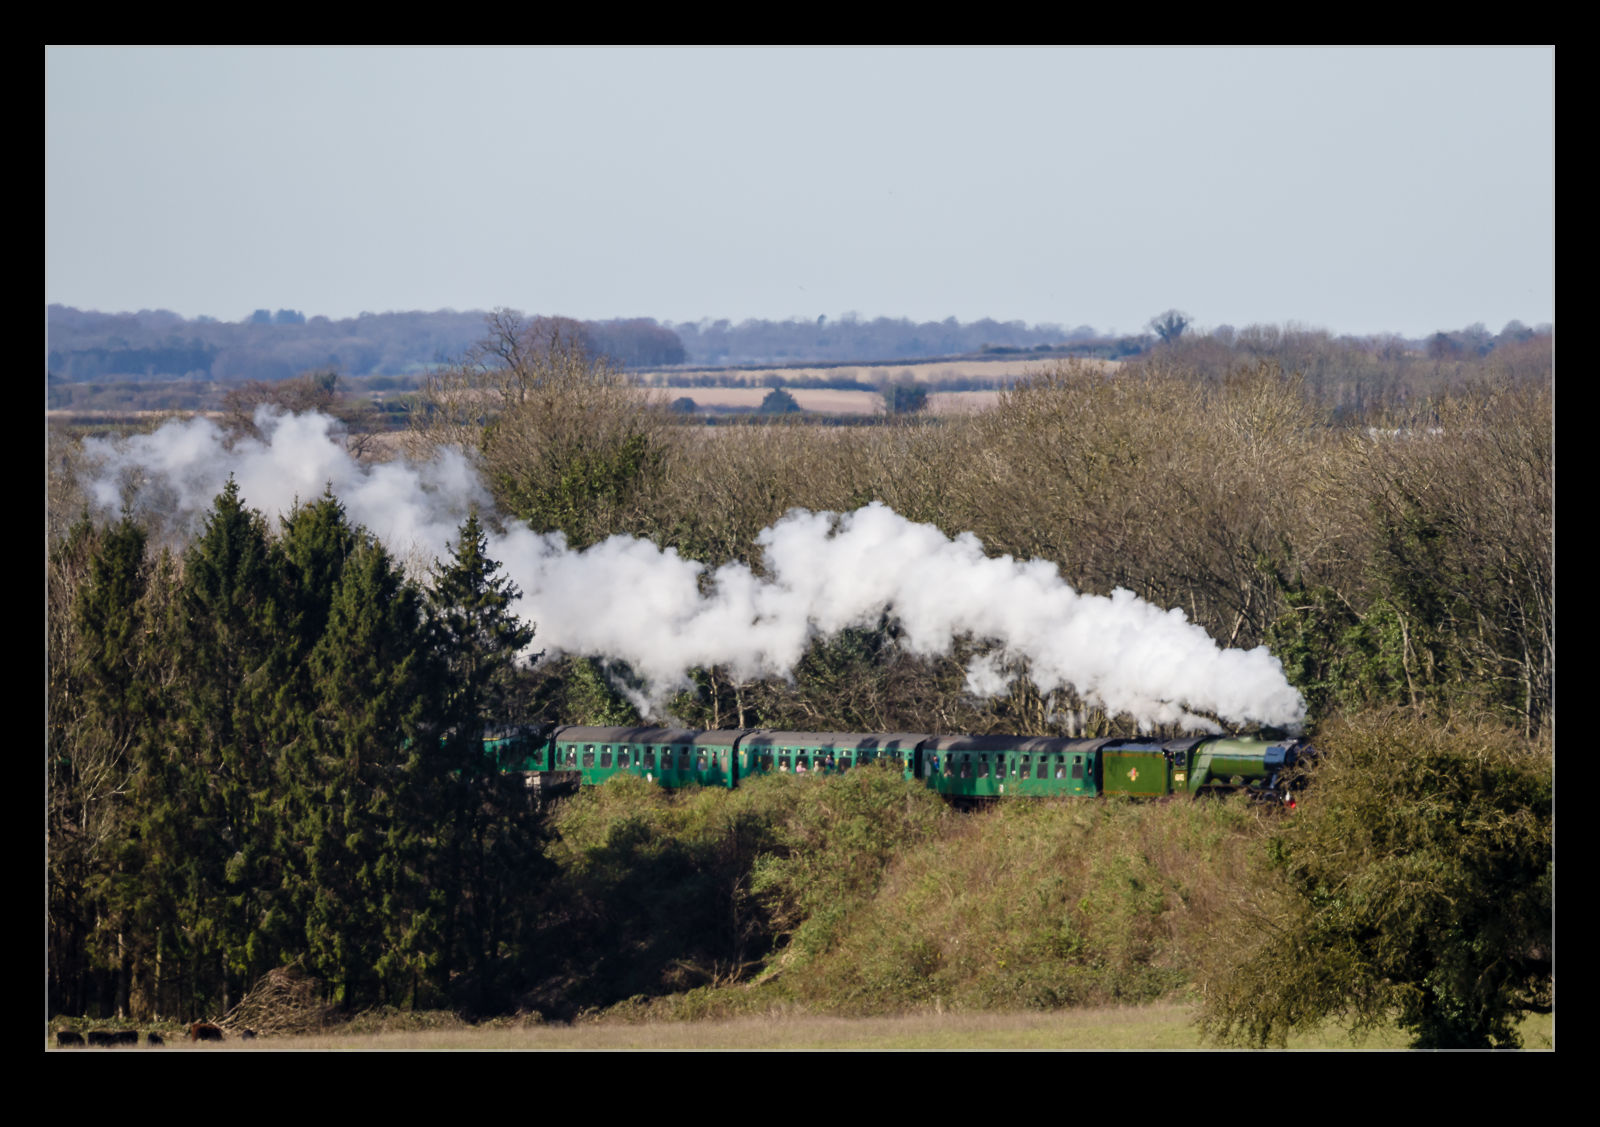
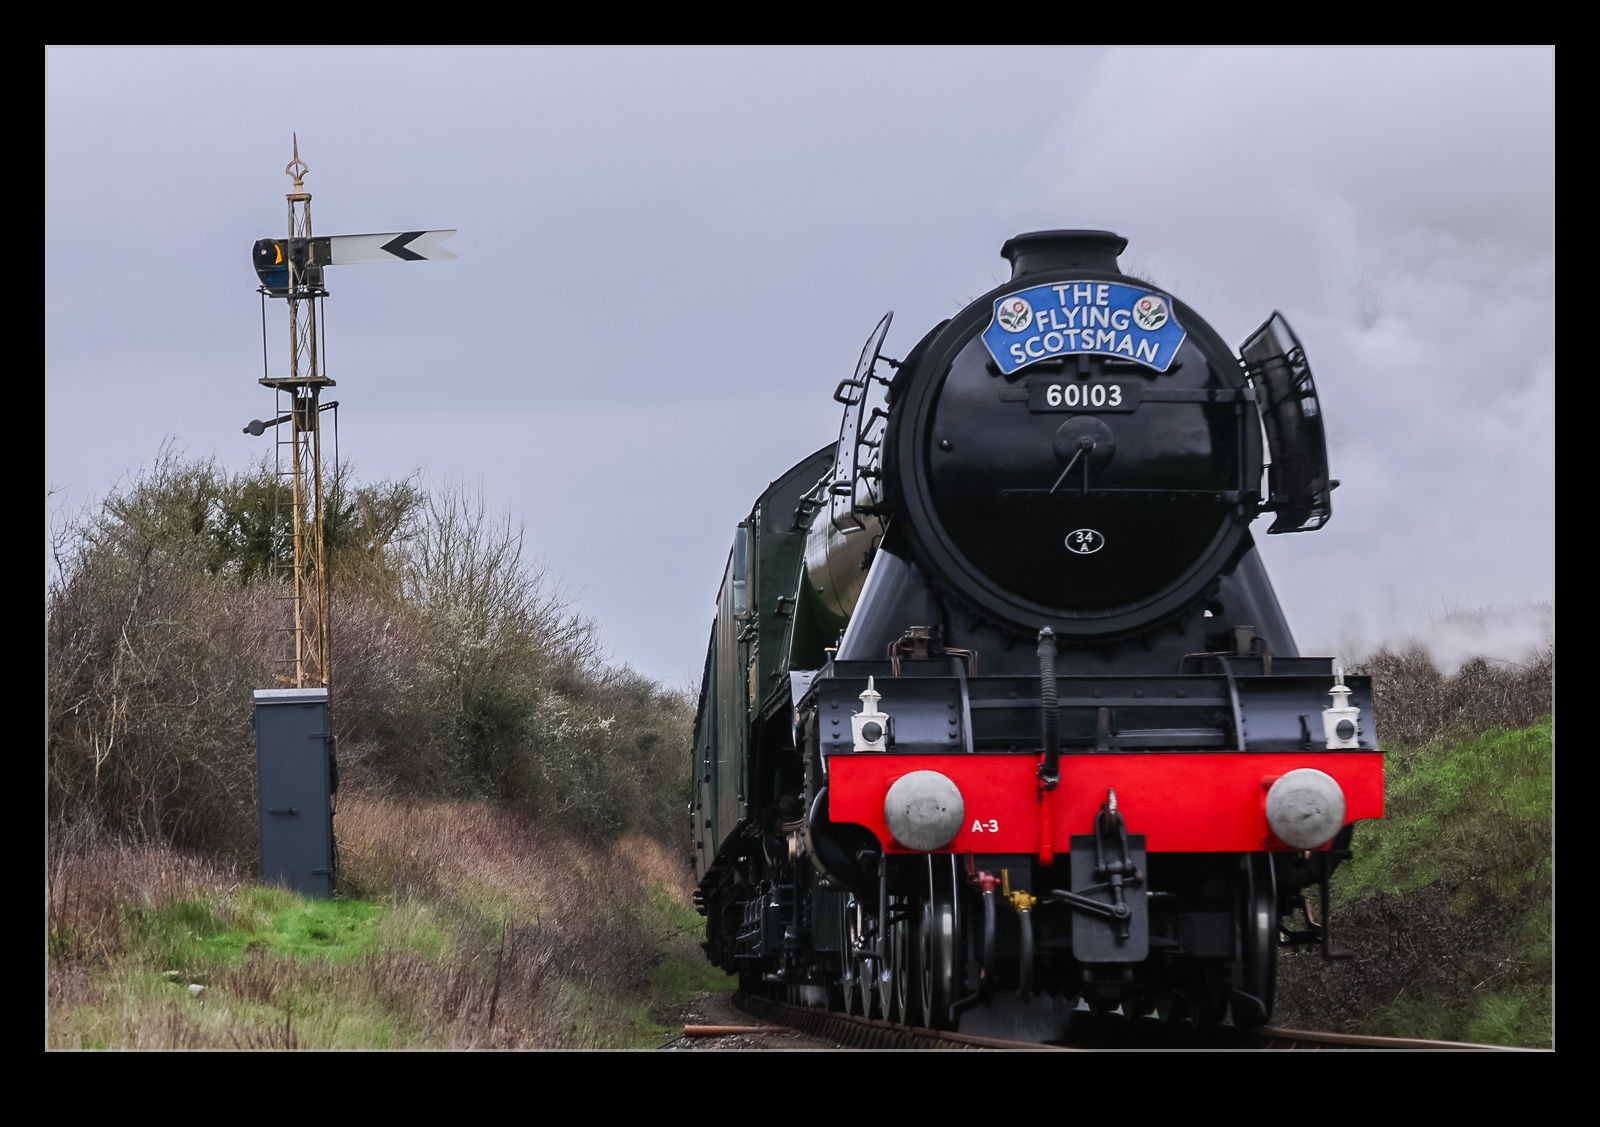
I had spent a bit of time preparing to photograph the Flying Scotsman on a Saturday morning at the Watercress Line. Once done, I had gone home and picked up Nancy so we could head to an appointment that we had in Itchen Abbas. When we finished there, the plane was to head to Alresford for some other stuff. This was going to take us by the bridge in Bishop’s Sutton that goes over the track. I thought it was about the time that another of the Scotsman’s planned runs should take place. Consequently, we drove by that way.
There were plenty of people on the bridge when we got there so I parked and asked if it was due. Someone said five minutes, so I grabbed the cameras from the car. As I did so, I saw people lifting cameras to their eyes so zipped back. The train was already climbing the hill out of Alresford. The longer shots were not great because the heat haze was already showing itself, but they were okay. As it came up the cutting, it was making plenty of power. Then it was gone. We were back in the car and off to our destination and it had barely taken five minutes out of our day!
In a recent post, I told the story of my less than successful efforts to photograph the Flying Scotsman at the Watercress Line. In that entry, I mentioned how much public attention the loco gets. Given the number of large steam locomotives that there are in the country, it is interesting just how much more this one attracts visitors. If it helps the railways get some additional revenue, it is surely a good thing. Seeing as I had messed up getting photos on that occasion, I decided to try again the following weekend. The weather forecast was far nicer. Moreover, I spent a load of time thinking about what I would do. Even then, as I headed out in the morning, I had a couple of options with the things I was bringing.
I took two cameras with me and the Insta360 as well. I also had a clamp mount which I hadn’t decided whether I would use for the Insta360 of the second camera. I figured I would decide when I got there. Since the weather was nice and the Scotsman is popular, I worried that it might be pretty busy. There are limited parking spaces on the lane near the crossing I was going to, so I headed out in plenty of time. Of course, when I arrived, there was no one else around. Plenty of time to now kill!
I walked up to the crossing and found it empty. This gave me loads of time to decide on what to do. I had brought some PocketWizards with me. If I was going to use the second camera, these would be used to trigger that body.
As I unwrapped the PocketWizards, I realised that the Velcro cover I used for them would also make a nice wrap for the Insta360 handle. I attached it to the fence and wrapped the handle to the fence posts, and it provided a nice secure fit which meant I know had the clamp mount available. The Insta360 is controllable from my phone, so I was able to leave it fully extended and just activate it from the app when ready. I did a test with it when it stopped recording after 20 seconds. I have no idea why it did that so tried a couple of further recordings which all worked fine so I decided that was good to go.
While the PocketWizards can be used to trigger the second body when the first is firing, I didn’t actually want that. The two bodies were set up for different shooting scenarios – the long lens would cover the approach of the train but, during that time, it would be so far away that there would be no benefit to shooting with the wide-angle lens. Similarly, once it was close enough for the wide angle, the long lens would already be too much so I would have stopped shooting with it. Consequently, I handheld the PocketWizard and triggered it by hand when required.
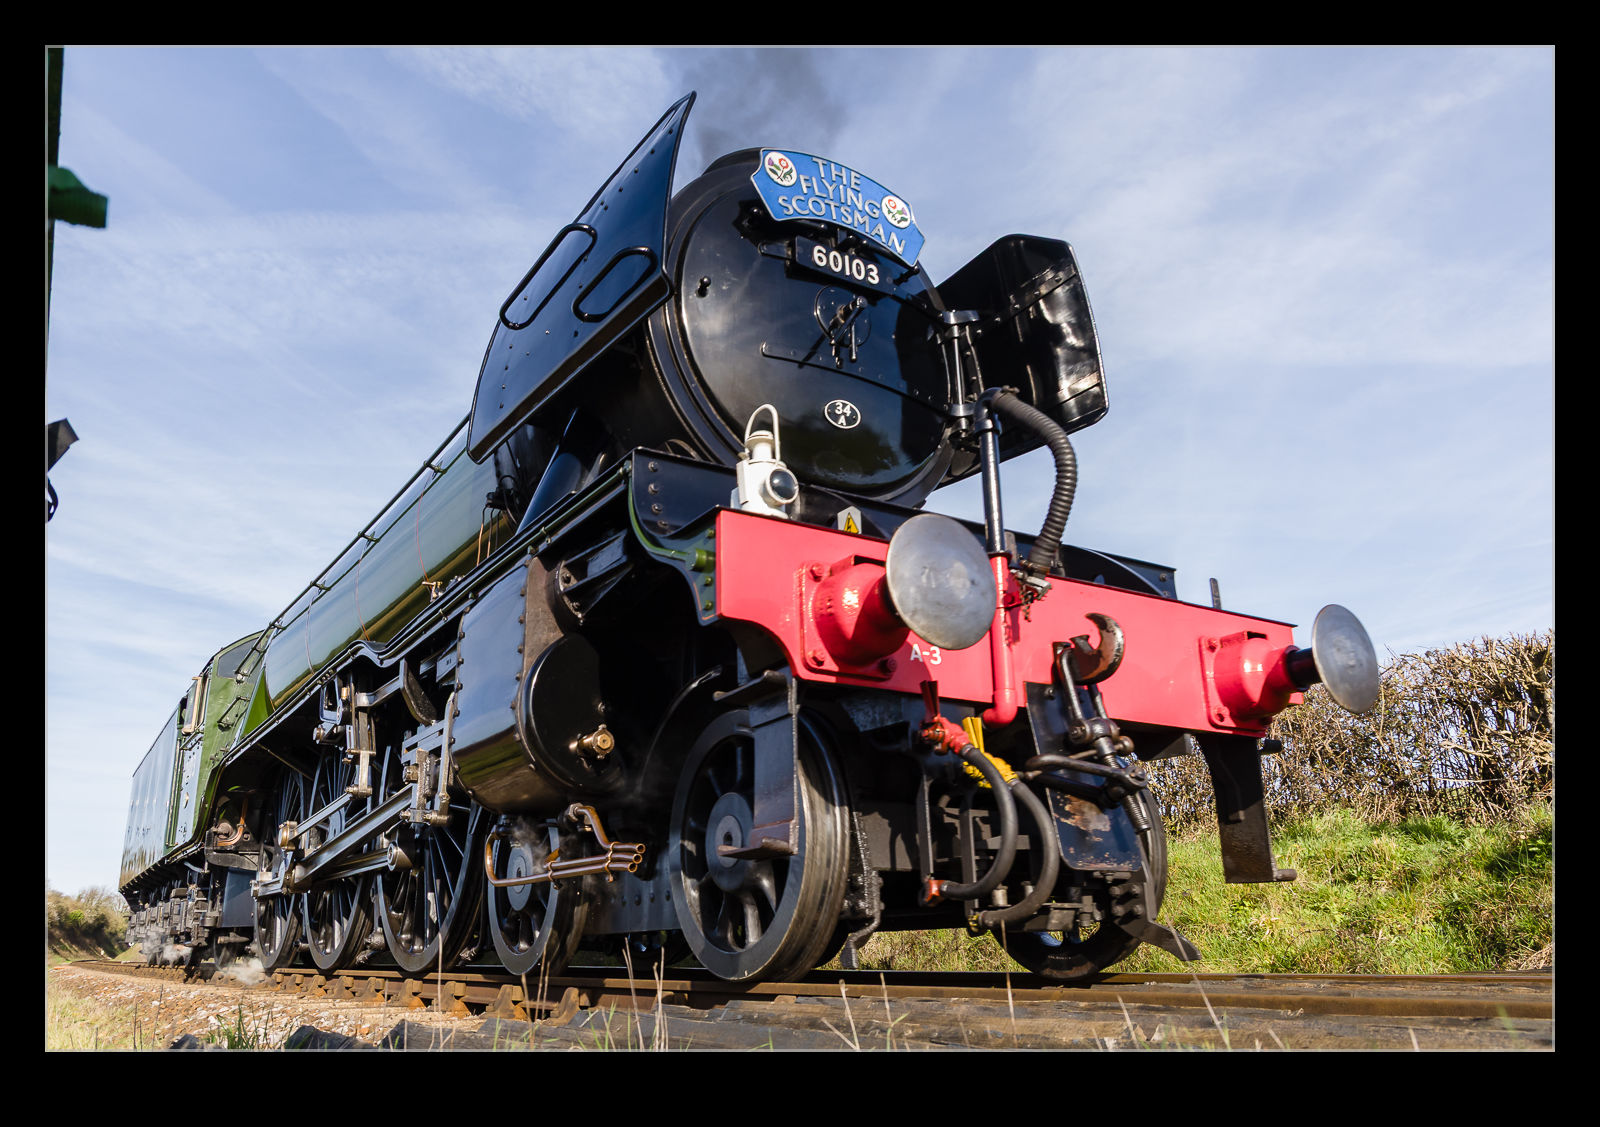
I clamped the mount to the bottom of the fence with the camera at ground level looking up at the approaching train. I normally use back button focus but I don’t think that would activate via the PocketWizard, so I switched it to front button for focus and exposure. The joy of a flexible screen is that you can frame up the shot without having to be a contortionist which is good news for those of us with a few years under our belts. With everything set up, I set off a few test shots to see if everything was working. It all seemed good so now it was time to wait.
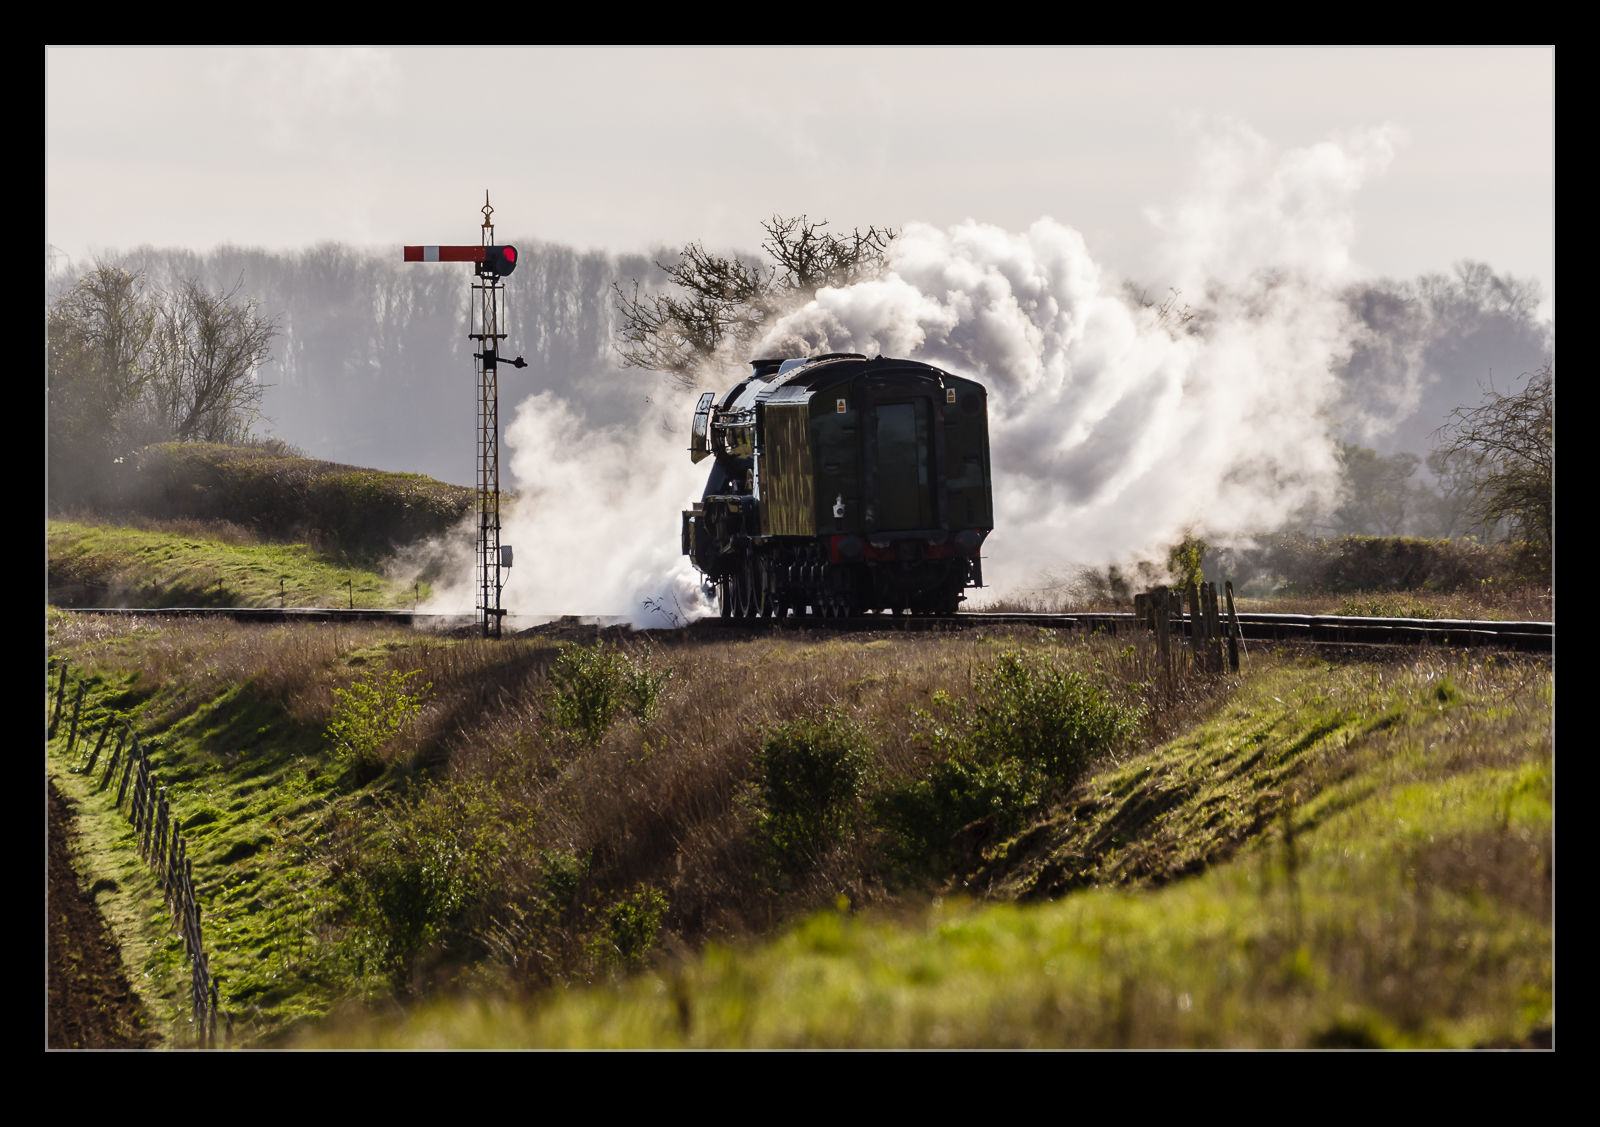
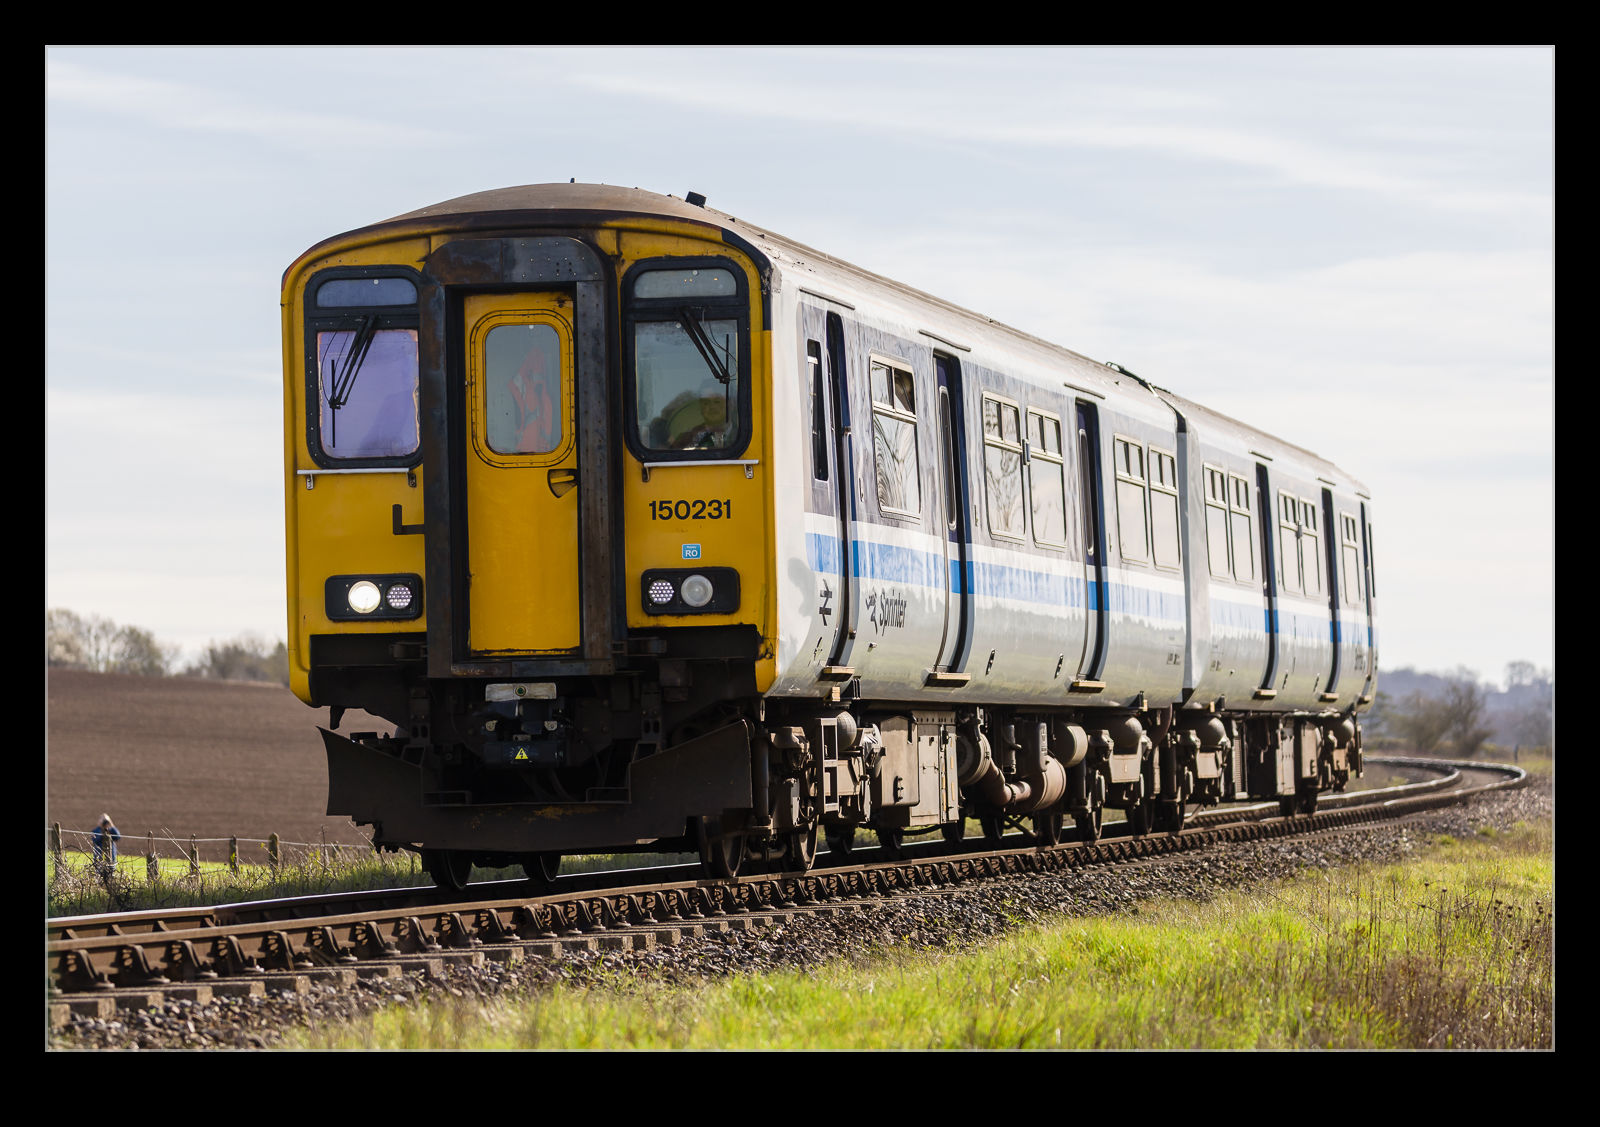
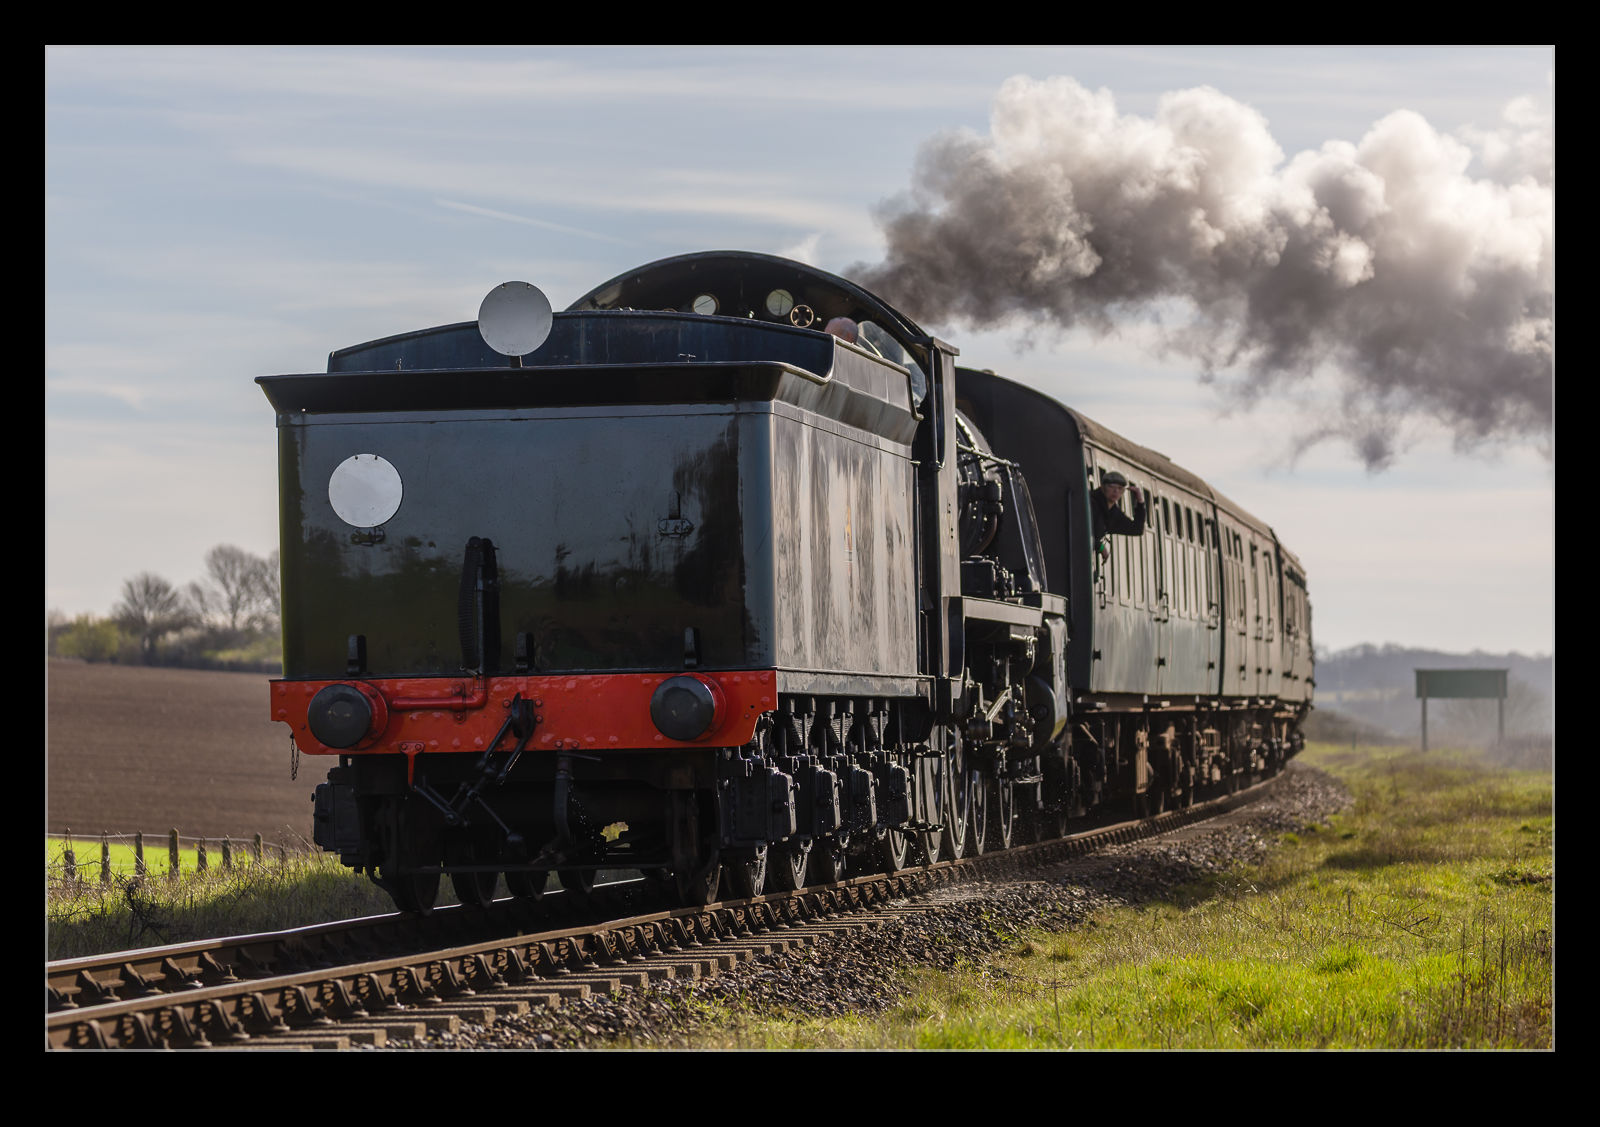
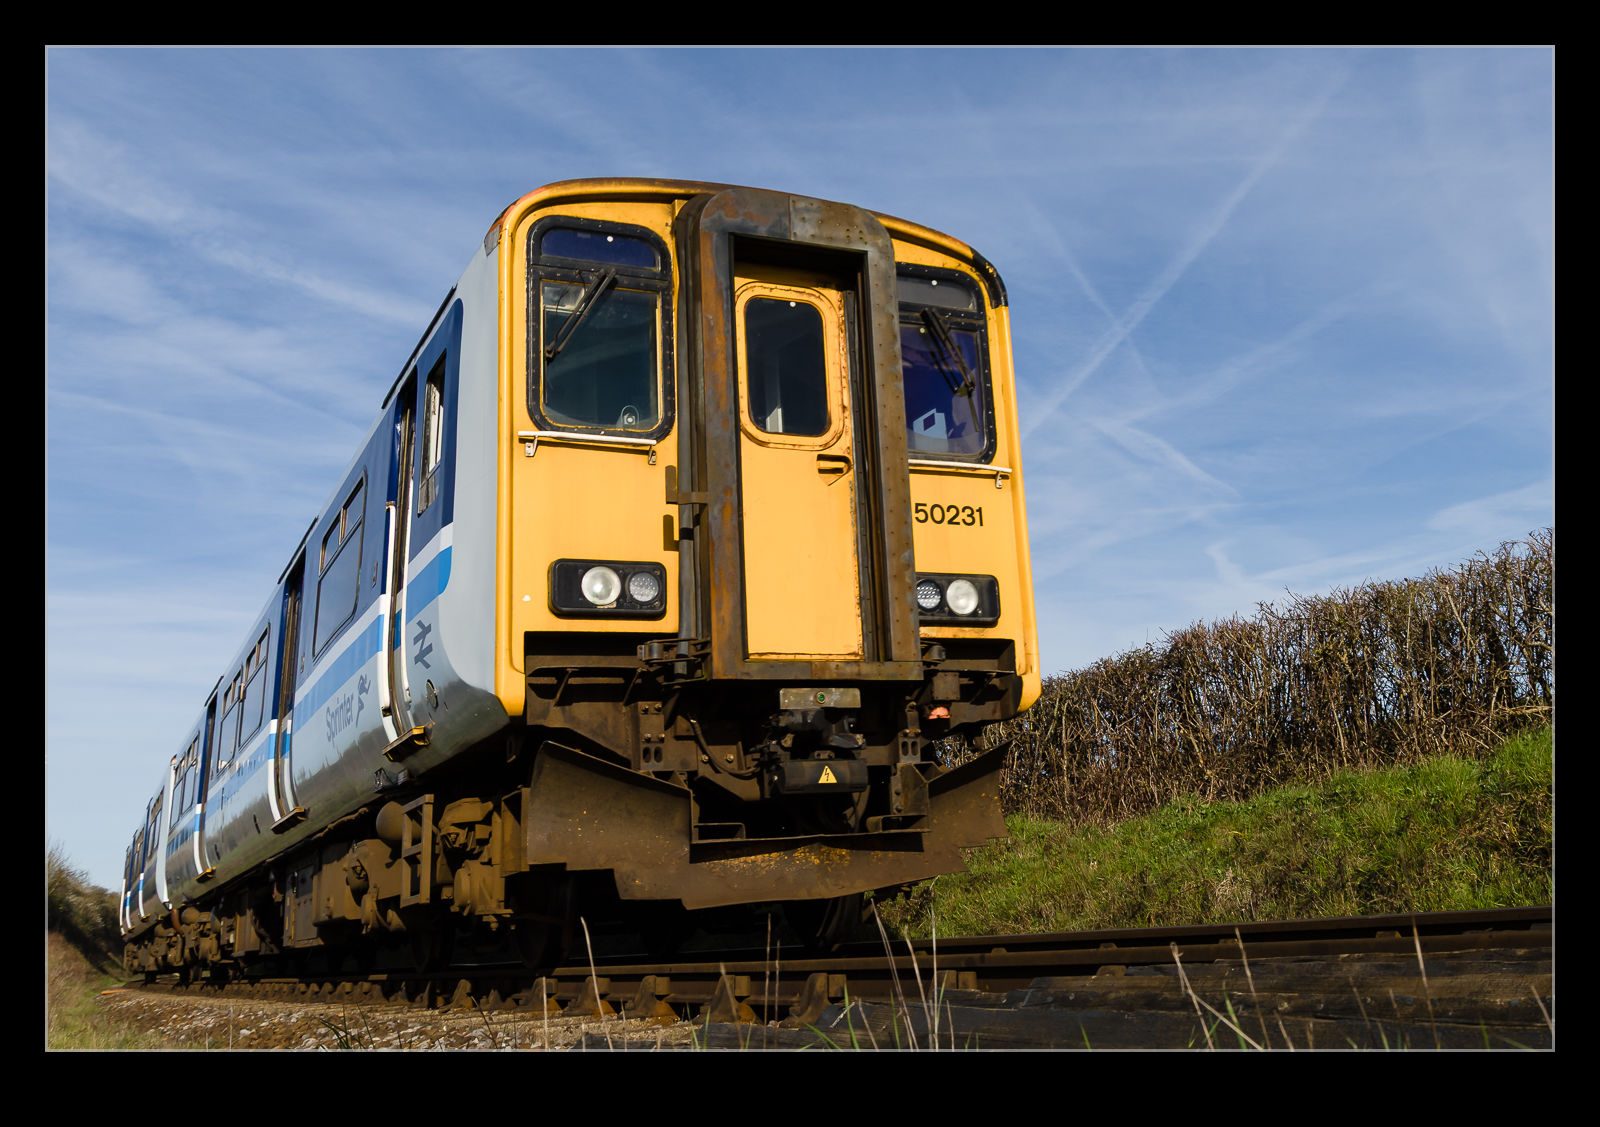
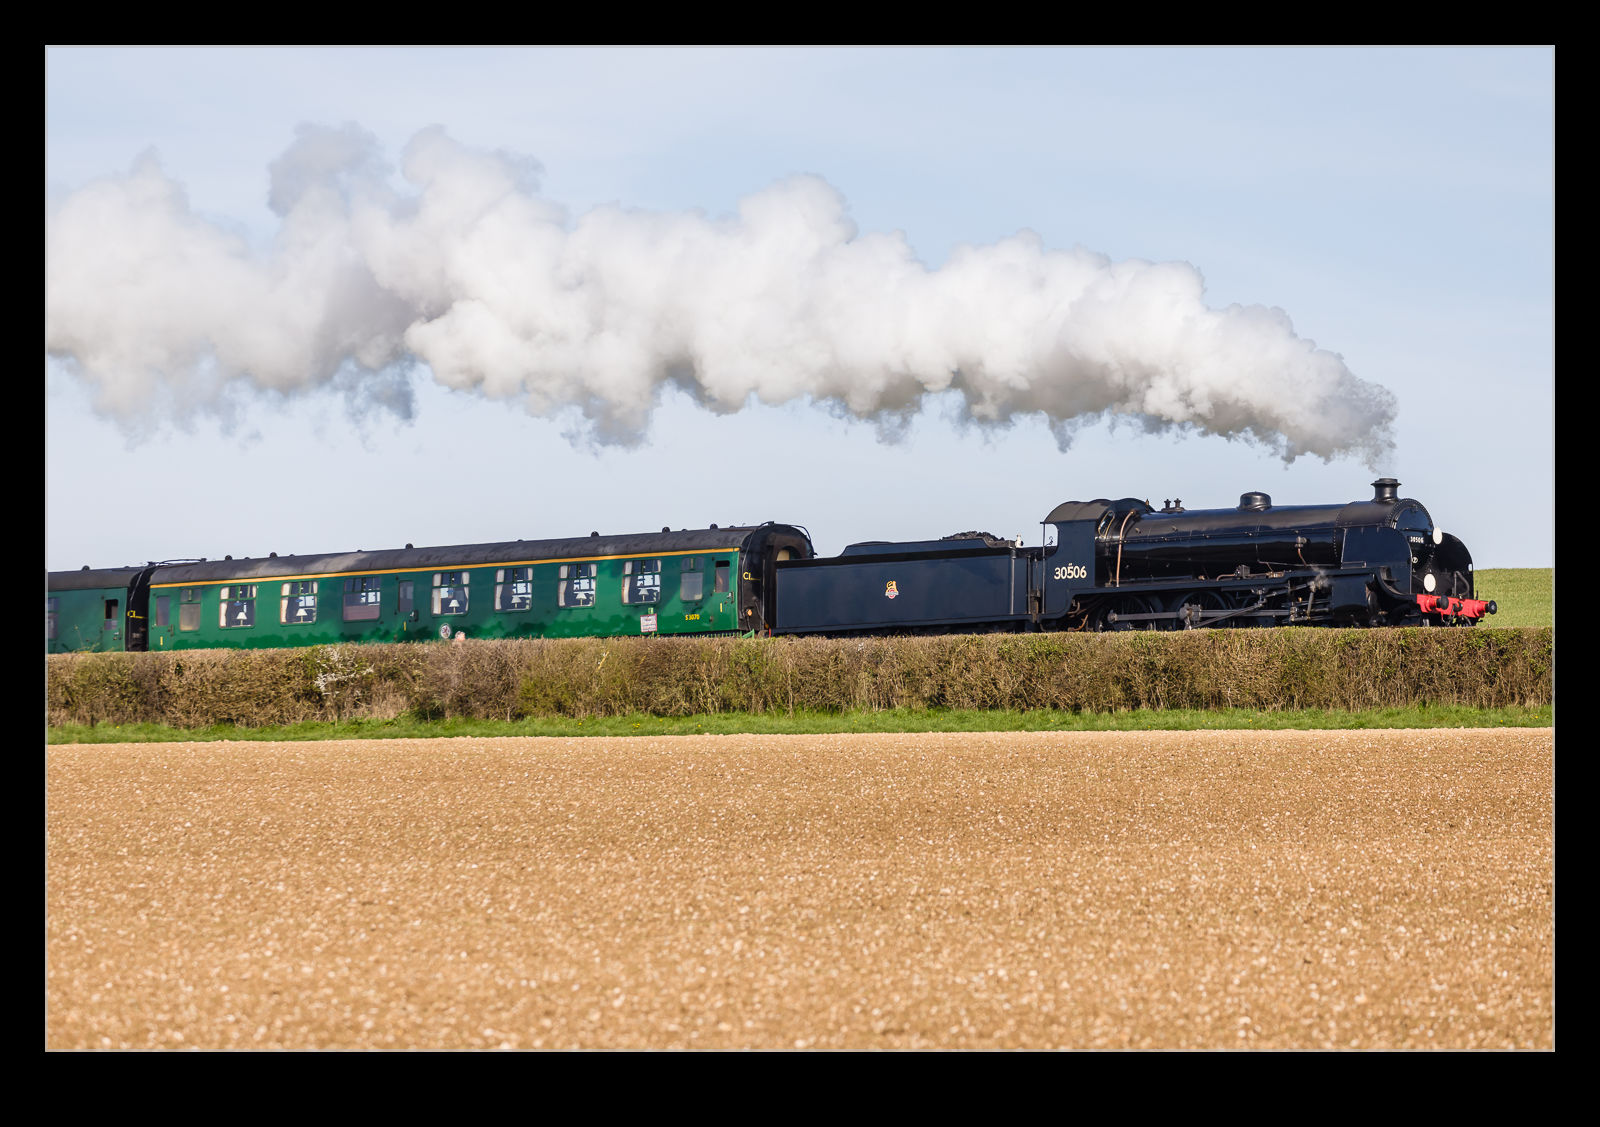
I was expecting one or two movements before the Scotsman which would give me a chance to test things out. There is a shuttle that is used to take people from Ropley to Alresford for the main event so I figured that would come through. It would be going the wrong way but would allow some practice. However, there was more than I expected. The first thing to appear was a steam loco running light in reverse from Ropley. Turned out that it was the Scotsman heading from Ropley to Alresford to join the train. That was a nice option but, of course, it had no coaches and, since it was running downhill, it wasn’t making much power. The shuttle also ran back, and forth which gave me some practice while another train rain down to Alresford for a service that would come after the Scotsman had departed for its first run.
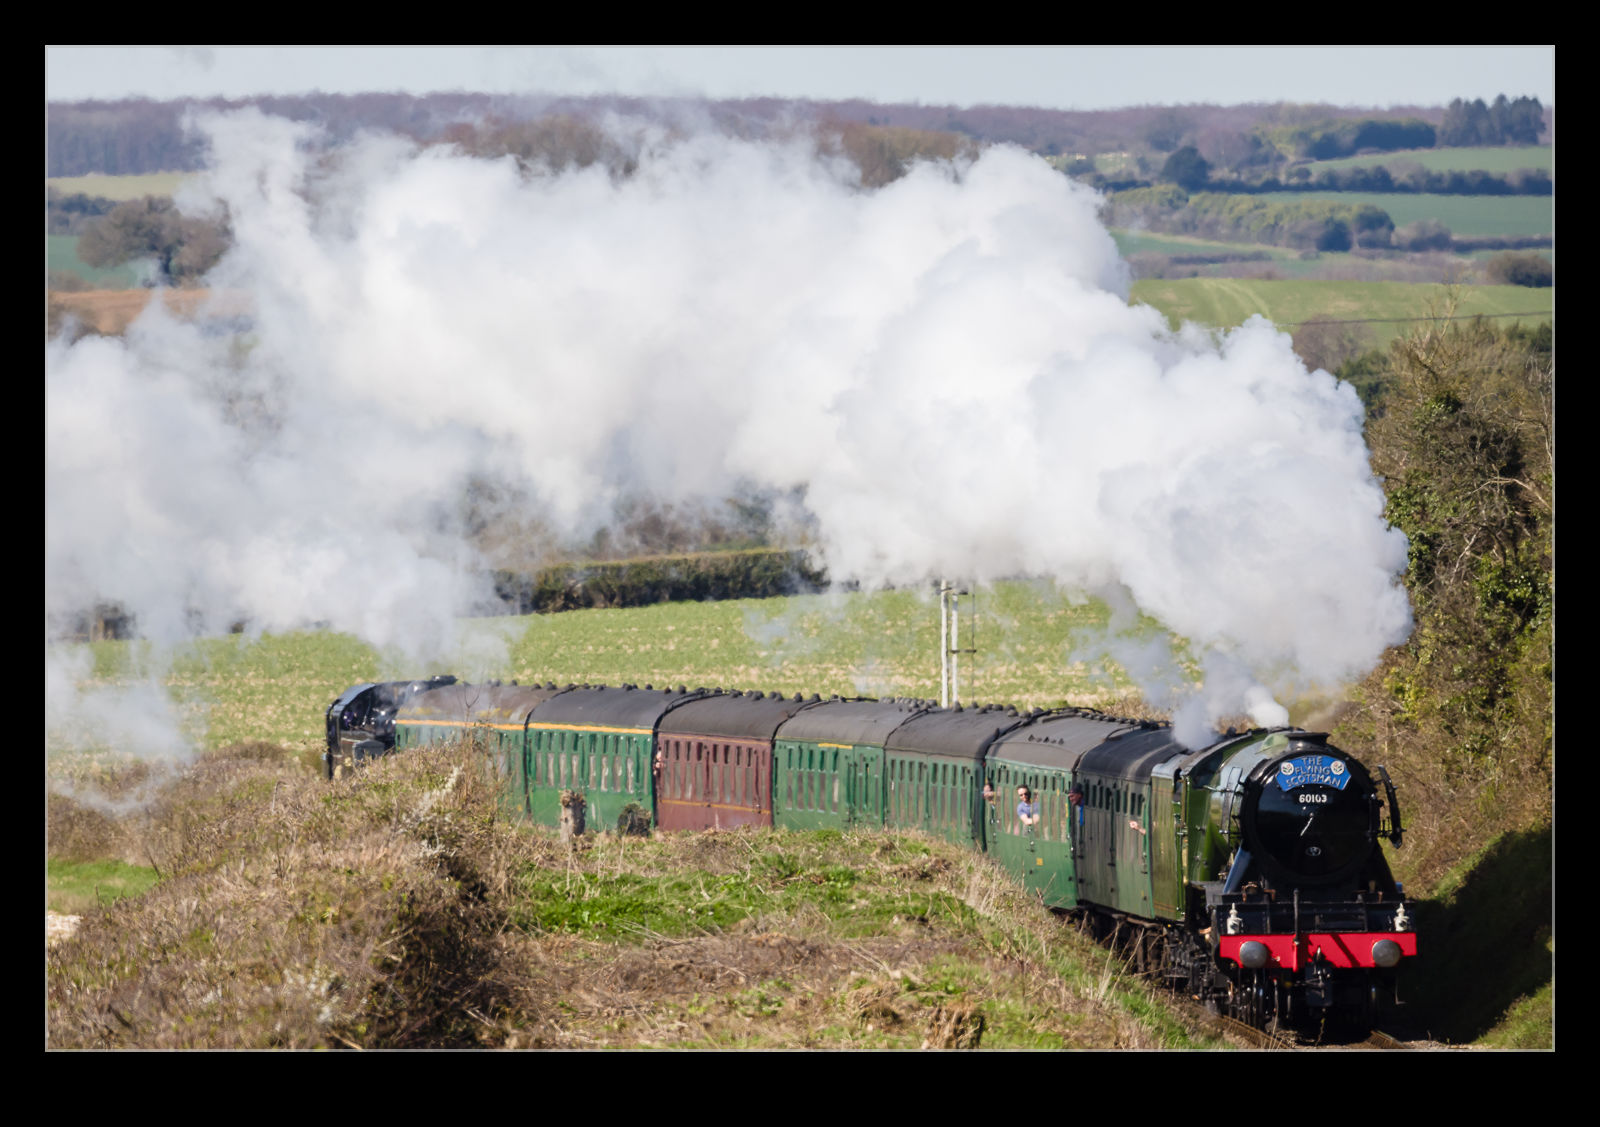
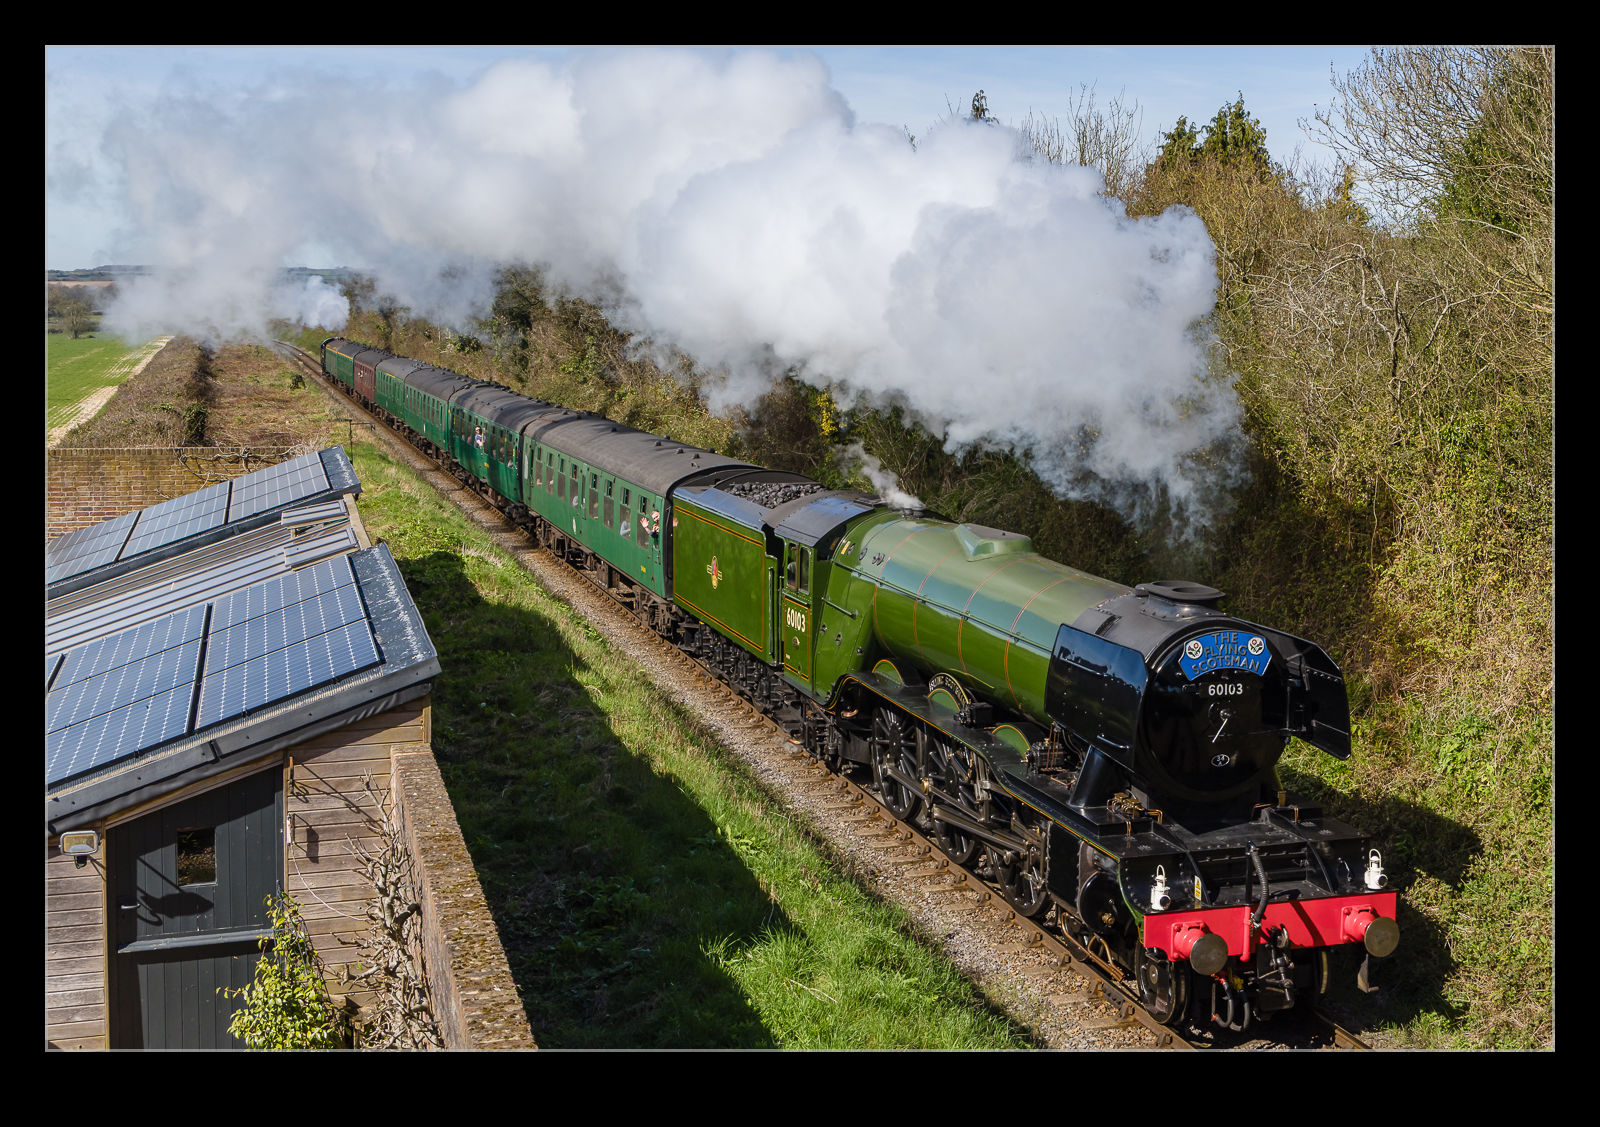
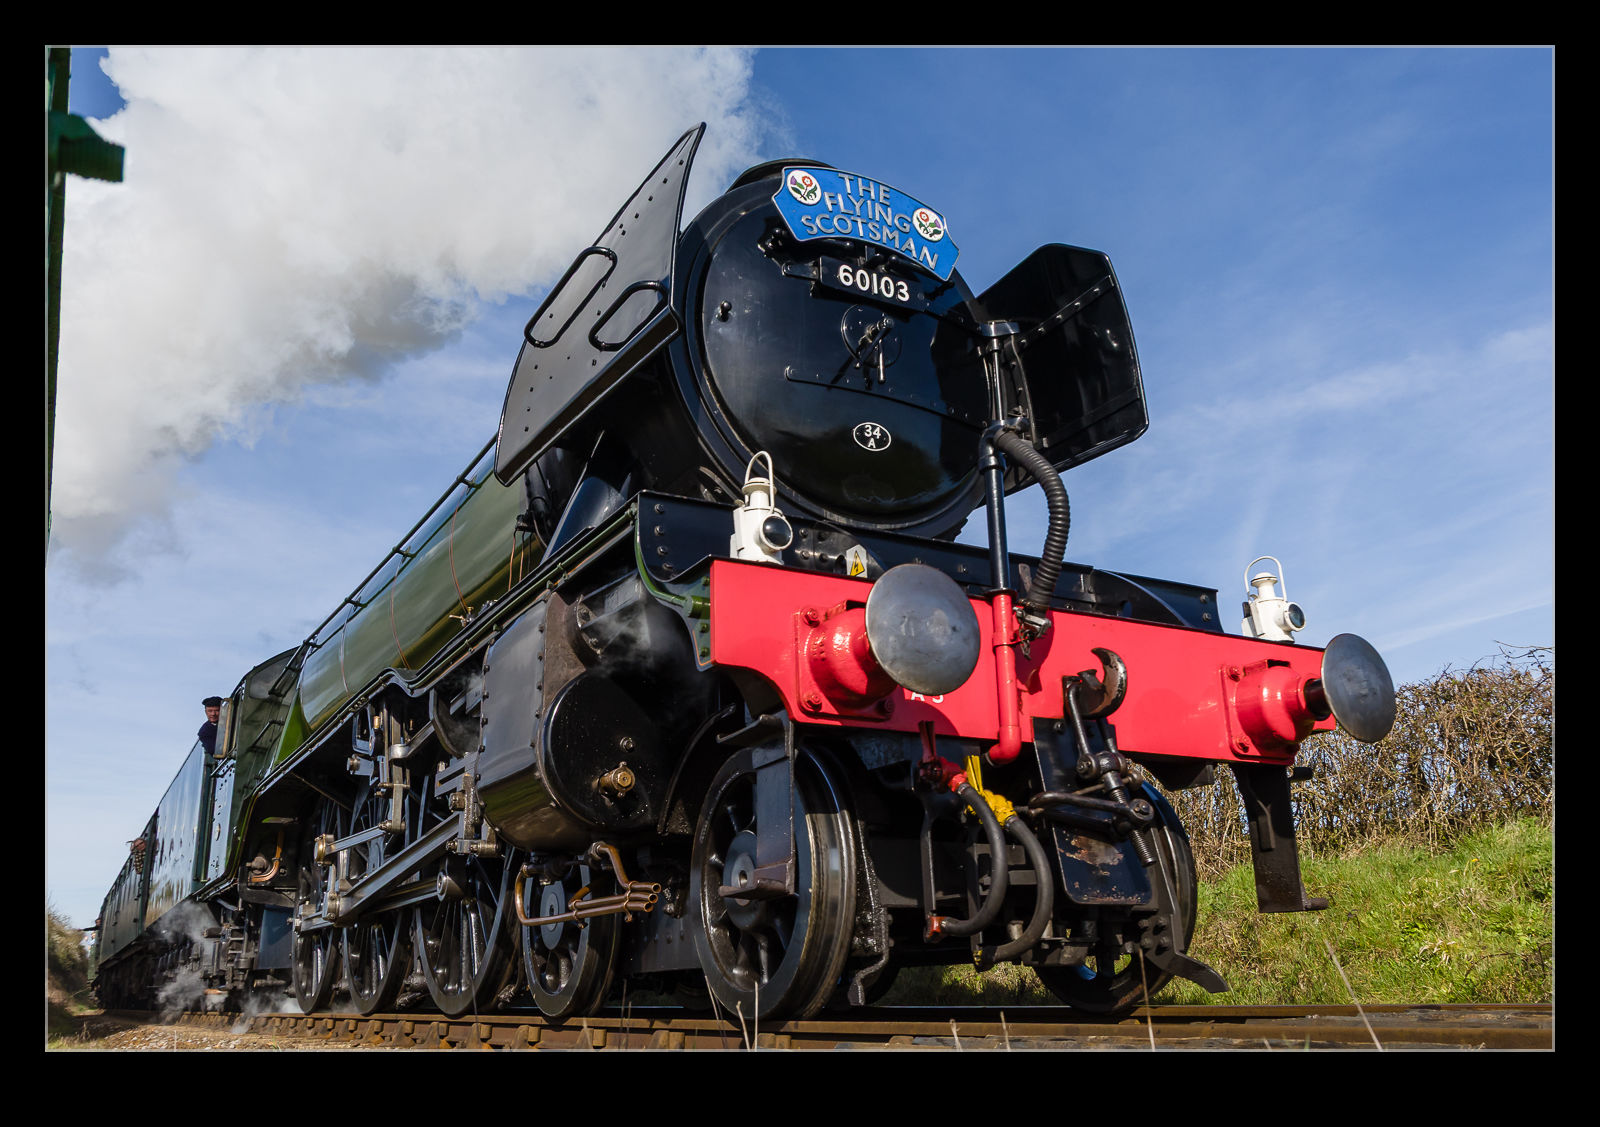
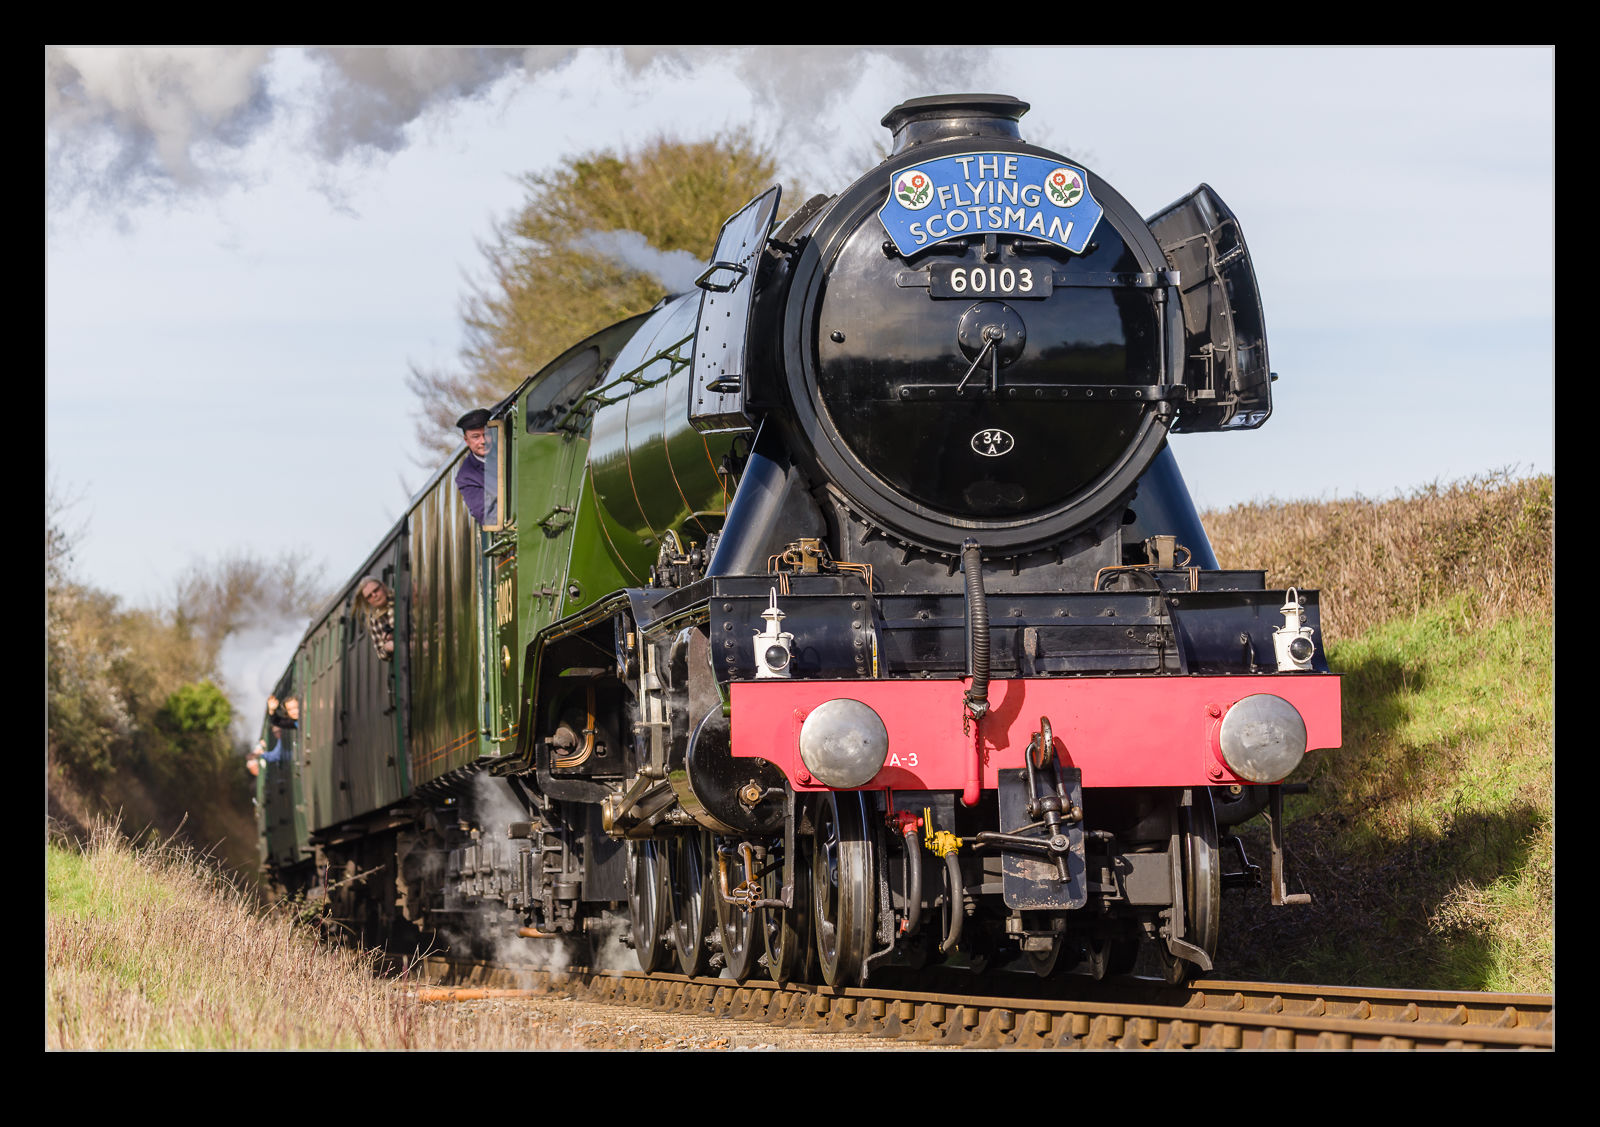
All of this provided me with time to play around with the set up and make sure all was working the way I wanted. Then it was time for the reason for being there. The train departed Alresford pretty much on time. Since it is quite a climb up to Ropley, the loco was making lots of power and there was a banking engine on the rear too. The smoke could be seen through the gap in the trees, so we knew it was coming. Eventually it came around the corner in the cutting, and we could get some shots.
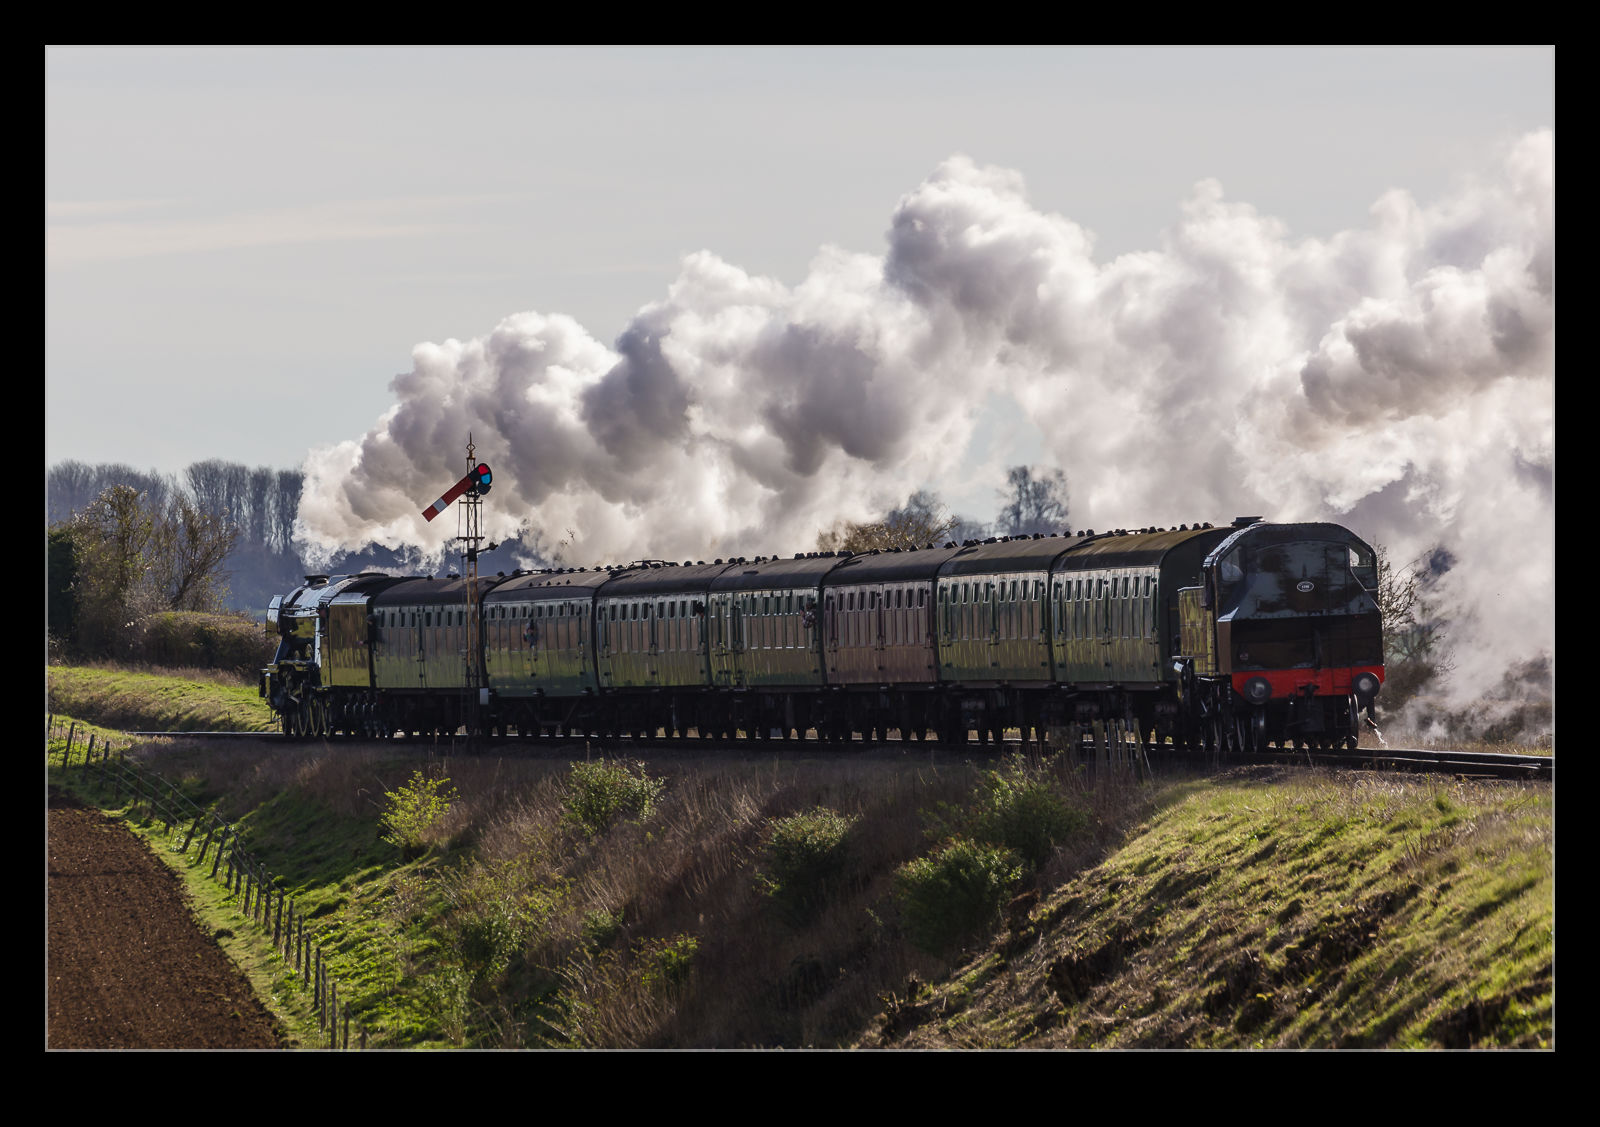
I started the Insta360 first and then proceeded to get some longer shots as it approached. As it got closer, I dropped down and photographed through the fence to look up at the loco as it came closer. Then I switched to the PocketWizard and took a bunch of it as it passed. I have no control on where the camera chooses to focus in that situation, but I was rather happy with the results. I even got some interesting shots of the driver and one of the passengers leaning out of the window. Then I took a few shots of the train as it retreated. That was very backlit, but it still made for an interesting view. And then it was done! All of that prep for a brief moment.
The people rapidly scattered and I started disassembling the things I had put in place. I had brought a small stool with me but that had never been used. Too much messing with gear or chatting to the others that had come alone. It was a very friendly atmosphere and made you feel good about being out on a sunny Saturday morning. I retraced my steps to the car. As I walked along the lane, I heard another whistle and pulled up the camera I had on a strap around my shoulder. The train that had run down to Alresford earlier was now making its run. It was skylined on the ridge above me and I just happened to be by a gap in the hedge so was able to grab a few remaining shots. Then it was time to head home.
The Watercress Line had arranged for the Flying Scotsman to make a visit to the railway. This locomotive seems to really capture the attention of the public, so it was a major event for them. They even lengthened the platform at Alresford to allow longer trains to be formed meaning more passengers could be carried. They were running on two consecutive weekends, and my sister was interested in seeing it. I was always going to be game for a photo trip. She could only do one weekend of the two and I only had one day free that weekend so that was going to be the one.
Sadly, the weather wasn’t being very cooperative. It was very overcast and there was a decent chance of rain. Even so, there were plenty of people out at the crossing we were going to when we got there. Plenty of space for everyone but definitely popular. As the time for the loco approached, I changed a setting on the camera for a higher frame rate and got in position. I decided to take a couple of quick shots before it came in to view just to check all was well. It wasn’t!
As soon as I hit the shutter button, the screen was covered in a “Busy” message. This caught me out. It wouldn’t go away quickly. I turned the camera off, but it still took a while. When it came back on, I tried again and the same thing. This time I pulled the battery and reset. Third time the result was the same. By now the loco was coming into view. Since I didn’t know what the issue was and time was ticking, I tried switching over to video and that worked so I instead videoed the train as it came by.
The video was fine but not great and, if I had planned for that, I would have done things slightly differently. However, it did recover the situation to some extent. The video I took is below.
Once the train had gone, I went home and then pulled out the camera to see what had occurred. I had made a very dumb error. It would have been easily fixed too. When changing the frame rate, I had accidentally switched to the HC mode on the R3. This is the mode that allows 194fps in short bursts of up to 50 frames. Once you shoot like this, it locks up the buffer until everything has been written to the card. Then it is ready to shoot again. What a dope. Oh well, it wasn’t a total disaster and my sister got to see the train which was the main point of being there in the first place. However, now I was thinking about a second effort. More to come…
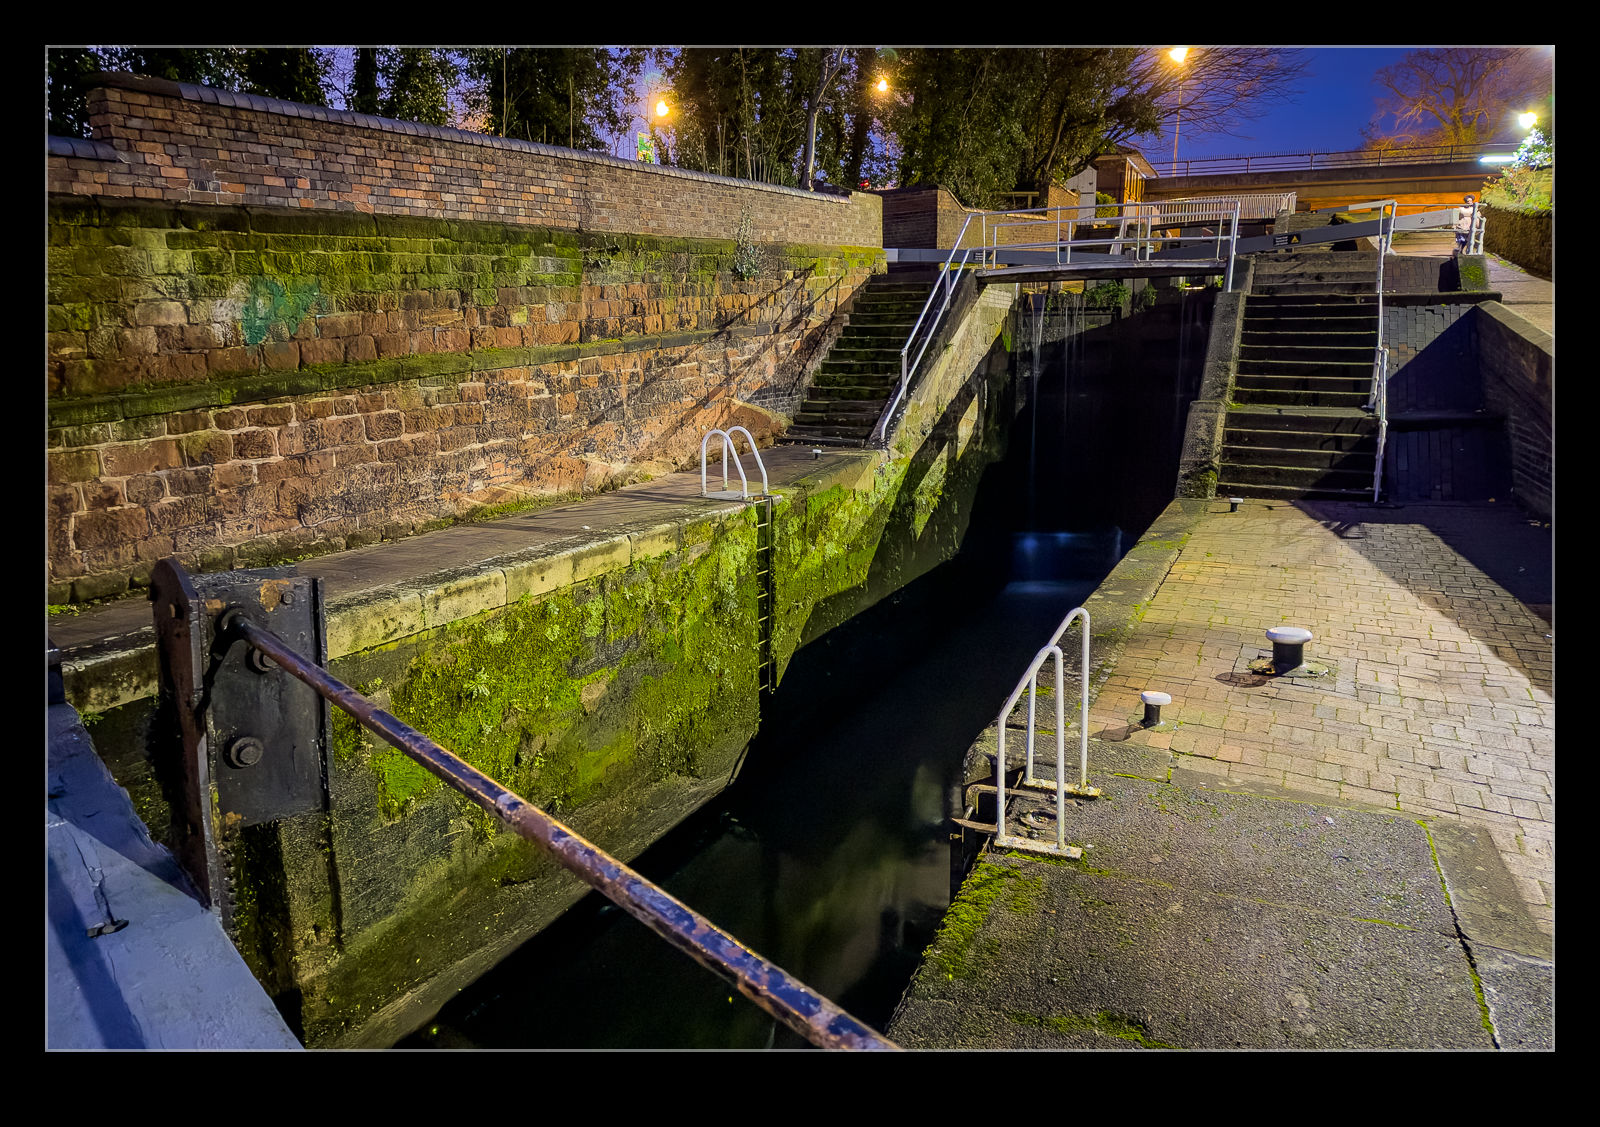
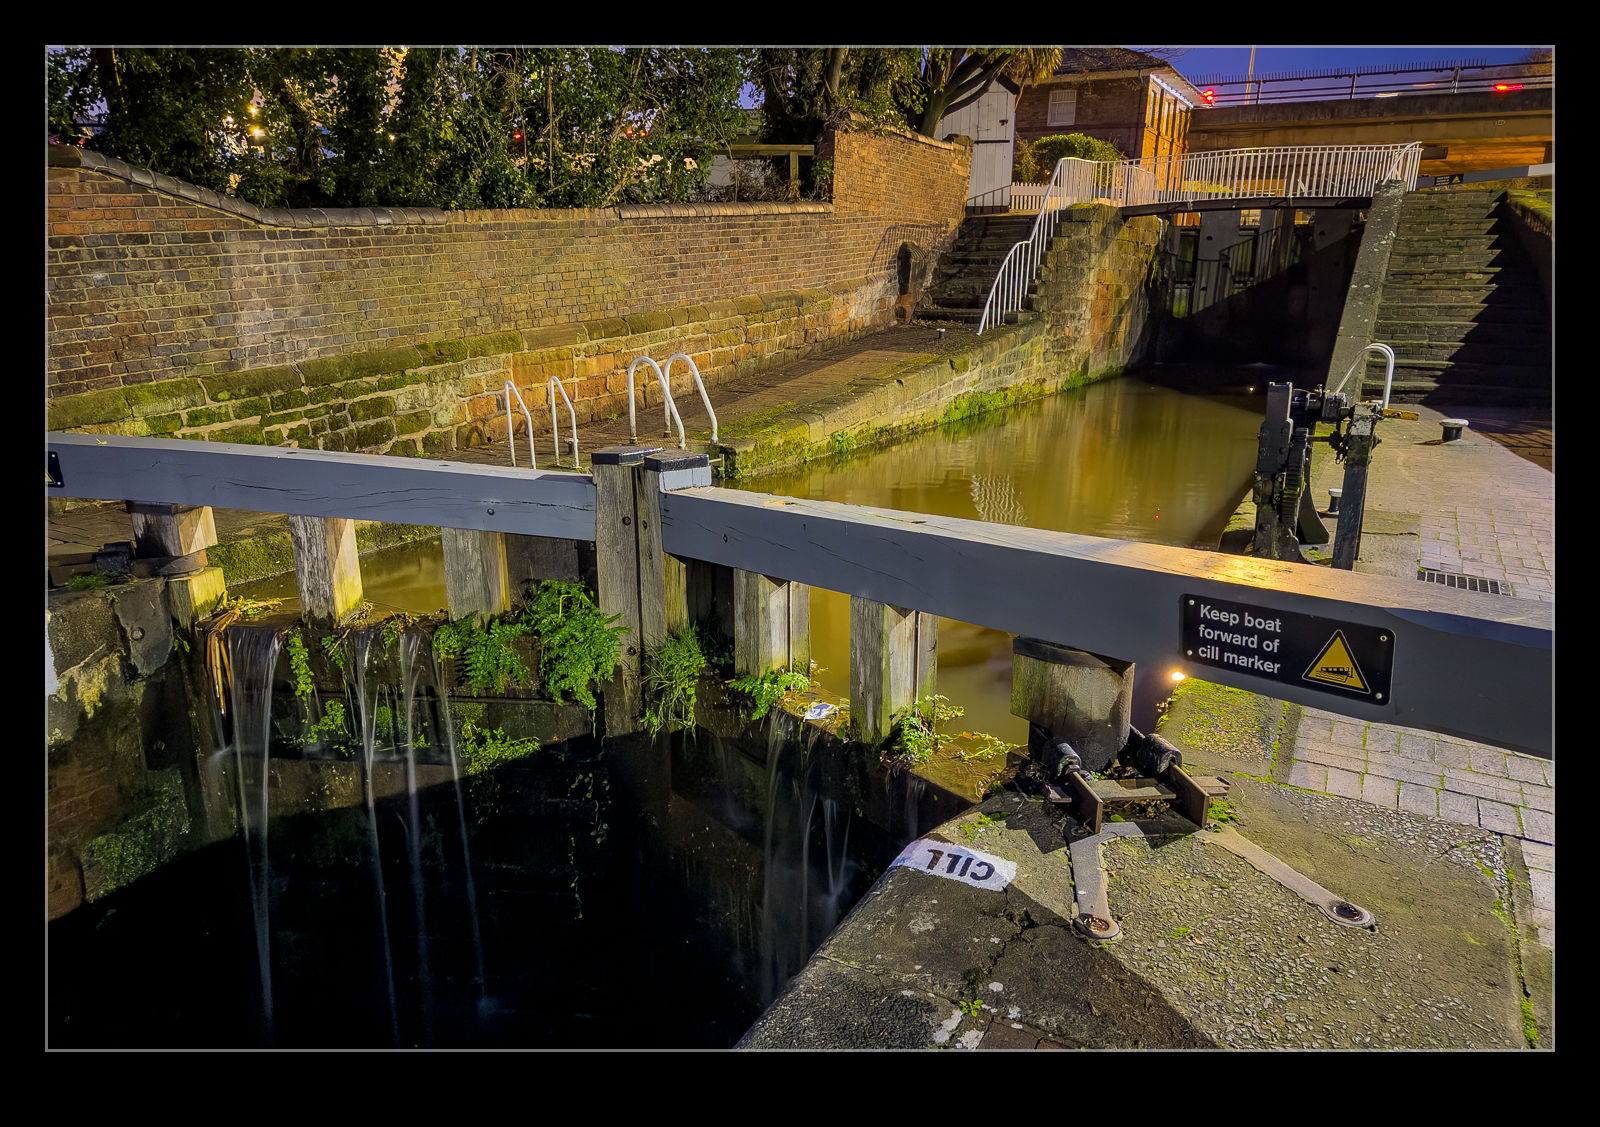
During my evening in Chester, I walked along the city walls until I came to a place where the walls met the railway and the canal. This is a place where the terrain drops off quite quickly and, in order for the canal to make the descent, there is a pair of locks with a very deep drop. It was very dark in this area at night and there was no lighting. Nor was there any fencing around the locks. Consequently, I was very cautious as I explored them.
This was where modern camera technology came to my aid. I could see very little of what was around me, even as my eyes had adjusted to the low light conditions. My phone, on the other hand, did a phenomenal job of picking up the faint light that there was and stabilising the image to build up a usable shot. I can see things in these shots that I had no sight of at the time. I would like to go back in the day to see the locks in more detail. I did figure that, given how deep they were, you could come a cropper in there really easily if you weren’t careful.
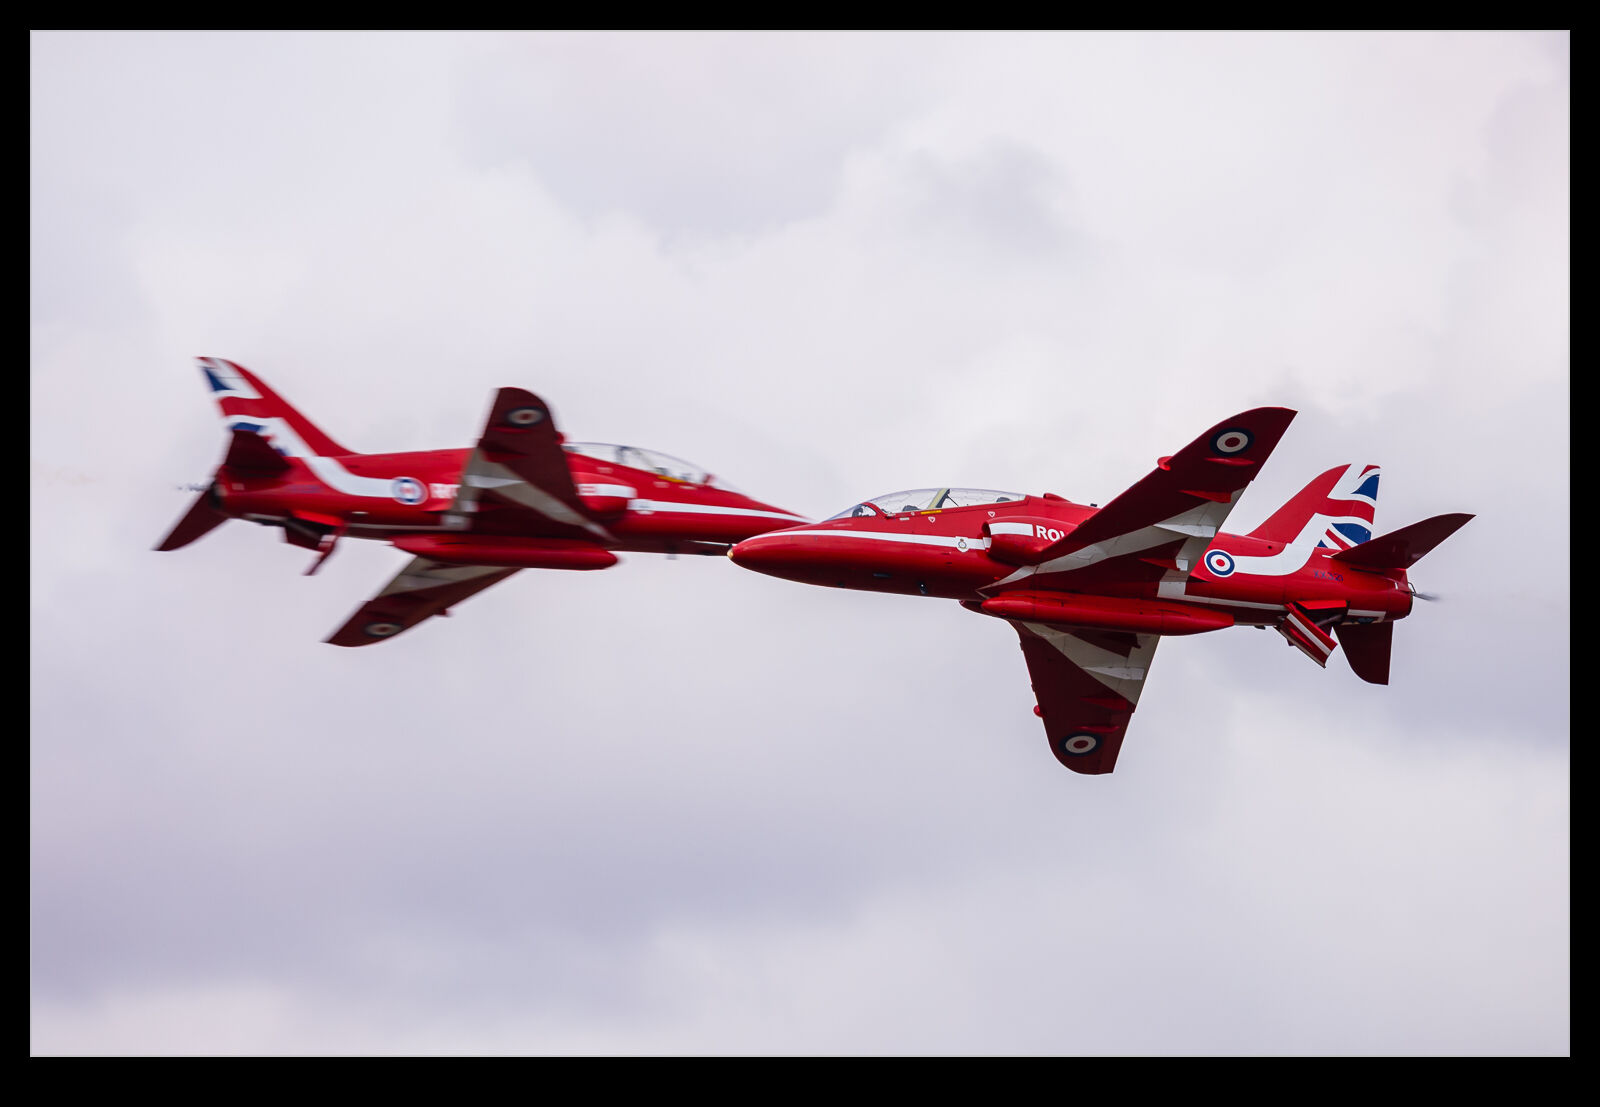
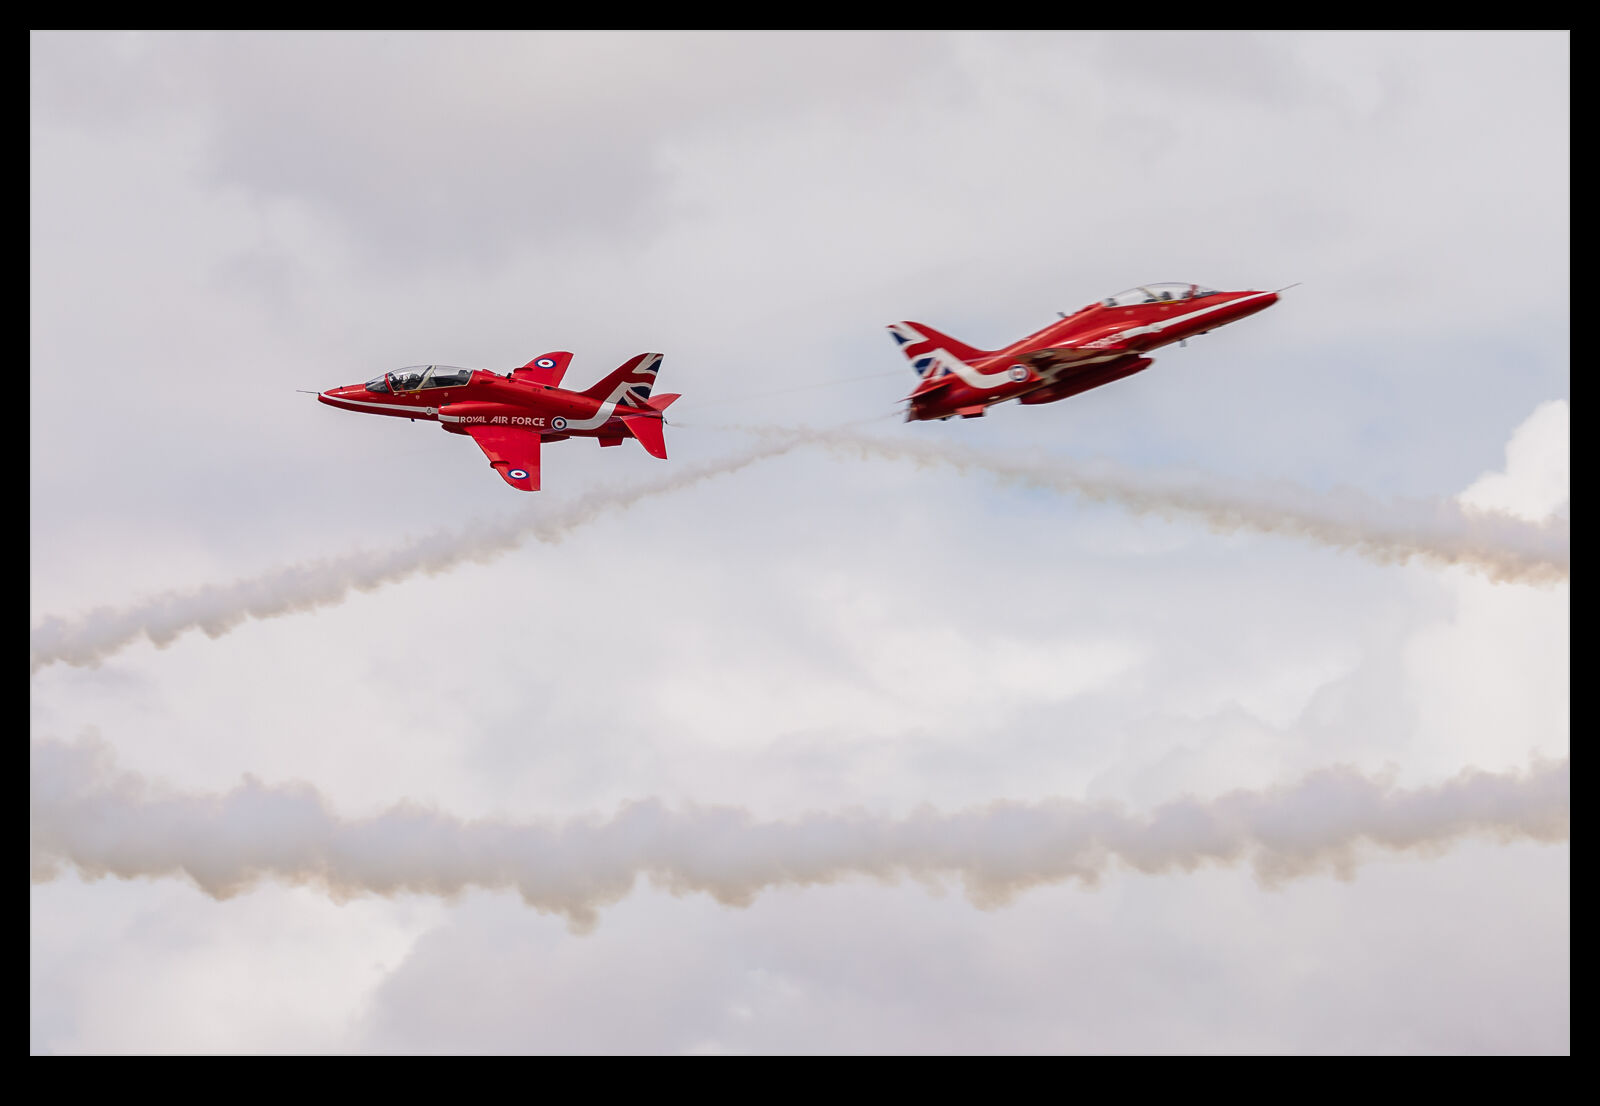
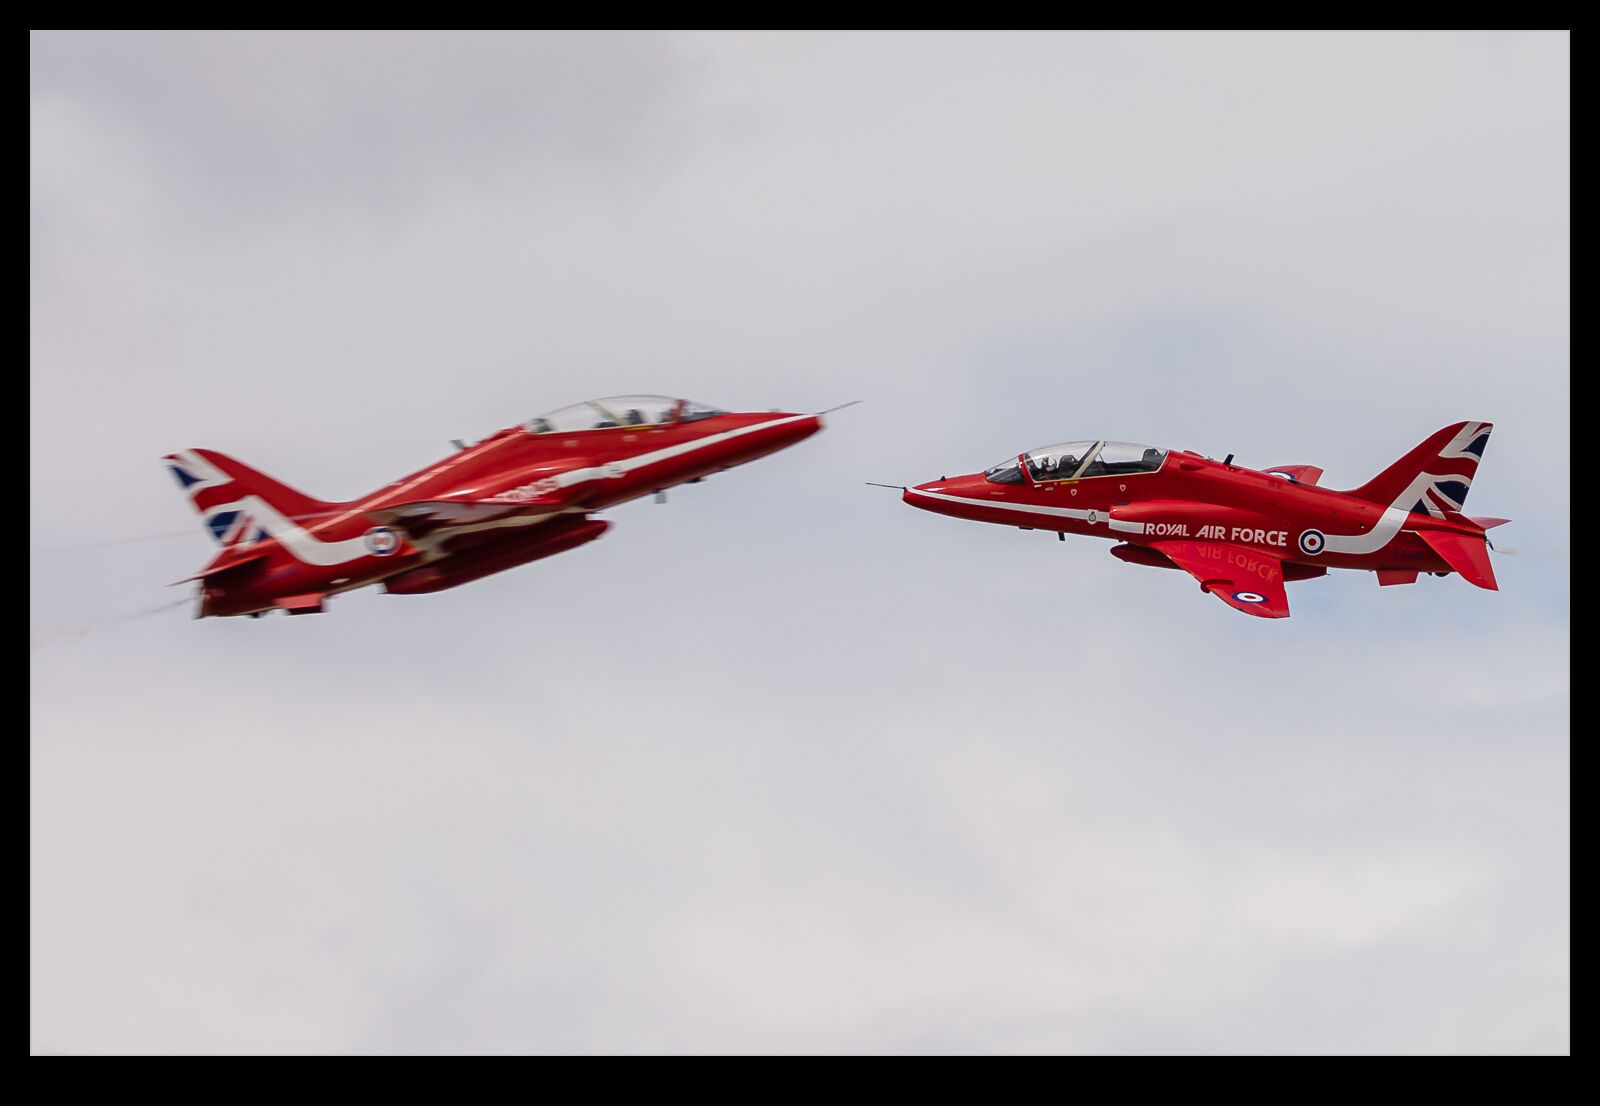
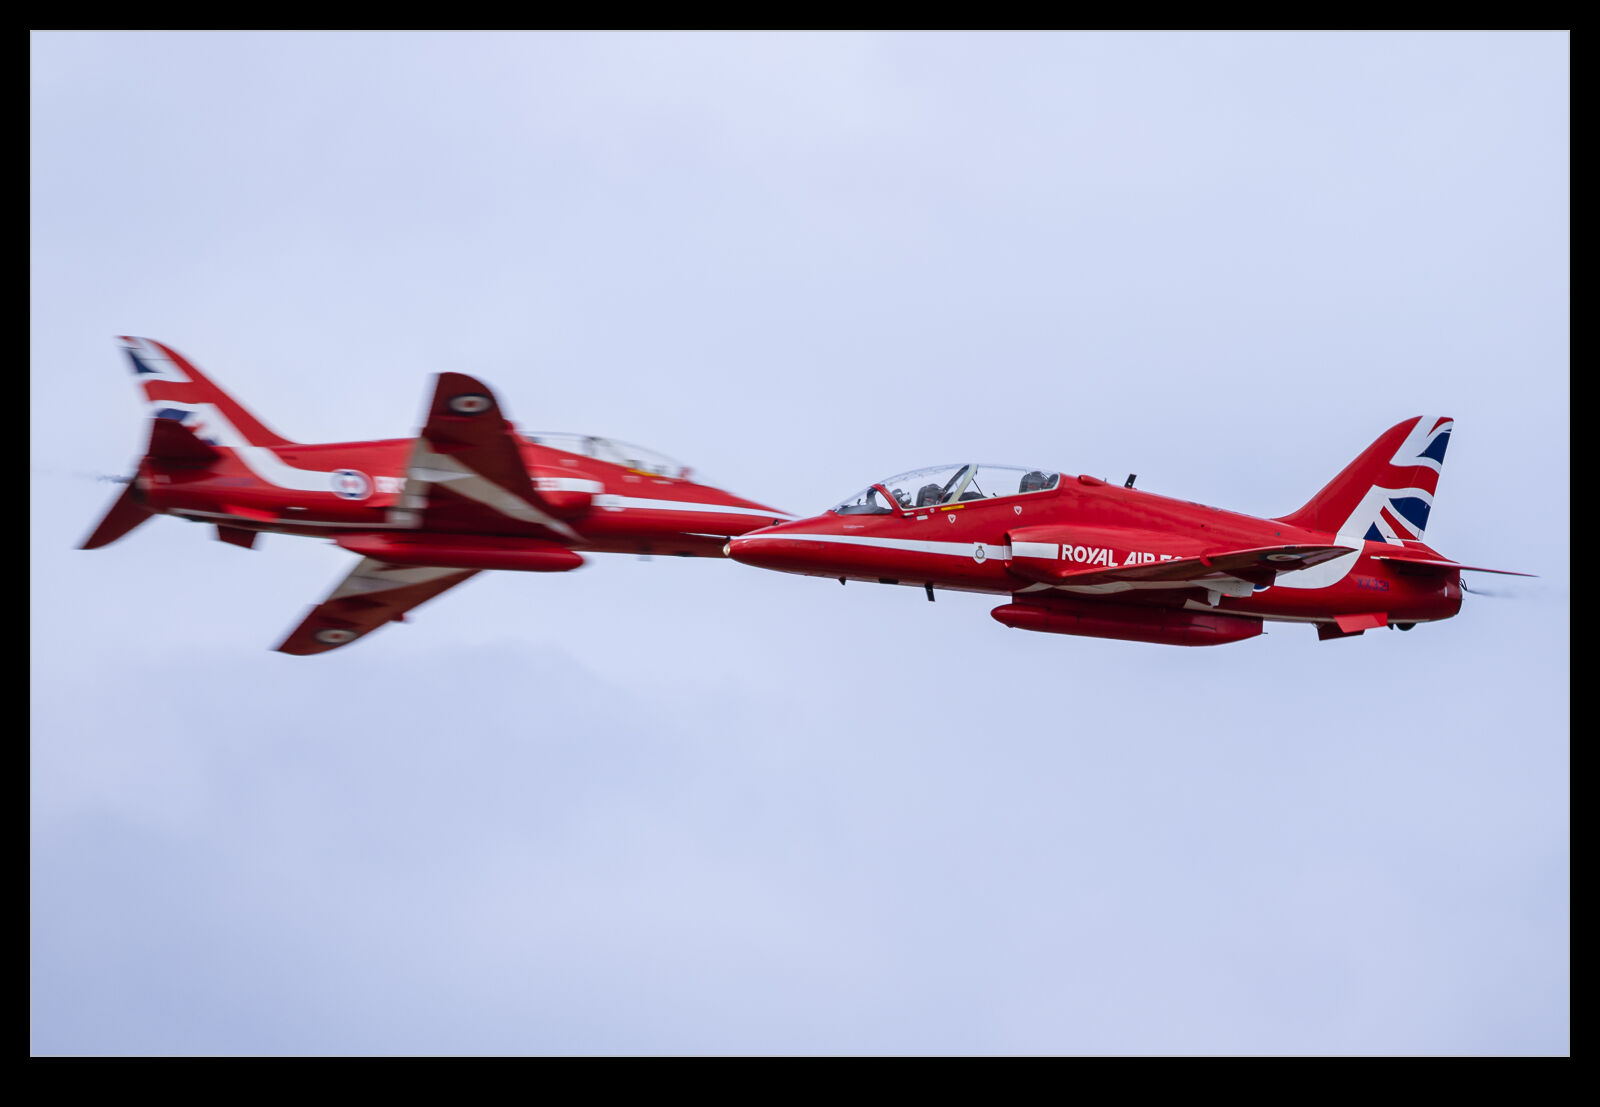
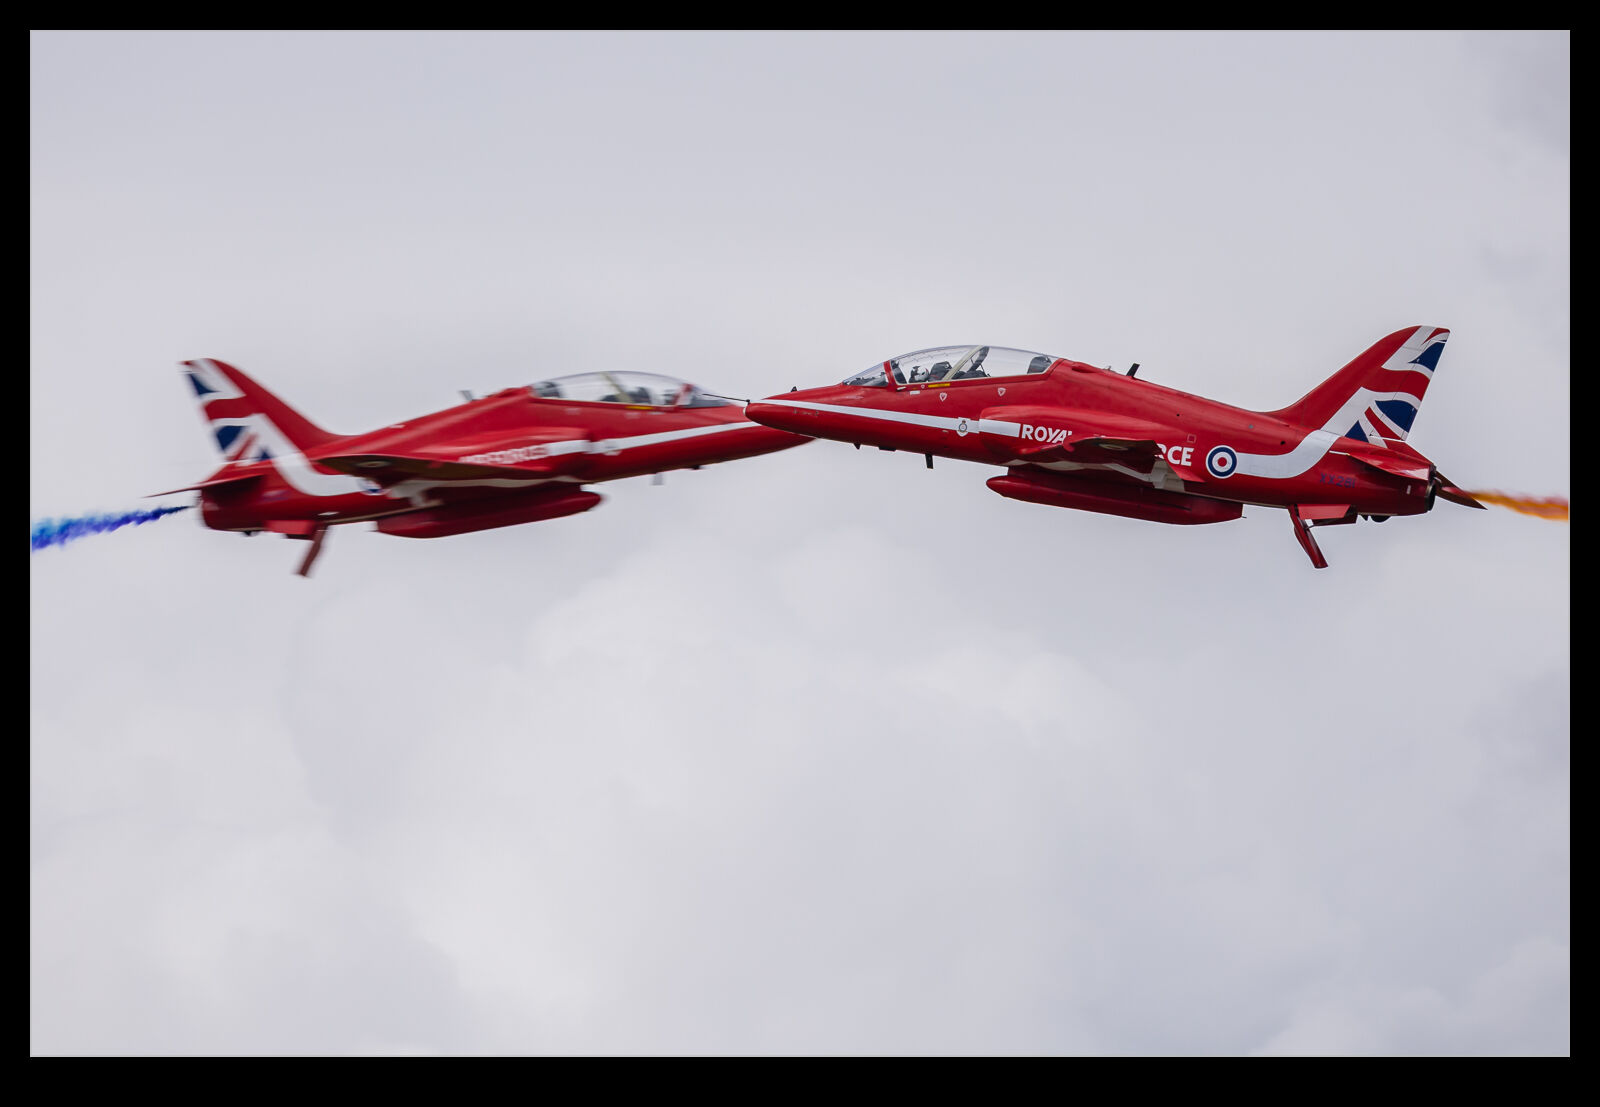
A bit of a theme for me recently has been playing with the super fast frame rates on my camera. Last year I tried this out with the Blue Angels and posted on here about that. It worked well but they were rather distant. At RIAT, I decided to try again but with the Red Arrows this time. The syncro pair will make many crosses during the course of the show so I had a few opportunities.
First, let’s talk about what didn’t go so well. When you select this mode, it will fire off a bunch of shots – I set it to the maximum at 50 – and, when it has taken them, the camera will be effectively locked up until they finish writing. It doesn’t take long, and it shouldn’t matter because not much is happening for a while. However, if you are a dope and forget you have selected it and then take a shot of a plane coming around the turn towards you, you will get a lot of shots you didn’t intend and you may still be writing them when the cross actually happens. I am speculating, of course. No way I would make such a mistake.
The other issue I had was one of choosing focal length. On some crosses I zoomed out quite wide and the jets ended up being further away than expected and quite small in the frame although it gave me multiple framing options. This had been an over correction after having been too tight on a previous cross. Basic stuff but, at least with a bunch of crosses, I had more chances to sort things out.
Then we come to the crux of it. Did I get stuff I liked? Absolutely. I was always tracking the plane coming from the right so my left eye could see enough of the opposite jet, so I did run the risk of having the background jet in focus, but it all worked out fine. The biggest issue is that you end up with a ton of shots to work through. Then again, that is my story of RIAT as a whole! I have included so of the stills here but also an animated GIF of a sequence so you can see how close the frames are to each other. Please forgive the crappy colour space of the GIF.
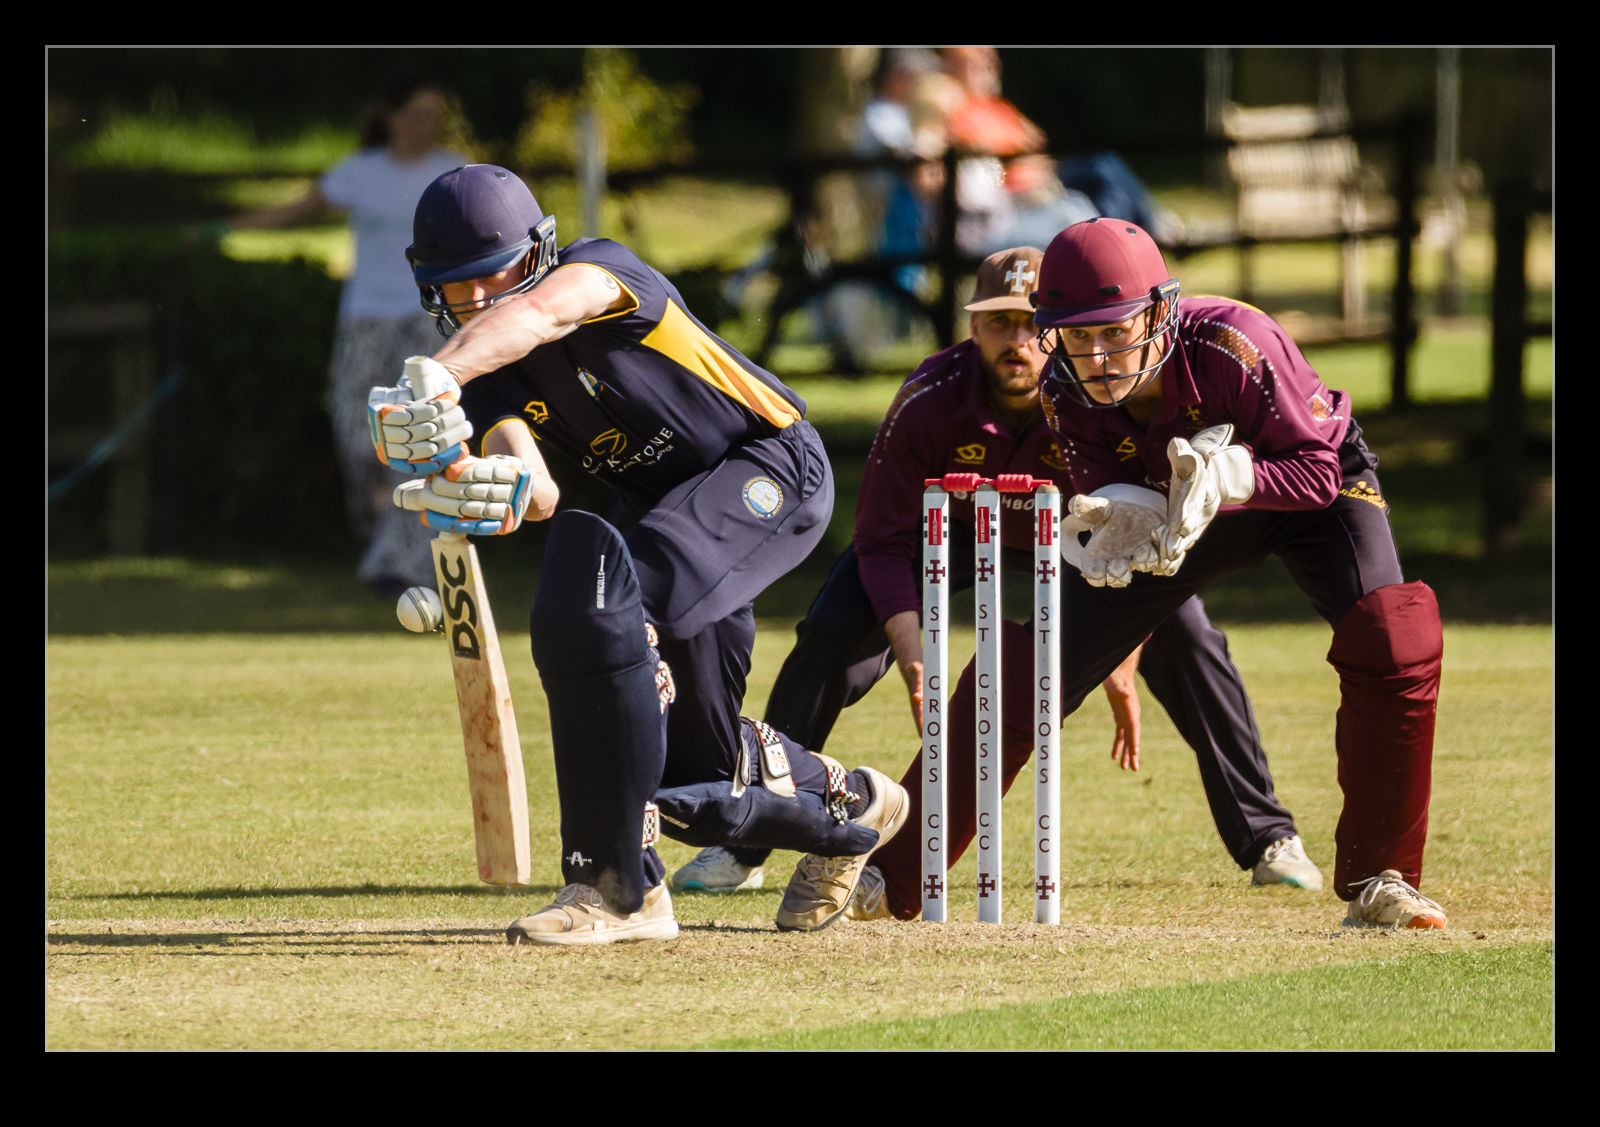
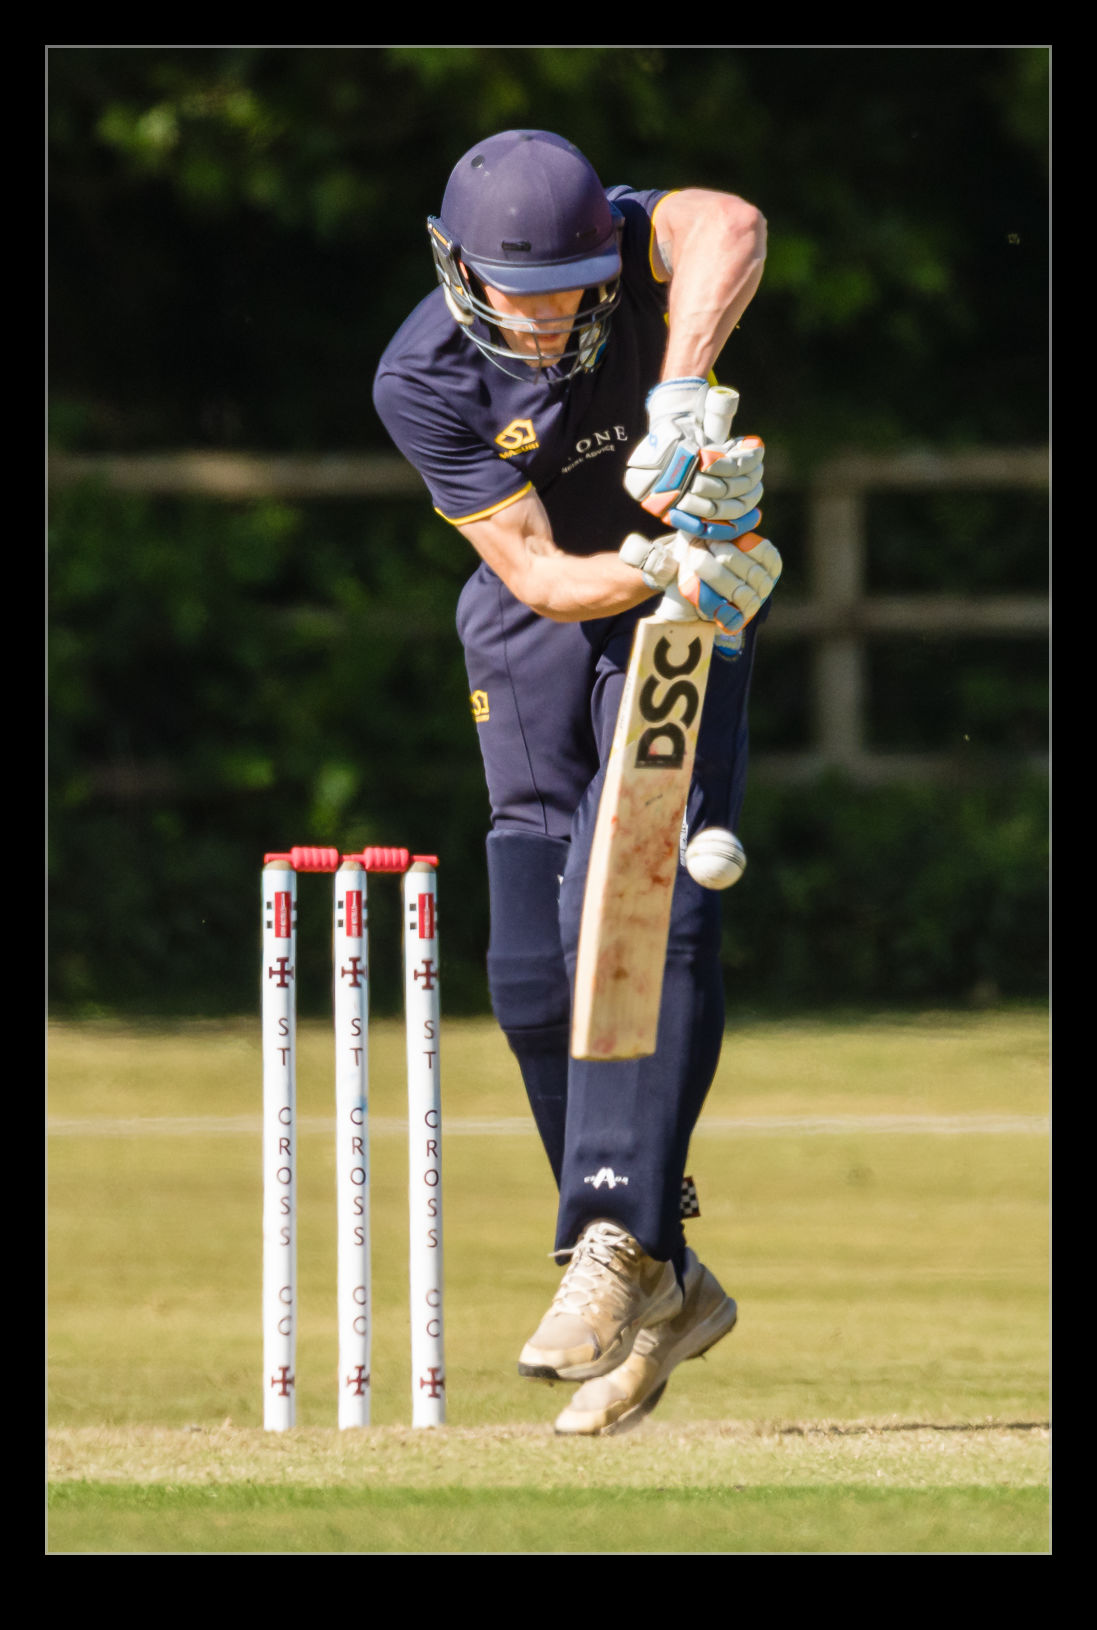
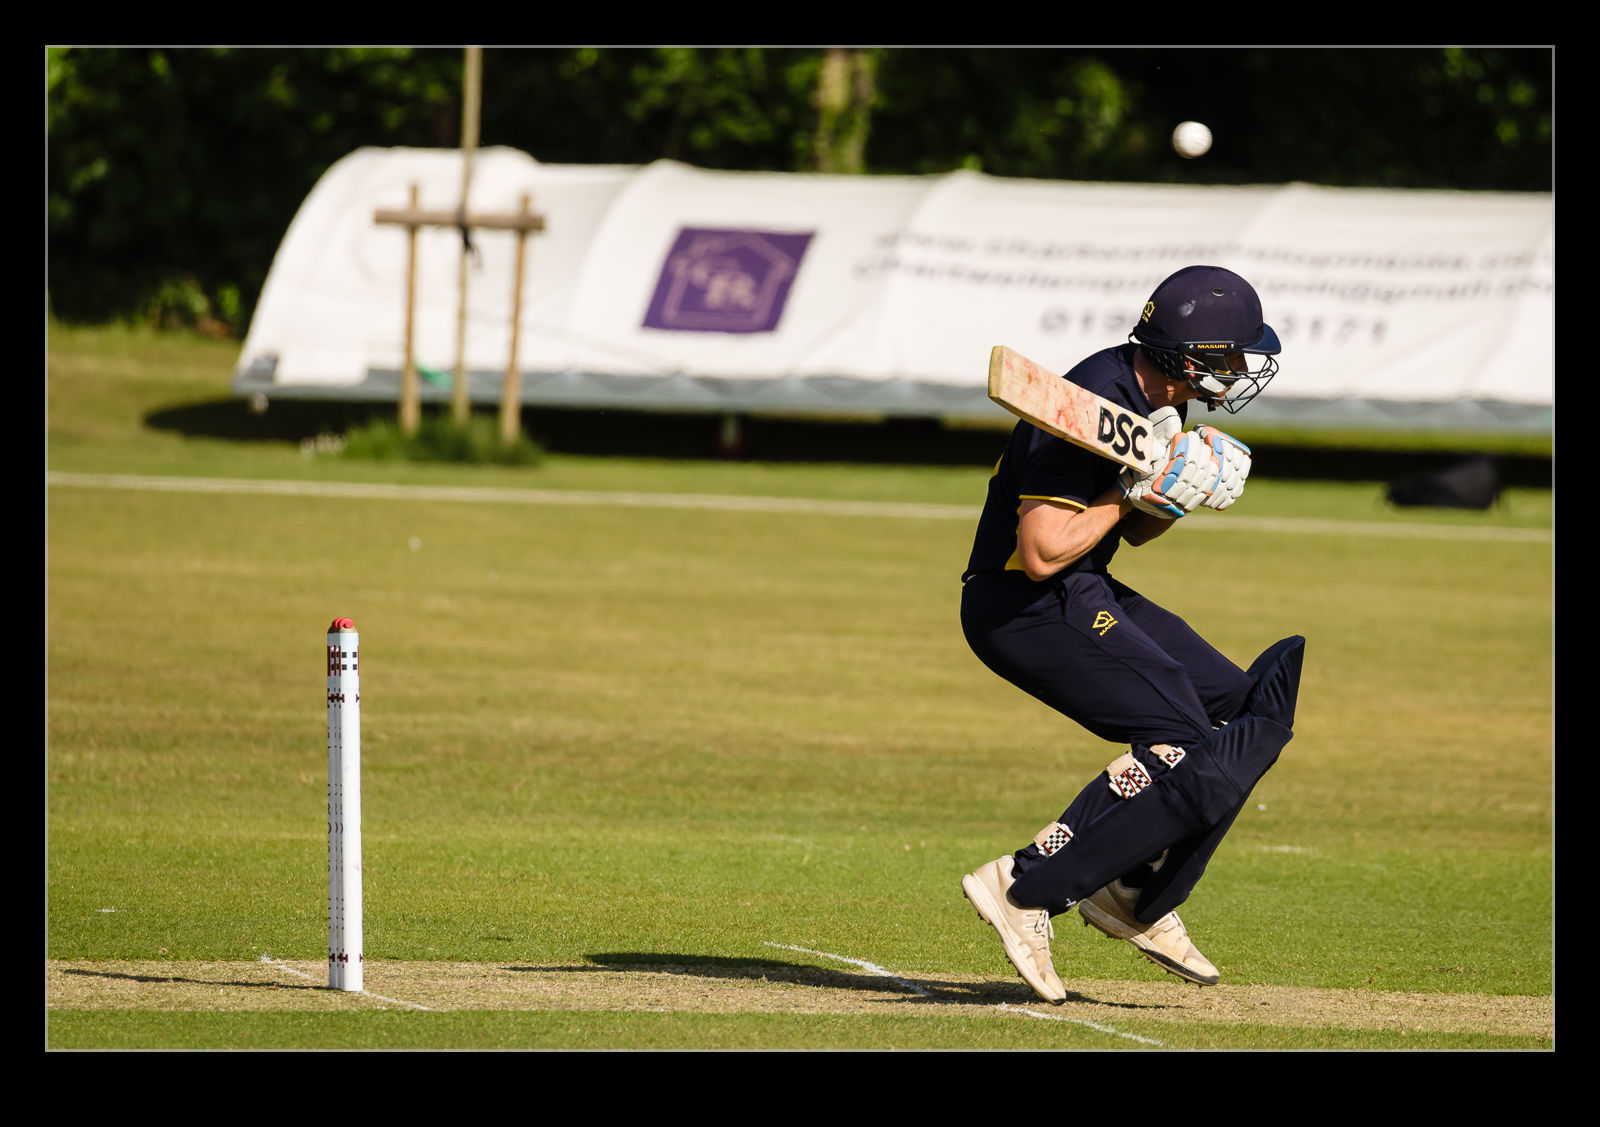
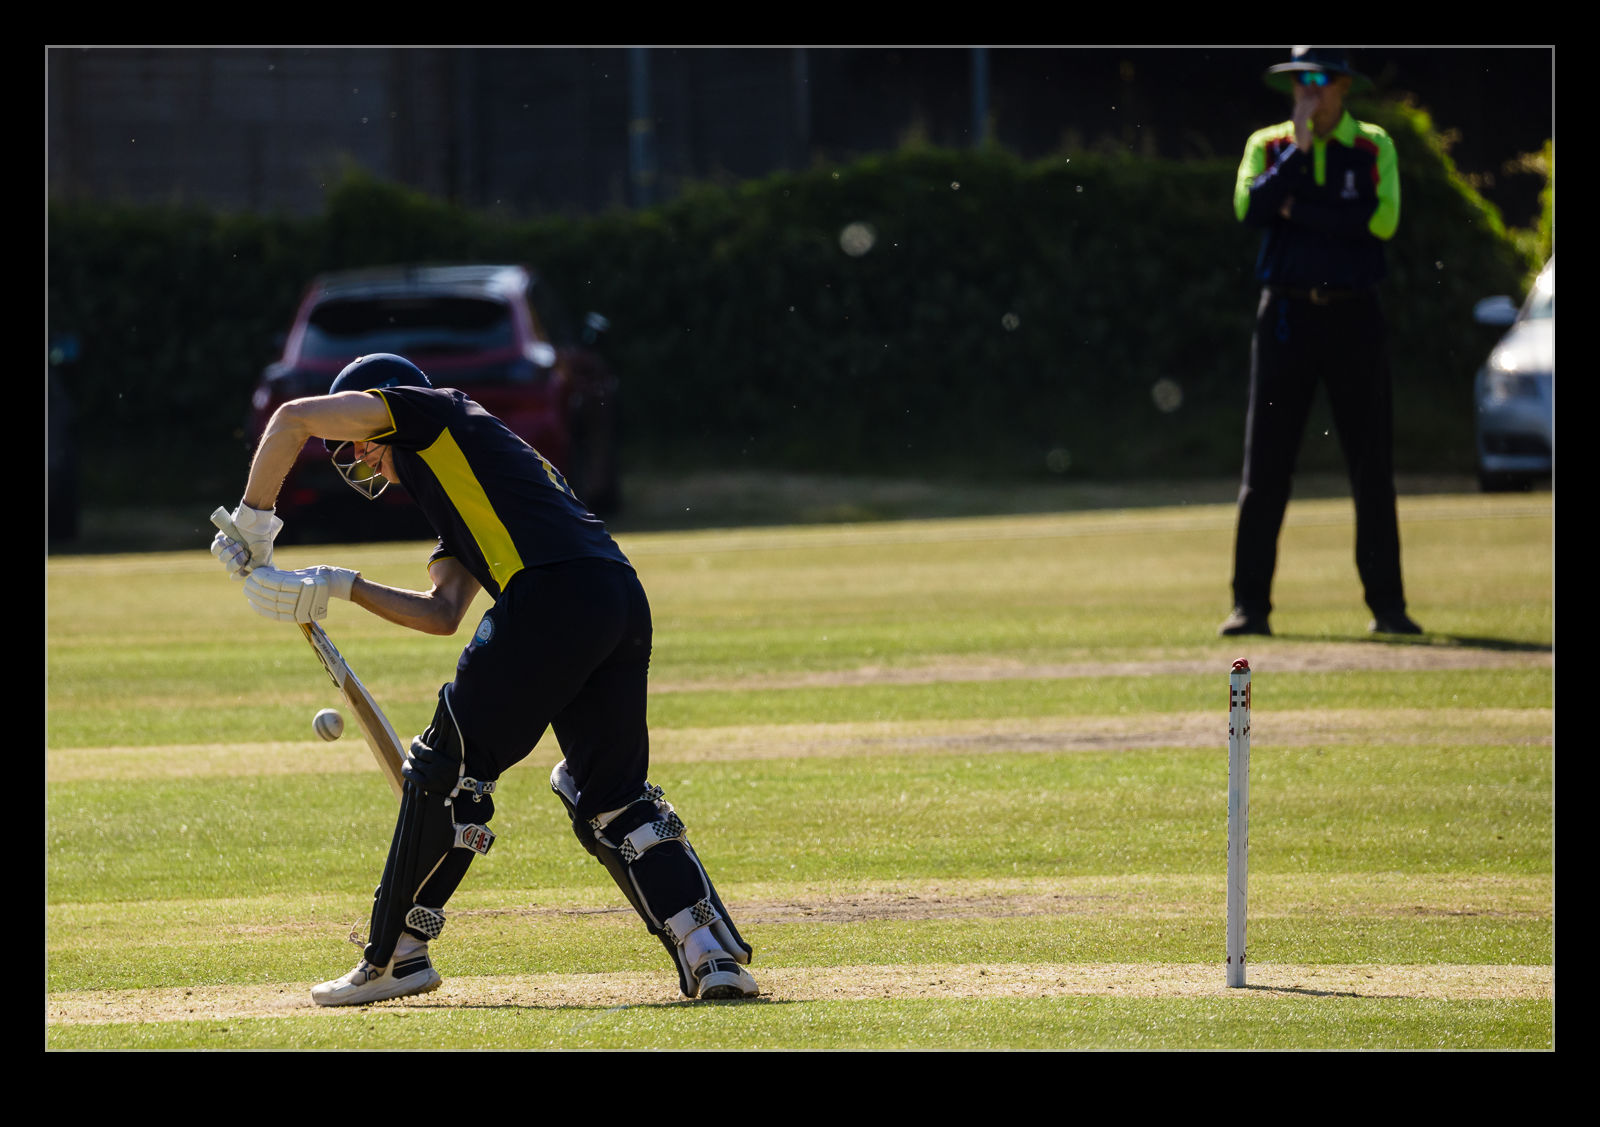
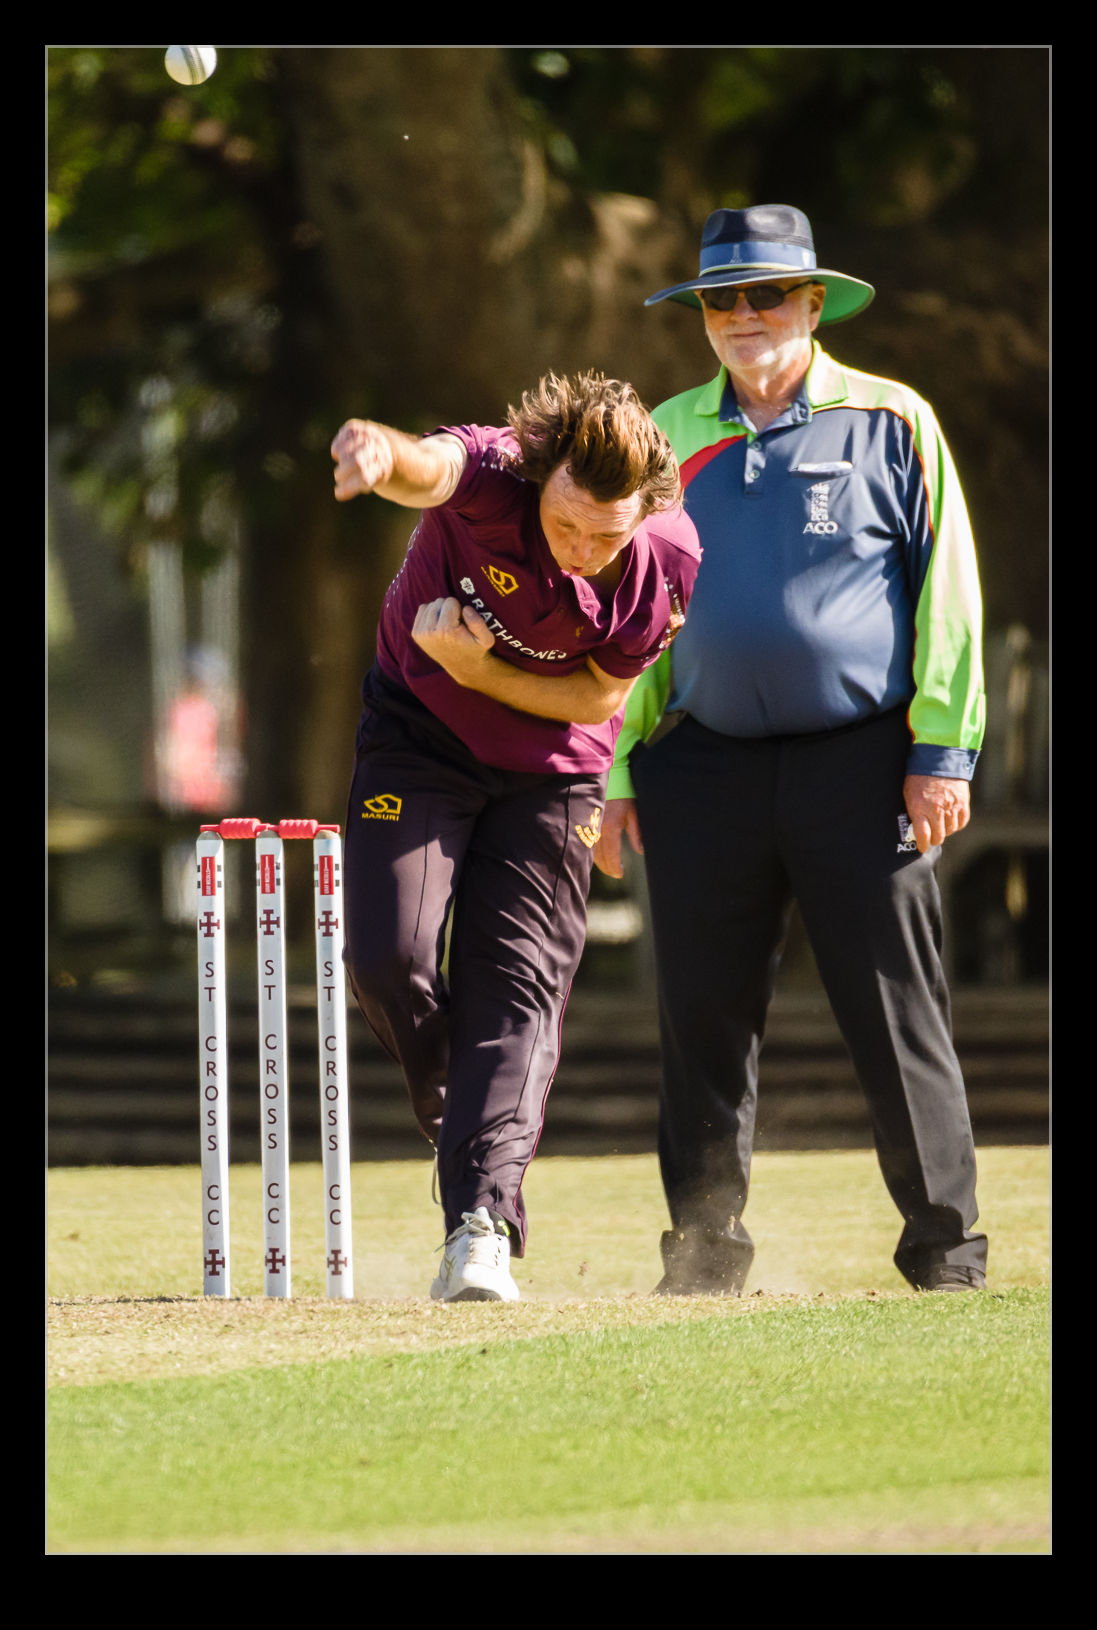
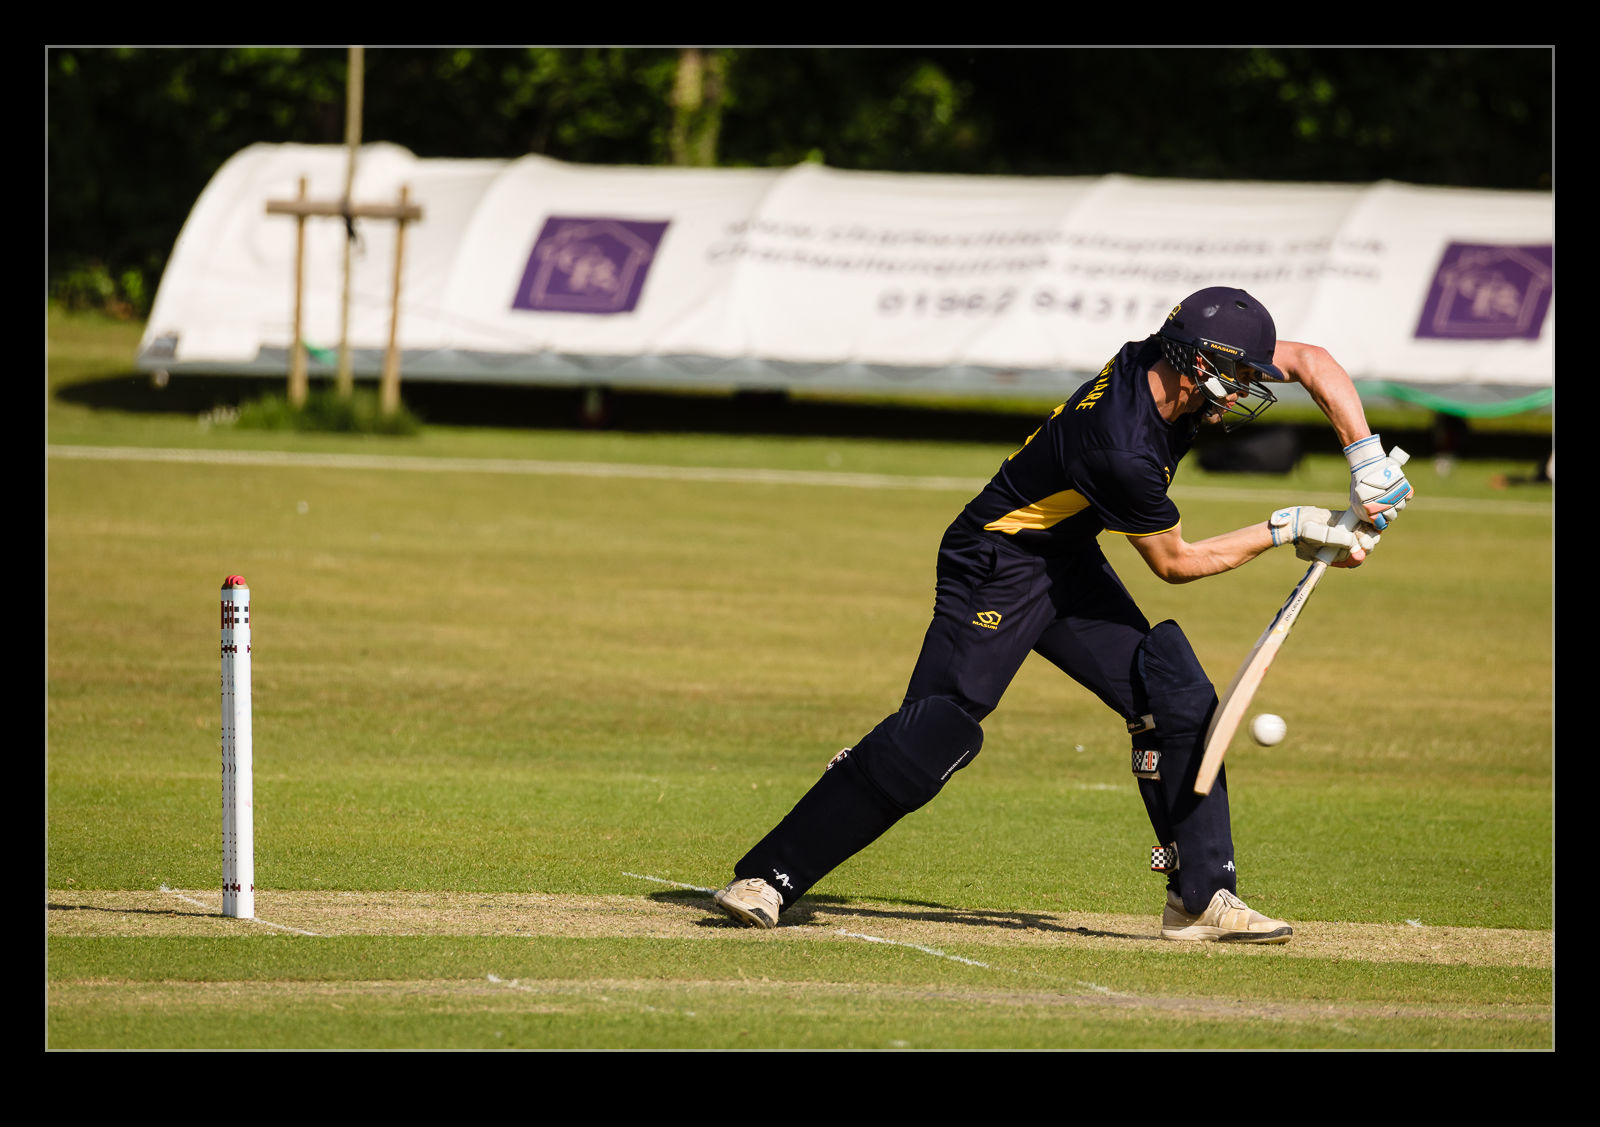
I recently wrote about spending a bit of time at a local cricket club watching a couple of games for a while. I haven’t really photographed cricket much so didn’t have strong ideas about what to try and get with regard to angles and action. I was just playing around, really, to see how things came out. I ramped up the frame rate for some of the shots that the batsmen were making. I was interested to see how I might miss the critical moments and how far the ball had moved between frames.
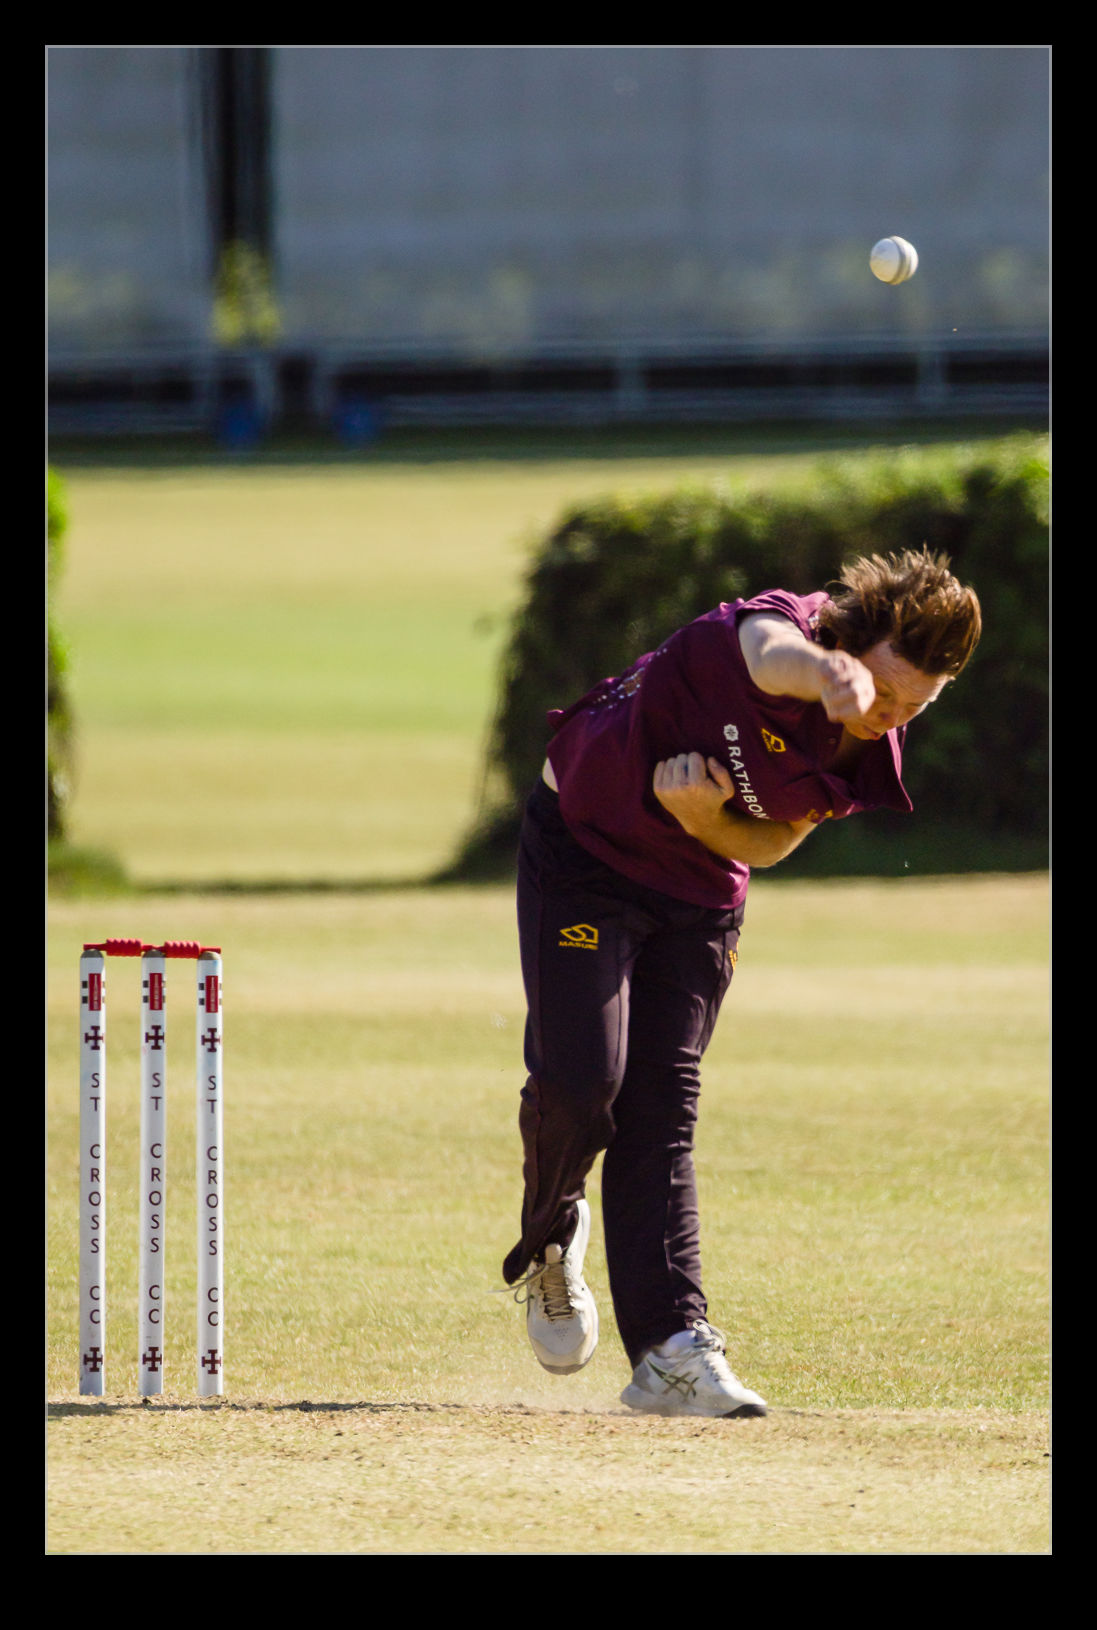
Now, clearly getting the shot is something that technique and skill should deliver. Compensating with the tech is not ideal but I wasn’t trying to prove anything to anyone. Instead, I was just out having fun. Consequently, I decided to use a feature on the R3 that I only occasionally drag out and that is the super fast frame rate of 194fps. This will not use autofocus or auto exposure once the sequence starts, but that isn’t a problem in the 0.2 seconds that it takes to shoot the 50 raw frames that are the limit.
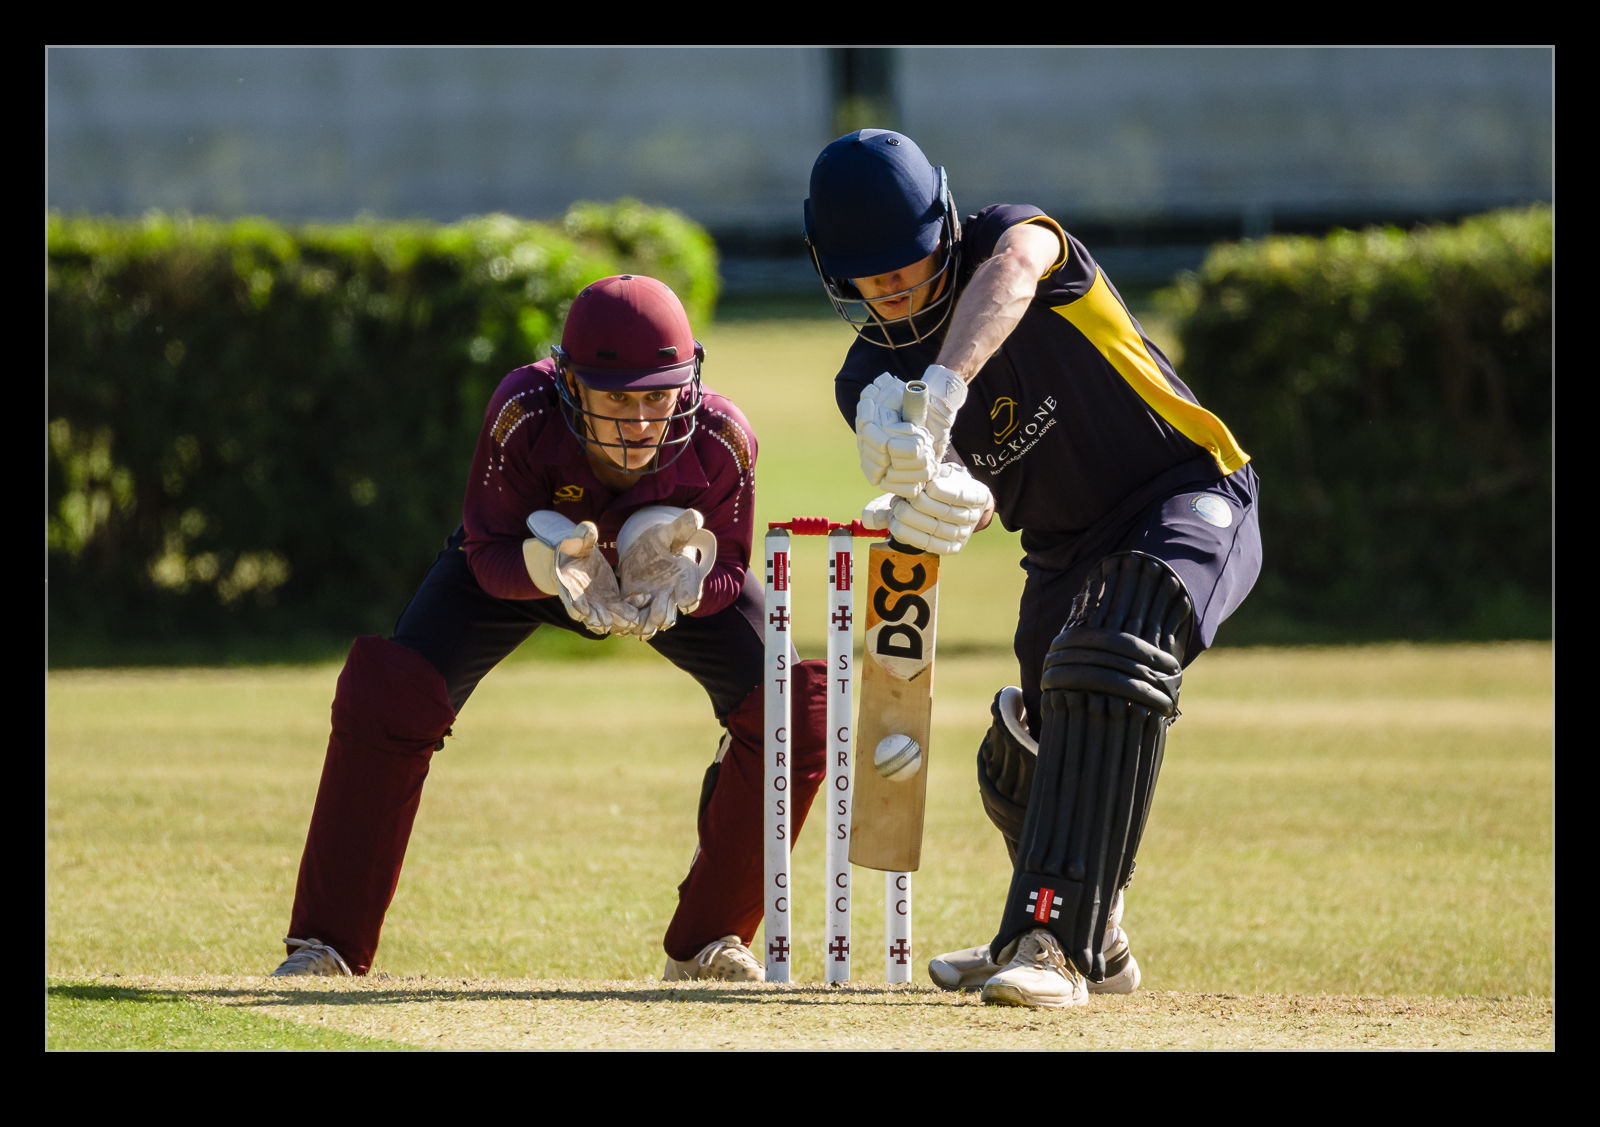
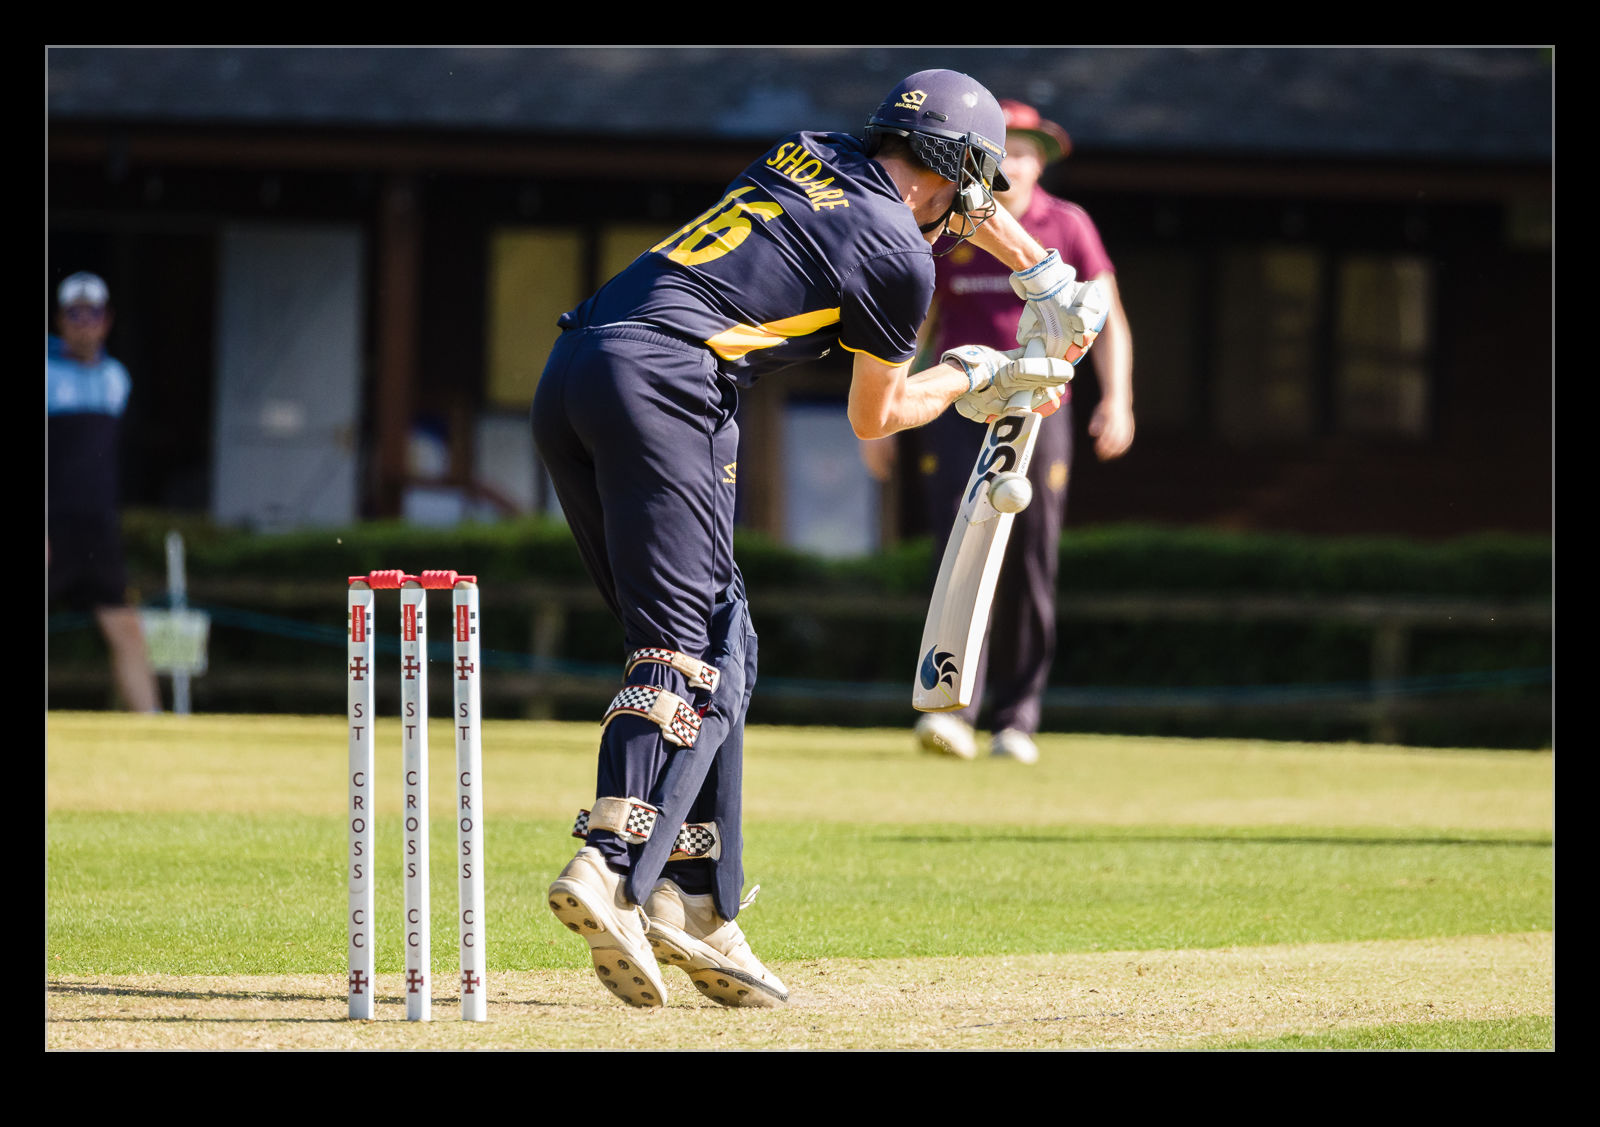
It is amazing that, even with such a high frame rate, the ball still can move quite a distance between shots. You do end up with a ton of frames that are going straight in the bin. Since the ball either hasn’t arrived in frame or it has gone. That is a pretty easy process of culling of course. You also never know whether a given delivery is going to result in anything. You can get 50 frames as the batsman lets the ball through. Those are even easier to cull! Did I get anything I really liked? No, to be honest, I wasn’t too excited by any of them. However, it has got me thinking about what would make for a better shot. I shall have to work on that and head back to see if I can improve things.
On a few occasions, when we have been in Stockbridge, I have spent a bit of time watching the trout swimming in the river where it runs under the road and alongside the pavement. This has got me thinking about how to get some good video of them. I figured the Insta360 X3 might be something to try. The invisible stick is pretty long which would allow it to go into the water and the camera itself is waterproof. I was too sure how the image quality would work out but, when we went to the Trout’n’About festival in the town, I took the camera along.
Initially the arrival of the camera spooked the fish which was not a surprise but leaving it there for a while meant they got used to it. It didn’t hurt that some people were throwing food into the river which the fish were way more interested in. I wanted to use the app to control things, but the connection was lost when the camera was under the water. Instead, I just started recording before putting it in the water. The images are not great, but they do give a good view of the fish moving around. Check out some video below.
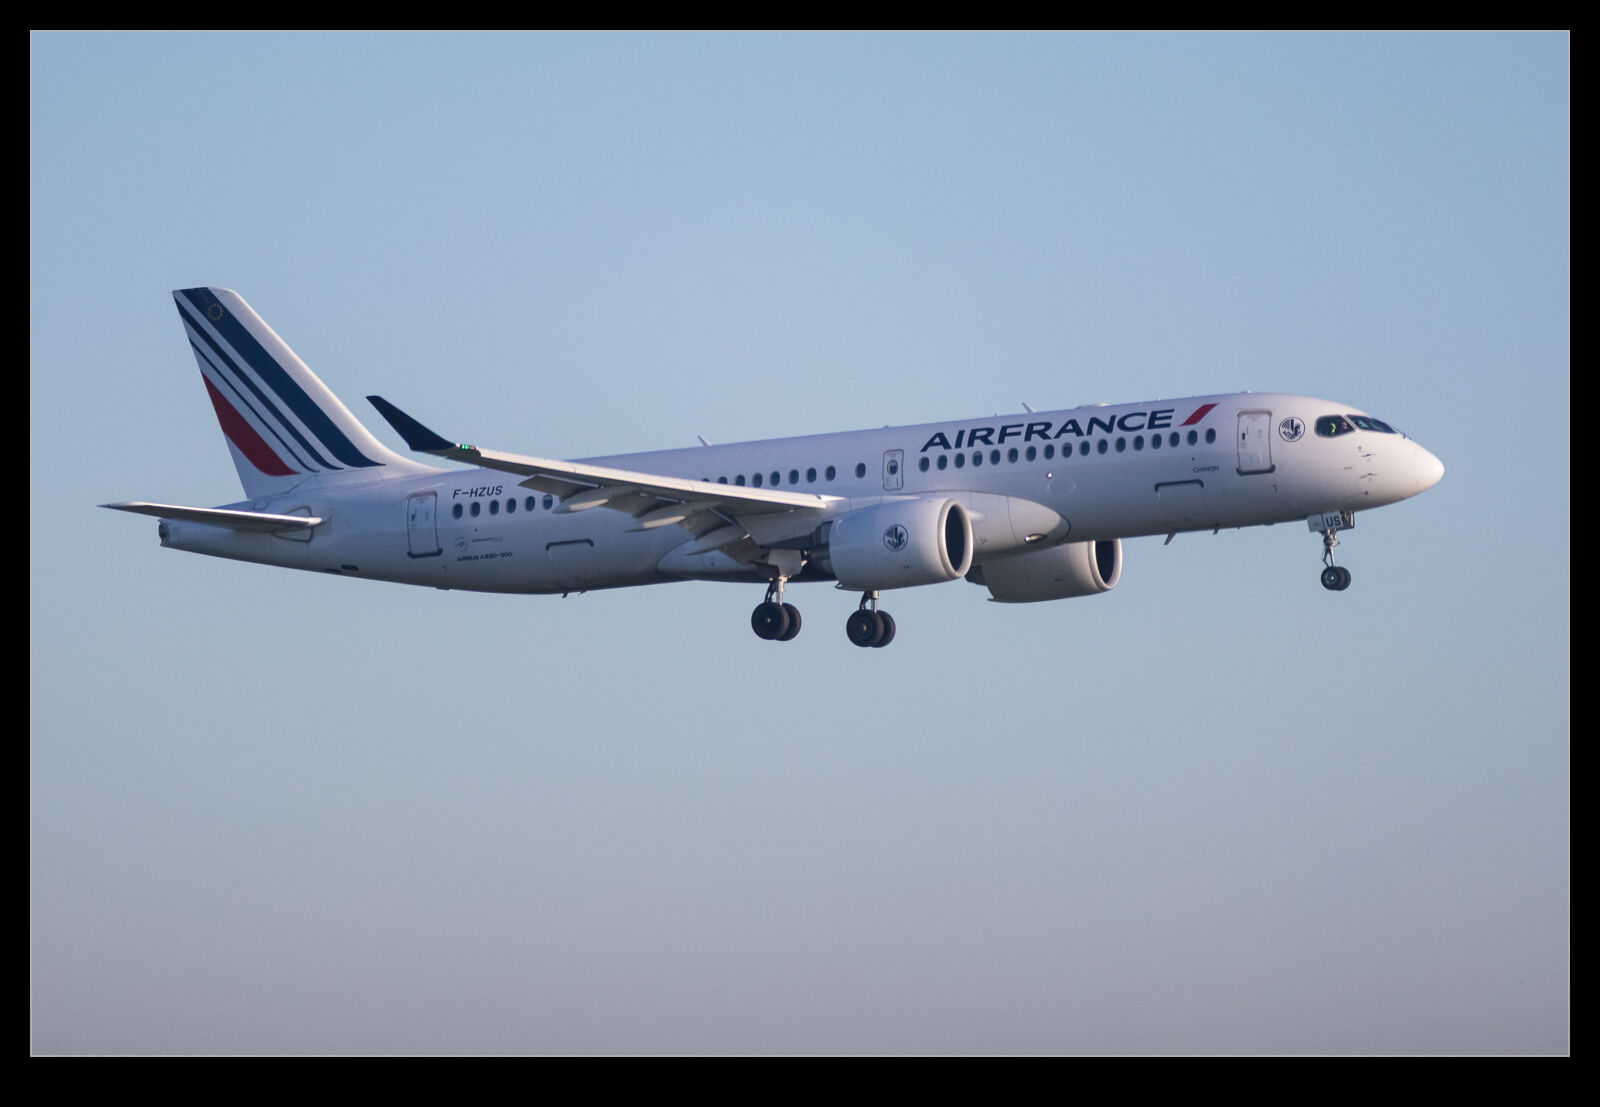
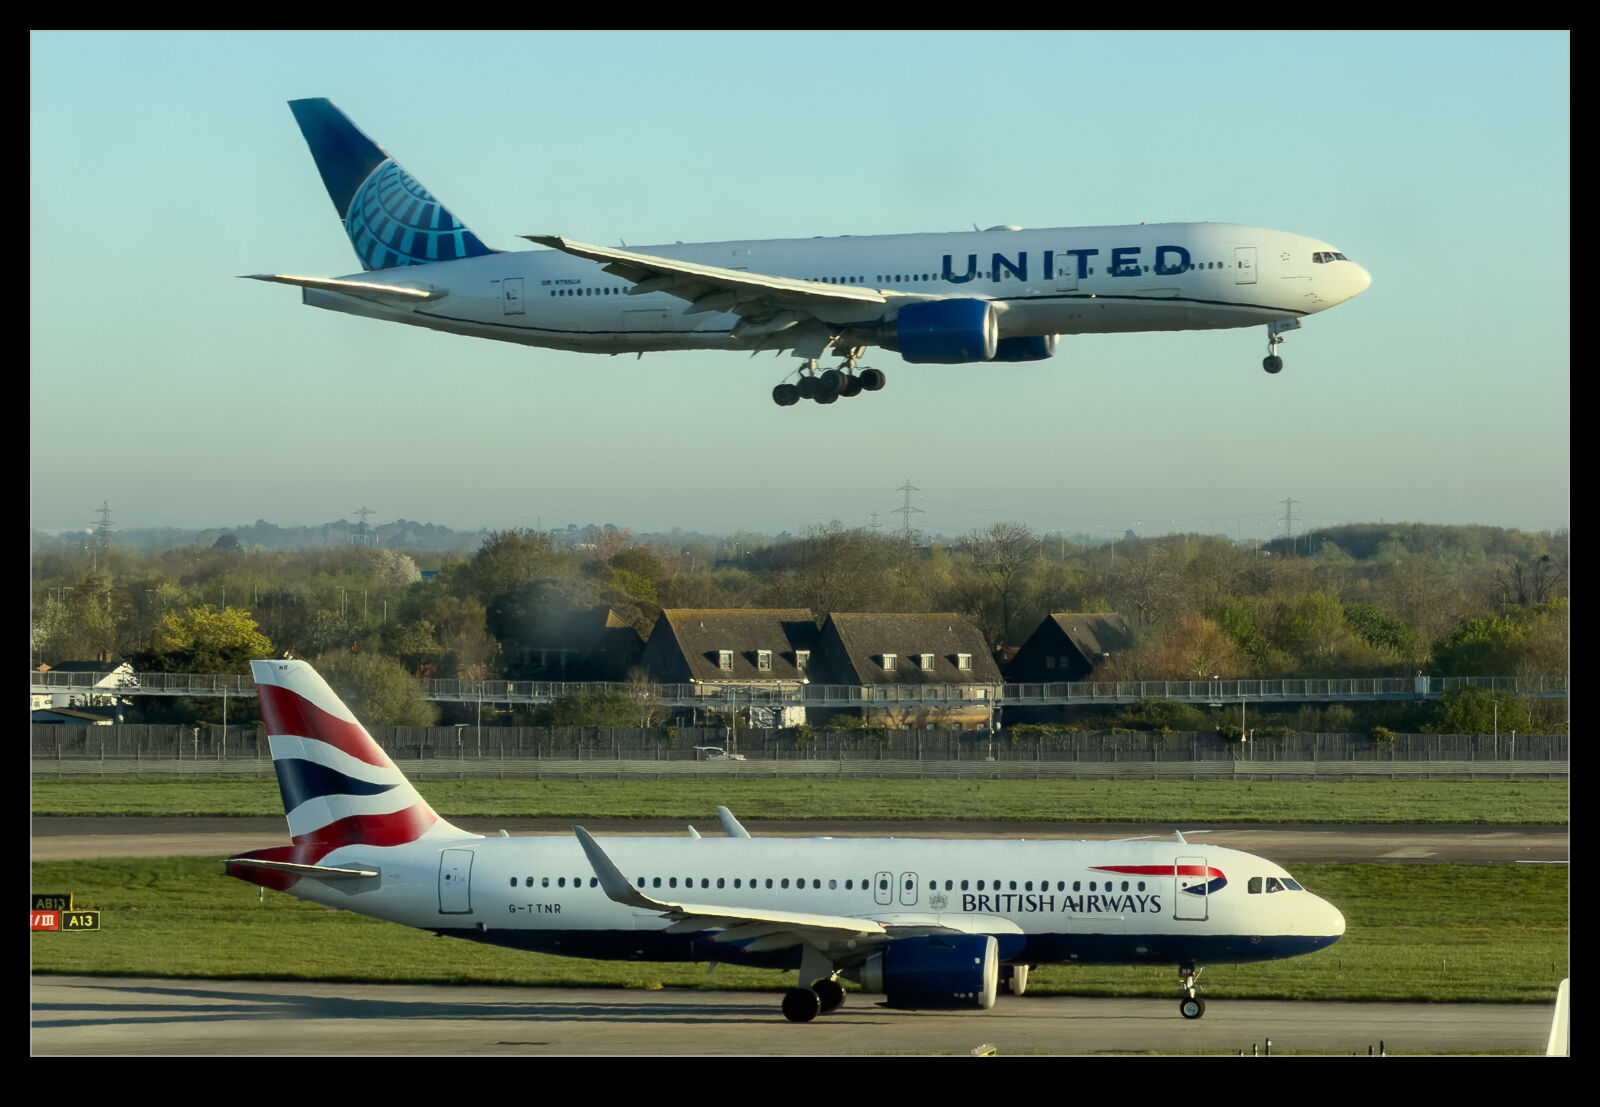
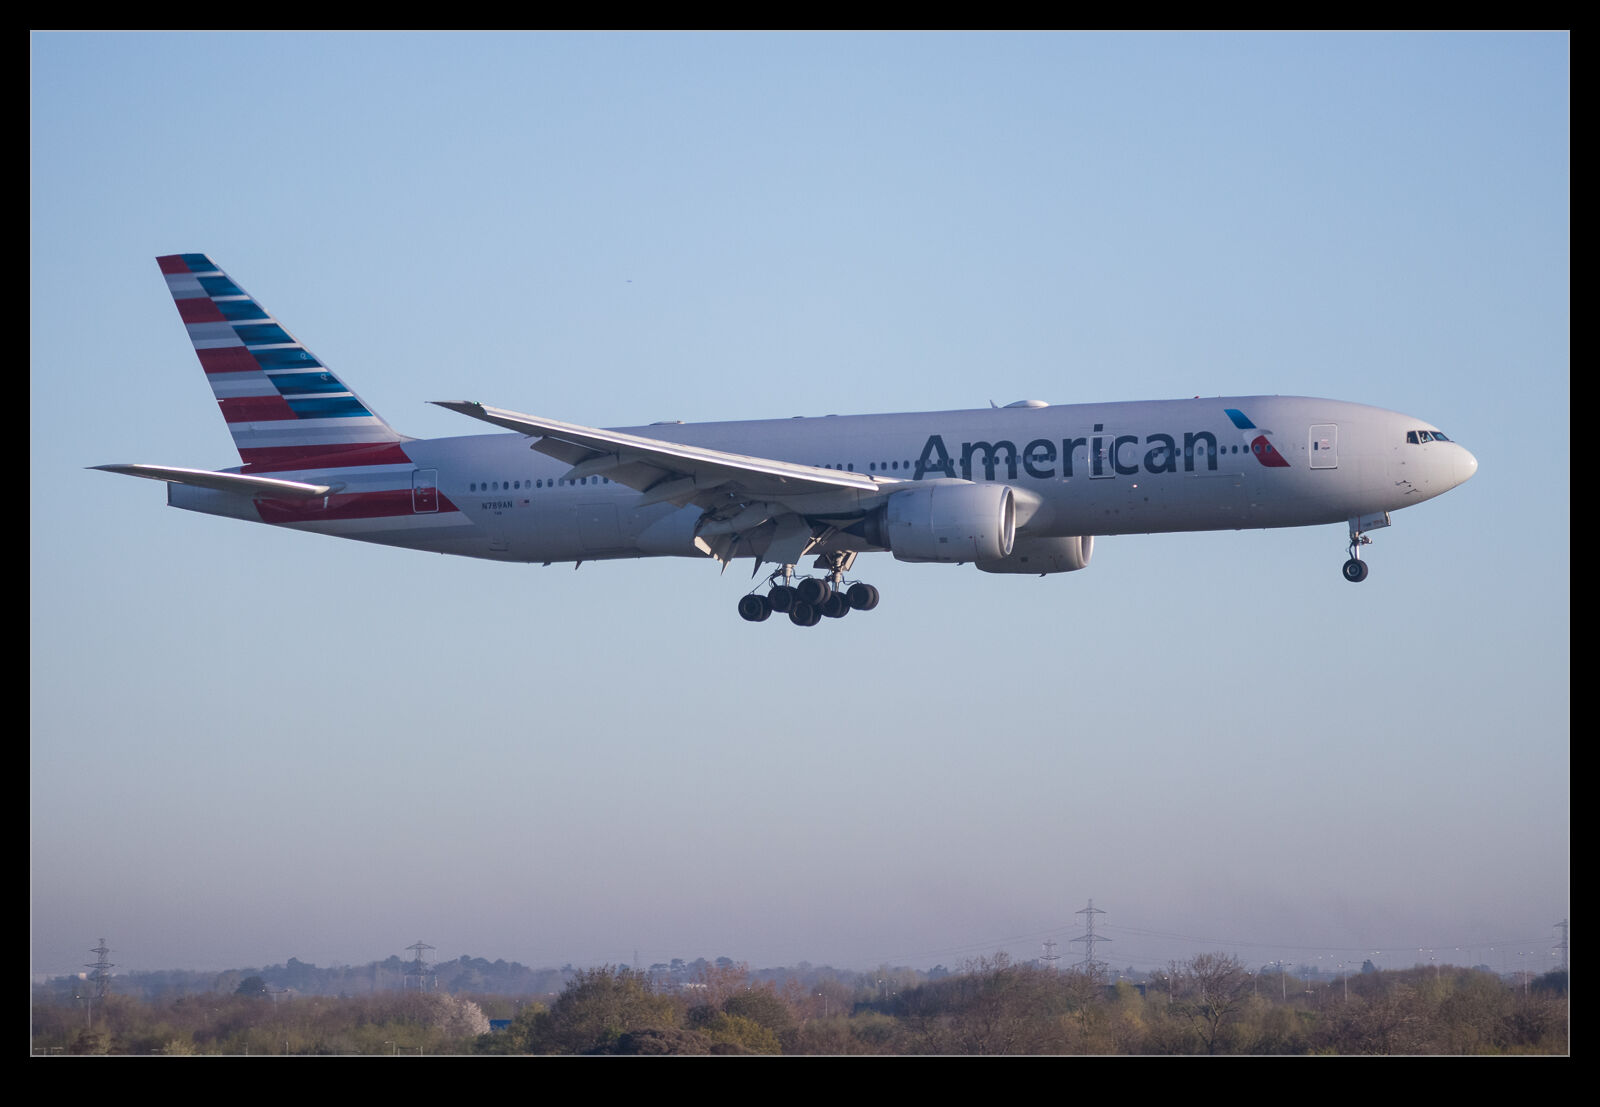
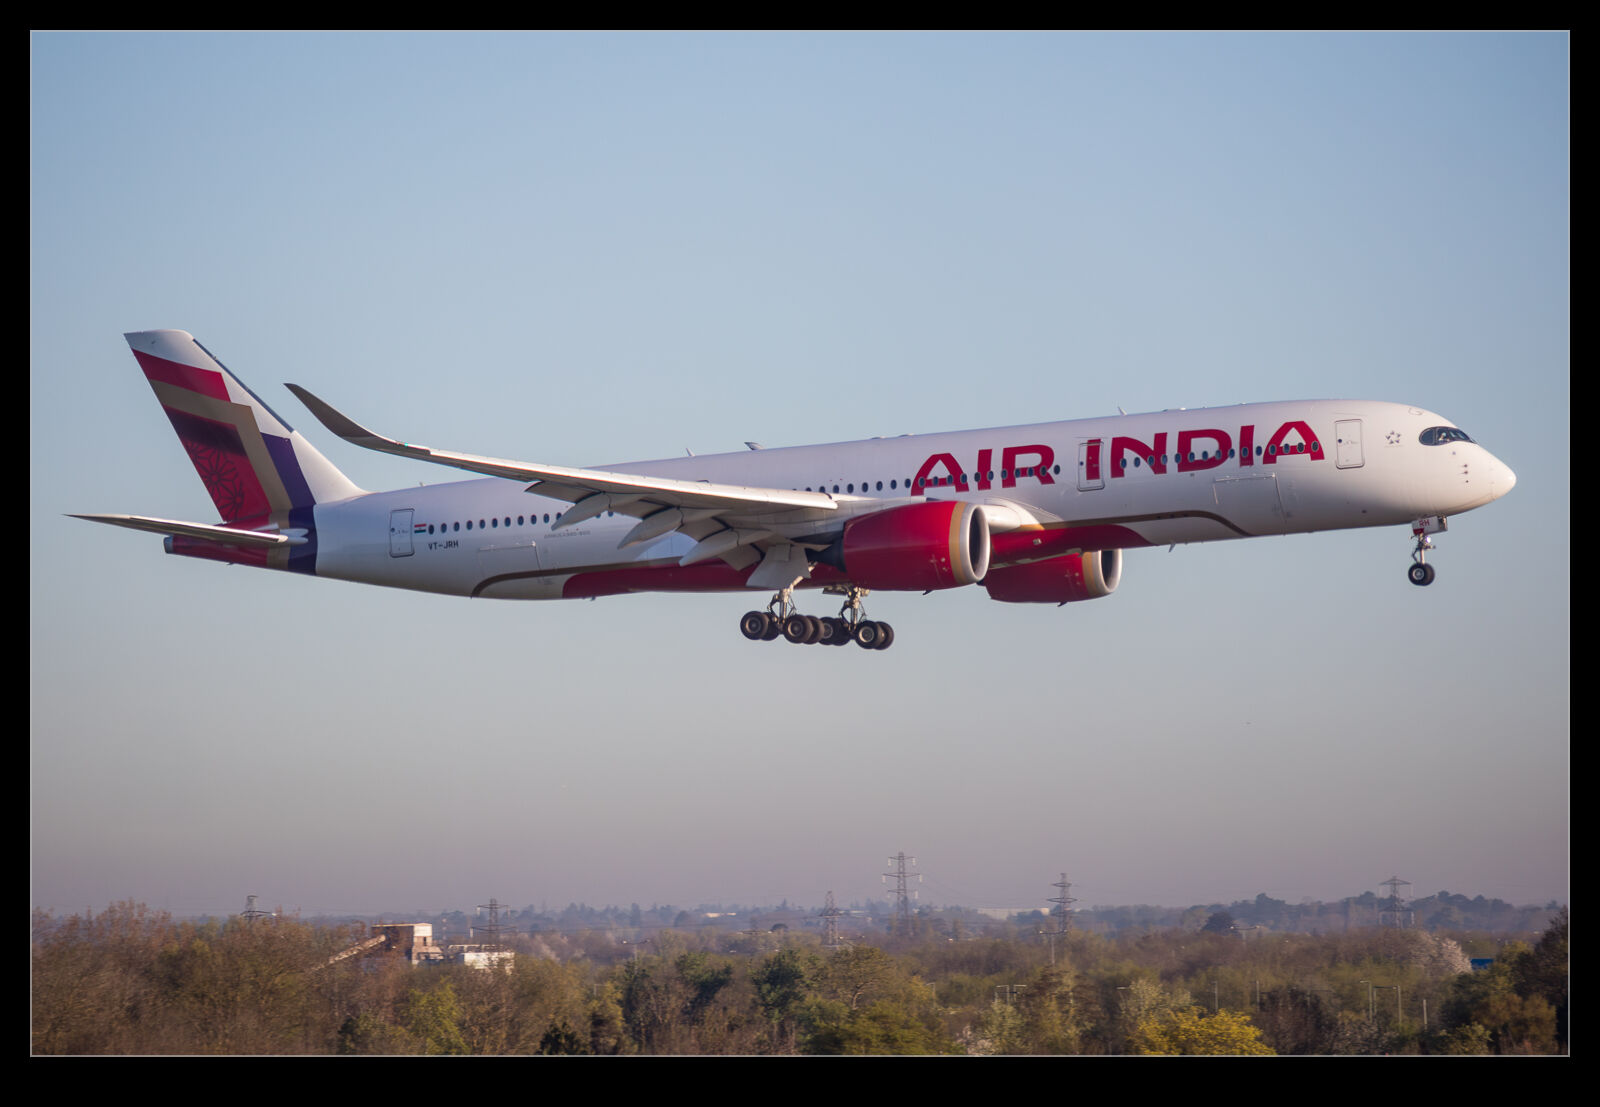 I had a short work trip to Scotland that involved a flight from Heathrow early one morning. The morning light was pretty good, and my gate was at the north end of Terminal 5 so I got to see a few of the arrivals while waiting to board. The Air India A350 was a nice catch but I got a variety of other arrivals. Aside from the regular British Airways short haul types, I did get and A380.
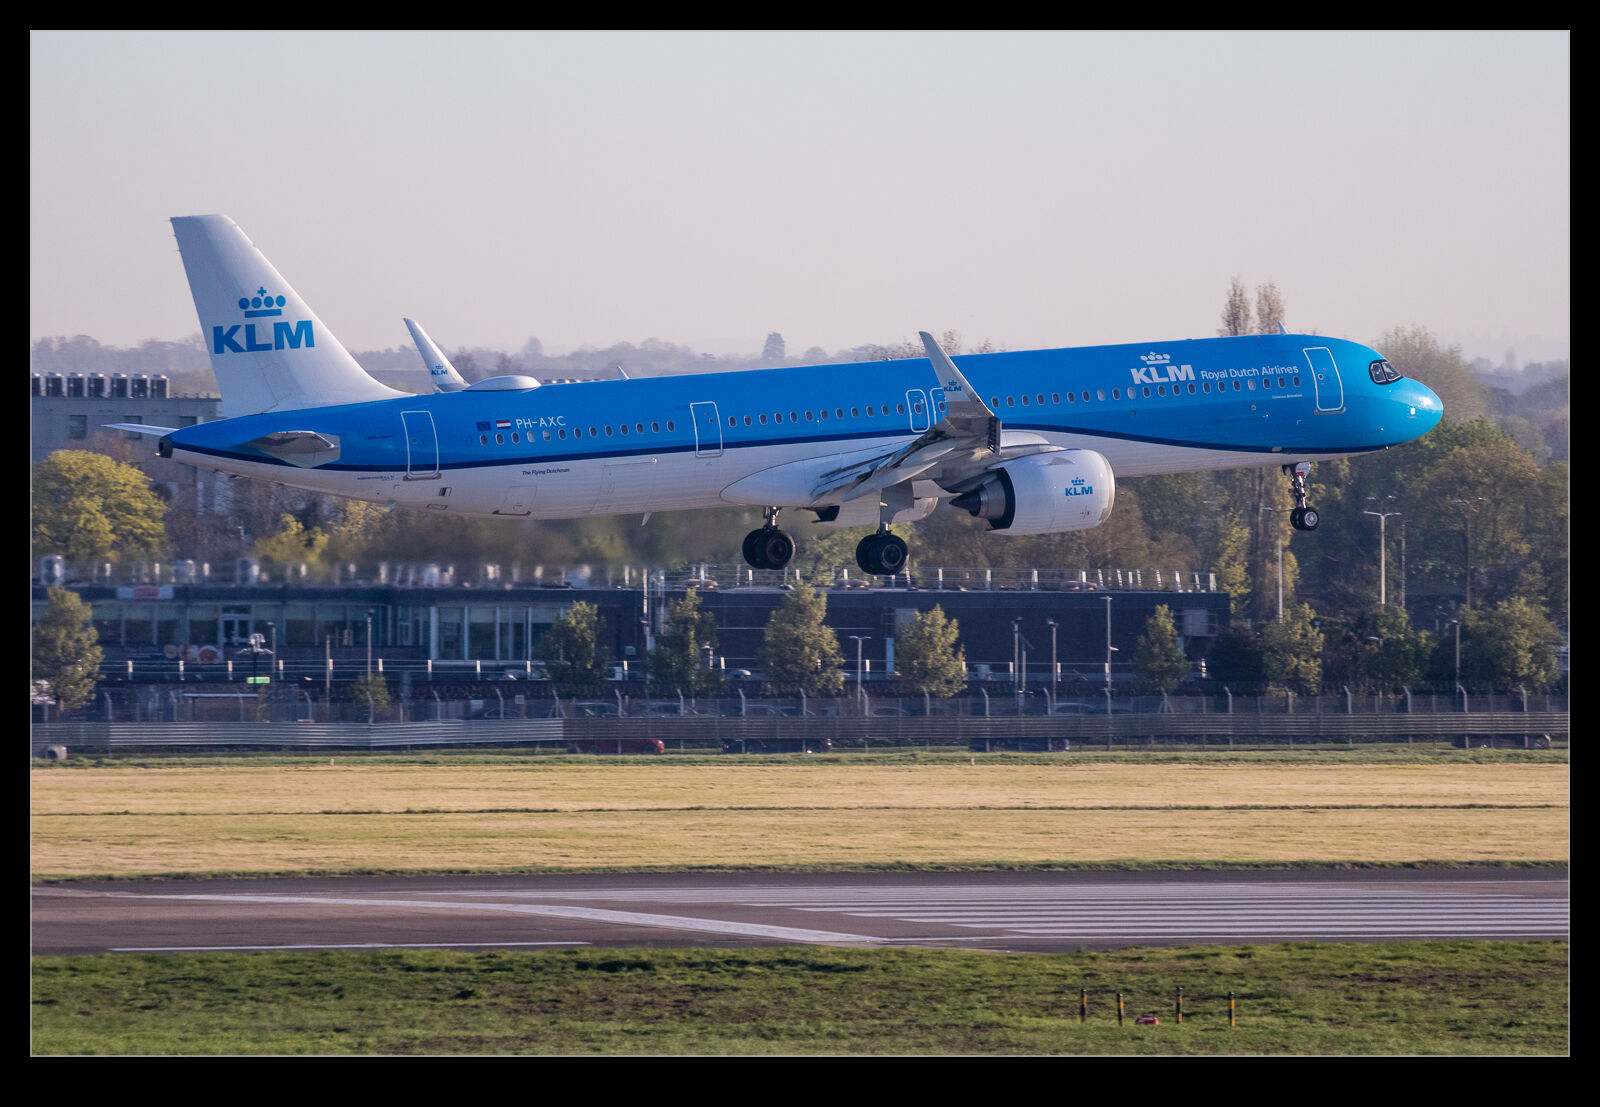 Add to that, there was an Air France A220 and a KLM A321neo. United also had an arrival. Shooting through the windows is not ideal and I was using the M6 which is really a step down from the R3 but has the advantage of slipping into my work bag easily so earns its place. I would really like to find something modern that has a similar form factor but is as responsive as current cameras. Sure, I really need another camera!