Tag Archives: macro

Examine Detail With the Macro

Every once in a while, I see some detail on something I have and it makes me want to shoot some macro images.  Since converting to the R3 with its focus stacking capabilities, macro is so much easier to work with.  I had a car which had both printed patterns and embossed elements on it.  I thought these looked interesting so set up the macro lens to get a closer look.  The focus stacking in Photoshop is so straightforward when shooting on a mount, it takes no time at all to get the shots.

I was interested in the embossed elements but, when I took a look at the resulting shot, I was quite taken by the edge of the car.  The layers in the laminate were quite interesting and the detail in the curves of the edge were brought out in the shots.  I did also like the way in which the embossed characters come out when you are working so close in.  Macro is such an interesting way to look at things that are normally on a scale which means they are lost to us.

A Little Spider Gets Macro Treatment

While getting ready one morning, I saw a little spider in my bathroom.  It was wandering around on the vanity unit and would stop for periods of time without moving.  I figured I might want to give the macro lens a go and went to get the camera.  The introduction of the camera was not ideal for encouraging it not to move but I got a bunch of shots.  Unfortunately, they were at a pretty high ISO.  However, stacking shots can help with the ISO so the result was okay.

A while later, it was back.  This time it had climbed up a cable and this reduced the number of ways it could go.  This time I decided to tool up and got a clamp to hold the camera and set things up to shoot a proper sequence for stacking.  The shutter speeds were low with the clamp which meant ISO could be a lot better.  Here are the results of those experiments.  (Sorry to people I know that don’t like spiders but, really, this thing is tiny!)

Disassembled Bicycle Tire Valve

I recently bought some replacement valve cores for my bicycle tires.   I notice that part of the core was bent so decided to replace it.  It is a quick job to change the core over and, prior to throwing the old core away, I figure I would play with the macro lens.  I first too a picture of the still assembled core trying to angle it to show how badly bent the part was.  Then I figured I could take the core apart altogether.  Another focus stack and I could show the parts separated.  I love the detail you get of the metal surfaces when you shoot macro.

Focus Stacking and Backyard Arachnids

I’m sure a bunch of my relatives will look away for this post.  Maybe they aren’t fans of focus stacking but it could be the spiders that put them off.  My macro lens has been out a lot during the pandemic since it provides something to photograph close at home that is a bit different.  In fact, I have got so used to having it available, when I am out with a normal lens and come across something small and interesting, I am a bit frustrated to realize I can’t get a close up shot.

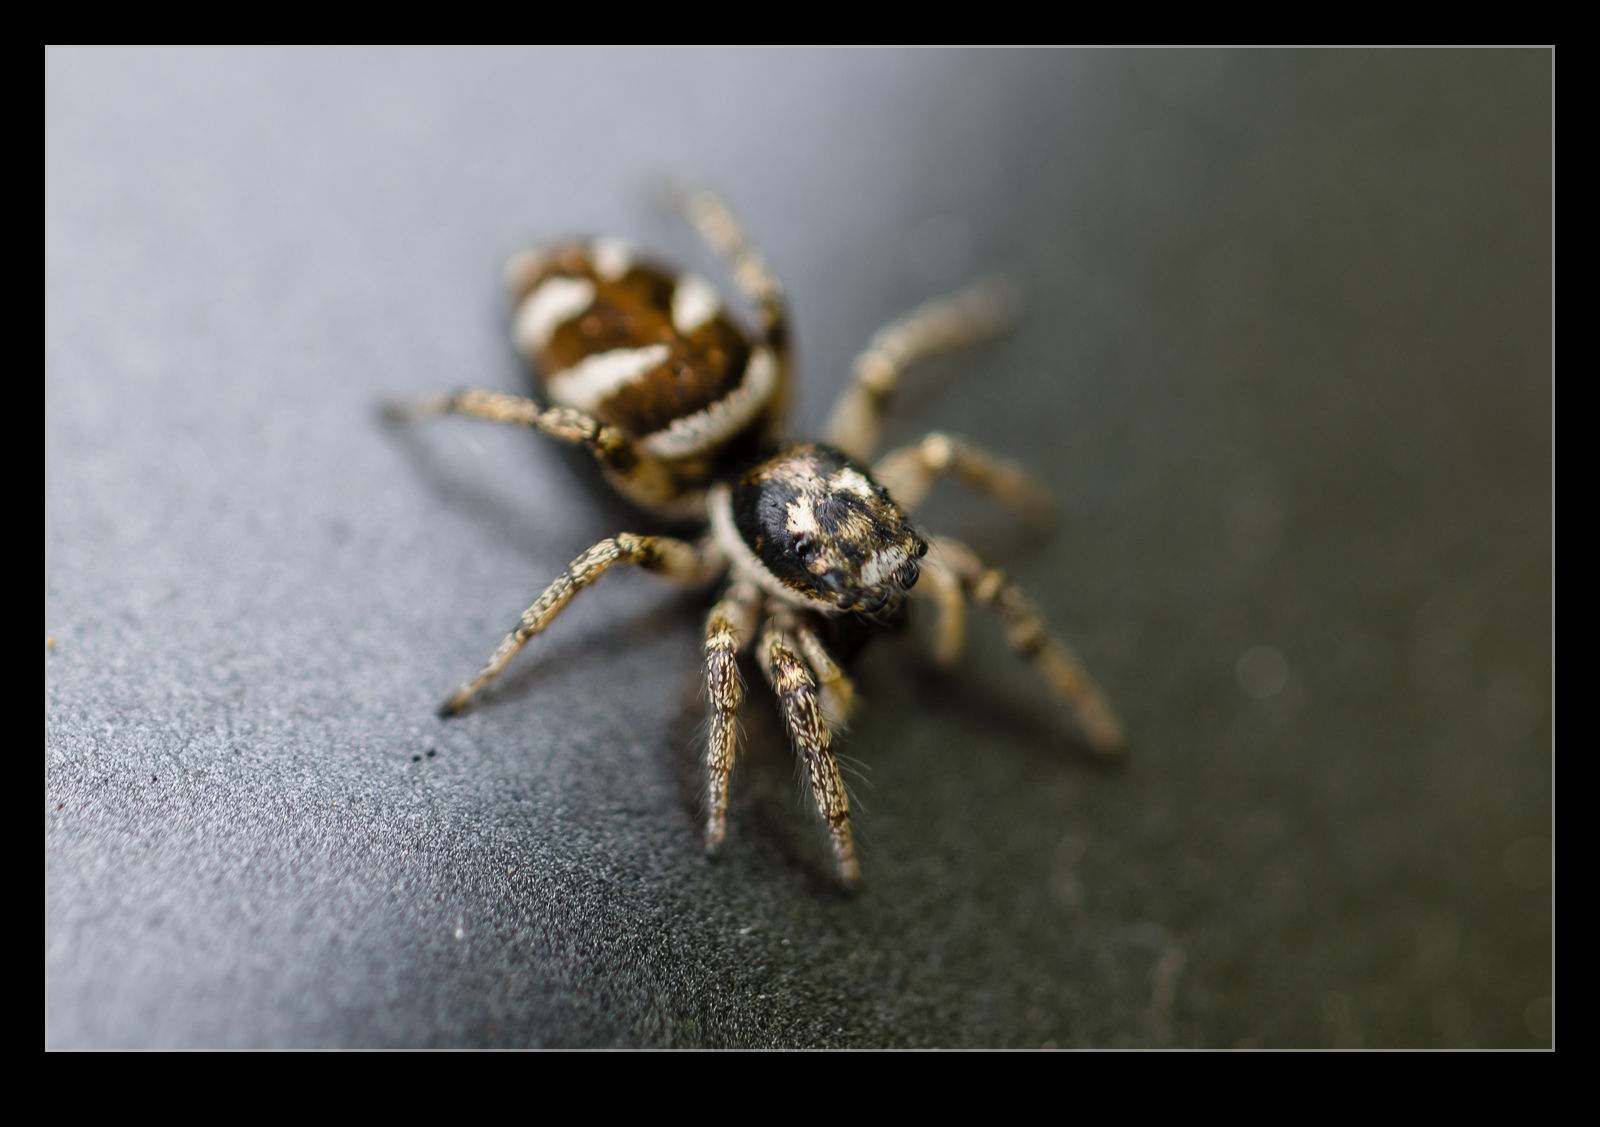
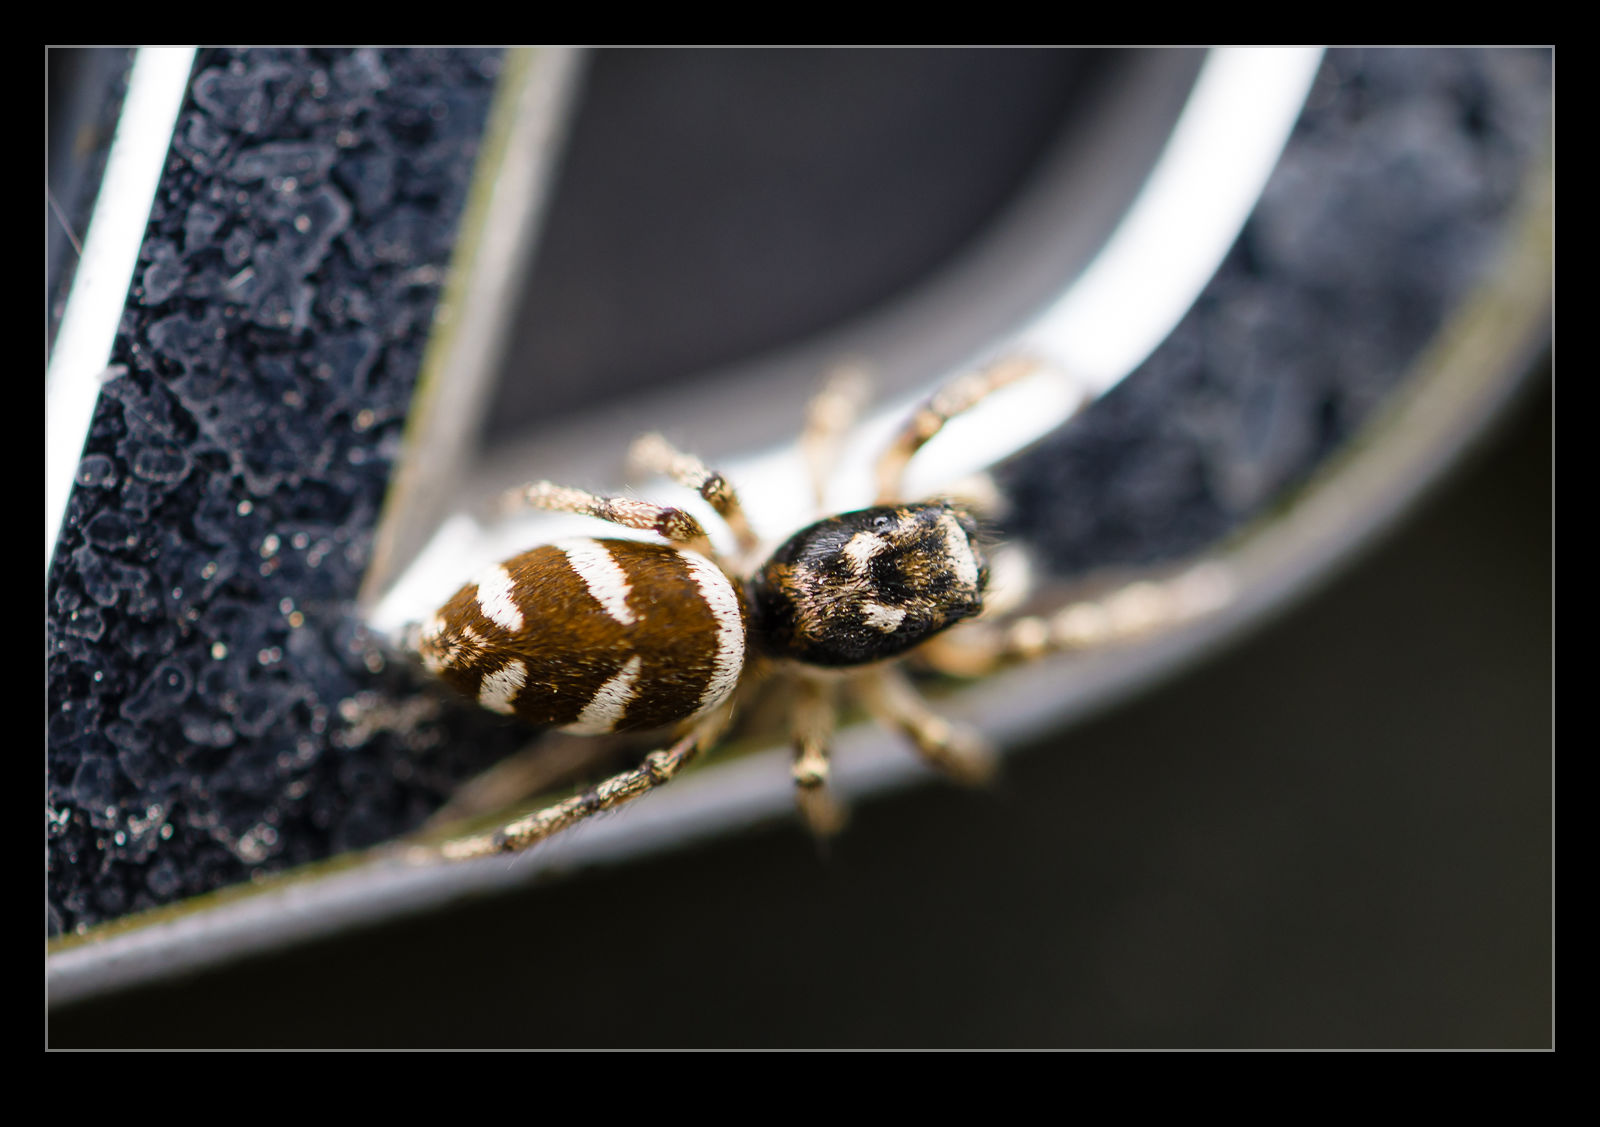
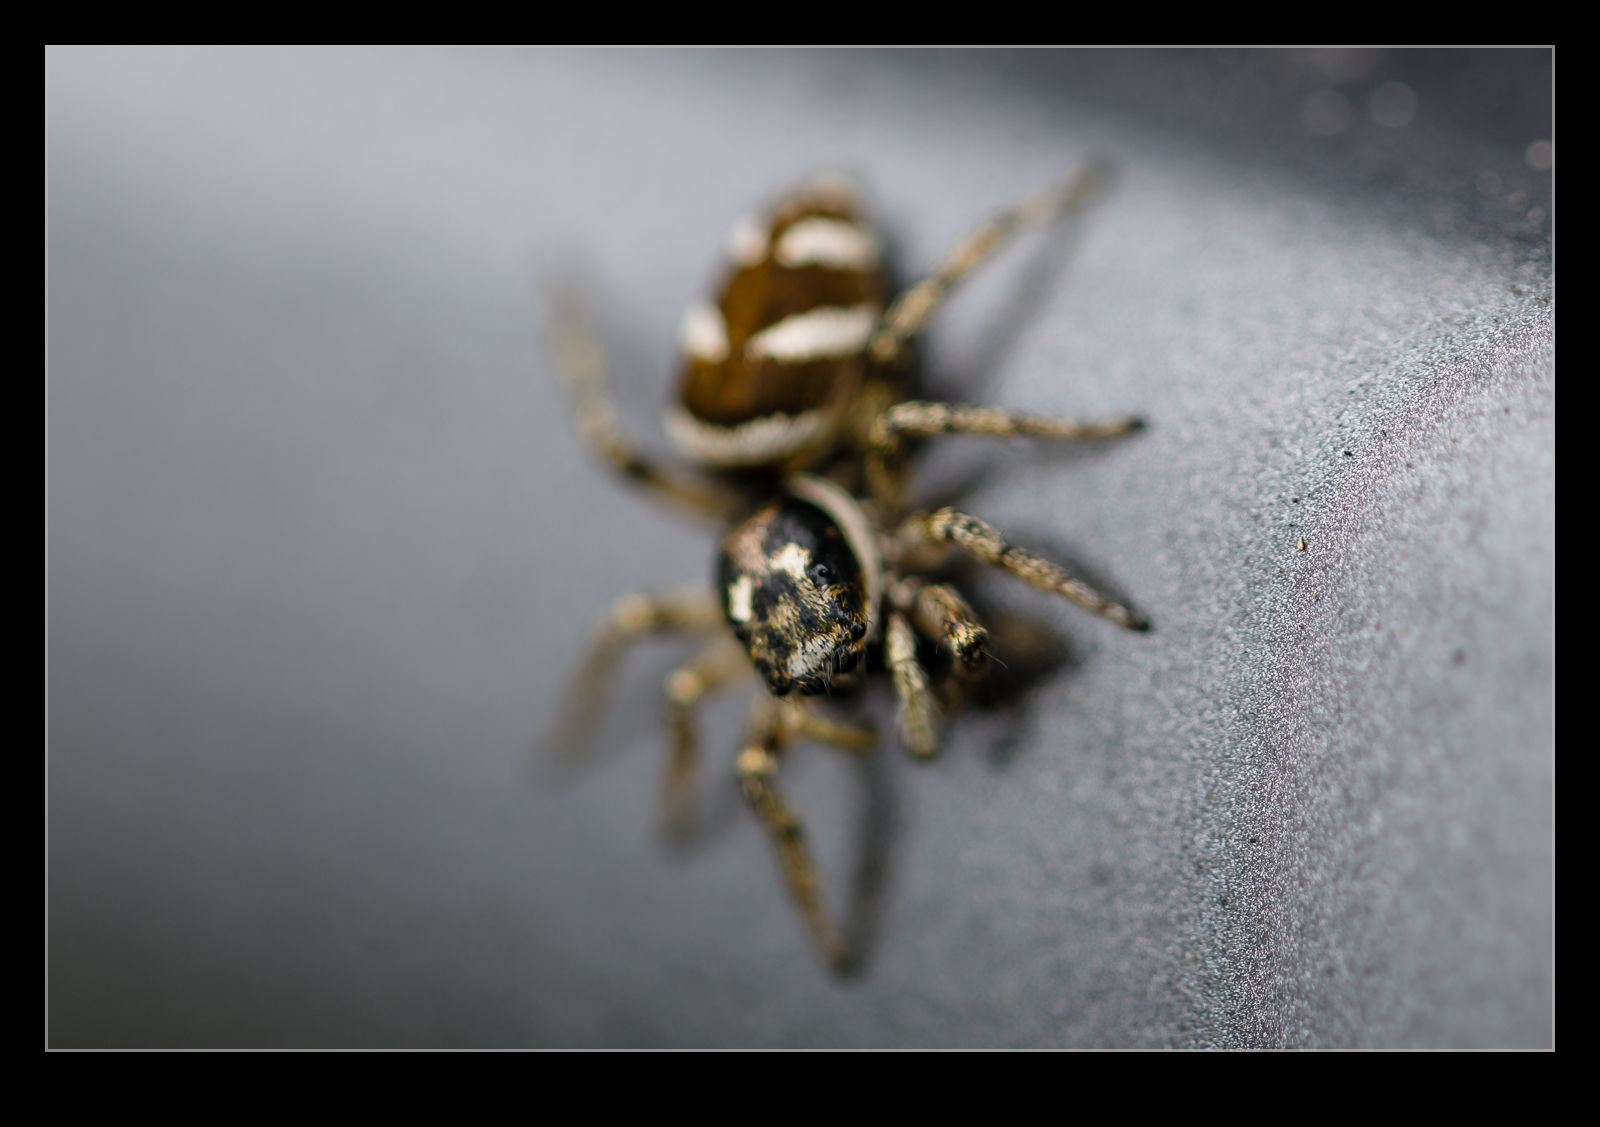
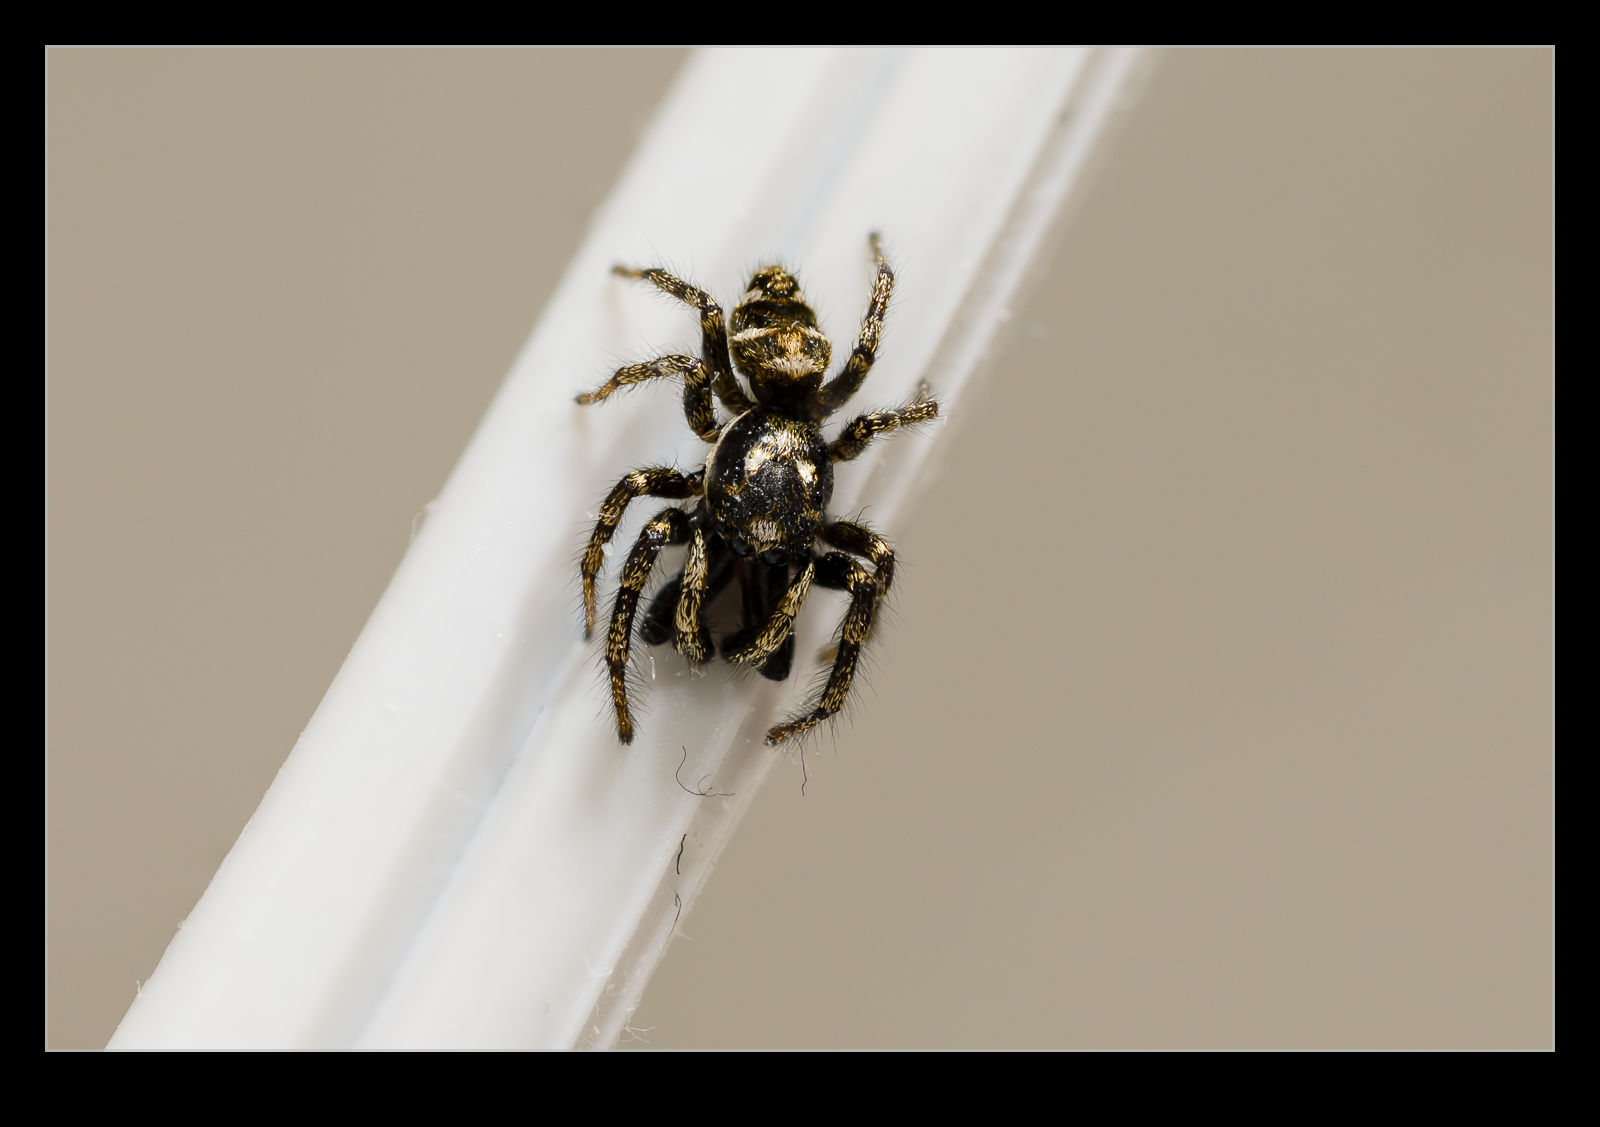
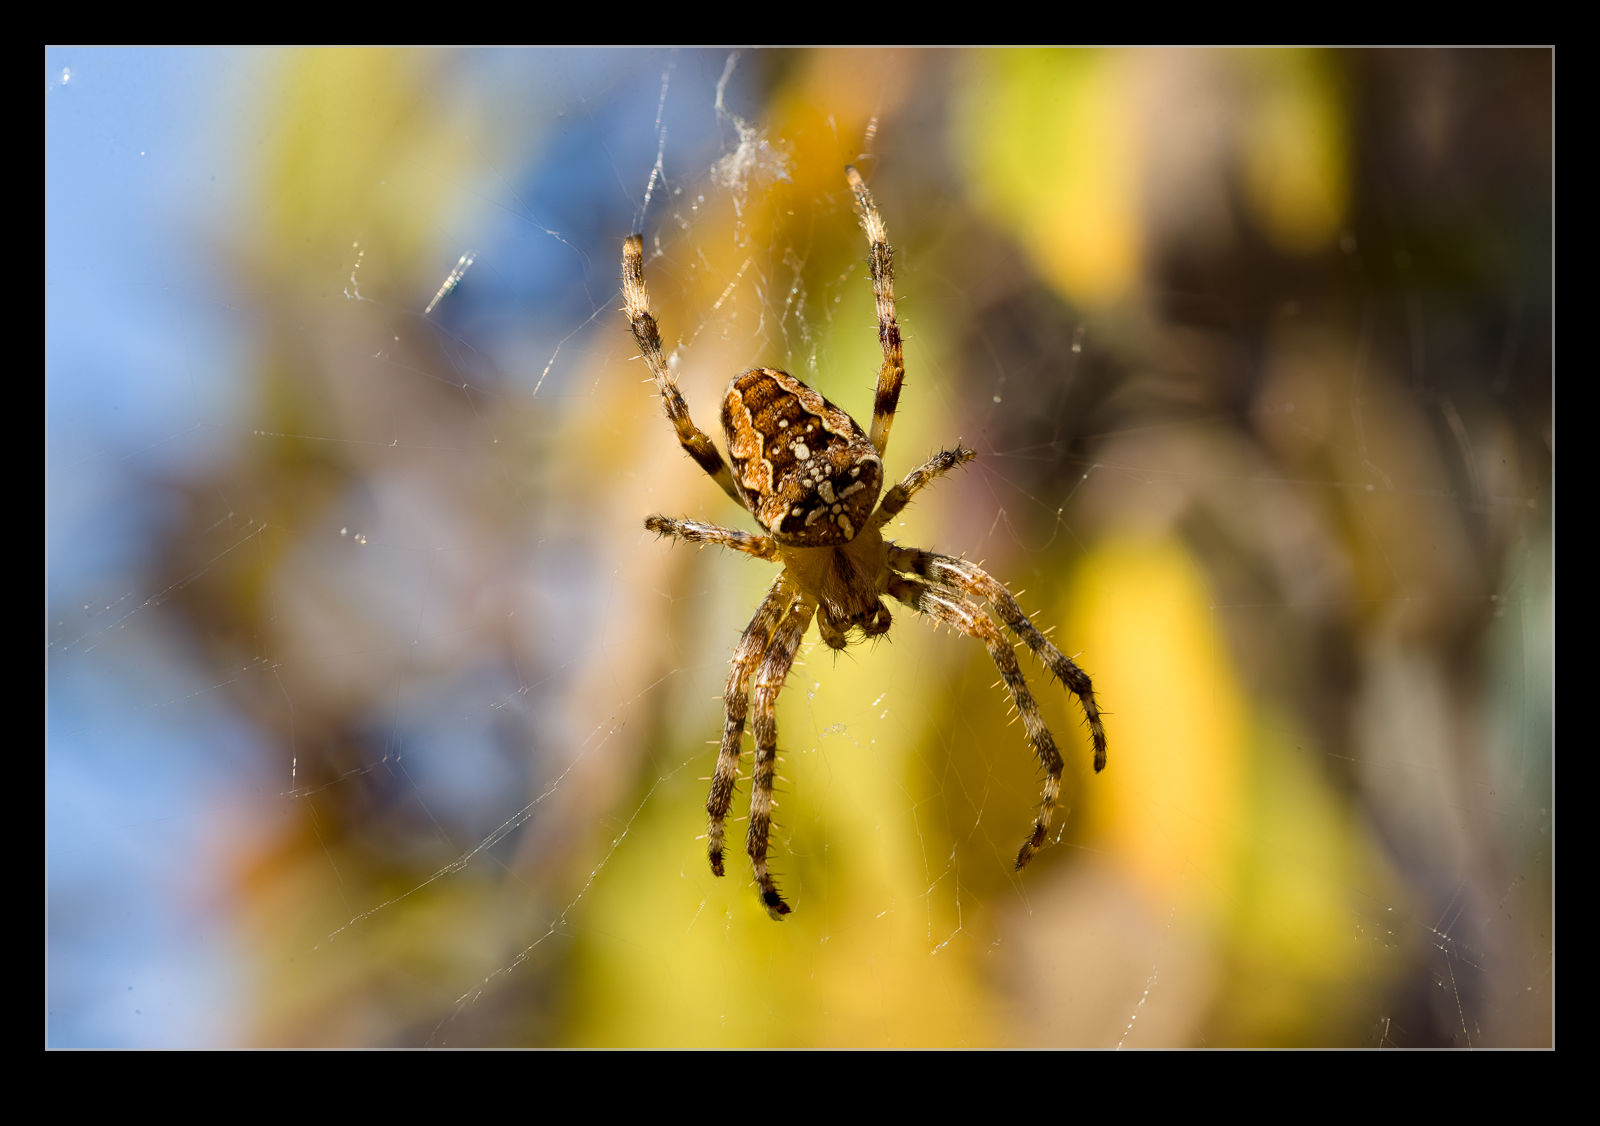
The problem with the lens is that it is not a very advanced one and the autofocus on it is pretty crap.  When I am trying to hand hold the lens and something is moving and so am I, things get a little unpredictable.  We had a few spider webs in the backyard with the owners sitting in the middle.  The afternoon sun provided great illumination so I figured I should give it a go.  I tend to go to manual focus and move to get the shot but with the breeze moving the web a lot, things are pretty tricky.  This is what prompted me to try cheating.

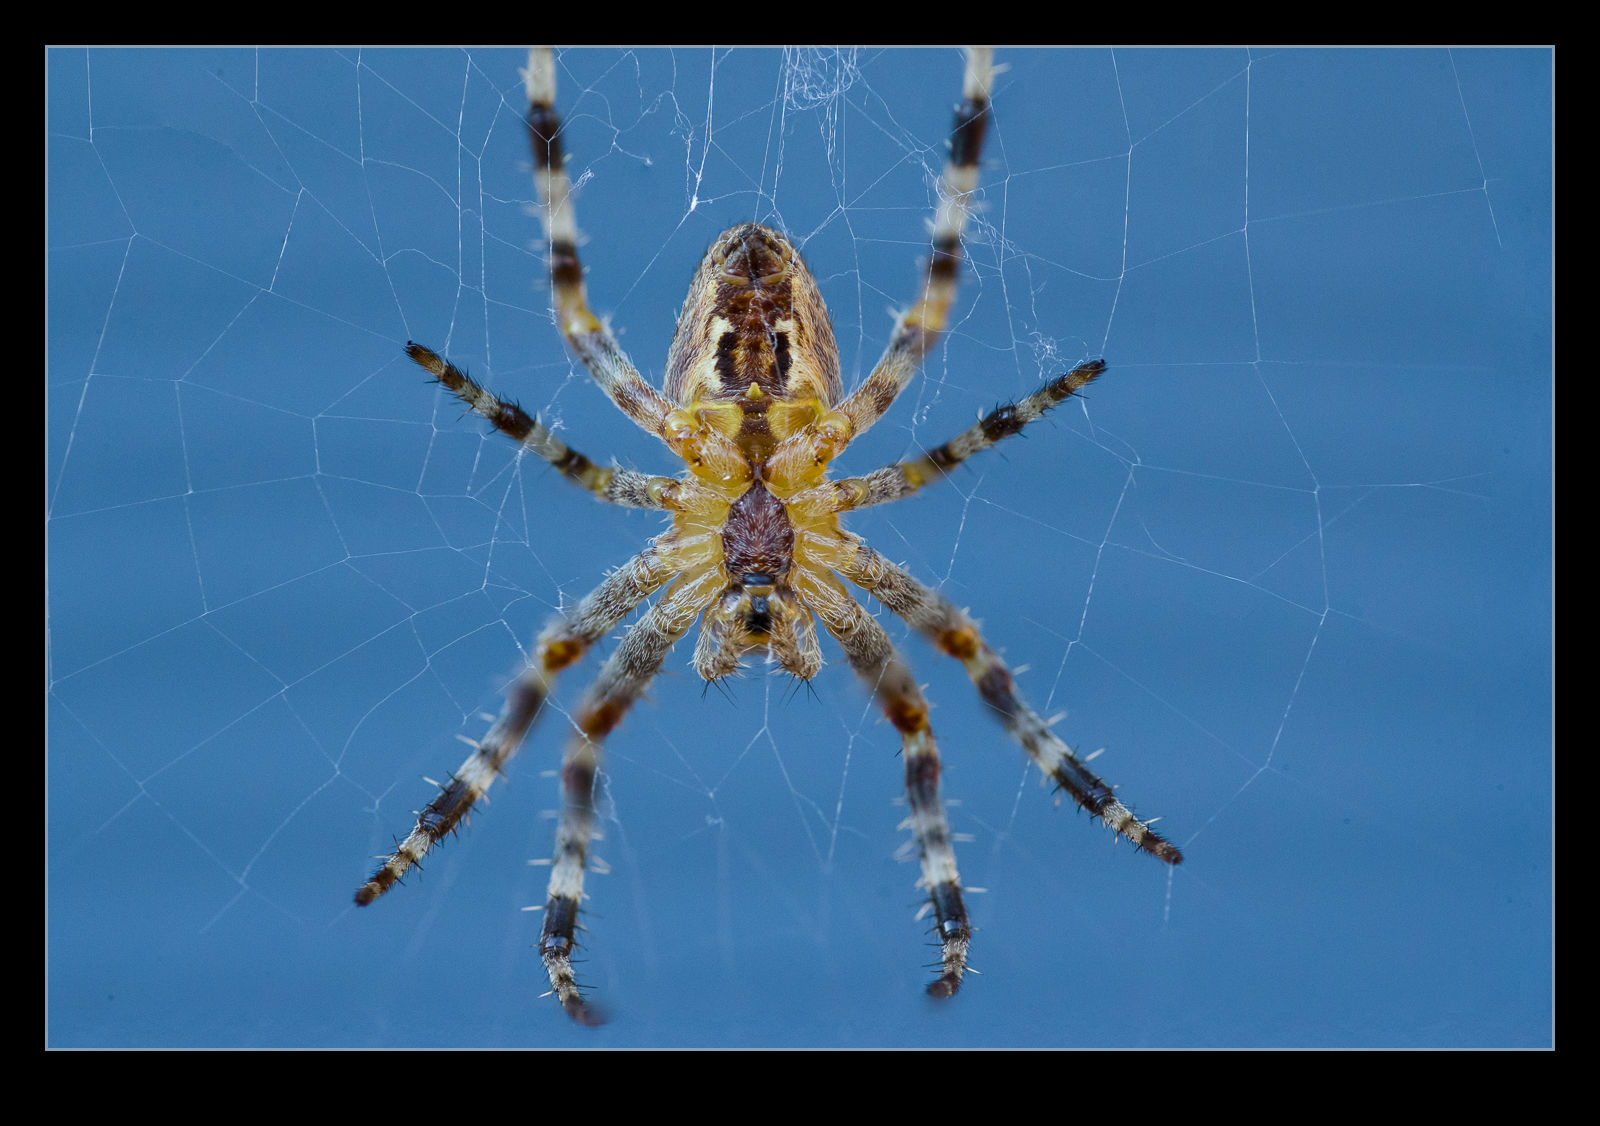
I figured that focus stacking does a good job of increasing the area in focus and it manages to align images and make use of what is already in focus.  If I can be straight on to the spider and stay reasonably still and roughly at the right focus point, let the web move towards and away from me and fire a bunch of shots off hand held.  Ignore the ones that have nothing in focus and then let Photoshop work on the remainder.

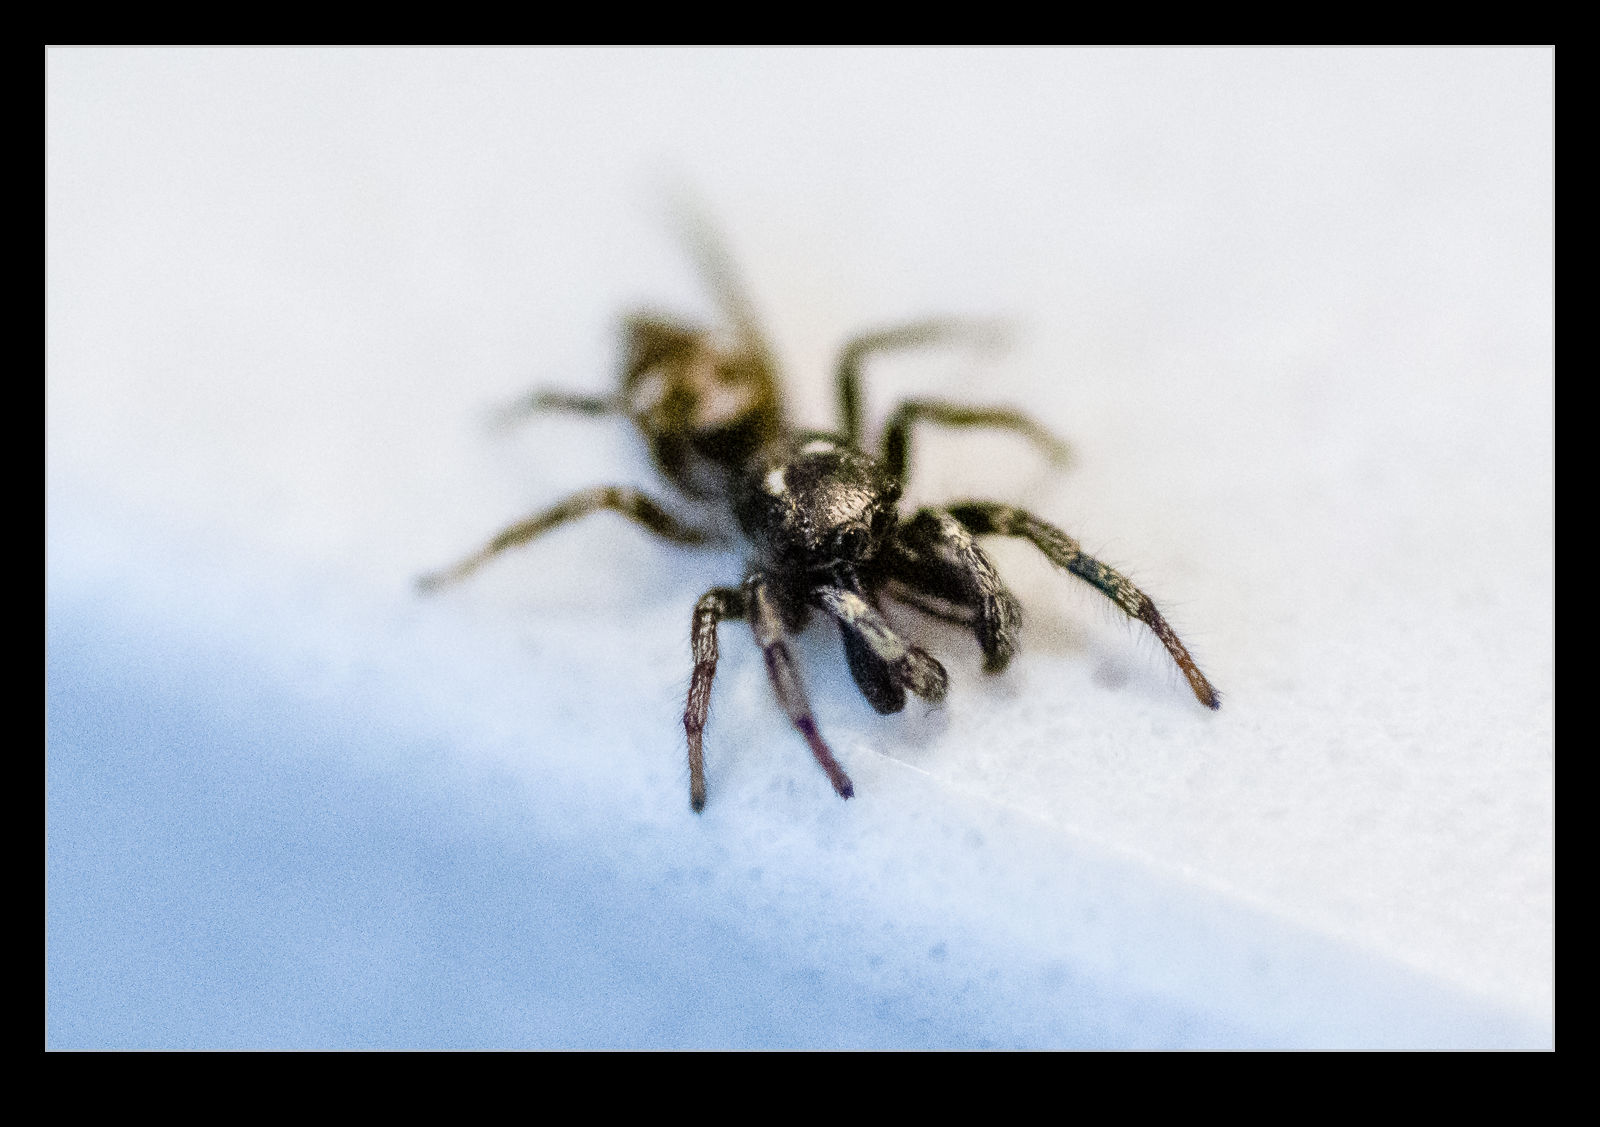
It isn’t a perfect solution and some weird things happen at the edges of the frame but the center works out pretty well and you can crop in a little to address the edges.  I was quite pleased with the outcome to be honest.  It is making the best of a few bad elements but it did do quite well.  You don’t get to control what is in focus for each shot so getting a complete set to work with is unlikely but overall, not a bad experiment.
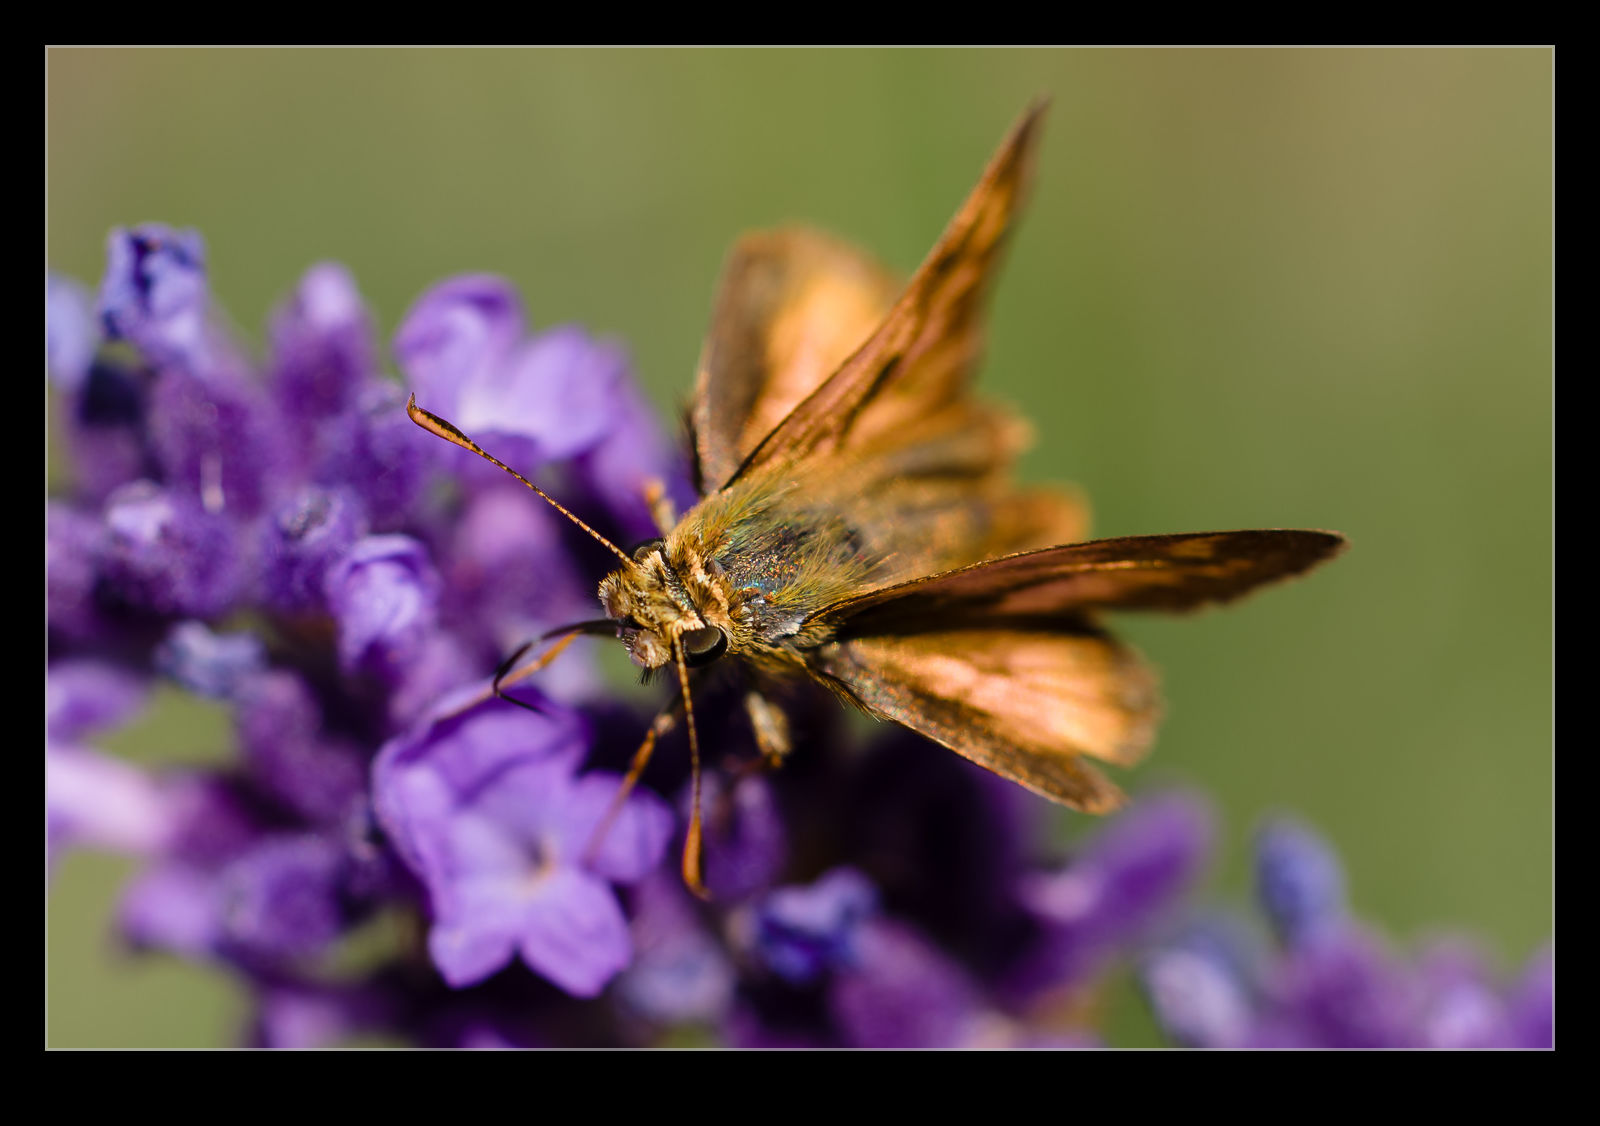
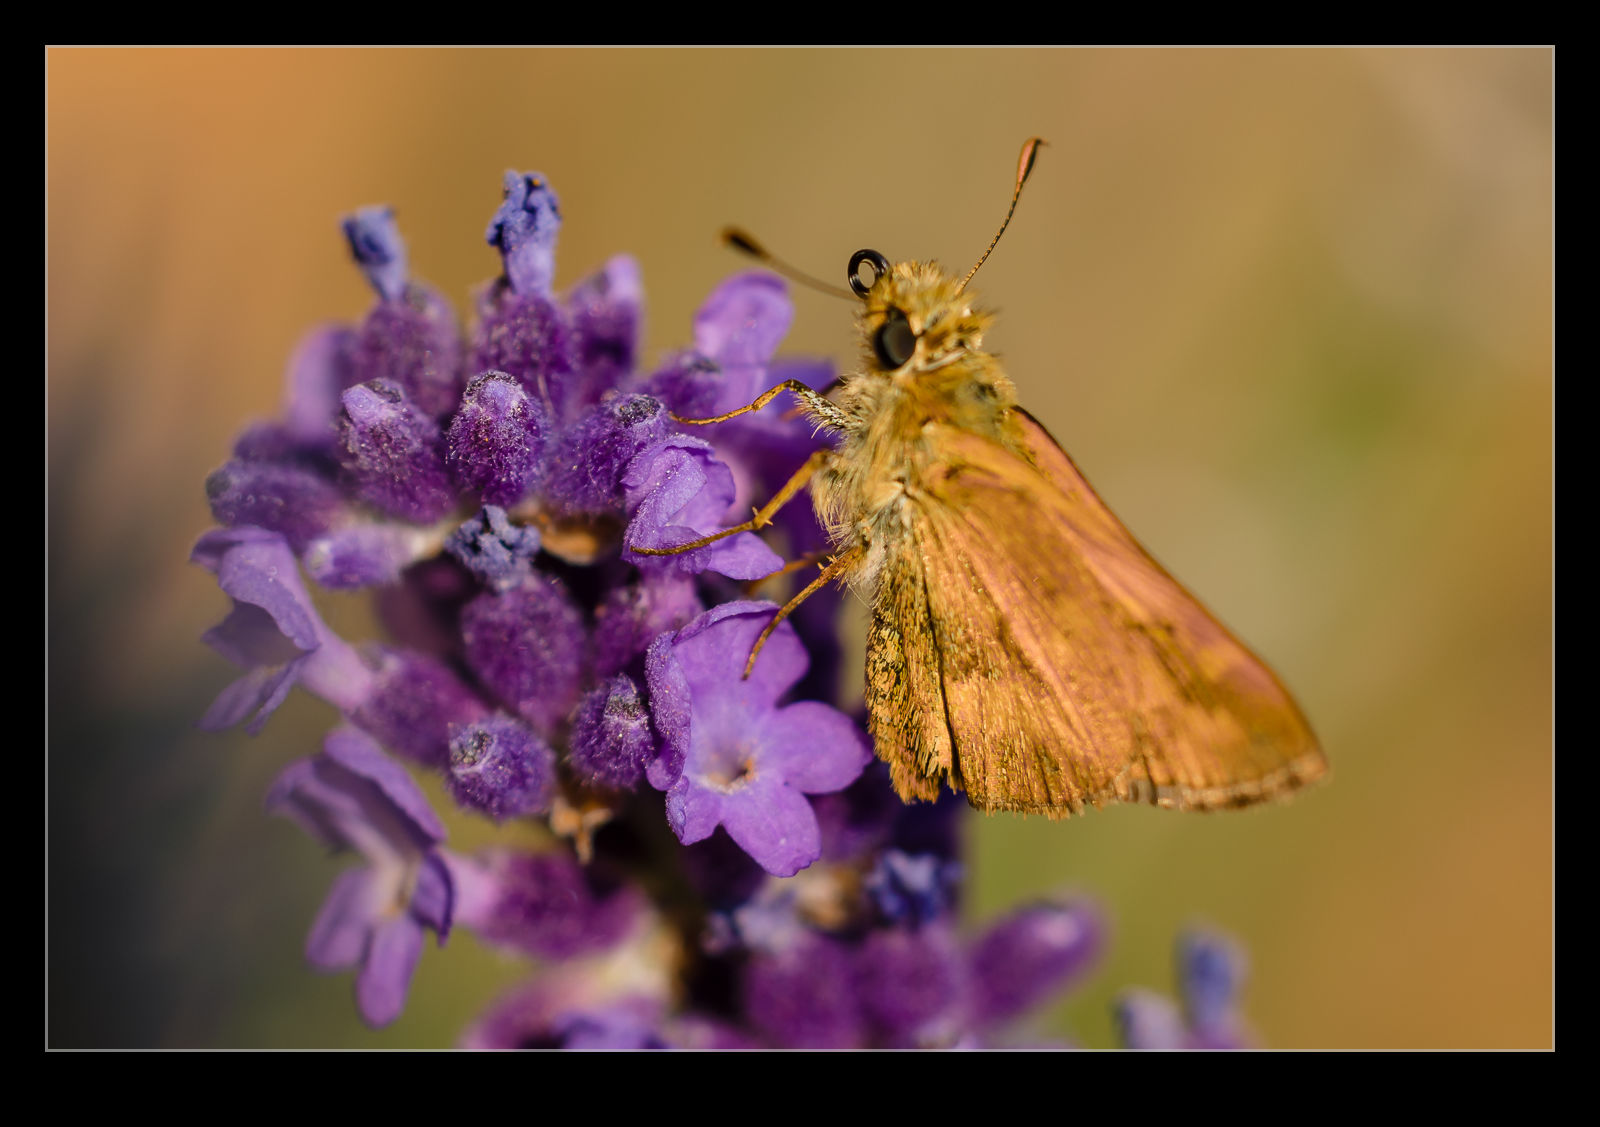
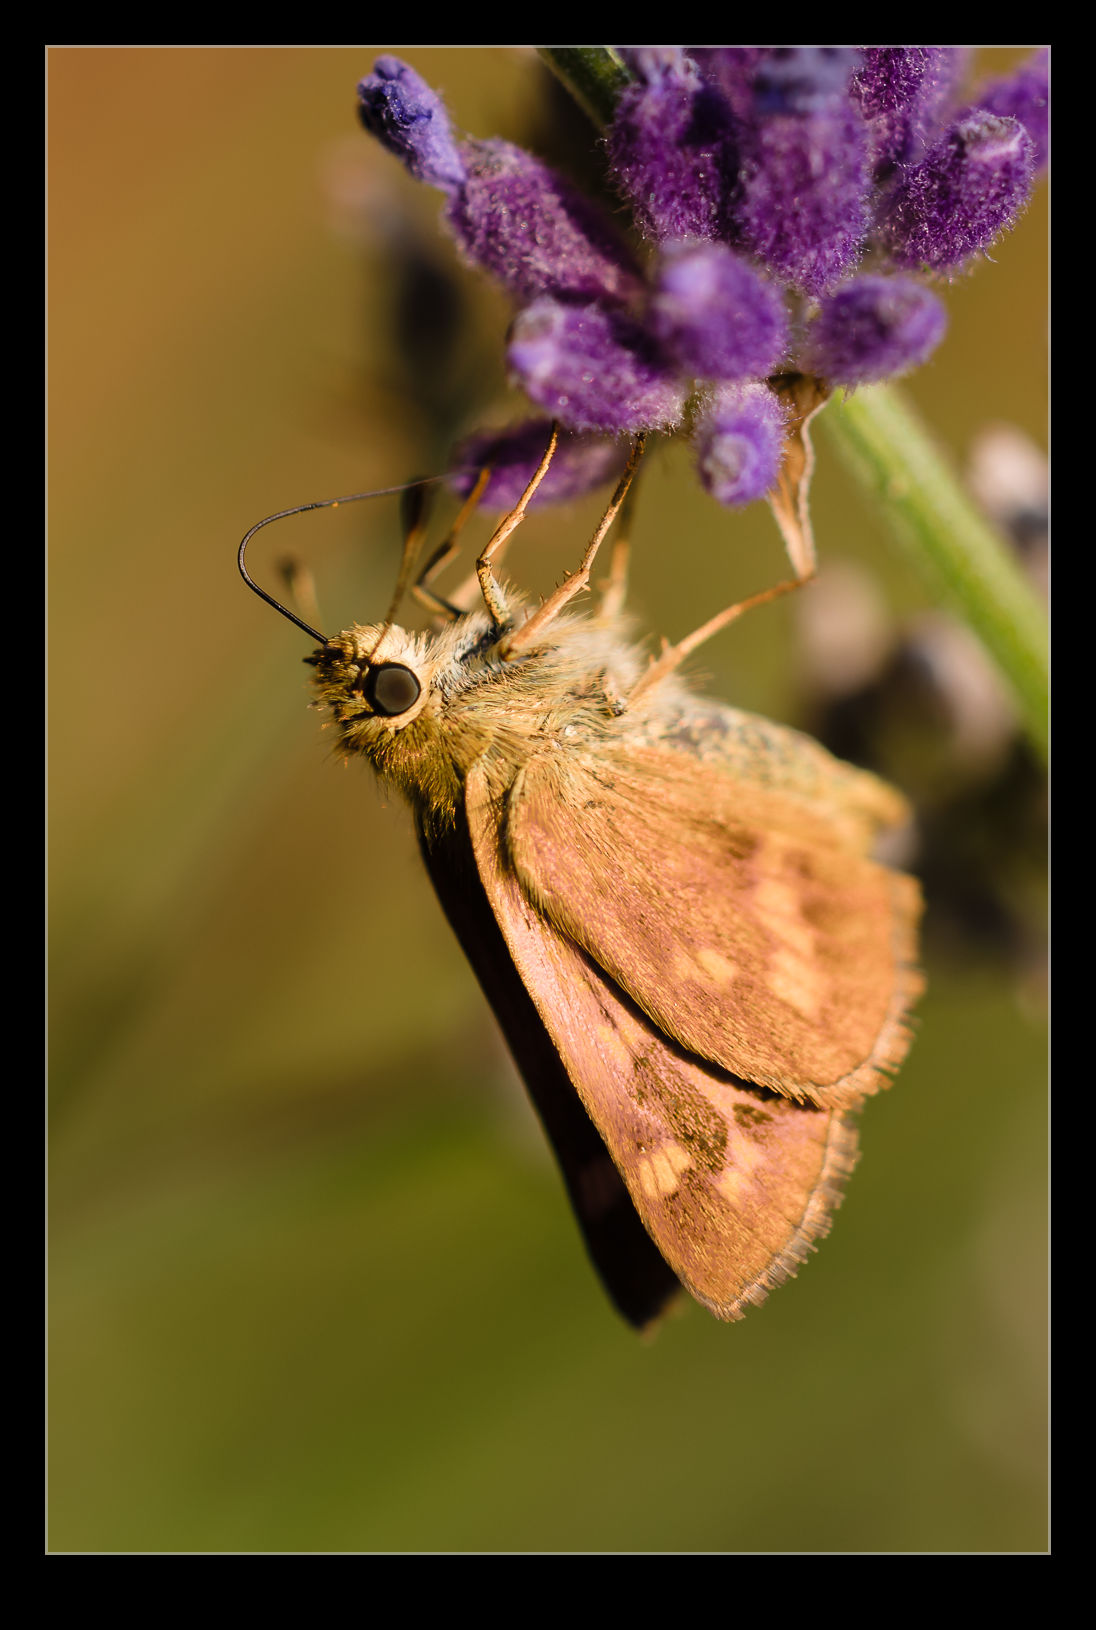
When You are Locked Down, It’s Got to be Macro Time

Not being able to go anywhere means you can only photograph things close to home.  Why not dig out the macro lens.  I have no doubt that many photographers have been doing the same thing when stuck at home too.  I initially didn’t have any obvious plan for this.  I just decided to photograph anything around me to see what it looked like when seen up very close.  Textures on the surface become apparent in a way that aren’t normally.  I also discovered just how much dust on on somethings that I never noticed until looking at the images.

Spider Hiding Out

My effort at shooting macro images of bees in our front yard (this post) also yielded a surprised.  While I was waiting on a flower for the bee to come to me, I noticed the flower already had a resident.  A little white spider was hanging out in there.  I am not sure what its intended prey was.  It seemed a bit small to take on a bee but I have no idea if that could happen.  Maybe it wanted something smaller.  I got a couple of shots of it that interested me.  The prime shots show its “face” in detail.  Macro shots have a very shallow depth of field so I missed with plenty of shots but one or two had the end of the legs in focus.  The detail of the hairs on the legs was so cool so I include that too even if it looks like I missed focus on the shot (which obviously I did!).

Bees at Work

The Puget Sound area is currently abloom.  Everywhere you look there are flowers.  It is quite beautiful.  We haven’t seen too many hummingbirds on our feeder recently and it’s not hard to see why when they have so many places to feed right now.  We have some blooms in our front yard too and this means the bees are visiting. I decided to try and use the macro lens to get some shots of them.  My lens is a Tokina unit.  I bought it for the negative scanning process for which it worked well.  However, the focusing drive is not fantastic and it hunts a bit when I use it for things other than manual mode.  However, it is still worth a shot.  Here are a couple of bee shots from the yard.  I can’t go anywhere so I may as well shoot at home!

Update on the Negative Scanning

IMG_3820.jpgI wrote about the set up I had created for scanning negatives using a digital camera a while back.  Since writing that, I have been working on a lot more scans and have gained some additional experience.  This has resulted in a few changes to the configuration so I thought I would share those too.  Overall I am very happy with the results I am getting as a result of the updates.  Things could be better but that would involve considerably more expense and the need just isn’t there.

The first change I made was to use a different lens.  I had been using the 24-105.  It was pretty close to the film plane and was sensitive to getting the alignment spot on.  I had a few times when focus was not consistent across the shot.  I thought it might be better to try a longer lens further away and this proved to be a big help.  I have my old 100-400 still so I hooked that up.  It makes for a slightly higher position but I can use the zoom quite well although it needs more of the extension tubes to focus properly.  It does result in good focus although I tend to focus manually as the autofocus does not seem happy in this setup.

IMG_3822.jpgI was using Liveview quite a bit and I discovered that the old batteries I have were not lasting long at all.  Rather than buy new batteries, I went to Amazon and picked up an AC adaptor that replaces the battery for about $15.  Now I can scan as long as I like without having to have batteries charging in the background.

I also have modified slightly the light pad.  I found I was moving it around a lot more than I realized as I moved the negatives and swapped strips.  A little gaffer tape now holds it pretty much in place.  This means I can have the lens zoomed more closely to the full frame of the film which allows for a higher resolution scan.

With everything tethered in to Lightroom, the import process is pretty smooth.  The preset I use is okay but I am regularly tweaking for the white balance and exposure.  This is not too big of a deal.  I find I can get better detail out of the shots than was possible with the scanner and using the raw convertor gives me plenty to work with.  They are still limited by the quality of the original shots of course!

Overall I am very pleased.  I can scan a lot of stuff very quickly compared to the old way and now I am happy to scan a whole shoot without worrying about whether any of them could be ignored.  It is quicker to scan them and then discard them afterwards.  I am scanning stuff that I have been thinking about for a long time and rescanning shots that had been done before but really were not great.  Of course, now I have even more stuff to do in whatever spare time there is so maybe this wasn’t such a good idea after all!

IMG_3821.jpg

Cheap Macro

wpid5358-AU0E4107.jpgWhile the idea of trying macro photography has always been of interest to me, I have never got around to actually doing it aside from an old lens I had in my pre-autofocus days that had a macro setting.  The idea of renting a macro lens had occurred to me but the reason to do it hadn’t come up and I didn’t feel like renting the lens without having something to use it on.

wpid5360-AU0E4111.jpgThen I remembered reading about reversing a lens to use it for macro.  I have a 50mm that I I hand held in reverse to see how well the macro effect would work.  It seemed pretty good so I decided to get a mounting ring to reverse the lens on the camera.  Amazon came up with a bunch of options and the one I got set me back the enormous total of $8!

wpid5362-AU0E4114.jpgThe simple answer is that it works.  It is a little inflexible to use compared to something designed for the task but it does work.  The depth of field is extremely shallow and you get some odd distortion across the edges of the image.  Obviously there is no focus or exposure control.  I just set the camera to aperture priority mode and dial in the normal f/1.8 of the lens and the exposure seems to work out pretty well.  Then it is a case of moving the camera around to get focus.  Not something I am going to do a lot but, for $8, I don’t have to worry about getting a lot of use out of it!