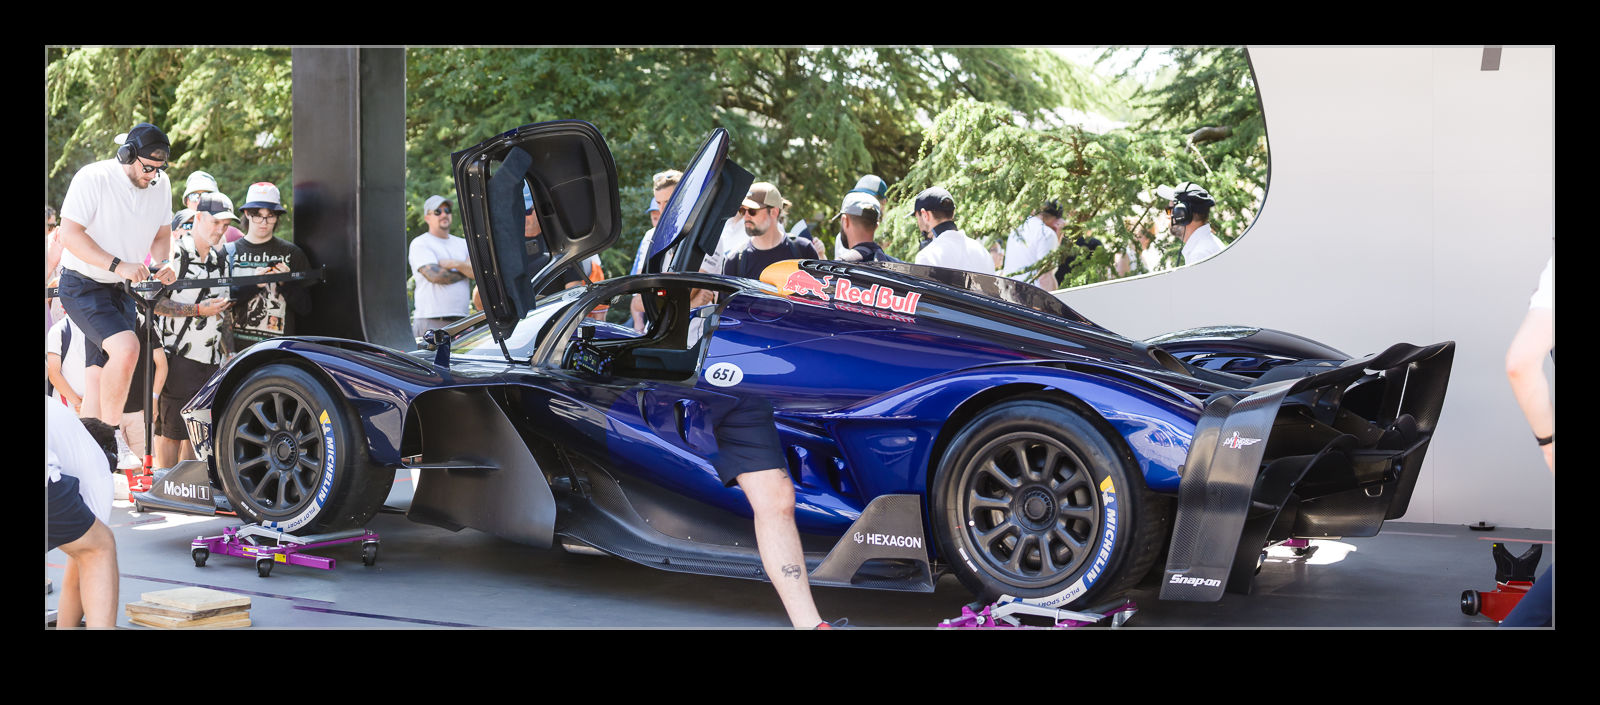
The panorama merge function in Lightroom is usually pretty good. It can have some odd quirks, and the three different projections can produce very different results at times but, on the whole, I rely on it for my pano creation. Every once in a while, though, it catches me out. At the Festival of Speed, I did find myself using a longer lens to get elements of a shot with the intent of stitching them together later. Partly, this was because the crew was working around the car and I took shots when they were in different places to aim to have an unobscured car in the final shot.
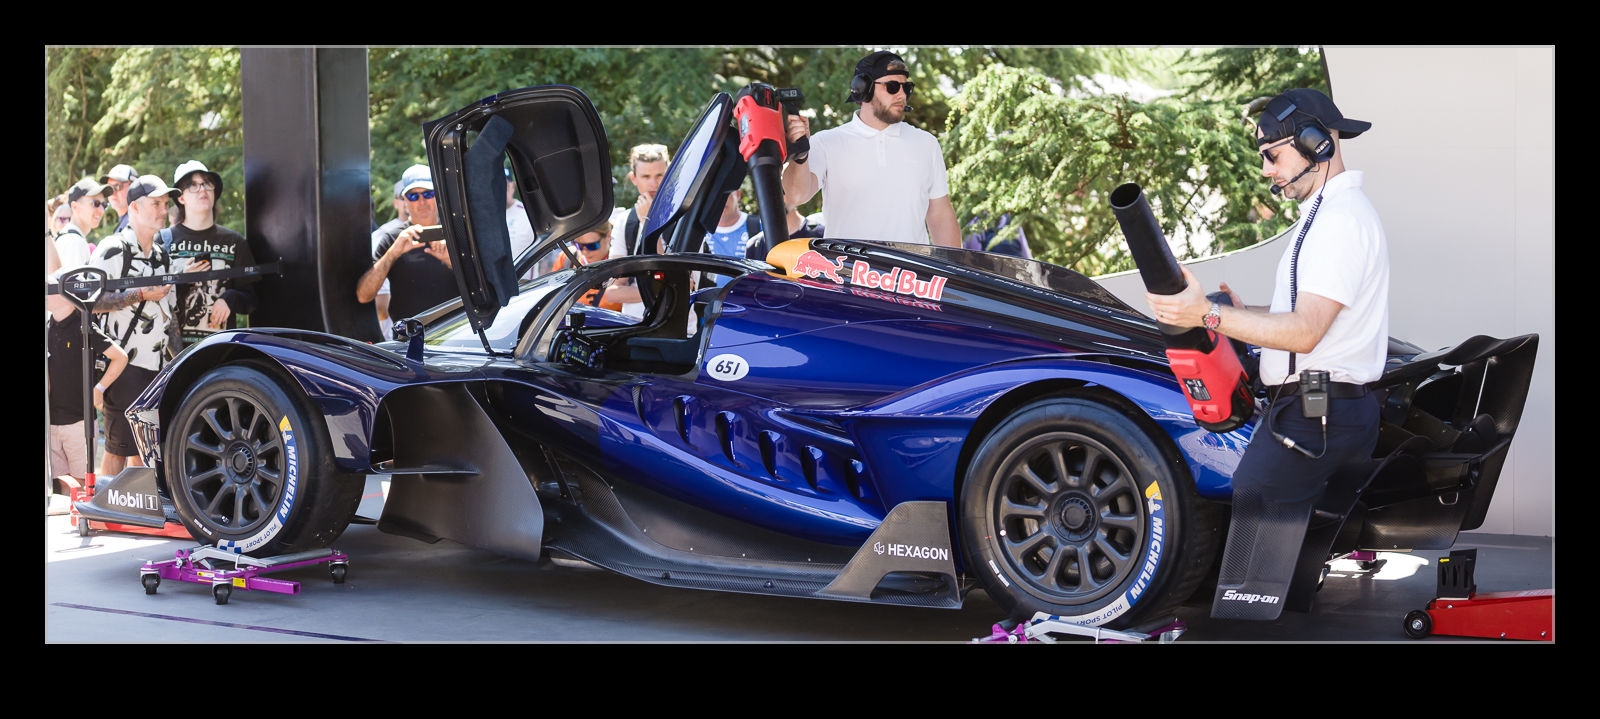
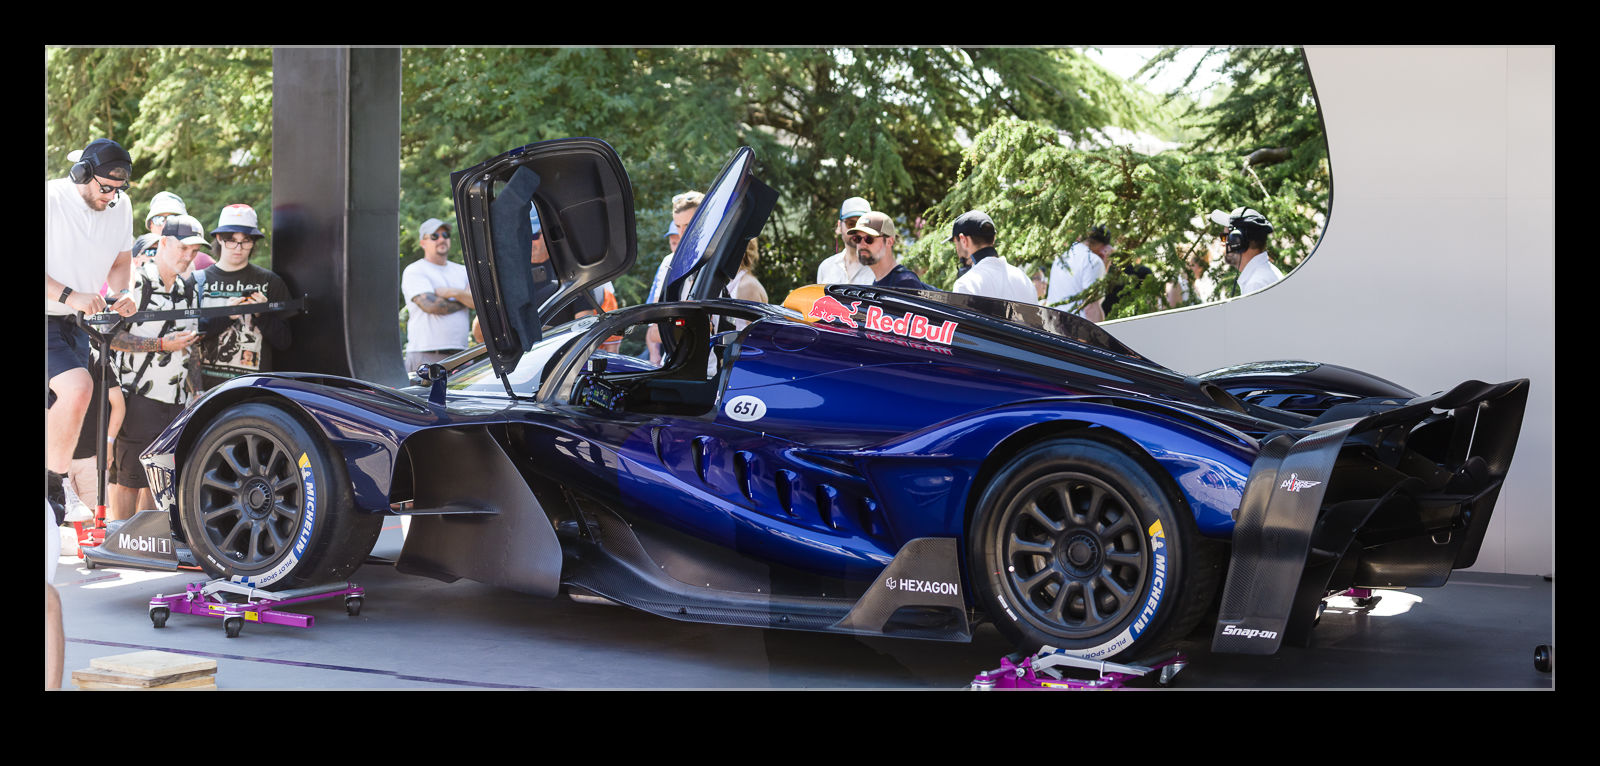
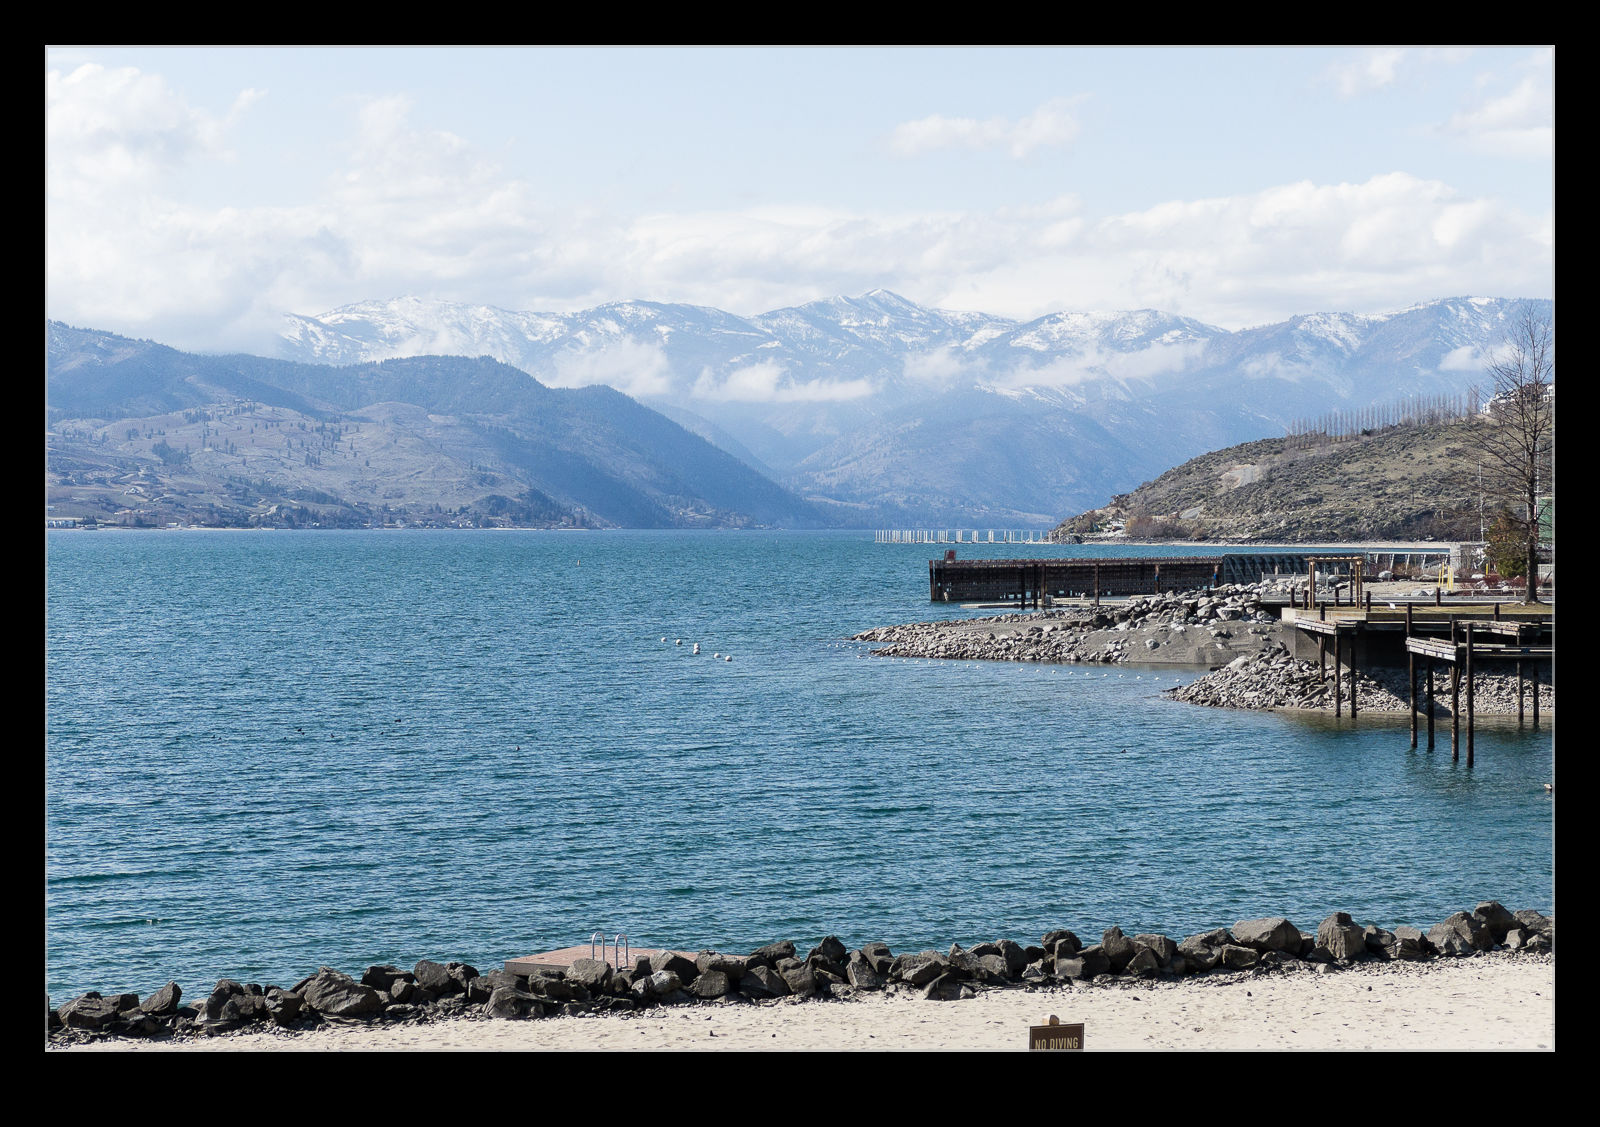
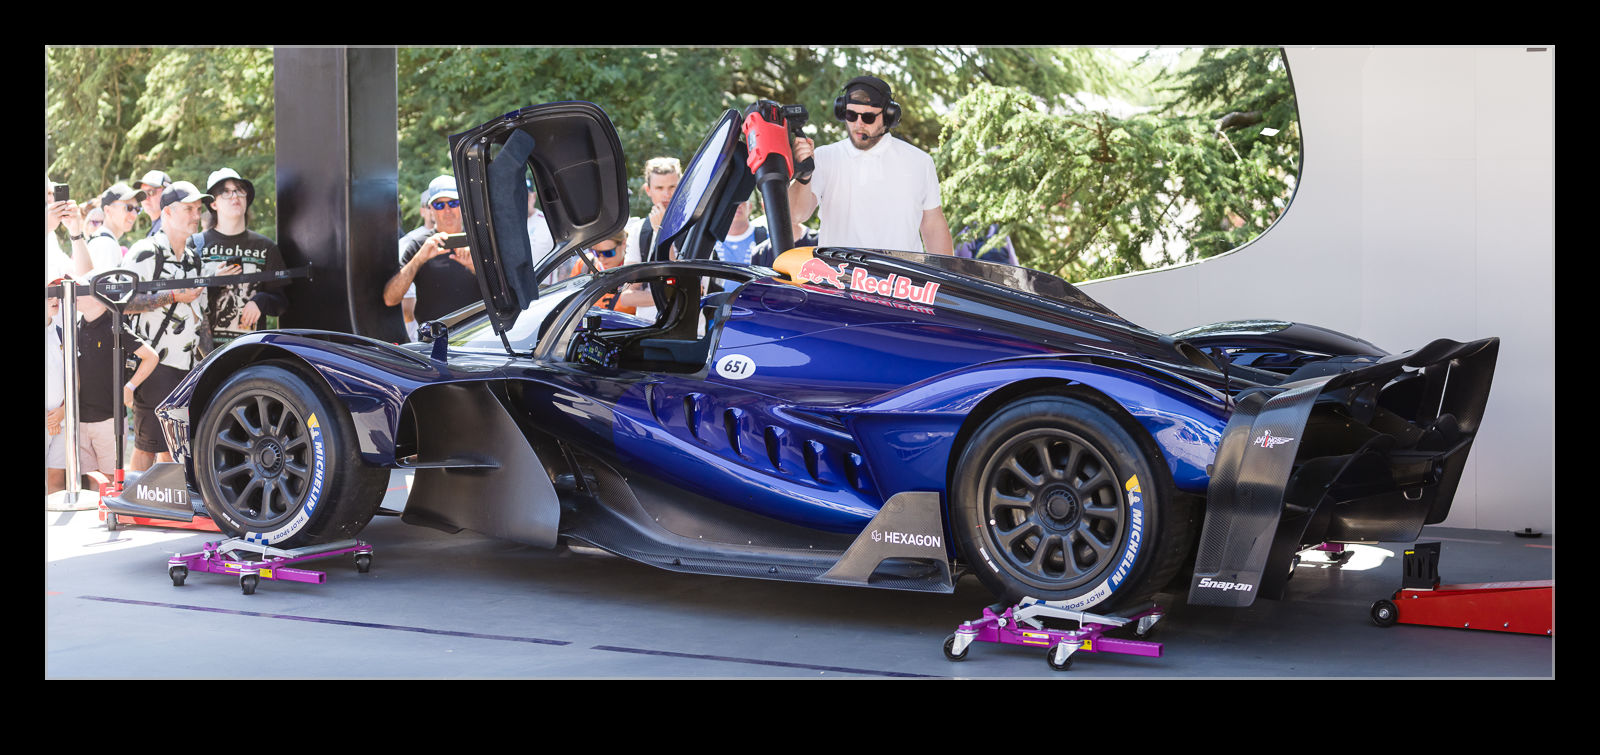 It was the Red Bull RB17 where I was playing with this. When I went to stitch the images together, Lightroom gave an old result. Instead of either having the whole person or no person, it managed to have parts of them only in the shot. I decided to use Photoshop’s photo merge function instead, but it gave the same results. However, it did this by outputting layers with masks which were then editable. I was able to go into the shots and get rid of the bits I didn’t want while bringing out the bits I did. Some of the blending is not perfect in the revised versions but, for a quick solution, it works fine. If I needed to do more with the images, I would fix the flaws with more care.