 Get to the run up to Christmas and, if you have a heritage railway near you, there is a good chance they will be advertising that they have illuminated trains in operation. The trains will have lights all across the outside and probably within the carriages too. I’m sure they are fun to ride on but, from my point of view, seeing the outside lights is more appealing than being inside.
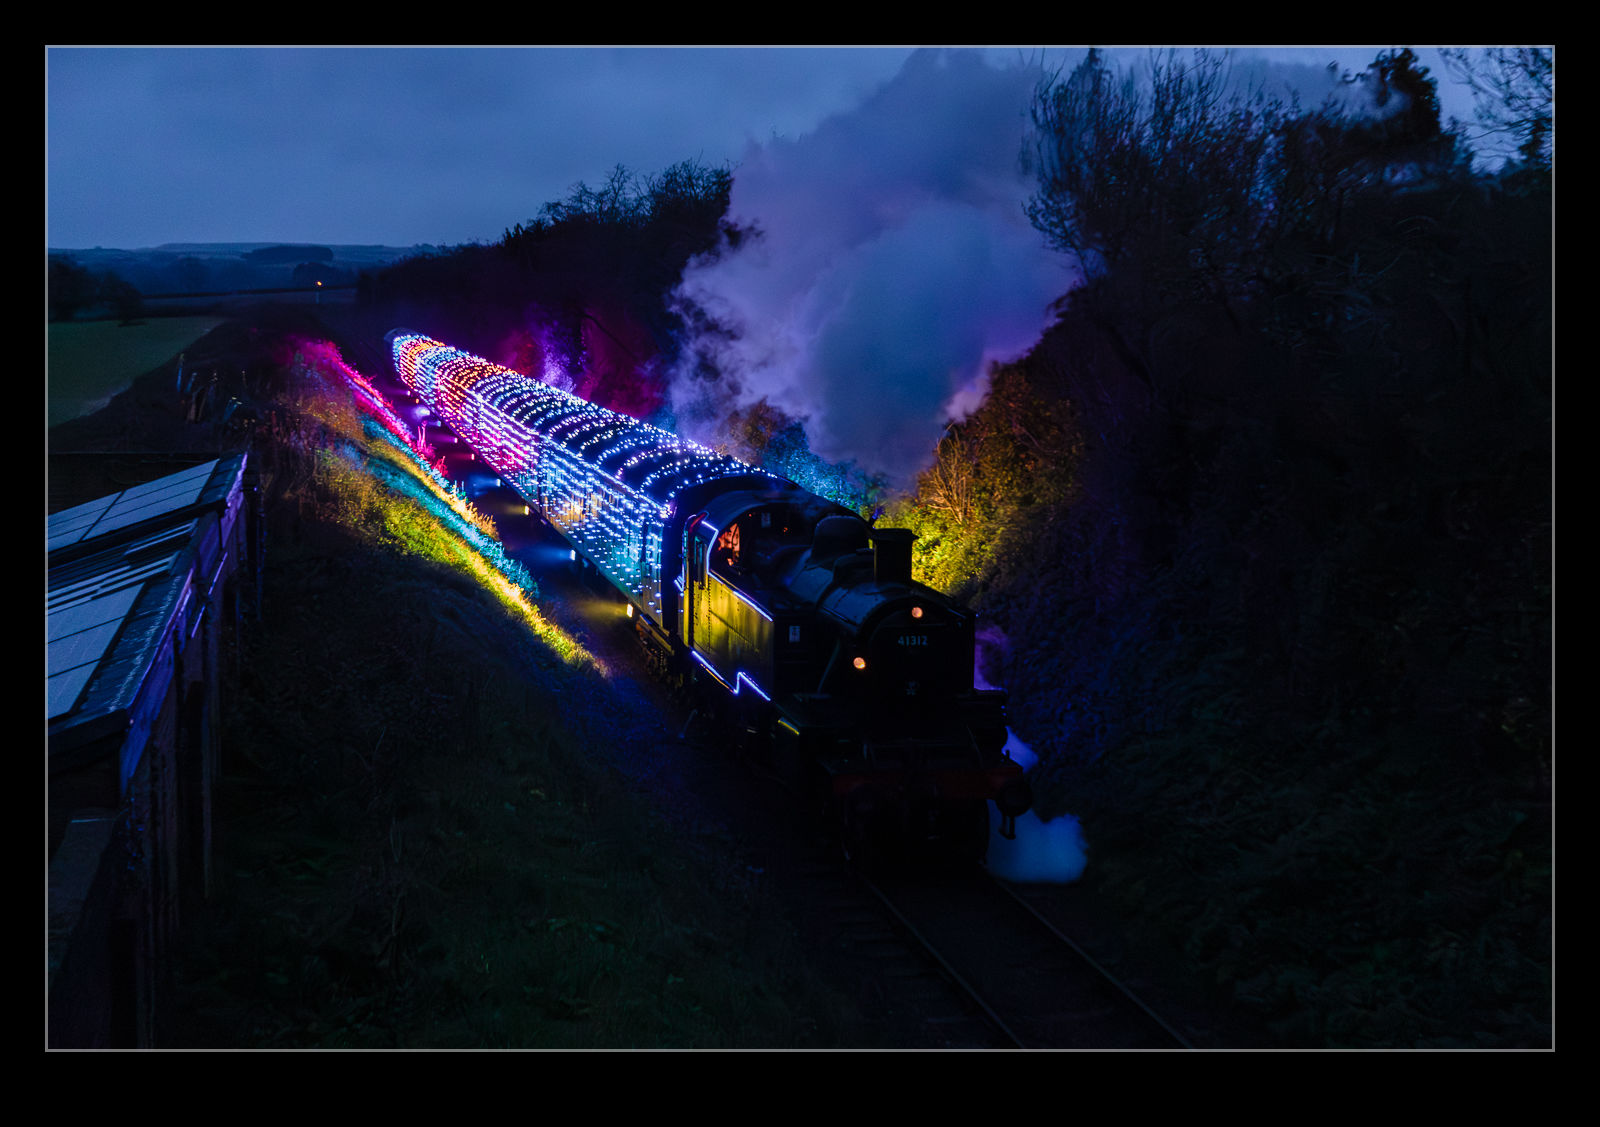
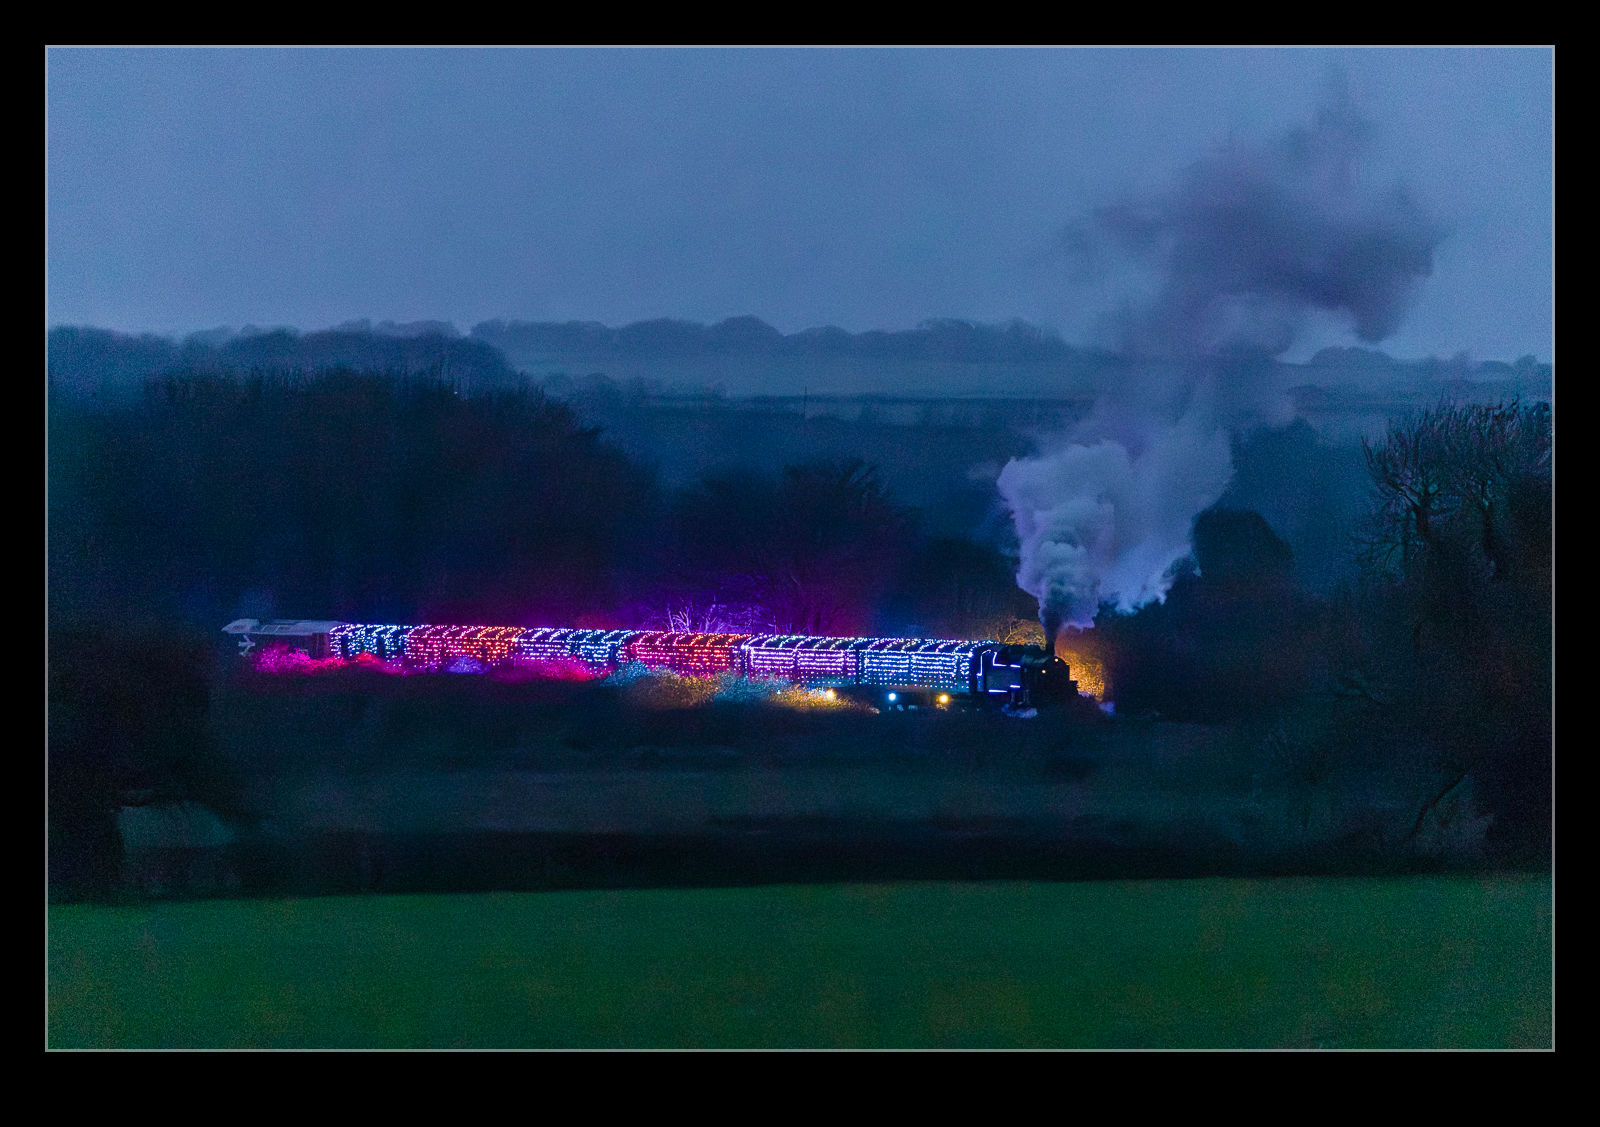
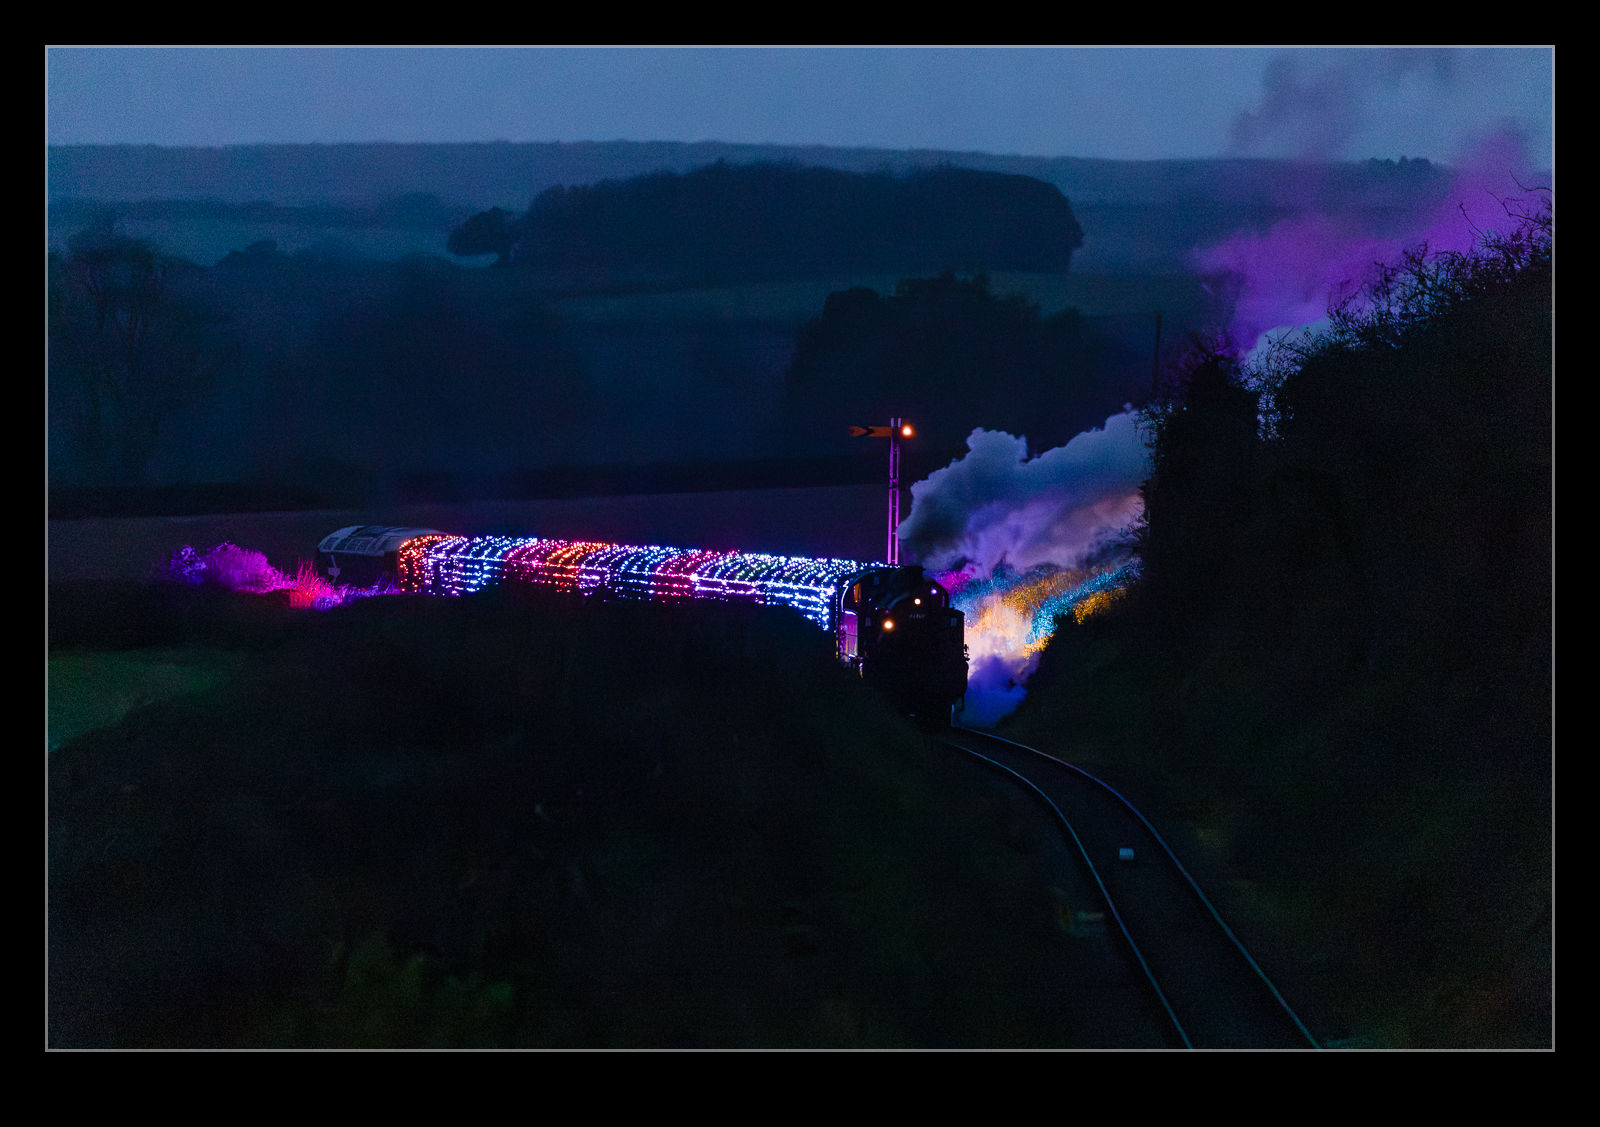 The Watercress Line is close to Winchester, and they had an illuminated service. In fact, they had more than one. My mum was visiting, and she was also interested in the lights so, late in the afternoon, since it was already getting dark at that time, we popped out to see the train go by. Sure enough, we soon saw it coming up the hill out of Alresford. There is a long stretch where the trees have been trimmed back when you get a good view of it coming our way. Even with the lights, the exposure is still a stretch for the camera. It did okay, though, and a bit of noise reduction software helps.
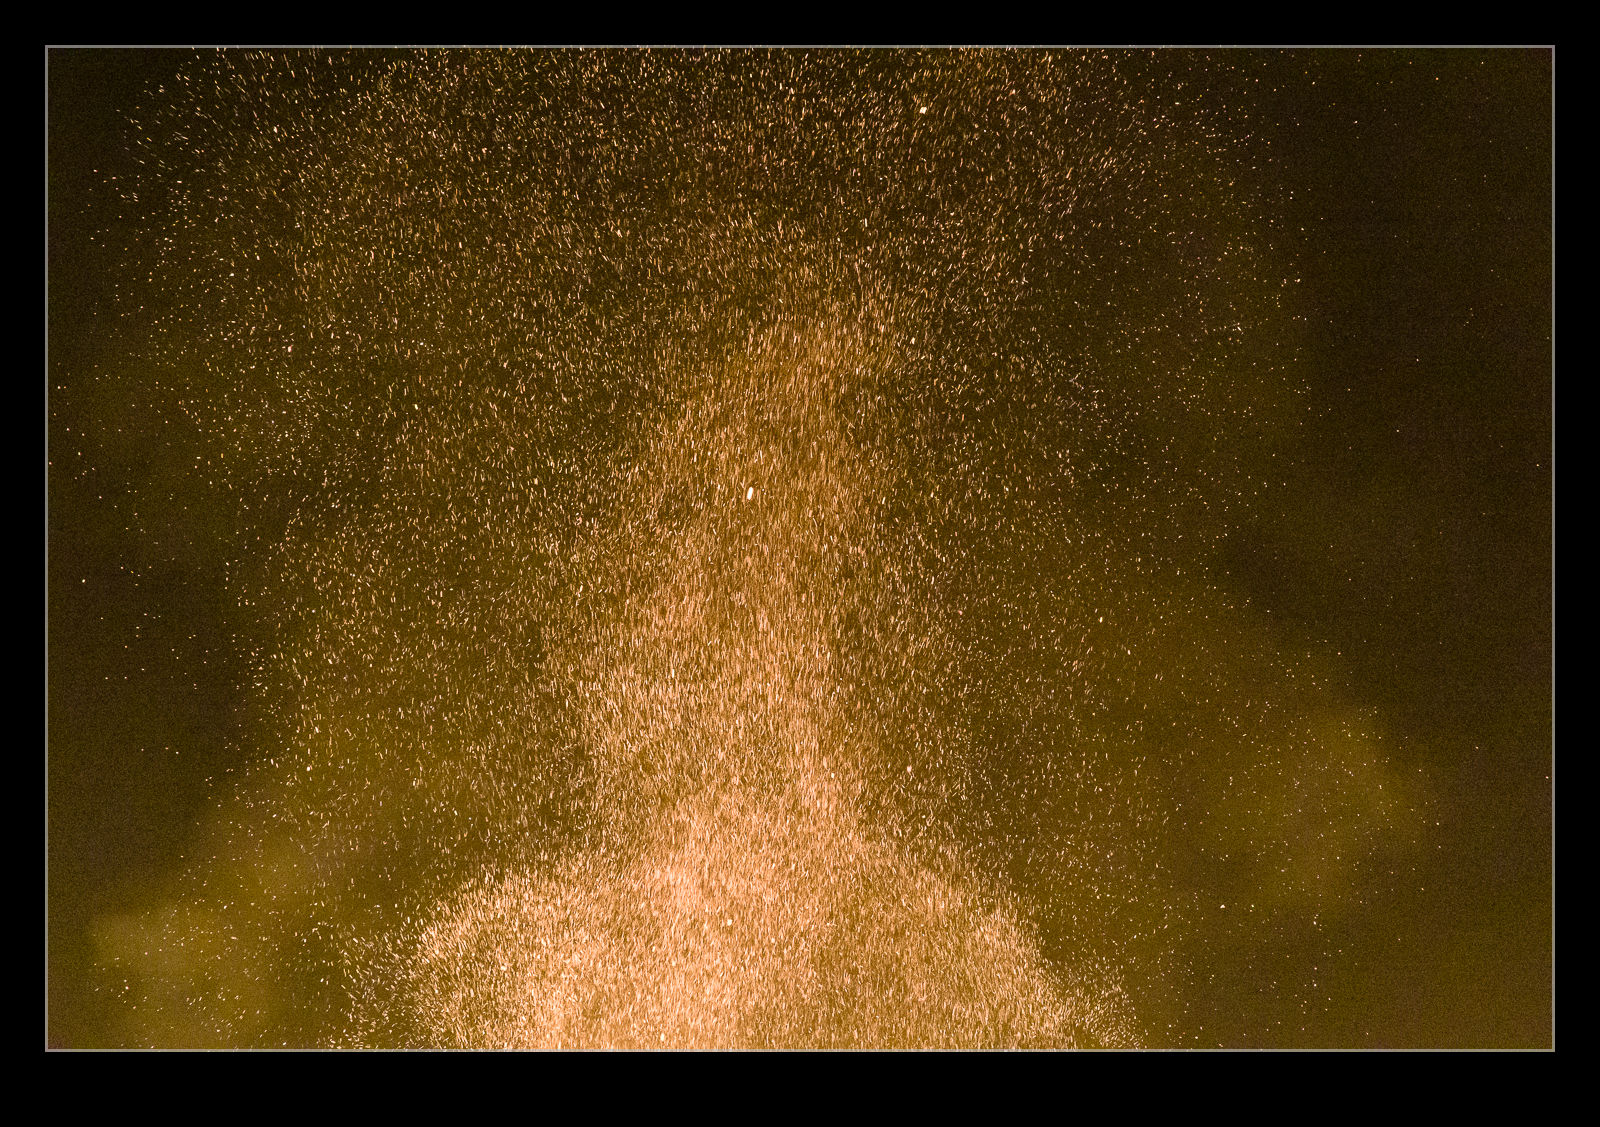
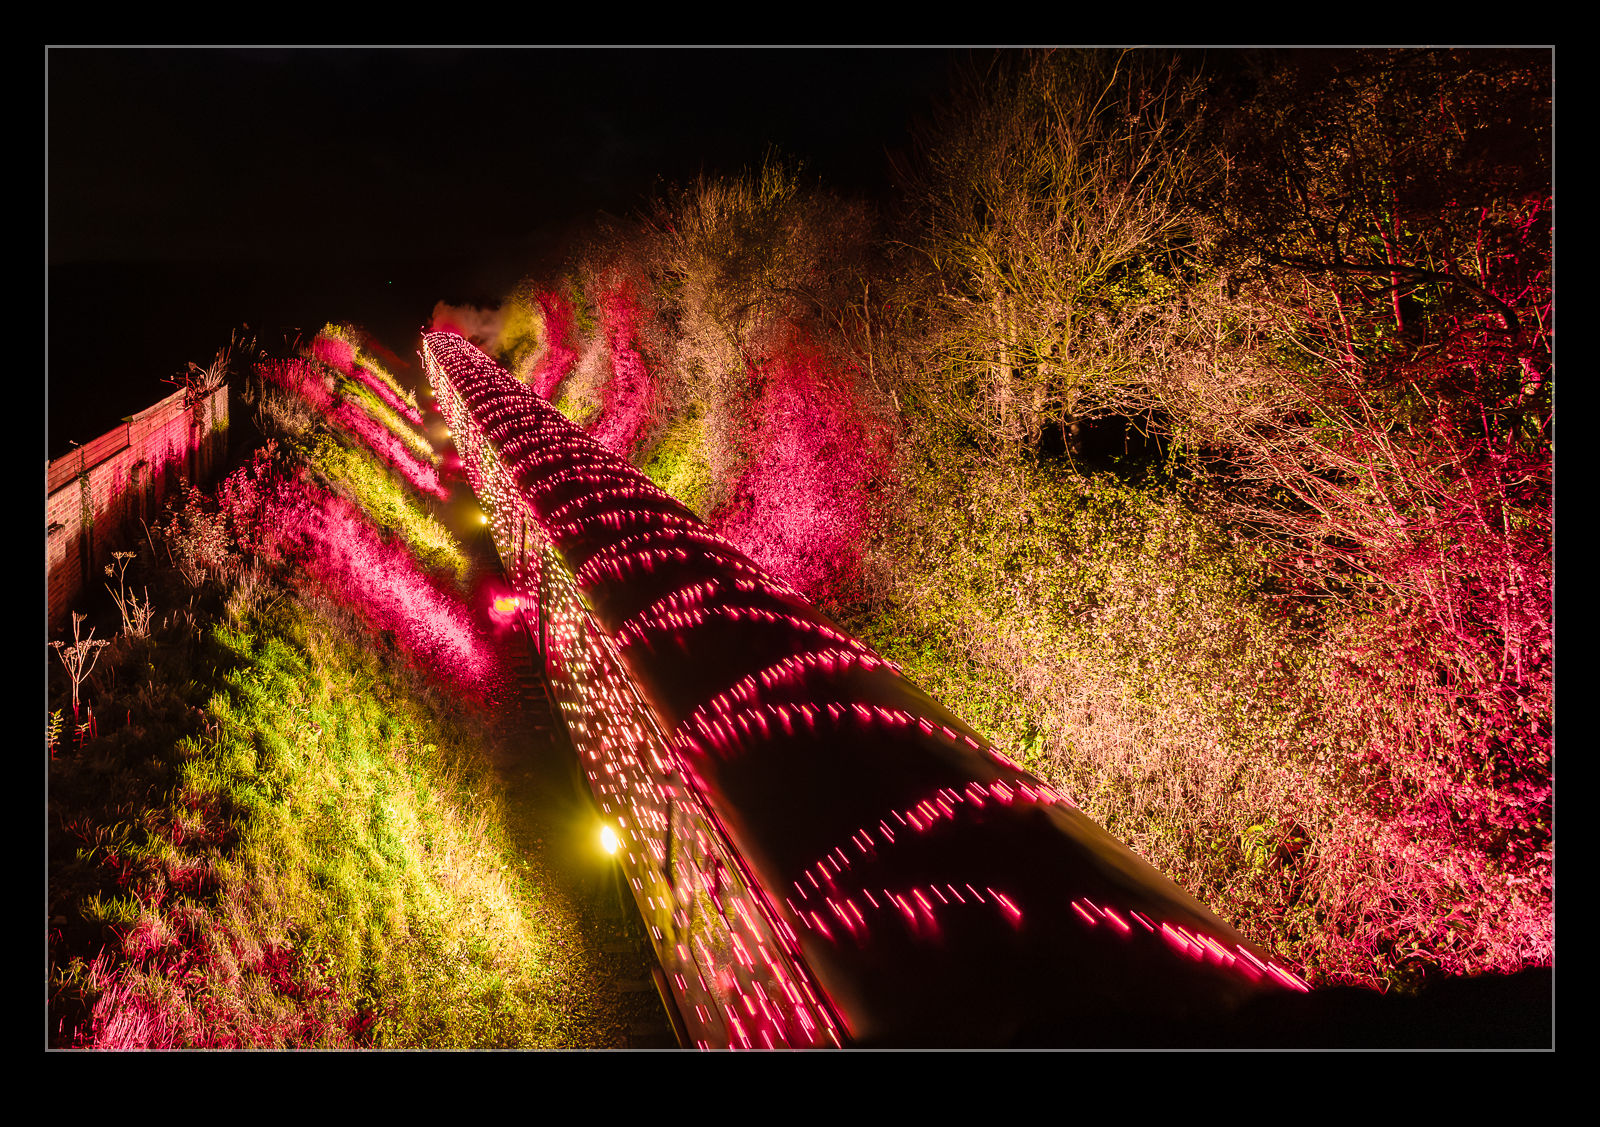 As they came around the corner into the straight heading at us, the lights would illuminate the embankment on either side of the cutting. There was also a strong yellow glow which, I assume, came from the firebox. The colours were constantly changing and it looked really impressive as the loco pulled hard up the bank. I think that they had swapped to a smaller loco because they had a diesel on the back of the train to support.
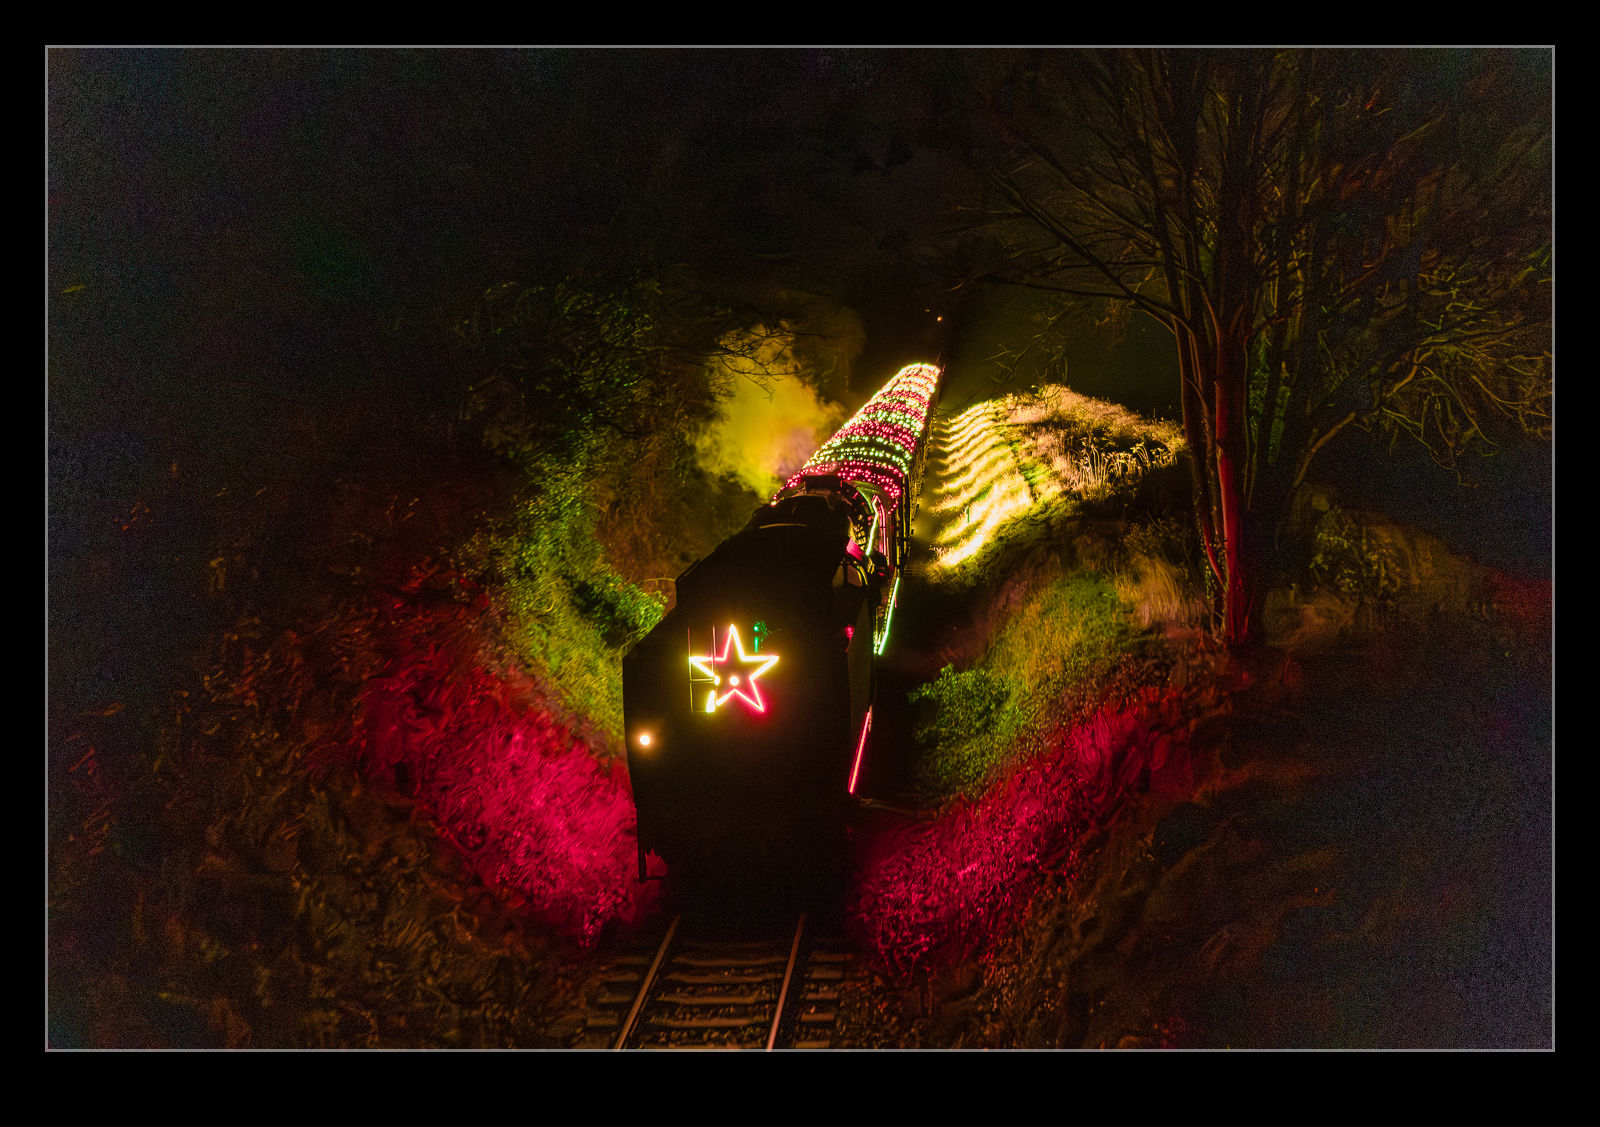
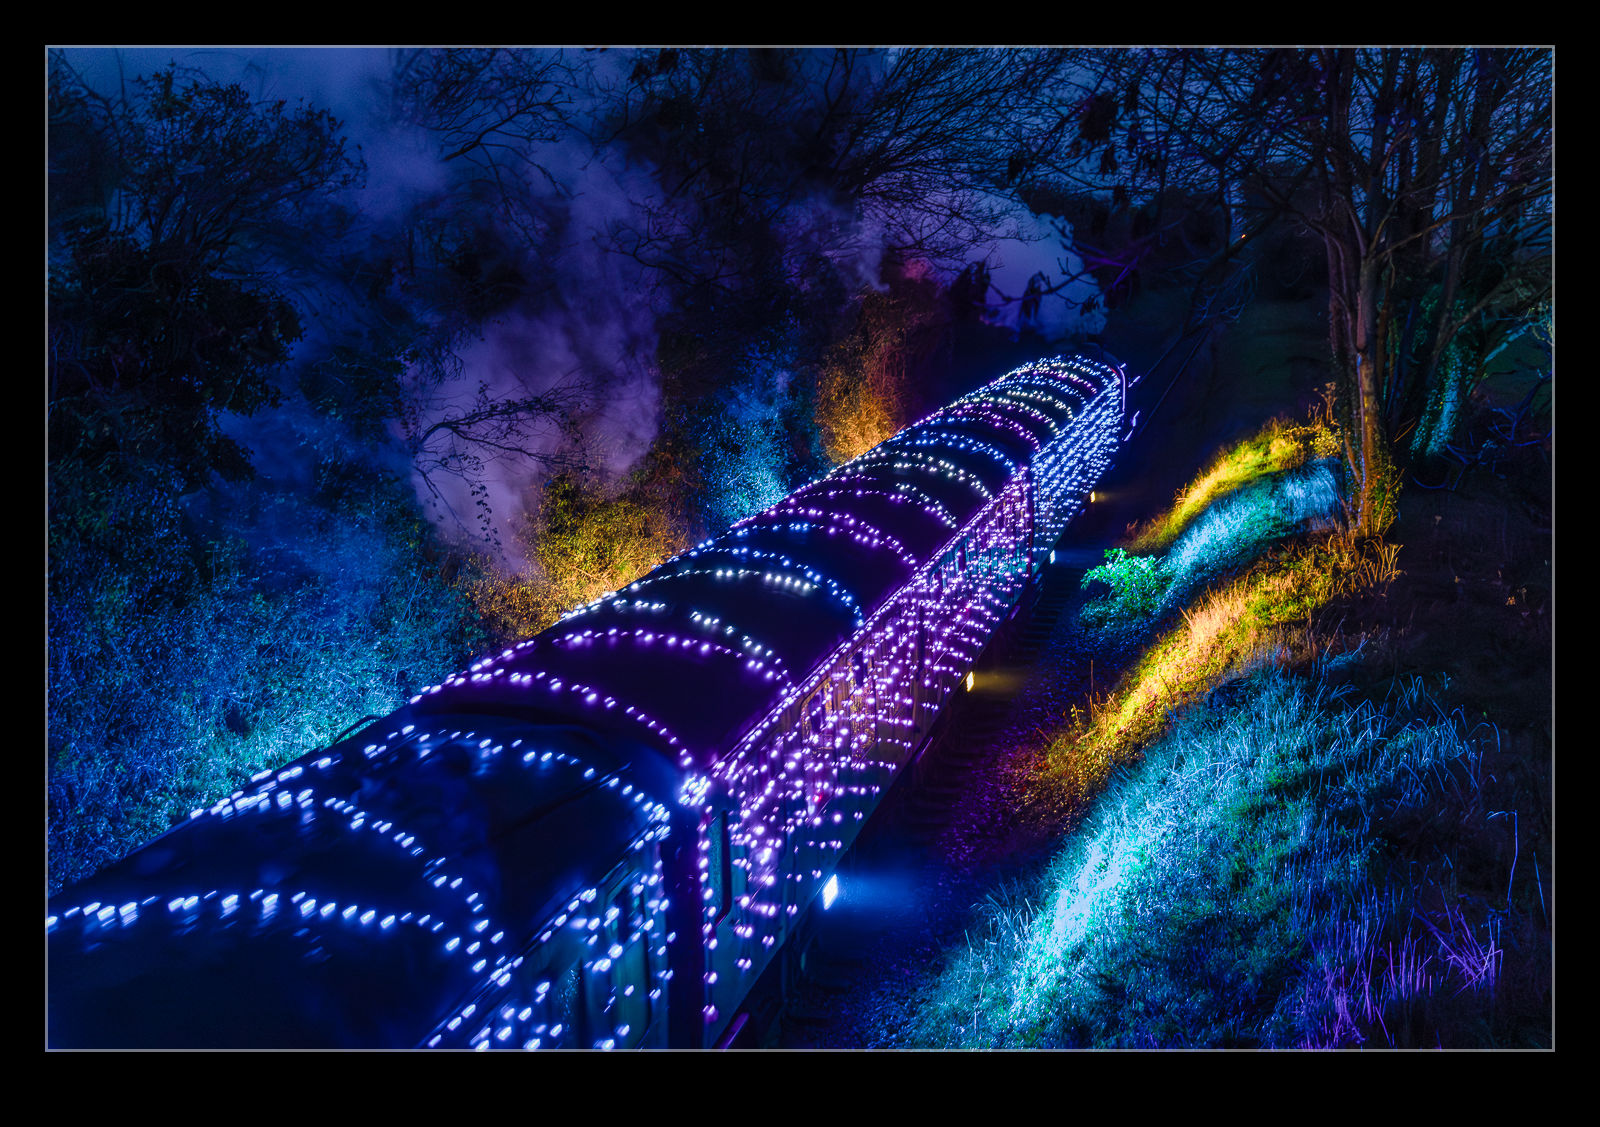 We were going to head straight home but one of the other people there told us there was a second train coming down from Alton a little while later. While it was getting a bit chilly and definitely dark, we figured there was no harm in hanging around. We did get the second train as it came down the cutting and then headed back the way the previous train had come. Going that way, they are going downhill so the loco is barely working to get them home. No plumes of smoke and thundering noise.
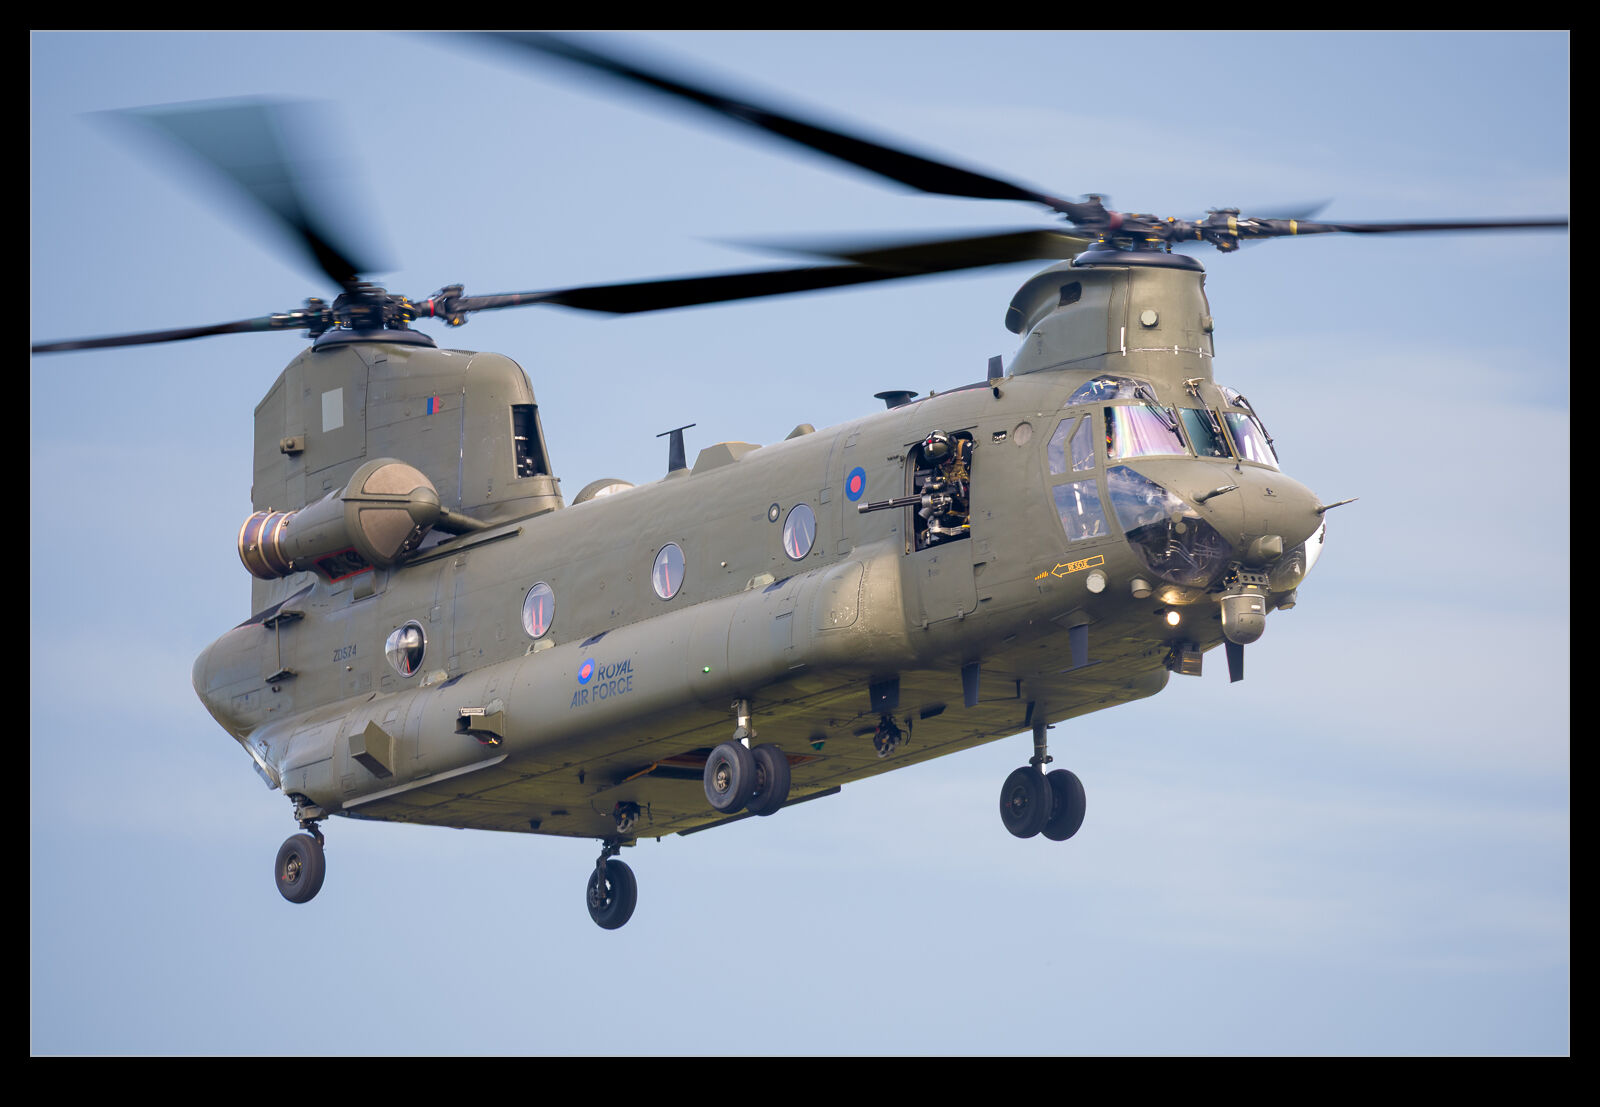
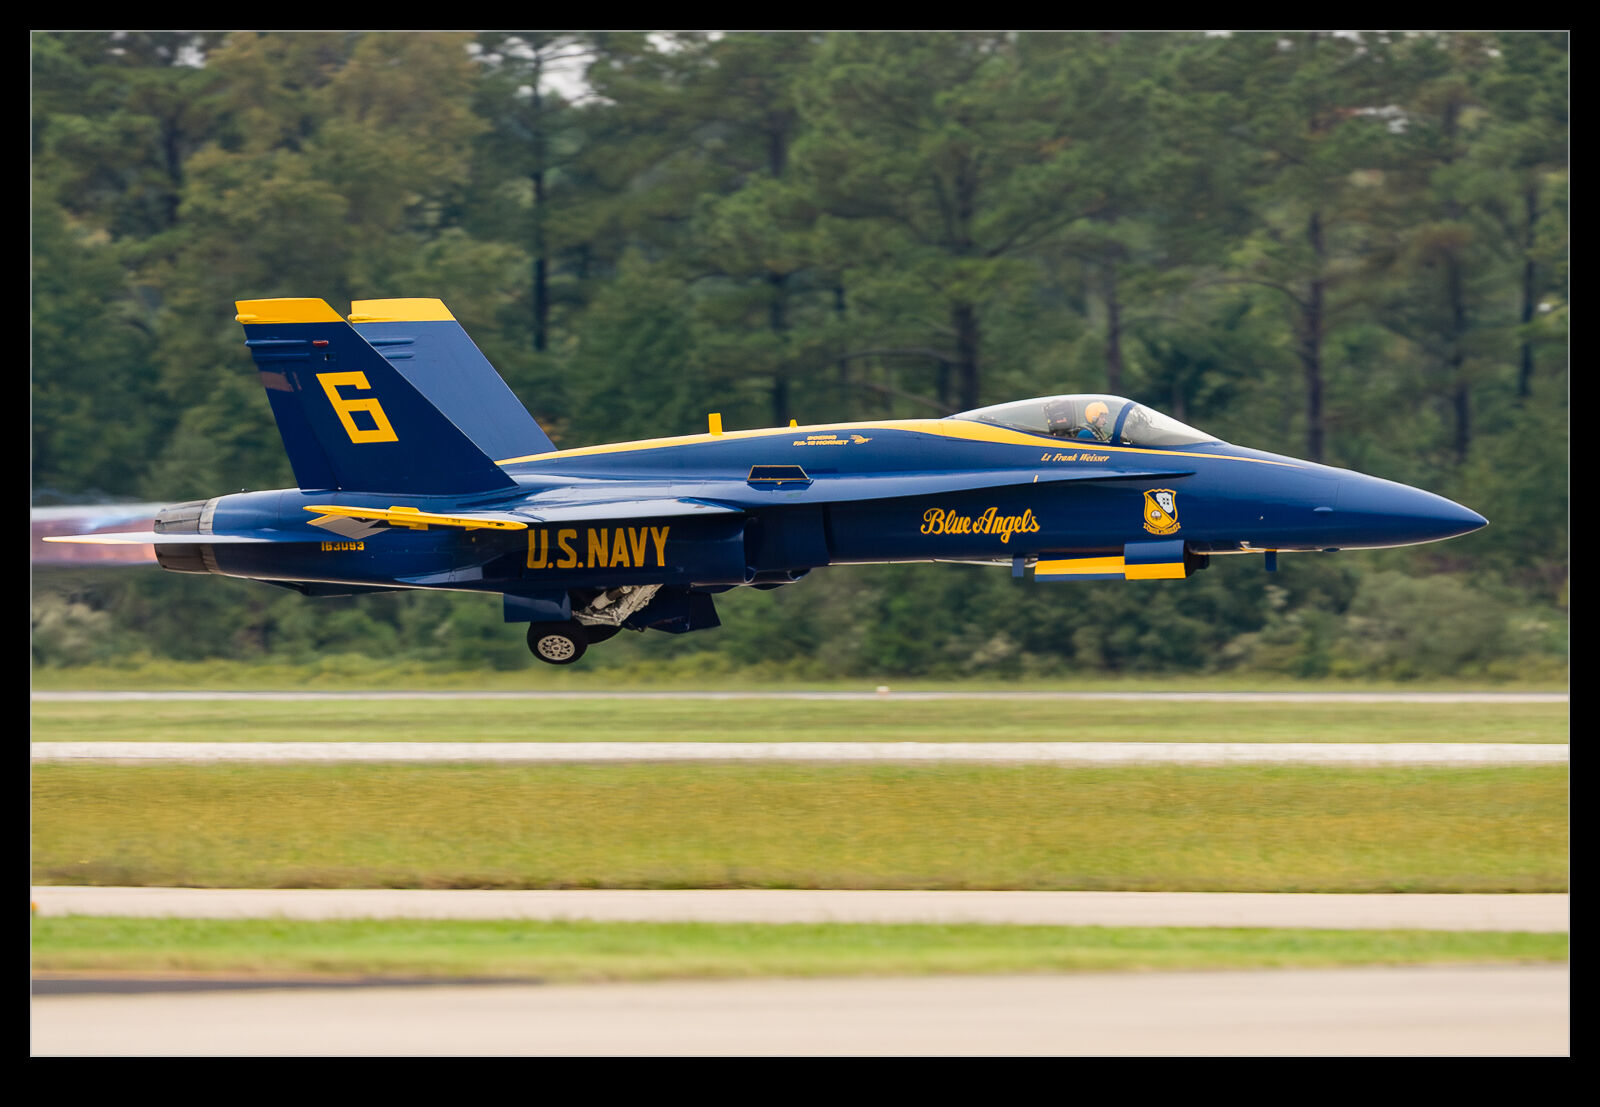
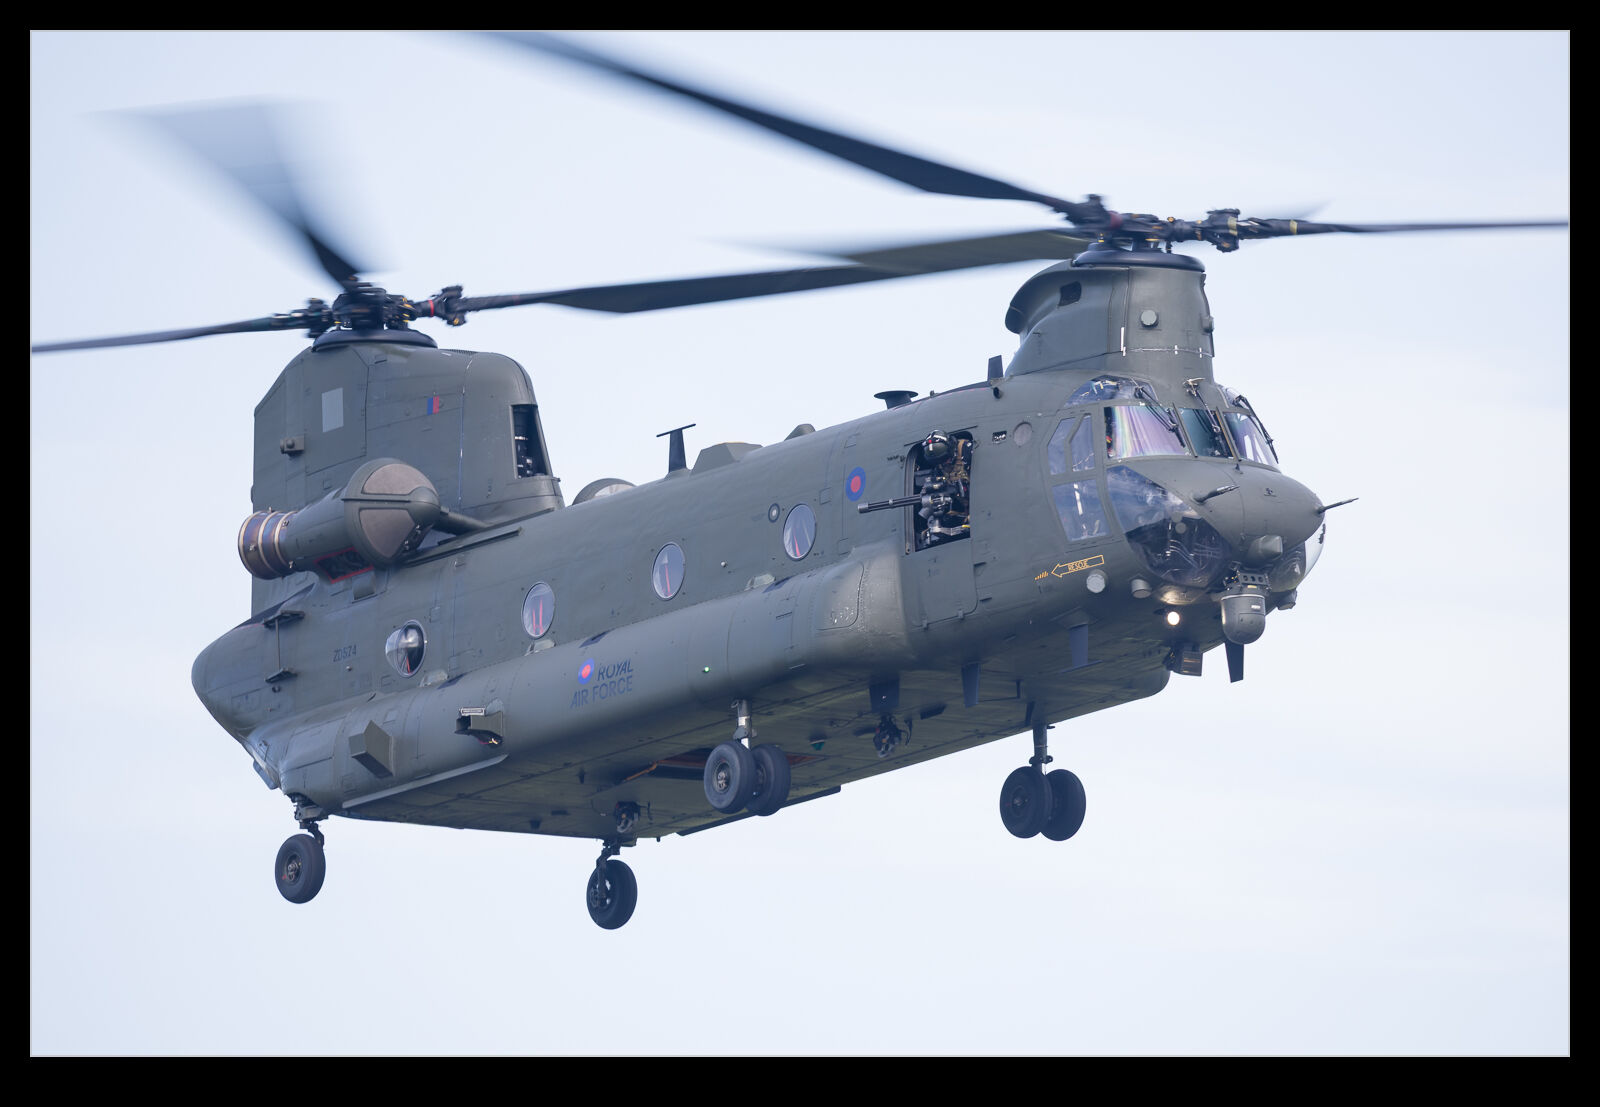 I will put together a post soon about the Chinook display at RAF Cosford. It was a great display. However, this post is not about that. Instead, it is about editing. Lightroom Classic recently had an update to the masking tools and the subject select process is now way better than it used to be. I used to spend a lot of time refining the selection to get something usable but now the process has become a fair bit quicker as a result of the starting point being more accurate. Not perfect, but better. Anyway, I include a version of the image almost out of camera and then the result when working on the airframe and sky in separate masks. It is a lot more how the thing looked at the time and a significant improvement in my mind.