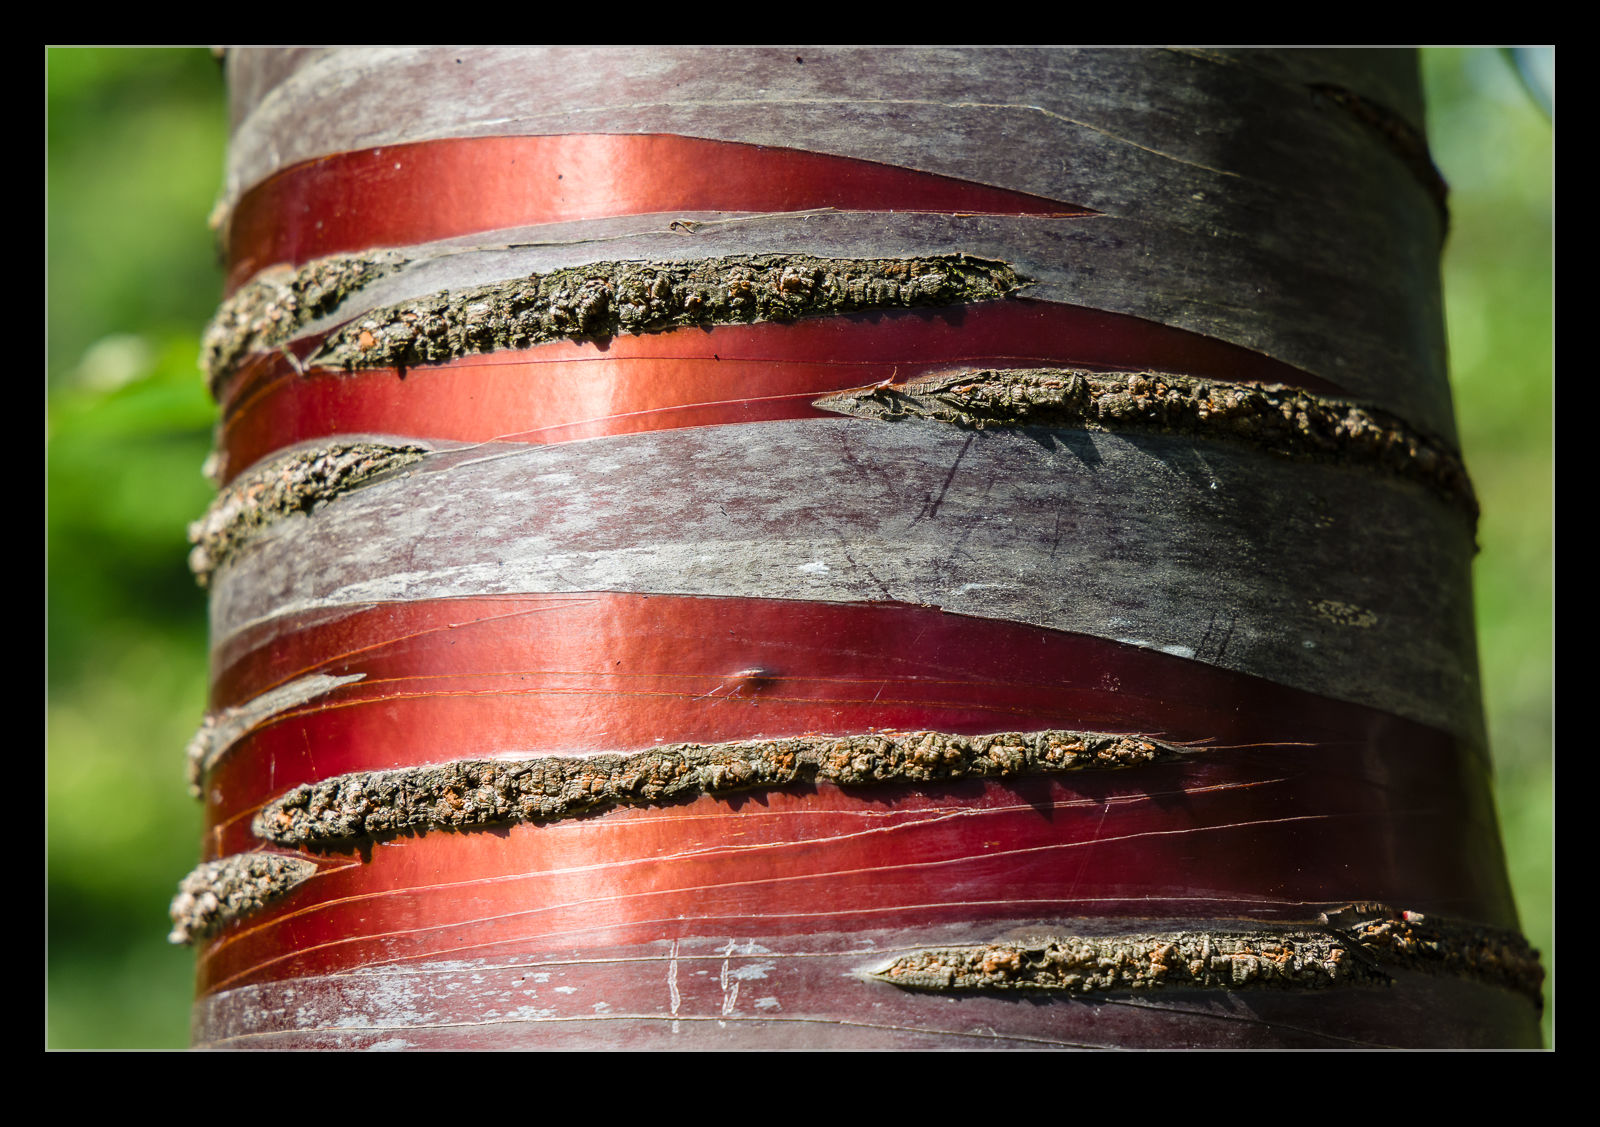
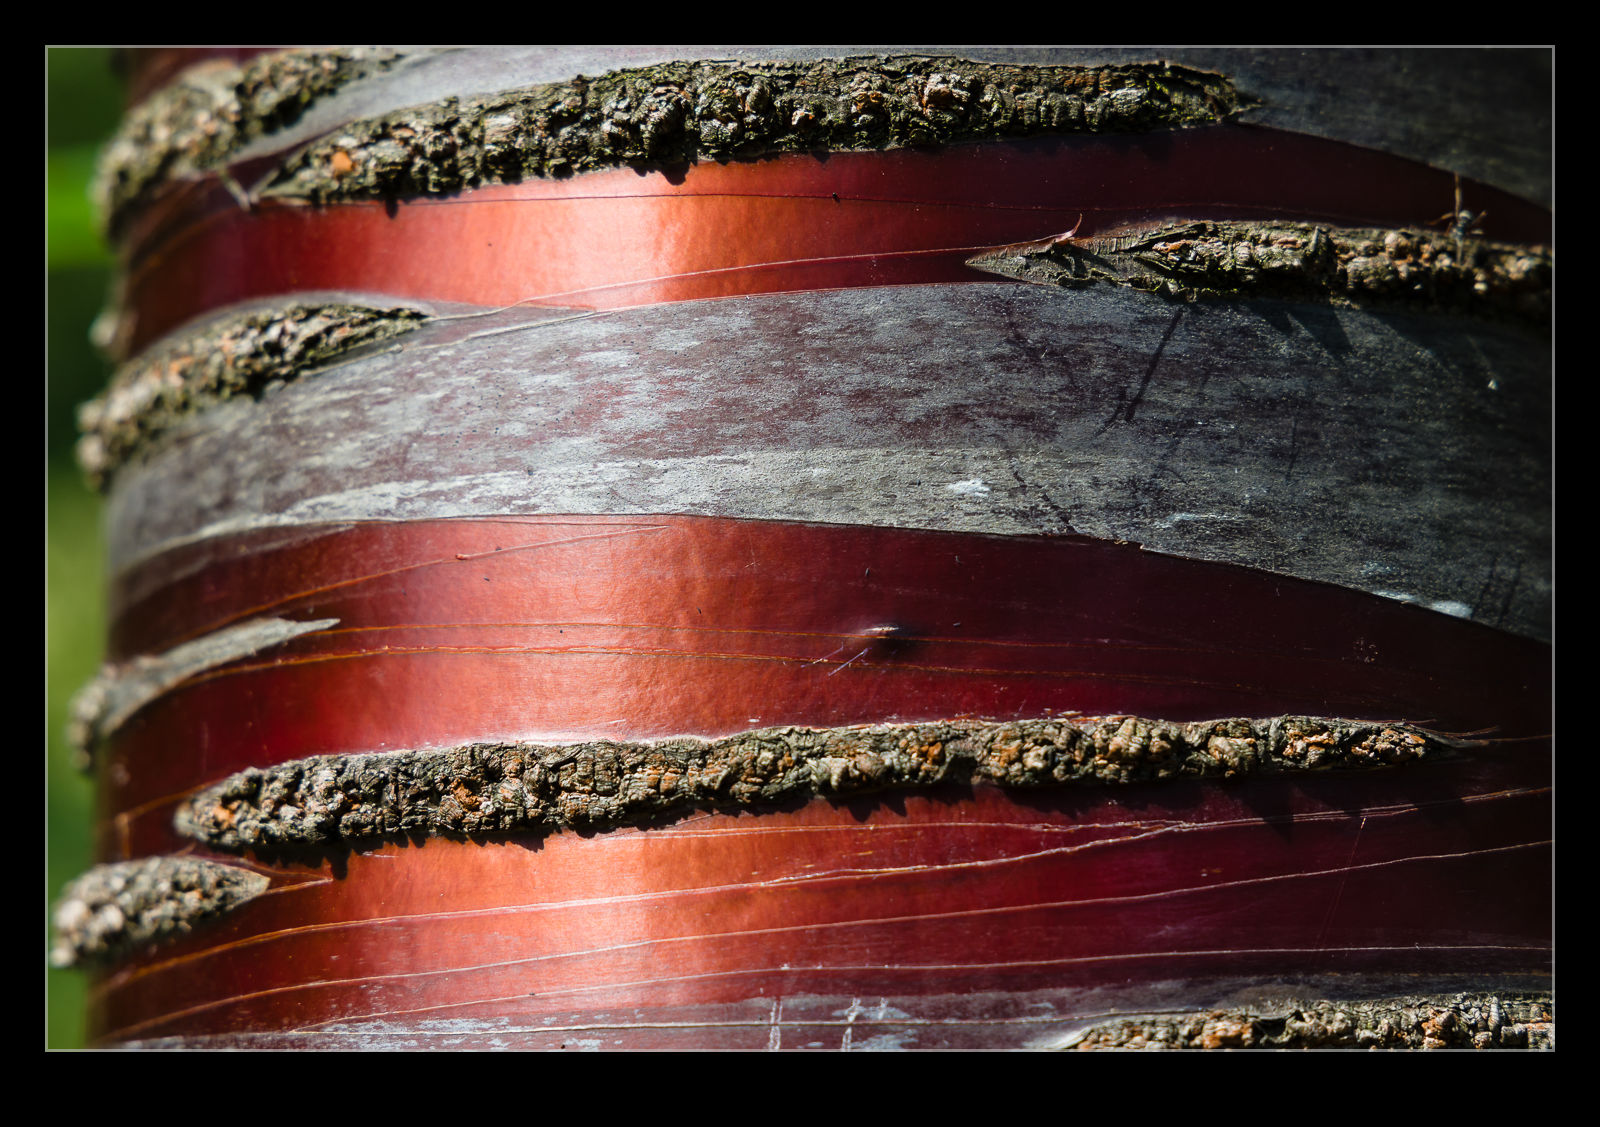
 The arboretum in Seattle is unsurprisingly home to many interesting varieties of trees and plants. One tree that caught my eye was (perhaps) a type of willow that had bark that peeled to reveal an intense red coloration beneath. Sometimes these colors don’t seem to show up as well in an image but I fortunately had a polarizer with me and that took out some of the reflection and glare and allowed the color to show up well. Cropping in tighter seemed to make more sense, too.
Tag Archives: technique
Almost Directly Under the Approach
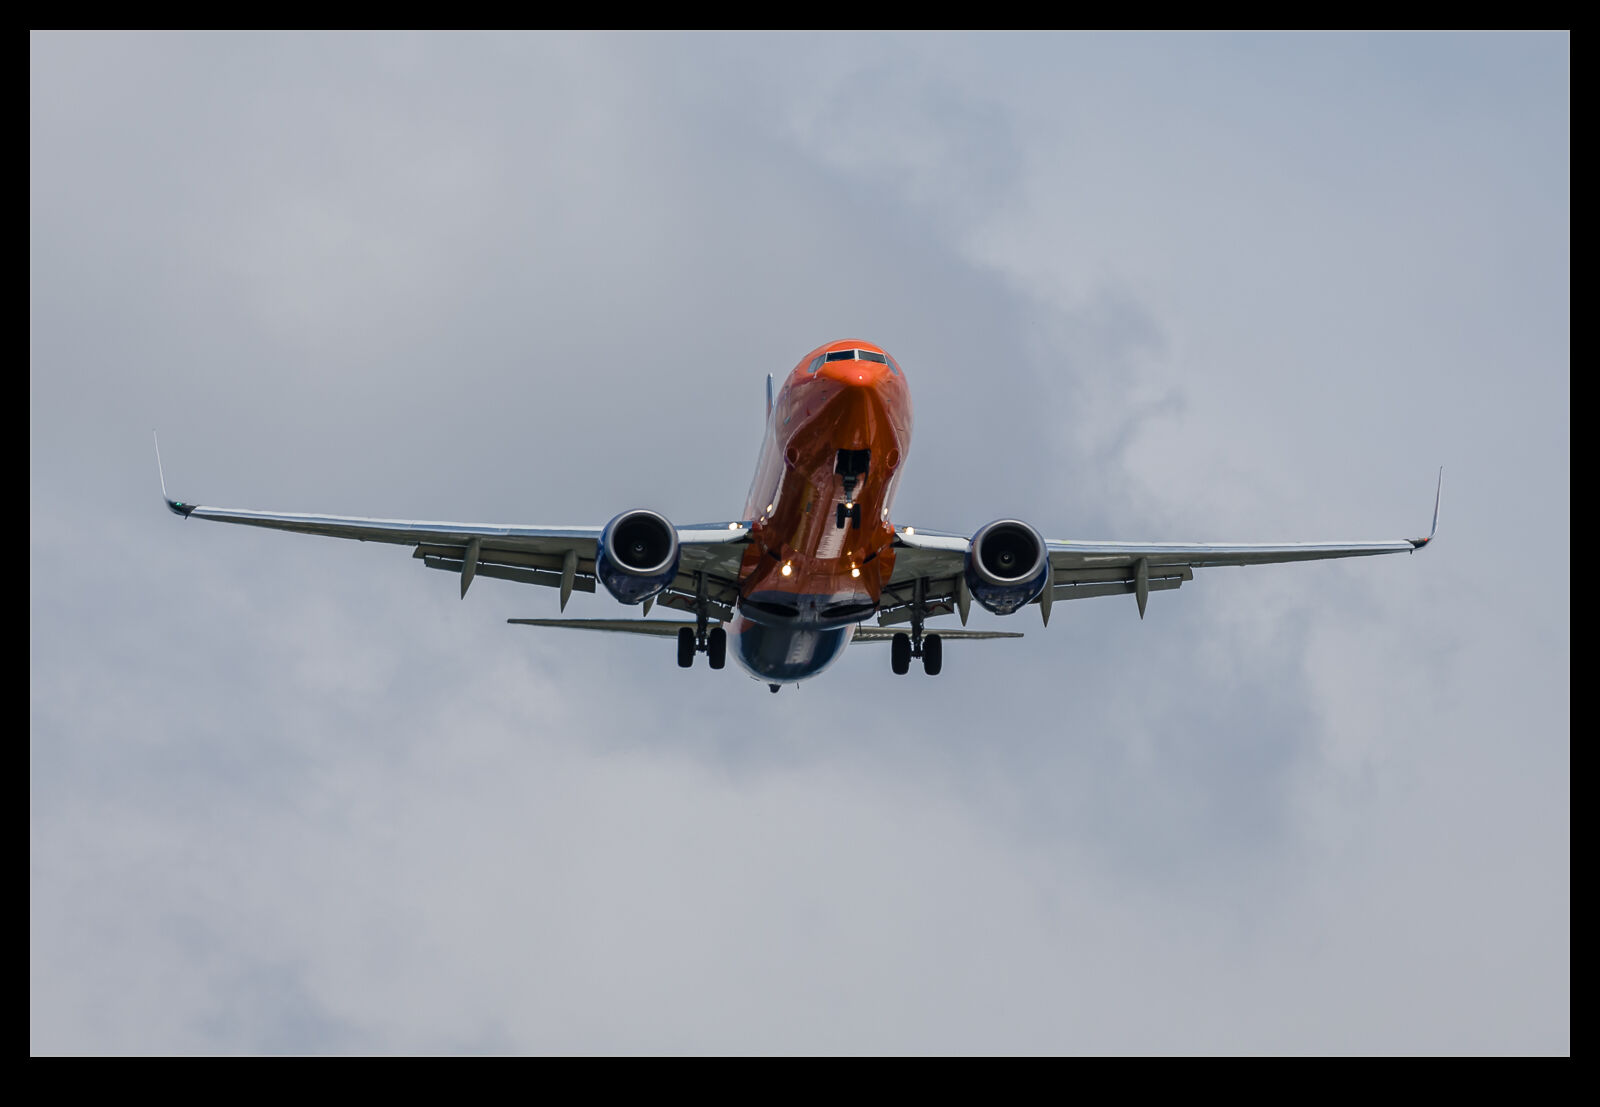
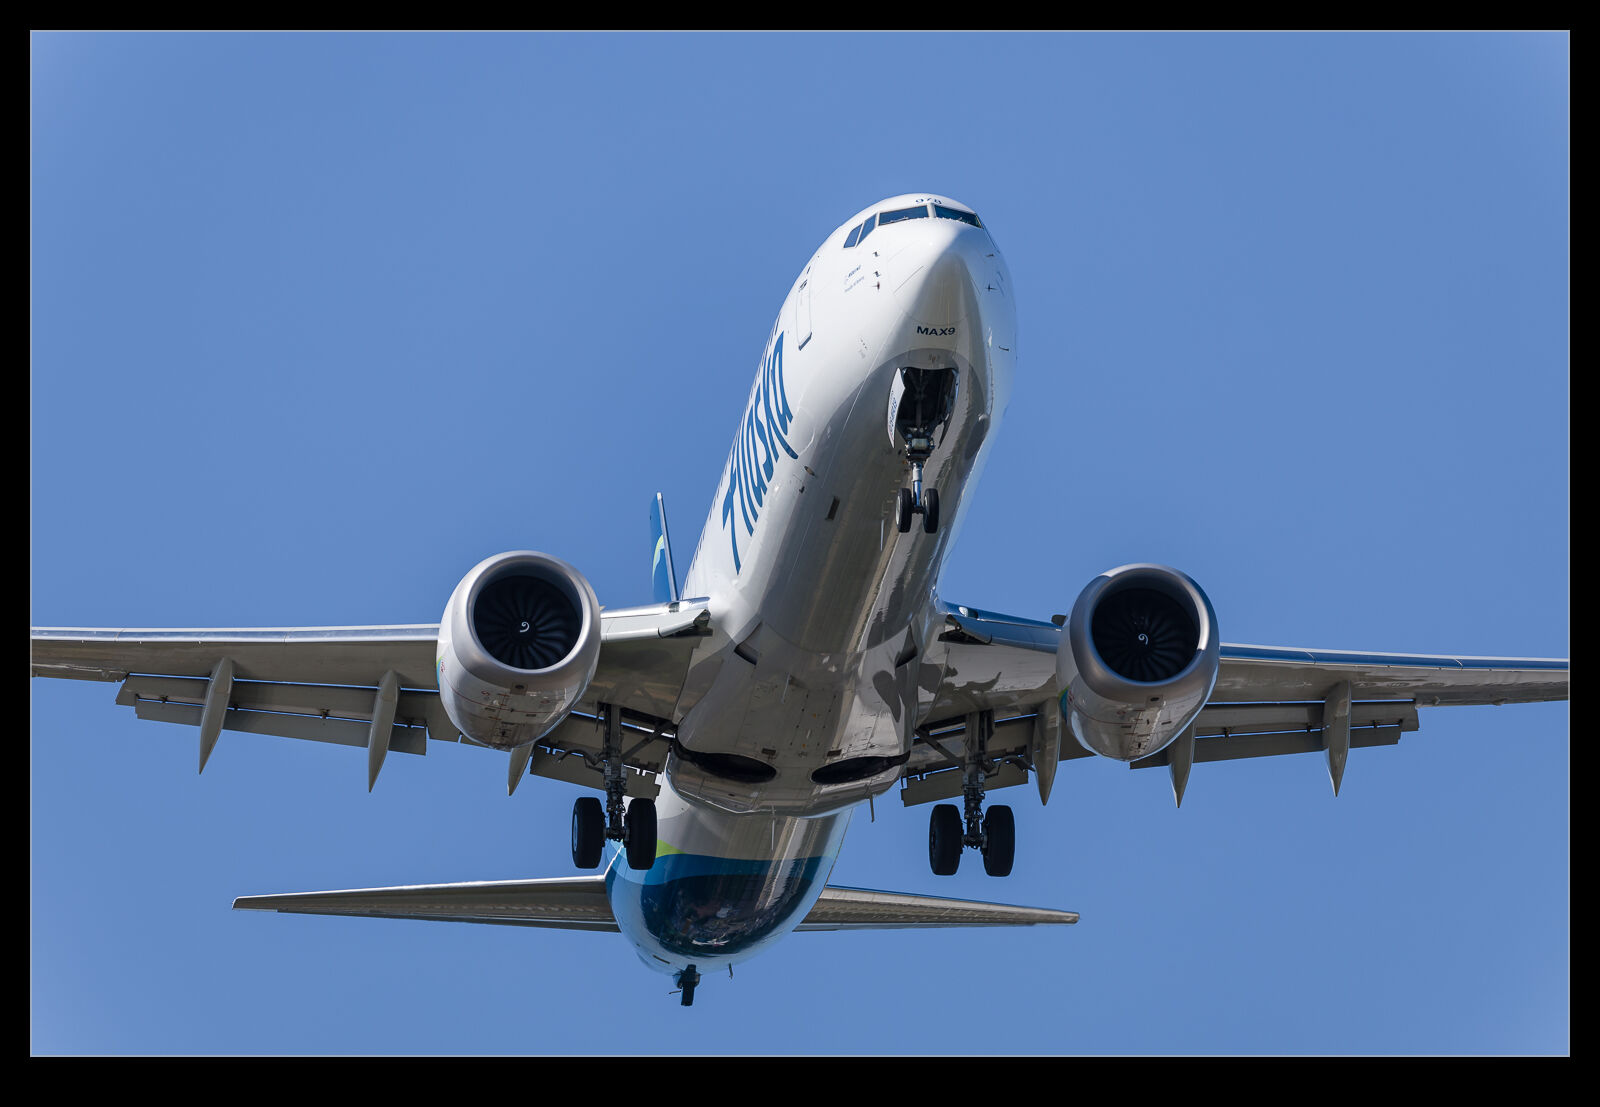
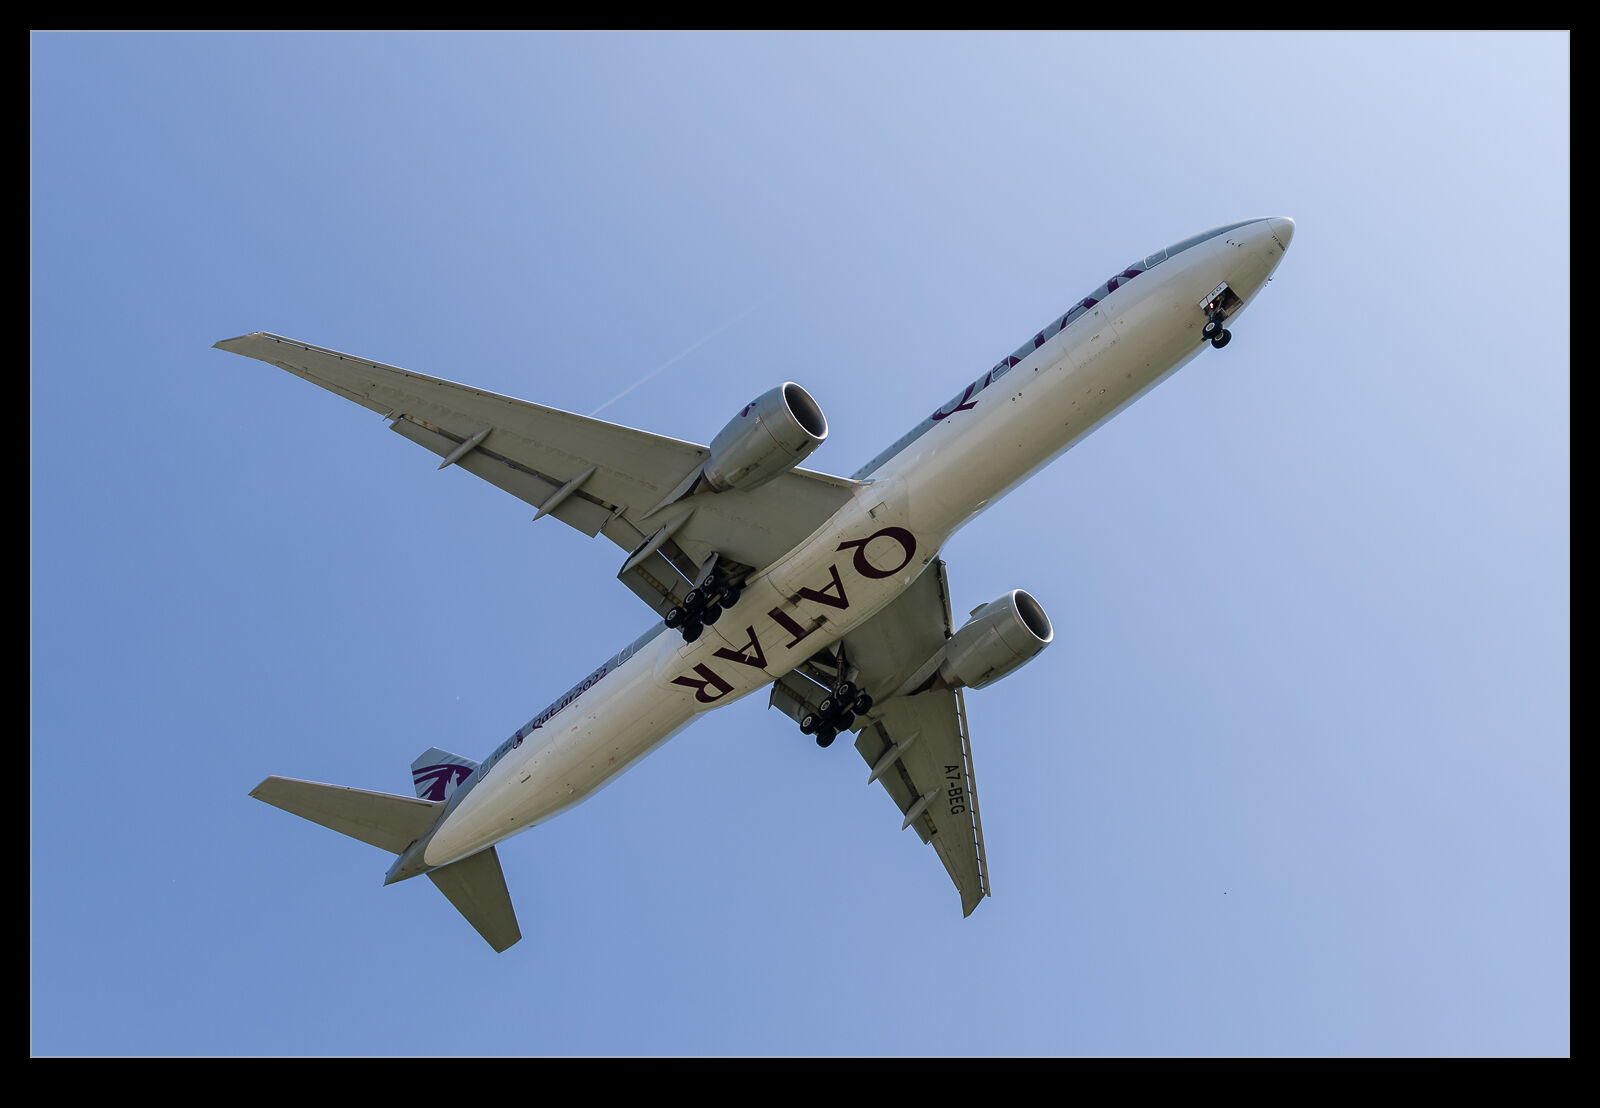
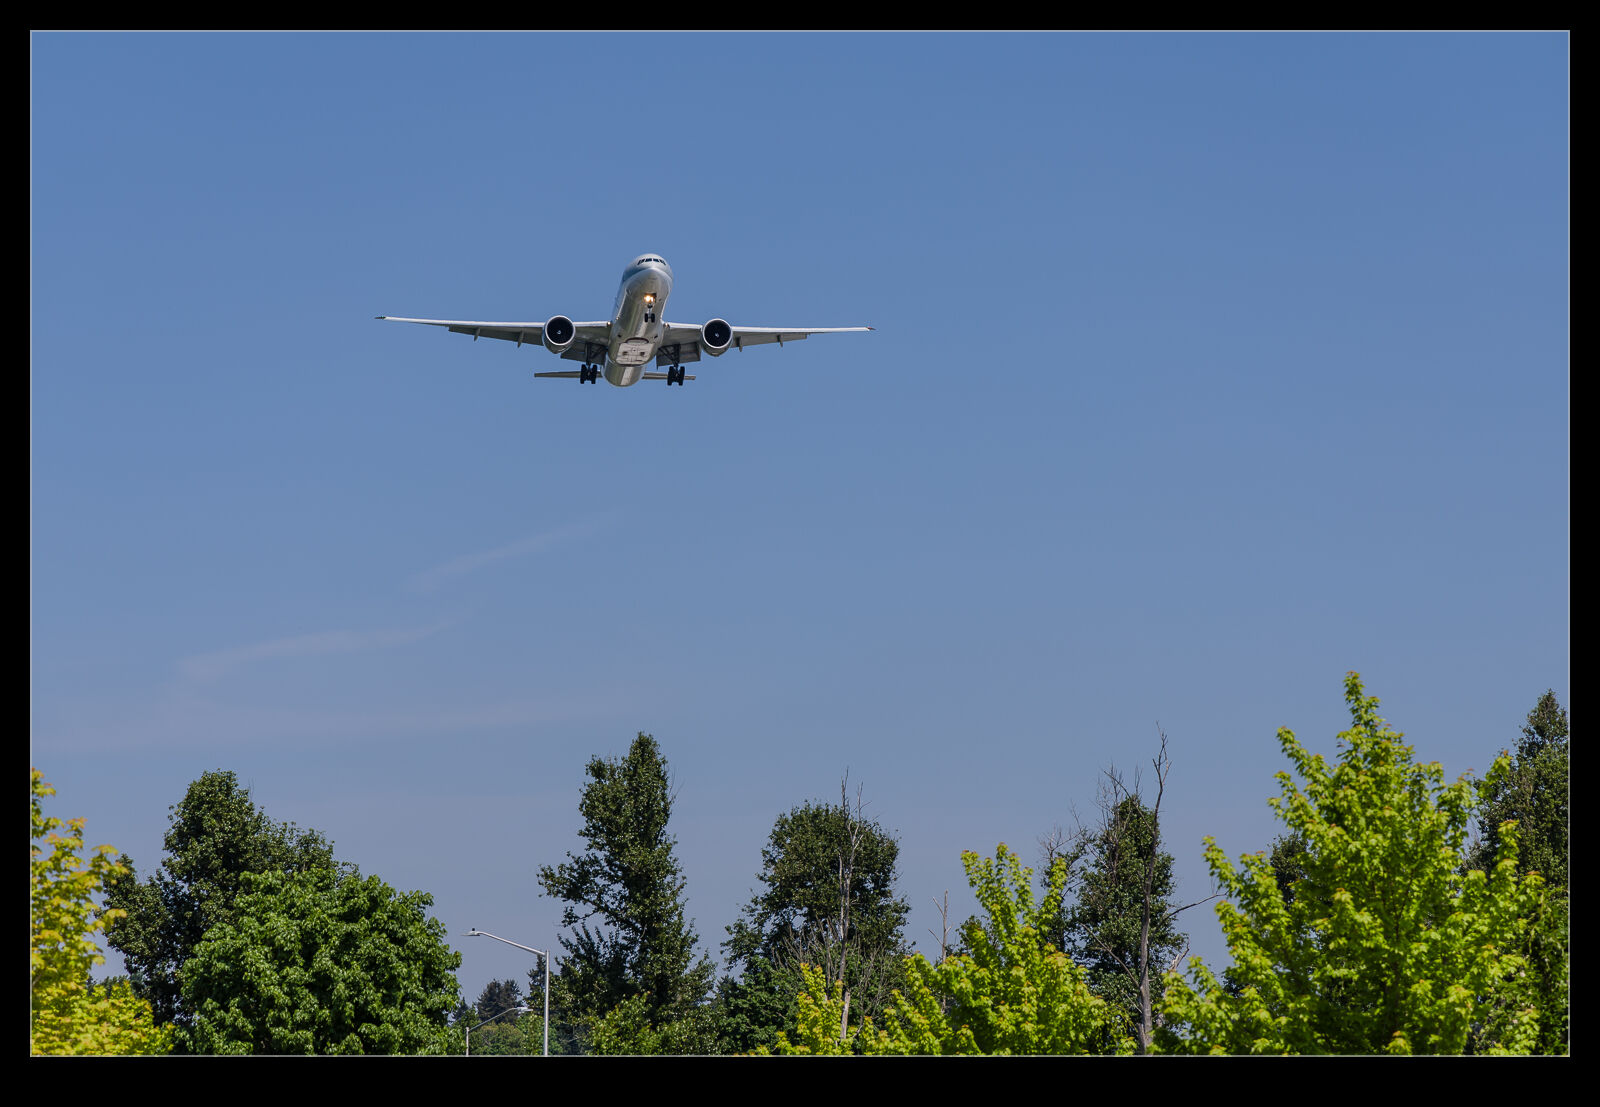
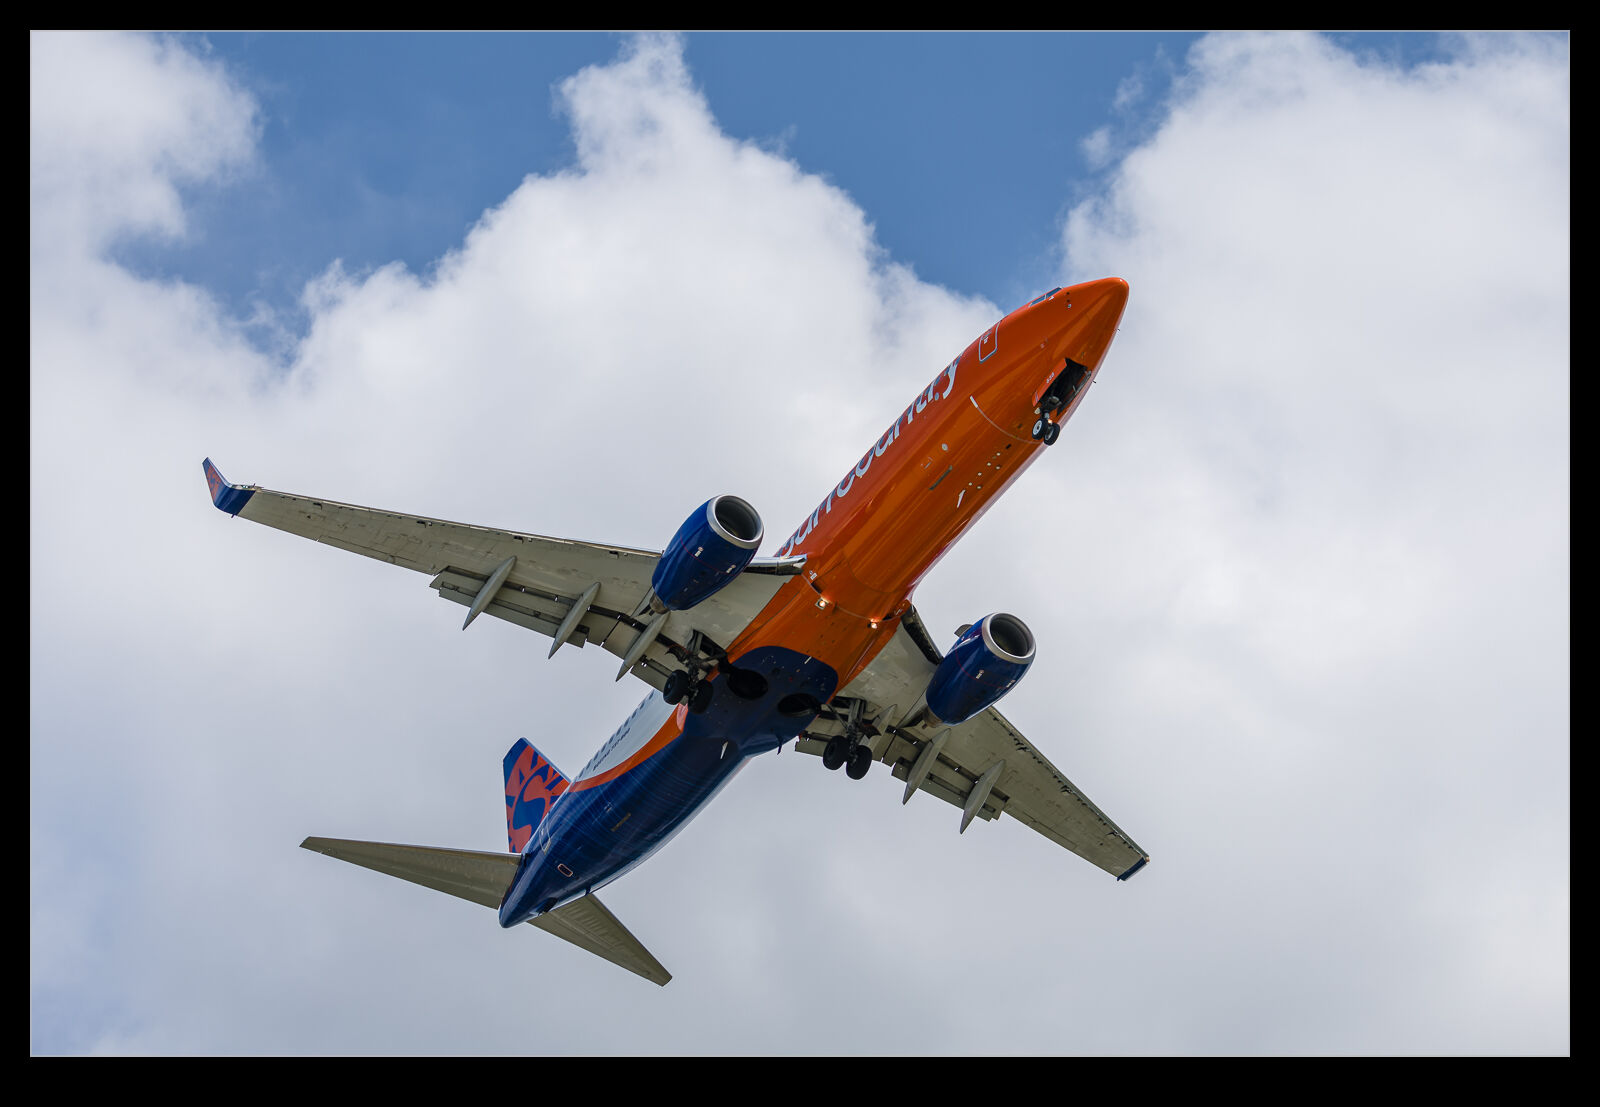 Photographing airliners can be a little “samey” since there are lots of very similar jets and getting a shot of them from the side looks much like any other shot unless the aircraft is specially painted or the lighting is particularly unusual. Consequently, every once in a while, it is fun to try and shoot from a different angle. The approach to SEA when the planes are on a southerly flow brings them in over a part of Burien where you can get yourself pretty much under the flightpath.
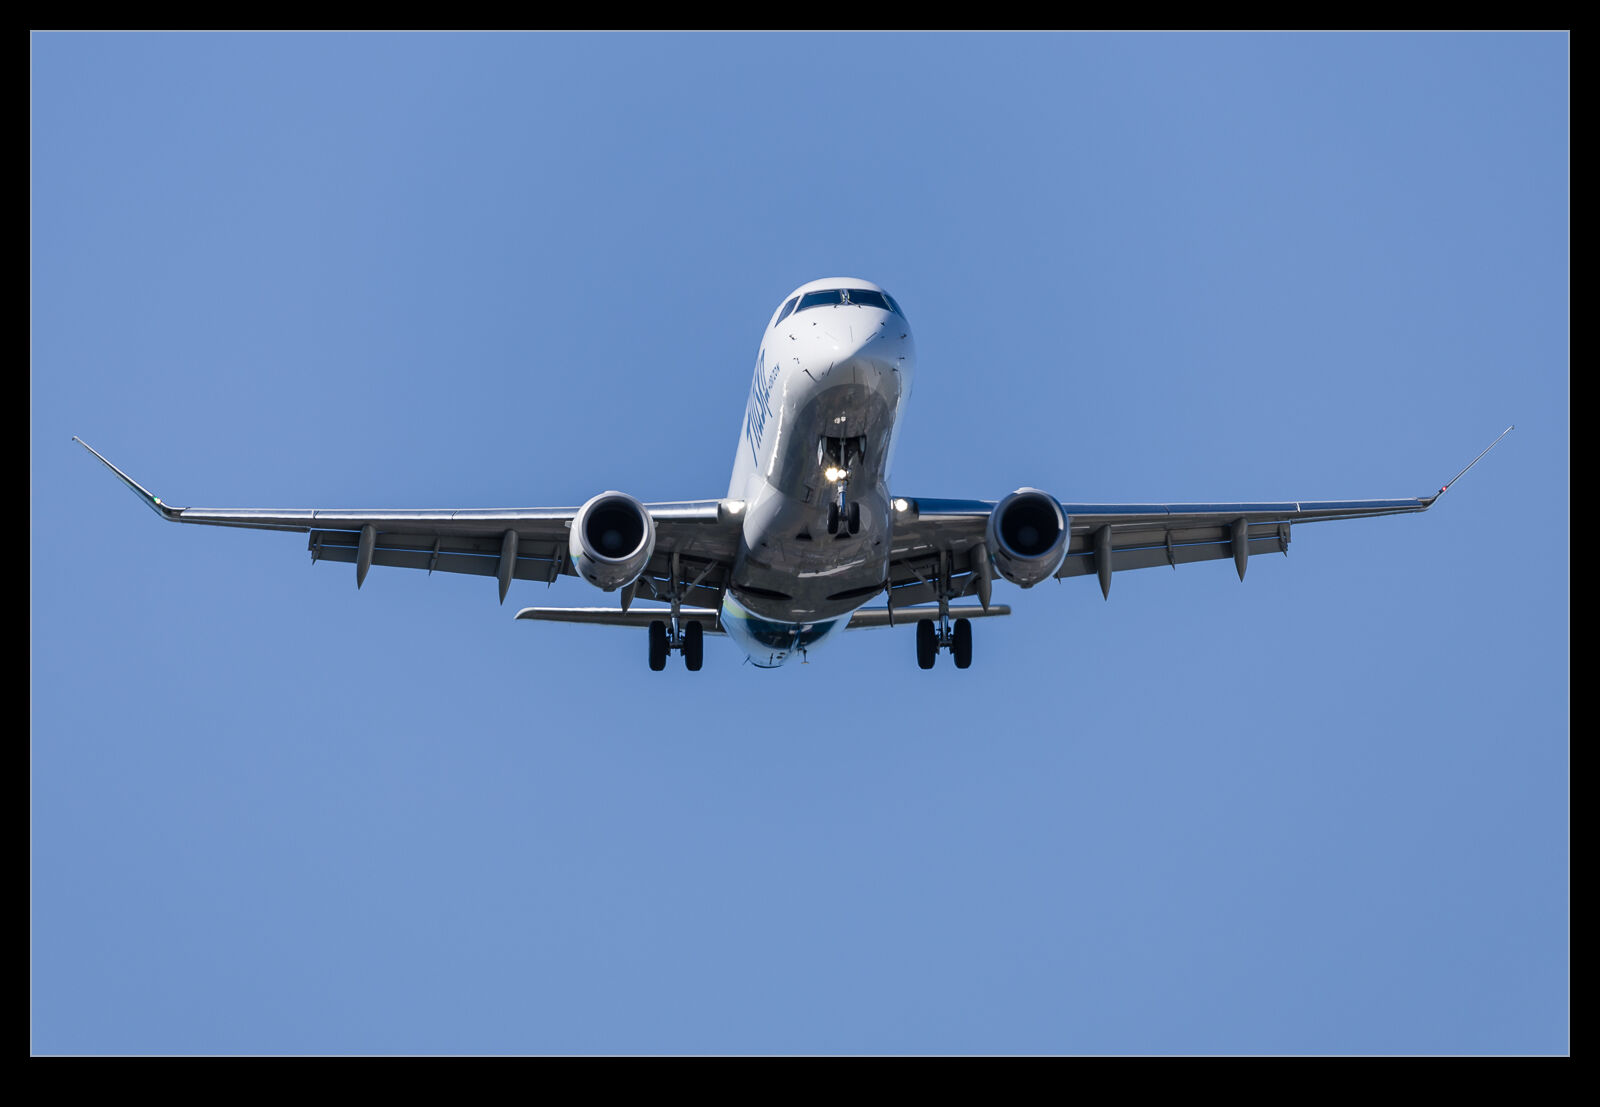 It won’t take too long before you are again getting a sequence of repetitive images, so it isn’t going to be useful for much time, but it is a chance to do something a little different. Head on shots from a distance are possible. Then you can get the shot looking up from the underside. This might be a tight shot of a part of the airframe, or a wide angle shot of the whole thing. An opportunity to do something a little different when you are photographing aircraft that are not ones where you care about missing the shot as you might when something special is coming in.
Playing With the Bizjets to Experiment
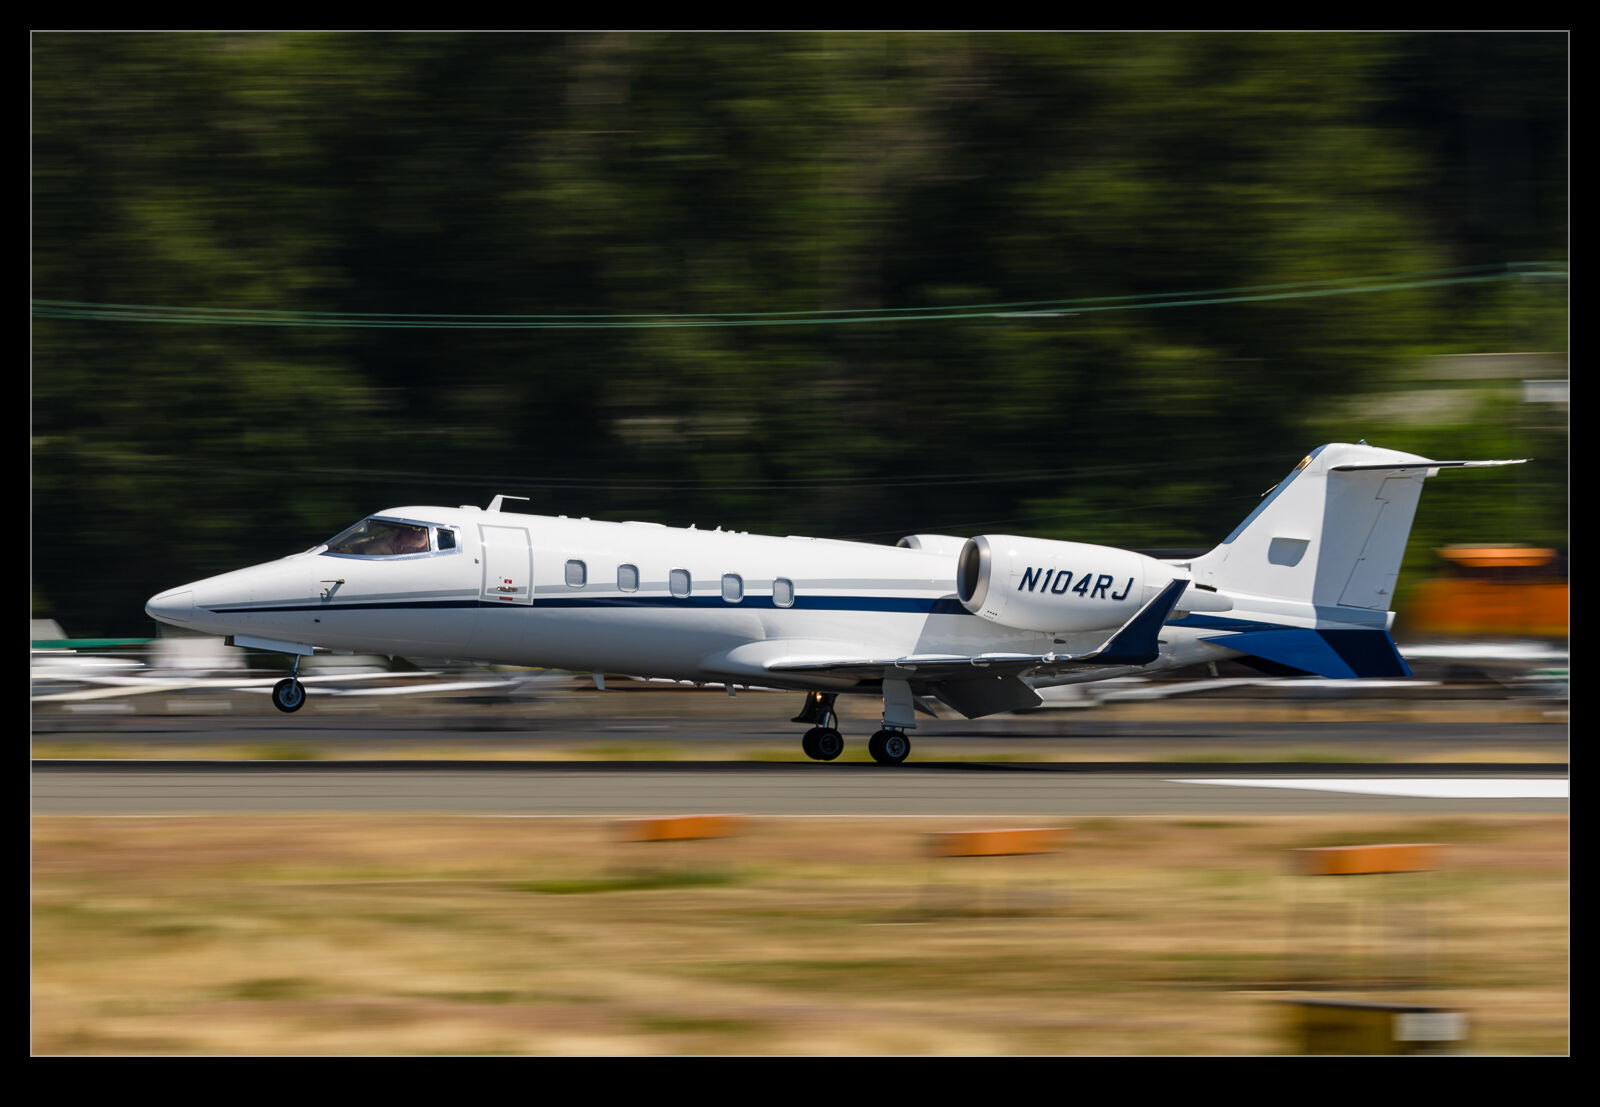
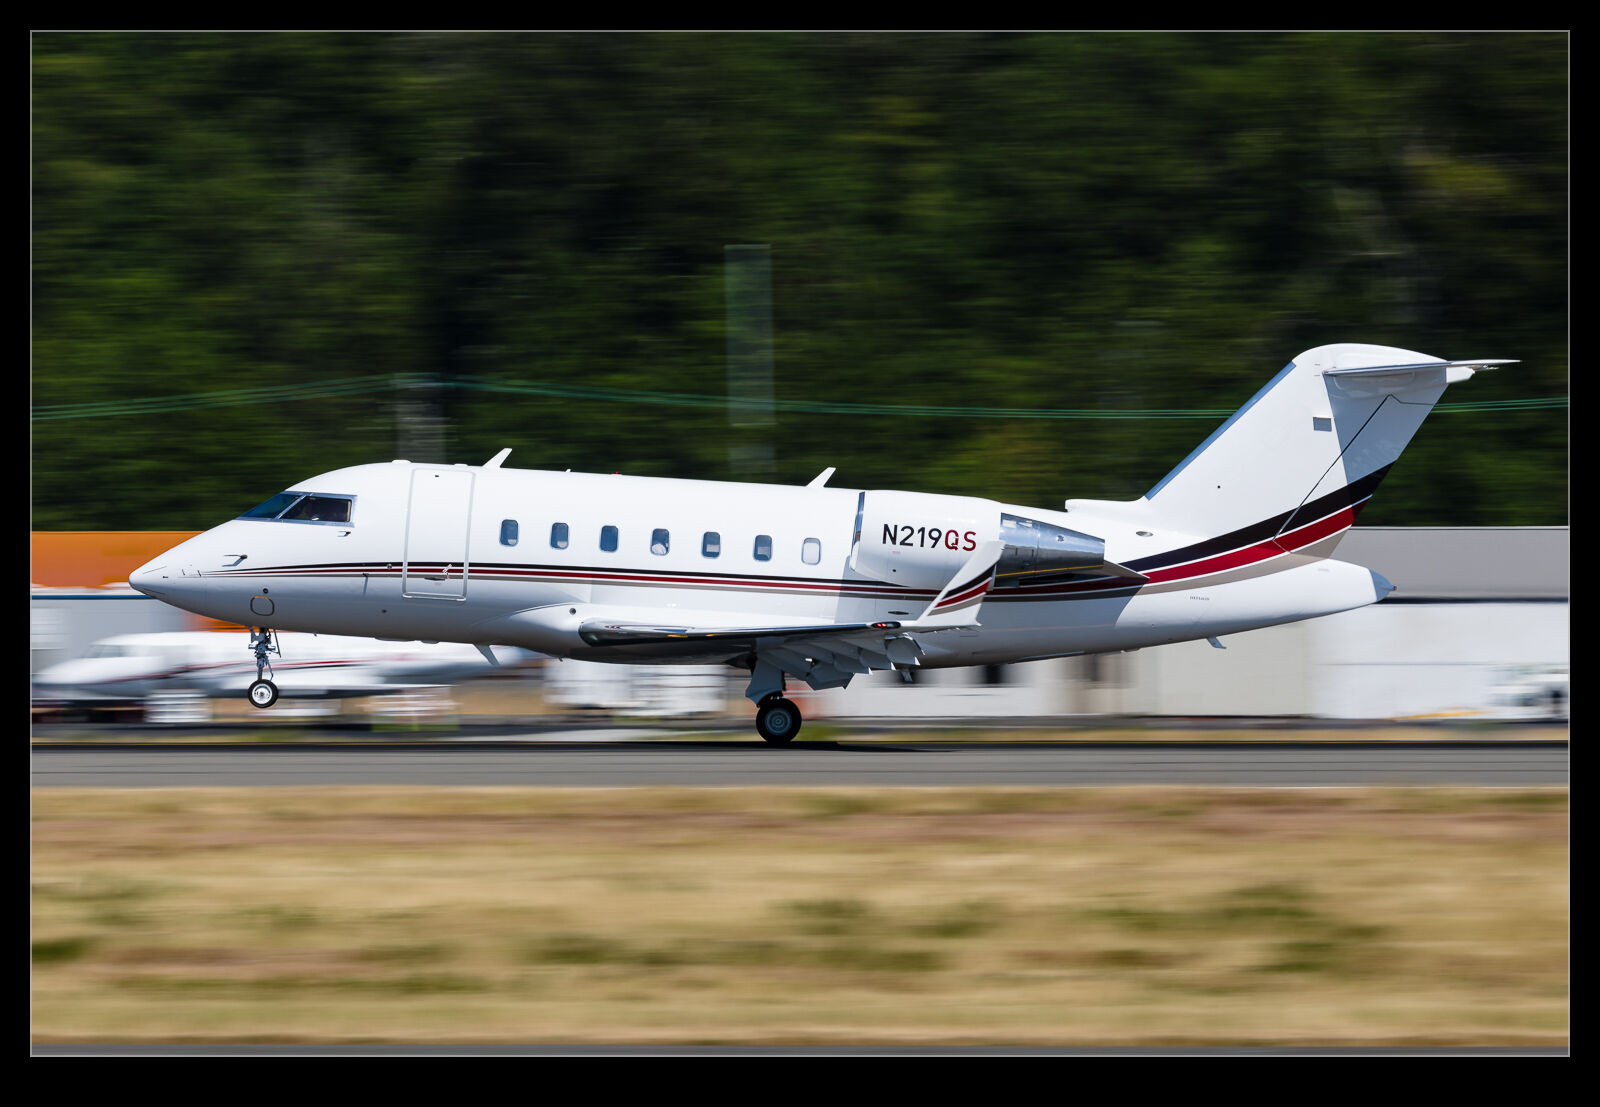
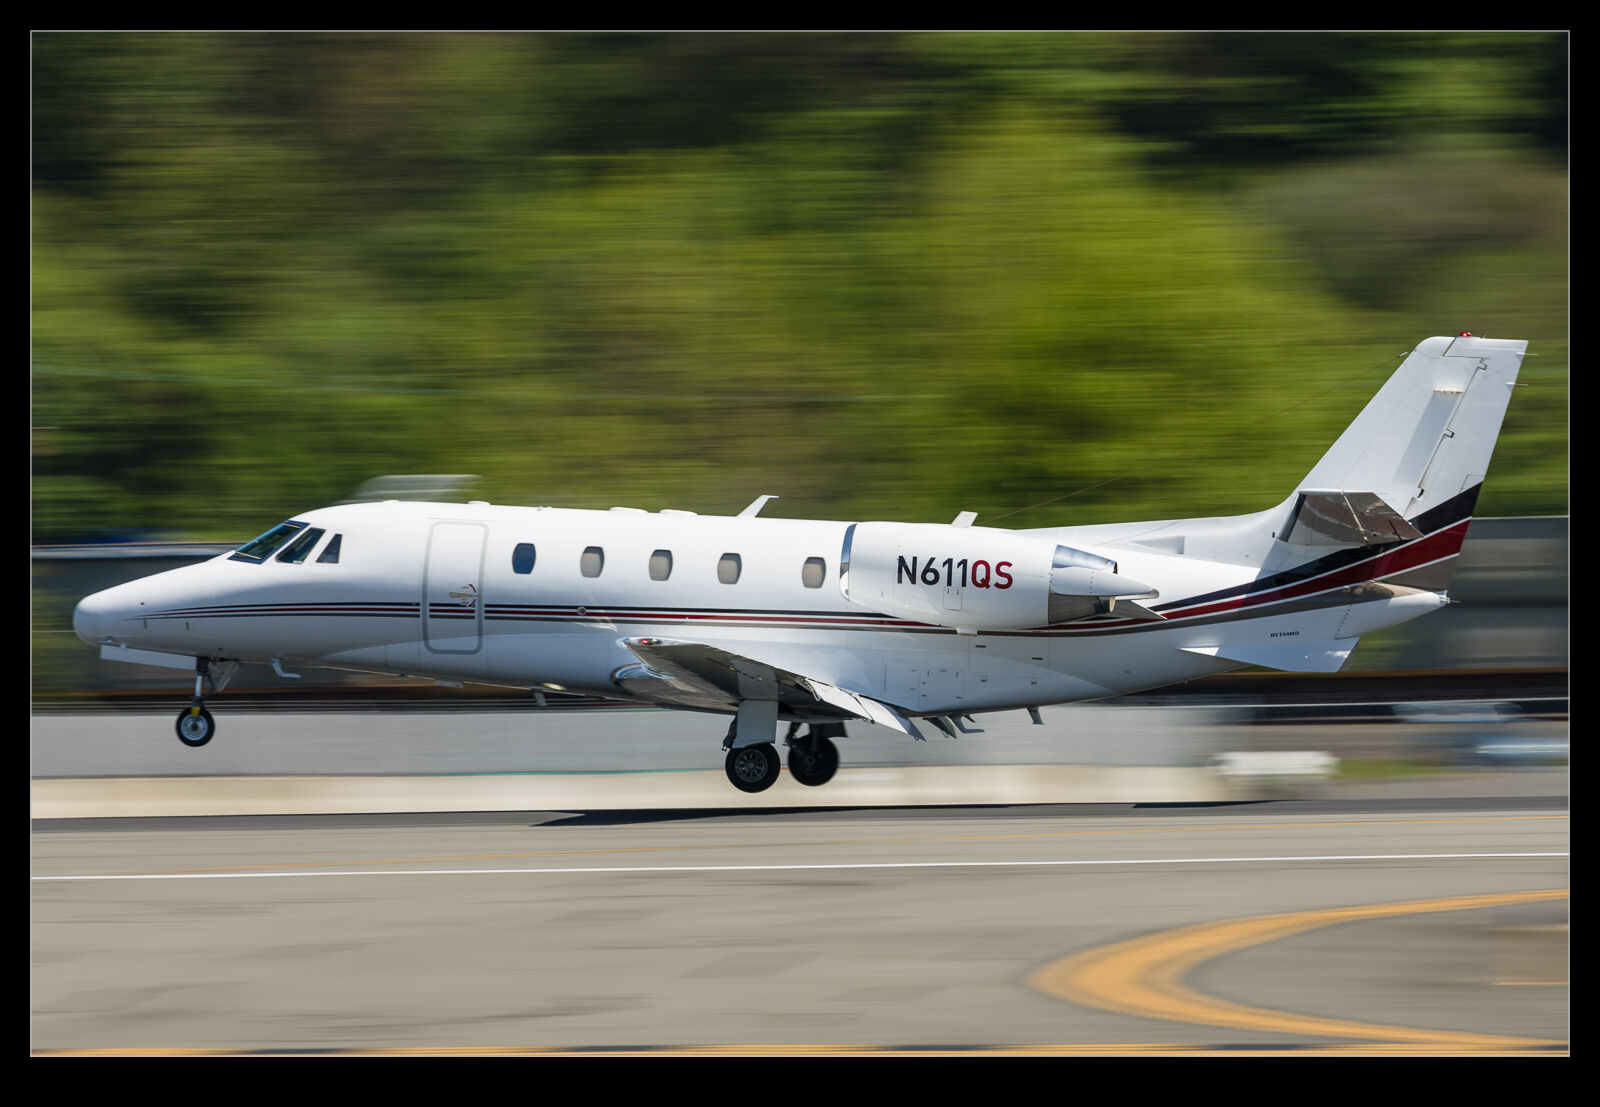
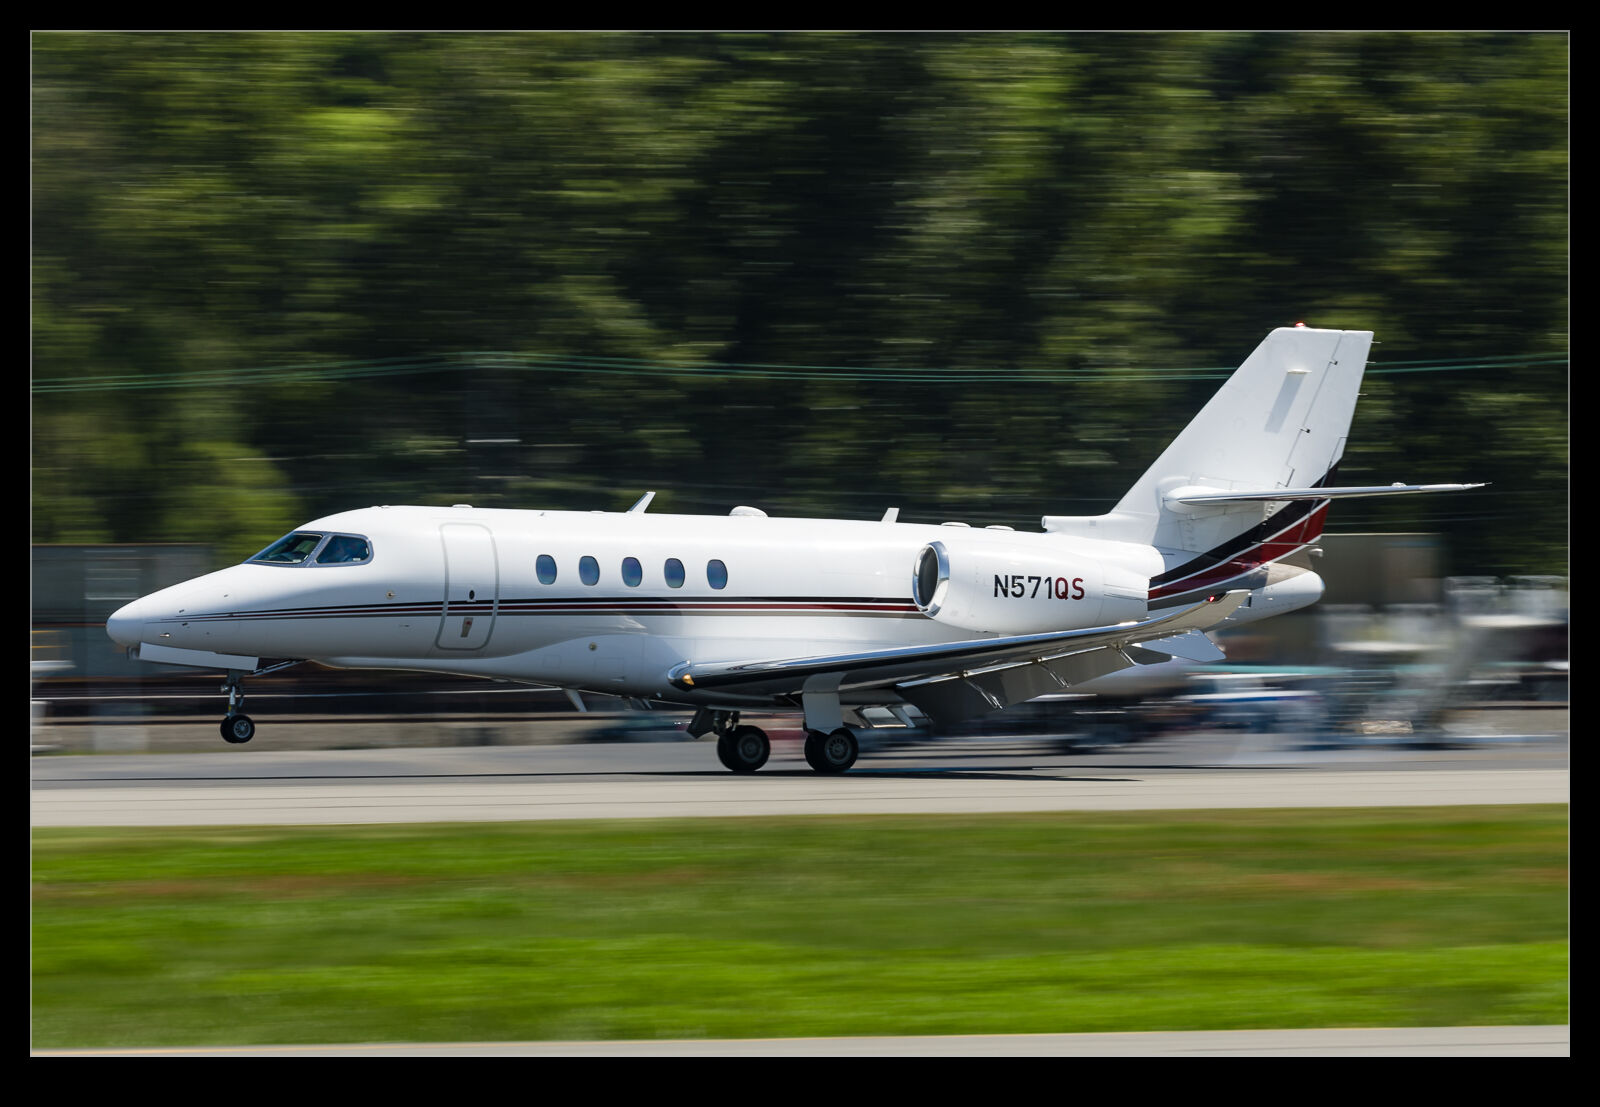
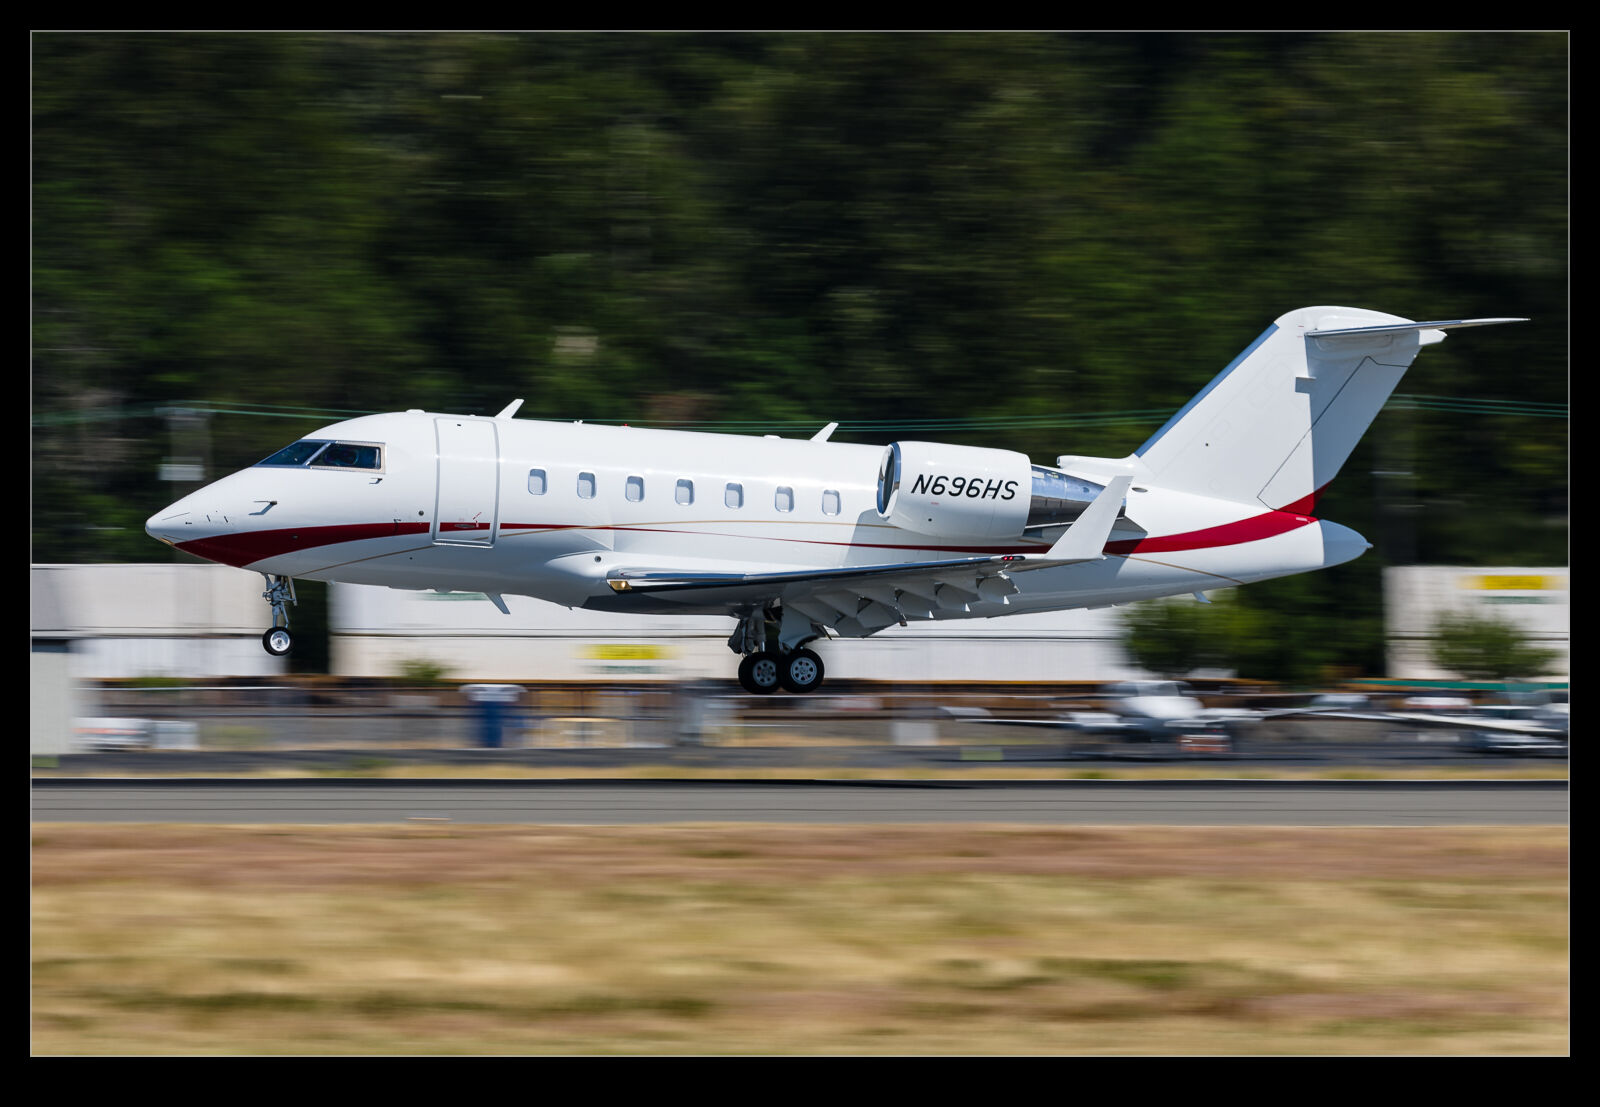 I have been messing around with low shutter speeds for traffic at Boeing Field a lot this year. Some of those shots have made their way into posts on here. One sunny afternoon, I was at the field and there was a lot of business jet traffic but nothing terribly special. This provides a good opportunity to try different things. I had the polarizer and a neutral density filter. The polarizer is good on sunny days for taking down the glare and it also cuts the light. However, the neutral density can really pull the shutter speed down.
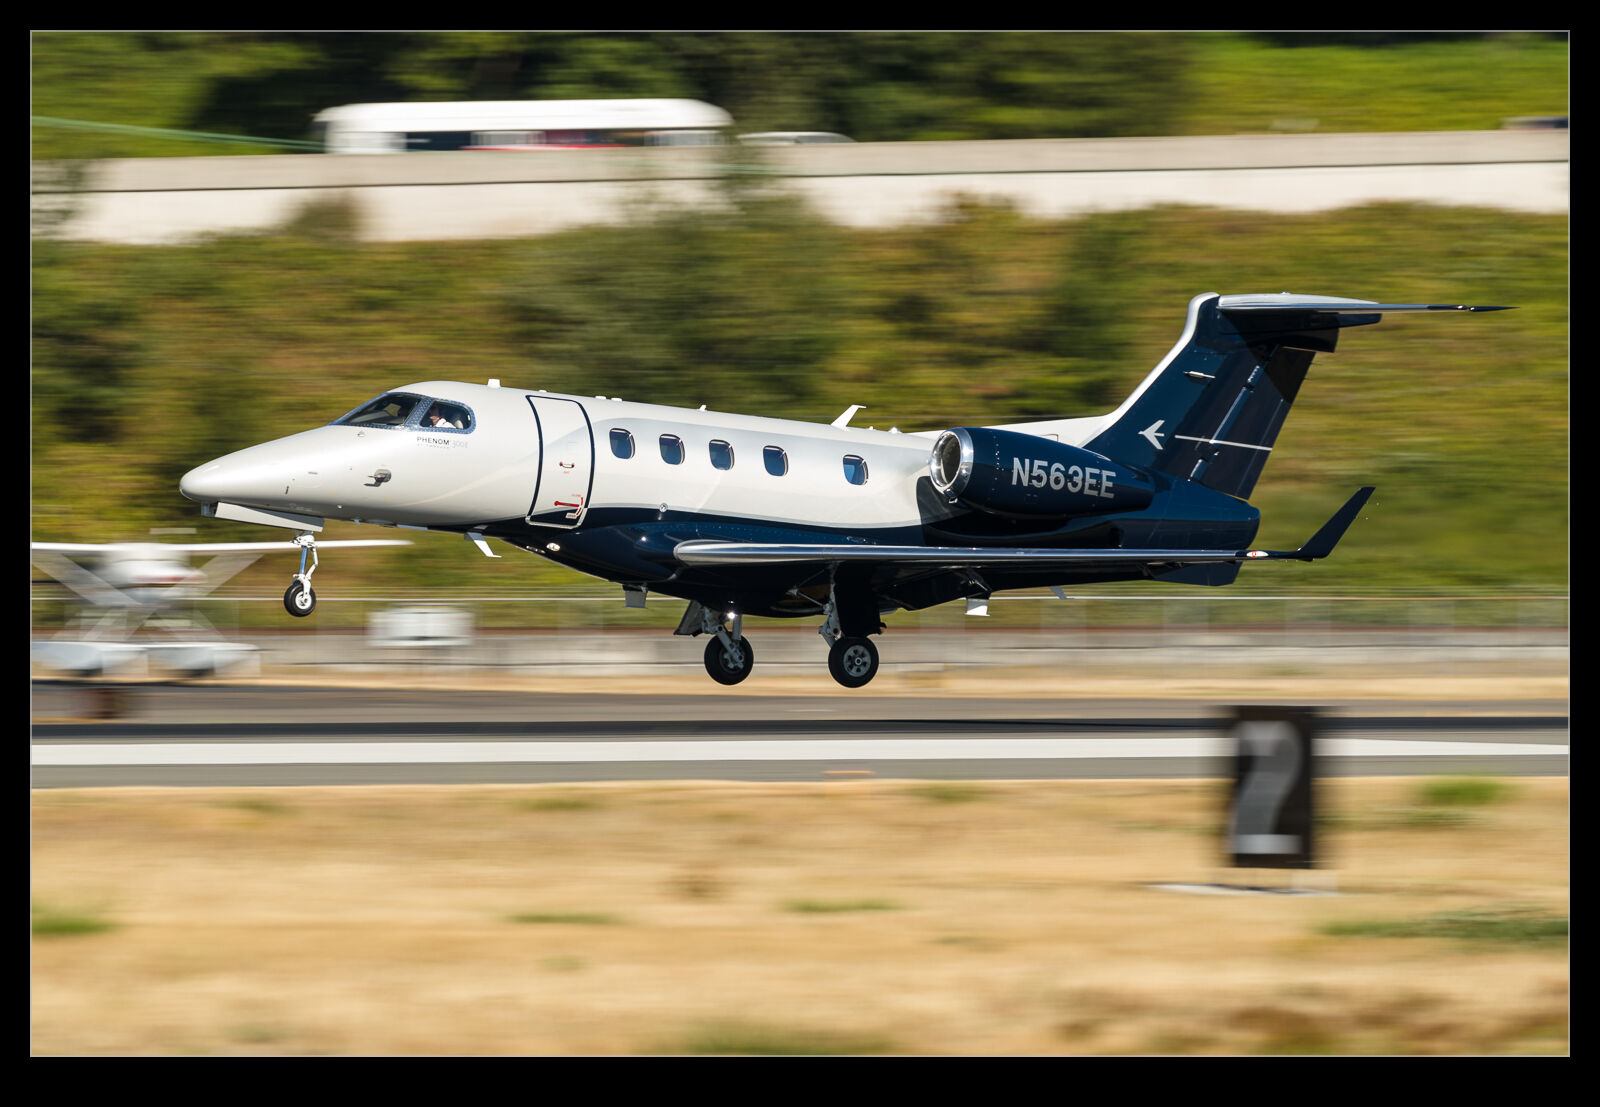 Since I didn’t care if the shots were a failure, I was willing to just keep bringing the shutter speed down and down. I compensated by cranking up the frame rate in order to increase the probability of getting a sharp one. This is an interesting challenge. Normally I spend a bit of time culling out shots that just aren’t sharp but, when playing with silly shutter speeds, you need to re-calibrate just how sharp things should be. What is a little off when zoomed in might be of no concern when looking at the full image. That is not an excuse to let plainly bad shots through though.
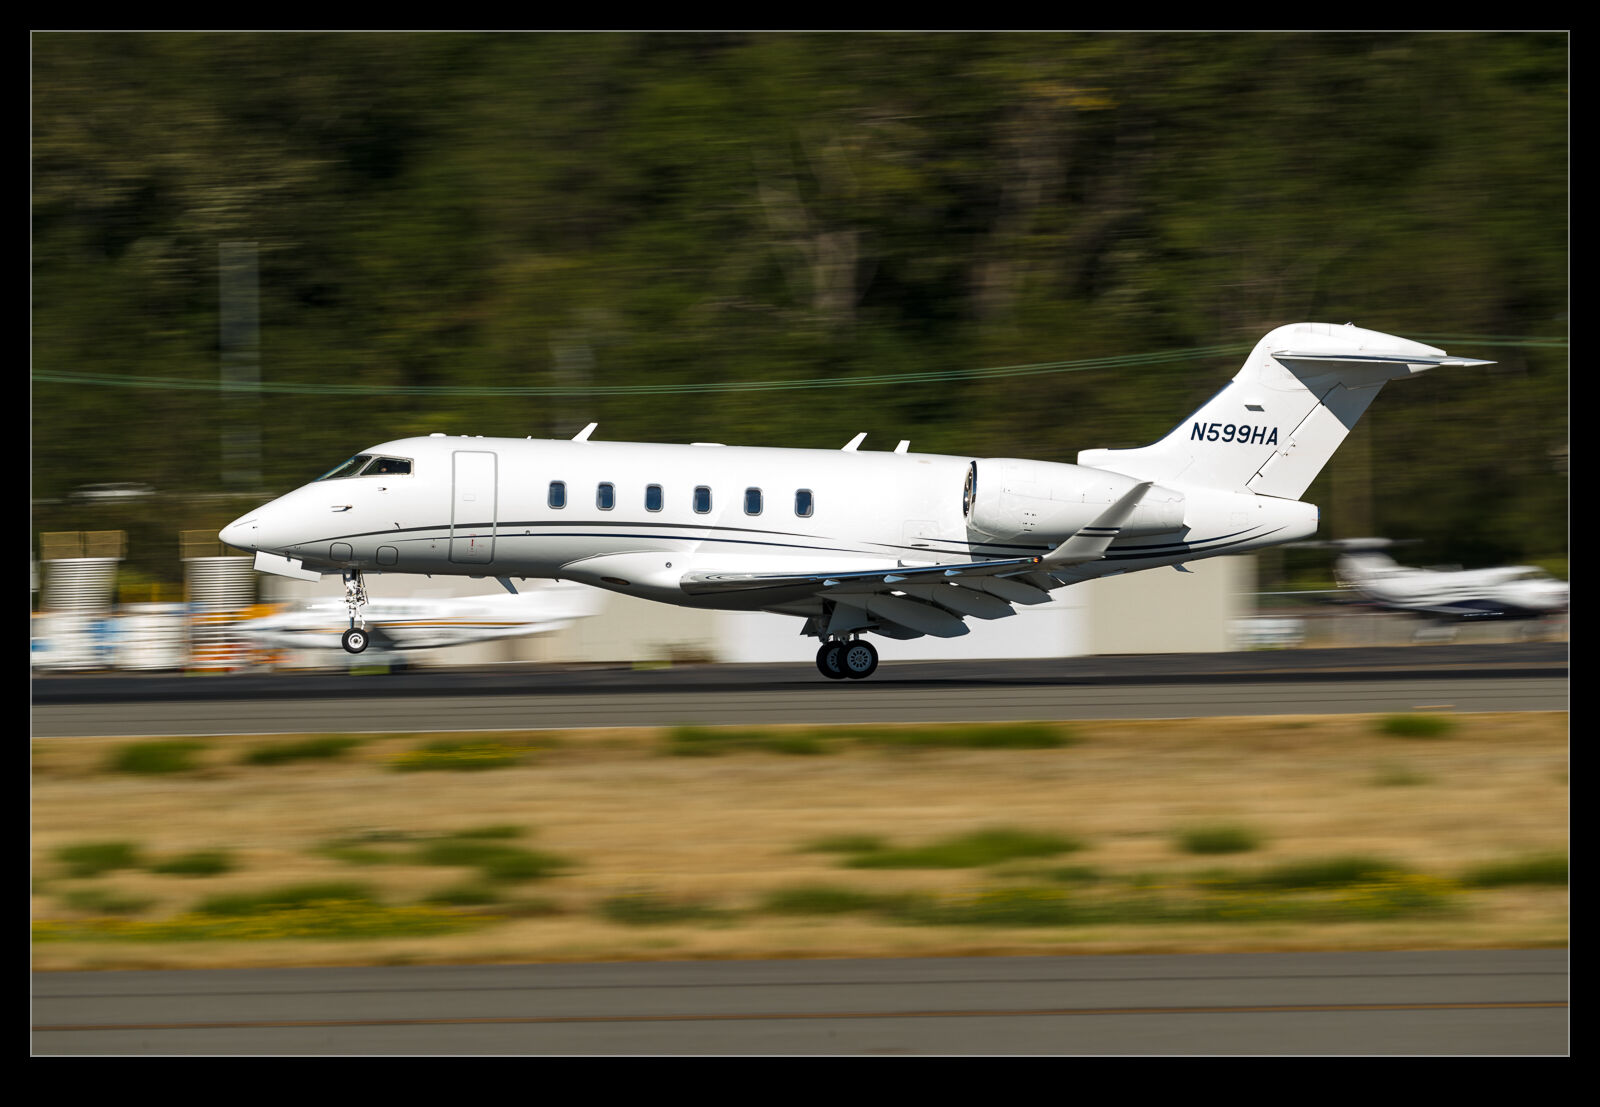 Here are some of the results that weren’t too bad. Even an average Challenger can look a little more interesting with a very blurry background!
Re-Editing a B-2 Shot
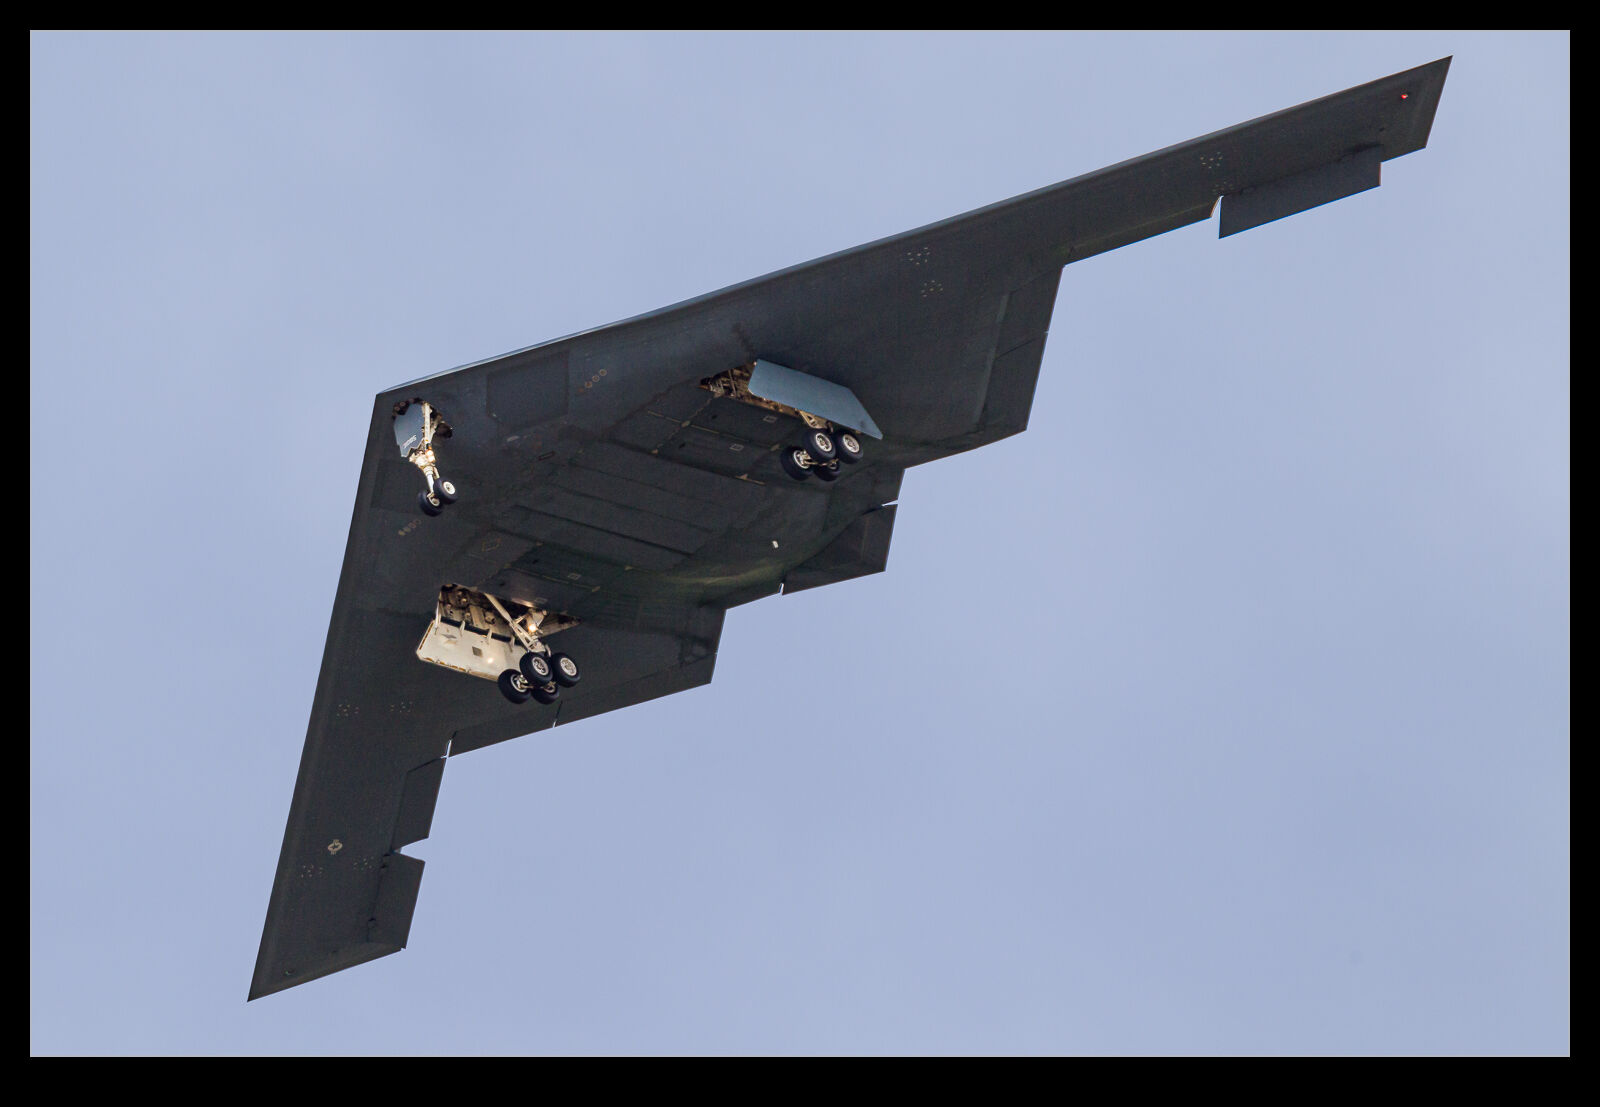 Periodically, when I am looking through my image catalog for a specific subject for one project or another, I come across some images from a while back that look okay but might benefit from some of the more recent approaches to processing that I have adopted. This doesn’t always help but it can be fun to start from scratch on a raw file and then see whether the final version is any better than the previous attempt. I created a new virtual copy in Lightroom and zero out all of the sliders, upgrade to the latest processing version and give it a go.
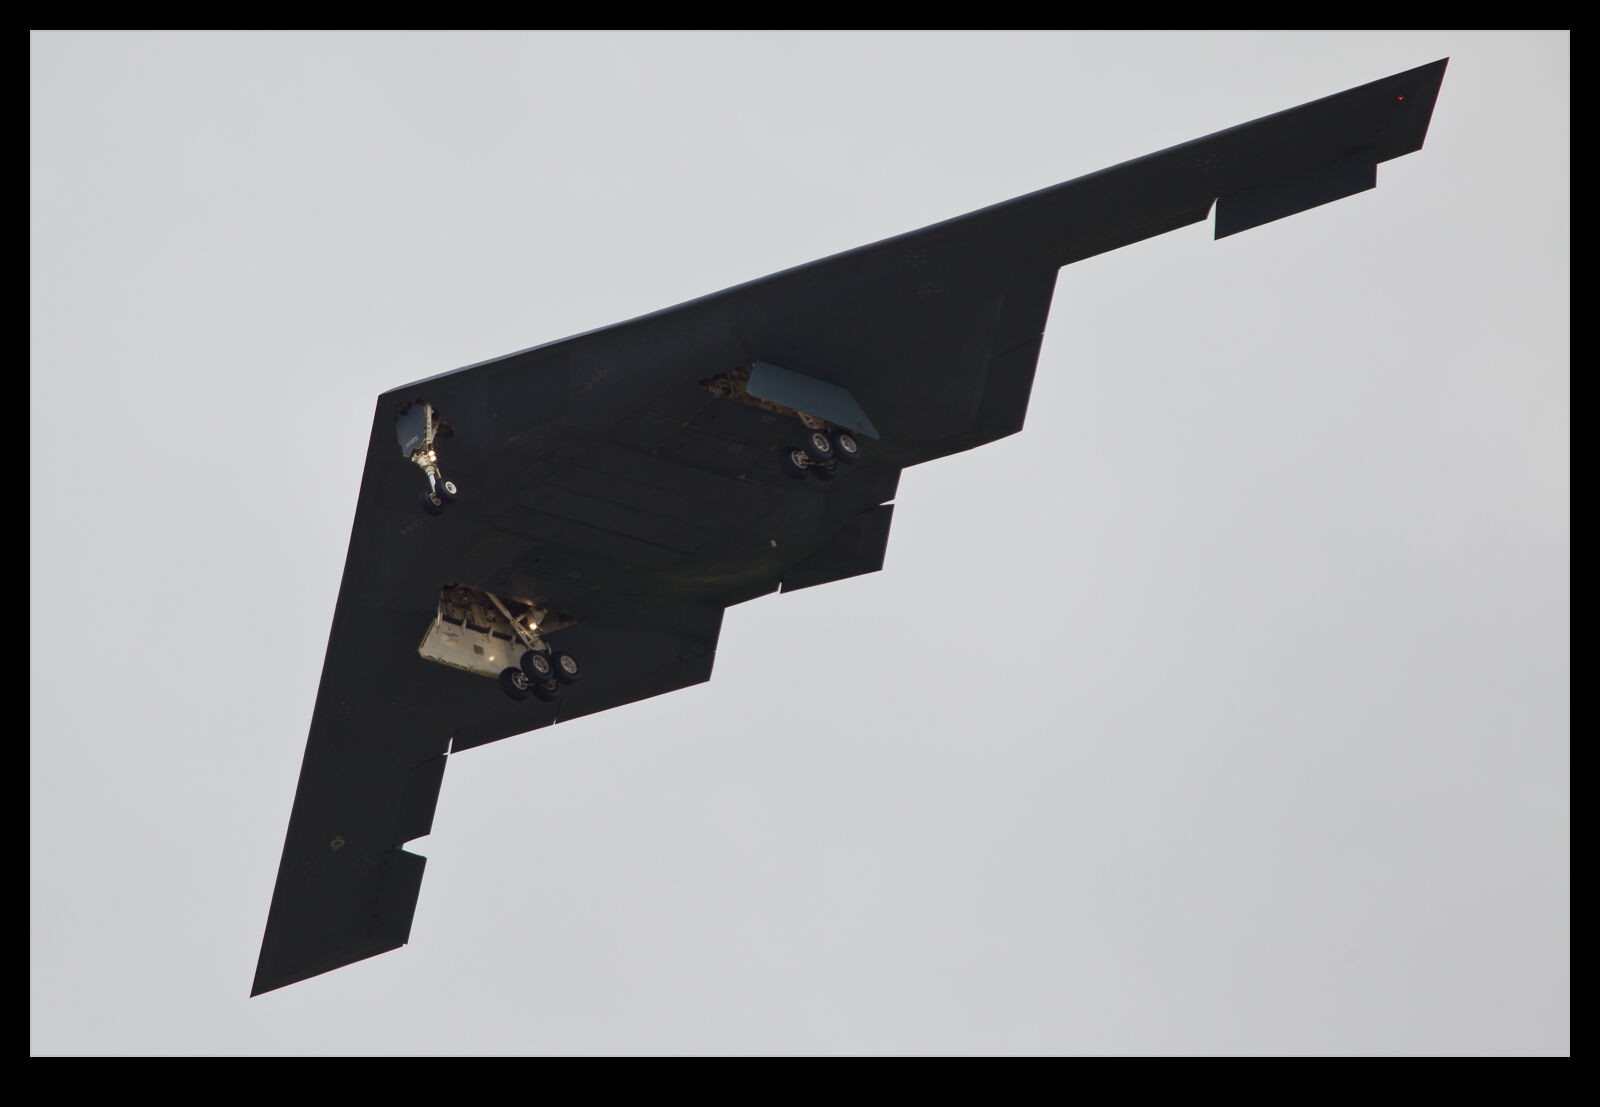 I did this a little while ago on a shot of a Northrop Grumman B-2 Spirit. I shot this jet at Palmdale many years ago on a visit with my friend, Paul. The shots were okay, and I was happy with them at the time. Here I shall show you the current version first and then the next one down is the previous result of my processing from when it was shot. Do you think it is a significant change?
Why Am I Struggling with the Butterflies?
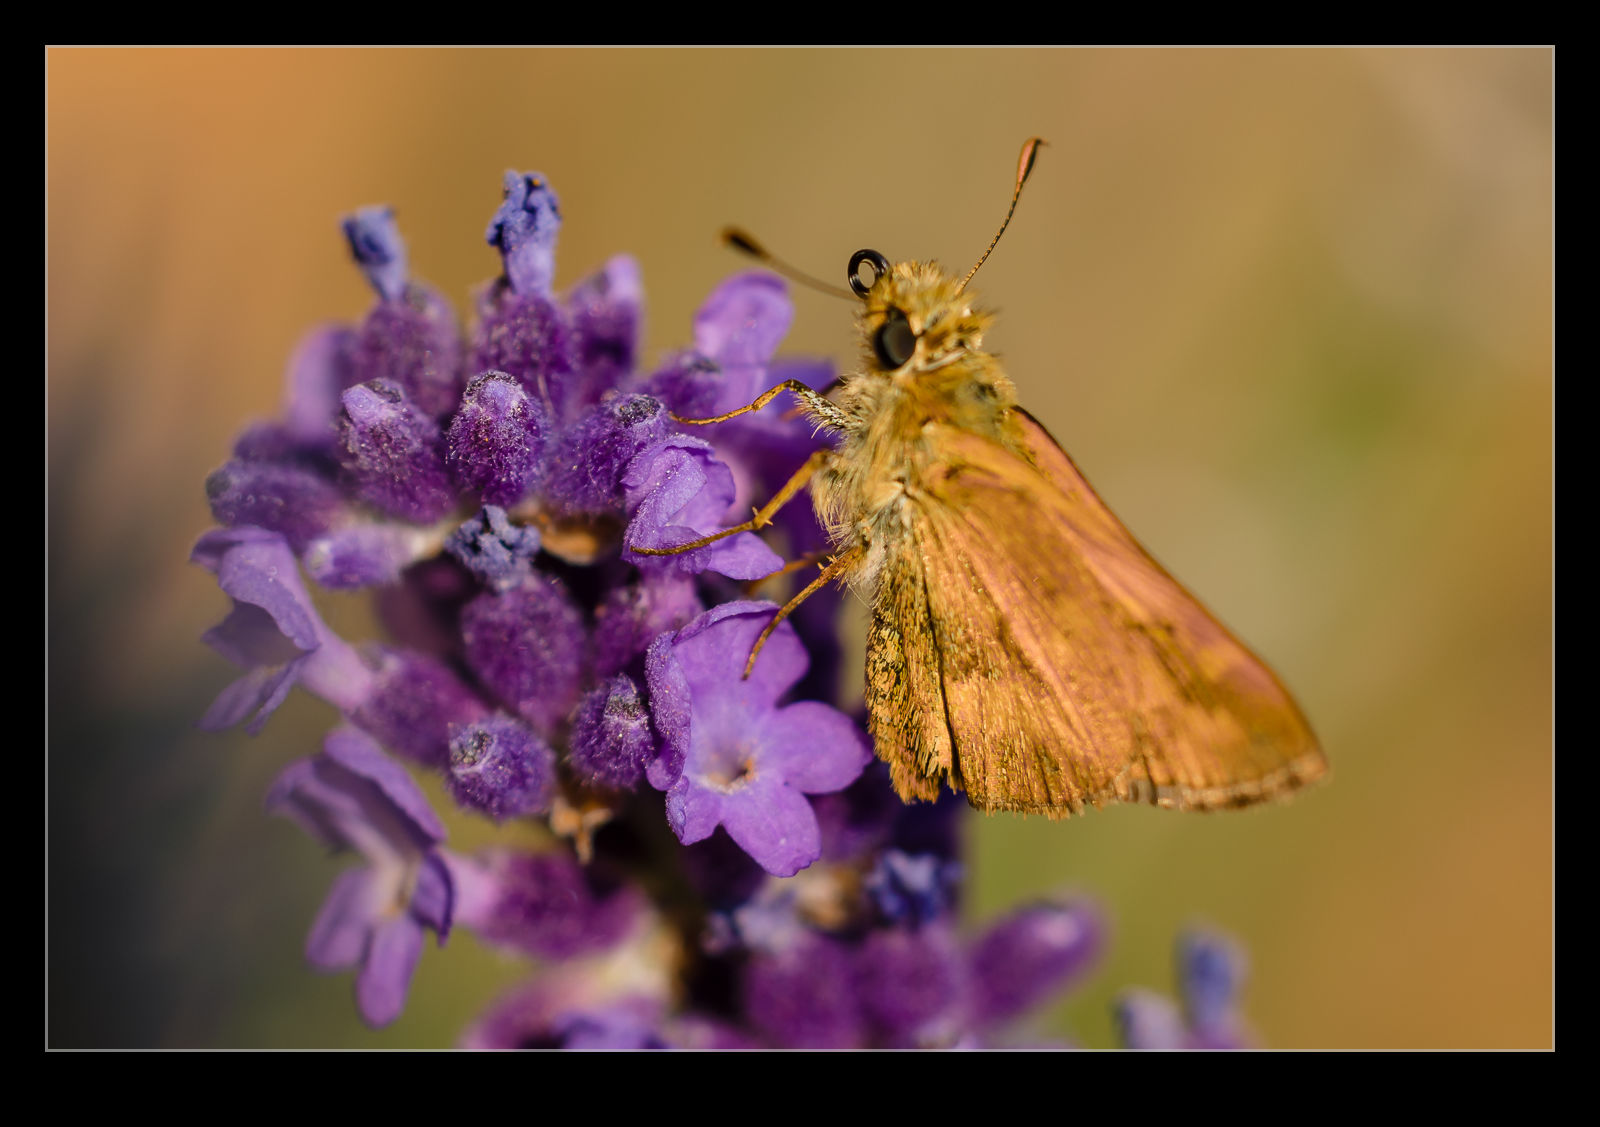
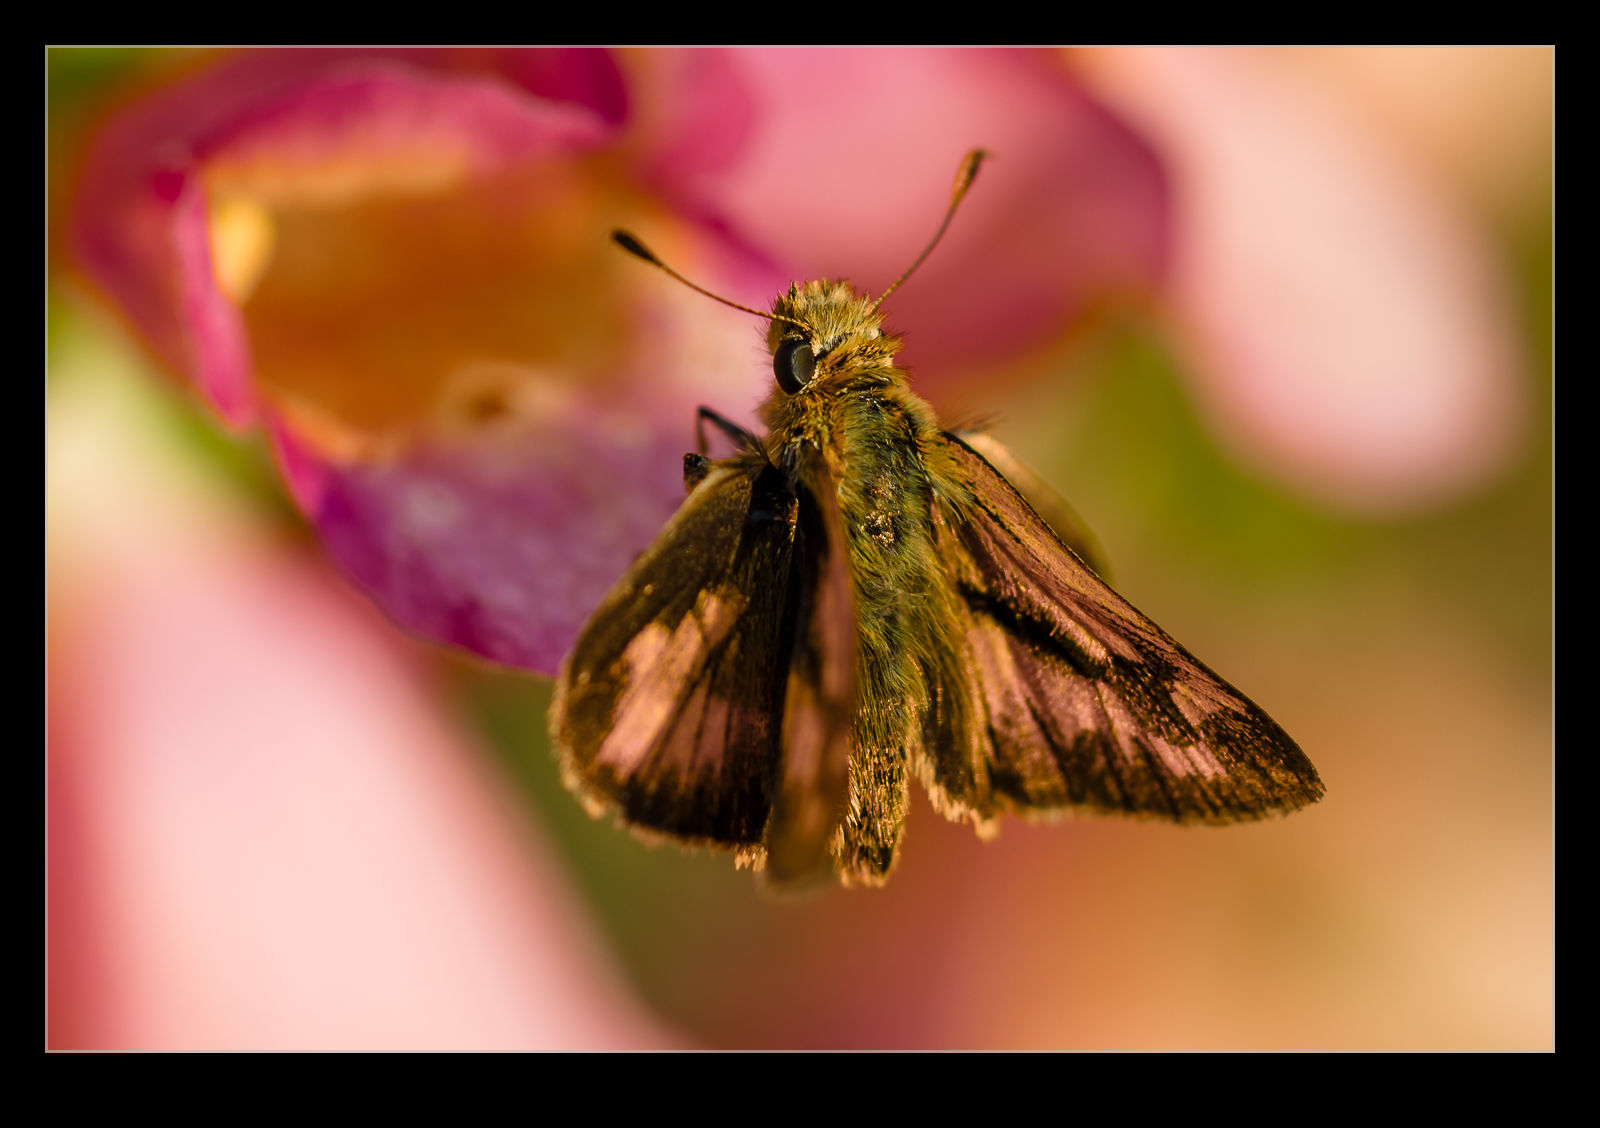 The flowers in our back yard are very popular with butterflies and, with nice evening light in the garden, I was bound to drag out the macro lens. However, when I tried getting some shots, the camera was having a really hard time focusing. I often ended up using the manual focus ring to get something close when the camera kept focusing on the background. I had struggled with a couple of other subjects previously and I was beginning to get really annoyed. This was not a cheap lens, and the camera certainly isn’t cheap but why wouldn’t it focus on a butterfly? I was using animal mode so thought it would cope.
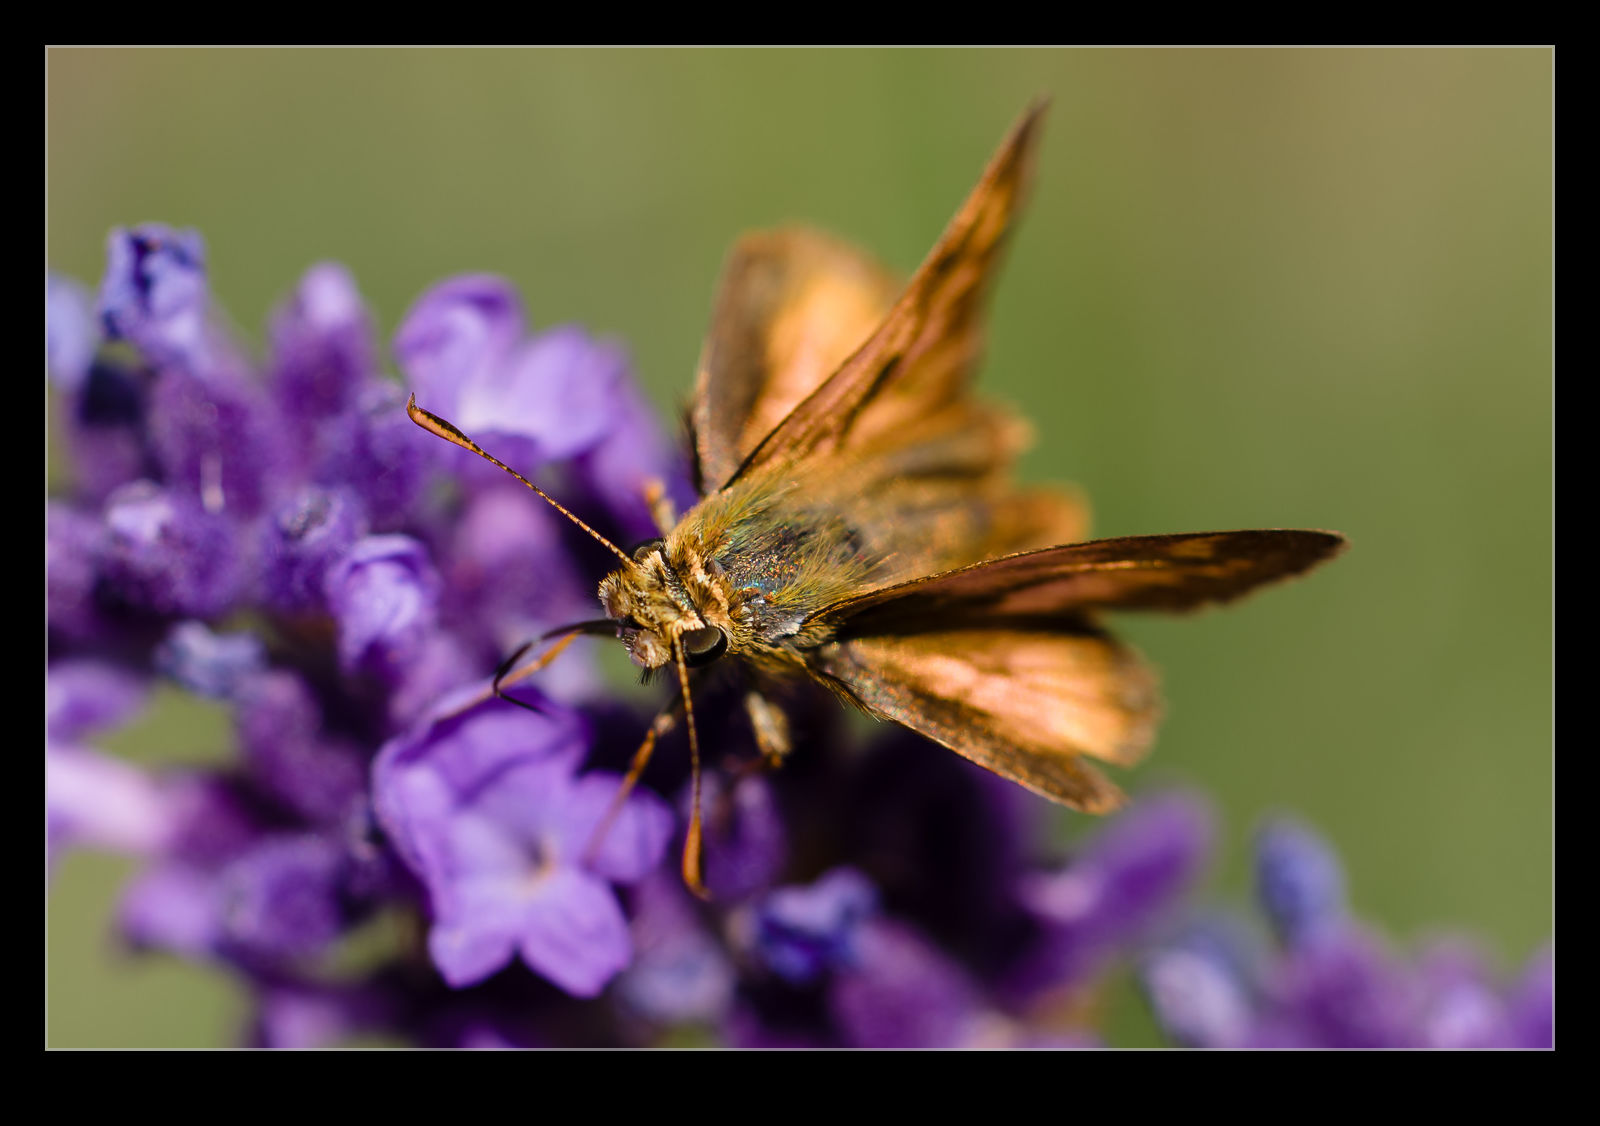 I ended up trying different focus area modes. Narrowing it down to the small focus spot and moving that around by hand rather than using the subject detection modes was my next effort. I seemed to have some better luck, but it still was unreliable and was giving me a red box around the focus area. Why wouldn’t it work. I took a look in the menus to see if there was something in there which was going to be an issue but nothing there either. I was beginning to be fearful I had a dud. Then I noticed something. The focus limit switch had moved from the full range to having a minimum focus distance of 0.5m. That would certainly be an issue. Put it back to where it should have been and suddenly the focus was working perfectly. What a dope. Not sure when I had knocked that switch but it might have been a while back. Doh!
Spider on My Car Means Macro Time
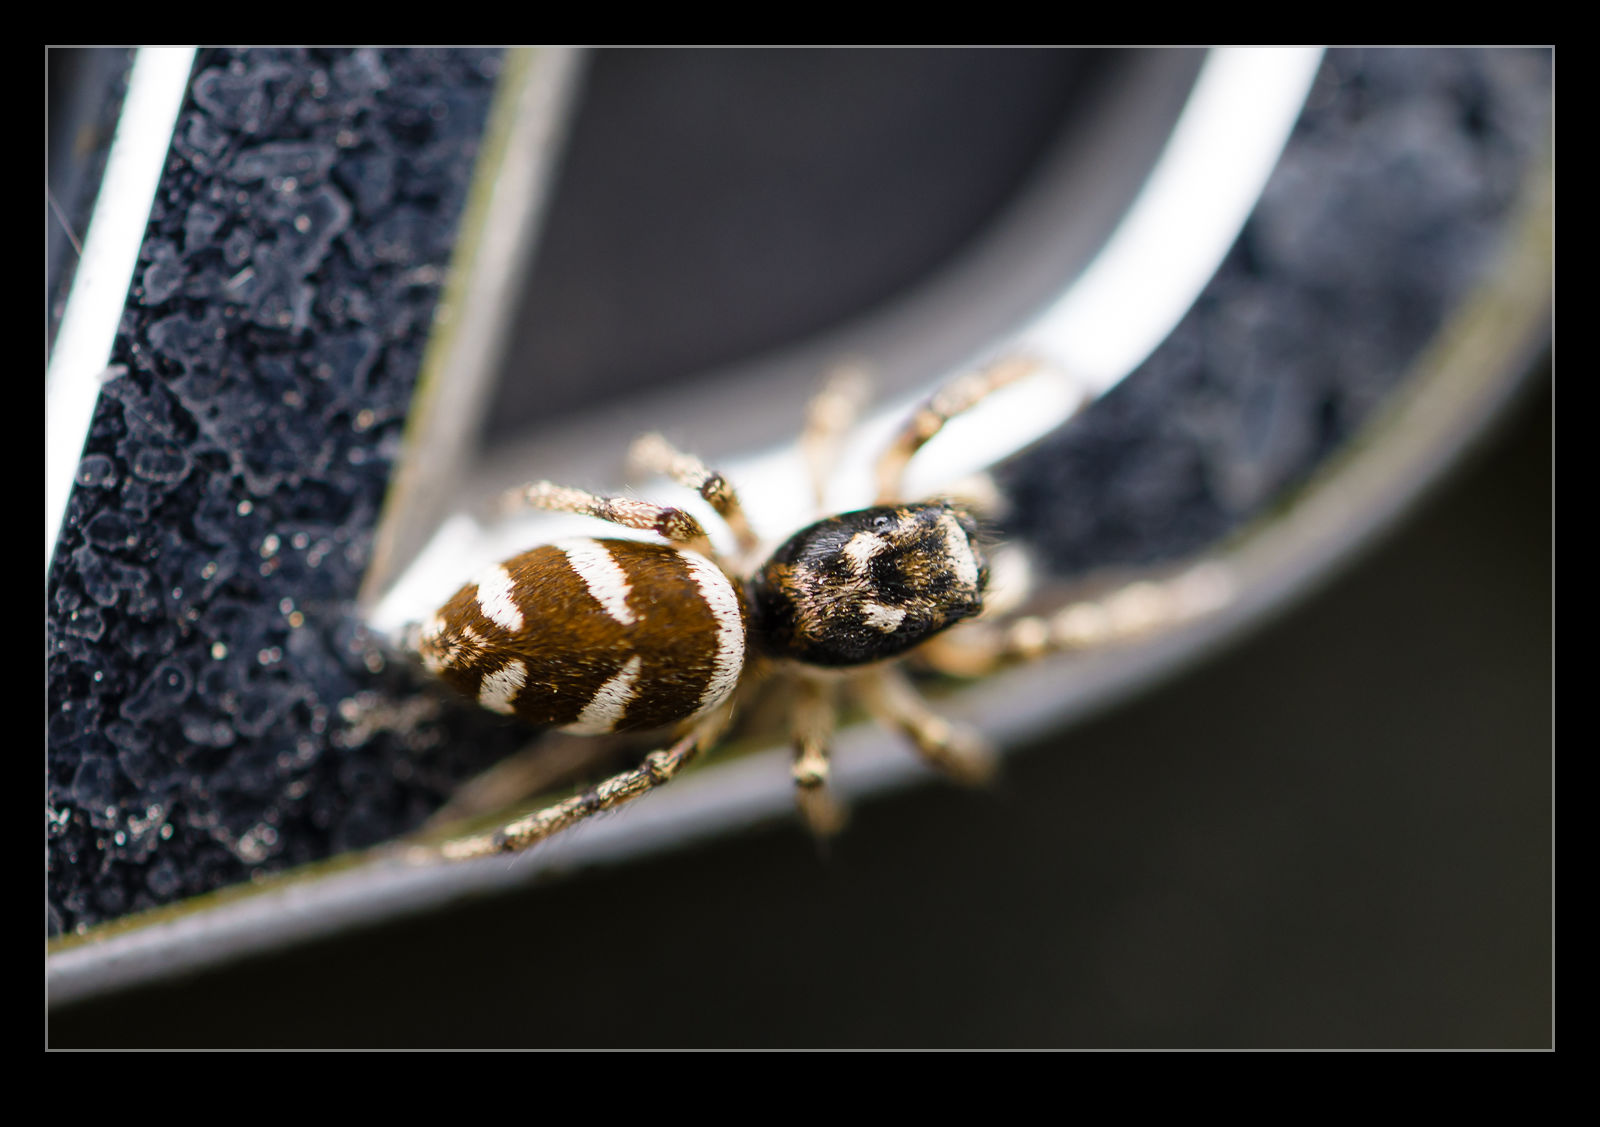
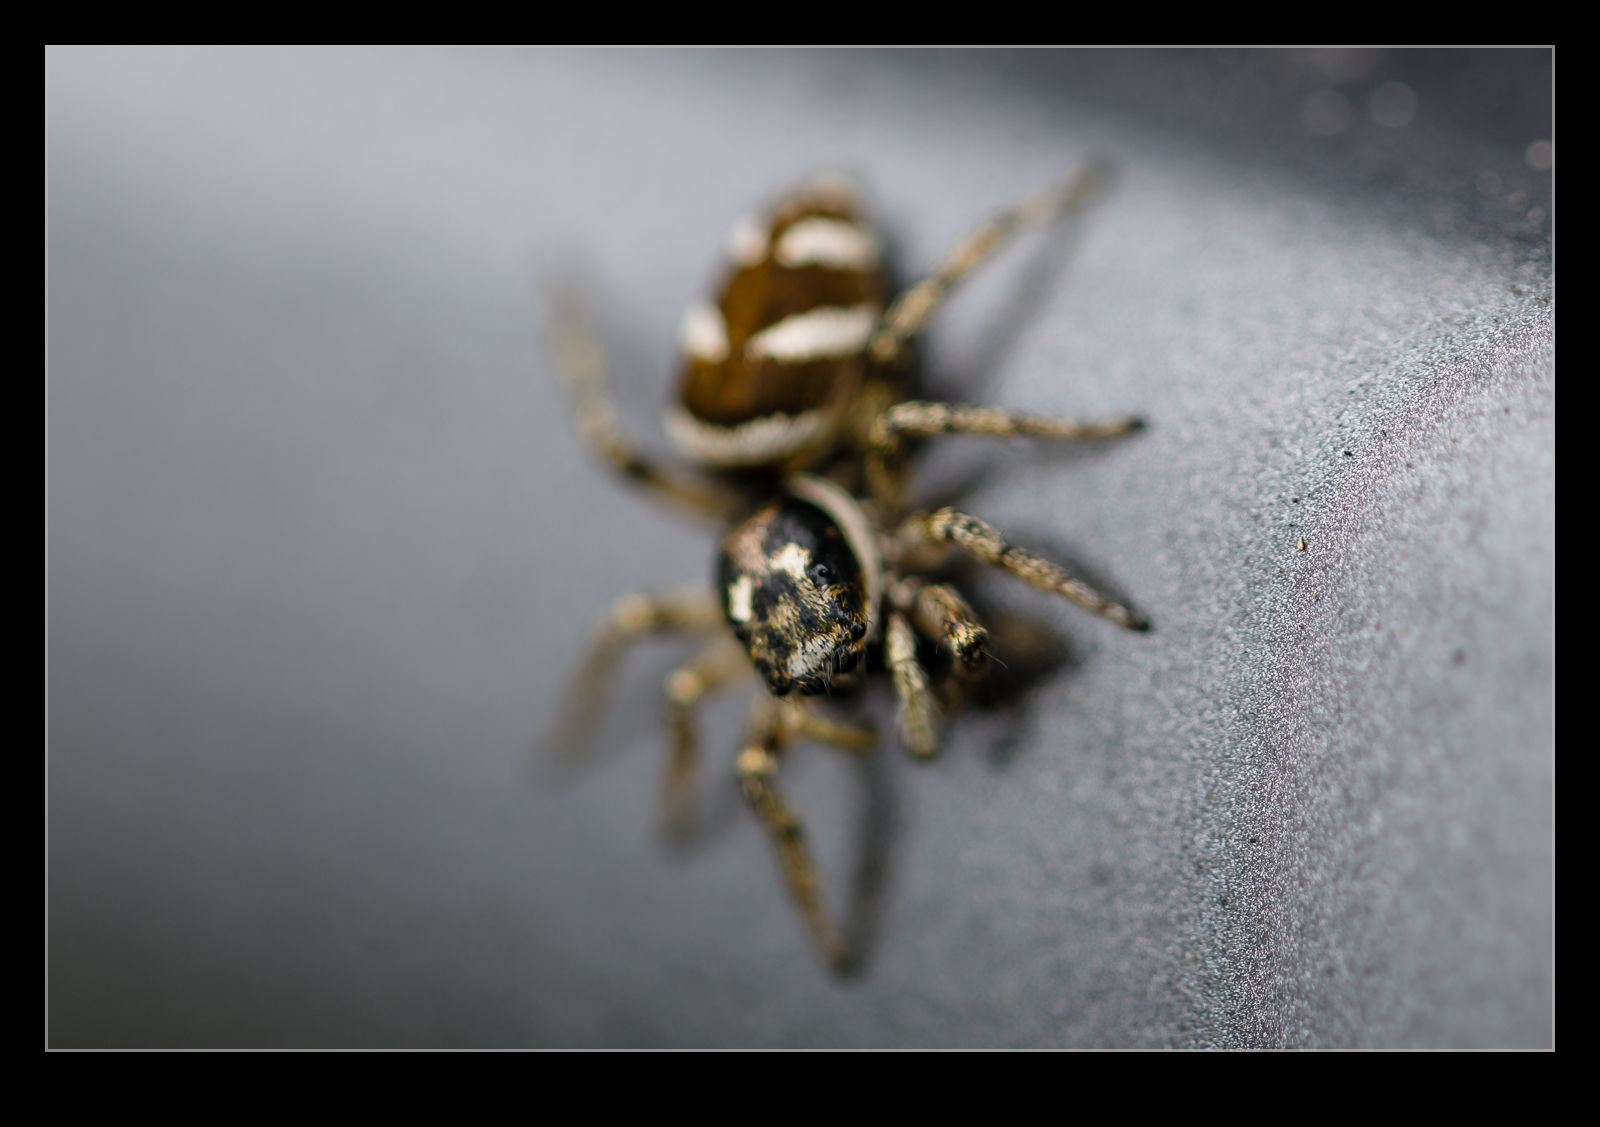
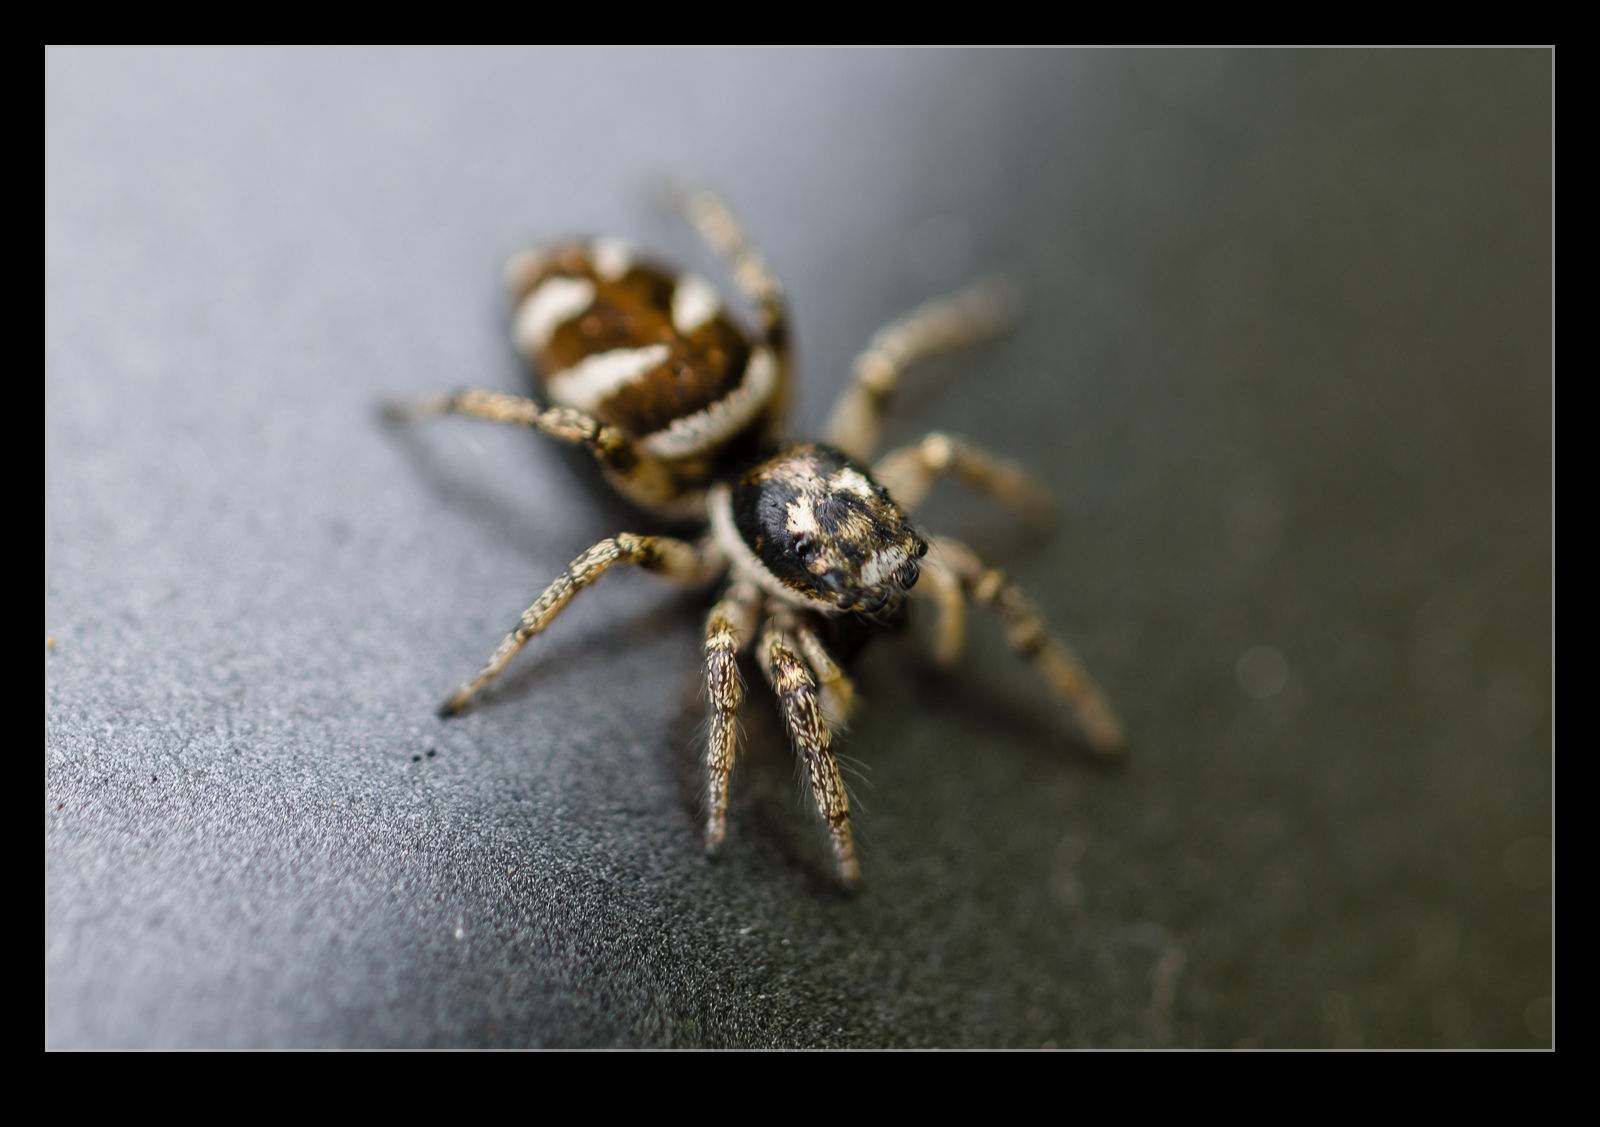 I was waiting for a friend to arrive at SEA and was parked up in Burien. I noticed a couple of small jumping spiders on the car and, since I had the macro lens in the trunk, decided to try and get a few shots of them. The problem with spiders and mirrorless cameras is that the focusing logic hasn’t been trained to deal with their multiple eyes. The body tends to be what the camera focuses on. Still, I was able to get a few reasonable shots as they scurried across my car.
Playing With the Insta360
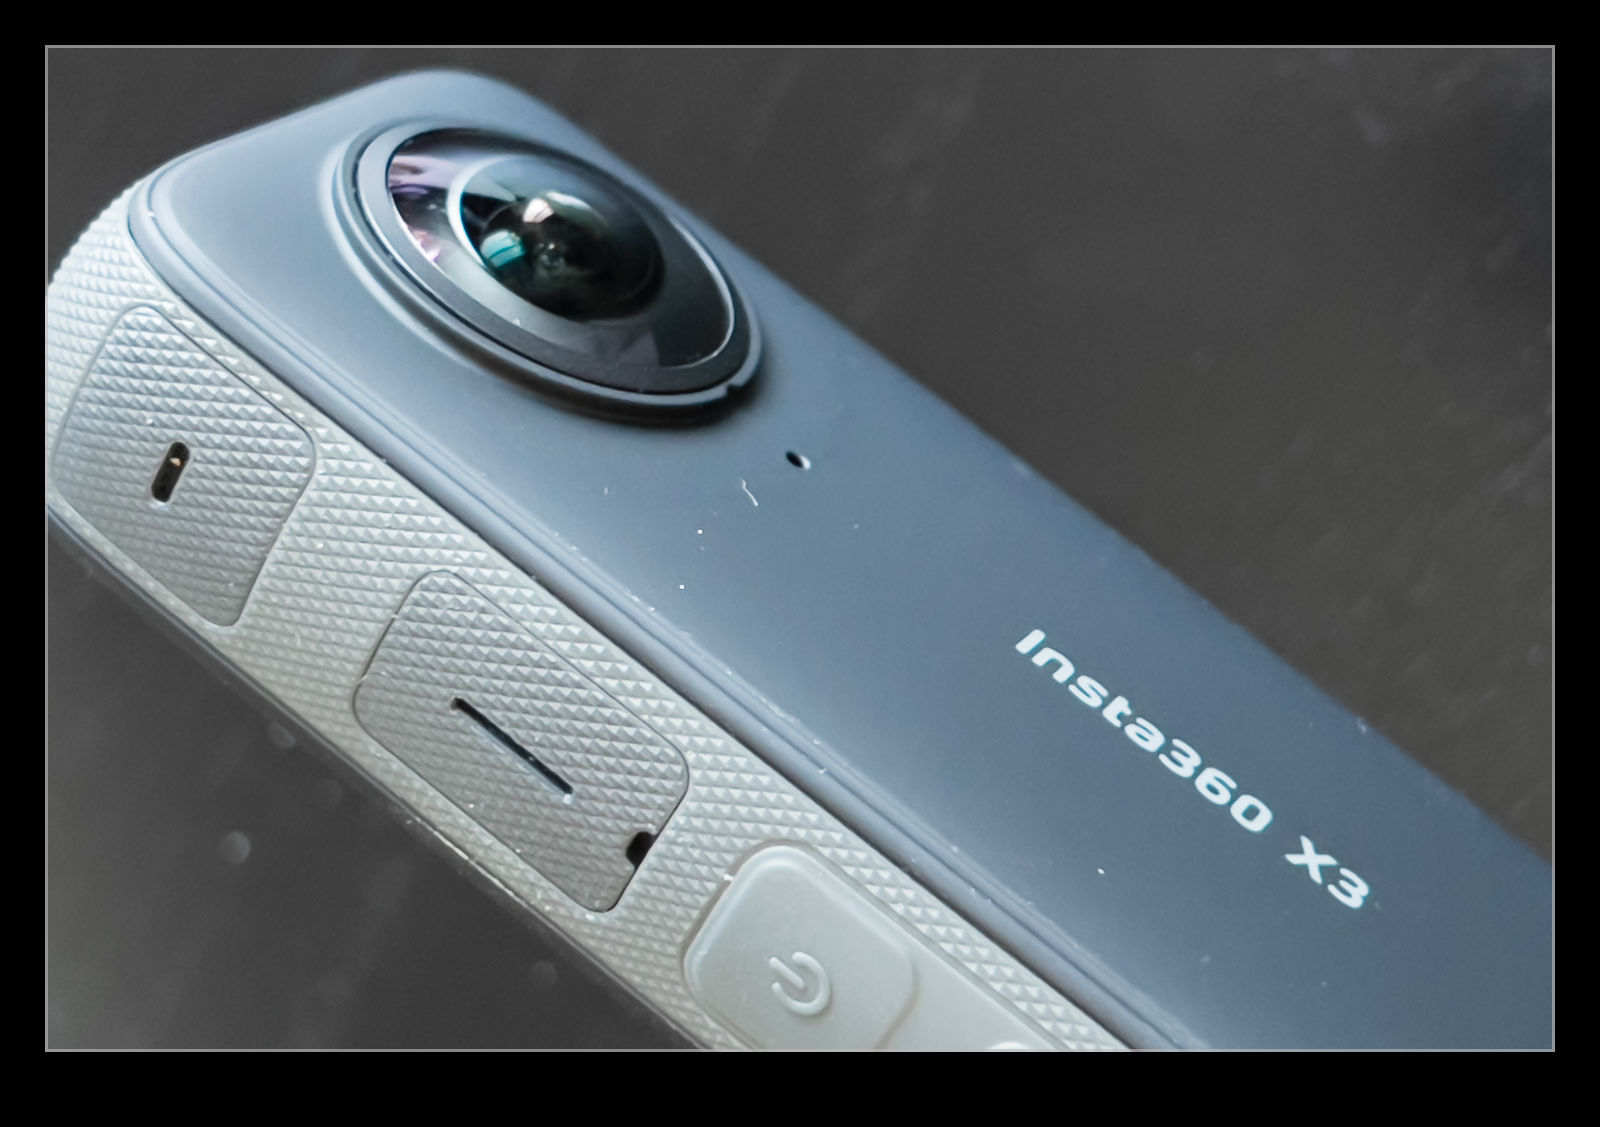 I did a little filming on a bike ride with an old GoPro Hero 5 of mine. The current generation of action cameras has all sorts of clever tech built in which can deal with rotation of the camera and stabilizing the image. The Hero 5 doesn’t have any of that and I ended up spending a lot of time stabilizing the images in post processing to try and get something usable out of it. I was surprised how badly it came out and started thinking about an upgrade to incorporate all of the newer capabilities. It was at this point that I got a little silly. I had seen videos before about the Insta360 cameras and had found them intriguing but not so much that I wanted to get one. Now I was looking for a new camera, the capabilities that they have seemed like it could be a good step forward.
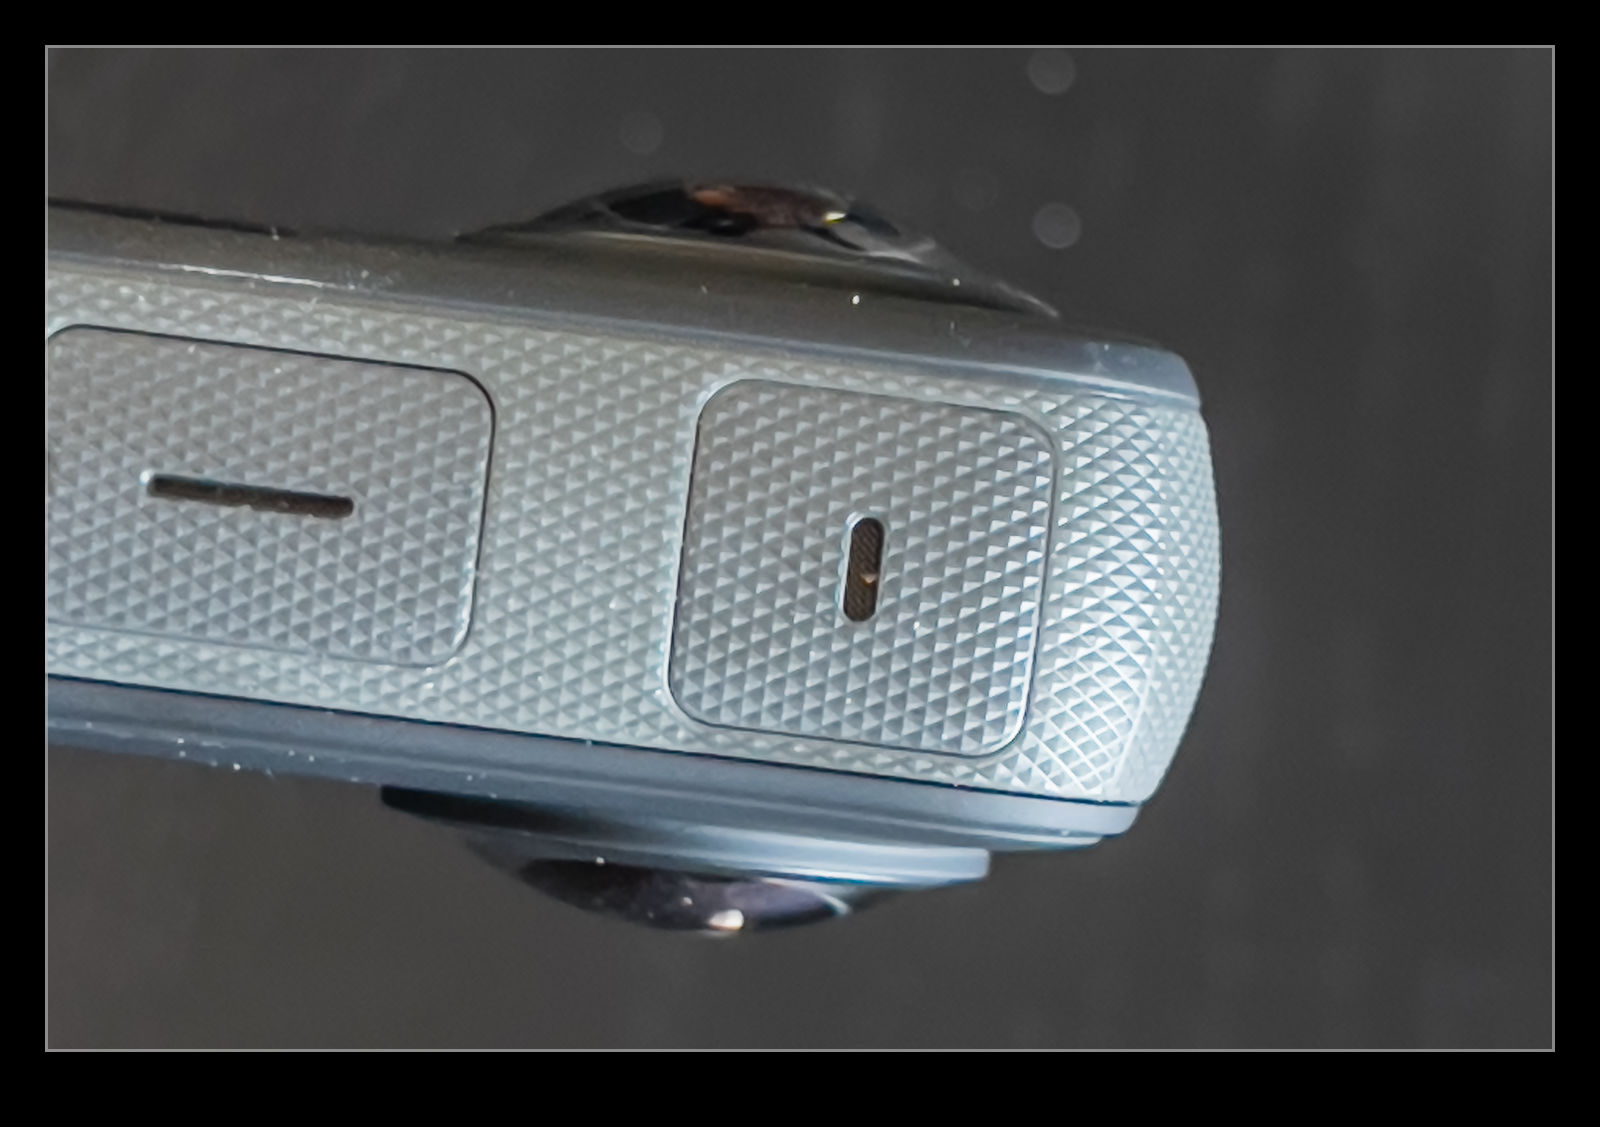 For those that haven’t seen one, the Insta360 in its current X3 form has two cameras on opposite sides of the body with fisheye lenses with over 180 degrees of coverage. The sensors are 5.7K resolution and the camera can stitch the two outputs together to give spherical coverage. It also has a stick on which you can mount it which the camera will recognize the location of and take both images to effectively remove the stick from the video. With the high resolution of the original files, you can then use their software – either on your phone or using the desktop app – to pan and zoom around the original files and generate video output of whatever you want.
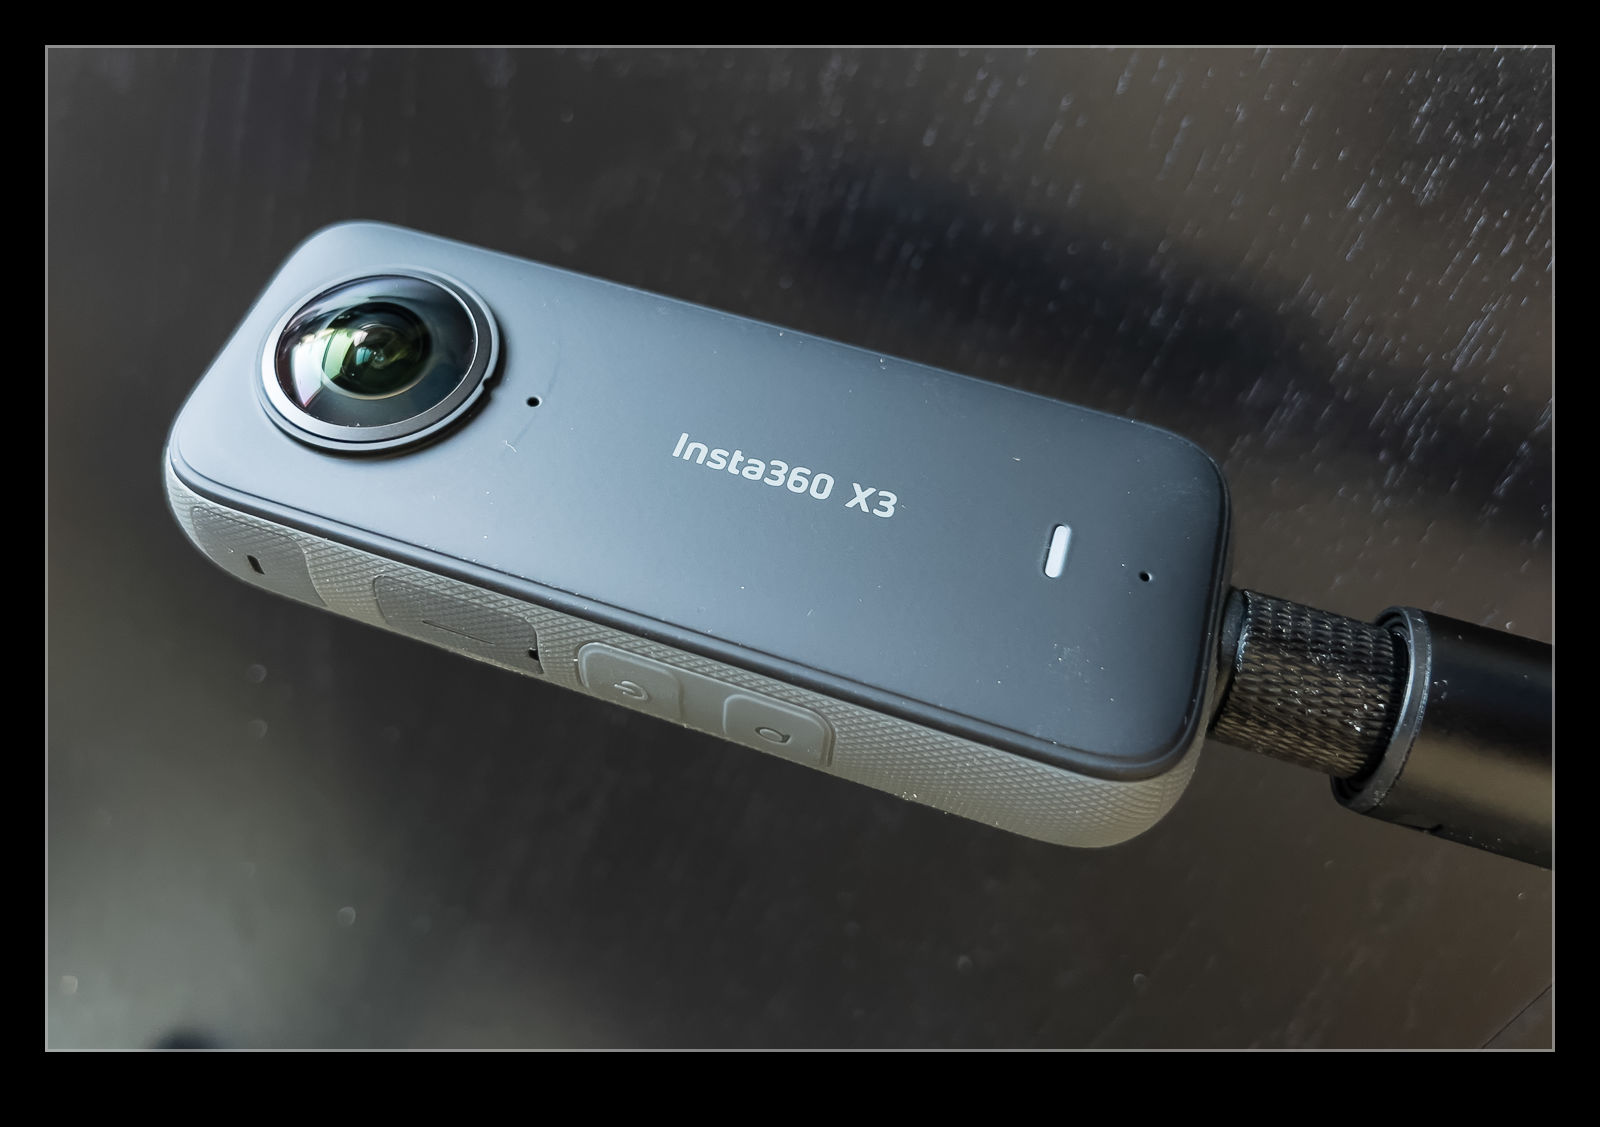 What this means is that you don’t have to frame a shot when you are shooting. The only thing you have to do is have the camera in the right place. You can worry about where it is pointing later on which is great when you are already doing something else. The removal of the stick is very impressive, only slightly undermined but the fact your hand that is holding it now looks a little odd. Also, if the shadow of the stick is in shot, the software doesn’t know to do anything about that! (As an aside, there is a mode where you only shoot with one side like a normal action camera if you want.)
What is the downside to all of this? Big files! You are shooting a lot of data on two cameras simultaneously so you can fill up cards fast. You do also have to then review each clip and pick your angles for the shots, but you would have had to do that beforehand otherwise so no great loss. Other than that, not a lot to complain about. I have tried it on a few occasions so far. The length of the stick makes it seem like you have a drone flying above you if you put it up there. A cool result. I took it out on a bike ride to see how things came out and I have a short video below that shows you the result. No great cinematography here but an introduction to what can be done. Remember that each shot is only moving the camera around and the panning and zooming is all done back at home. Amazing tech!
Dropping The Shutter Speed For Fun
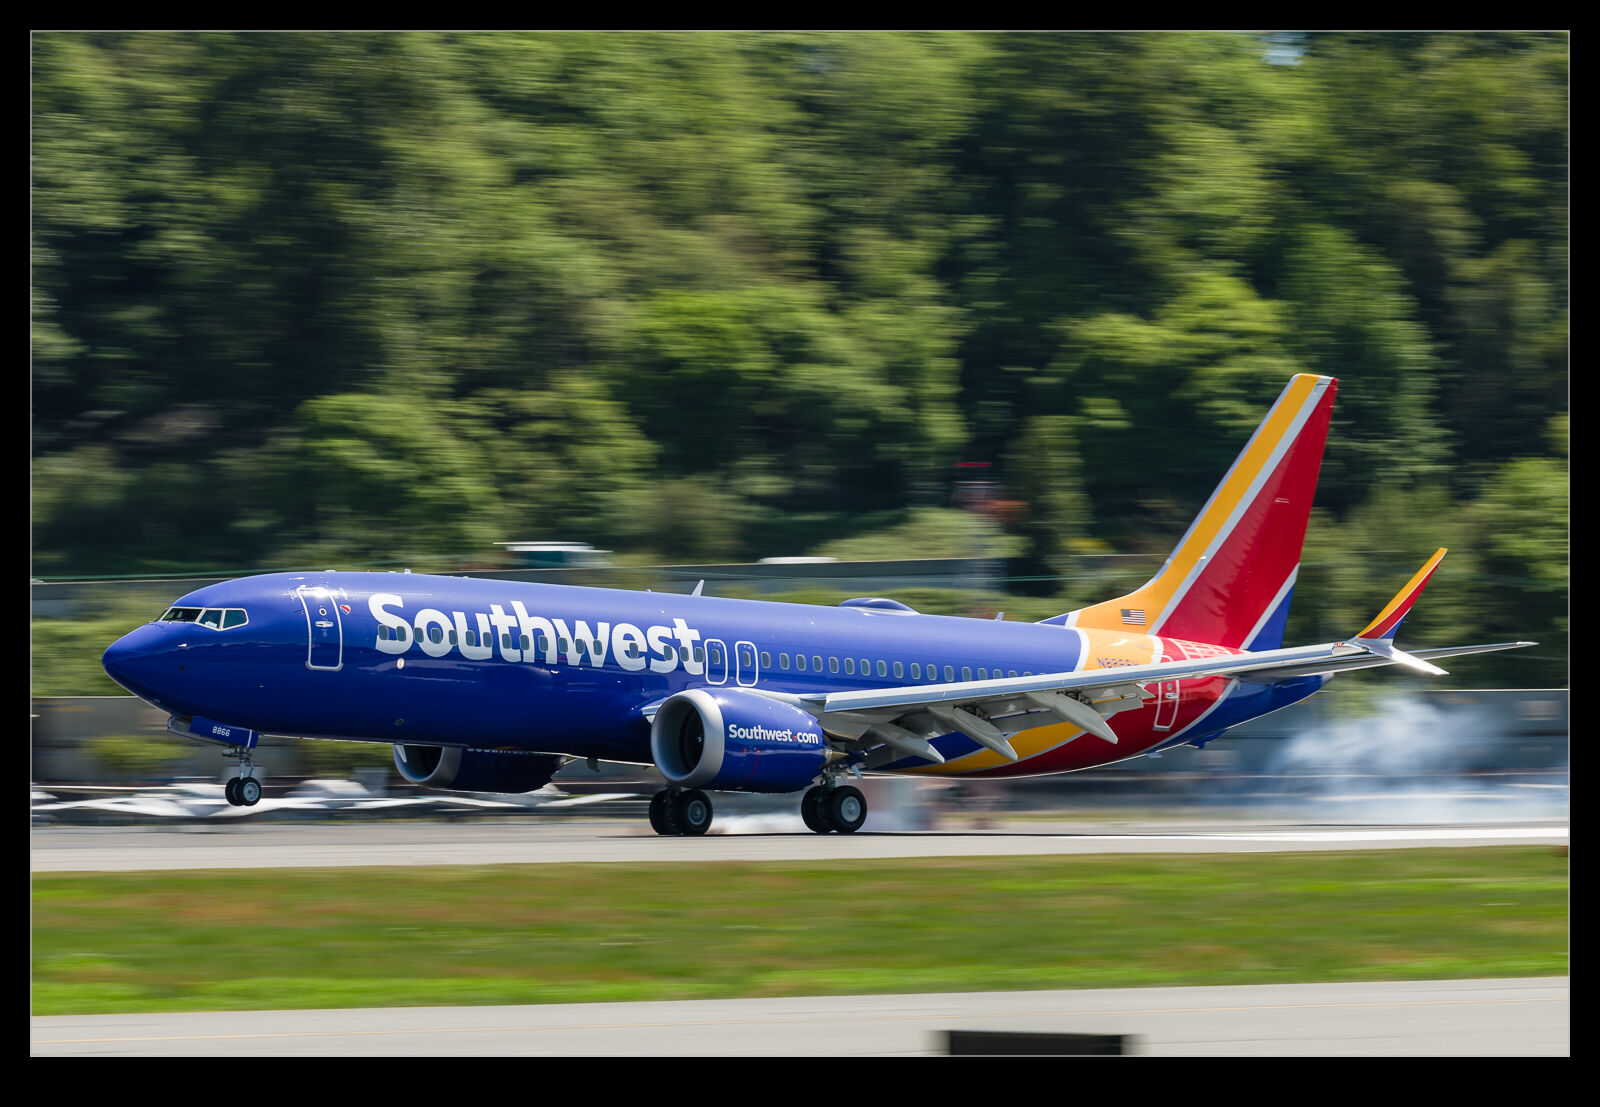
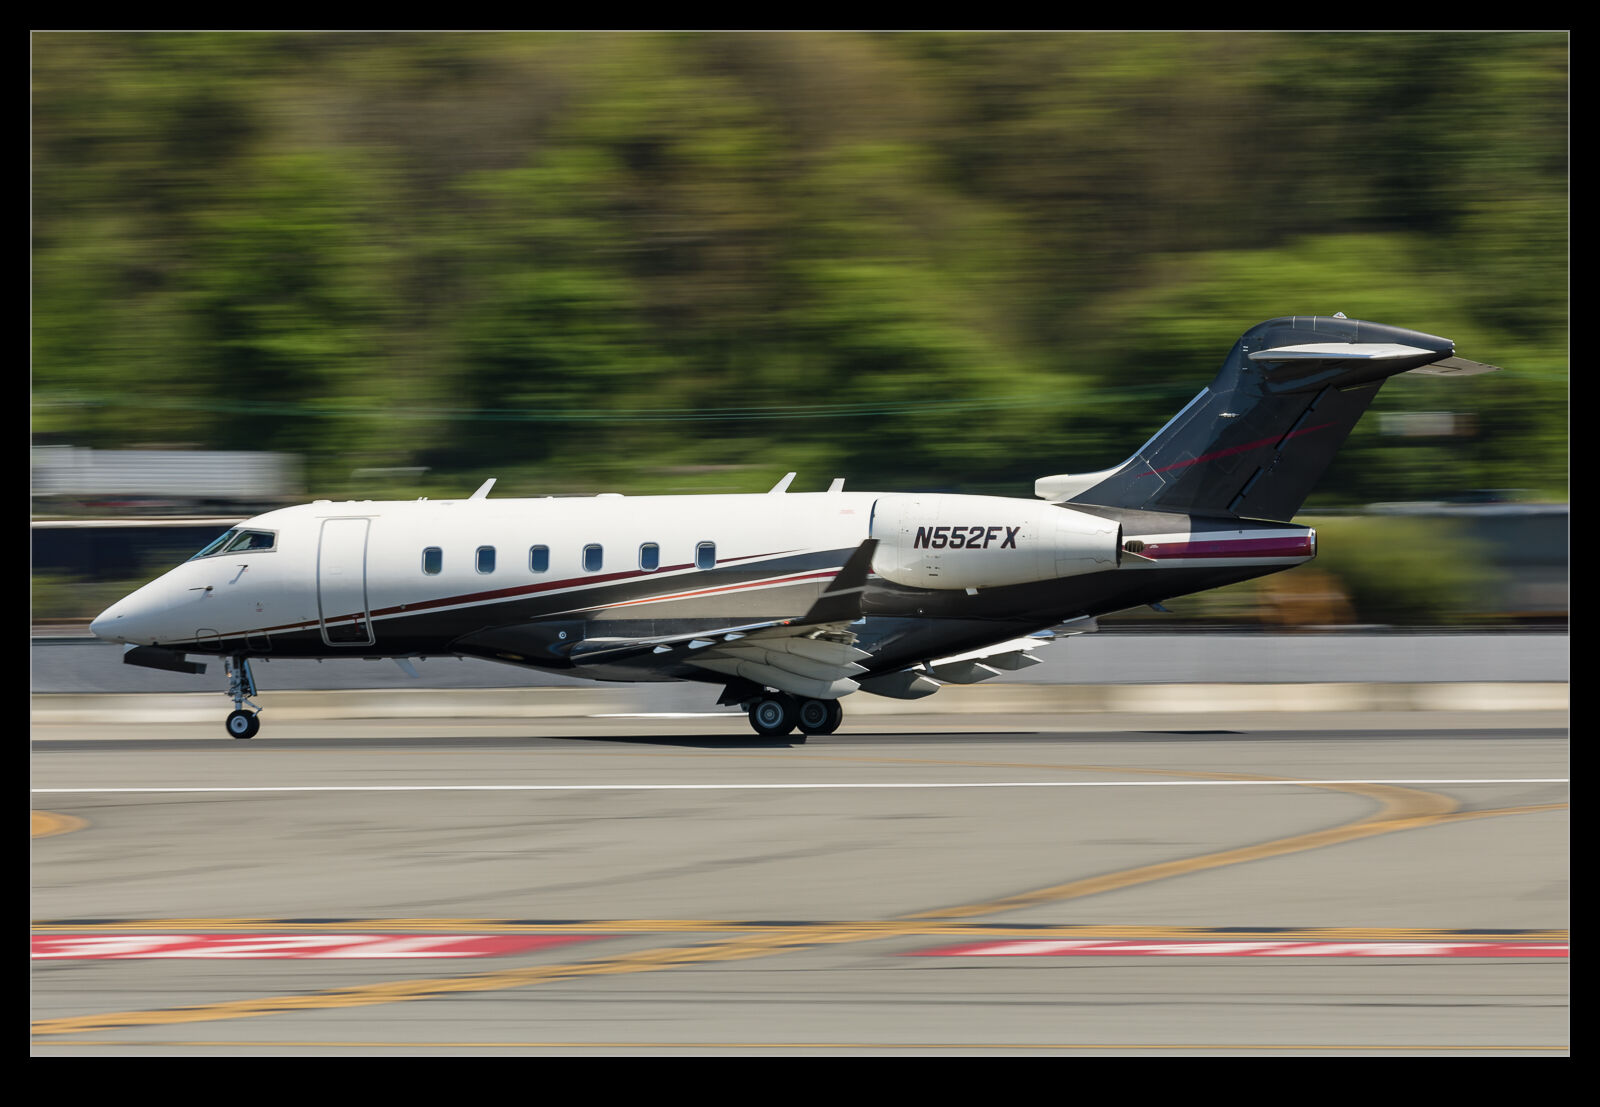 One weekend, I was at Boeing Field awaiting something interesting. There was the regular traffic of business jets and, since they were pretty standard fair and the light wasn’t great anyway, I figured I would play with dropping the shutter speed super low. The R3 is great for this because I can select a frame rate of 30fps if I want. When shooting with silly shutter speeds, really high frame rates increase the chance that I might get something that isn’t terrible. Technology overcomes lack of talent!
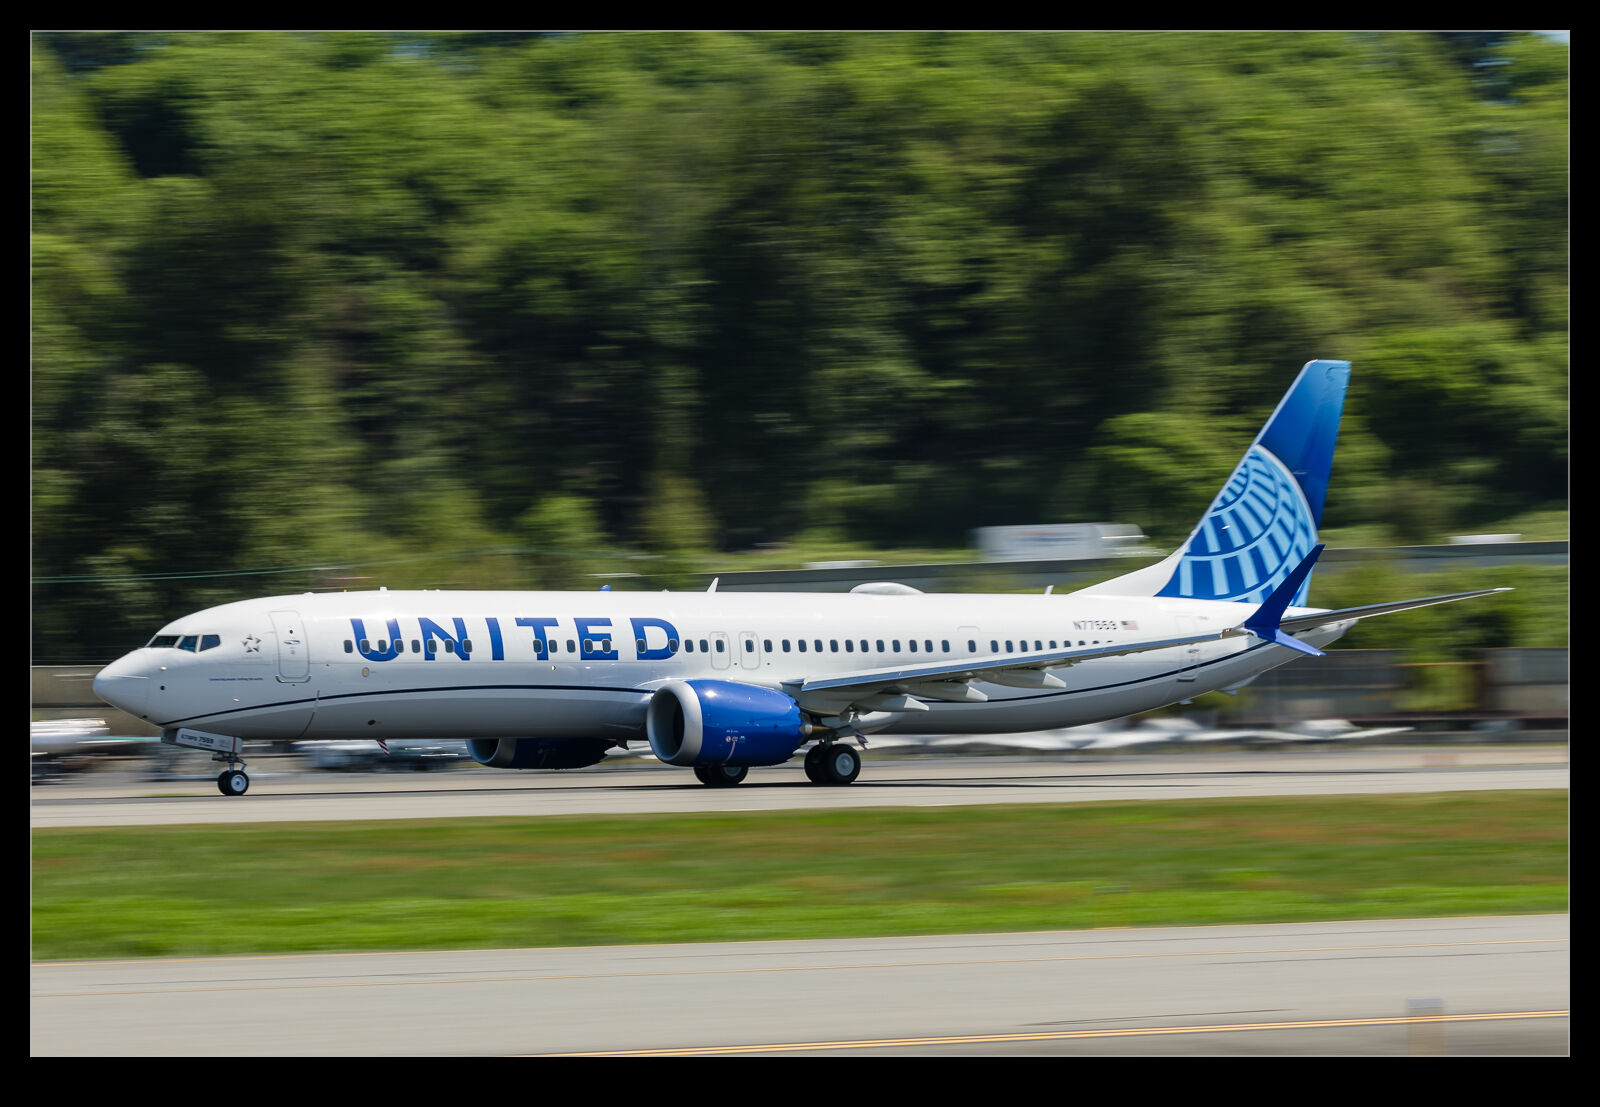 I was dropping down to 1/50th or 1/60th of a second for some of the arrivals. I was using a polarizer to take out a load of light to allow such low shutter speeds on a sunny afternoon. It also didn’t hurt to reduce the glare with the sun so strong. Most shots were worthless but there were a few that came out okay. Full size there were more acceptable ones but, since I was experimenting, I focused on the ones that were really sharp. Such low shutter speeds do result in parallax issues which is not ideal, so I tend to look for the sharpness to be on the front fuselage unless the plane is going well away from me. There were some 737s on test too, so I played with the same techniques for them as well. Maybe I shall go even lower at some point.
Lightroom Noise Reduction Update Testing
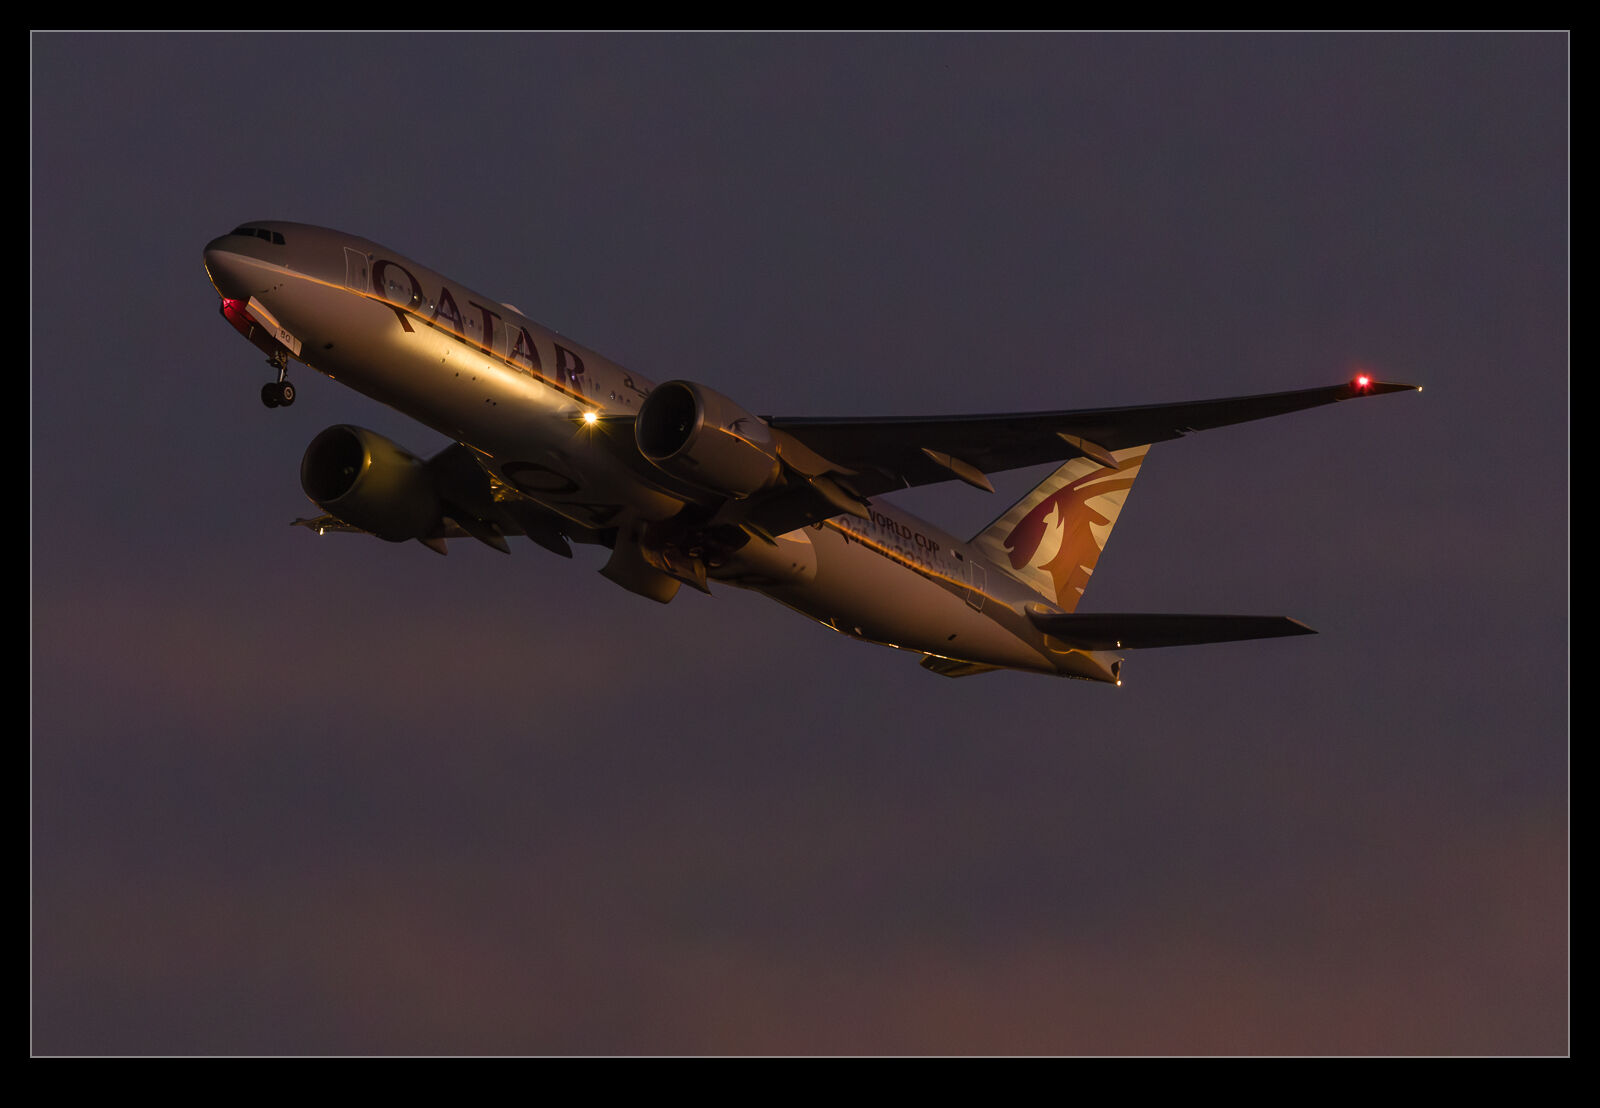 One of the software tools that I find a lot of people talking about these days is DeNoise from Topaz. I have never been terribly bothered by noise in my images. Modern cameras do a pretty remarkable job of handling noise and, for most usage purposes, the noise is not really an issue if it is there. I have posted my efforts with PureRAW in its various forms where I have tried it out to see how the noise reduction comes out and, while I have seen strengths and weaknesses in it, I have never seen it as something I needed to spend on.
 Lightroom Classic had one of its periodic updates recently. The big new feature was their own denoise functionality. Much like my experimentation with PureRAW, it analyzes the shot and creates a new DNG file with the noise suppressed. I was curious to see how it would perform and, seeing as it is included in the price of my subscription, I have it anyway. I decided to take some shots I had recently used for the PureRAW3 trial I had done and compare with the Lightroom version.
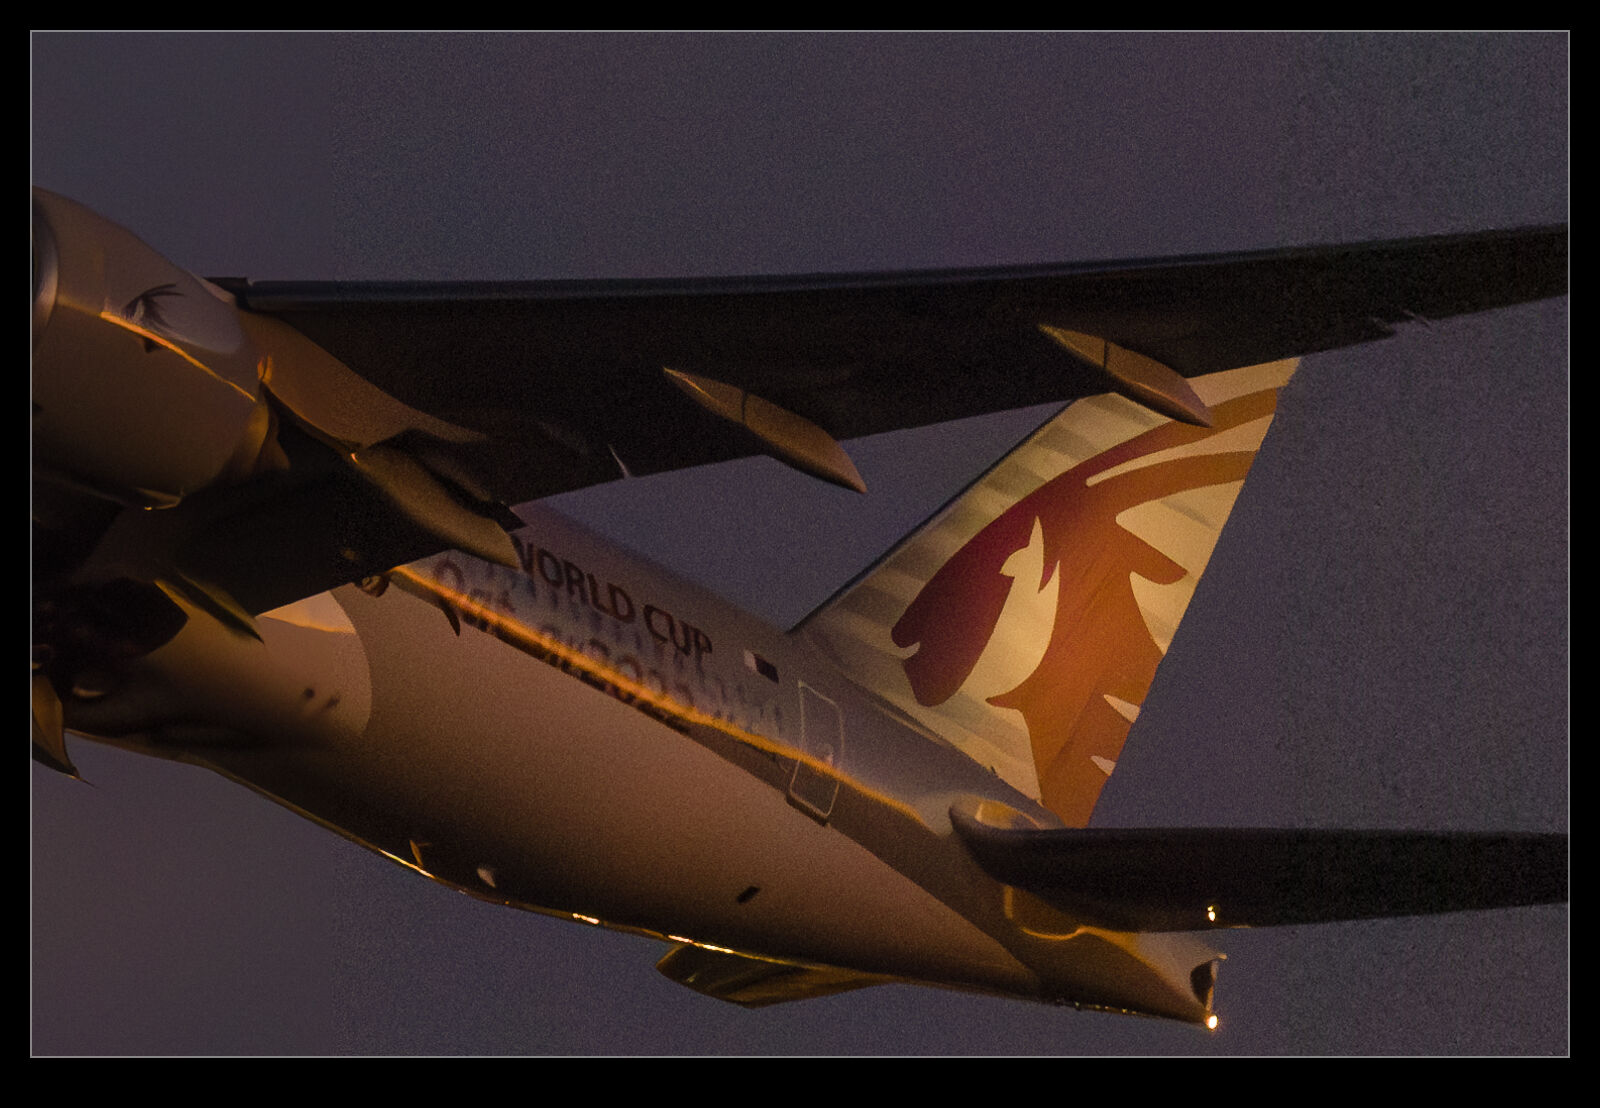 It defaulted to a 50 level of noise reduction. I don’t know whether this is a percentage and what of but it is a scale so I played with it. I did some at 50 and some at 75 to see whether more aggressive noise reduction had detrimental effects on other parts of the image. Comparing these things and then sharing the results is a touch tricky so I have created a single image from four layers. They are the original Lightroom develop settings, the PureRAW3 version, the 75 denoise settings and the 50 denoise settings. I mask them to make the image into four sections. Then, to make it useful on here, I have zoomed in to show the borders between them to provide some sort of comparison.
The PureRAW3 result is very aggressive on noise reduction. However, I find it can make some odd artifacts in the images where details were not that clear to begin with. The 75 setting in Lightroom provided a very similar level of noise reduction to PureRAW3. It is slightly noisier but barely enough to matter. A setting of 50 does show more noise. It is still a significant improvement over the basic Camera Raw settings and very usable.
What do I conclude from all of this? First, as I have said before when testing the PureRAW trials, it provides some interesting results but it is not relevant to enough of my work to matter to me sufficient for me to spend a bunch of money on buying it. Having denoise in Lightroom now provides me with a very similar option but within the existing price I am paying for Lightroom. Therefore, I will make use of it when the situation dictates. It would be a regular part of my workflow because really high ISO shots are only an occasional thing for me but having it there when I want it will be handy.
IPMS Northwest Gathering – Time to Focus Stack
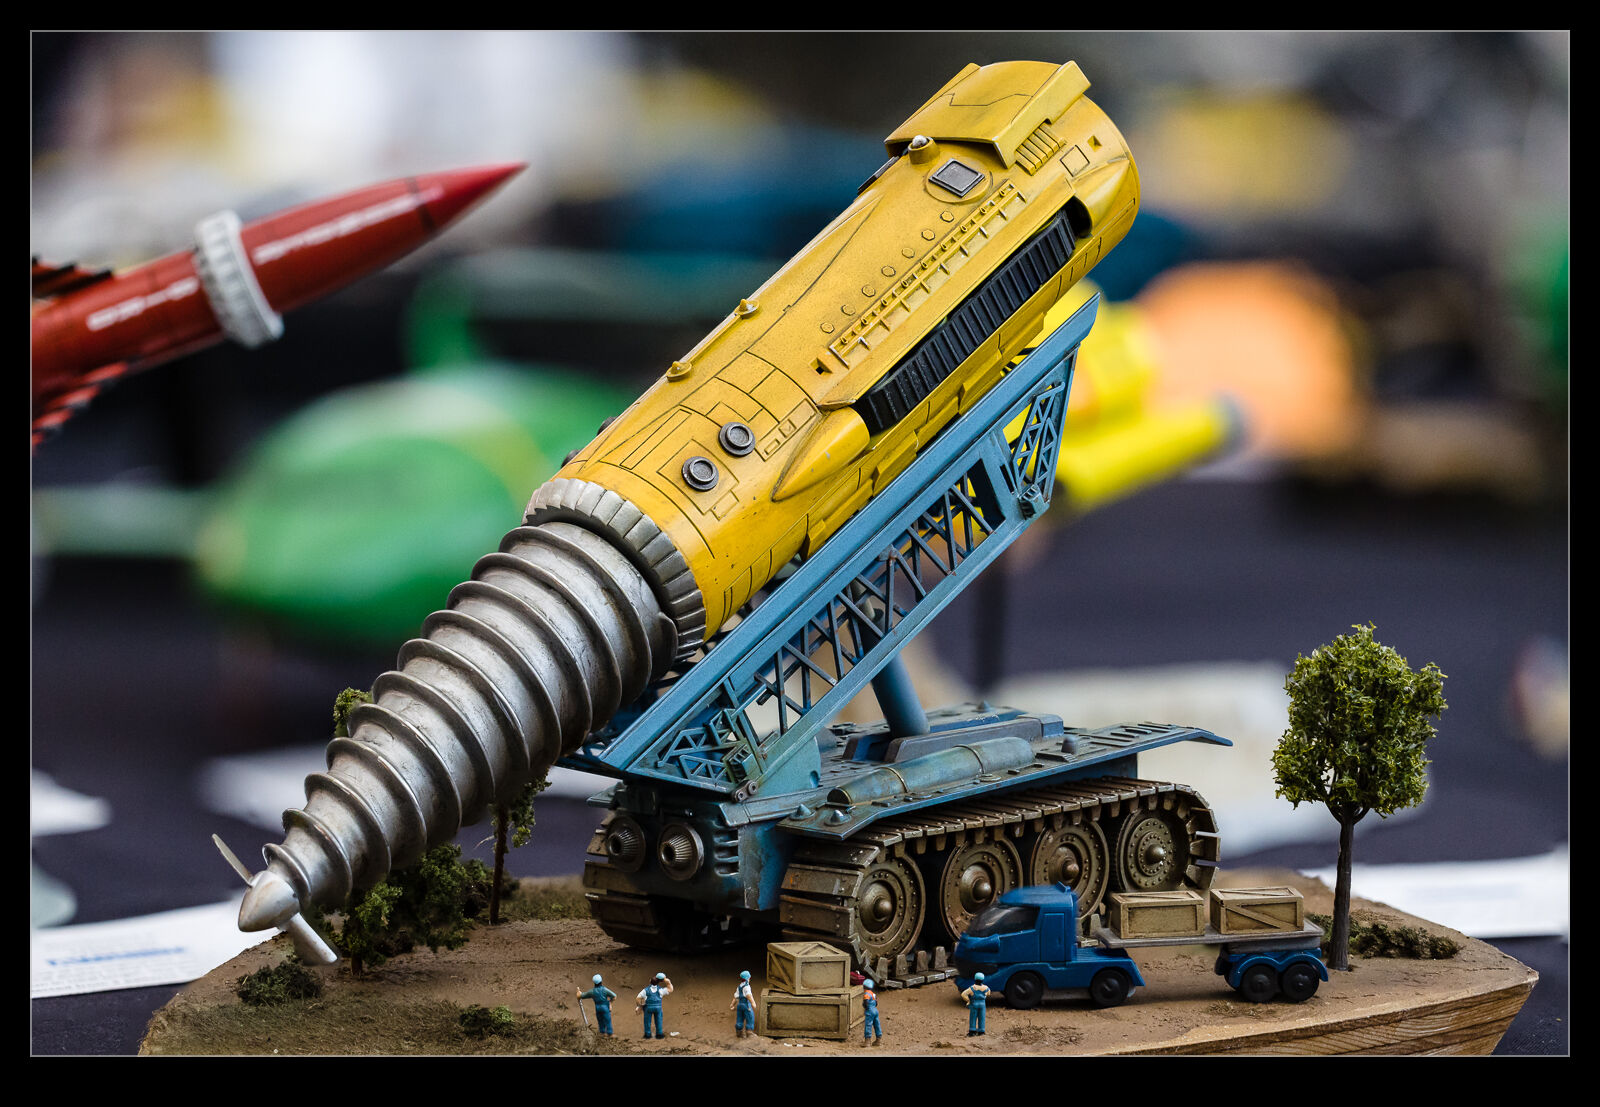
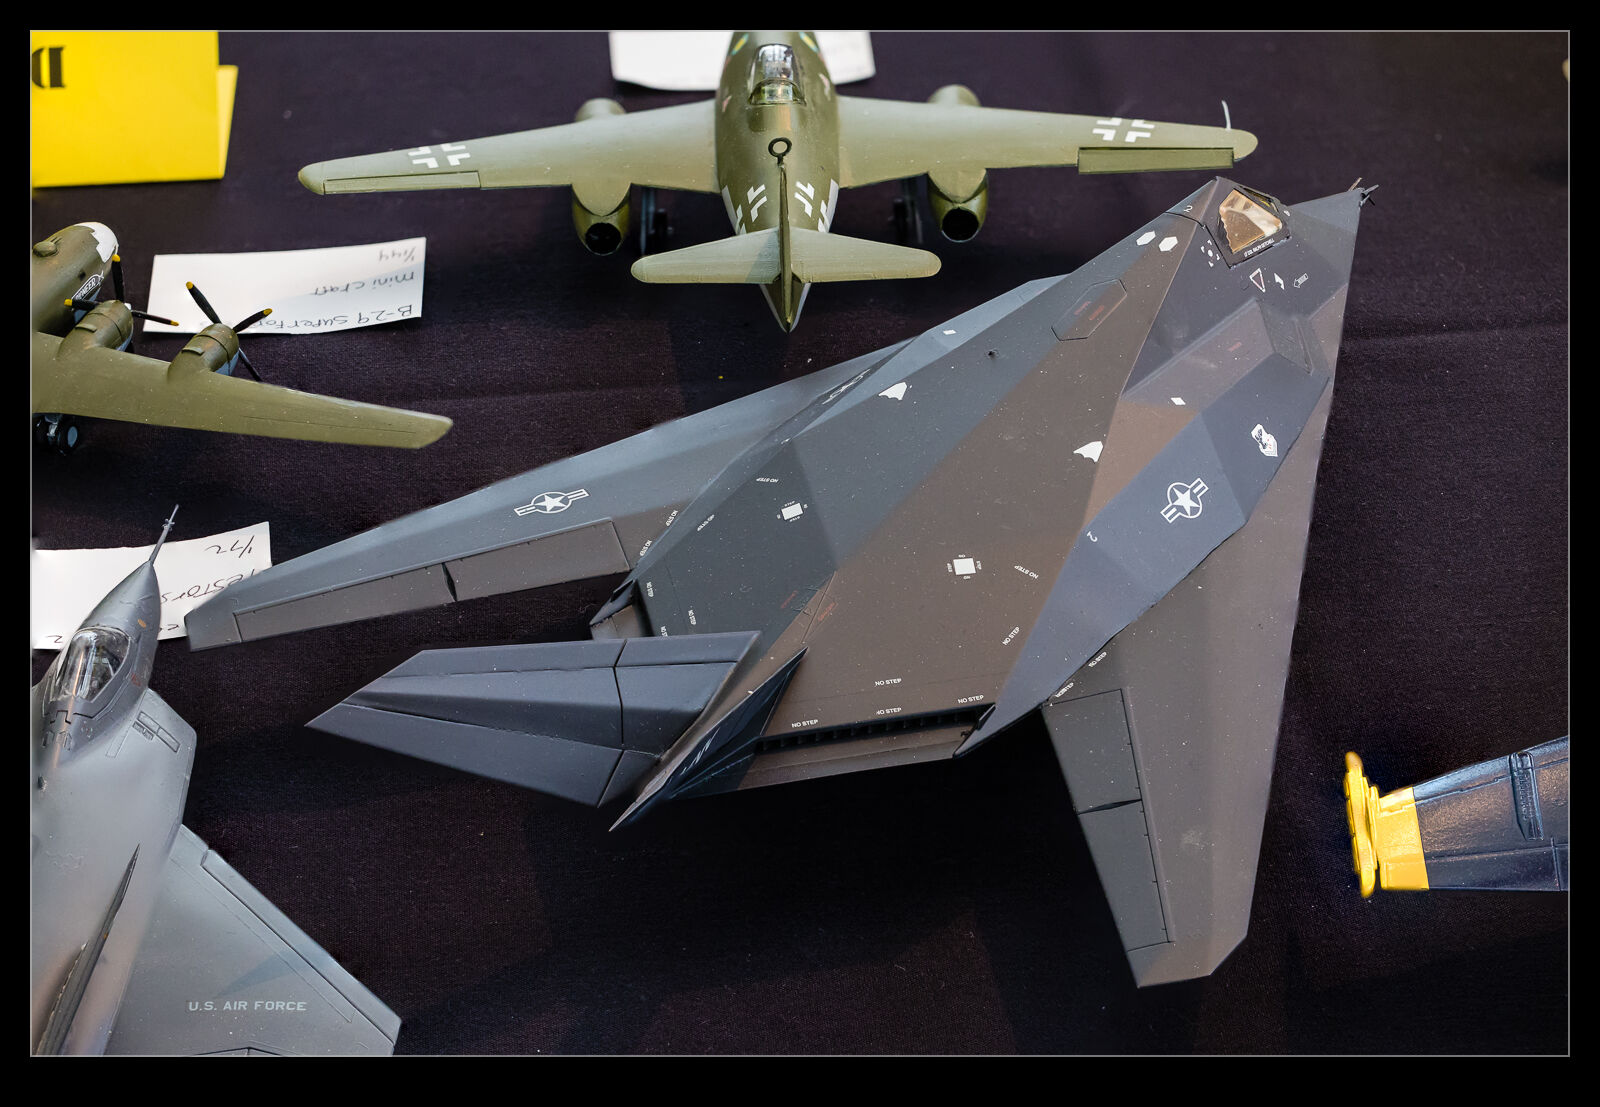
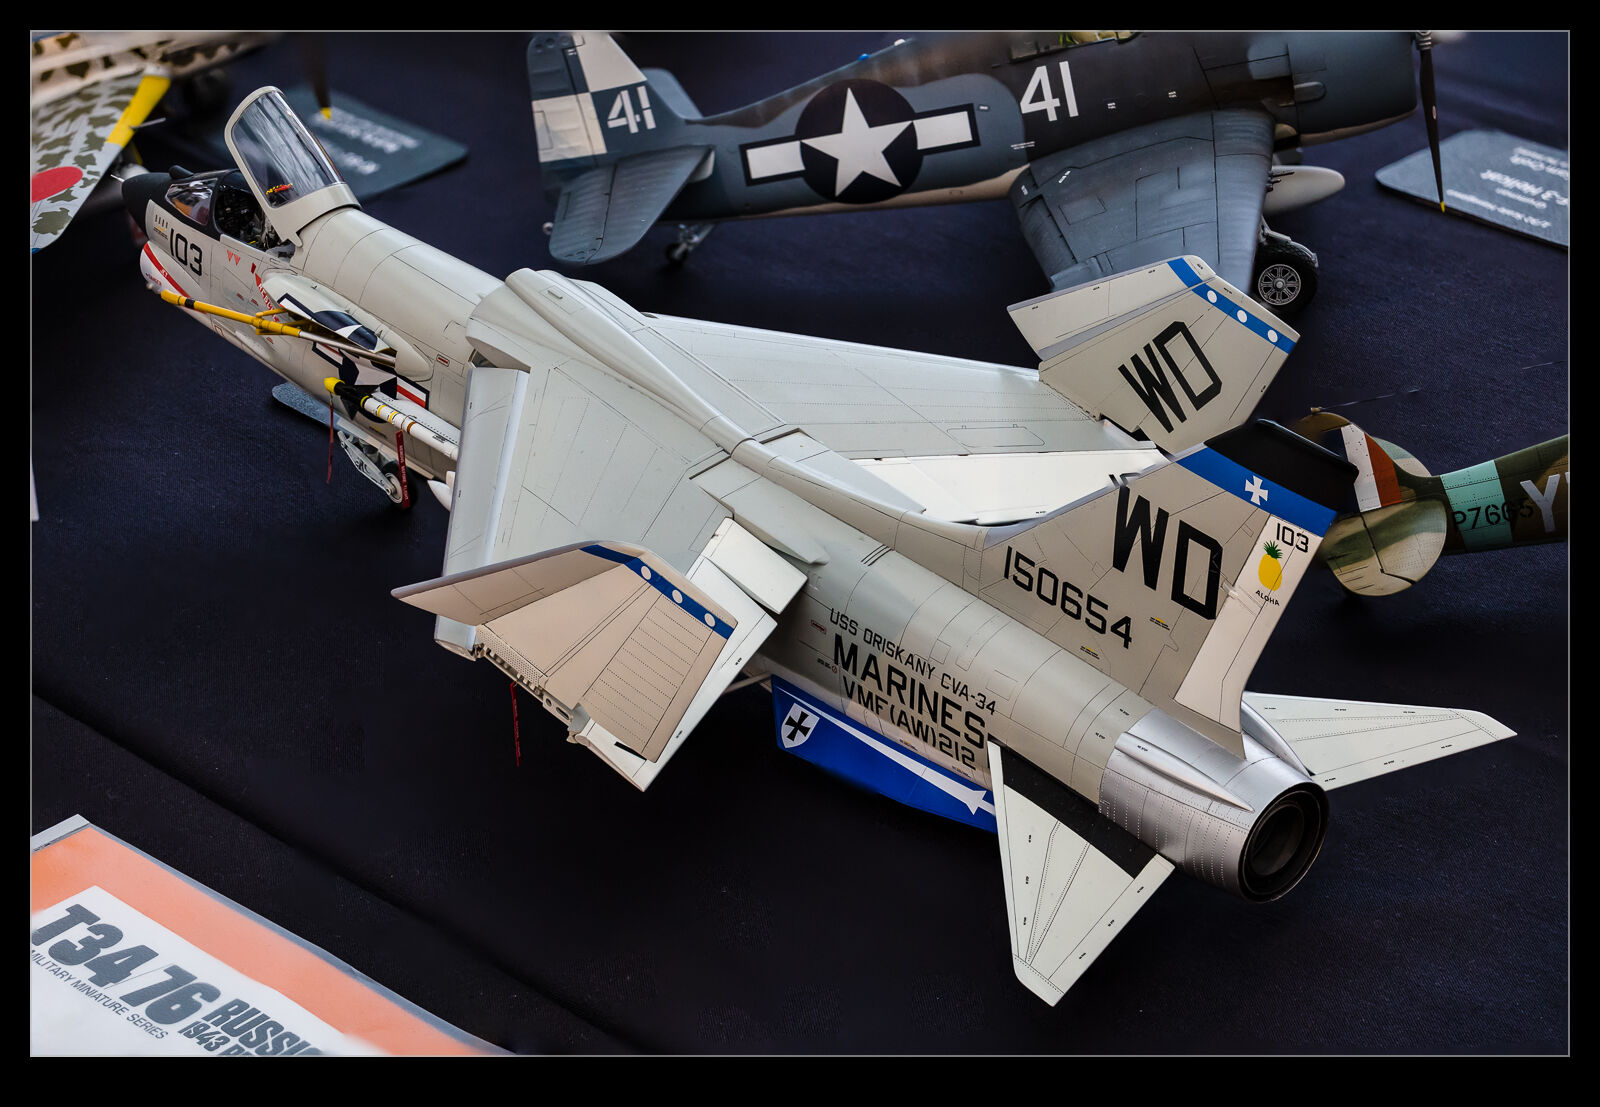
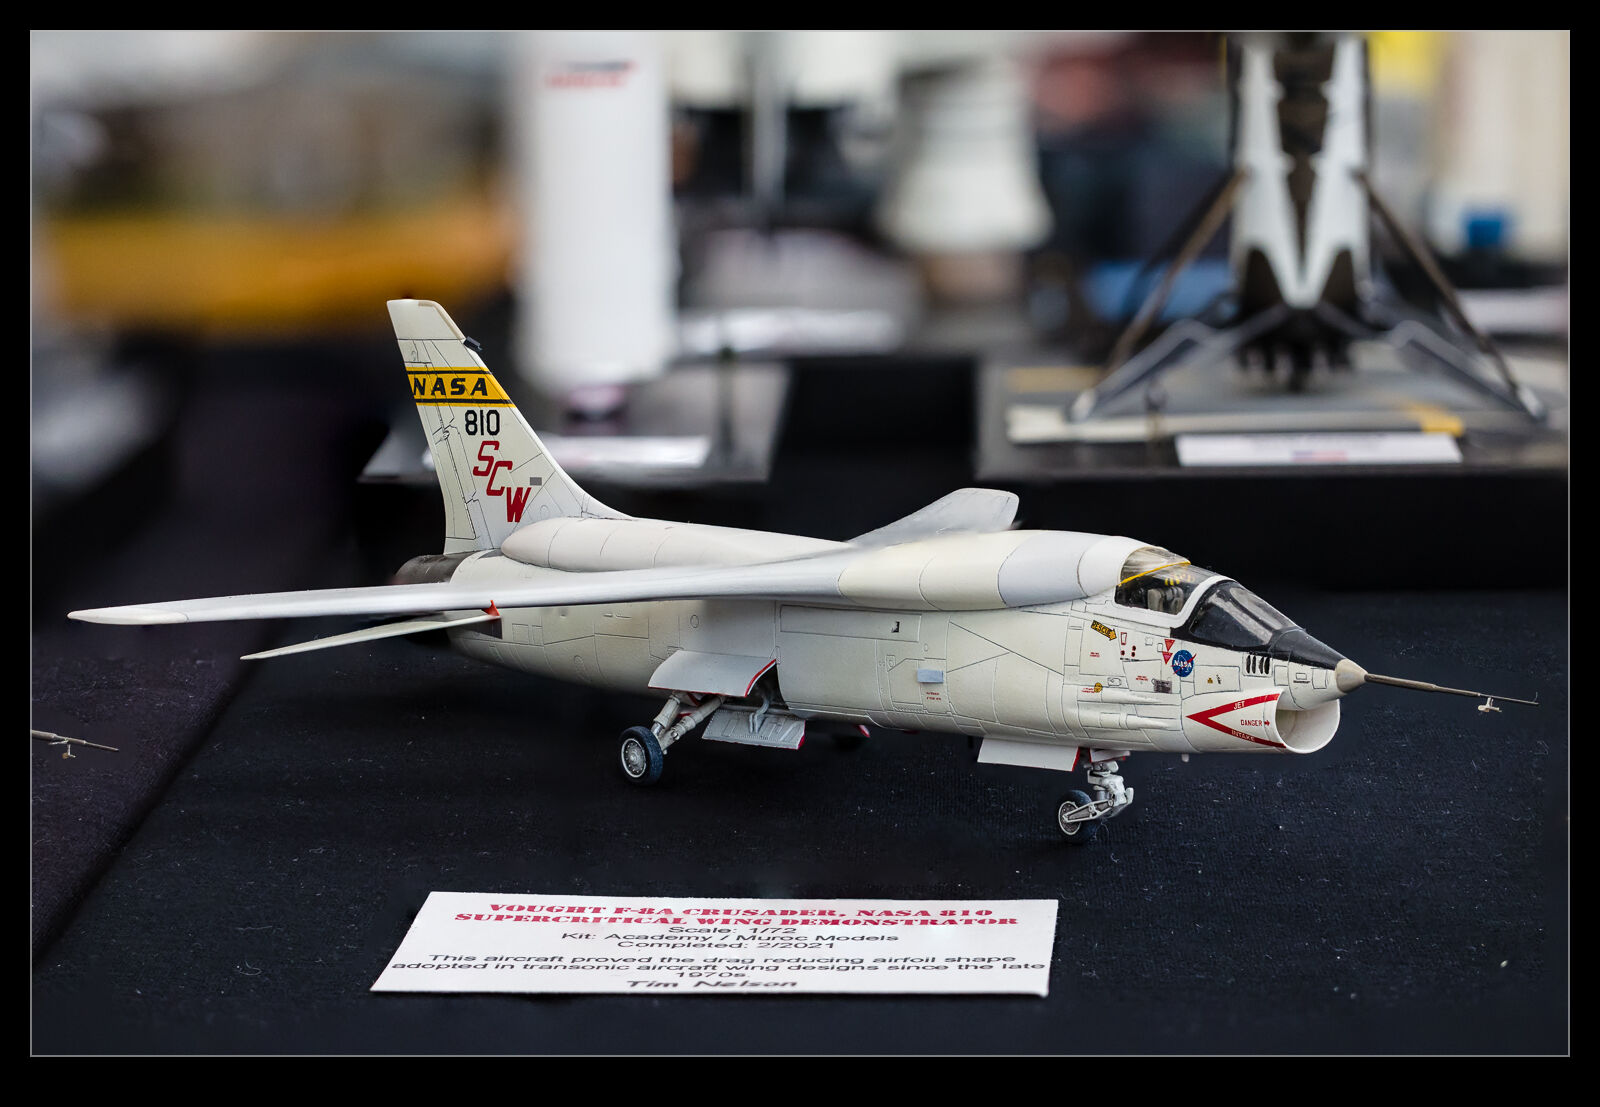
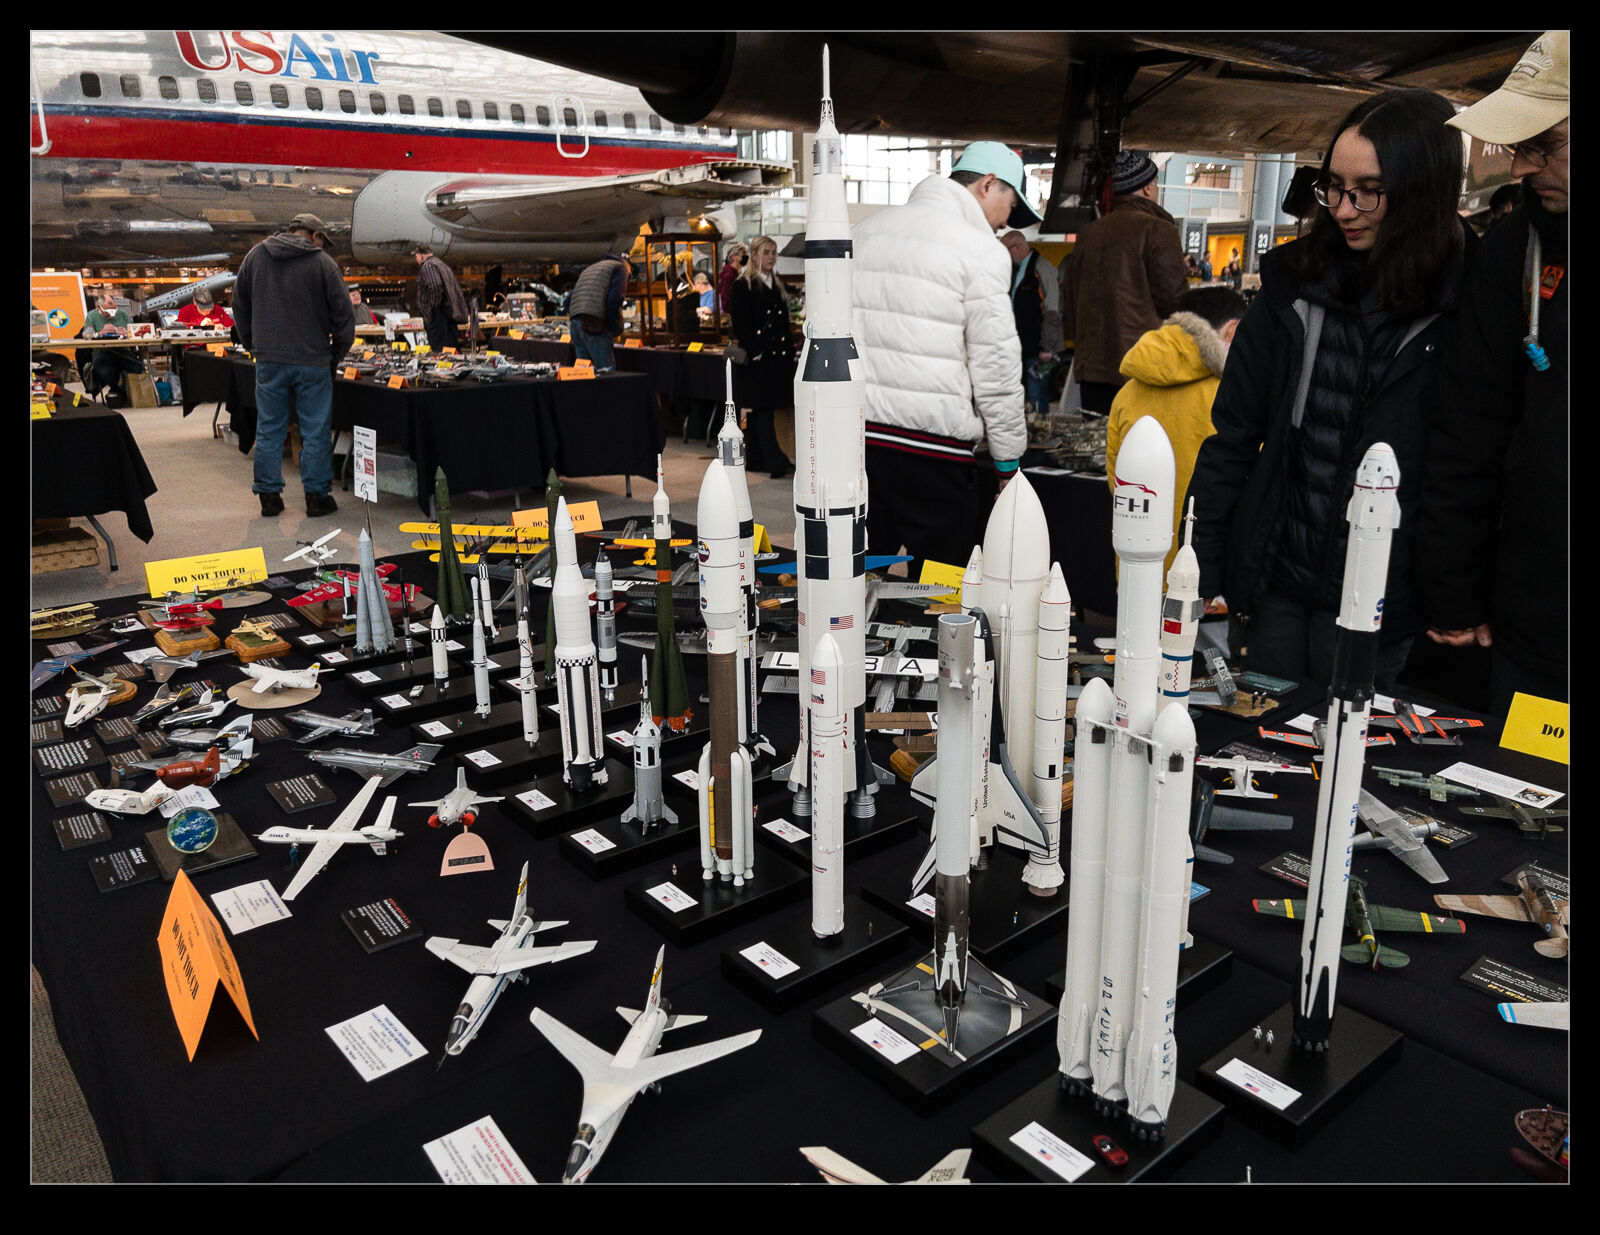
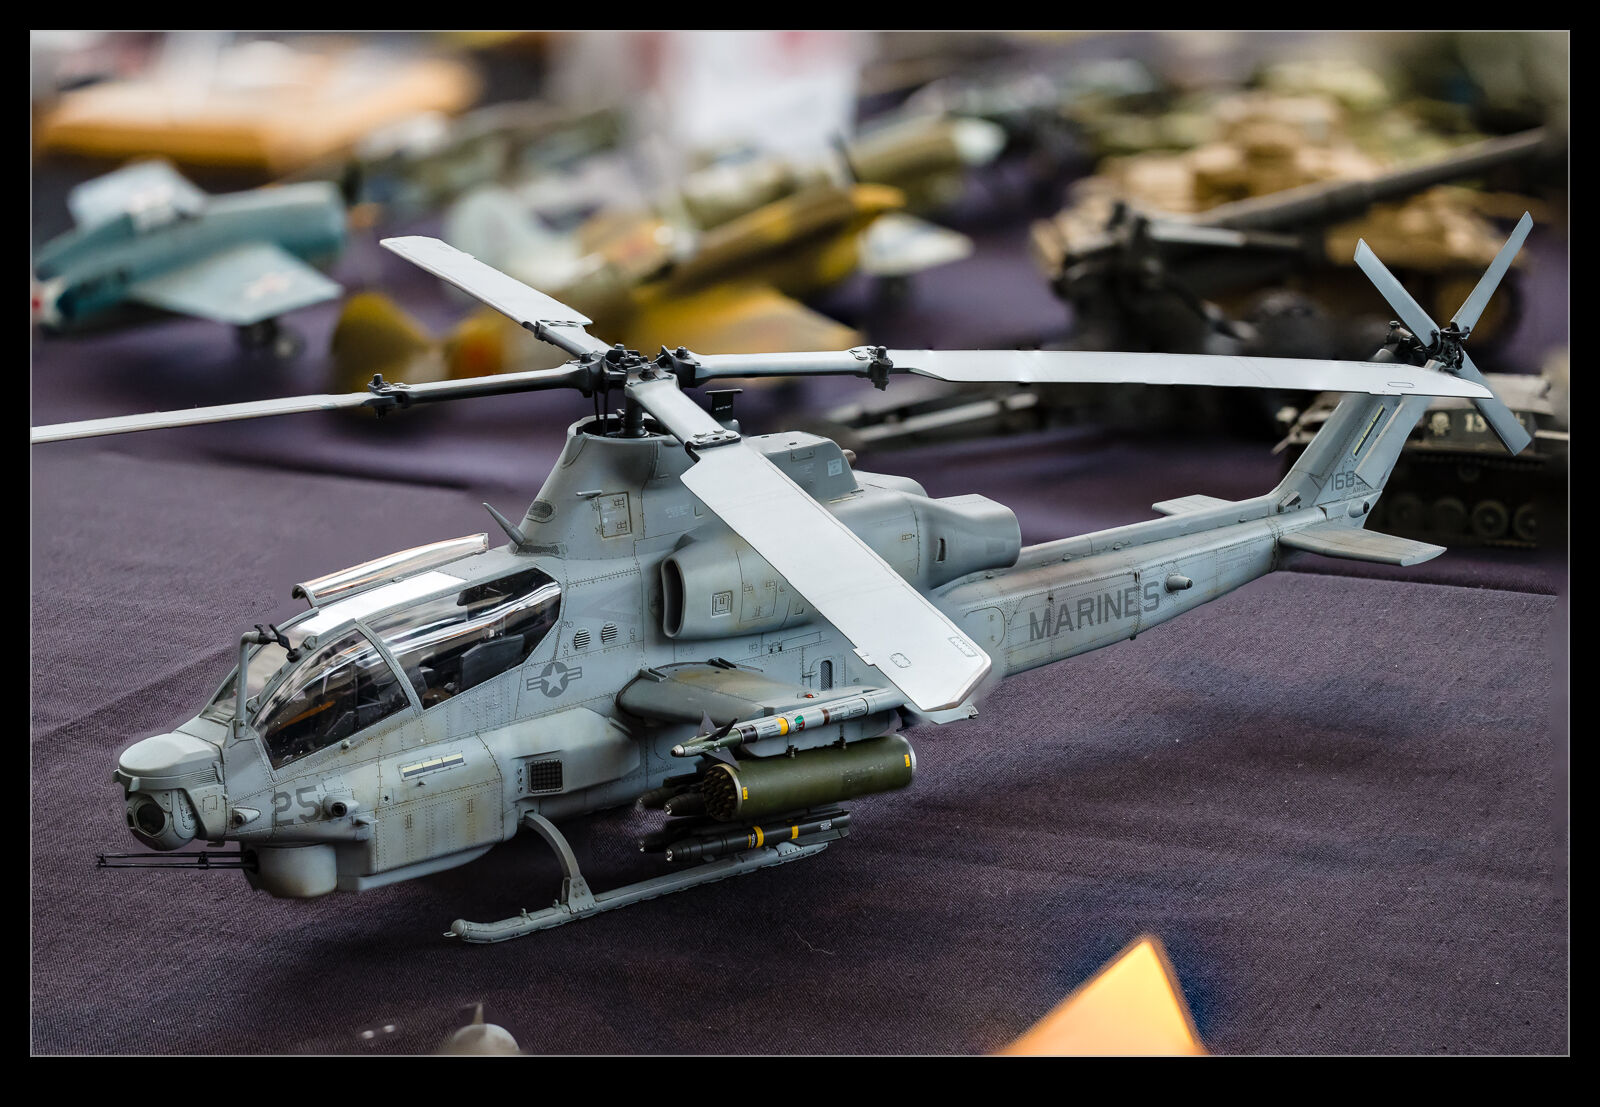
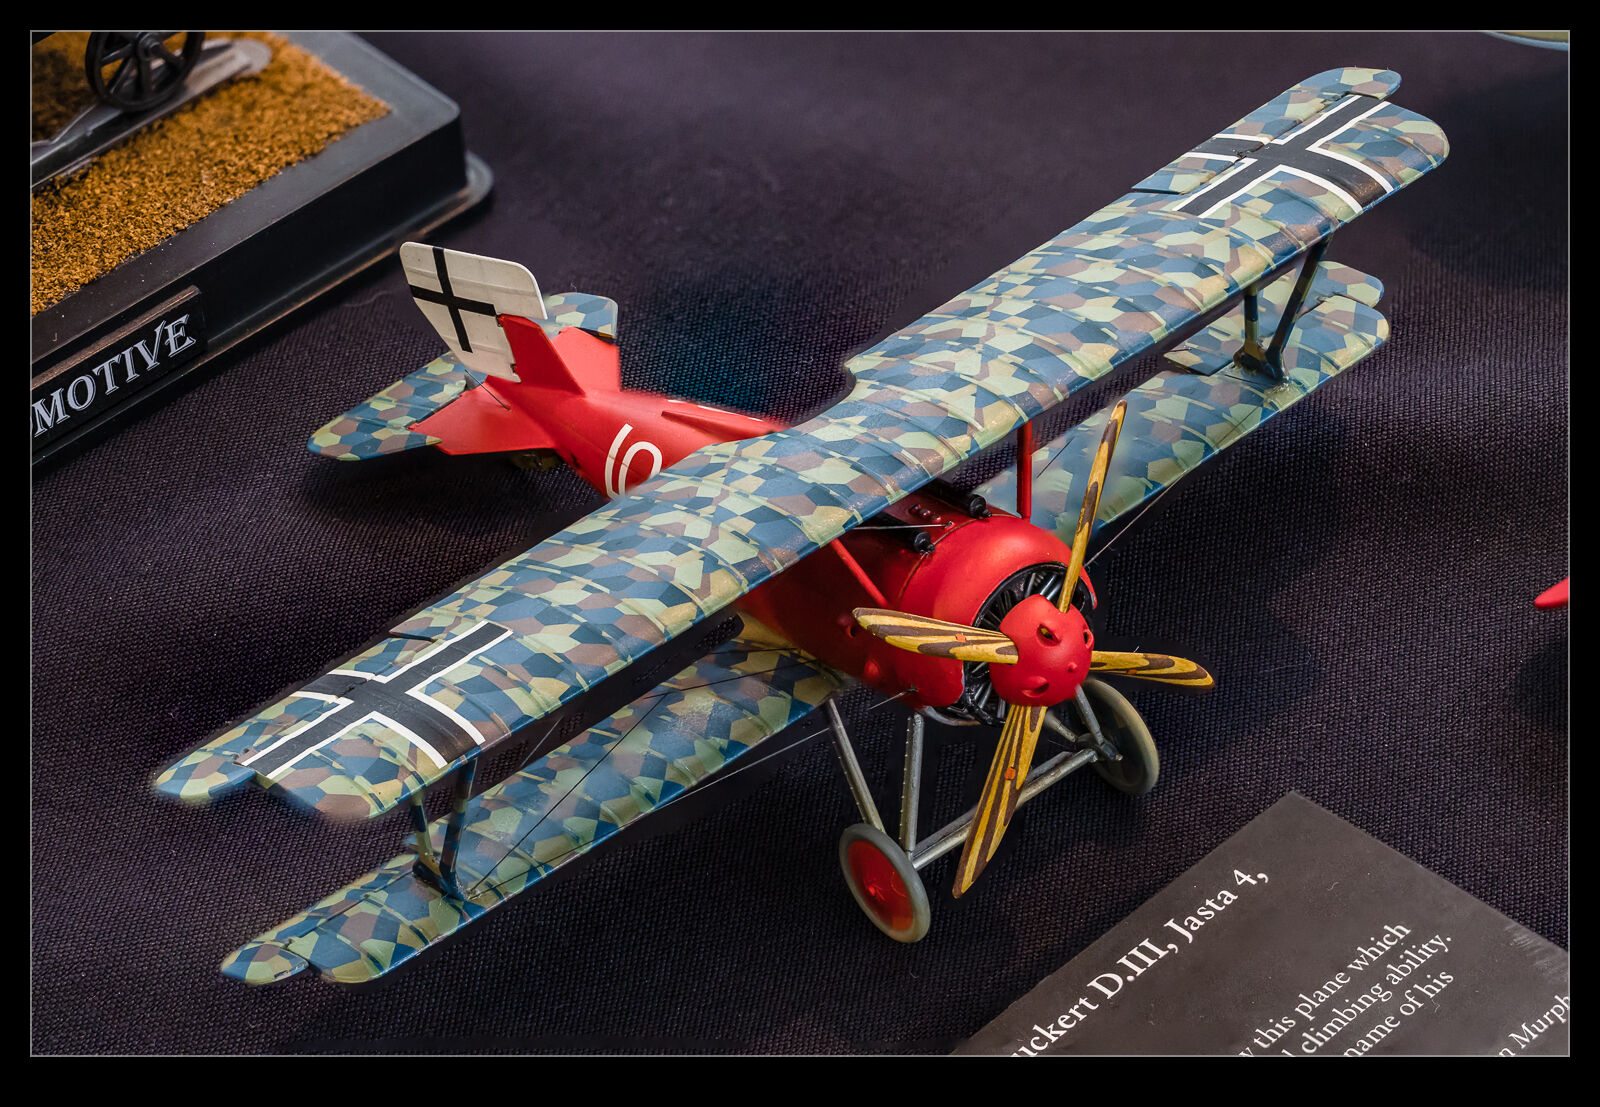
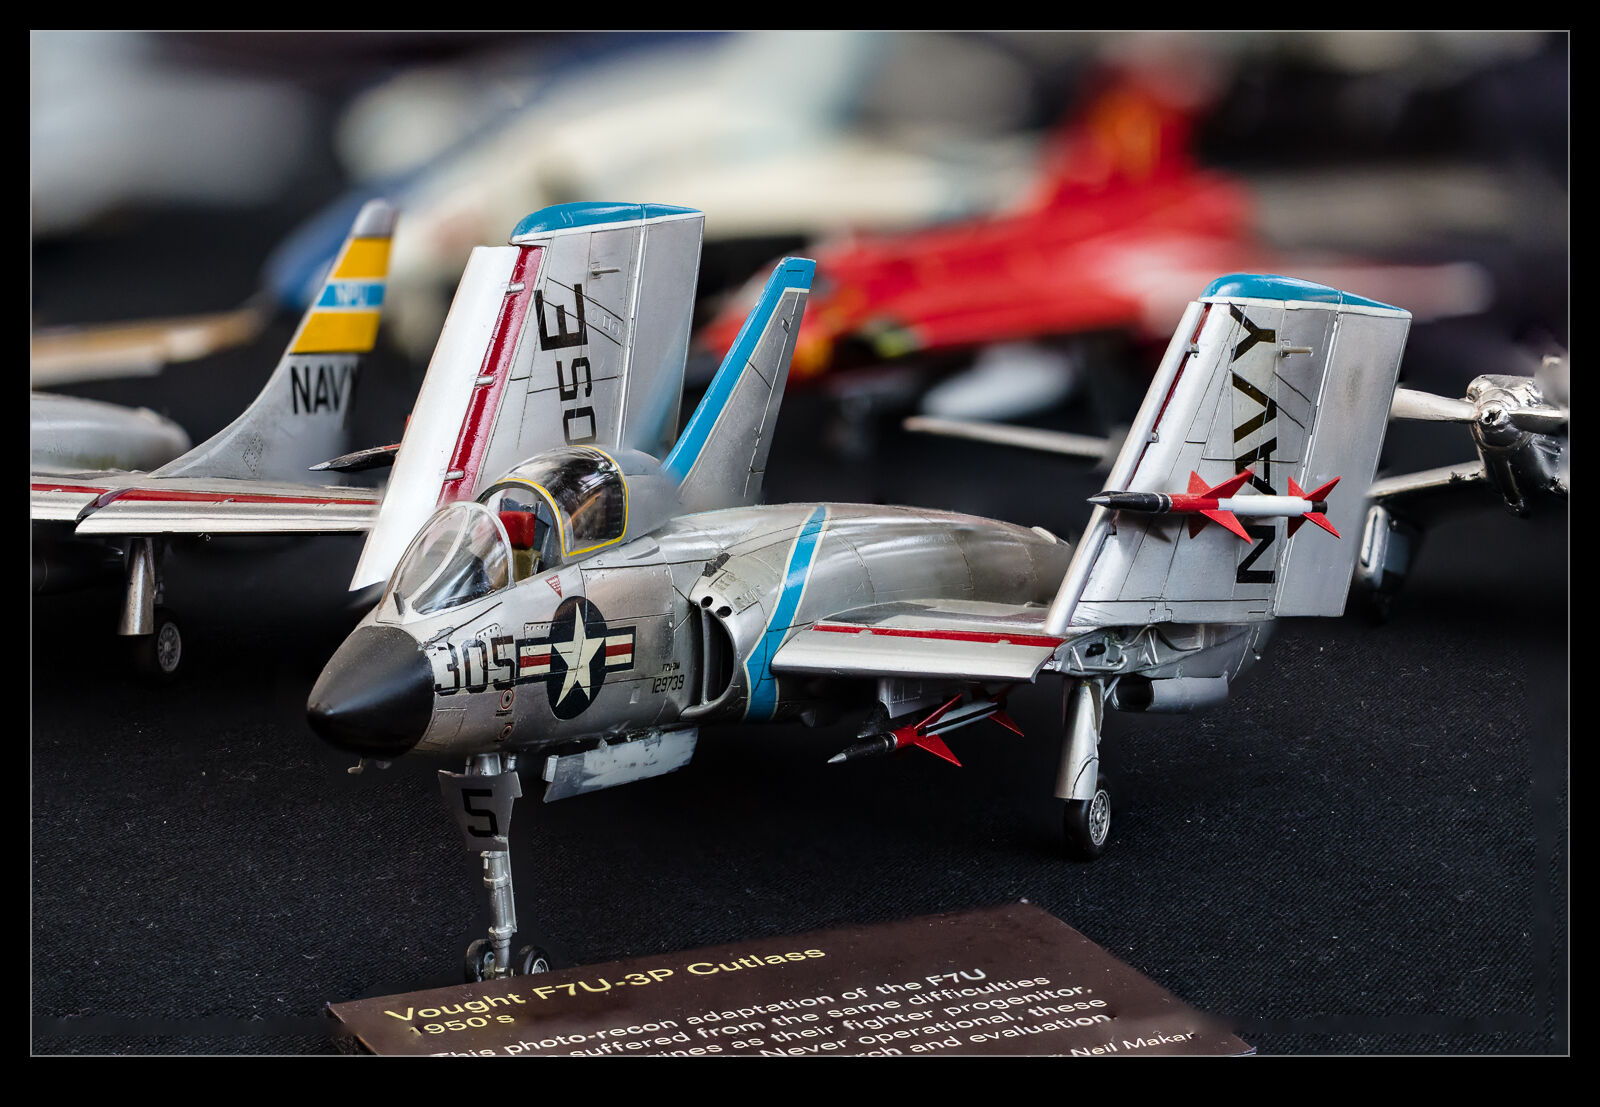
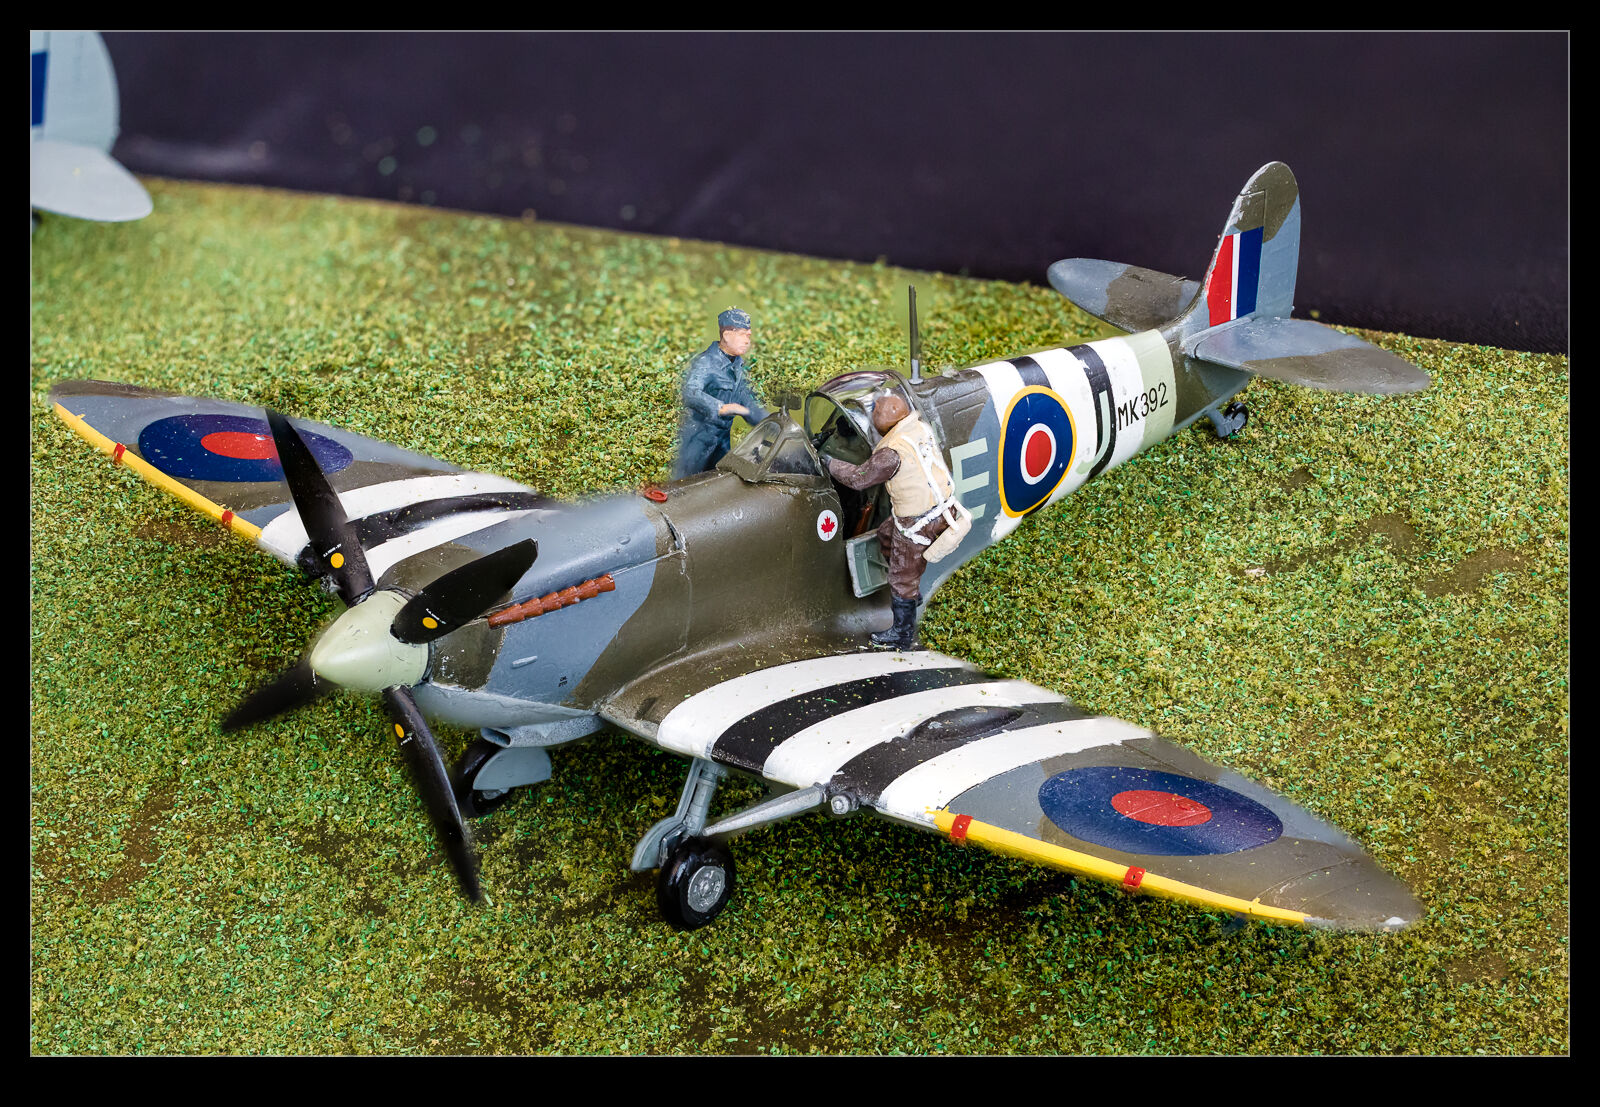
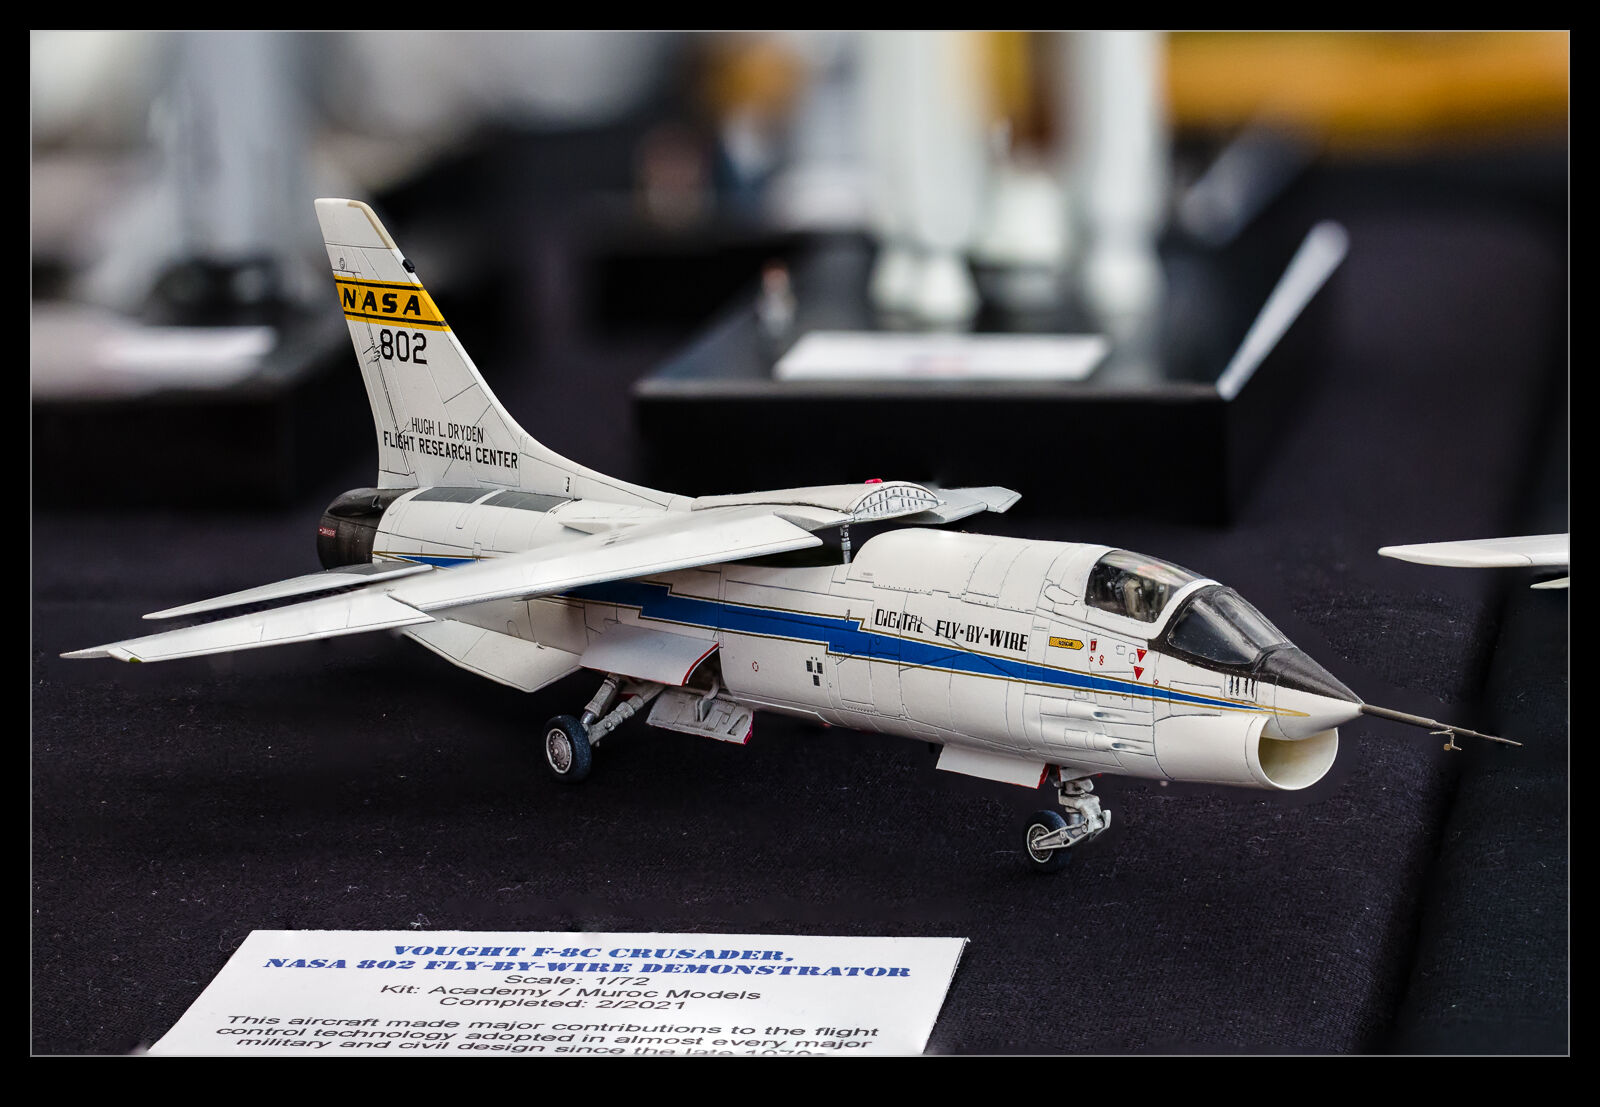 Once a year, the IPMS northwest group has a gathering at the Museum of Flight at Boeing Field. The modelers from around the region come with their creations to put them on display. I used to make models in my youth and have done a little bit since the pandemic started but not a huge amount and definitely not that good. I do like to go and see how good some of the work can be. I tend to focus on the aviation models but the others are of interest and anyone that has put together a diorama is going to get my attention.
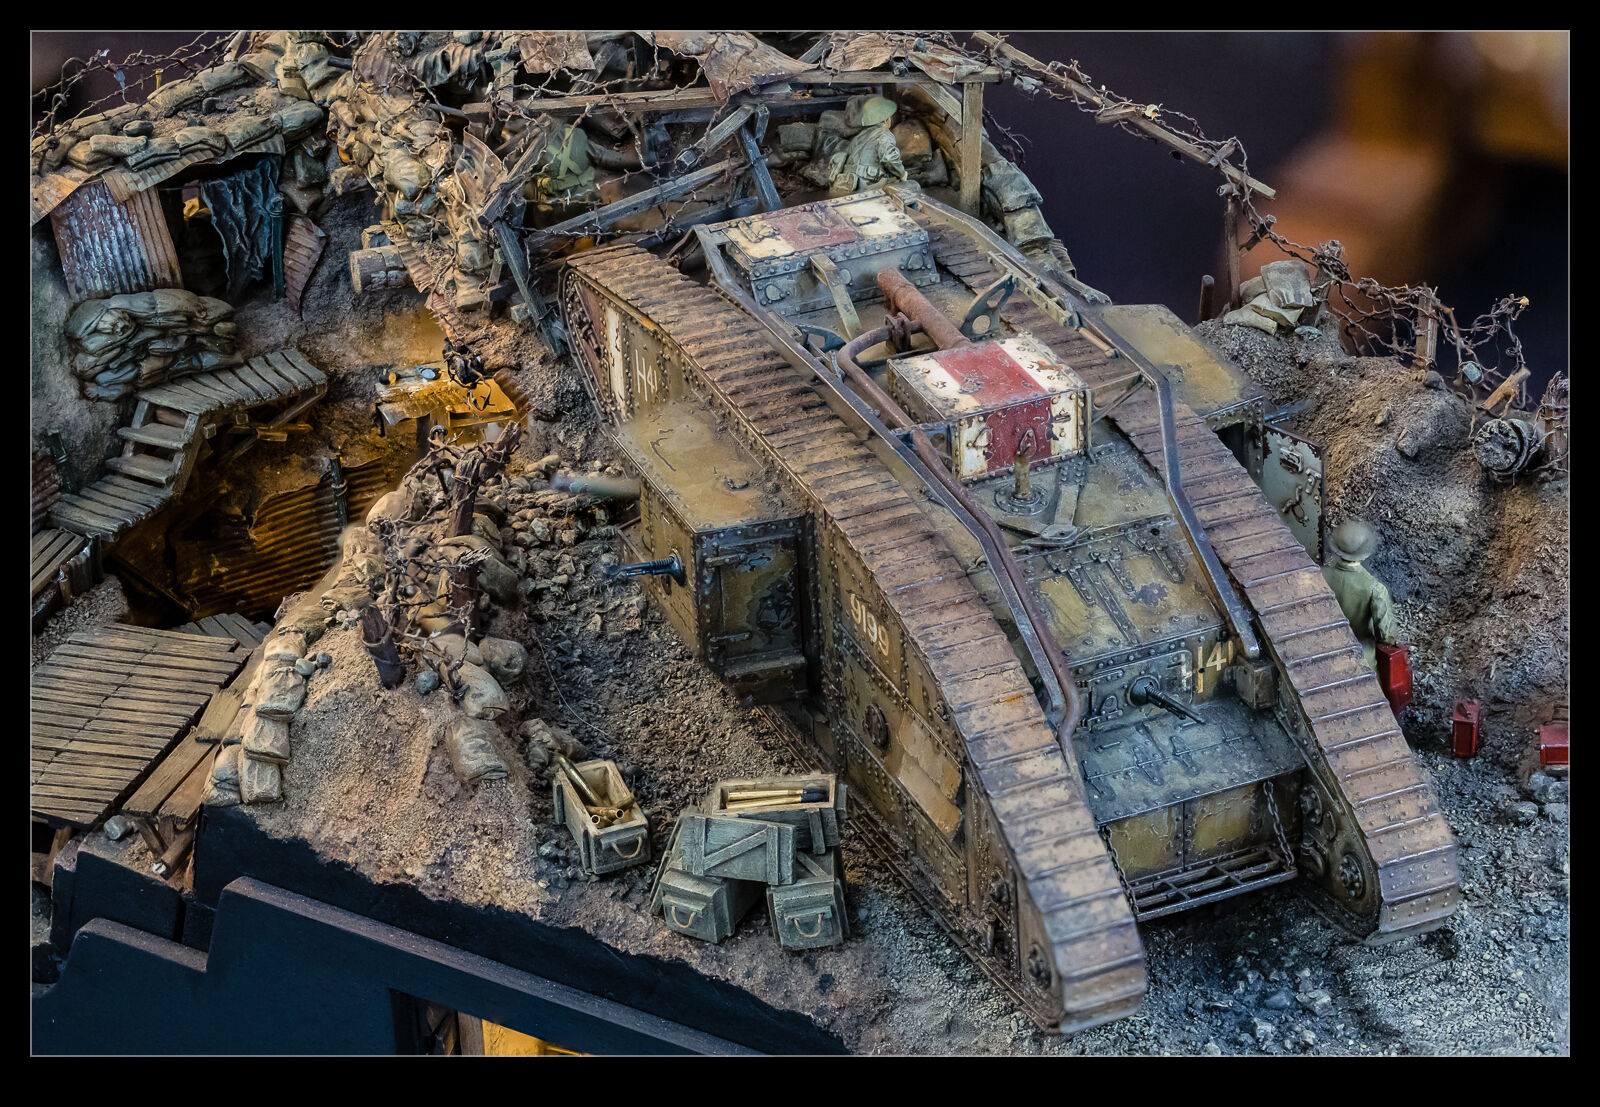 Here are a bunch of shots of the various models on display that particularly caught my attention. When trying to photograph models the problem is that focus is usually very shallow and so it makes the subject look very small. I use focus stacking to try and give a clearer view of the full model and make it look slightly larger. I am doing this handheld which is not ideal and, in some cases, the shots just don’t blend well. Most of them came out okay though.
