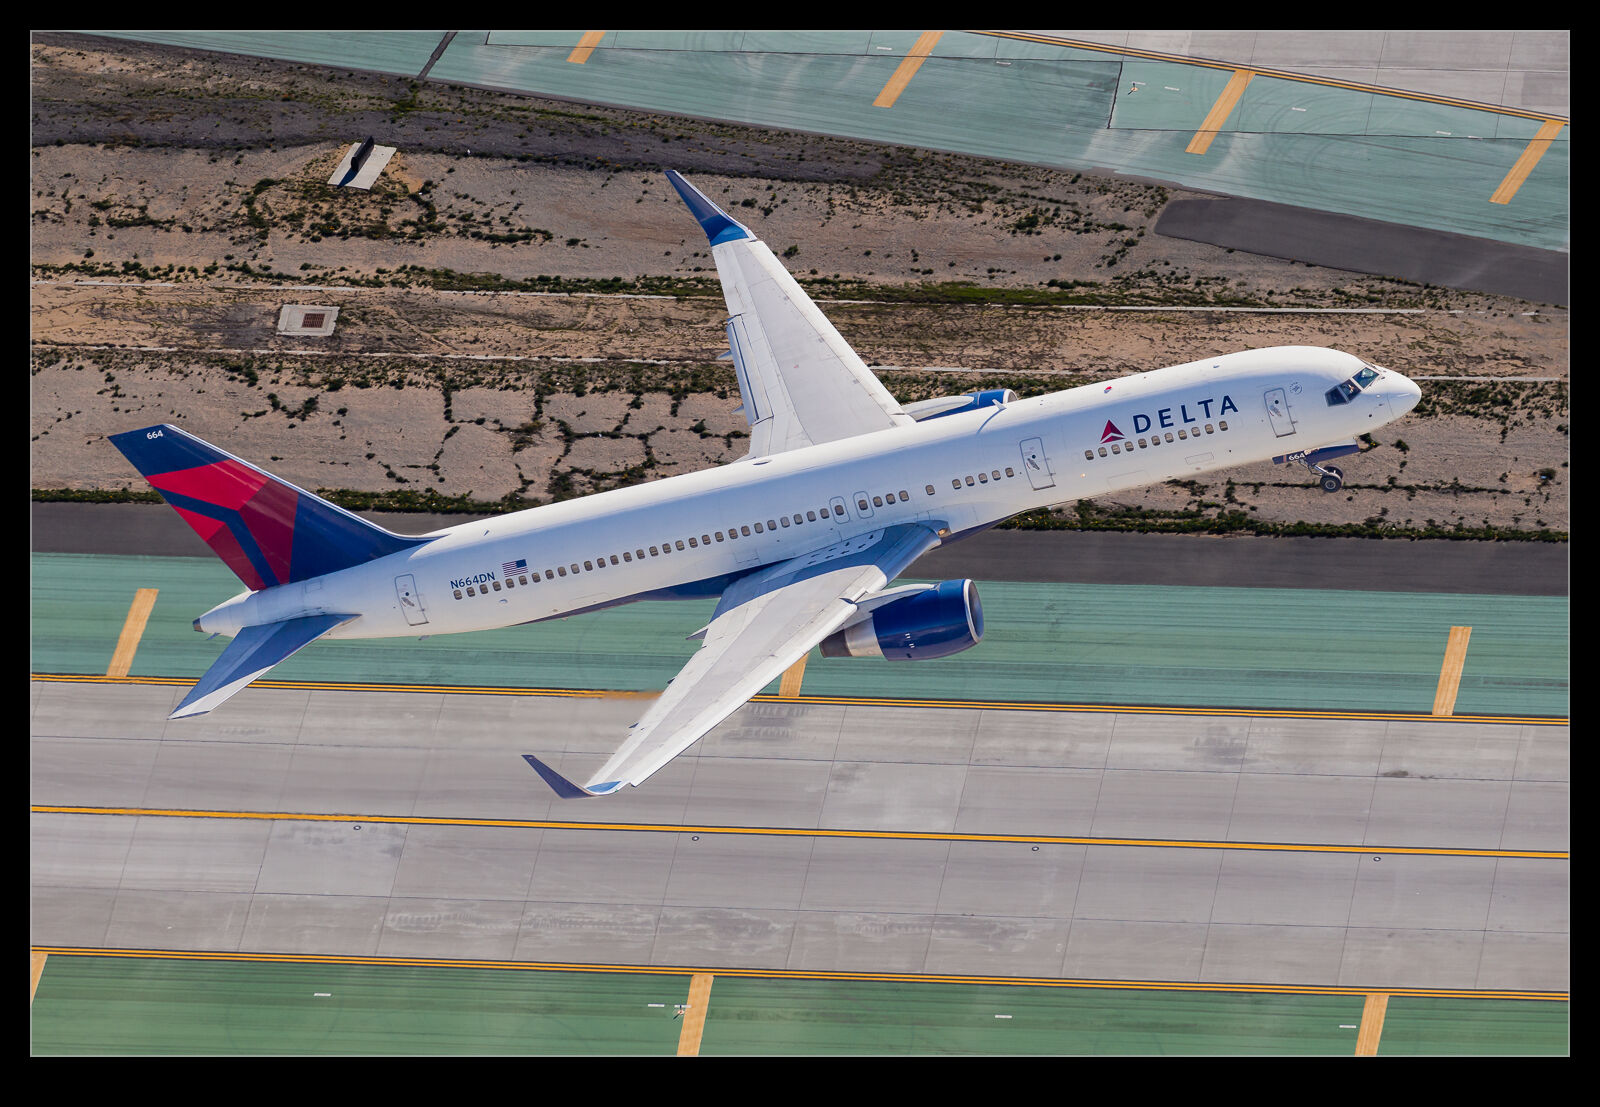
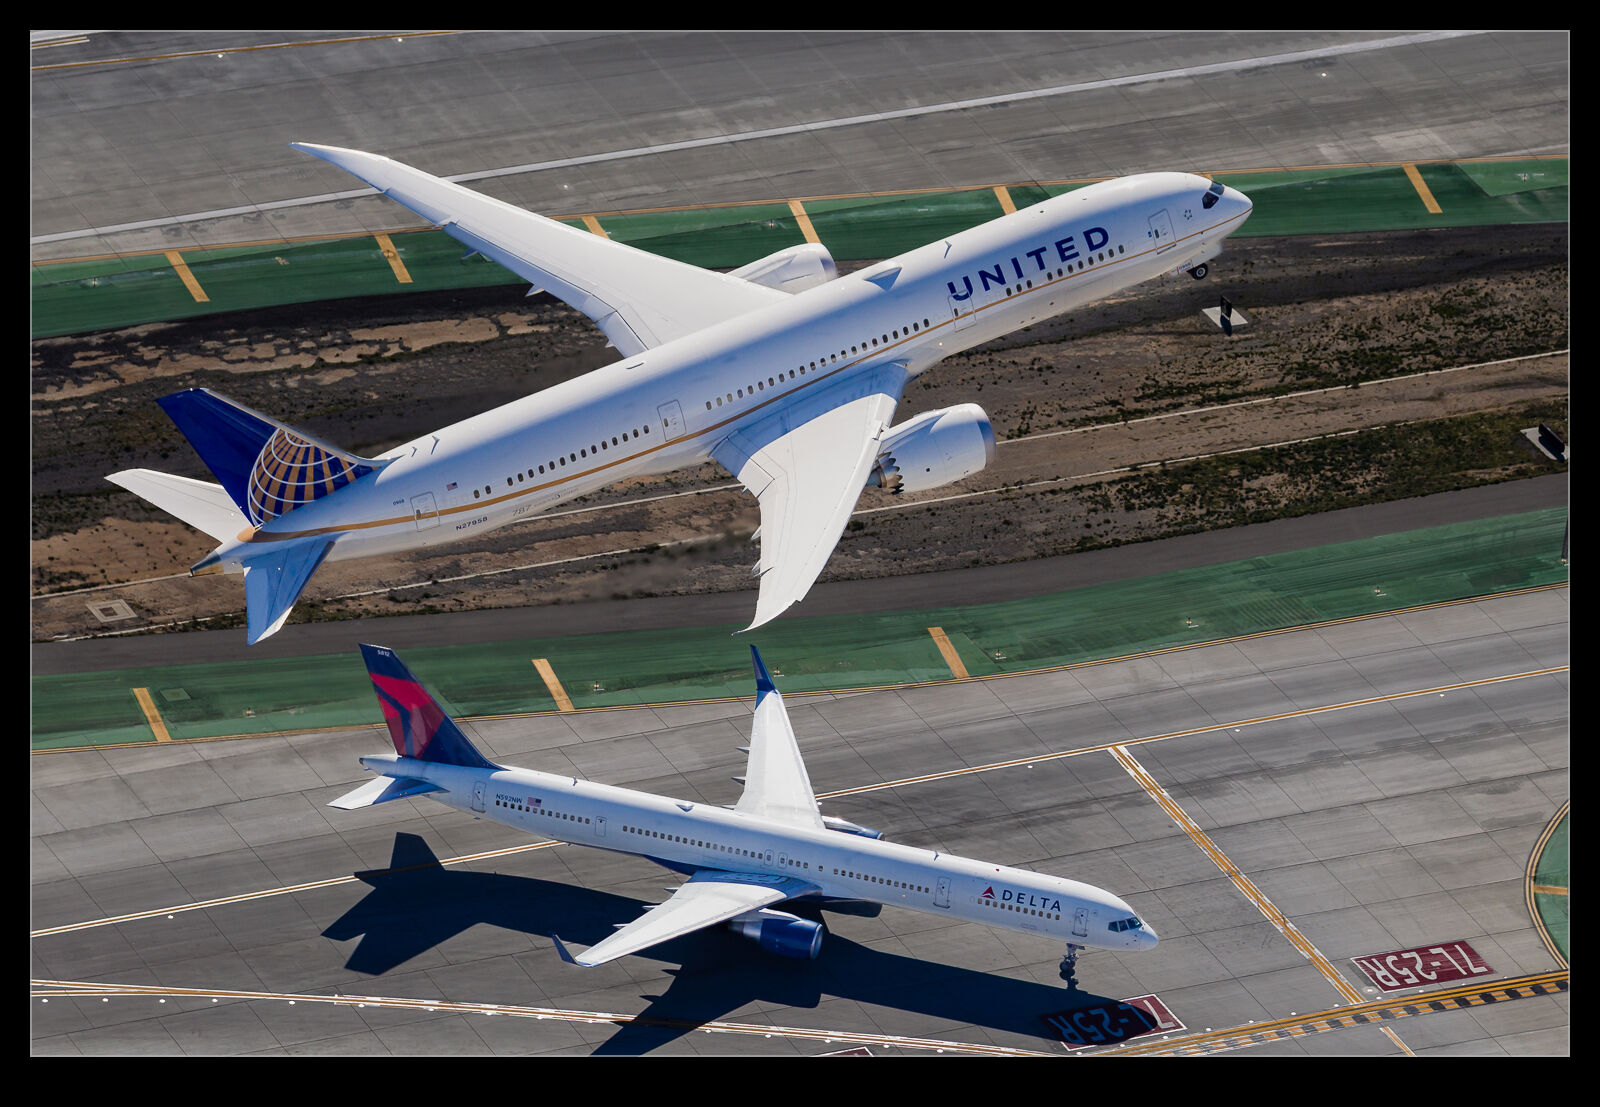
 Every once in a while, I put together two things that I hadn’t previously connected. I have been playing around with the masking tools in Lightroom for ages to put different processing on aircraft versus the sky in the background. When I had done some photography from helicopters over LAX, the lighting had been good on the northern complex but the planes arriving and departing the south complex had been quite harshly backlit.
The processing approach I was using at that time did not make for very good results and so I had tended to ignore the shots I had taken on that side and focus on the north complex instead. Then, while looking at something from another photographer, it got me thinking that the masking tools would be a good option to revisit these backlit shots and try and get a more balanced looking image.
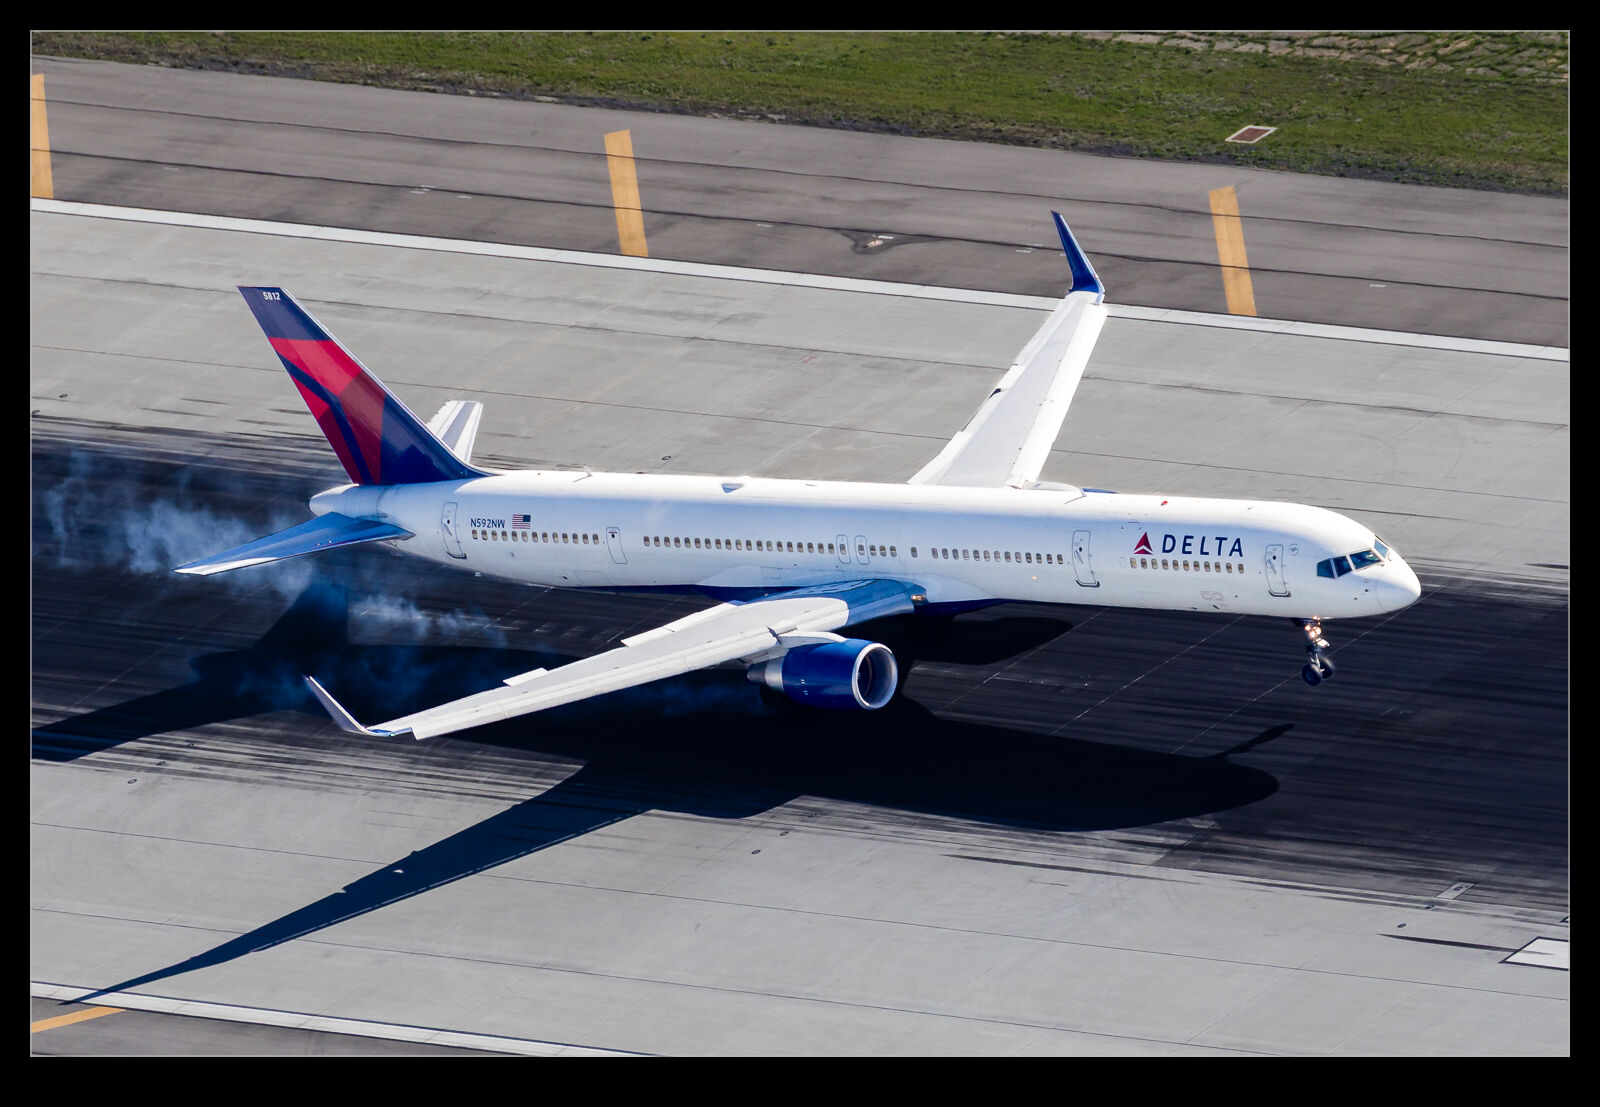
 You can’t escape the fact that, if the original shot is not great, you aren’t ever going to turn it into something marvellous. However, there is the potential to come up with something significantly better than I had previously managed.
Selecting the airframe with a more cluttered background is a bit tougher for the automated tools so a fair bit of manual addition and subtraction was needed. However, because you are against a ground background rather than a sky, there is a certain amount of tolerance that you have for not getting the selection absolutely perfect. You don’t want glaring issues, but it won’t be as conspicuous as it is with a sky behind.
 With the masking applied, it is a lot easier to come up with an exposure for the planes that looks a lot more like the eye would have perceived whilst still having a background that is okay. I can actually darken it a bit more in order to make the plane pop. On one of the shots, there was a second plane on the taxiway in the shot, so I selected it separately to give it a reasonable look without it taking over the image as a whole. This was a very satisfying process with some images I had previously left alone.
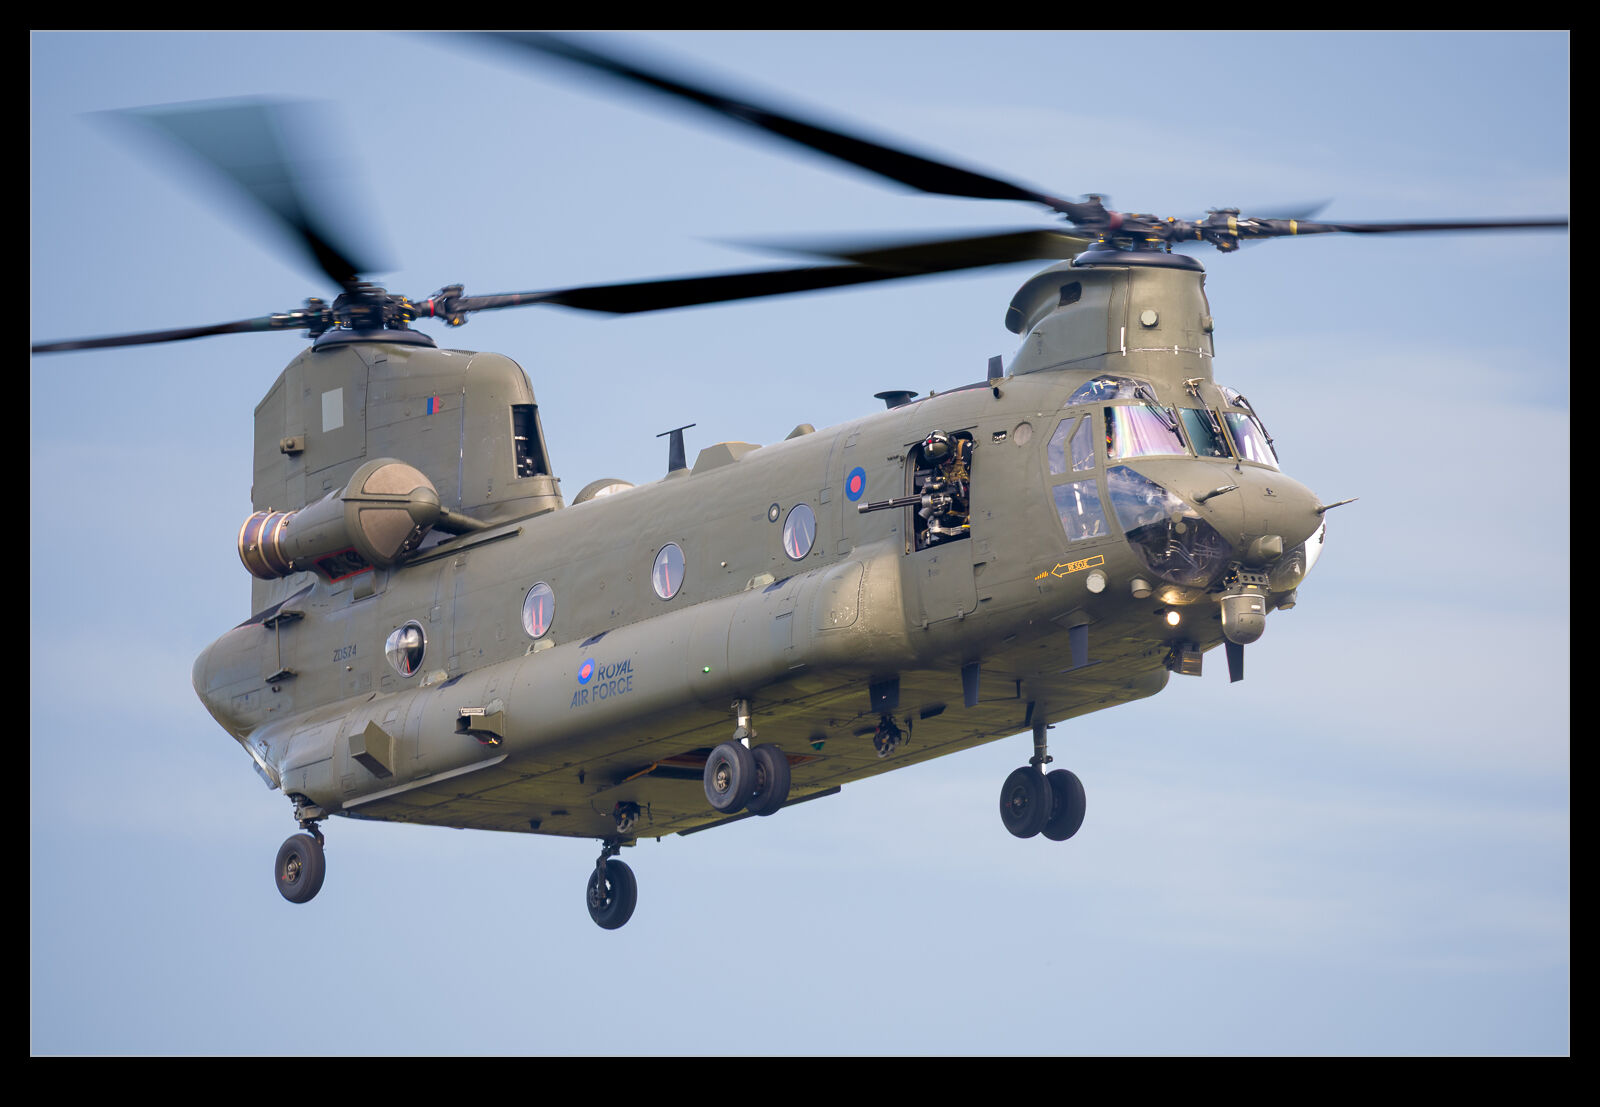
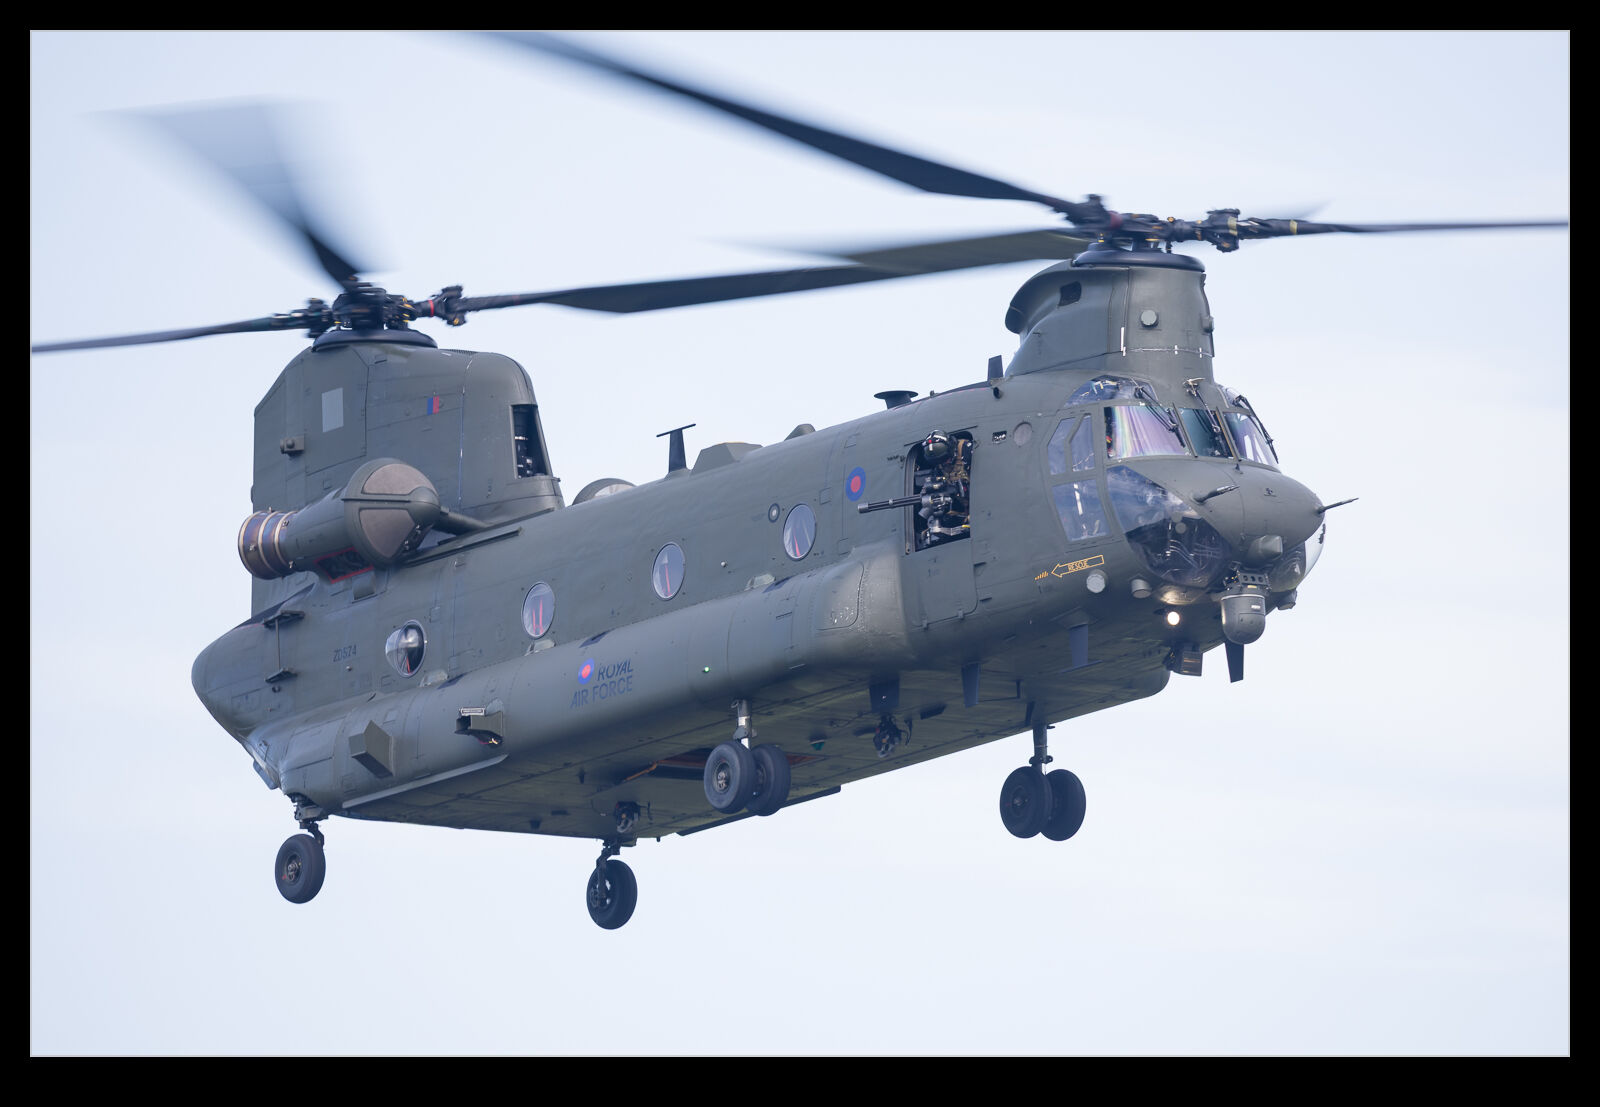 I will put together a post soon about the Chinook display at RAF Cosford. It was a great display. However, this post is not about that. Instead, it is about editing. Lightroom Classic recently had an update to the masking tools and the subject select process is now way better than it used to be. I used to spend a lot of time refining the selection to get something usable but now the process has become a fair bit quicker as a result of the starting point being more accurate. Not perfect, but better. Anyway, I include a version of the image almost out of camera and then the result when working on the airframe and sky in separate masks. It is a lot more how the thing looked at the time and a significant improvement in my mind.