Tag Archives: review

Will Rolla Replace Zwift?

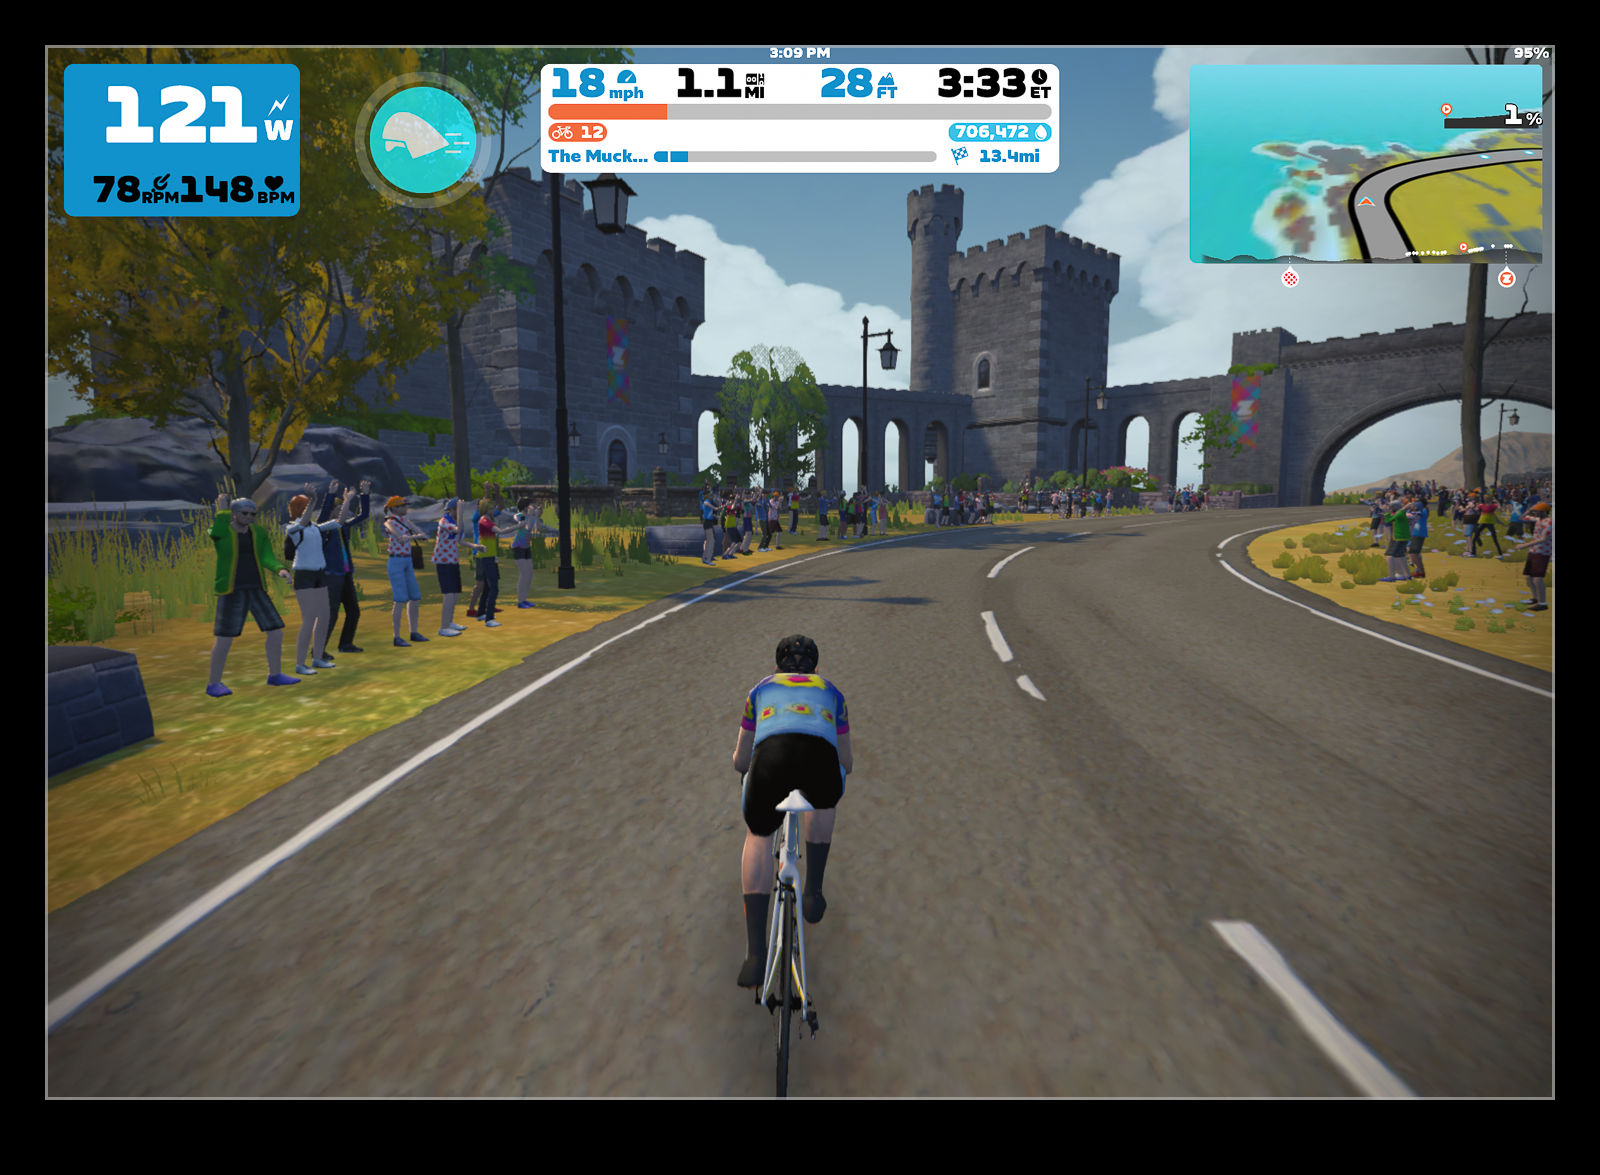
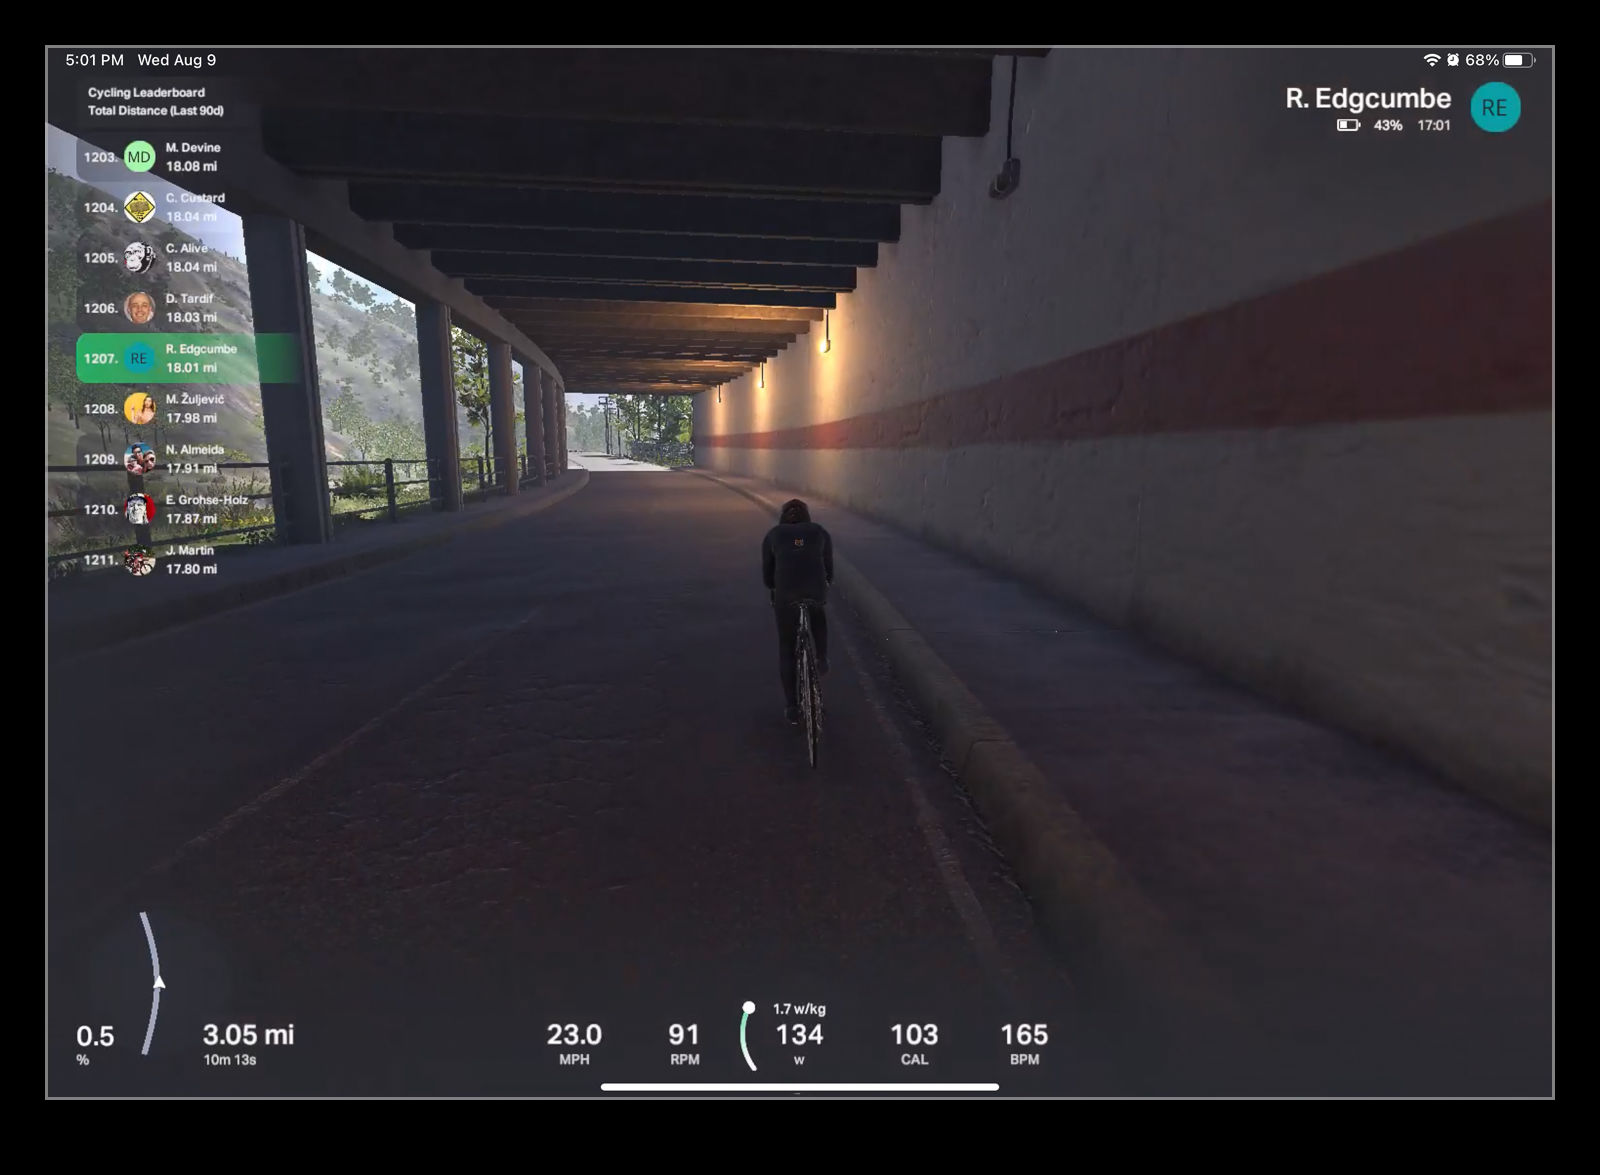
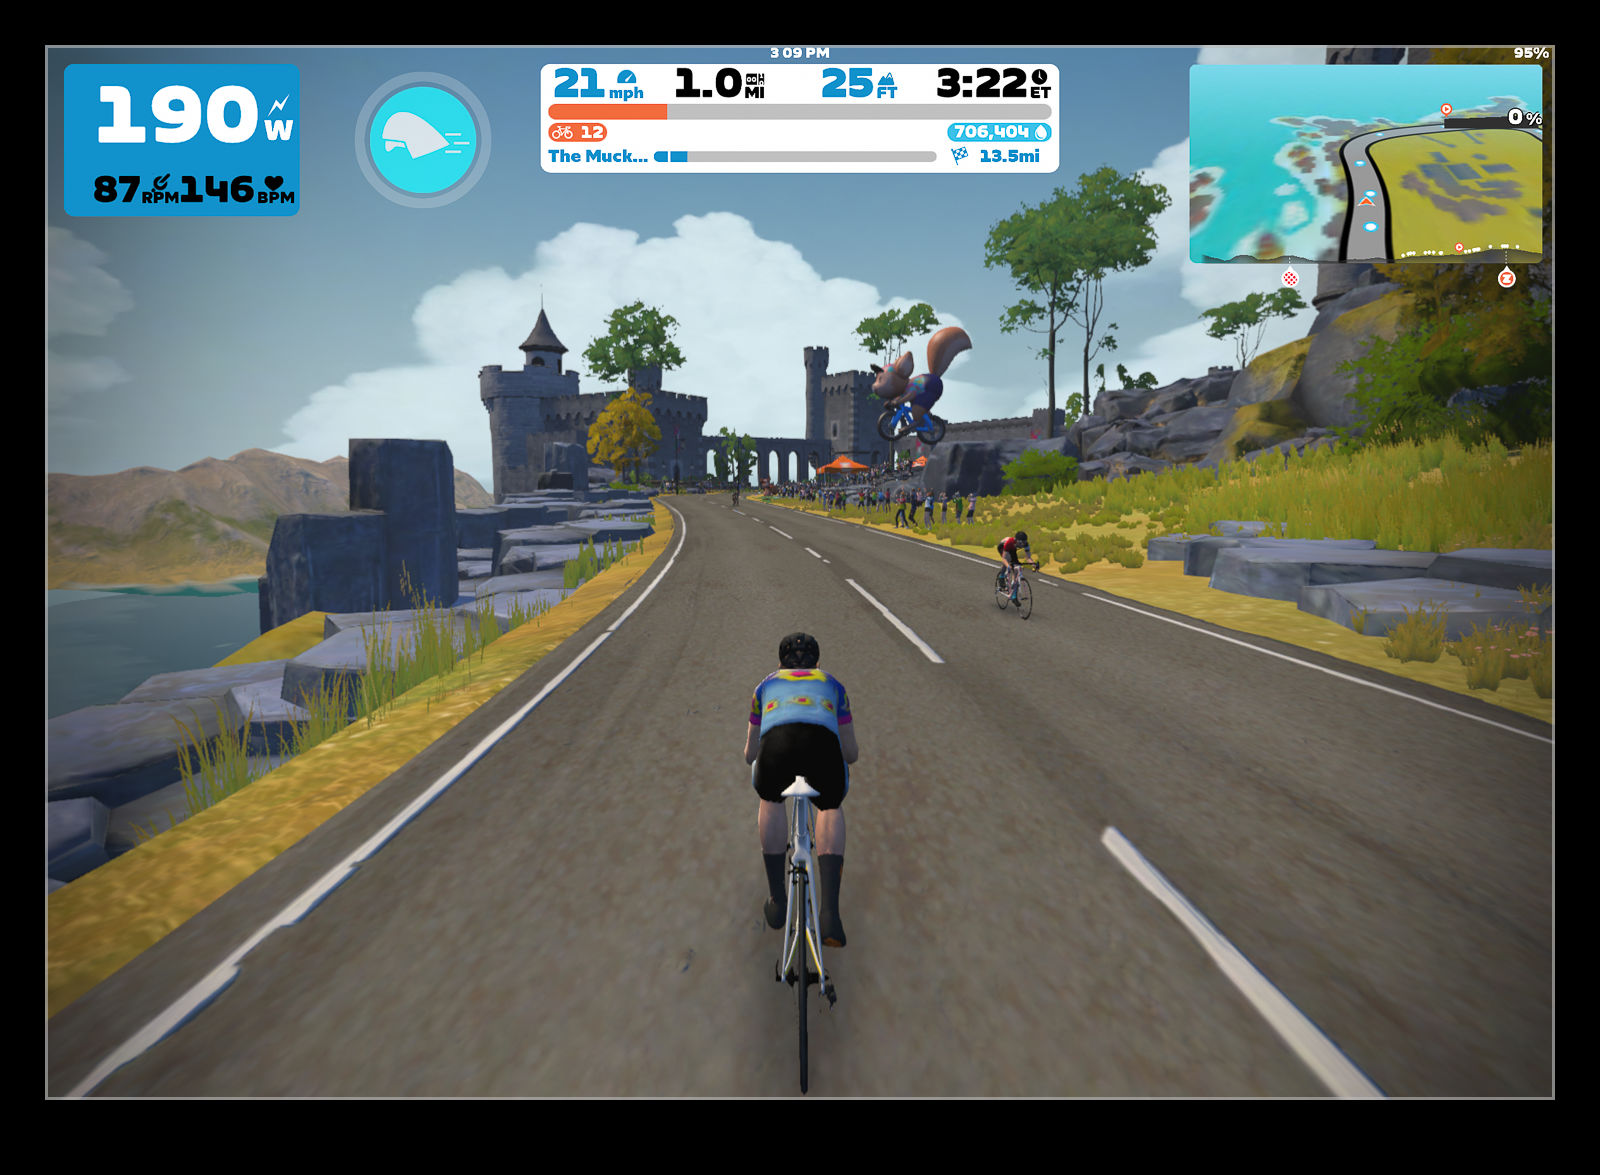
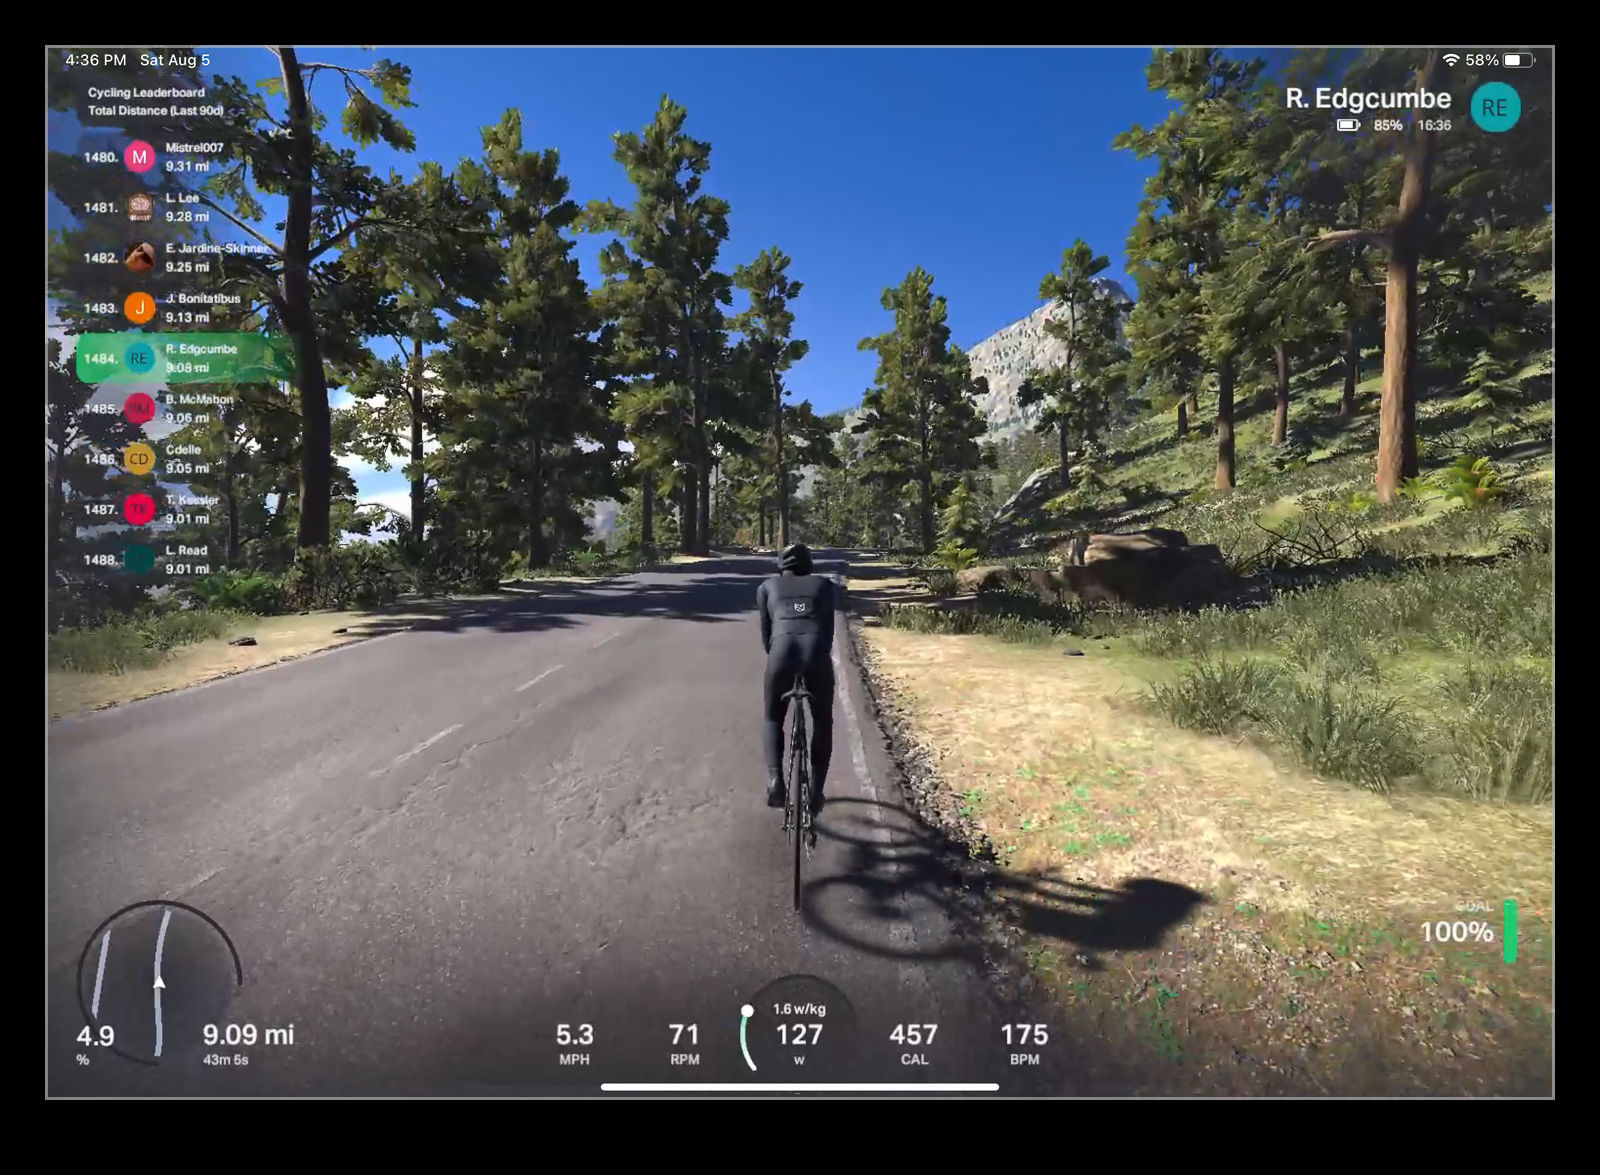
Since I got a smart trainer for cycling, I have been using Zwift as my app for training rides.  I have been very happy with the way it works and find it a great tool for training as I can do some pretty long rides on it without getting bored.  I have done up to two hours which would have been inconceivable on older trainers.  I did see a video recently of a new software tool that could provide similar functionality called Rolla.  It is free for the time being, so I decided to try it out.  Will it be a suitable replacement for Zwift?

One of the things I did like the look of was the graphics output.  Zwift has a slightly cartoonish styling which doesn’t bother me at all – indeed, I quite like the odd things that they throw in like a bear falling out of a tree or a stag by the road – but having more realistic scenery was of interest.  Rolla looked like it would be more like riding in real locations.  As a new app, I knew it wouldn’t have extensive scenery databases yet, but they could be useful to try out.Having used it a few times, now, I have come across a bunch of things I didn’t like.  First, the software doesn’t pick up my cadence from the trainer.  I can come across the top of a climb and start speeding down the other side but my cadence on the trainer doesn’t change.  It isn’t reading the cadence either so the data on screen and my data download has nothing of use.  This is not helpful for training my cadence nor for having a realistic riding experience.  I also had issues uploading to Strava.  It now works but there is no way to get it to recognize rides already completed.  The gradient is not connected so my trainer does not respond to changes in slope like it does on Zwift.  That physical feedback of gradient change is very helpful, particularly as slope changes are not very visually obvious.  The rider symbol looks weird too with an odd rolling motion of the hips.  It’s not as bad as the runners I pass, though.  They look like the T1000 from Terminator!  Lastly, sometimes it just seems to have you riding off the side of the road for no obvious reason.All of this is to say it is a long way from being a replacement for Zwift.  It is not going to be something I use for training for now but, with some time to develop it and implement new functionality (plus clean up some of the buggier elements) might make that change.  I would also prefer to just use it on the iPad rather than having to have the phone app open along with the iPad to control things.  We shall see.  In the meantime, Zwift will remain my go to.


Lightroom Noise Reduction Update Testing

One of the software tools that I find a lot of people talking about these days is DeNoise from Topaz.  I have never been terribly bothered by noise in my images.  Modern cameras do a pretty remarkable job of handling noise and, for most usage purposes, the noise is not really an issue if it is there.  I have posted my efforts with PureRAW in its various forms where I have tried it out to see how the noise reduction comes out and, while I have seen strengths and weaknesses in it, I have never seen it as something I needed to spend on.

Lightroom Classic had one of its periodic updates recently.  The big new feature was their own denoise functionality.  Much like my experimentation with PureRAW, it analyzes the shot and creates a new DNG file with the noise suppressed.  I was curious to see how it would perform and, seeing as it is included in the price of my subscription, I have it anyway.  I decided to take some shots I had recently used for the PureRAW3 trial I had done and compare with the Lightroom version.

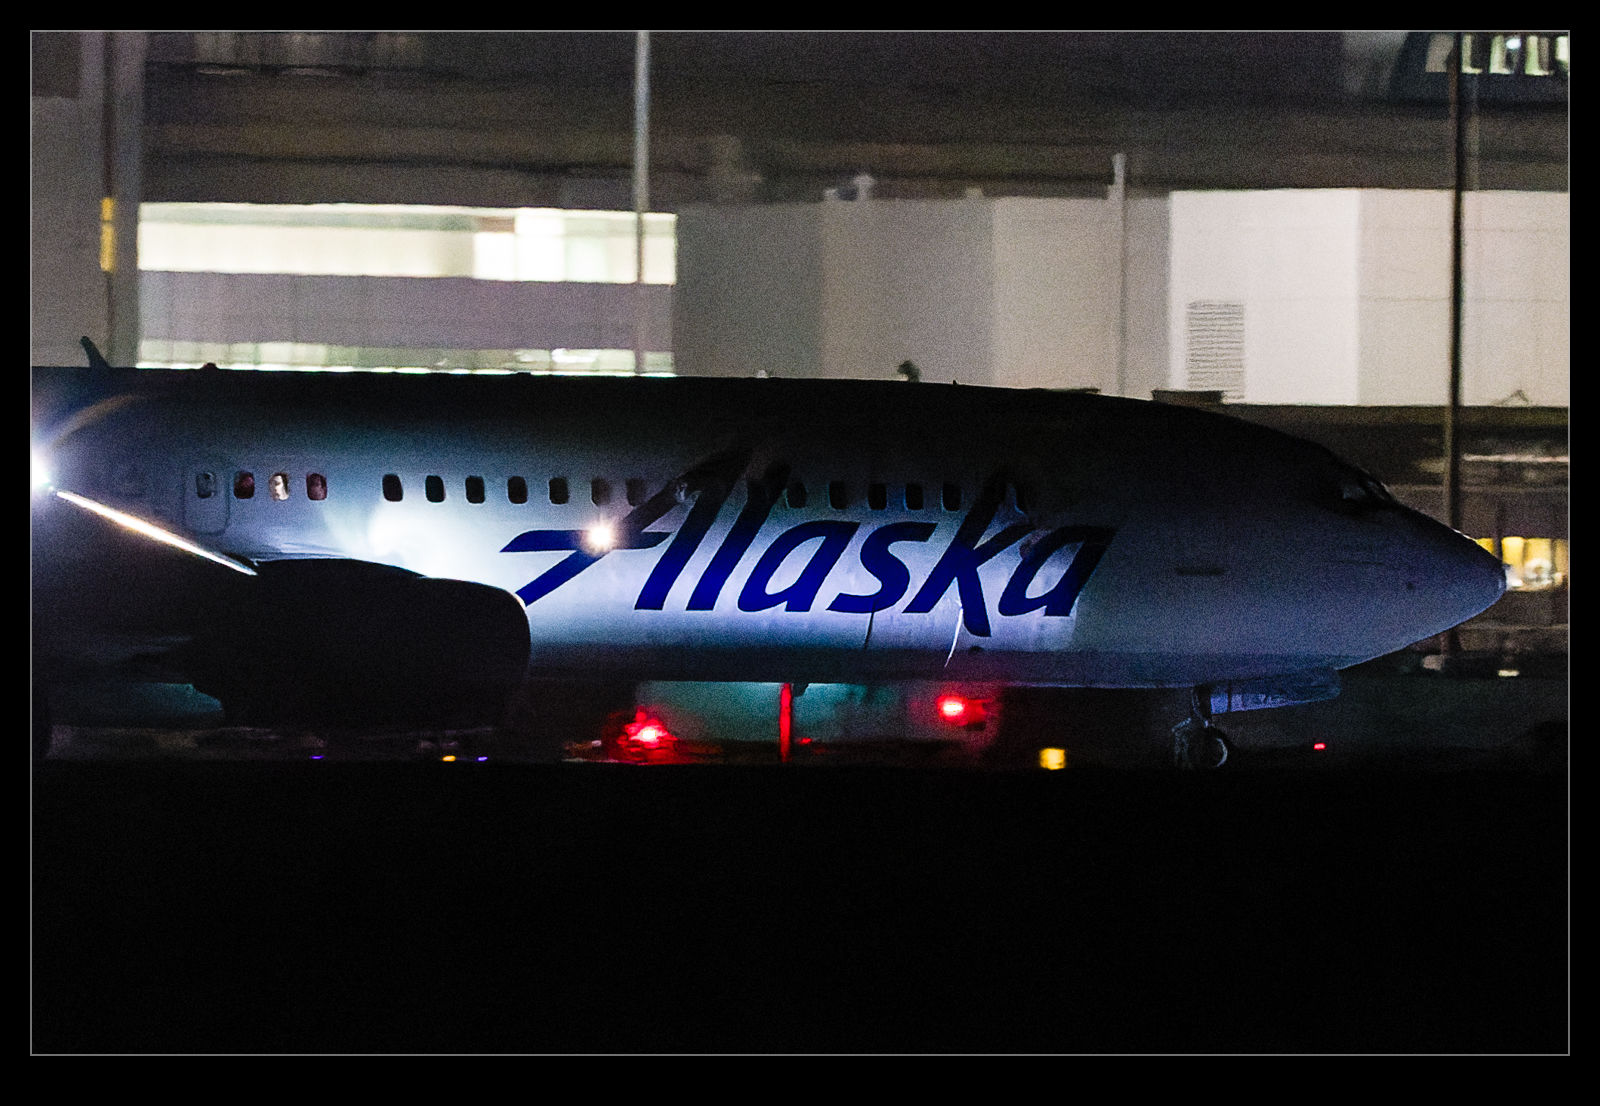
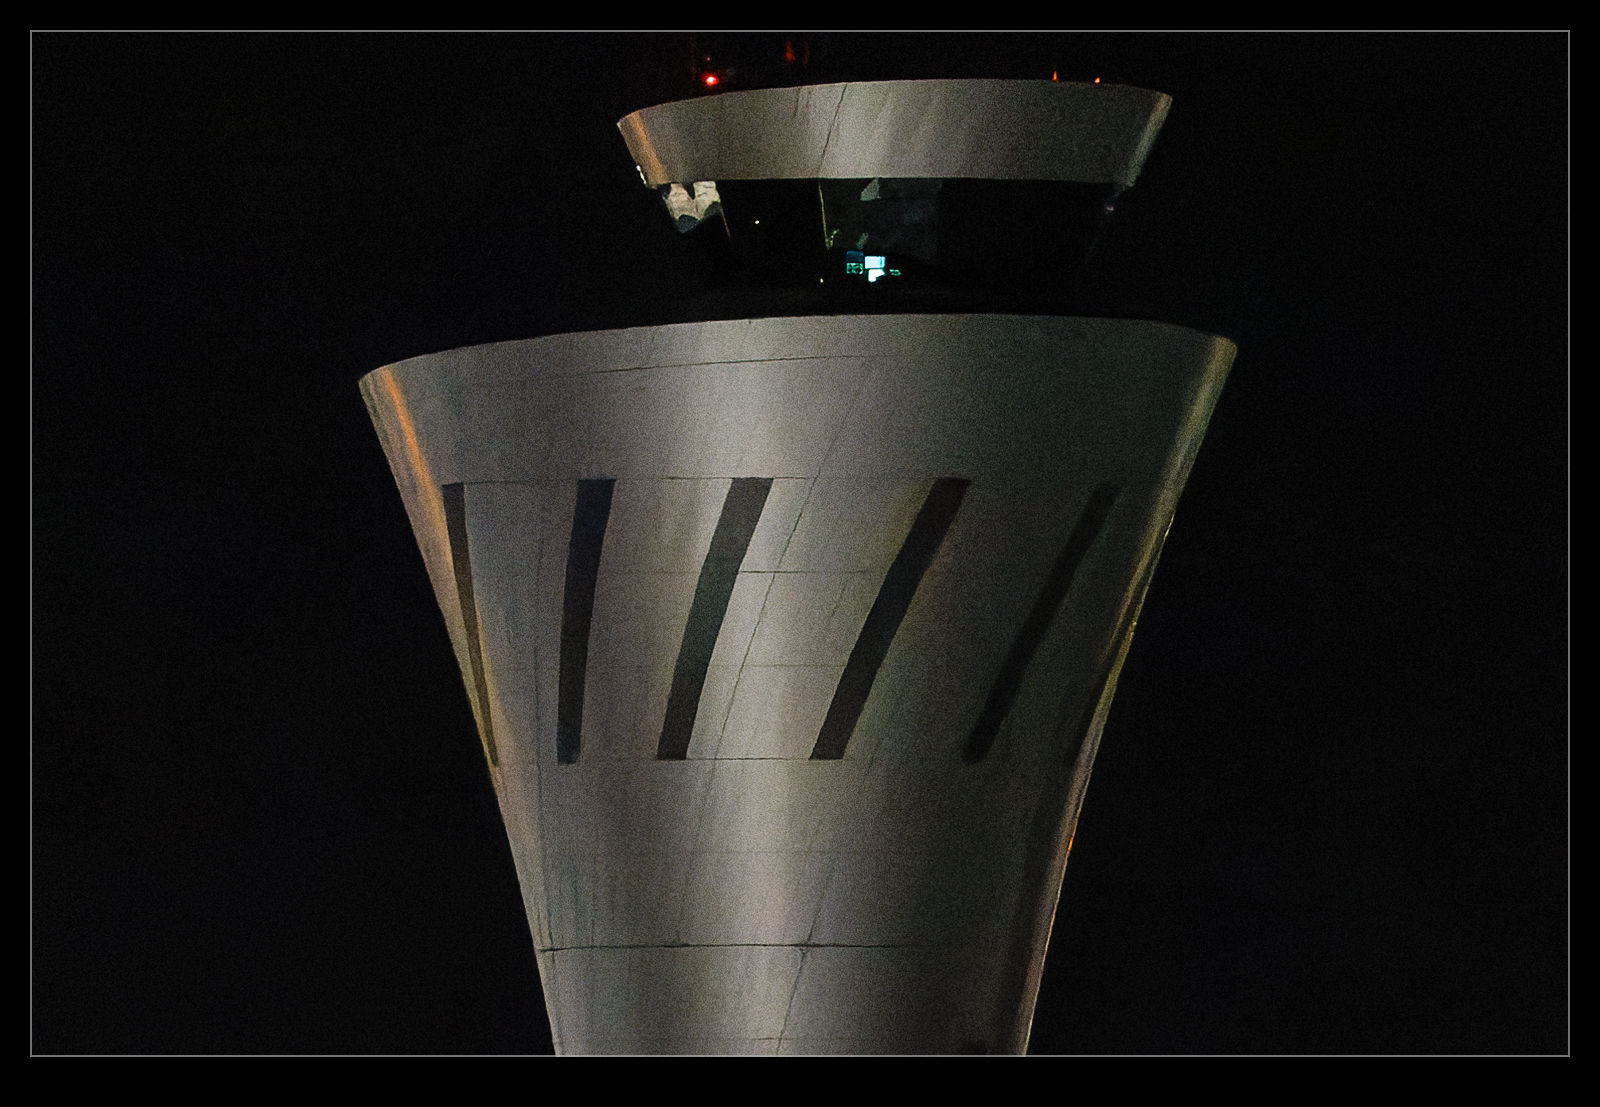
It defaulted to a 50 level of noise reduction.  I don’t know whether this is a percentage and what of but it is a scale so I played with it.  I did some at 50 and some at 75 to see whether more aggressive noise reduction had detrimental effects on other parts of the image.  Comparing these things and then sharing the results is a touch tricky so I have created a single image from four layers.  They are the original Lightroom develop settings, the PureRAW3 version, the 75 denoise settings and the 50 denoise settings.  I mask them to make the image into four sections.  Then, to make it useful on here, I have zoomed in to show the borders between them to provide some sort of comparison.

The PureRAW3 result is very aggressive on noise reduction.  However, I find it can make some odd artifacts in the images where details were not that clear to begin with.  The 75 setting in Lightroom provided a very similar level of noise reduction to PureRAW3.  It is slightly noisier but barely enough to matter.  A setting of 50 does show more noise.  It is still a significant improvement over the basic Camera Raw settings and very usable.

What do I conclude from all of this?  First, as I have said before when testing the PureRAW trials, it provides some interesting results but it is not relevant to enough of my work to matter to me sufficient for me to spend a bunch of money on buying it.  Having denoise in Lightroom now provides me with a very similar option but within the existing price I am paying for Lightroom.  Therefore, I will make use of it when the situation dictates.  It would be a regular part of my workflow because really high ISO shots are only an occasional thing for me but having it there when I want it will be handy.

DxO PureRAW Testing

Whenever you suddenly see a bunch of YouTube videos on a similar topic, you wonder whether a company has been sending out copies of its product to people to get them talking about it.  I think this must be the case with DxO Mark since I have come across a lot of videos about their new raw convertor, PureRAW.  Having watched a couple of the videos – the technique clearly works – I was curious about the capabilities of the product.  Since they provide a 30 day free trial, I decided to give it a go.

One of the topics which seems to get people really worked up if they are too focused on the products and less on the photos you take with them is Raw conversions.  You can shoot JPEGs in camera but, if you shoot Raw, you tend to have a lot more flexibility with post processing.  (For those not in to this stuff – and I am amazed you are still reading this if that is the case – a Raw file is the data that comes off the sensor with very little processing applied.). Software developers come up with their own ways of converting this data into an image.  Camera manufacturers provide their own raw converters but they don’t share the detailed understanding with the software manufacturers so they have to create their own.
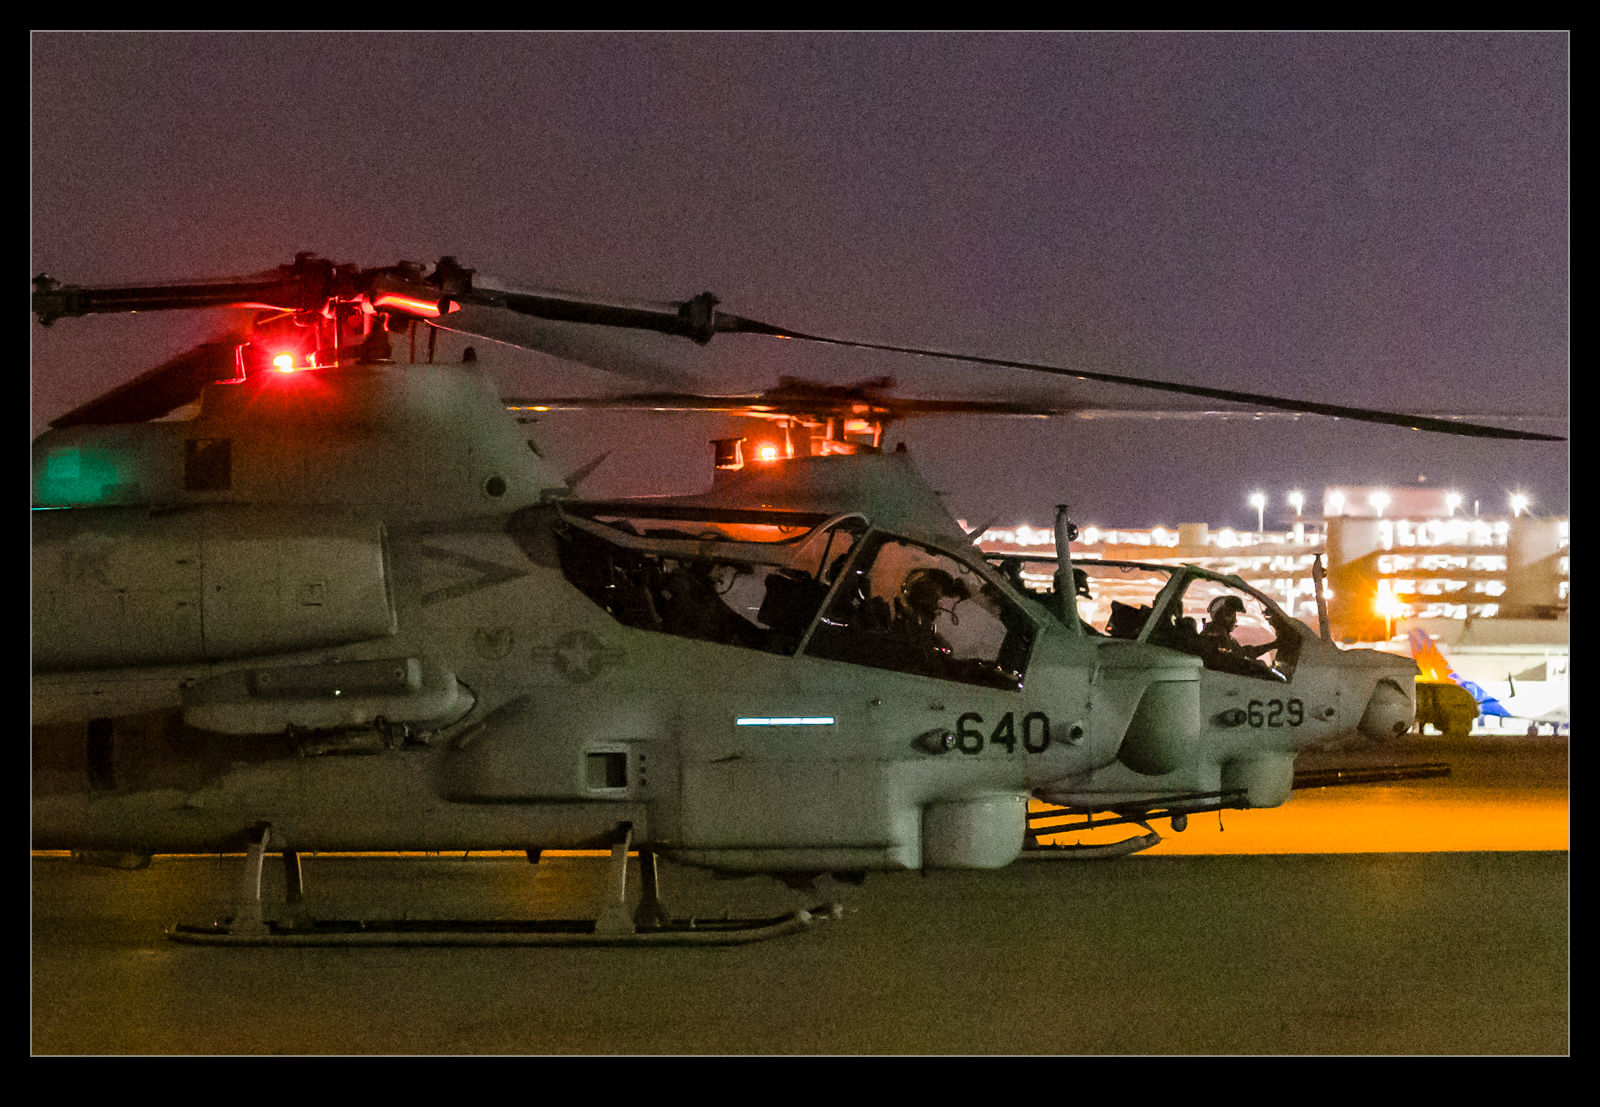
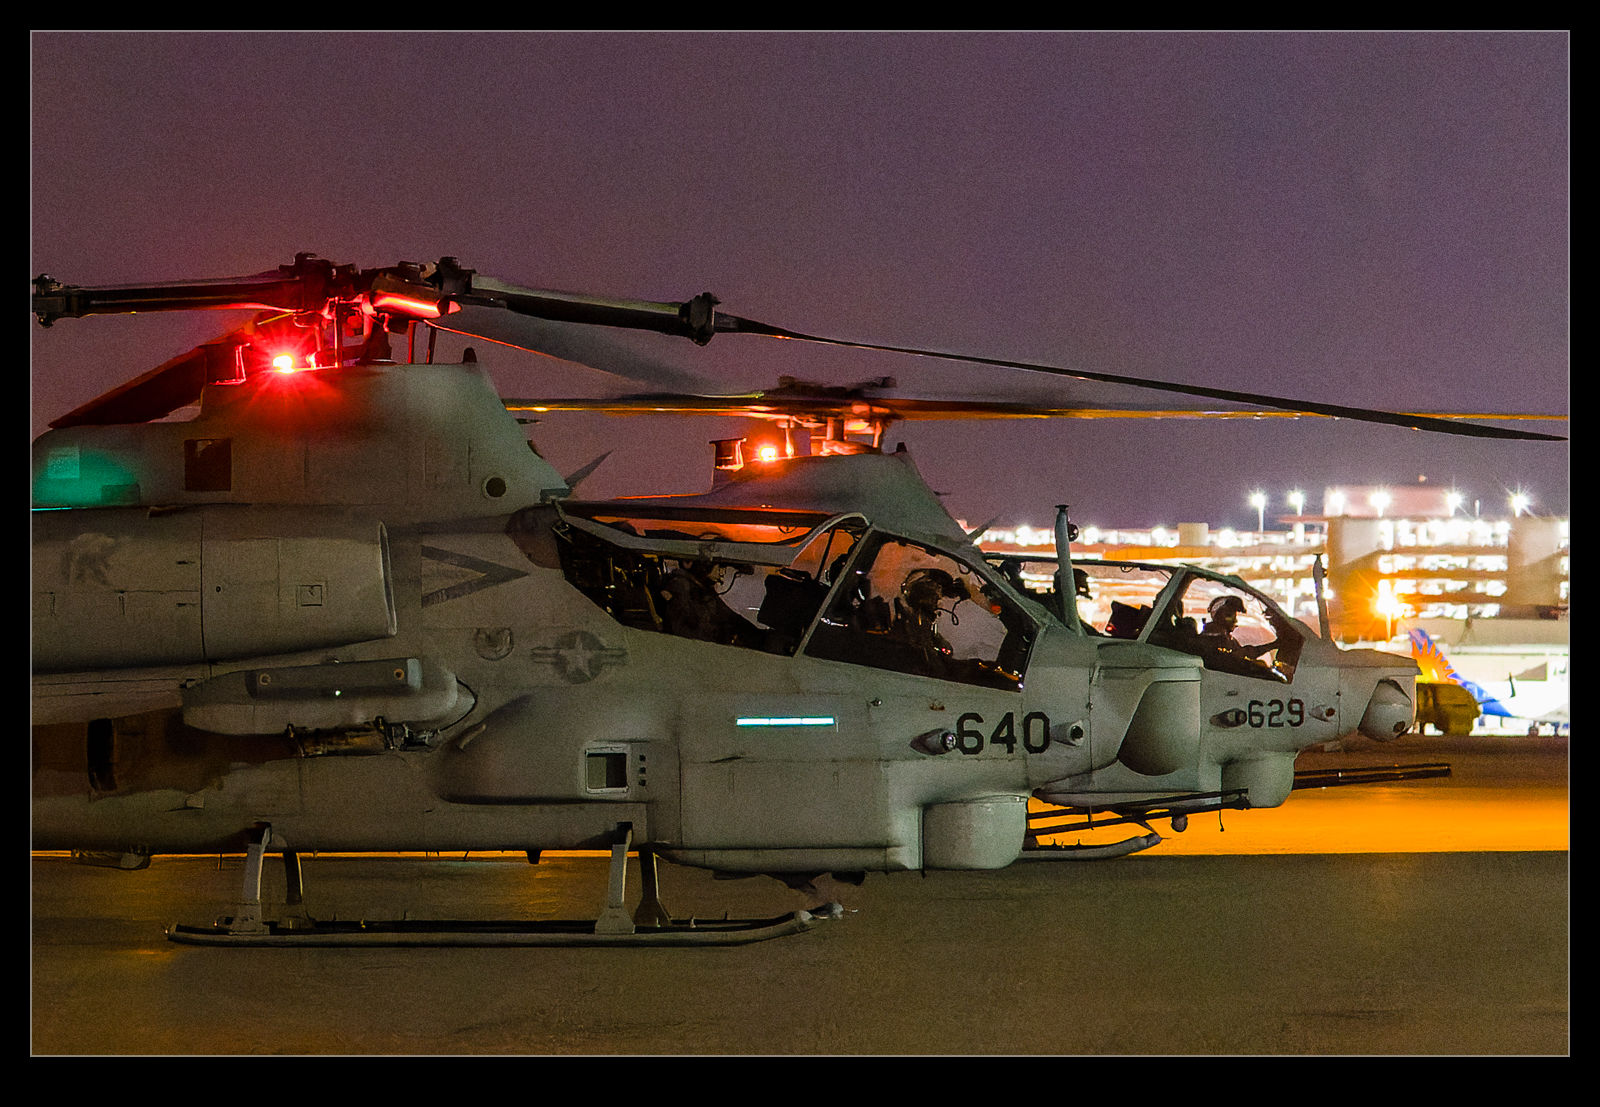
The most widespread software provider is Adobe with their Camera Raw convertor built in to Photoshop and Lightroom.  There are others with their own software and you can come across some quite heated discussions online about which is the best.  Hyperbole abounds in these discussions with anyone getting in to the debate almost always dismissing Camera Raw as terrible.  It’s clearly not terrible but it might have its limitations.
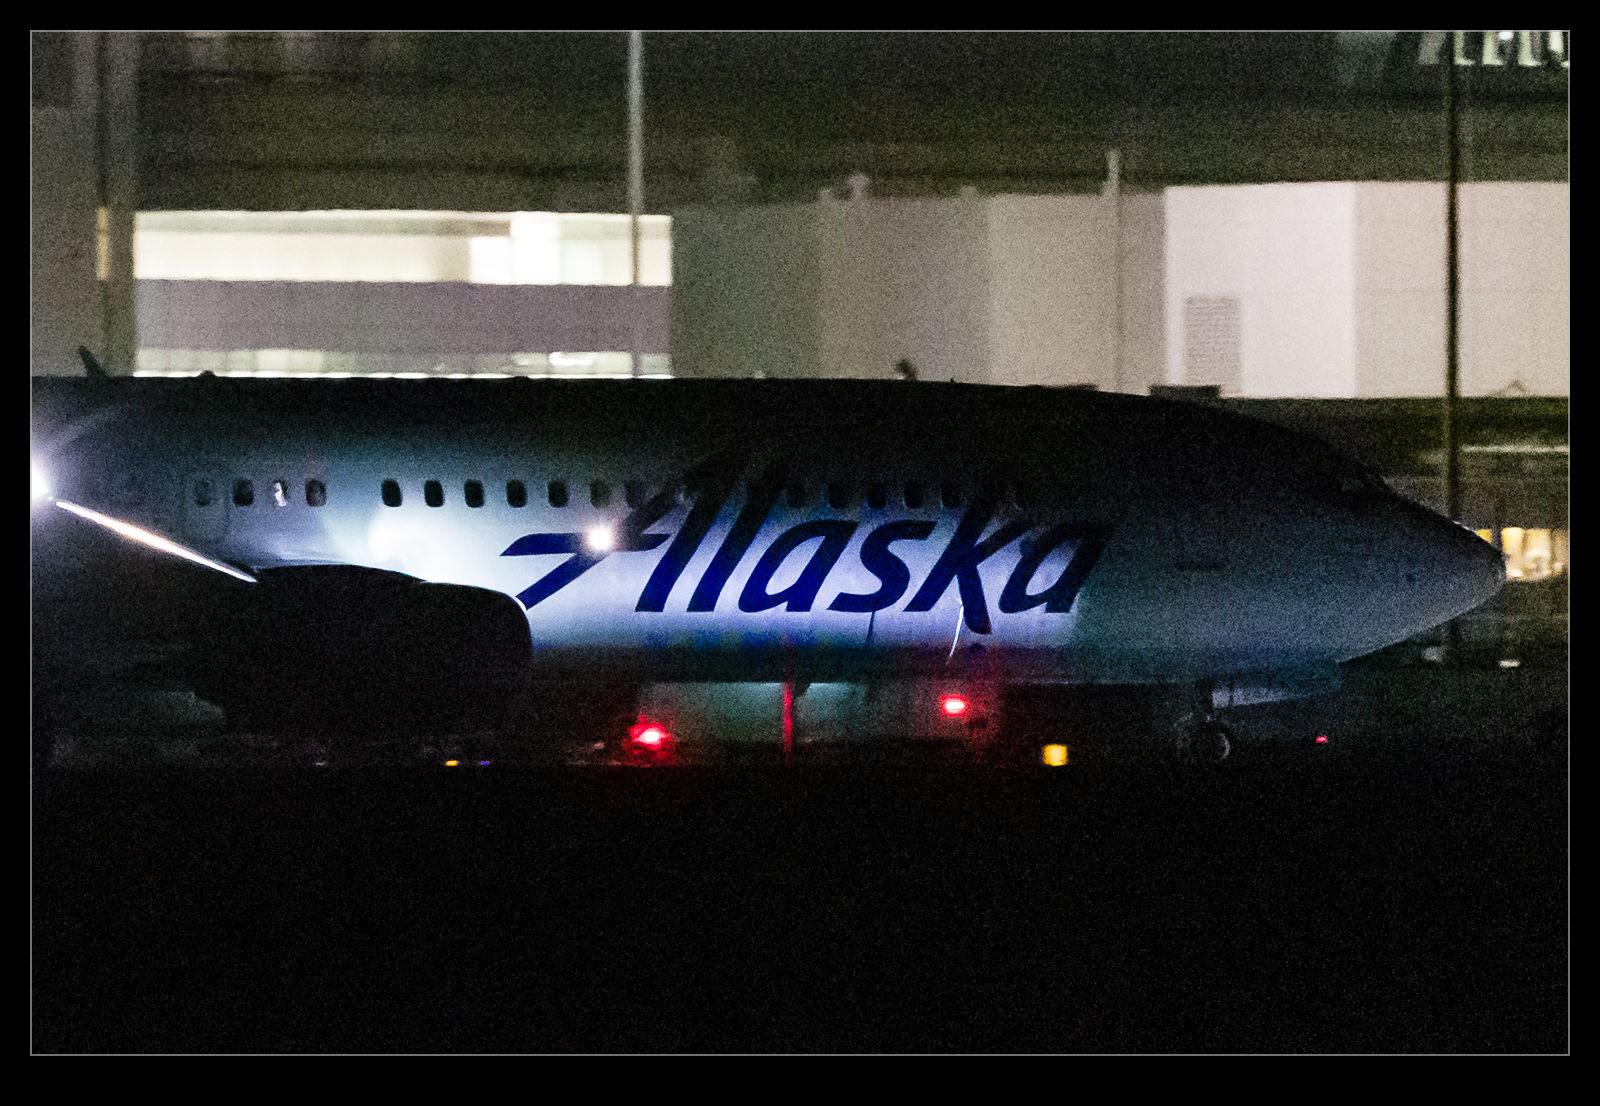
PureRAW is a convertor which doesn’t really give you much control.  Instead, it takes the Raw file, does its magic and then creates a new DNG raw file which you can them import direct in to Lightroom (if you choose – which I do) to continue to edit in much the same way you would have previously.  Watching the reviews, they seemed to suggest that for normal shots at normal ISO settings, there was not much in it.  However, for high ISO images, they showed significant differences with reduced noise, sharper images and clearer detail.  Some reviewers thought it might even be a bit oversharpened.
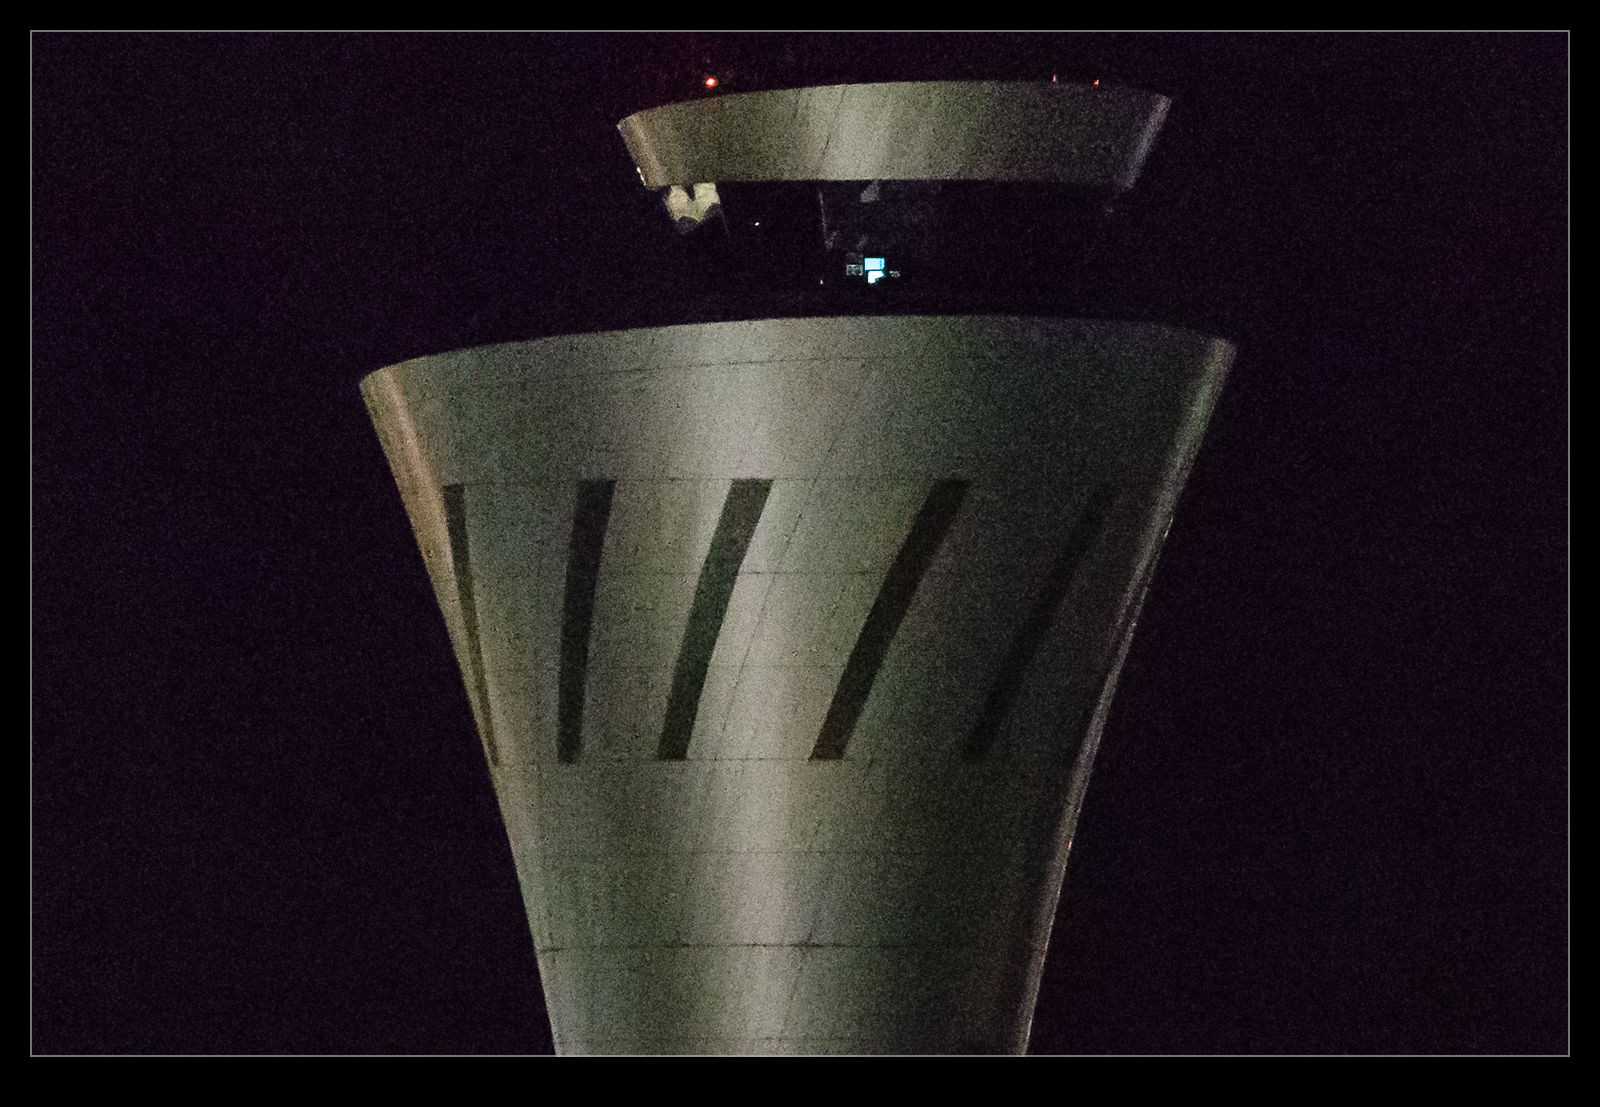
I figured I would try out my own experimentation with some really high ISO images.  I have some shots at ridiculously high ISO settings that I took at night or in poorly lit environments.  These seemed like a good place to start.  The workflow is not ideal – this would not be something I do for all images but only for some that seemed like they would need it – because I have to select the shot from Windows Explorer (getting there by right clicking on the image in Lightroom) and then drag in to PureRAW.  I can drag a whole bunch of shots over there before having to do anything to them.

The program will download profiles for the camera and lens combinations if it doesn’t already have them and you have to agree to this.  Not sure why it doesn’t do it automatically to be honest but I guess there is a reason.  When you have all of the shots of interest selected, you click Process and off it goes.  It isn’t terribly fast but I wasn’t dealing with a huge number of shots.  Interestingly, I took a look at Task Manager to see how much resource it was using and the processor was barely ticking over so it wasn’t stressing the machine at all.  At a later stage, for reasons I shall explain in a while, I did deactivate the use of the graphics card and things got considerably slower.
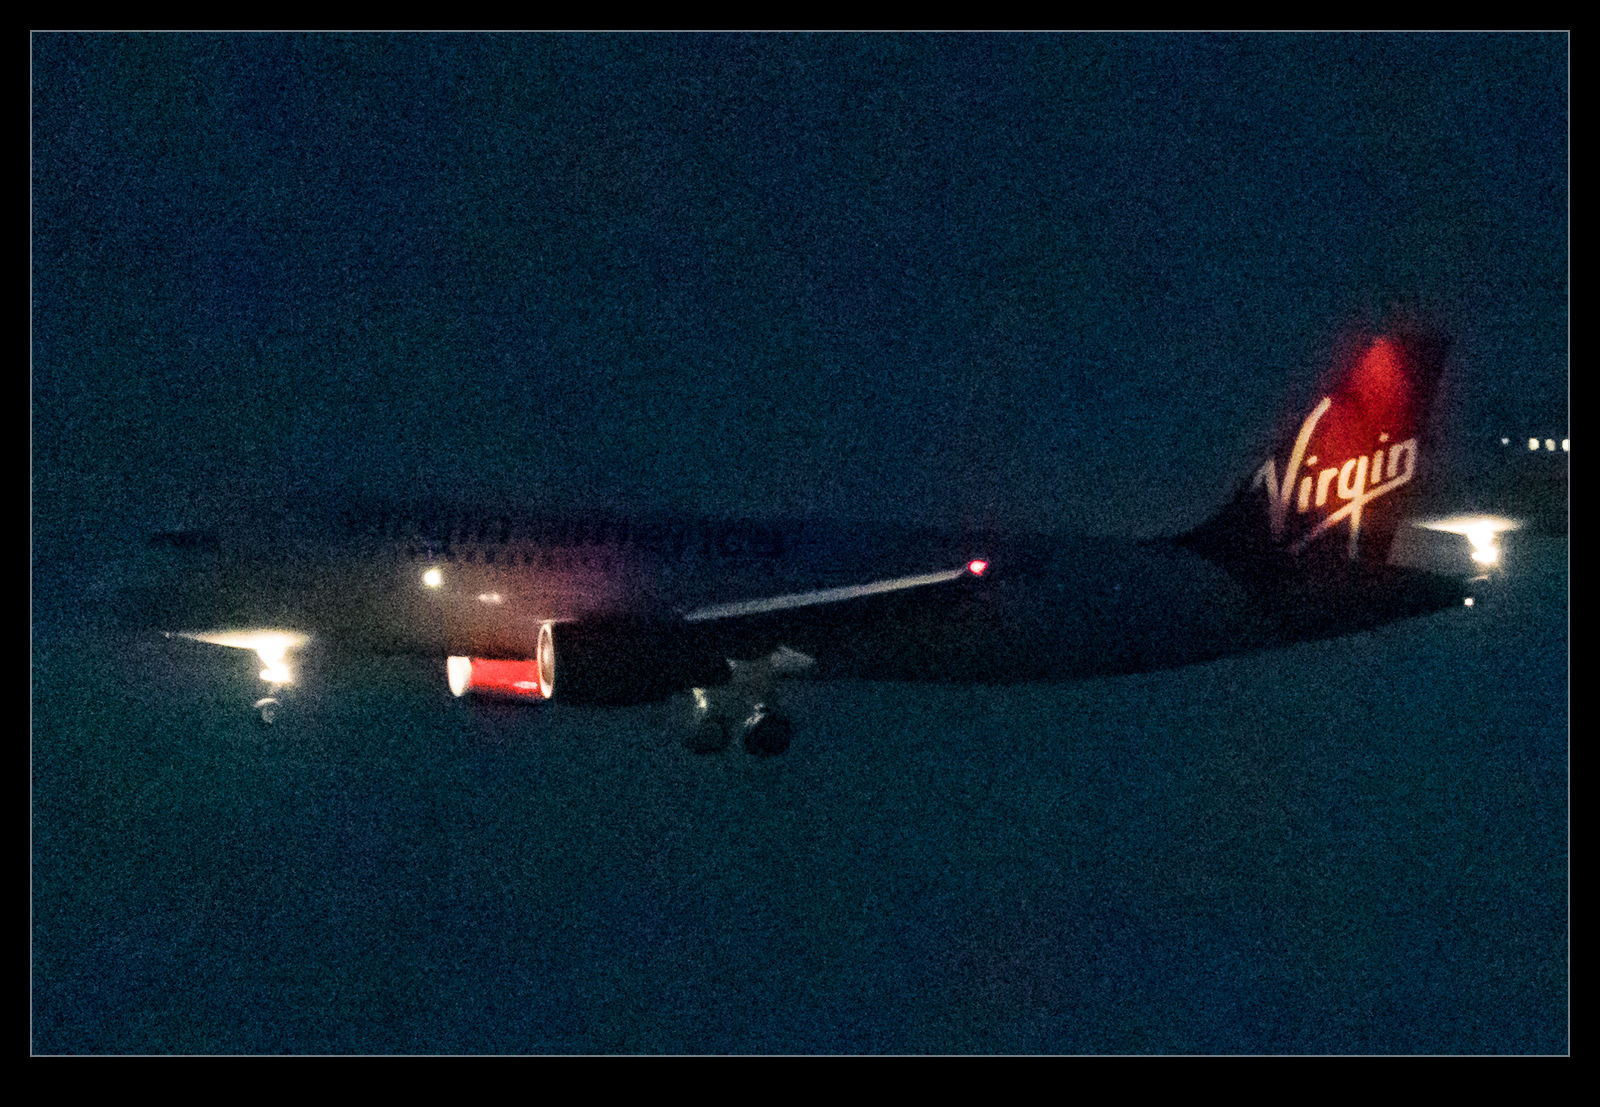
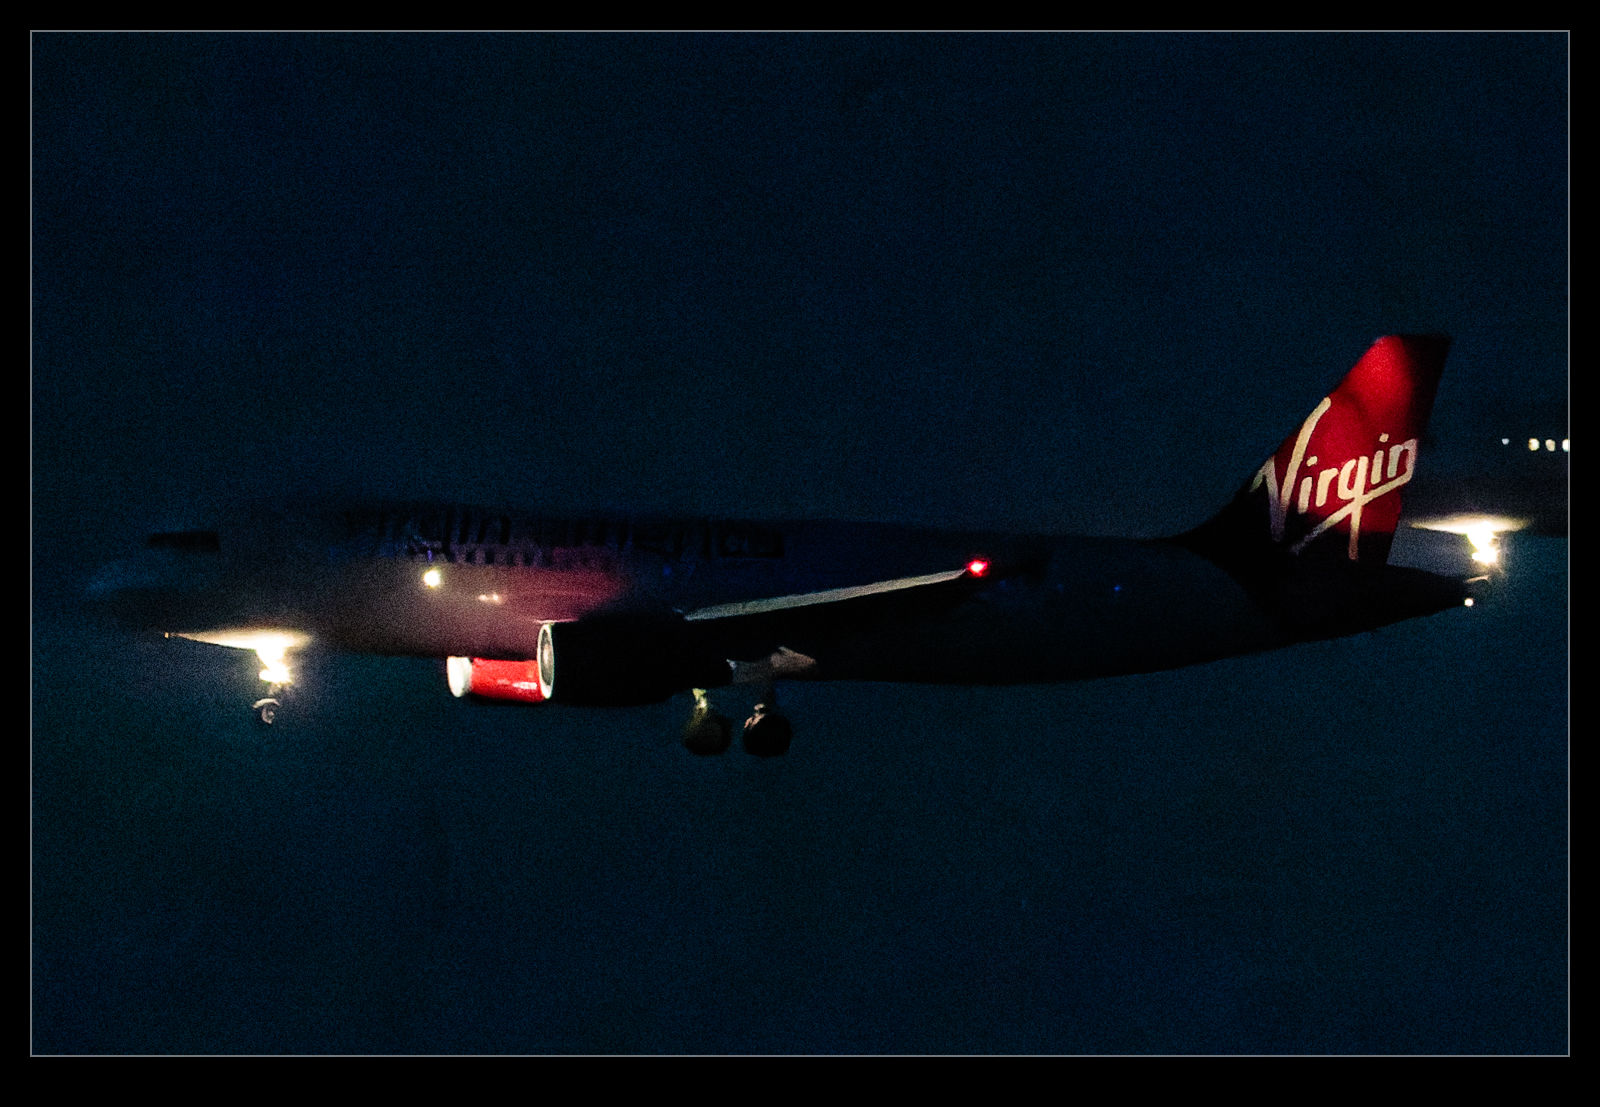
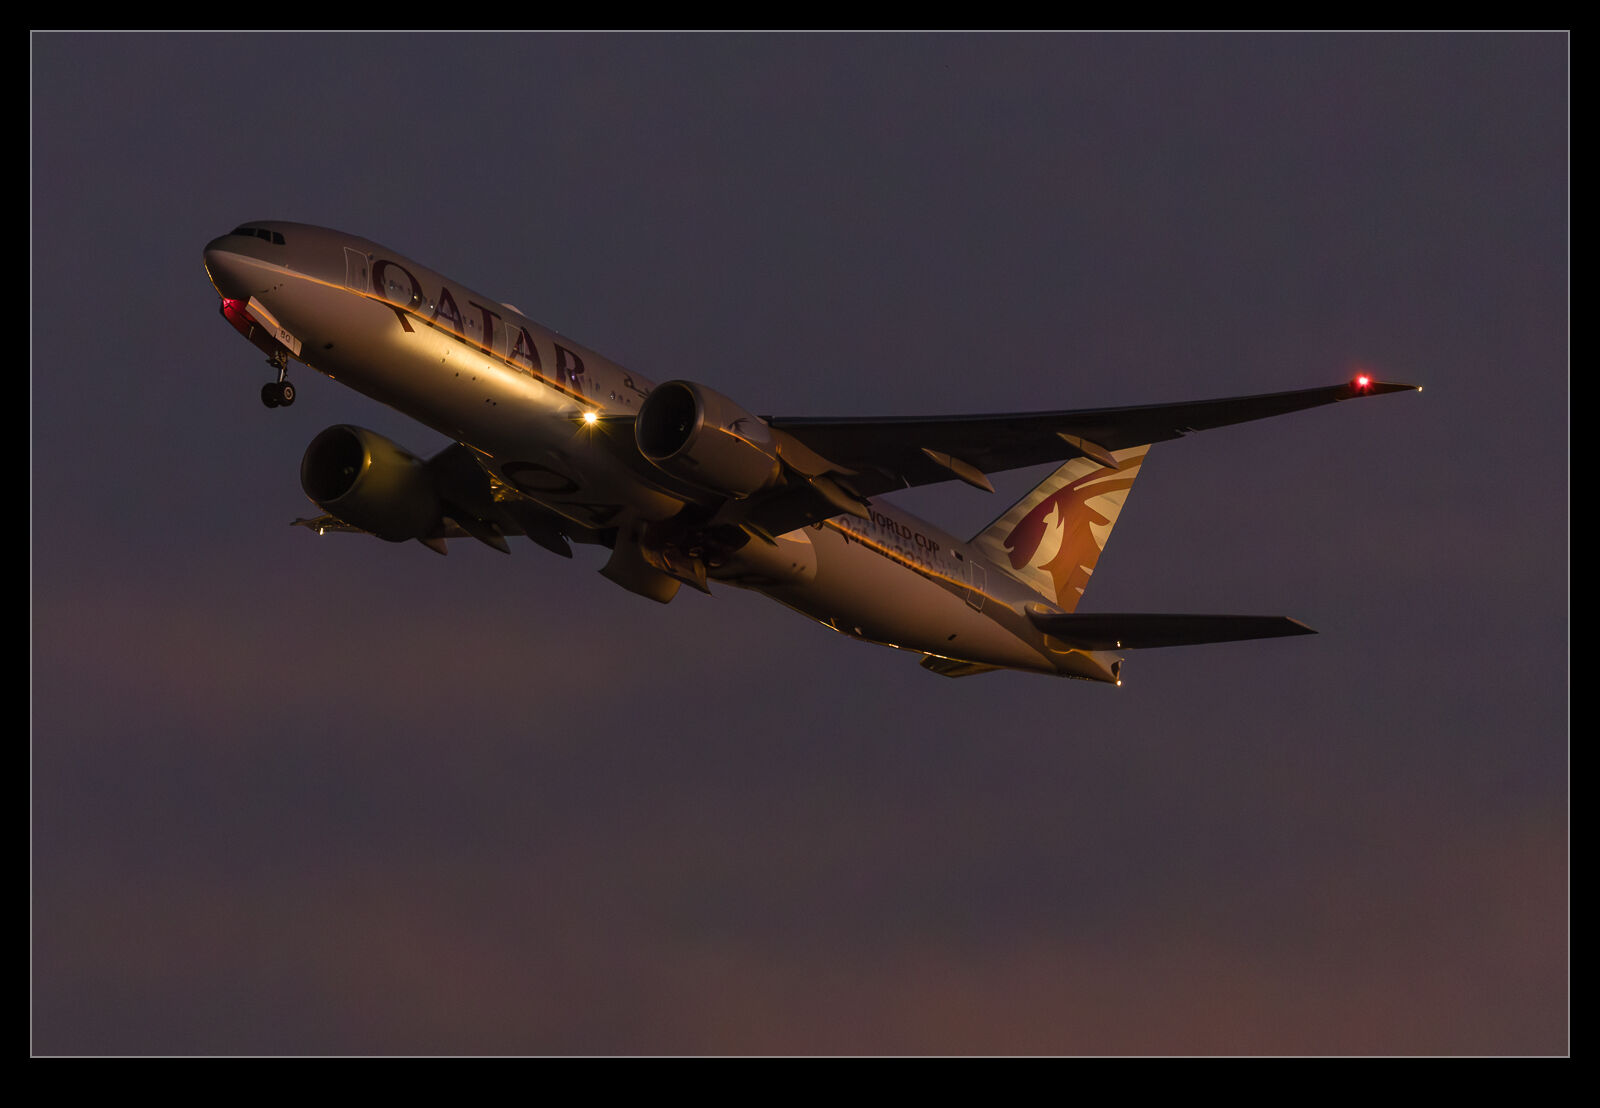
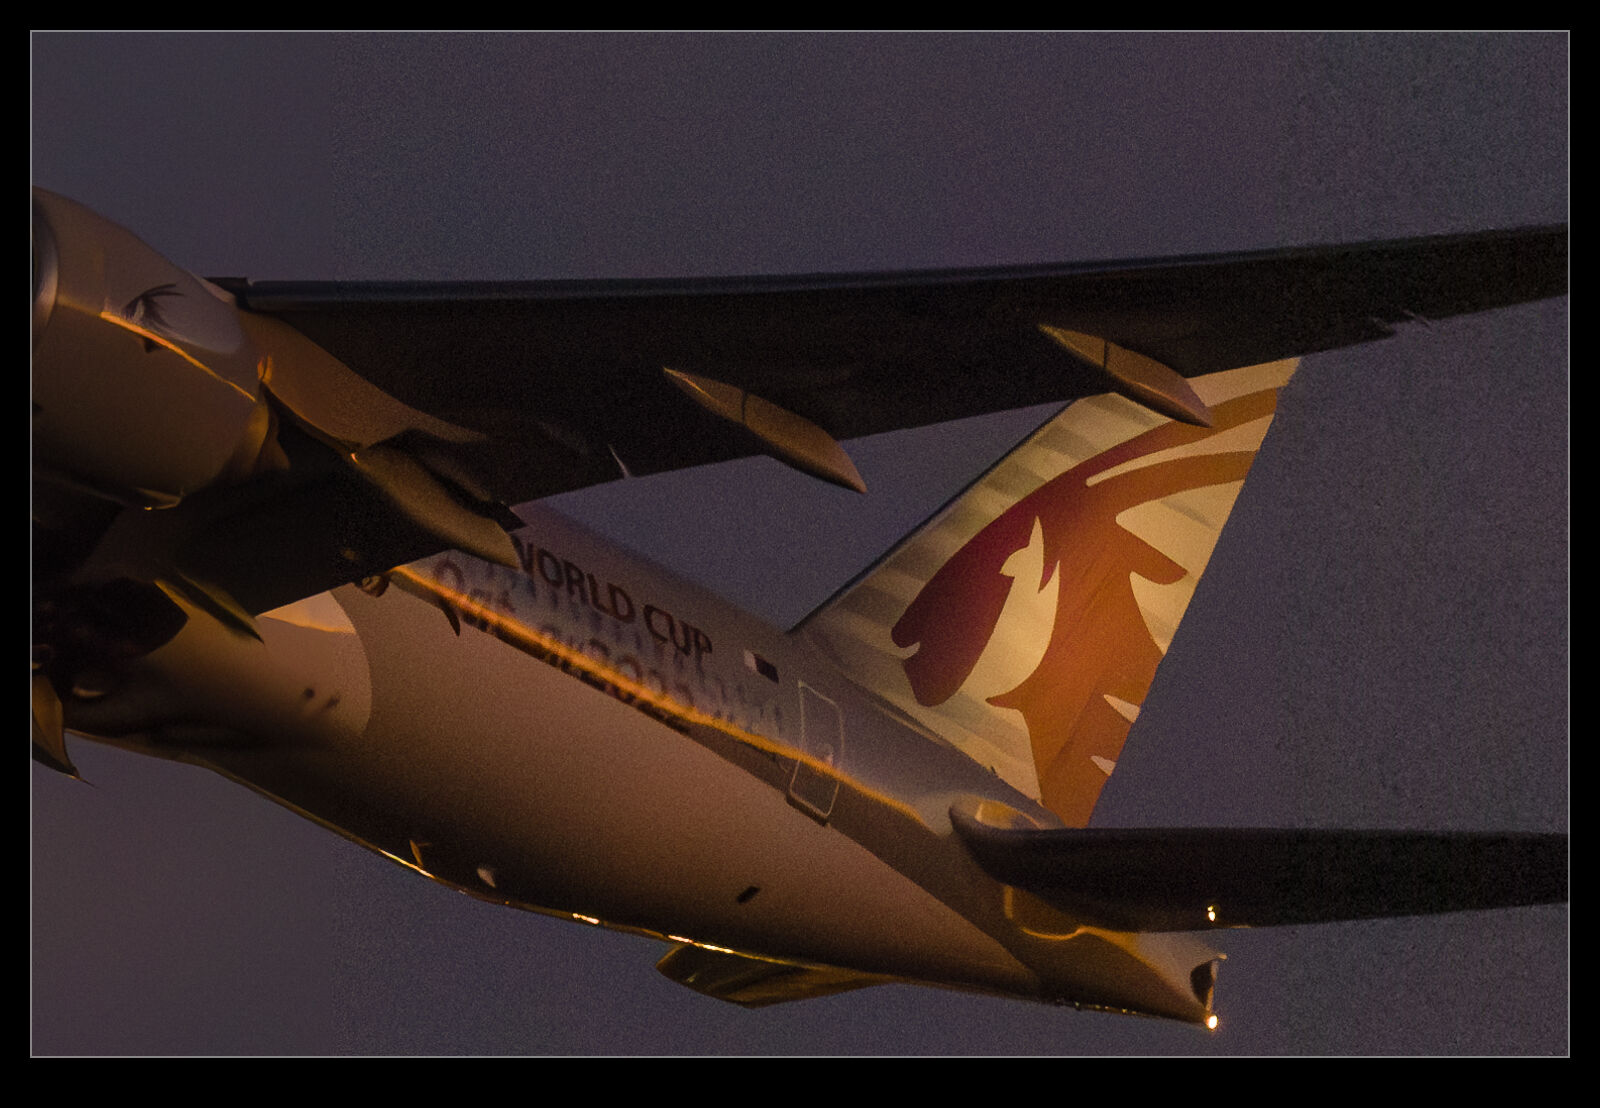
When the processing is finished, you have the option to export them to Lightroom.  It saves them in a sub folder for the original folder and they all import together.  Since I have Lightroom sort by capture time, the new files arrive alongside the original which makes comparing them pretty simple.  For the 204,000 ISO shot (an extended range ISO for that camera), things were slightly better but still really noisy.  For the 51,000 ISO shots, things actually did appear to be pretty impressive.  I have a normal profile for the camera that I use for the raw conversion and a preset for high ISO conversions and the comparison is not dramatic but it is definitely a sharper, more detailed and slightly cleaner result.

I have put pairs of shots in the post with crops in on each image to give a comparison of the output so you can judge for yourself.  Will I buy the software?  I don’t know.  It is currently $90.  That is quite a bit for software that does one thing only.  The interface with my workflow is a bit clunky and it has benefit in a relatively limited set of circumstances from what I have seen so far.

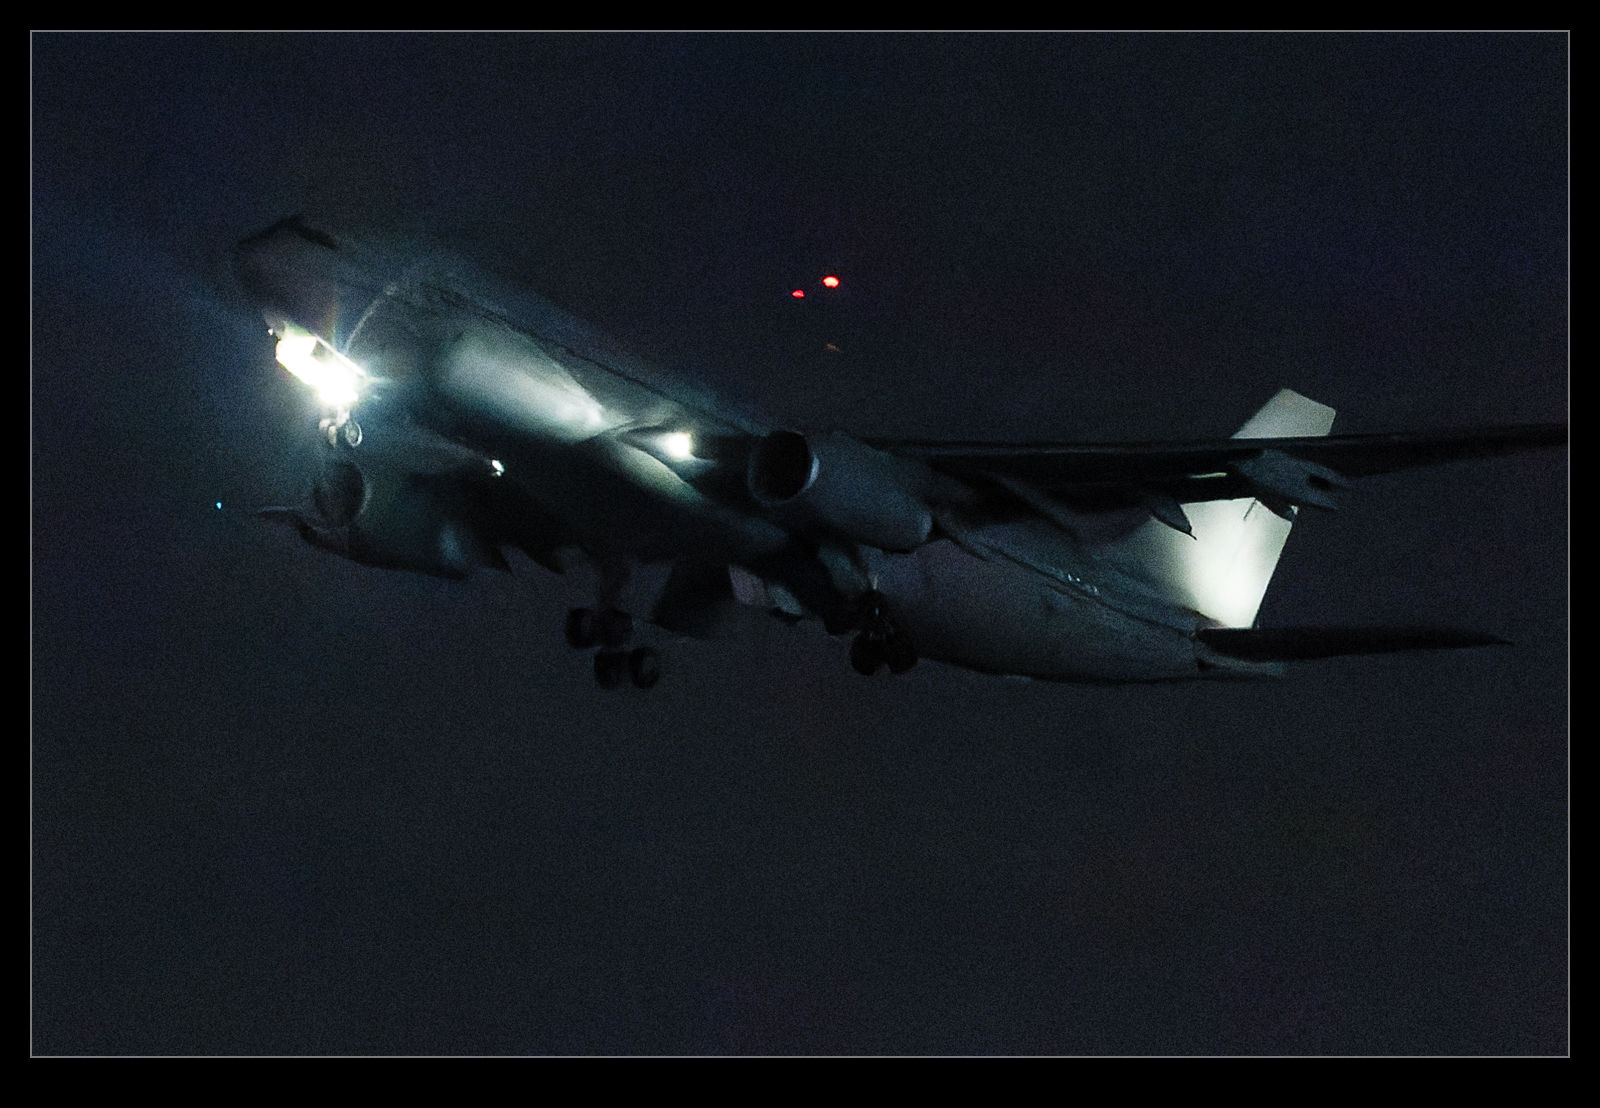
Now for some further feedback as my experimentation has progressed.  I did try the tool out on some more normal shots.  There are some minor differences from a conversion of the raw within Lightroom but they don’t seem to be significant enough to justify the investment.  I played with some shots that had very contrasty scenes and it was slightly less noisy but, again, not that big a deal.  They also felt over sharpened.

I have had some problems with the program.  After a while, I got conversions where the new DNG file was just black.  This happened on a few occasions.  I found switching to CPU only solved the issue but only after I deleted the DNGs that had been created.  Interestingly, once I went back to Auto mode, it continued to work.  A weird bug and not one unique to me apparently.  I have also had erratic results when it exports to Lightroom with it failing to do so on a number of occasions.  This is really laborious to deal with and, combined with the fact that the drag from Lightroom to PrimeRAW only works on a Mac and not on Windows, the lack of integration is really enough to put me off.

So far, I will let the trial expire.  It is a tool that is capable of some interesting improvements in more extreme situations but the integration is poor and the benefits are limited for me so, with that in mind, it just isn’t worth the expenditure.  If it made more of a difference to normal shots, I might consider it but it currently doesn’t offer enough to justify the cost or the process slowdown.
Video Editing With DaVinci Resolve

While it is not what it was designed for, I have been using Adobe Photoshop for my video editing for quite a while now.  It did enough for my purposes so I couldn’t see the point in investing in new software purely for video.  However, I was talking to someone hat was starting to play with video creation and they wanted something to work with, so I looked around at what was available.  I saw that DaVinci Resolve, while available as a full feature video editor commercially, came also with a free version that seemed to have a lot of the features that the basic user could want.

Since I was potentially going to recommend this, I figured I ought to try it out myself first to see how it worked.  I have to say I have been very pleased with it.  There are clearly plenty of features in even the free version that I am unlikely to take advantage of.  It is also a lot more user friendly than Photoshop when editing video (which is hardly surprising given that is what it is designed to do).  I have played with a few edits now and I am starting to get the hang of it.  One lesson I have learned so far is to choose the continuous save option.  I spent a lot of time on an edit and the software locked up after lots of work.  The whole thing was lost.  Now it keeps a running save going (although I haven’t tested that properly as it hasn’t crashed since).  This looks like it is my new go to for video work.

Lightroom 8.2 Detail Enhancer

Updates to Lightroom come along relatively regularly and they tend to include new features along with fixes and performance tweaks.  The latest update, Lightroom 8.2, includes a new addition called Detail Enhancer.  This is a feature that is designed to provide some better small-scale detail as part of the raw conversion process.  It creates a new DNG file based on a more complex calculation of the demosaicing of the sensor data.

I saw some videos about it and figured it wasn’t going to be of much use for the type of thing I am working on.  However, it did trigger one possible area of interest.  The algorithms are supposed to be designed to make better calculations around the different color pixels that sensors have.  Sensors are set up in a Bayer Pattern where different color sensitive sensors occupy different pixel spaces.  They each record in one color and then software interpolates between them to create colors for each pixel irrespective of which color was originally recorded at that location.

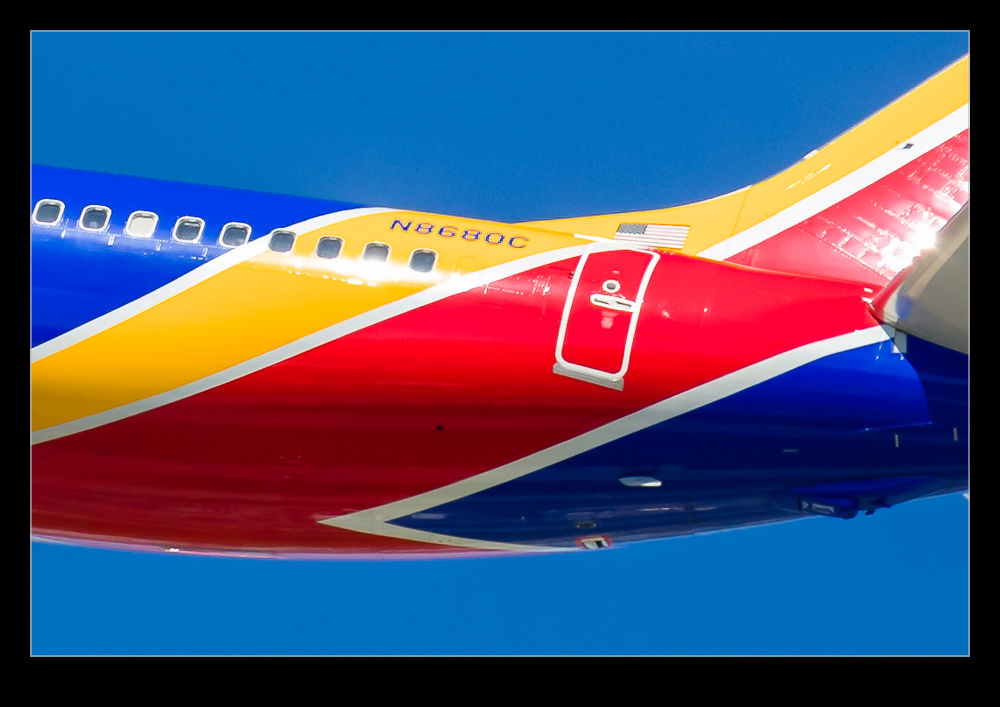
In a post from a while back, I mused on the way in which the colors of the Southwest Livery and the registration clashed and seemed to provide a distorted image even when everything around them was sharp.  I was pondering whether this was artifacting caused by the different colors and the way the sensor was recording the data.  If this was the case, maybe this new functionality would change the way things were rendered.  I dug out a few of the shots that had previously demonstrated this effect and ran the process on them.  These shots show the wide shot, the original rendering of the close up and the revised rendering using Detail Enhancer.

As you can see from the comparisons, Detail Enhancer does not suddenly render a perfect registration for the aircraft.  However, to my eye at least, it does appear as if the results are noticeably better then they were with the original rendering.  For completeness, the original rendering is done with the latest process version of Adobe’s raw converter to make things as fair as possible.  It does appear to make a difference.  This makes me think my theory about whiny things looked wrong might have some merit, even if this update has not fully resolved things.

1DX Mk II First Impressions

After a little bit of time shooting with the 1DX MkII, I have started to build my impressions of how it is working for me.  This is definitely only a first impressions review since there will be a lot of time before I have got totally used to it and have worked out the details of its functionality.  For reference, I have previously been shooting with the 1D MkIV so things have moved on a lot from that.

Focus is a good place to start.  I didn’t have a particular problem with the MkIV but this one does seem to be a bit snappier when it comes to focus.  I was recently shooting some subjects which had a lot of scope for the focus to get confused.  However, it seemed to be reliably on target – certainly far more than I used to experience.  There are a multitude of focus points and combinations.  I haven’t even started to get into them yet.  I tend to have simple requirements of the focus points, generally based around the center point but I will be trying more in due course.

Exposure has thrown up a couple of things of note so far.  First is the amount of light you get with a full frame sensor.  I have read a few things about the way camera manufacturers reference ISO and aperture combinations with crop bodies but I hadn’t had a chance to explore this.  Using the same ISO and aperture as I used to, I am getting shutter speeds noticeably higher than before.  I will now revisit what my settings are since I don’t need speeds that high.  The other change is in the handling of backlight.  I had got a good grip on what exposure compensation I needed for various sky conditions with the previous body.  Starting with those resulted in overexposure.  I find the body is better able to get it right itself so I have been tweaking the exposure comp down.

Video capabilities have been significantly expanded but I have yet to get too far into them.  I started out with the default HD settings but I have changed to a larger file size format to get more latitude for editing.  Having not done any detailed editing yet, I have not found out how much of a difference this makes.  I have not played with 4K at all yet.  The big thing in video is the dual pixel autofocus.  Previously I had to fix focus before the shot started and any zooming would tend to move things out of focus.  Now I can select by touch what I want to track and the camera seems to do a nice job of keeping that sharp during motion, panning or zooming.  This is a nice addition to have when dealing with motion relatively close in.

The setup of the control buttons is an evolution of what I know.  There are some additional buttons to work with and they are configurable.  I haven’t tried reassigning anything yet since I want to find out what I need most often before I do so.  They have made a switch in the stills to video control with that now having its own control.  I am still getting used to it compared to the way I did it on the MkIV but I firmly believe the new configuration will be a big improvement.  I just need to retrain myself to use it without thinking.

Preset configurations are a great addition.  I moaned about this to a Canon rep many years ago.  The 40D had preset configurations you could program and switch between quickly.  When shooting props and jets, this is a nice thing to be able to do very quickly.  Everything about the setup is programmed so it is a powerful addition.  Finally I have it on a better body.  There are three presets.  I have one for jets, one for props and the third I have configured so I can give the camera to someone else to shoot without having to explain back button focus and center points.  It is in a more user friendly configuration to hand off.  I shall see whether that gets much use or not.

The card configuration is now CFast in one slot and Compact Flash in the other.  The camera came with a 64Gb CFast card and I have put existing 64Gb CF in the other slot.  So far I have not had to use the CF so I haven’t noticed the write speed.  Buffer is huge so I doubt this will be an issue.  The CFast is working fine.  It does seem to download very quickly via the USB3 card reader that was also included.  The card does also get noticeably warm when working a lot.  No specific upside or downside so far.  The CFast is required for 4K at 60fps but otherwise CF will work fine.

Now for one of the big surprises.  Canon has upped the frame rate to 14fps.  It was 12fps on the 1DX and 10fps on my old MkIV.  I did not think that this would be a big deal.  A small increase?  I was wrong.  This thing flies along.  A quick squeeze of the shutter and suddenly I have three shots.  It buzzes rather than has the sound of individual actuations.  This means a slight variation of shooting technique for me.  I used to shoot short bursts for each view.  I could then pick my favorite of the burst during post processing.  I can still do this but now it is a shorter hold of the button to get the same effect.

A small addition I like is the built in GPS.  I have been using an app on my phone to create a gpx file tracklog during photo shoots.  I can then import this in Lightroom and it matches with the shot times to tag the images.  With a built in GPS, the shots are automatically tagged.  This will help when flying which often meant I couldn’t get the tracklog to work in the old process.  As a aside, the GPS allows the camera time to automatically update so no need to plug them in periodically to get the time synced up.

I can’t overlook the fact that the 1DX MkII is a full frame camera.  I was a little concerned about losing the crop factor I had on the MkIV.  Shooting aircraft sometimes makes the extra reach of the crop factor helpful.  The pixel density is a little below what it was before so I don’t have the virtual crop to play with.  However, so far I am finding that I am just shooting like normal based on what I see in the viewfinder.  We shall see if I notice the difference as I get to do a variety of shoots.

File size is a step up as a result of the higher pixel count.  This is resulting in a bit more effort for the computer when it is rendering the shots.  I can see a noticeable difference in the speed with which the 1:1 renderings get completed.  This is not yet causing a problem but I shall see whether a bottleneck develops.  I will also see how this impacts my backups.  I previously used to back up files in blocks of 1,000 per Blu-ray disc.  If there were no video or large edit files, the disc would have spare capacity.  Currently, it looks like I might still be able to do the same thing but with less margin.  Another thing to watch as experience is gained.

Battery life is officially down on the previous camera.  The increased processing power requires more juice from the batteries.  I have been on a couple of big shoots on consecutive days with many thousands of shots over the days without having gone through one battery.  If there is a reduction, it is certainly not causing me any operational concerns.

That summarizes everything I have identified so far.  I have a long way to go in learning to make good use of the camera but I have to say I am very happy with it so far.  It is a great piece of kit.  I have much to still try.  I have not even got in to the high ISO capabilities at this point.  This is something I want to play with before too long.  Longer days will make that a bit trickier but the opportunity will present itself.  When I do, anticipate a post on that too!  Overall, I love it.  Anyone want to buy a MkIV?

Experiences with Lightroom CC

I have discussed some of the new functions of Lightroom CC here and here. Aside from those changes, how have things been with the program overall? To be honest, I am a bit underwhelmed by the new version. There have been a few minor functionality upgrades but nothing huge. I do like the ability to add images to a collection when importing them since that has saved a step for me. However, the presets do not seem happy remembering which collection it is so that is rather buggy. Many of the bugs in the previous version also exist so, if they have really recoded a lot, they have still reused a lot of the code.

The new version also seems to have a fair few bugs of its own. The crop tool seems to have developed some new quirks that result in it deciding you have finished selecting the area a short while after you actually do so, if you have moved the cursor away, you get some very odd effects. I still can’t get it to stop trying to create a backup copy of my files when I import new images. Nothing new was added for video which I think is daft. They give you the capability to import video and even trim and edit clips. However, with Photoshop having the ability to be a basic video editor (and now my default), there is no way to connect videos in Lightroom with Photoshop in the same way as you do for stills. That baffles me.

The big benefit is in processing speed. My workflow involves rendering 100% views to speed me through the culling process. The new version certainly renders them a lot faster. I did have to upgrade my graphics cards though. My vintage cards did not have the necessary version of OpenGL to let Lightroom take advantage of them. It also has lens profiles for two of my lenses that were not in the previous version which is nice to have.

Overall, I am okay but a bit underwhelmed. Since I pay for the subscription, I am paying for it but it does have the feel of being free so I am less concerned even if I can understand the truth. What I am hoping for is a bit more frequency in fixes to deal with the bugs and maybe bring some extra capabilities.

Lightroom’s New Panorama Feature

Lightroom CC comes with a number of new features. High on the list is the new panorama feature. Previously, if you wanted to stitch a panorama, you would select the shots in Lightroom, make sure you had them synced up for any exposure edits and white balance corrections and then send them to Photoshop. Photoshop had a Photomerge function that you could use or you could open them as layers in a document and carry the merge out yourself with a bit more control. This was the approach I used and I wrote about the technique here a while back.

The new Photomerge in Lightroom CC is designed to do without Photoshop. It takes your original files and then makes a new DNG file which is the stitched panorama but, as a RAW format, it still allows you to edit the image using the normal editing tools. I had to give this a go so, how well does it work?

The answer is a mixed one. In many cases, it works just fine. It stitches together the shot nicely and you can go on your way. While the initial preview process takes up a little time, the processing of the final stitch is done in the background so you can get on with something else – something I find very handy. However, it does have some shortcomings.

First, it doesn’t always find the way to stitch the shots. I have had a couple of times when it couldn’t work out the alignment. When I tried the same shots in Photoshop, they worked just fine. Not sure why these didn’t work but the algorithms must have some limitations. Next, it doesn’t always deal well with curvy edges. I have had a couple of stitches that I tried where the aircraft fuselage, although a smooth curve, ended up with some kinks at the area where the stitch took place. Photoshop never caused me trouble with these either. Big panos also seem to make it unhappy with some very odd alignments being chosen (after a long time processing) so they may have to stay in Photoshop for now.

The last problem is cropping. You have the option to have the whole stitch or to have it crop in automatically (or you could crop manually afterwards). Cropping pulls you in to the shot more aggressively to get rid of any blank pixels. You can fix this by shooting a lot wider to have more to work with. However, having been used to being able to fill odd little gaps using Content-Aware Fill in Photoshop, not being able to do so in Lightroom is a limitation. I can, of course, open the file in Photoshop and do just that. However, if I do so, I might as well use Photoshop to do the merge in the first place.

Overall, it is pretty good. I suspect there will be some tweaks behind the scenes as CC gets updated progressively so I might not even know that Adobe have fixed some of the issues. The Fill issue will be more obvious though. I shall probably keep using it unless I feel the Photoshop is merited and it is a good addition but I hope they take it further so I don’t have to consider Photoshop in the future. We shall see because the new update of Photoshop is out and includes Content Aware Fill of the gaps in panos which might be enough to sway me back.

Canon 100-400 Review

One of the longest running sagas in the world of camera equipment watchers was the replacement of the venerable 100-400 zoom lens. I have had the old version for about ten years and it has been a useful workhorse for me. However, it was becoming a little unreliable in recent years. A trip to Canon came back with a clean bill of health but I still found it a little trickier to get good results with. I had totally given up on the image stabilization as I found it often made things go strangely, particularly in the view finder.

Consequently, I have been keeping an eye out for when the new lens was due to come out. I planned to replace mine when the new one showed itself. As it was, I had been waiting of quite a while. Then, at the end of 2014, the new lens was released. There was not a glut of them available (and at the time of writing they are still pretty hard to come by) but I placed an early order and a couple of days before Christmas, it showed up on the doorstep.

First impressions had to wait as it was taken away to become a gift. However, once I did get it in my hands, I was quite impressed. For those that aren’t following these things (and if you are interested, you probably are following them), Canon have changed from the push-pull style of zoom to a ring operated zoom. This is like most other zoom lenses and it seems to work well. However, they have made the zoom ring the outer ring which is the opposite of my 70-200 so makes for a little adjustment. It does mean that the focus ring is where your hand might be when bracing the camera for steadiness. However, this has not been an issue for me yet.

I took the old and the new lenses out for a shoot to see how they compared. I shot with each in turn as well as doing some comparison shots to see how much they varied. It was interesting that, when I imported the images into Lightroom, I went through them to cull the poor shots and found the rejection rate would go up and down. This was when switching from one to the other. The newer lens seems to have a higher rate of keeping focus for moving subjects (surfers in this case). The bodies were the same so the lenses were the only variable.

I quickly adjusted to the new lens and find it easy to work with. It certainly feels solid and there isn’t the play I found with the old version. The image stabilization is a major improvement. It is great for static subjects with a major improvement in steadiness. It has three modes – static targets, panning targets and a third mode that only starts the stabilization when you fire the shutter. I have played with that but have not found it to be so reliable. I suspect it is a lack of understanding on my part. However, I think Mode 2 for panning will be where mine stays.

Aside from focus, how is the image quality? Pretty impressive. In the comparison shots things were a little sharper all over but more so at the edges. I will have a word of warning here though. I have had a series of shots where one side was noticeably blurred. What I have not been able to break down is whether that is a focus plane issue, a haze issue or a problem with the lens. I have tried a number of test shots to try and get to the bottom of this but everything seems to be solid. There is possibly an issue around the 300mm mark in some one test I ran which does coincide with what I have experienced in the field but it is far less than I had seen before. However, I have had plenty of good shots so I suspect the issue is not with the lens but with what I was shooting.

The new lens hood is one that leaves me with mixed feelings. Overall, it is good. The newer lens hoods on Canon lenses now include a button to lock it in place which stops them dropping off at odd moments. This one also includes a small “window” in the side of the hood to allow you to adjust polarizers without taking the hood off. This is a nice enough idea but the sliding panel over this window, while having a detent, is easily disturbed and I frequently find it is open. Not a huge problem but a bit of a compromise in the design.

My remaining issue is not with the lens but with Lightroom. Adobe have not created a lens profile yet (or rather not released one) which I suspect means it will be in the new version of Lightroom which is supposedly imminent. I have shot a lot of stuff wide open with the lens and there is some vignetting which is not a big problem but having a well worked out correction profile will be very helpful.

Overall, I am very happy with the lens. It seems to perform very well. Once I have convinced myself the minor problems I have seen are down to me rather than the lens, I shall relax into this being a regular part of my kit. It doesn’t have the low light capability of the 70-200 but it might find itself being used more for shoots when that lens was previously in the bag. We shall see.

Think Tank Shapeshifter Review

Camera bags. Hmm… How many of them are there and how many can I own? Will I ever find the perfect bag? Of course not. However, in recent years I have come a bit closer. I have owned a variety of camera bags and actually still own all of them since I never get rid of any of them. My first Think Tank bag was the start of things getting a little bit better. They do make some really good bags that seem to have been well thought out. It also helps that I have become better focused on what I actually want from any particular bag. No bag does all things so I have systems that are suited to certain roles.

One thing I have been troubled by for a while is taking a camera with me on work trips. When I am traveling light for the work trip, carrying some camera gear with me is a bit problematic. I have recently been carrying a body and lens or two packed in my roll-aboard bag but this is hardly ideal. My work backpack was too small to stuff camera gear in along with the computer and other bits. Then, as if by magic, I get an email from Think Tank. They are offering a free trial of the Shape Shifter. This is a backpack that expands. It has a pocket for laptops and can hold bodies and lenses individually along with having plenty of pockets for other bits. This looks like the sort of thing that could go under an airplane seat leaving the space up top for the regular roll-aboard. It would also make the camera available while in the seat if anything looks interesting out of the window.

The trial is a month and, if you don’t like it, you just have to ship it back. I decided to give it a go and with a trip imminent, the timing seemed perfect. I am now back from the trip and I can confirm it did exactly what was required. Not only was it ideal for the travel but it also allowed me to carry the camera gear to the meetings so I could head off shooting after work without having to go back to the hotel. (It is also nice to not have to leave the gear in the hotel room.) When fully loaded, it is pretty heavy. I didn’t fill it up so with all sections full and a larger laptop – it can take a 17” one if you like carrying heavy laptops around – it would weigh a ton. However, it does the job perfectly. I guess it isn’t going back at the end of the month. One more bag for the collection!