Tag Archives: test

Initial Impressions of the RF 200-800

When Canon announced the RF 200-800 lens, I was mildly interested but not too bothered by it.  However, in an example of how easily a weak mind can be influenced, when I watched some reviews by those that had used the lens, I started to be more curious.  The focal length range was always of interest, but the aperture range had initially put me off.  The reviewers suggested that the excellent ISO performance of modern mirrorless cameras meant this wasn’t an issue.  Also, while not in anyway cheap, the lens was very well priced for the range it offered.

I went to my local shop and placed a deposit for one of the lenses.  This was many months ago.  After that, things got very quiet.  I was beginning to think that I would never see an actual lens.  Then I saw something on a Canon rumor site that said August was likely to be a time when a lot of lenses got delivered.  Whatever the blockage had been, there seemed to be some relief.  The last Tuesday of July (stuff seems to get delivered to stores on Tuesday I guess), I get a phone call telling me that my lens has arrived.  Hurrah!

After work, I headed down to pick it up.  I then headed down to the water in Kenmore – a short distance from the store – to give it a quick go.  I didn’t have a lot of time, but I got a quick feel for some of its quirks.  Initially I was a little unsettled.  The stabilization seemed very effective, but it did make tracking things that were moving slowly a bit jerky as if the stabilization didn’t believe that I actually wanted to be moving.  I worried that this would be an issue.  However, the images seemed to be rather sharp so maybe it knew what it was doing.

When I got home, I did spend a little time looking at the hummingbirds on the bushes.  The light was very low, which should be a problem for a lens with smaller apertures, but it seemed to work very well and the images were surprisingly sharp and clean.  I then took it to its first airshow.  Again, results were really very pleasing.  The 800mm reach was so helpful since the show line was quite distant and I was veery happy with the framing I could get.  The jumpiness in the viewfinder is still something I find rather distracting but it doesn’t seem to be an issue for the images, so I guess the stabilization knows what it is doing.  I also shot some video at 800mm handheld and, while there was initial wobbling, there comes a moment when it seems to get what is going on and then it is rock steady.  Quite bizarre.  I think this lens could be a key part of my shooting going forward.  We shall see as my experience grows with it.

G700 Test Jet

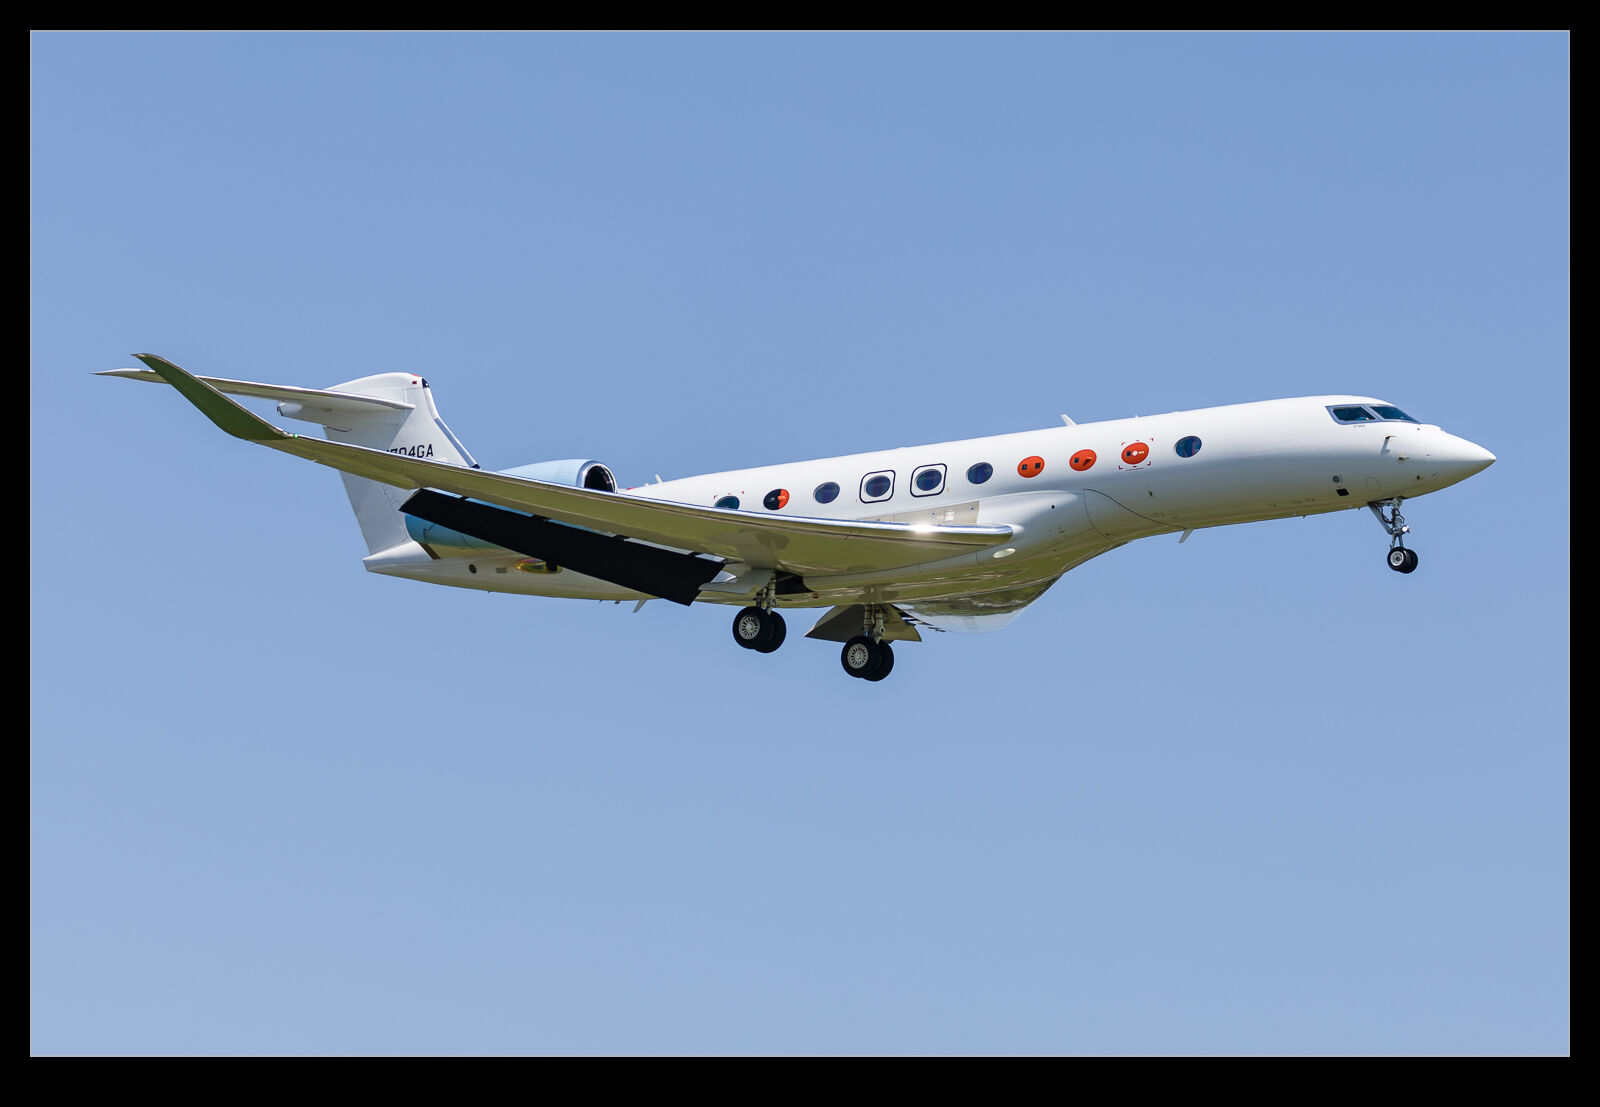
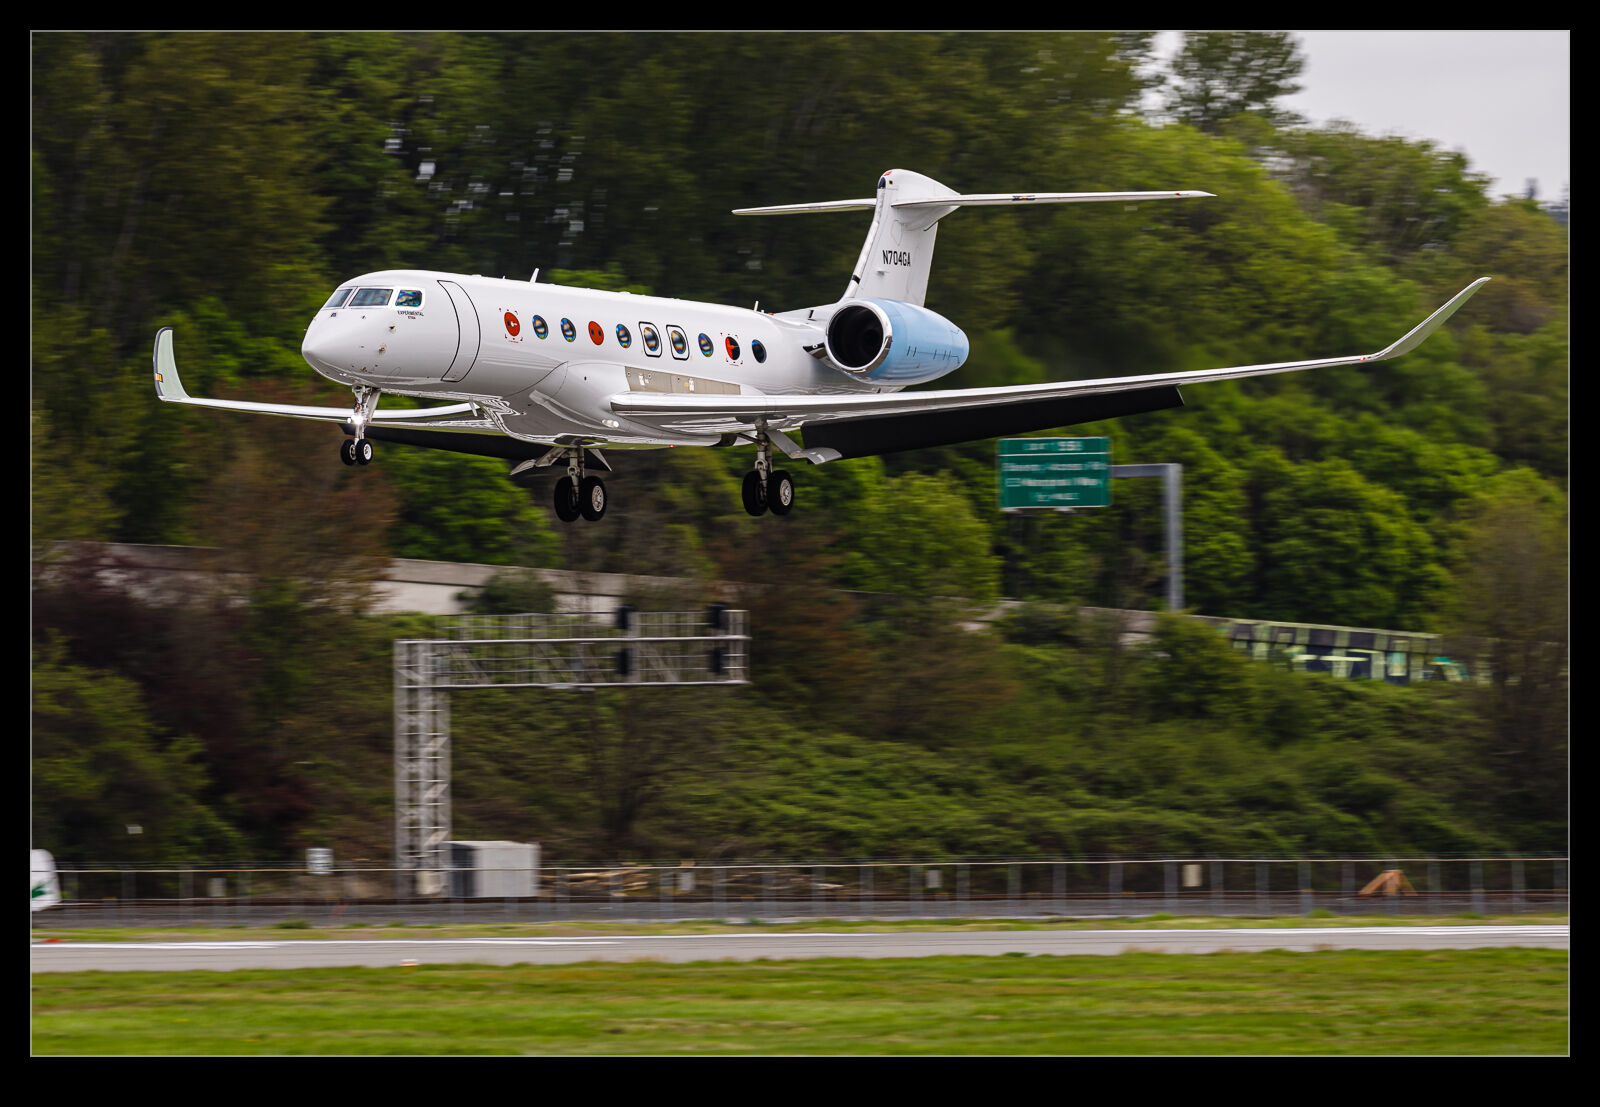
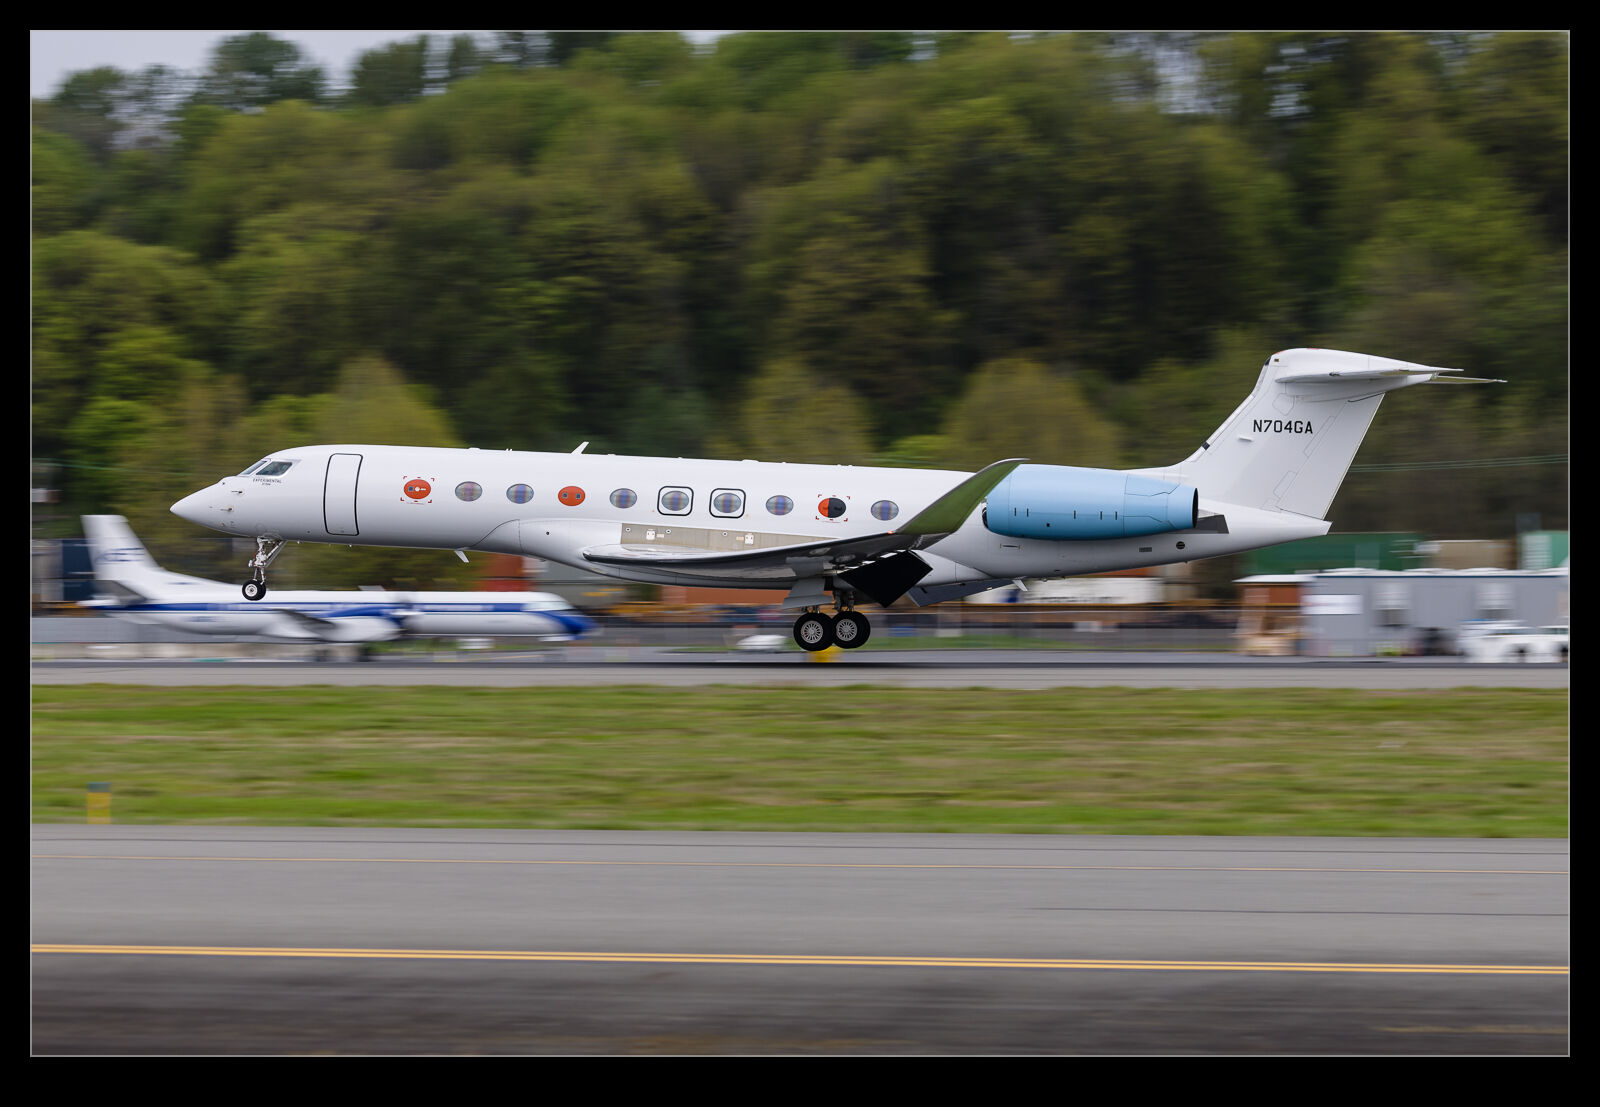
I posted about the arrival of some Hunters and, in that post, I mentioned that I was there for a Gulfstream test jet.  A couple of years ago, I managed to get some shots of a G600 test jet and I had been hoping to catch a G700 at some point.  When one of the test aircraft filed a flight plan for Boeing Field, I finally had my opportunity.  I was waiting for it when the Hunters showed up.  It wasn’t far behind them that my original target showed itself.

This is the fourth test aircraft.  It is in a nice paint job typical for the average anonymous bizjet but it gives hints to its true purpose by having some of the windows replaced with instrumentation.  I was able to get it as it came in from the south, albeit with the usual cluttered background that Boeing Field has.  Fortunately, they were operating out of the field for a few days and I was able to come back at a later date to catch it on approach from the other end.

Lightroom Noise Reduction Update Testing

One of the software tools that I find a lot of people talking about these days is DeNoise from Topaz.  I have never been terribly bothered by noise in my images.  Modern cameras do a pretty remarkable job of handling noise and, for most usage purposes, the noise is not really an issue if it is there.  I have posted my efforts with PureRAW in its various forms where I have tried it out to see how the noise reduction comes out and, while I have seen strengths and weaknesses in it, I have never seen it as something I needed to spend on.

Lightroom Classic had one of its periodic updates recently.  The big new feature was their own denoise functionality.  Much like my experimentation with PureRAW, it analyzes the shot and creates a new DNG file with the noise suppressed.  I was curious to see how it would perform and, seeing as it is included in the price of my subscription, I have it anyway.  I decided to take some shots I had recently used for the PureRAW3 trial I had done and compare with the Lightroom version.

It defaulted to a 50 level of noise reduction.  I don’t know whether this is a percentage and what of but it is a scale so I played with it.  I did some at 50 and some at 75 to see whether more aggressive noise reduction had detrimental effects on other parts of the image.  Comparing these things and then sharing the results is a touch tricky so I have created a single image from four layers.  They are the original Lightroom develop settings, the PureRAW3 version, the 75 denoise settings and the 50 denoise settings.  I mask them to make the image into four sections.  Then, to make it useful on here, I have zoomed in to show the borders between them to provide some sort of comparison.

The PureRAW3 result is very aggressive on noise reduction.  However, I find it can make some odd artifacts in the images where details were not that clear to begin with.  The 75 setting in Lightroom provided a very similar level of noise reduction to PureRAW3.  It is slightly noisier but barely enough to matter.  A setting of 50 does show more noise.  It is still a significant improvement over the basic Camera Raw settings and very usable.

What do I conclude from all of this?  First, as I have said before when testing the PureRAW trials, it provides some interesting results but it is not relevant to enough of my work to matter to me sufficient for me to spend a bunch of money on buying it.  Having denoise in Lightroom now provides me with a very similar option but within the existing price I am paying for Lightroom.  Therefore, I will make use of it when the situation dictates.  It would be a regular part of my workflow because really high ISO shots are only an occasional thing for me but having it there when I want it will be handy.

D558-II Skyrocket On Campus

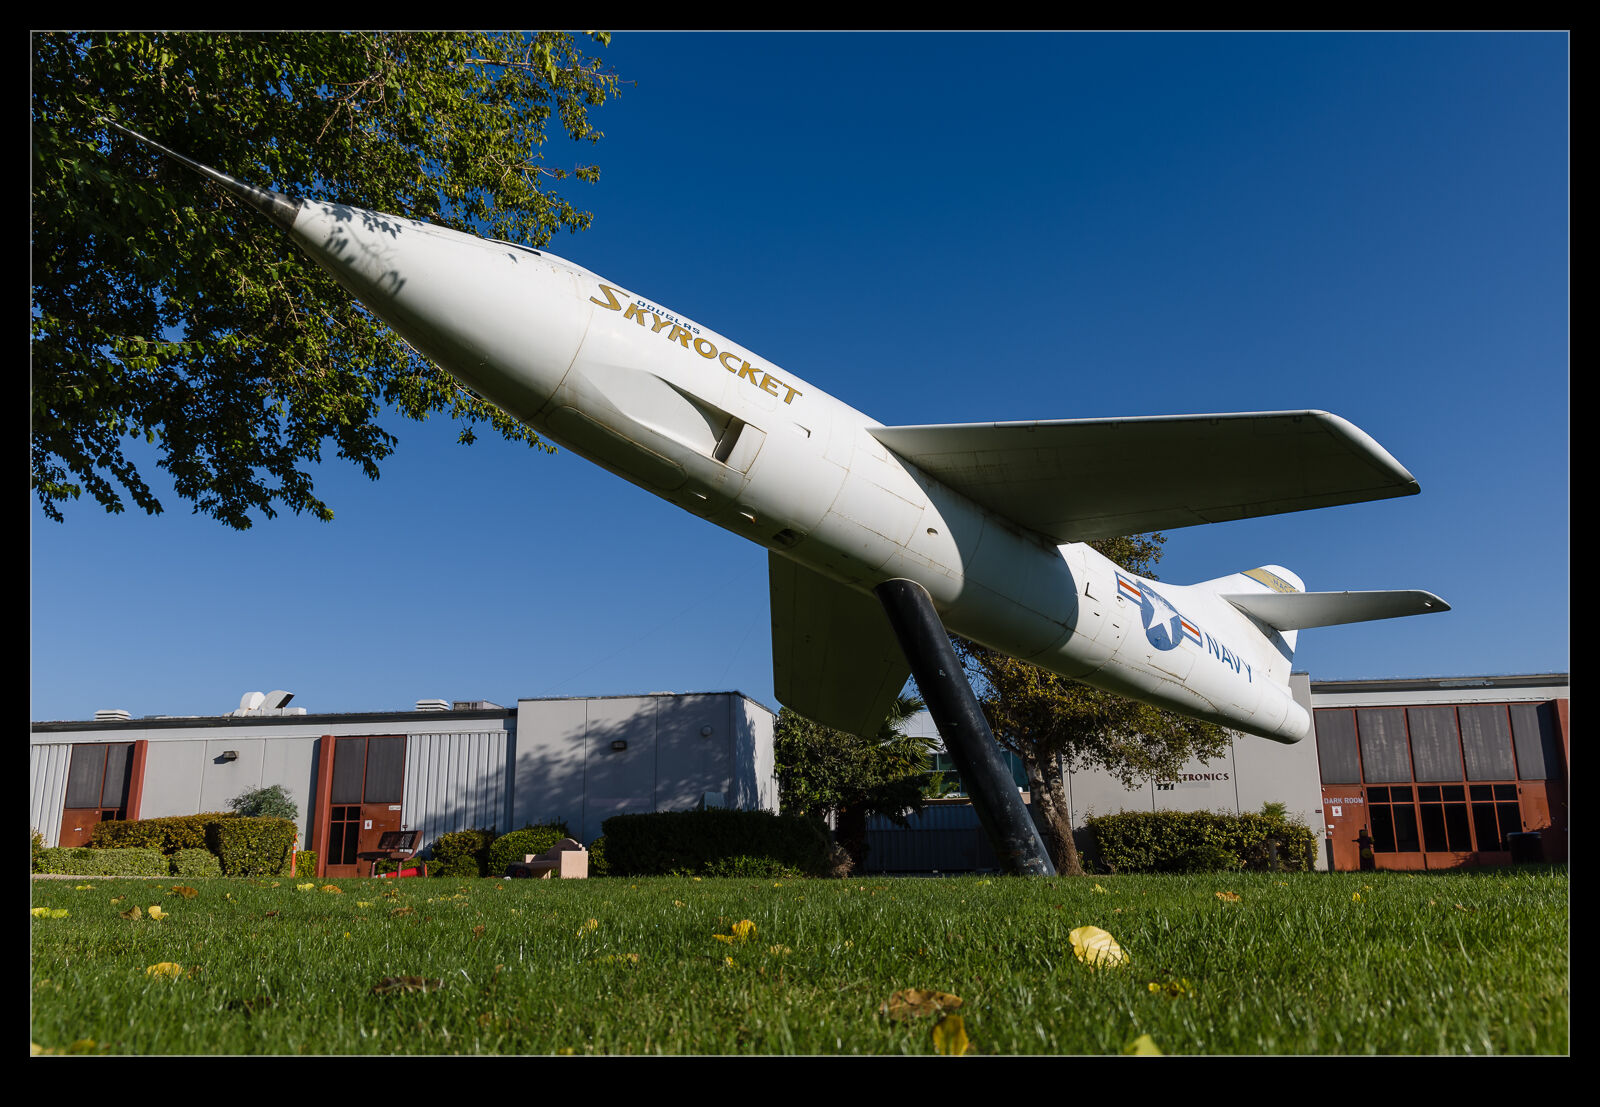
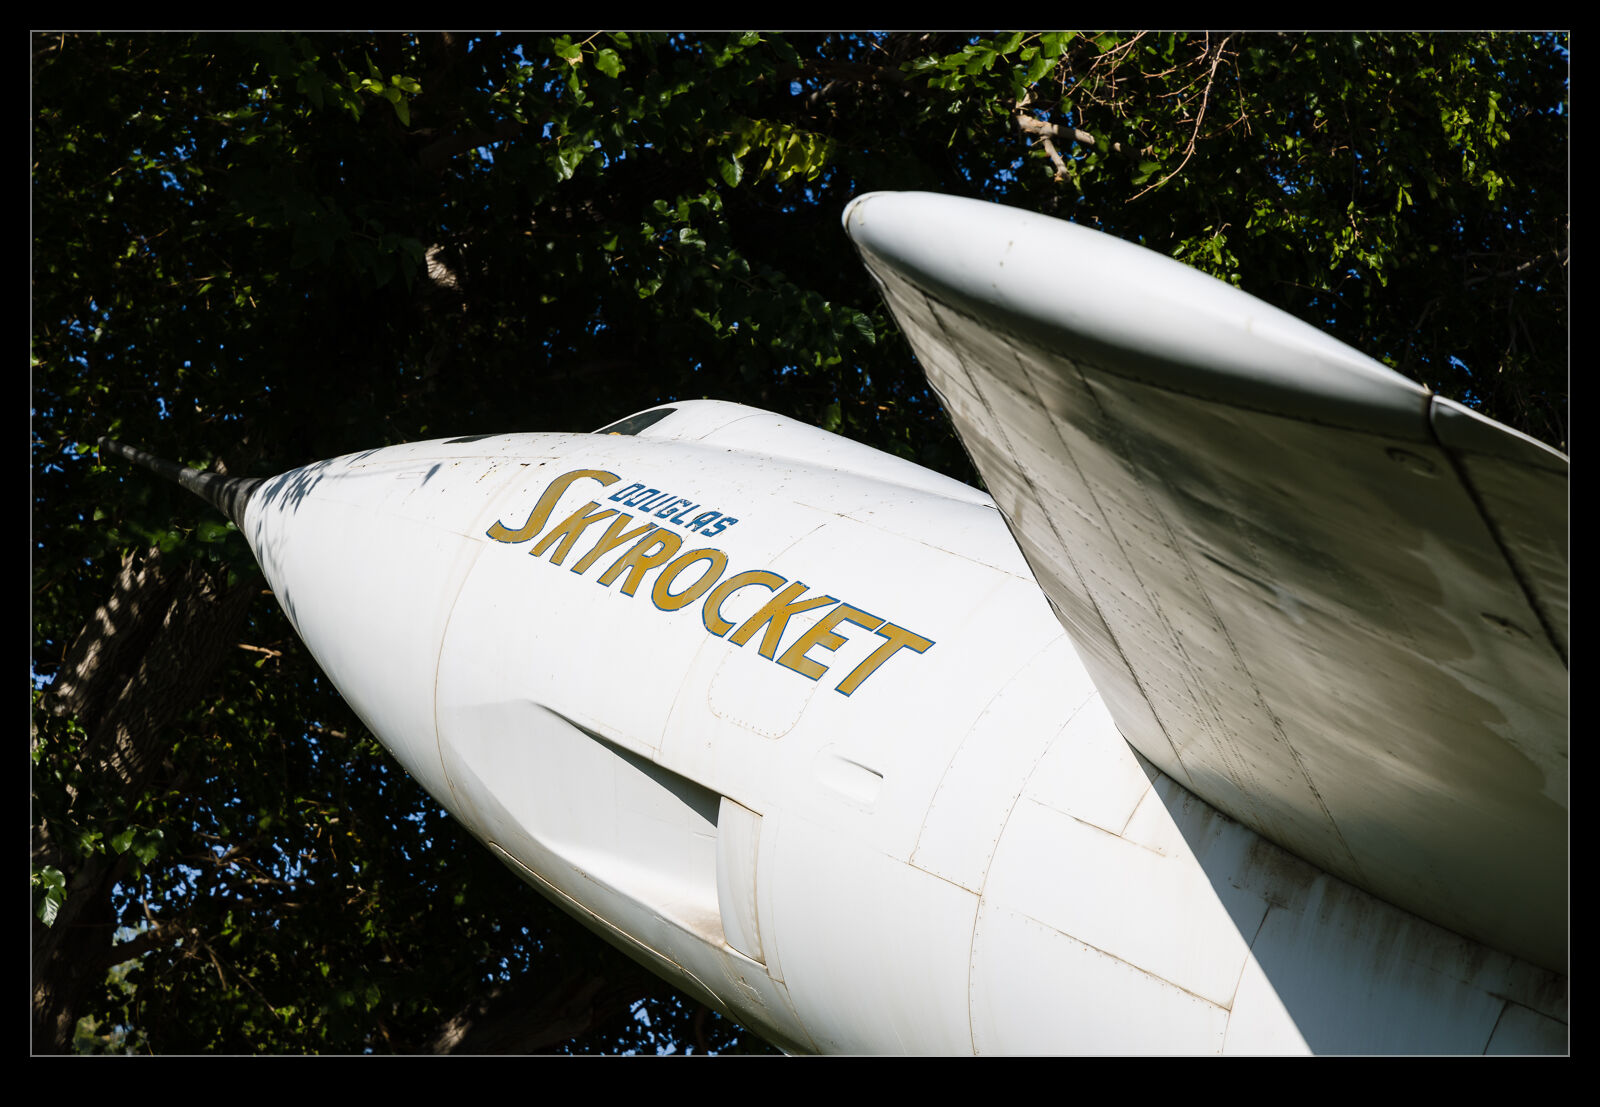
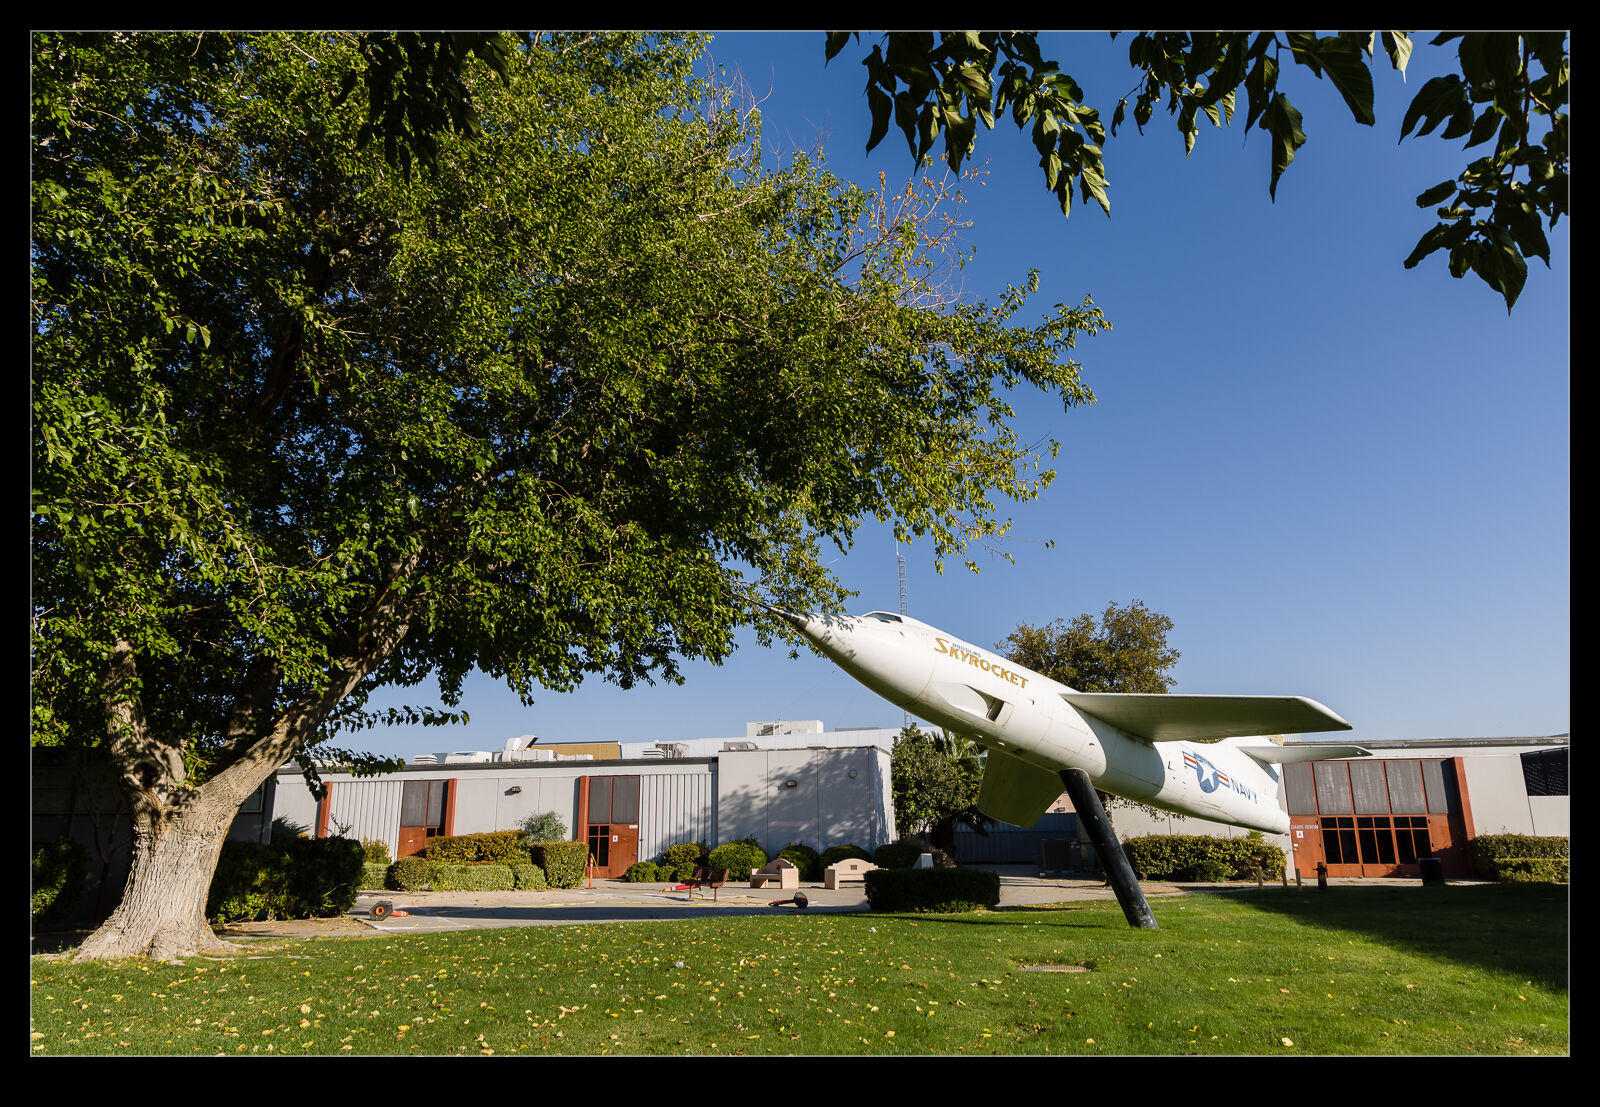
The NASA high speed research program was underway in parallel with the USAF’s X Plane program.  While NASA was less focused on record setting, they did have one blast of glory when they were the first to hit Mach 2.  The aircraft that they used was the D558-II Skyrocket.  Three of the airframes were built and they all still survive.  Originally designed to have a jet engine for take off and landing and a rocket for high speed flight, the later aircraft did not have the jet and were air dropped for their missions.

One of the early airframes is now on display in the City of Lancaster on the campus of Antelope Valley college.  Since I was staying nearby, I decided to swing by on the Sunday morning to see the plane.  The campus was nearly deserted and it felt like I was doing something I shouldn’t but there was no problem walking around the campus.  The plane is mounted on a pole in a dynamic pose towards the sky as seems appropriate.  I had chosen a good time because the light on the plane was pretty good.

The Skyrocket is a sleek airframe as you would expect for something that first broke Mach 2.  Being painted white also helps it look slightly futuristic.  I spent a bit of time wandering around and trying different angles on the subject to make it look as cool as possible.  I had just about finished when my buddy Chris showed up so I spent more time trying to get in the way of his shots!

Lightroom’s New Content Aware Remove Tool

The latest version of Lightroom Classic was recently rolled out.  It comes with a bunch of new additions and refinements.  The one that caught my eye was the addition of content aware remove.  There was already the cloning tool and the healing tools built in and these could do a lot of what you might want.  However, these have now been supplemented by content aware removal.  The tool is really straightforward to use but you can customize it if you like, both by choosing what area to use as a reference and also the ability to get it to try again if you don’t like the result by hitting Refresh.

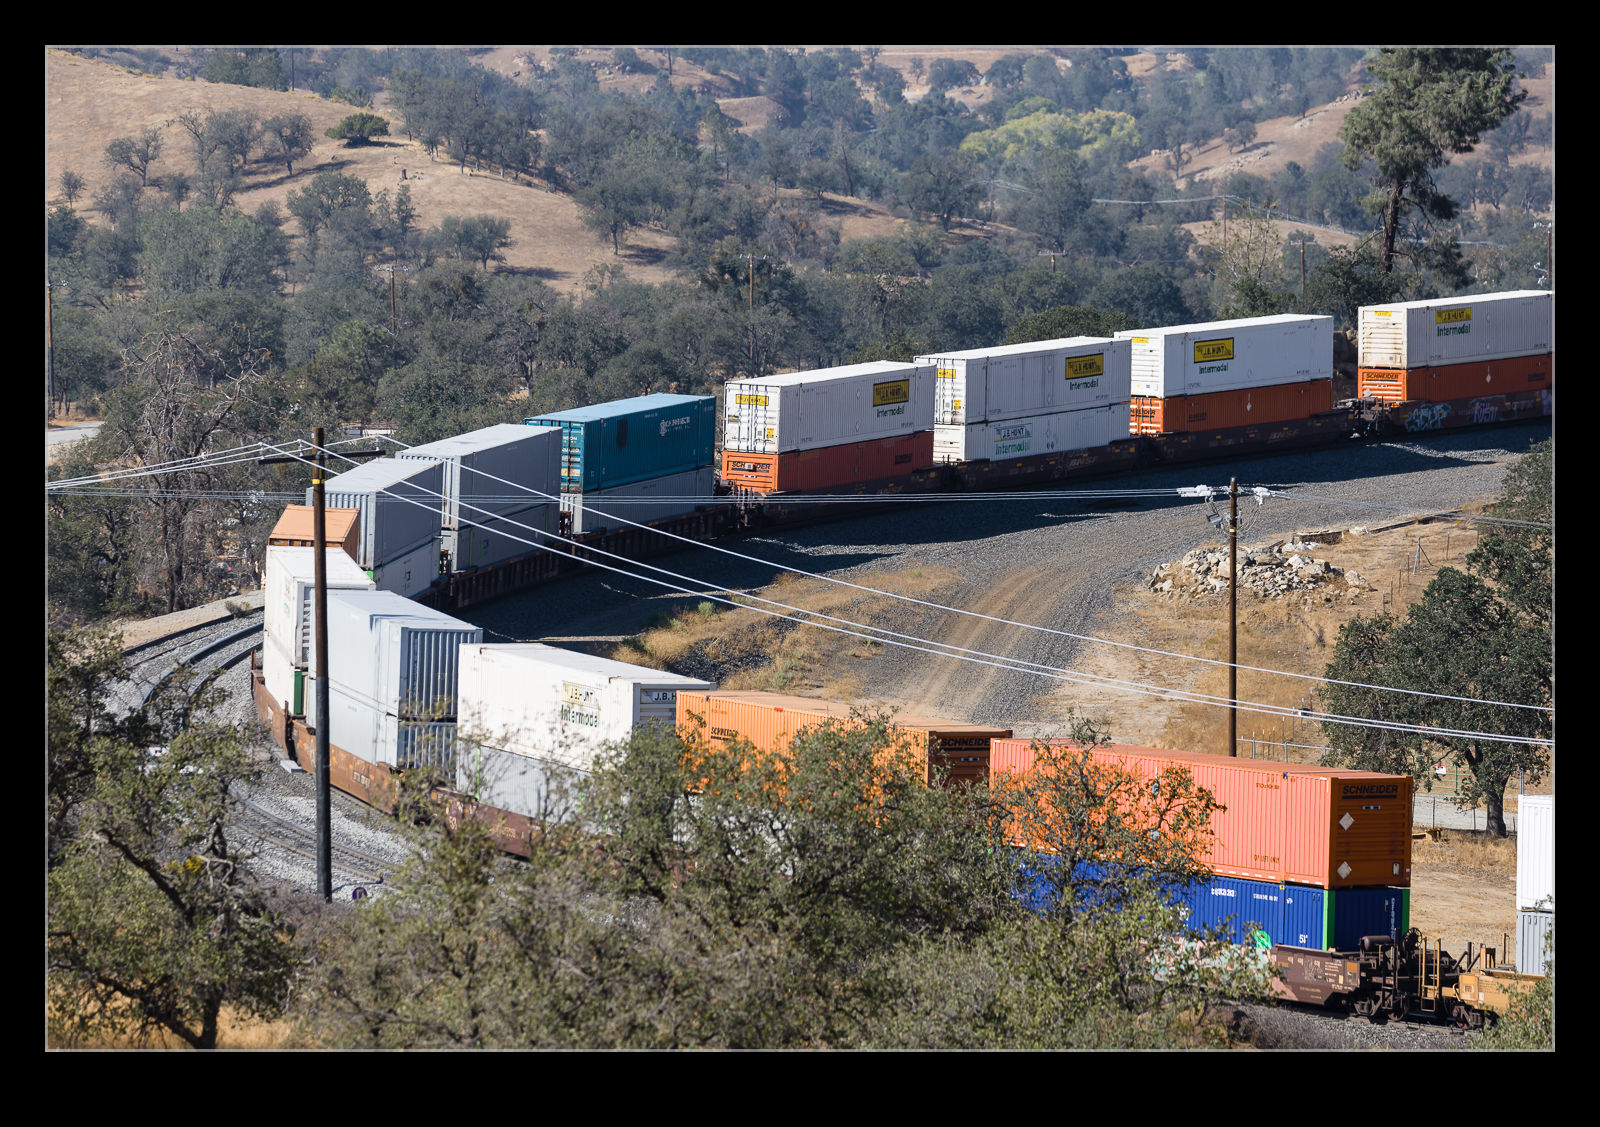
The thing I wanted to try out was using it to remove power lines.  These can sometimes be a bit of a pain when taking shots but, rather than use an aviation shot with some power lines crossing it, I happened to be looking at a photo I took in California of some railroad which had a bunch of lines strung across it.  I wasn’t bothered about making a great shot.  I was just interested in what the tool would do with the power lines.  It was surprising effective.  Too close an inspection would show the flaws but, if you look at the overall image, it came out quite well with very little effort.  I have the before and after shots here for comparison.

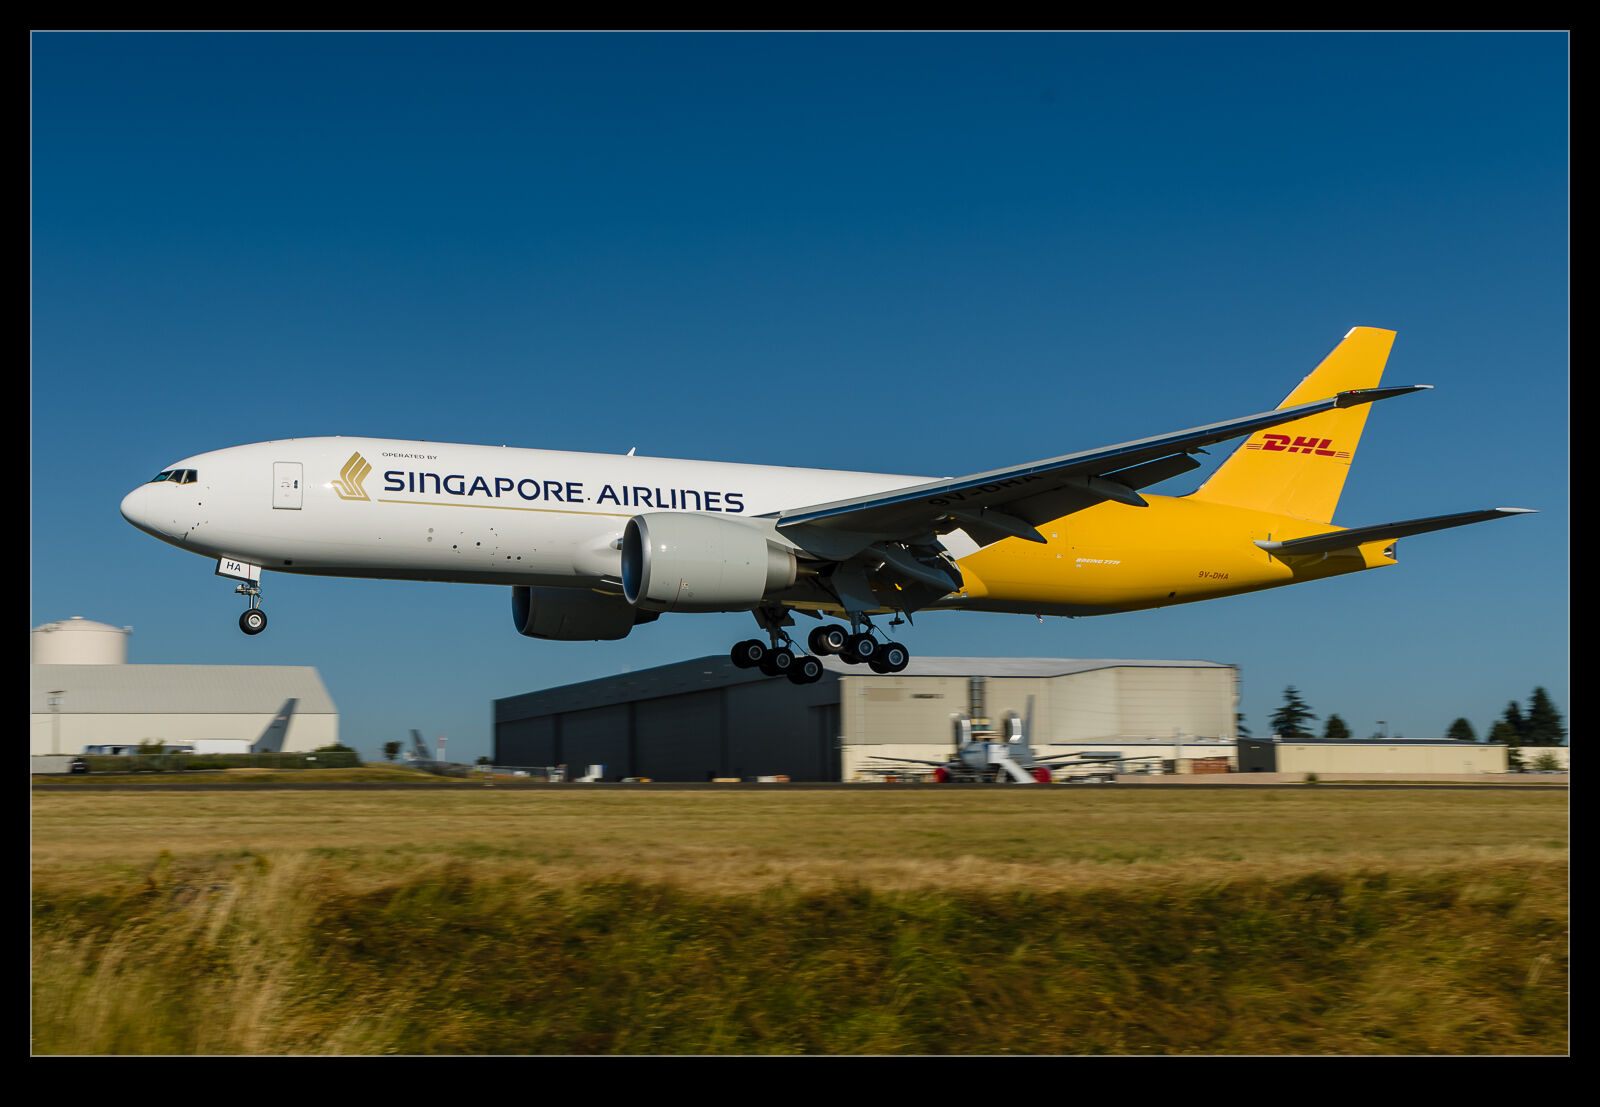
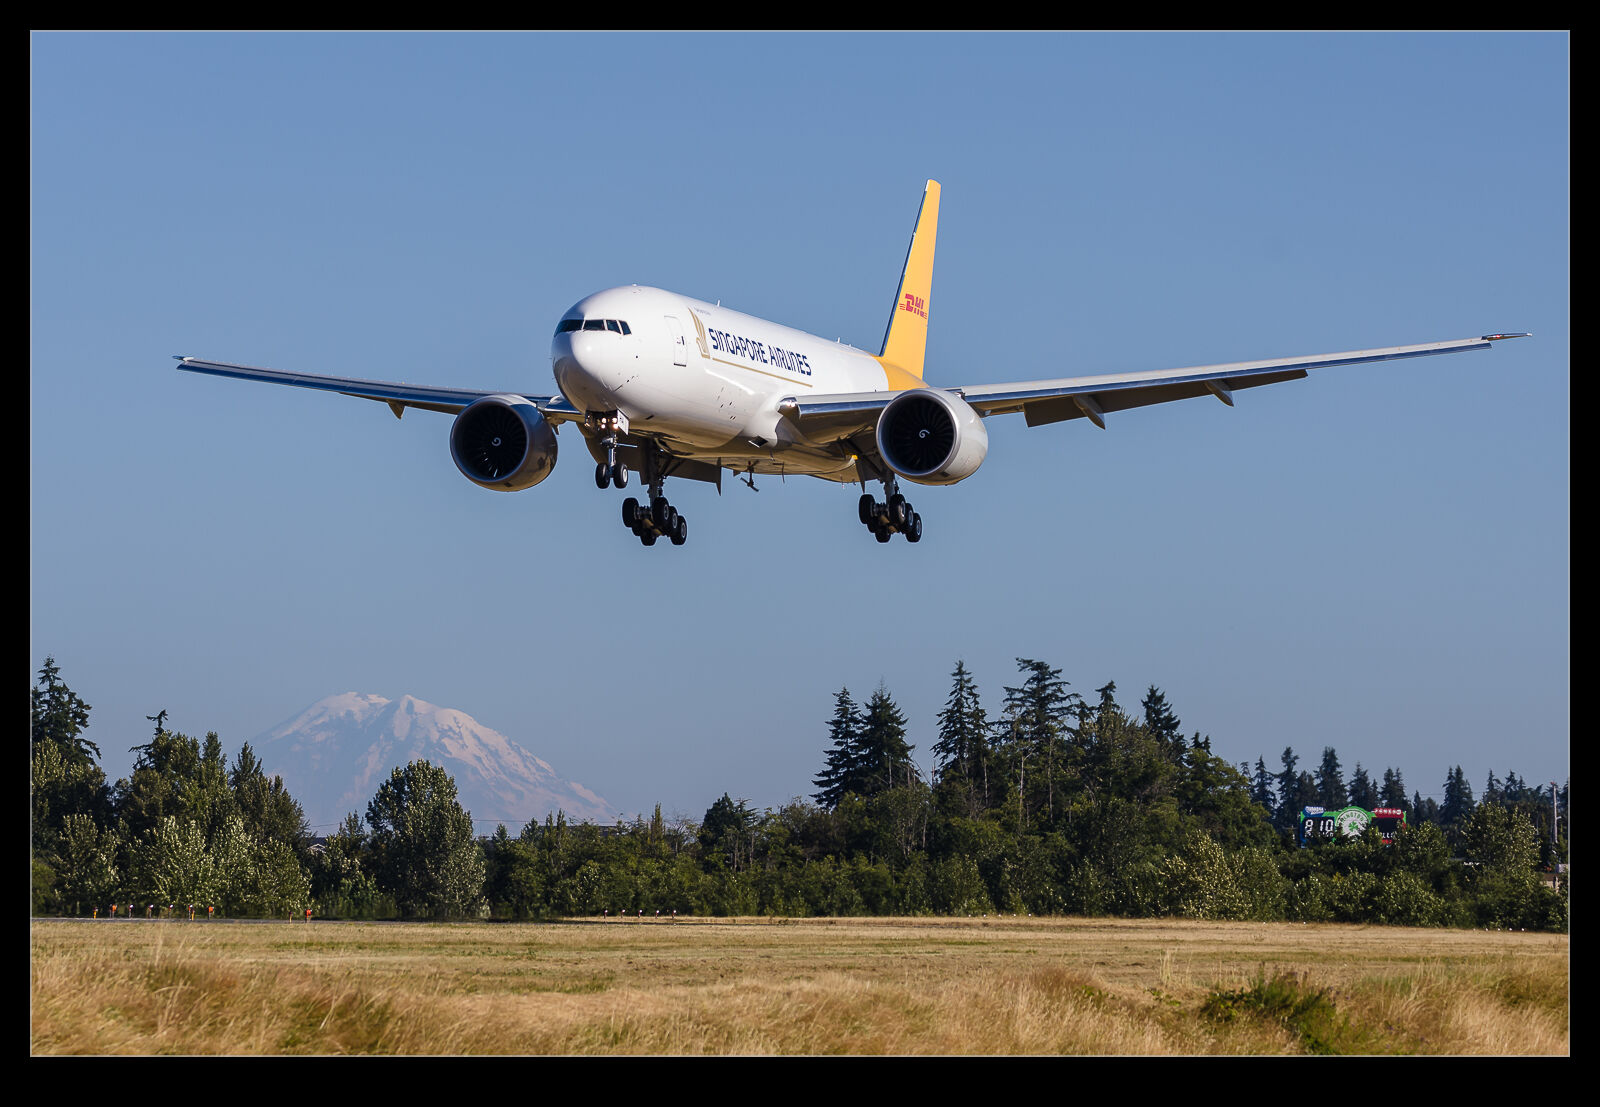
A Singaporean DHL 777F

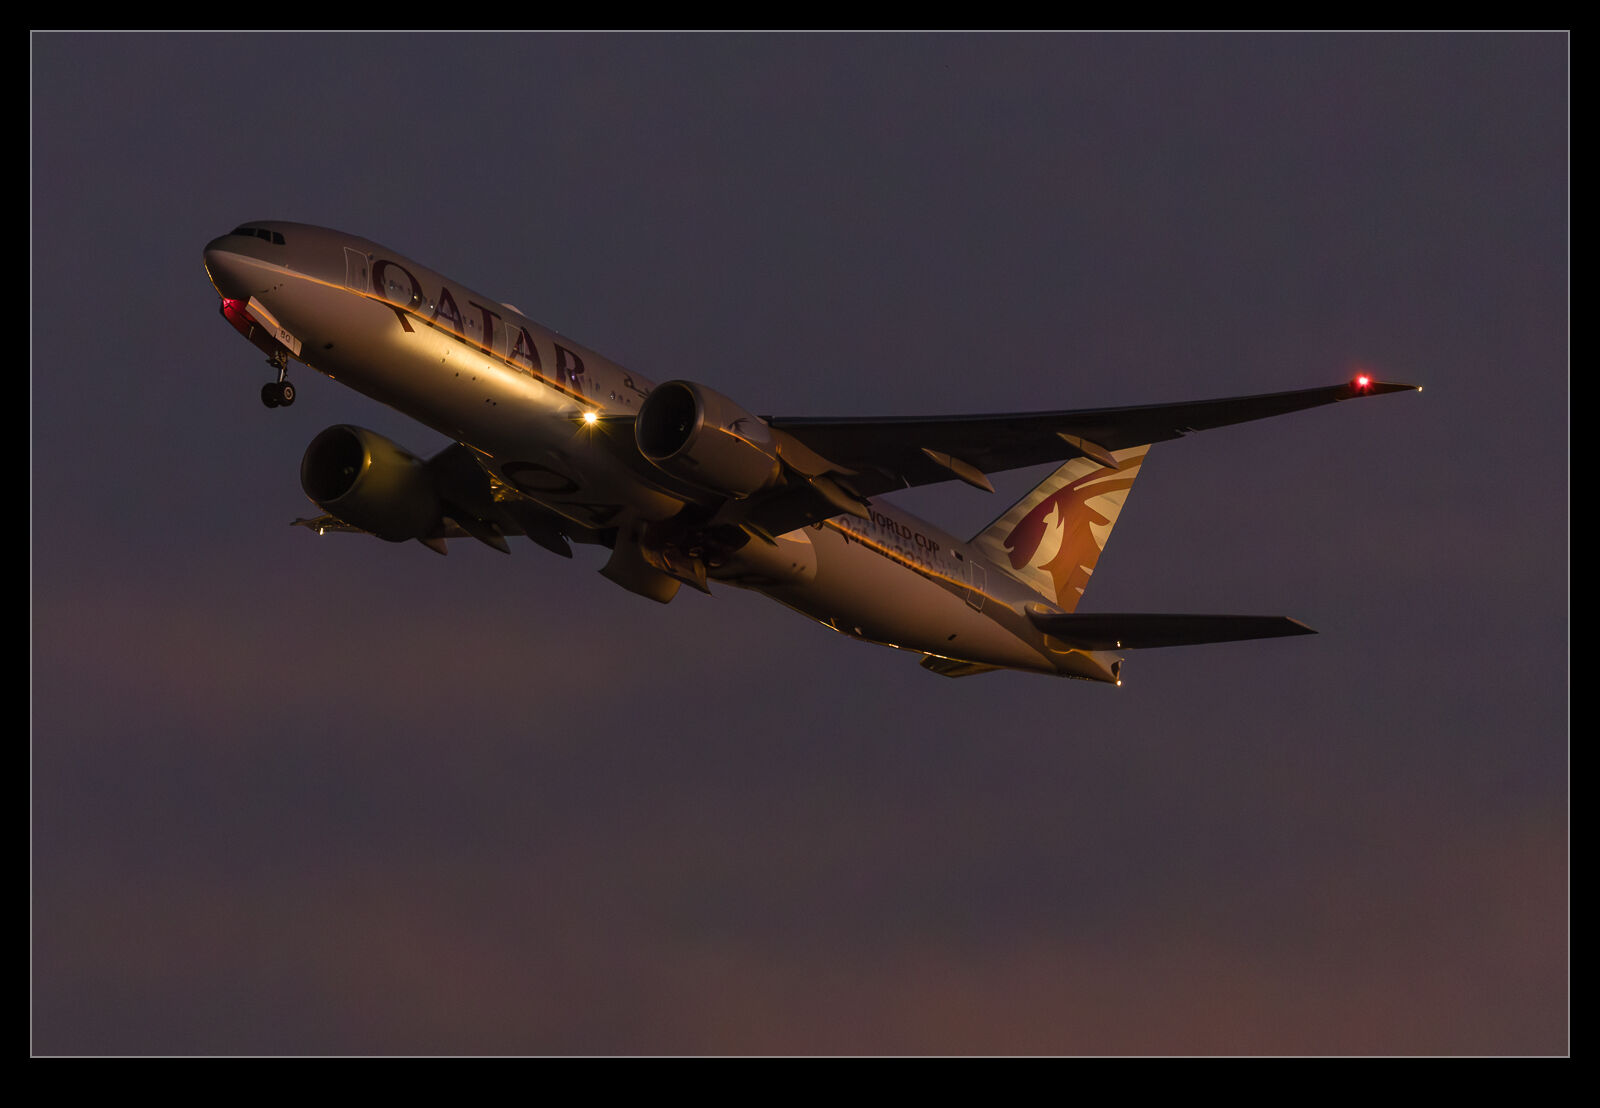
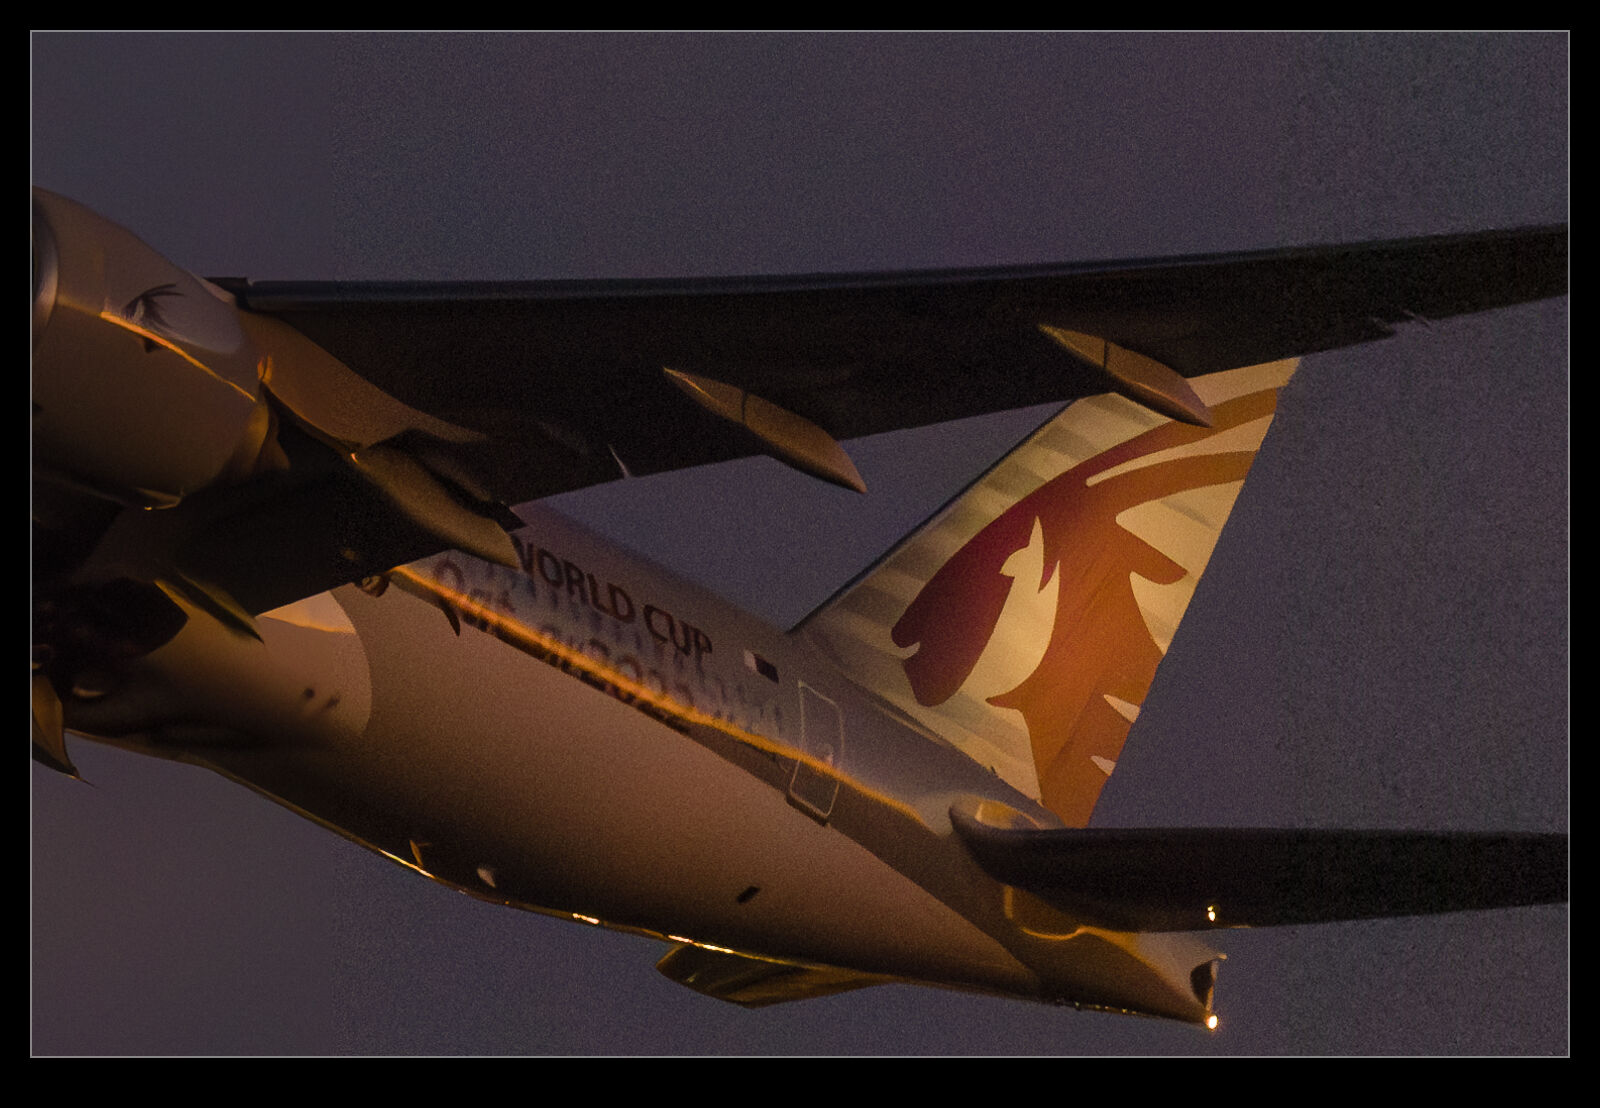
The only 777s coming out of Everett at the moment are freighters.  This can mean unusual airlines but not usually and I don’t head up there terribly often at the moment.  However, one of the jets on test recently was destined for DHL’s operations in Singapore.  Consequently, it is a hybrid of the DHL and Singapore markings.  It seemed worth a look and it helped that they had taken off mid afternoon and were due back after work.

A few photographers had showed up for this arrival as was expected.  At this time of year, even early evening is not the best of the light, but it was pretty good.  They could be seen out as they set up for approach with Mount Rainier in the background.  They touched down with the sound of the RAT buzzing in the background.  I was ready to go and headed for the car, but I heard a shout from Royal and Nick that it was coming back.  Sure enough, they had taxied back to do one further acceleration and abort on the runway, so we got a second chance at some shots.

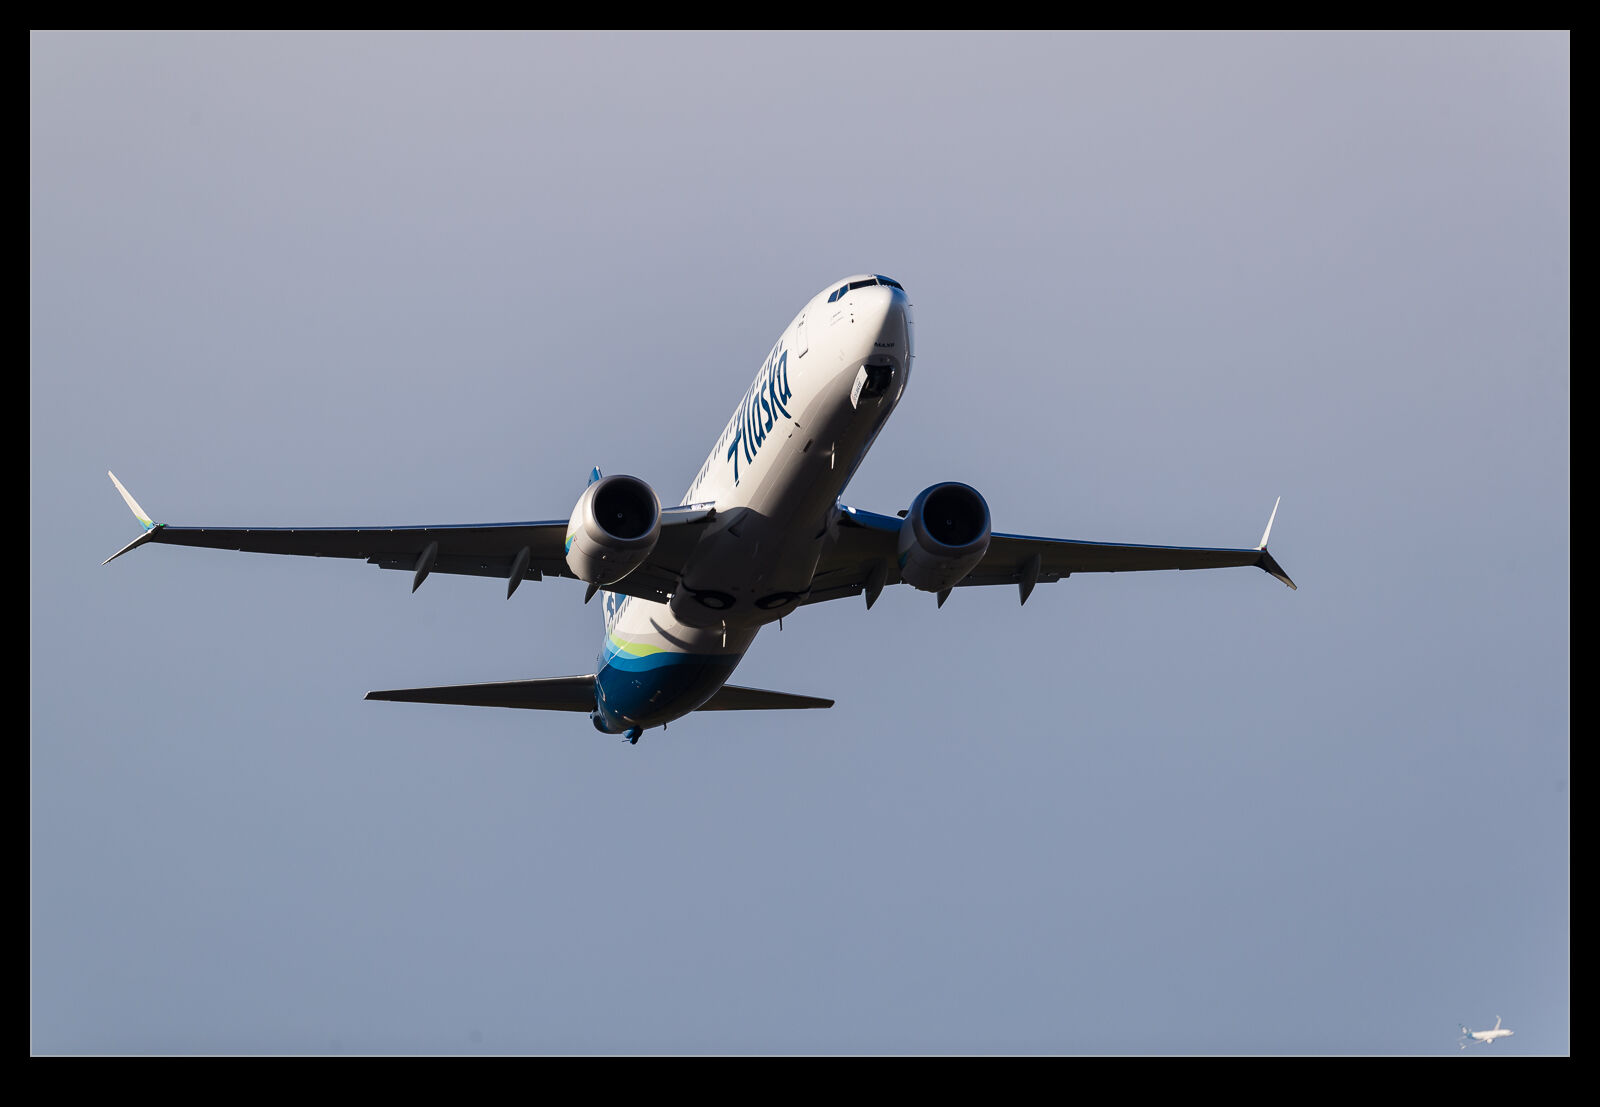
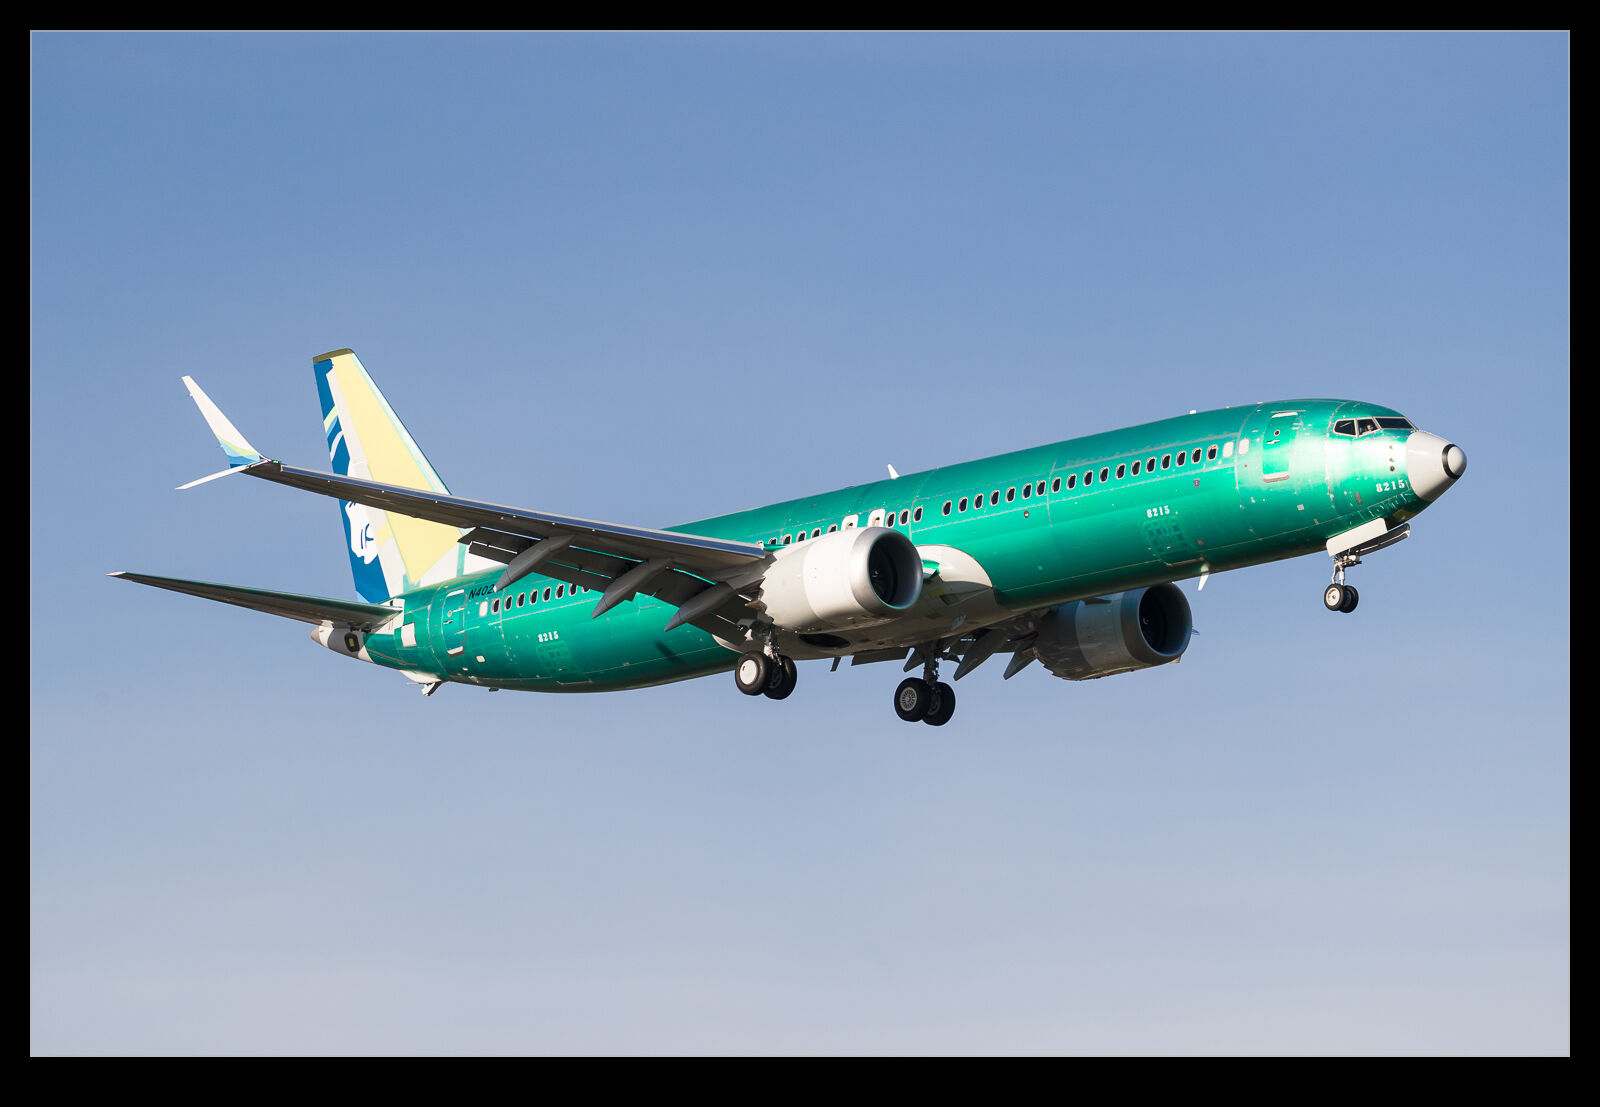
Alaska Max Jets On Test

I got a couple of Alaska Max jets on test on the same day recently.  One was still unpainted but the colors were on the rudder and winglets so it was easy to see where it was going.  The other jet was already fully painted and probably close to delivery.  With me now traveling a little bit more and that travel being with Alaska, maybe I shall get to travel on one before too long.  We shall see…

Giving the R3 A Workout At Nellis

I had given the R3 a couple of trips out before I headed to Nellis.  I had shot it at BFI and at Juanita Bay.  However, my trip to Nellis was the first time it was going to really be given a serious blast with constant shooting and varying conditions.  How would it perform and could it be the camera for me for the next few years?

First, I should point out that I have not yet had a proper investigation of the various functions of the camera and how to configure it.  Consequently, I was not using it in the best way I could but was instead experimenting with it as I went.  So, given that limitation (of me, not necessarily the camera), how did it go?  Overall, things were very impressive.  Let’s start with the simple things.

Battery life was really good.  I shot a little late on the first night, all of the second day and the beginning of the third on one battery.  I had spares with me but the battery life, while maybe not as long as for the 1DXII, was still very good.  It is also a nice thing that I can recharge with a USB-C charger if I need to which means not taking the large battery charger with me.

Autofocus was very impressive.  When things are a long way off, it is still guessing at what to look at and that is something I need to investigate.  However, it seemed to recognize planes very early on and then track them very effectively.  The ability to let it track a target allowed me to worry about composition far more than I used to with center point focus.  I could move planes to the edge of the frame to get a wingman in and still have focus working well.

Exposure was okay.  I have the viewfinder set up to give me the exposure simulation which is handy for understanding what the camera is seeing.  This helped me out once when I have managed to change the ISO to 800 by accident.  Not sure how I did that but I was able to notice it quickly.  However, I am not so sure about how quickly it adjusts as conditions change.  Moving from a cloudy background to blue sky provides a rapid change that the camera needs to accommodate and it sometimes seemed a little slow to work it out.  When shooting raw, your have some latitude to adjust afterwards, of course.

Handling was good.  It felt good in the hands and I am wondering whether I will miss the hand grip I have used in the past.  The controls are good.  The smart controller is neat but it does get adjusted a lot without realizing.  I also am so used to using center focus that I sometimes assume that I have to keep the subject in the same space to keep it in focus, not realizing that I can re-center things with the camera following things.  I did struggle to work out how to chance the card that I was using.  I found a way but it was not as simple as for the 1DXII.

Image stabilization is something that is causing me a lot of trouble.  It isn’t the performance of the stabilization.  That is really impressive.  What I am struggling with is that the stabilization switches on and then stays on.  I can put the camera down for a while and I can still hear the IS motors in the lens whirring away.  Eventually they switch off but this seems like it is really chewing battery life.  I have tweaked a few things to reduce it but, on the 1DXII, the IS would switch off after  about 20 seconds.  Why it this happening?  Again, this may be my failing but I would like to understand why it happens and try to switch it off.

Frame rate is very impressive.  I rarely switched it up to the 30fps setting.  15fps was blasting through the cards at a prodigious rate as it was so no need to make things any worse.  I have the audio shutter turned on so I have something to remind me when I am taking too many shots and to hopefully keep things under control.  However, while the frame rate may notionally be similar to the 1DXII, it consistently hits it which does result in a lot more photos than I was used to.  More culling to come I guess.

Having the ability to connect to my iPad and phone is a real benefit.  I used to just have this with the M6 and I really liked that.  Being able to connect to the R3 gives me a lot of flexibility.  I was able to send a few shots to a friend while out in the field.  I will use this sporadically but it is definitely a good capability to have.

Overall, it was a great experience.  I had two bodies with me but I focused on shooting with the one R3 and the other body, a 1DXII, stayed in the bag almost all of the time.  I had it ready in case but didn’t end up using it.  At no point during the time there did I think about reverting.  I do still have a few tweaks to work out with how to set the camera up but it was a very positive experience.  I think that this camera might be the one for me.
First Experience With The R3

My 1DXII bodies have been doing sterling work for the last five or so years and continue to be reliable.  In the interim, the camera world has made a shift from SLR technology to mirrorless.  Canon was a slow starter in this space but has since got in to gear.  I am not an early adopter and waited until something came along that really appealed to me.  The R3 body was that thing.  It combines the latest of the mirrorless technology with a body like the 1D series and the associated great battery life.  It was enough to make me take the plunge.

Getting one was a different story.  I ordered one in the fall of 2021.  I wanted to get one first to work with it and make sure it was the thing for me before committing to a pair of them.  Recently, I got the call that my body had finally come in.  I was very excited to try it out.  I then got a call from the store within an hour of the first saying that the second body was on.  I had ordered this much later with the intent of knowing whether I was happy or not before it showed up.  I decided to defer it and see how things went.  I think the credit card was pleased with that decision too!

I have now had a week of playing with it having shot some aviation and some wildlife.  I have not really had a chance to dig deep yet so this is just first impressions.  Overall, it is really impressive.  The ergonomics are familiar after years of shooting with 1D bodies.  However, the controls are more complex and things are not identical so I am taking a while to get comfortable with where everything is.  This will probably take me a while.

Battery life has been very good.  I was expecting it to be worse than the 1DXII but it seems to have stood up to a lot of shooting with tons of life left.  New batteries don’t hurt of course and we shall see how things play out.  The small megapixel bump is fine but it really is barely noticeable compared to the 1DXII.  24Mp versus 20Mp might sound like a big increase but when you look at the linear pixel count it is only a small increase.

Autofocus is amazing and confusing.  Its ability to pick up targets and then track them across any part of the image is fantastic.  It seems to have very good accuracy and I am liking the shots I am getting.  Eye detection on wildlife is spookily good.  However, I don’t yet know how to control the autofocus properly.  There are so many ways to customize things that I have yet to understand.  For example, I haven’t yet worked out how to make it focus on a center spot only like my old setup.  Most of the time, the clever stuff is more useful but there are odd times when you want it to do something simple.  With small subjects or cluttered backgrounds, this can be important.

I also have to get used to pressing the button when I pick up the camera.  I am used to looking through the viewfinder to sight a subject before pushing anything but the viewfinder shuts off after a while and needs to be woken up.  It would be good if that could be done with some motion sensing (maybe it can and I haven’t found it yet).

I have tried the eye control a little.  It seems to work pretty well.  Calibration with my glasses was fine and the contract lenses were okay too but I have put that to one side for now while I leaned to understand a whole bunch of other functions of the camera.  I have also connected it to my phone and iPad which has been a handy thing to do.  I did briefly experience with the automatic focus stacking which seemed to work well and I shall try more of that in due course.  I haven’t tried any video yet at all.

I have had to change my cards and card readers since both of the card types are new to me.  That was a nuisance but not the end of the world.  I actually bought them a while back so I wouldn’t have to worry about it now.  I got the 24-105 lens in the RF mount.  My old 24-105 was a bit beaten up and the image quality was not strong so a replacement seemed like a good idea.  They had been as rare as rocking horse poo but fortunately were in stock when I went in so I got one.  I also have the convertor for my other lenses and they seem to be working extremely well.  The combination with in body stabilization has improved them too and I find some of the tracking of moving subjects in the viewfinder easier than it used to be – something which I attribute to the IBIS.

Overall, I am happy so far.  Definitely some things to work on understanding.  At the time of writing (versus publishing), I am about to go on a trip when I shall shoot a lot of planes.  This will be a big test but the initial experience makes me think it should go well.  The camera tracks the cockpit of planes like the eyes of a bird so I am feeling confident it will be good.  I think the conversion to mirrorless is going to be complete for me based on what I have seen so far but within the next month, I should know whether it will work for me or not.

More Alice Taxi Trials

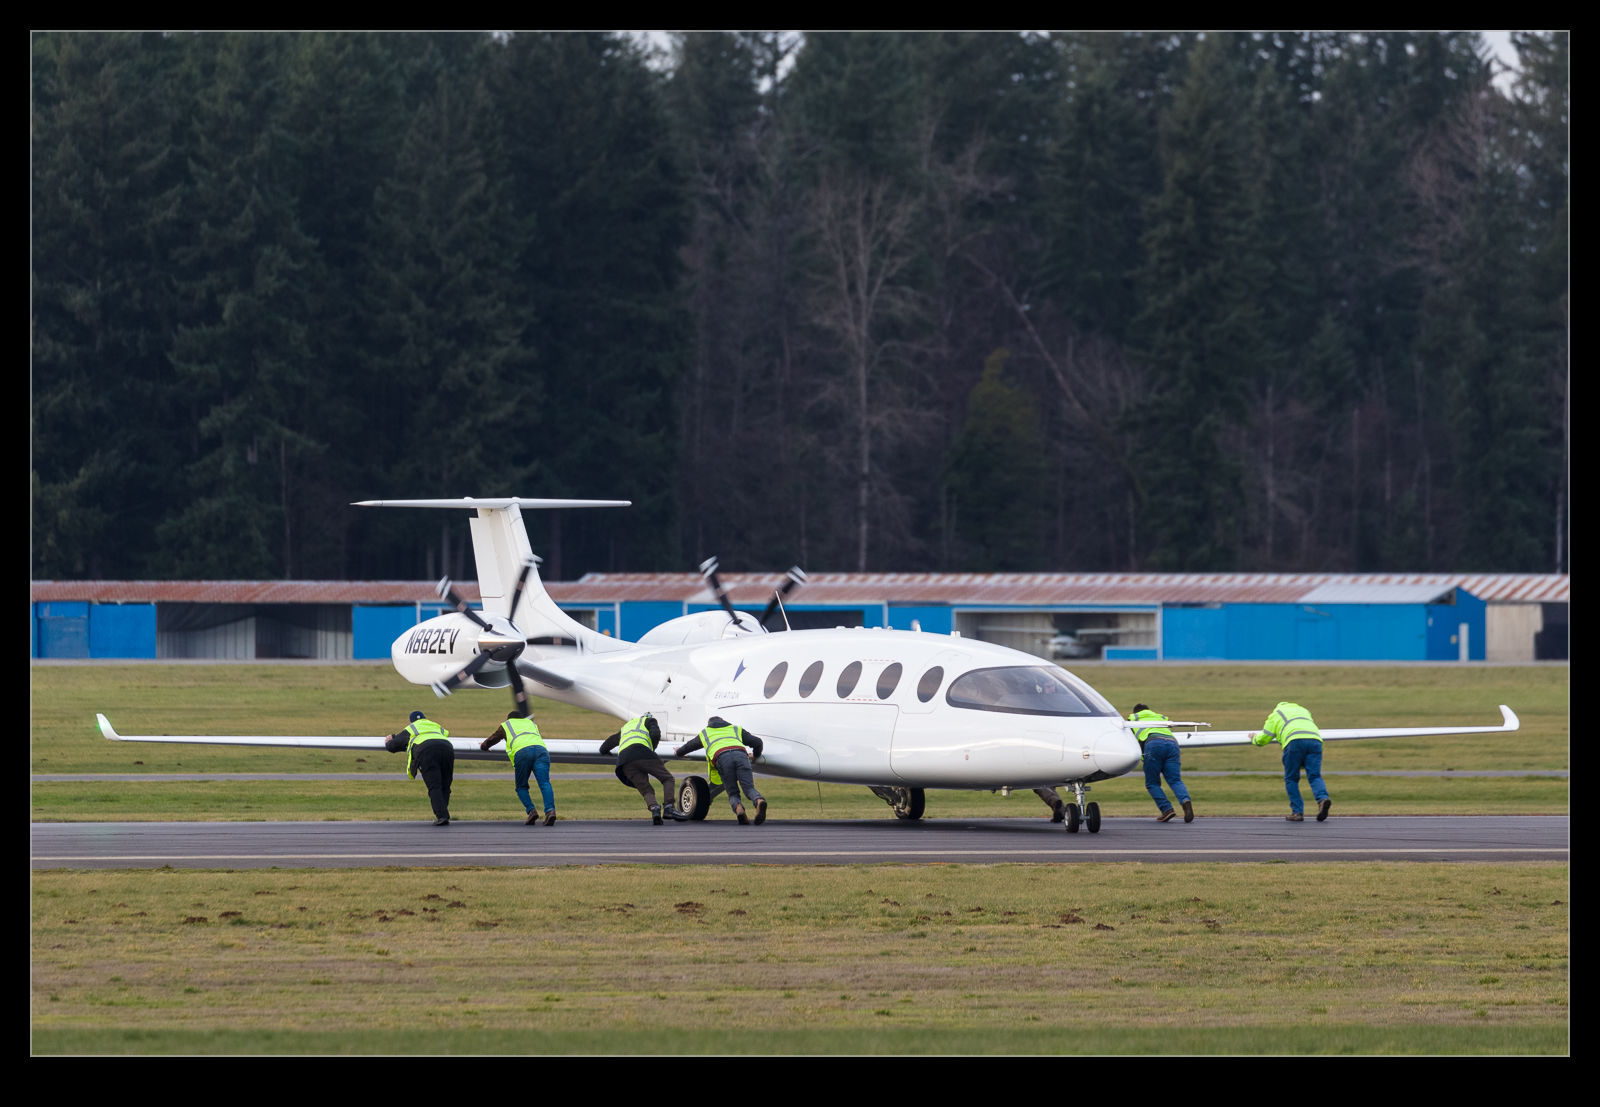
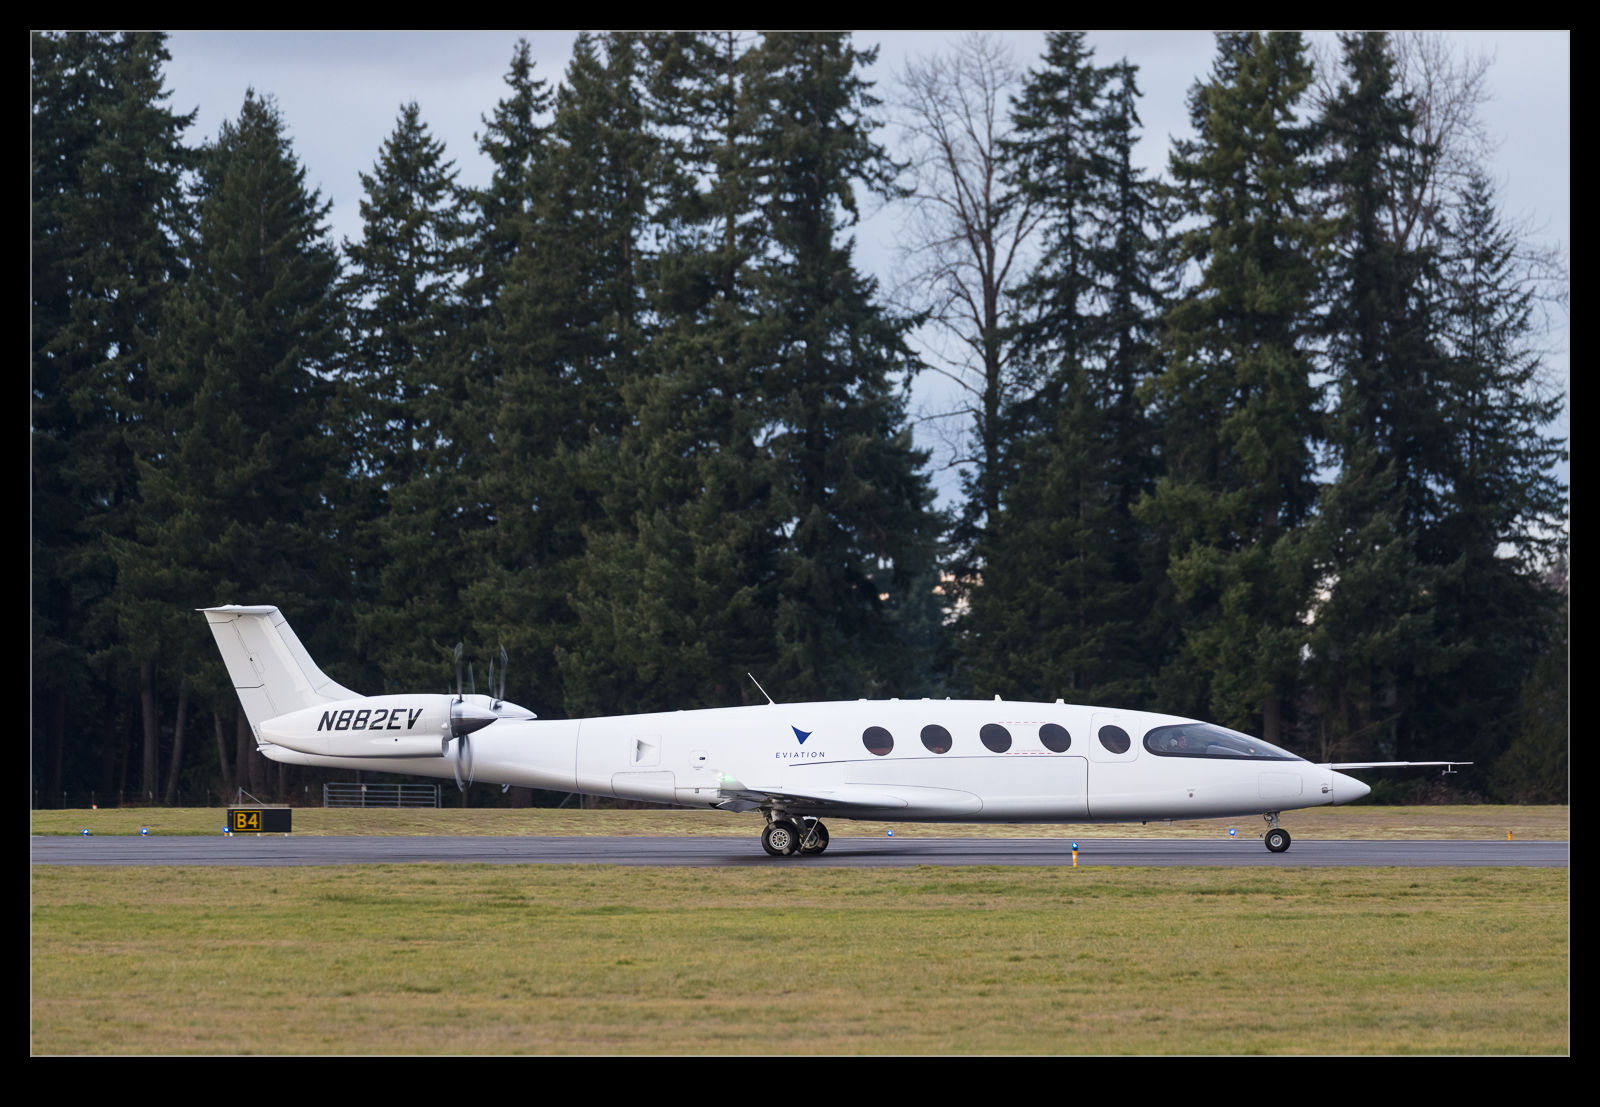
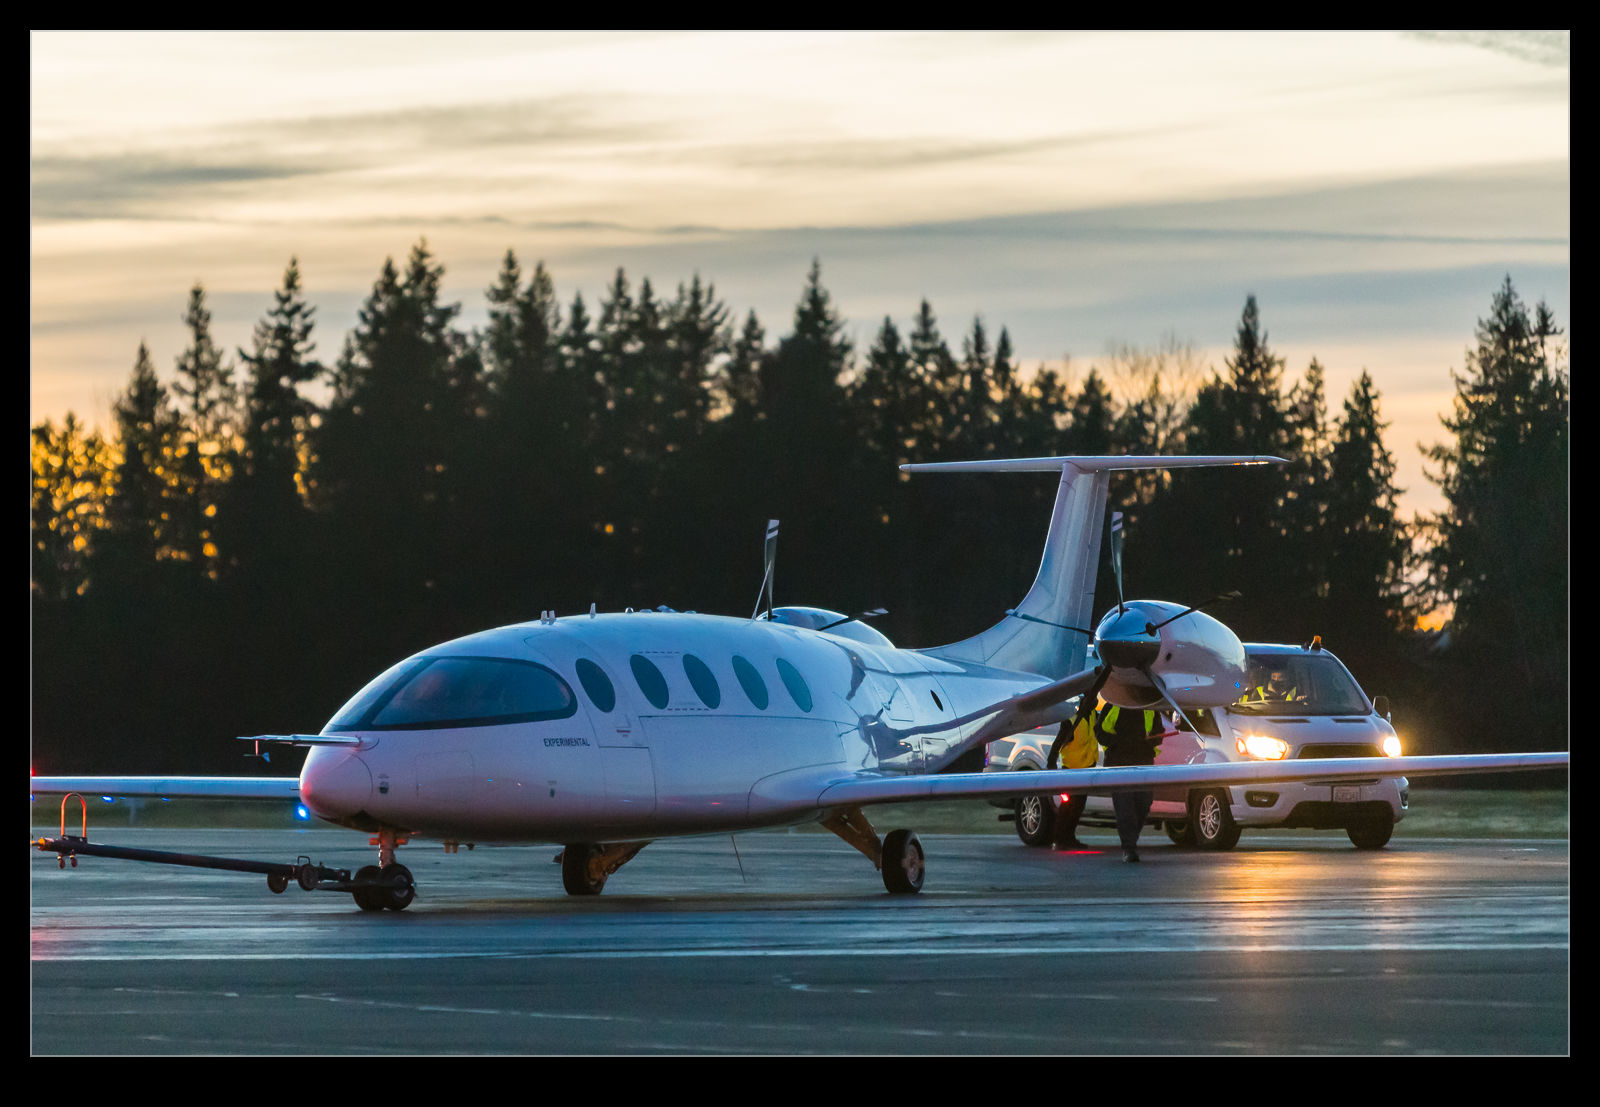
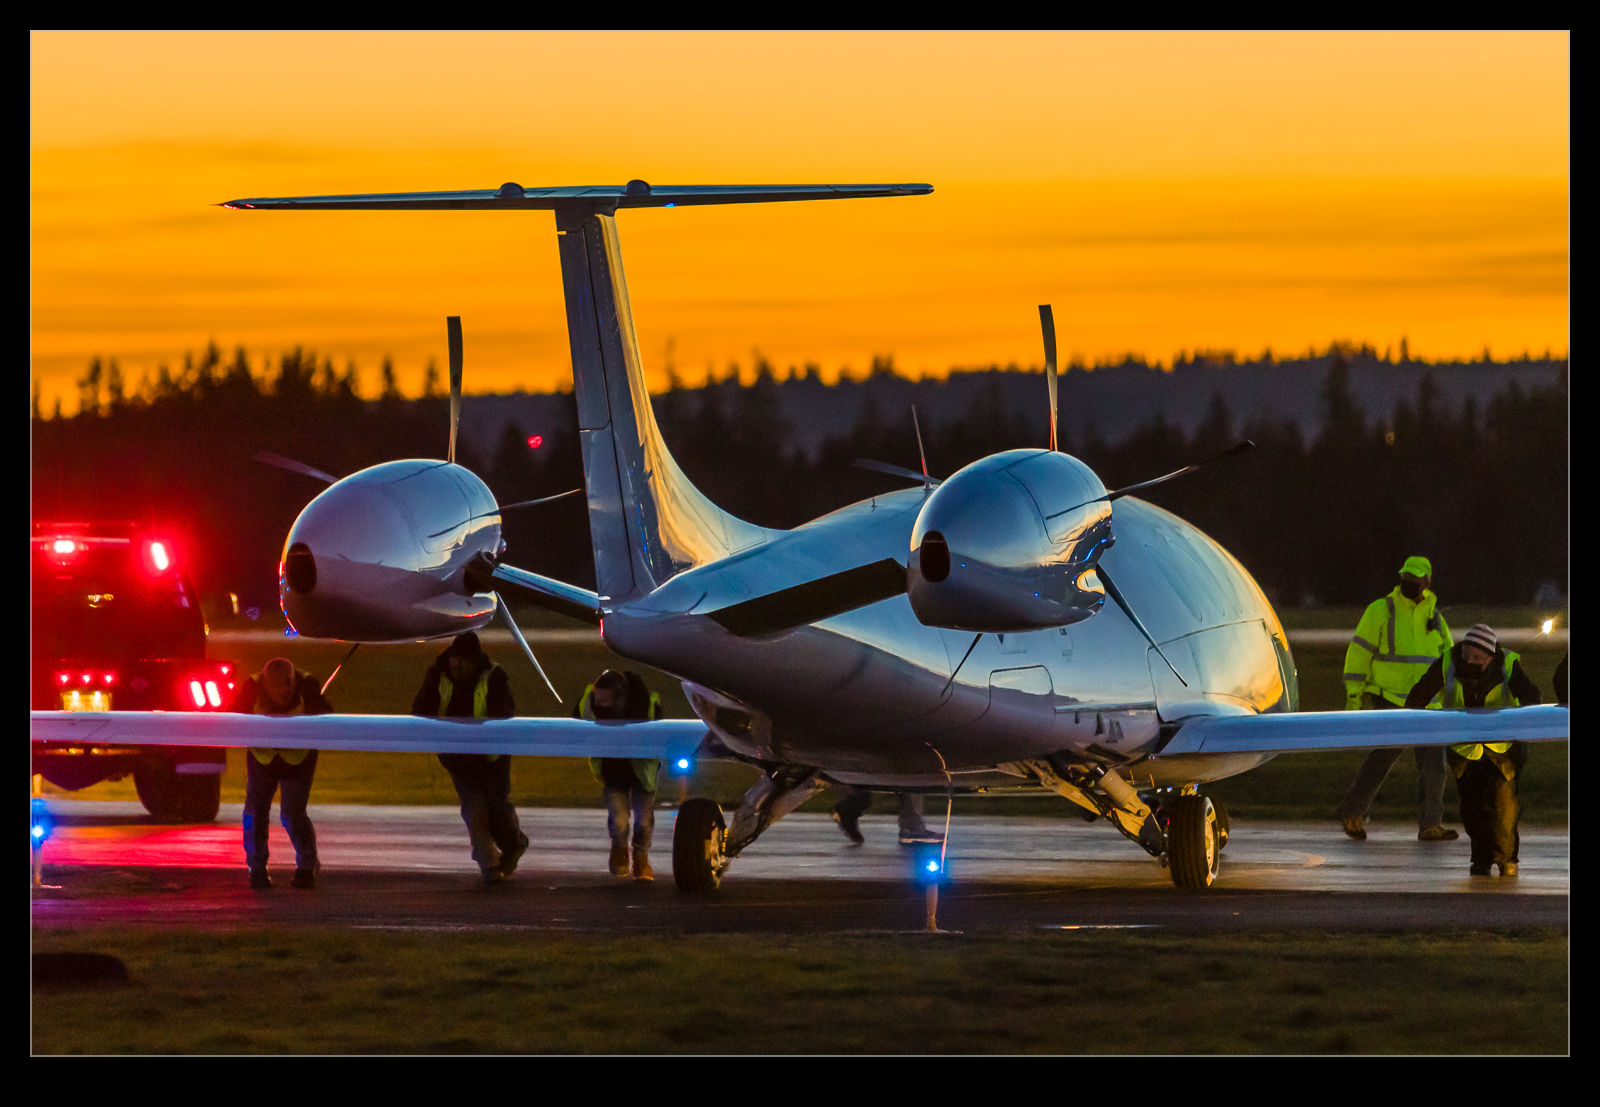
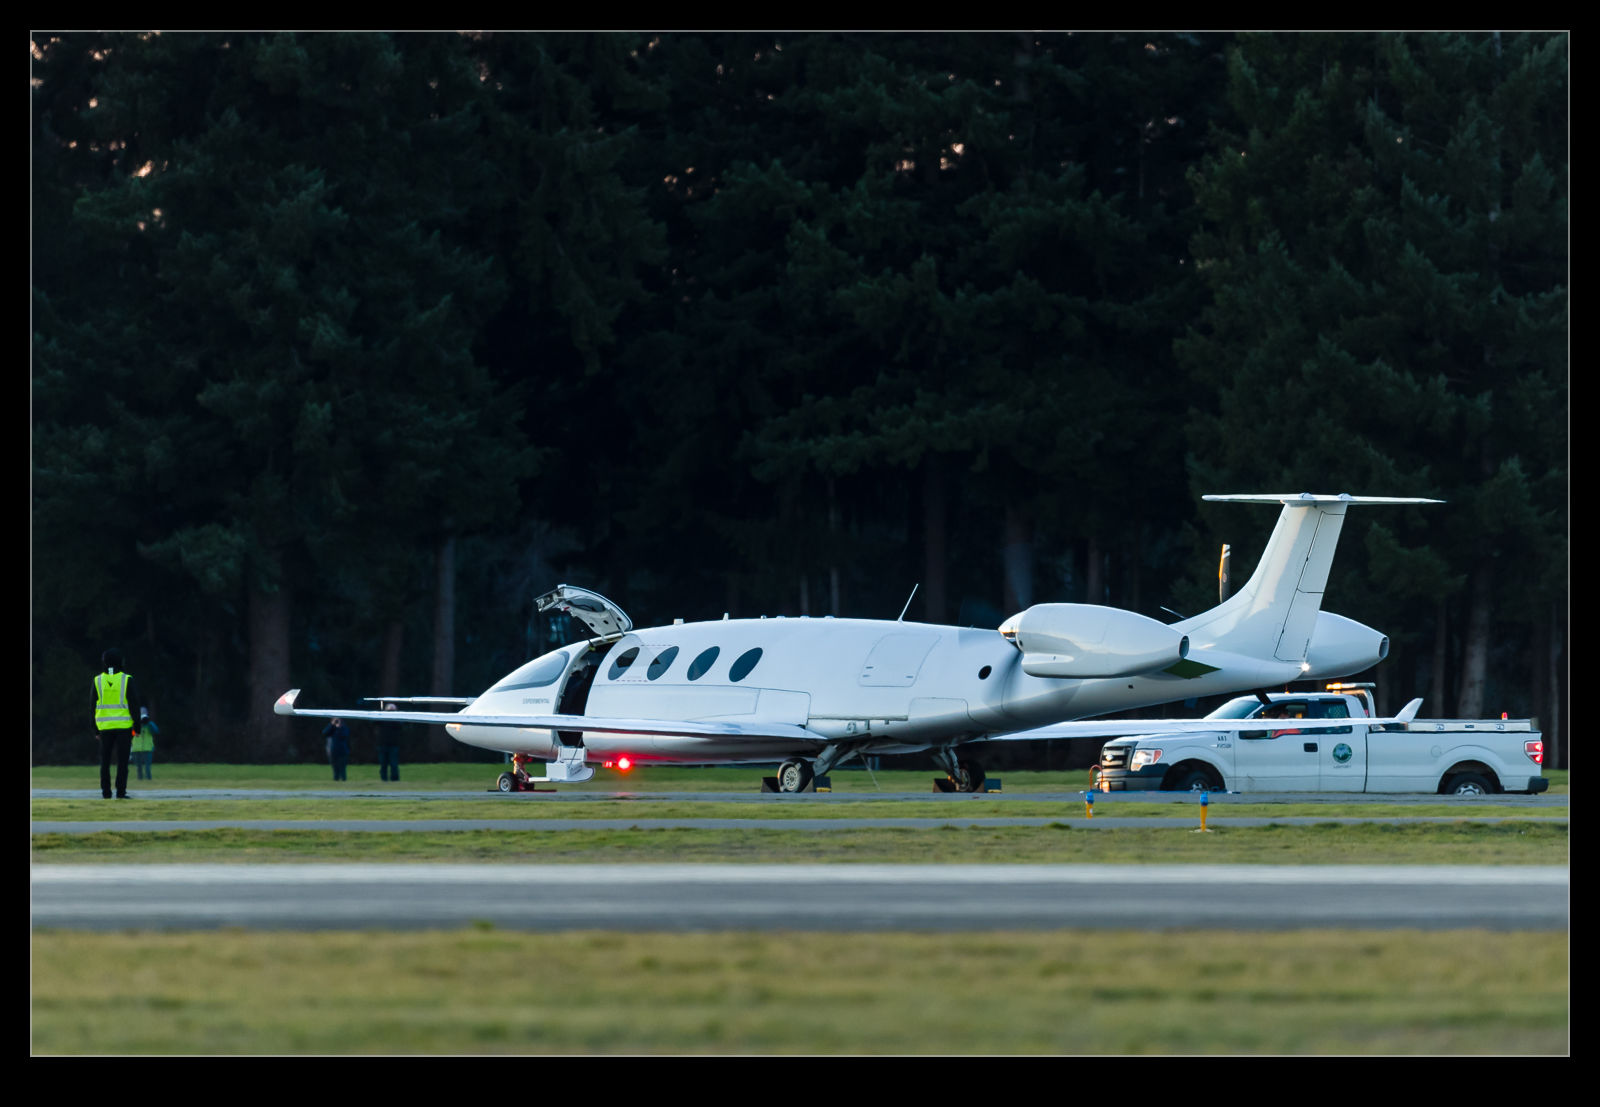
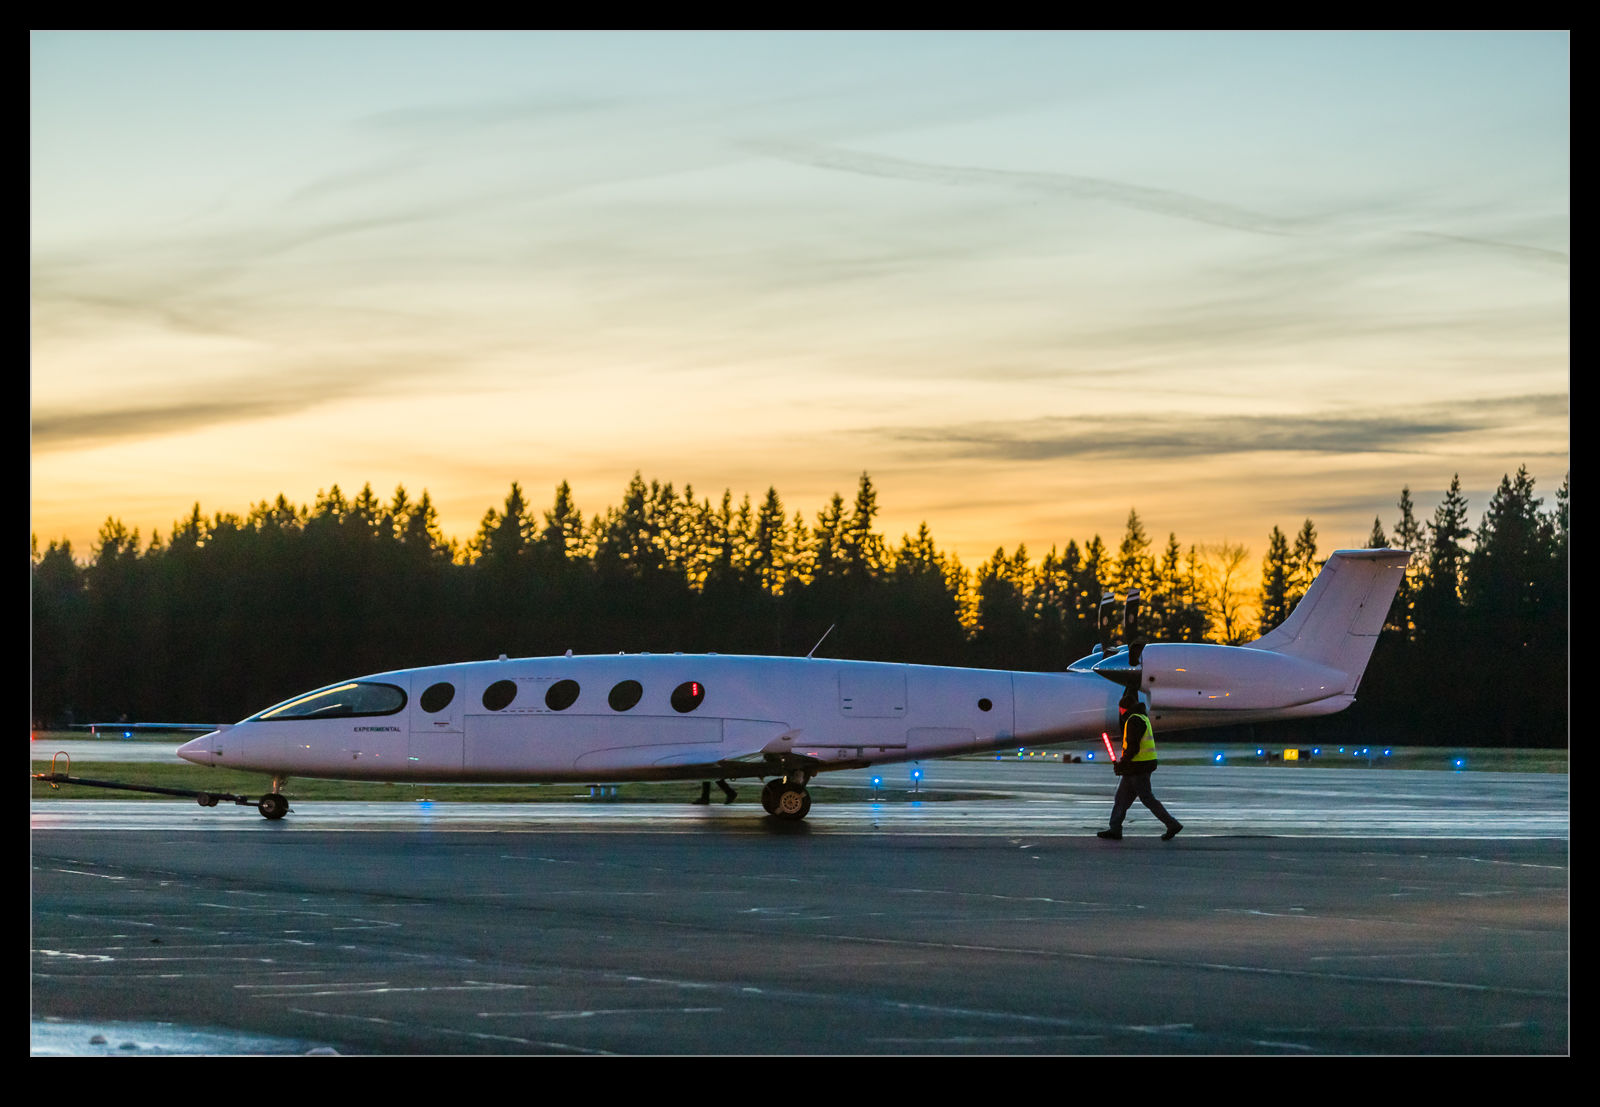
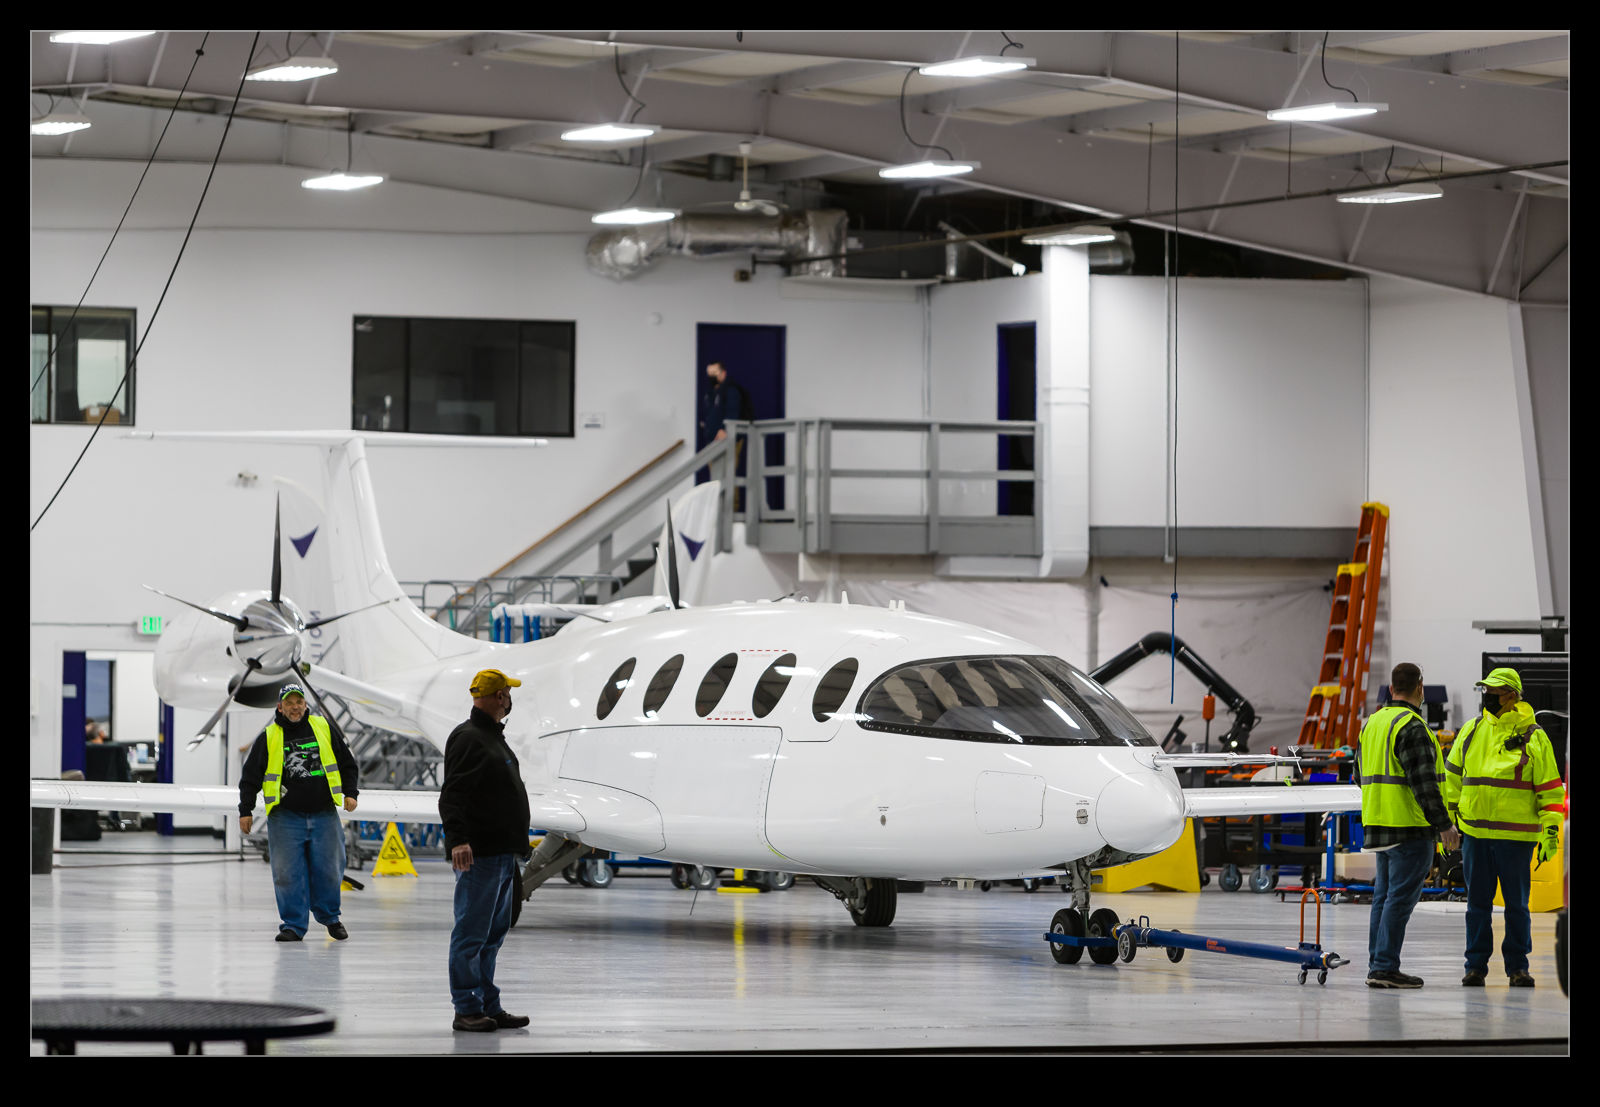
The testing of the Eviation Alice continues.  My first post on this was when they tried to do some high speed taxi trials but didn’t manage to get the plane going.  However, they have been making more progress since.  I managed to get up there when they were planning some more taxi trials.  I was hoping for some more fast work which they delivered.  Not fast enough to get the nose wheel off yet but progress all the same.

A few photographers were out to see what occurred.  The test team did not seem too happy about the level of interest.  I think they would prefer to get early testing work done without the world watching.  They did have their own multimedia team, of course.  Various cameras were doing the official recording and some drone work was done as they carried out the trials.  A NOTAM for the UAV was in place for several days.  I went with stills and video and put some stuff together for GAR and here is some of what I got.  Let’s hope to get more as they progress.