Whenever you suddenly see a bunch of YouTube videos on a similar topic, you wonder whether a company has been sending out copies of its product to people to get them talking about it. I think this must be the case with DxO Mark since I have come across a lot of videos about their new raw convertor, PureRAW. Having watched a couple of the videos – the technique clearly works – I was curious about the capabilities of the product. Since they provide a 30 day free trial, I decided to give it a go.
One of the topics which seems to get people really worked up if they are too focused on the products and less on the photos you take with them is Raw conversions. You can shoot JPEGs in camera but, if you shoot Raw, you tend to have a lot more flexibility with post processing. (For those not in to this stuff – and I am amazed you are still reading this if that is the case – a Raw file is the data that comes off the sensor with very little processing applied.). Software developers come up with their own ways of converting this data into an image. Camera manufacturers provide their own raw converters but they don’t share the detailed understanding with the software manufacturers so they have to create their own.
 The most widespread software provider is Adobe with their Camera Raw convertor built in to Photoshop and Lightroom. There are others with their own software and you can come across some quite heated discussions online about which is the best. Hyperbole abounds in these discussions with anyone getting in to the debate almost always dismissing Camera Raw as terrible. It’s clearly not terrible but it might have its limitations.
 PureRAW is a convertor which doesn’t really give you much control. Instead, it takes the Raw file, does its magic and then creates a new DNG raw file which you can them import direct in to Lightroom (if you choose – which I do) to continue to edit in much the same way you would have previously. Watching the reviews, they seemed to suggest that for normal shots at normal ISO settings, there was not much in it. However, for high ISO images, they showed significant differences with reduced noise, sharper images and clearer detail. Some reviewers thought it might even be a bit oversharpened.
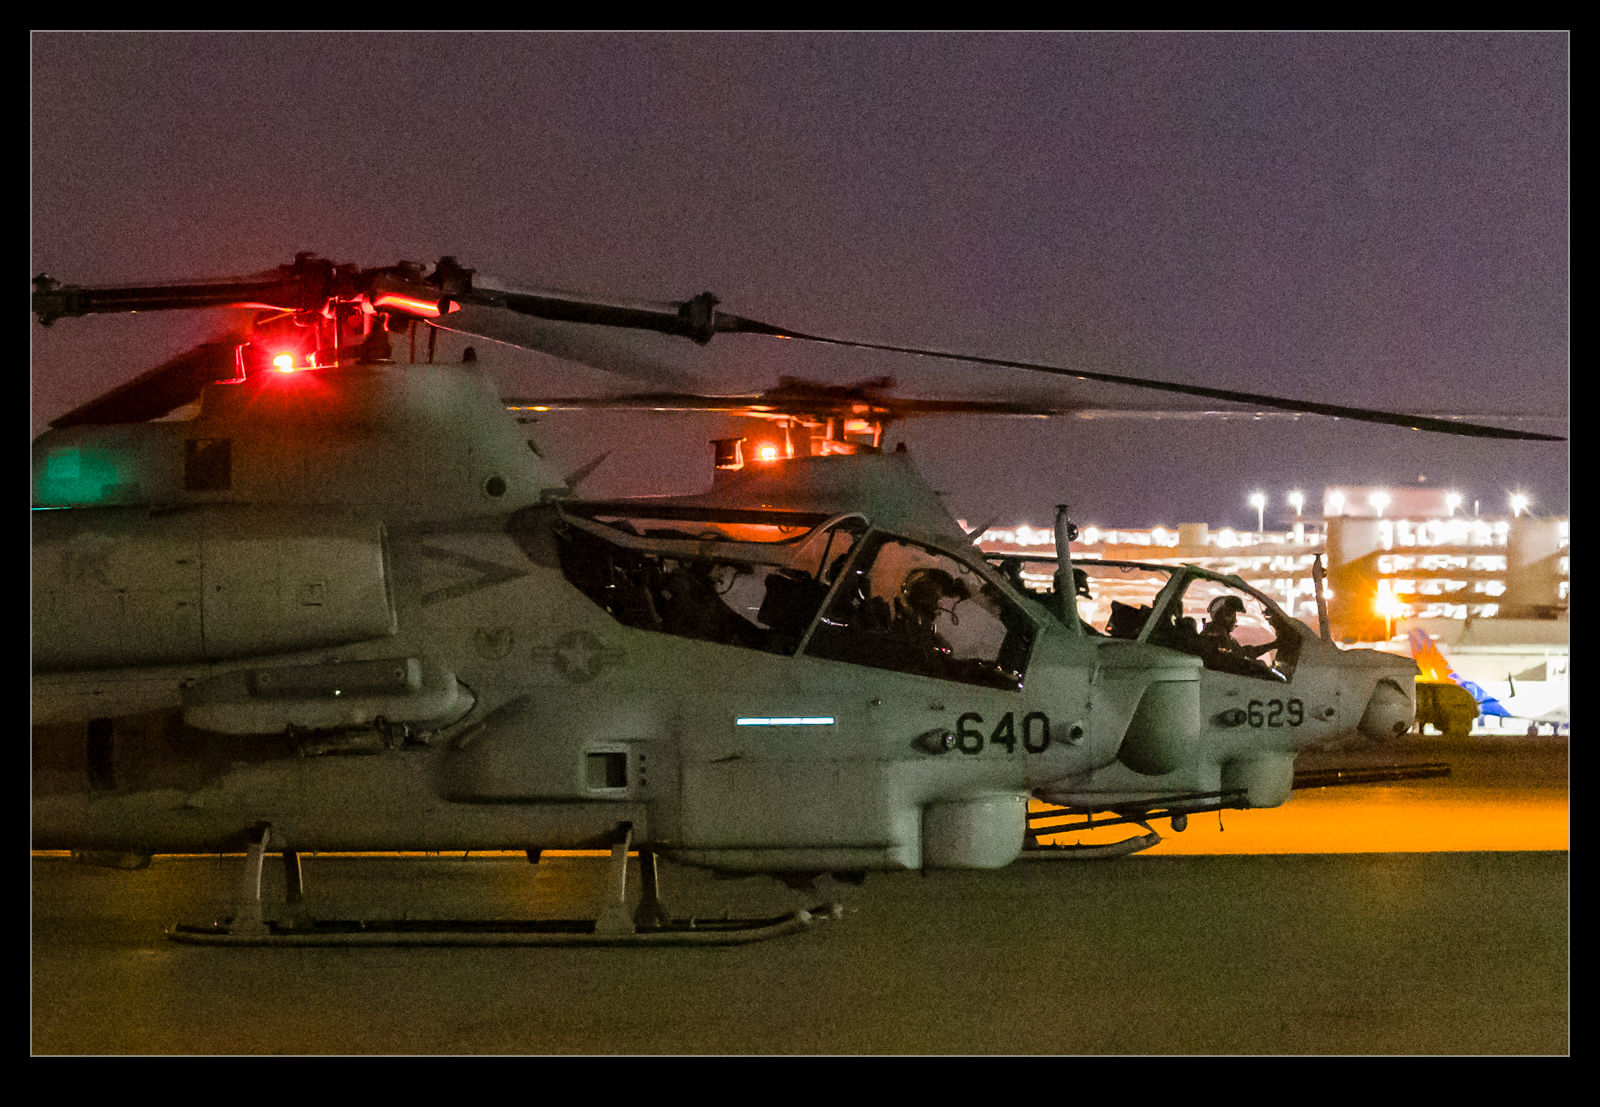
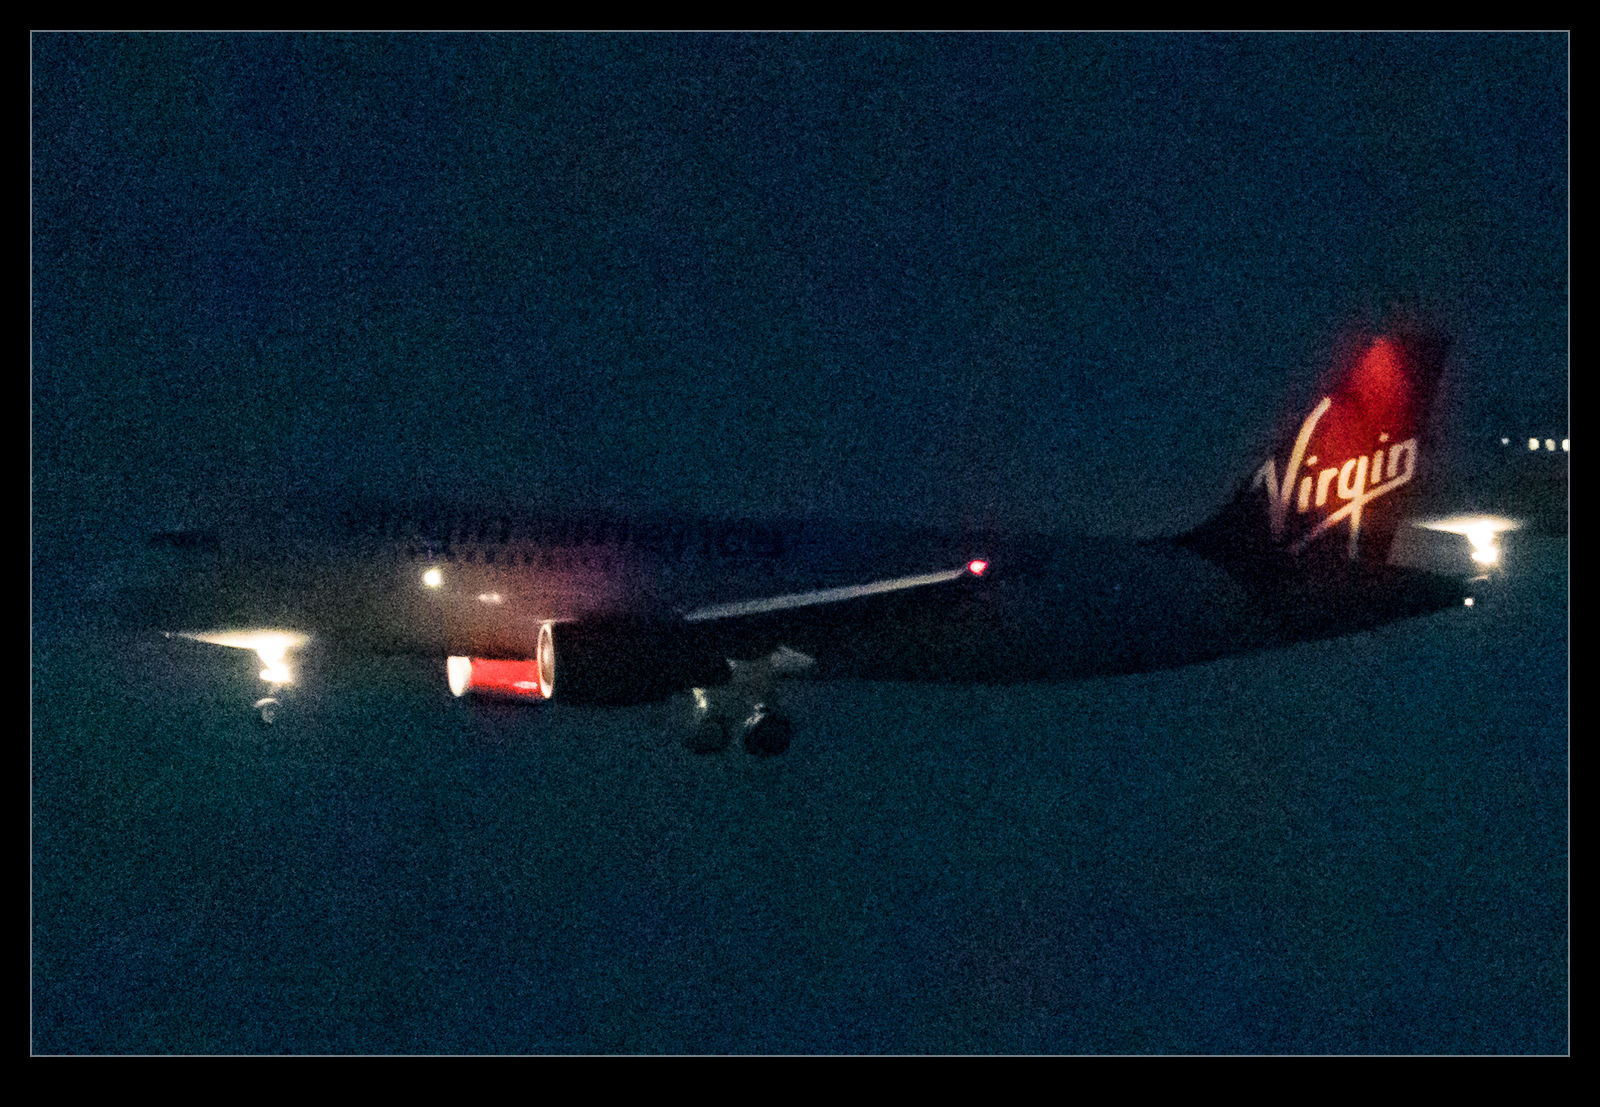
 I figured I would try out my own experimentation with some really high ISO images. I have some shots at ridiculously high ISO settings that I took at night or in poorly lit environments. These seemed like a good place to start. The workflow is not ideal – this would not be something I do for all images but only for some that seemed like they would need it – because I have to select the shot from Windows Explorer (getting there by right clicking on the image in Lightroom) and then drag in to PureRAW. I can drag a whole bunch of shots over there before having to do anything to them.
The program will download profiles for the camera and lens combinations if it doesn’t already have them and you have to agree to this. Not sure why it doesn’t do it automatically to be honest but I guess there is a reason. When you have all of the shots of interest selected, you click Process and off it goes. It isn’t terribly fast but I wasn’t dealing with a huge number of shots. Interestingly, I took a look at Task Manager to see how much resource it was using and the processor was barely ticking over so it wasn’t stressing the machine at all. At a later stage, for reasons I shall explain in a while, I did deactivate the use of the graphics card and things got considerably slower.
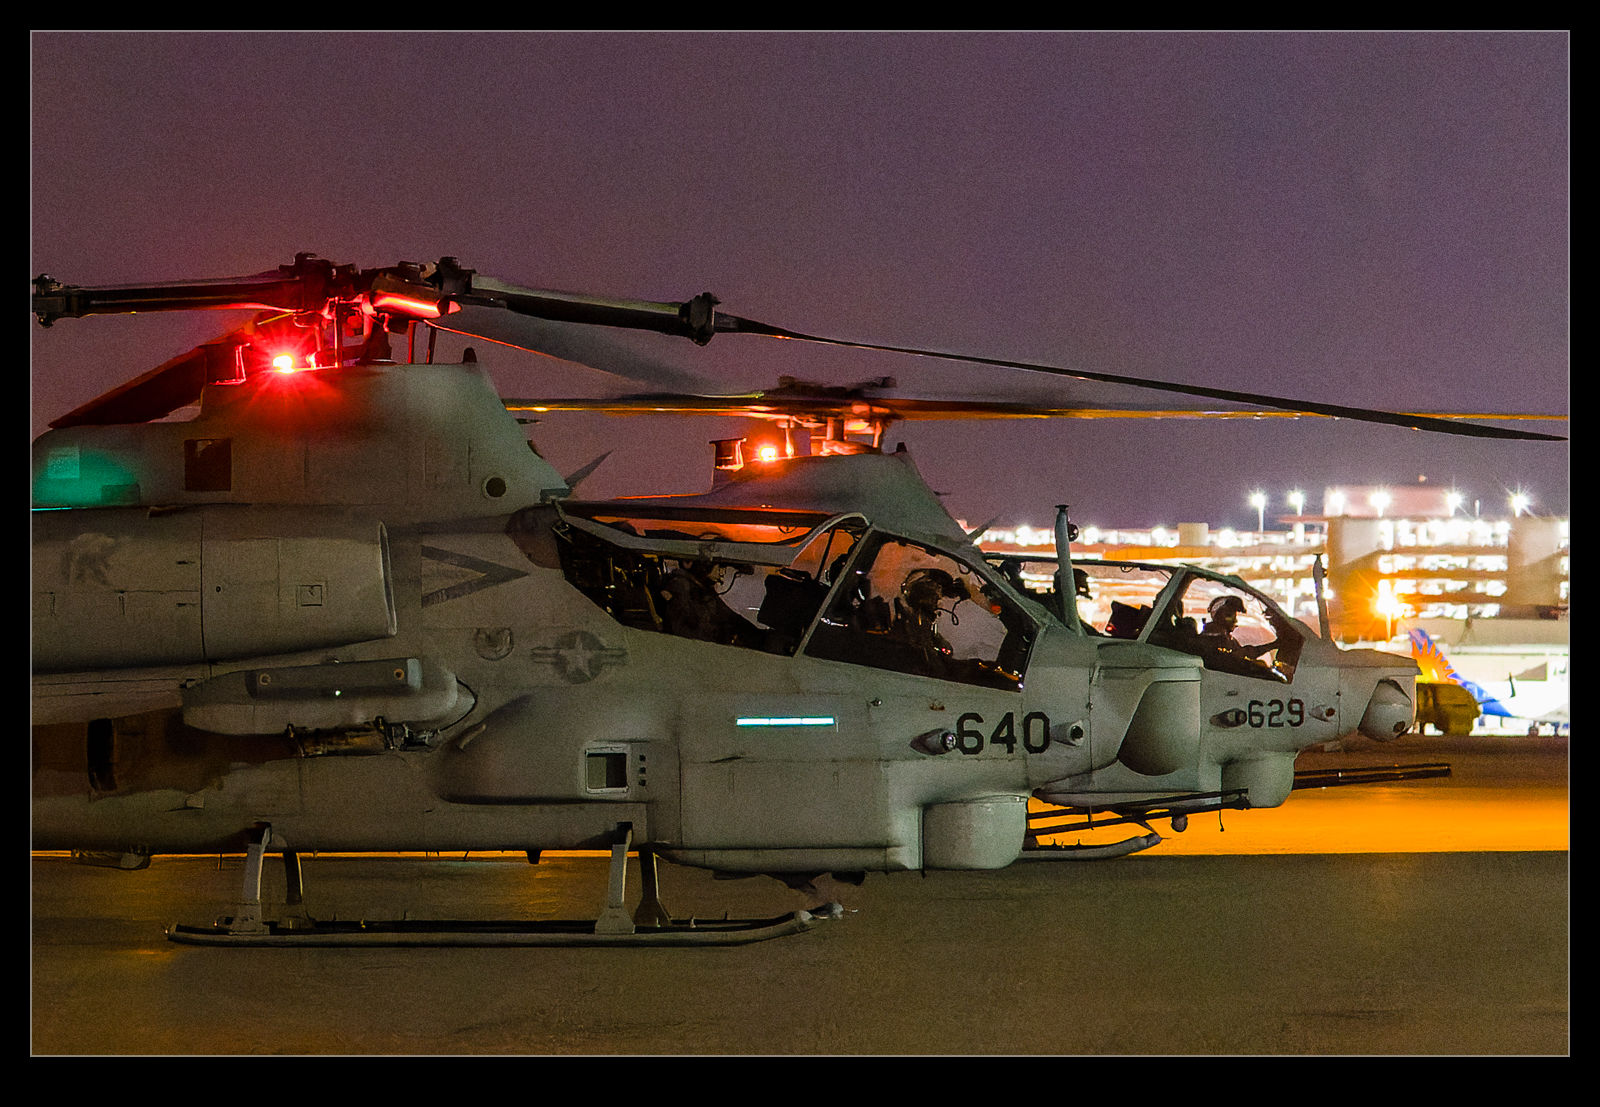
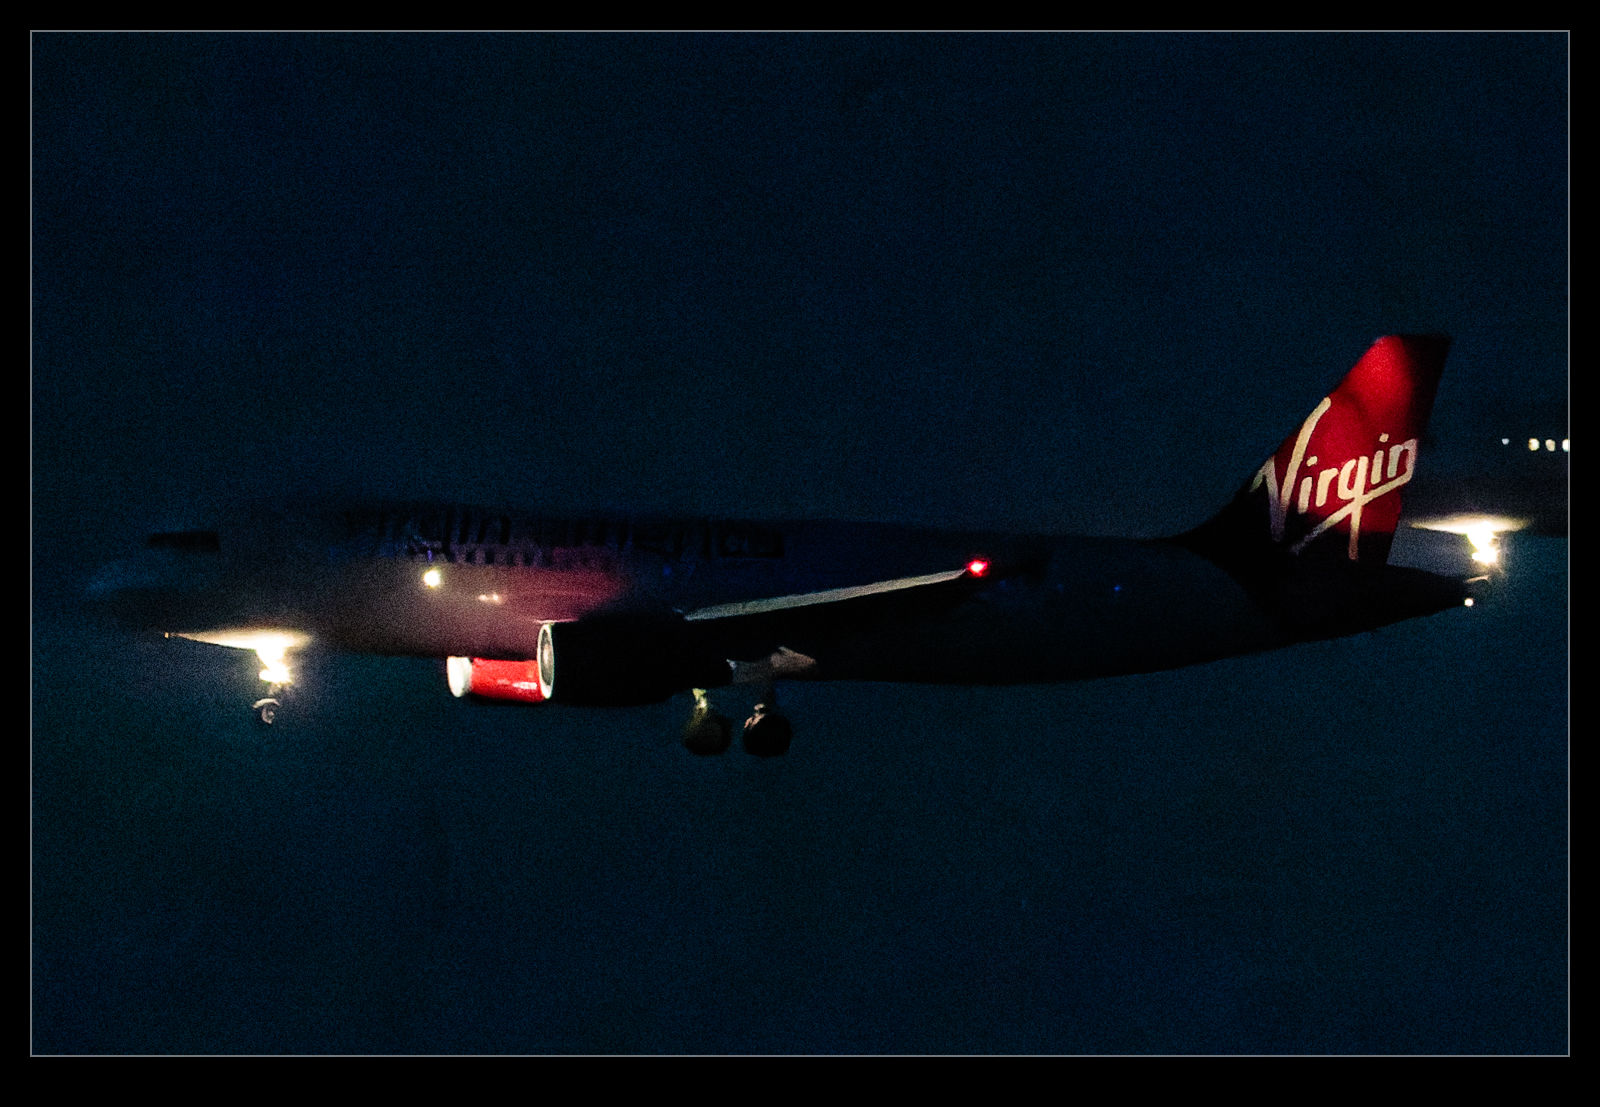 When the processing is finished, you have the option to export them to Lightroom. It saves them in a sub folder for the original folder and they all import together. Since I have Lightroom sort by capture time, the new files arrive alongside the original which makes comparing them pretty simple. For the 204,000 ISO shot (an extended range ISO for that camera), things were slightly better but still really noisy. For the 51,000 ISO shots, things actually did appear to be pretty impressive. I have a normal profile for the camera that I use for the raw conversion and a preset for high ISO conversions and the comparison is not dramatic but it is definitely a sharper, more detailed and slightly cleaner result.
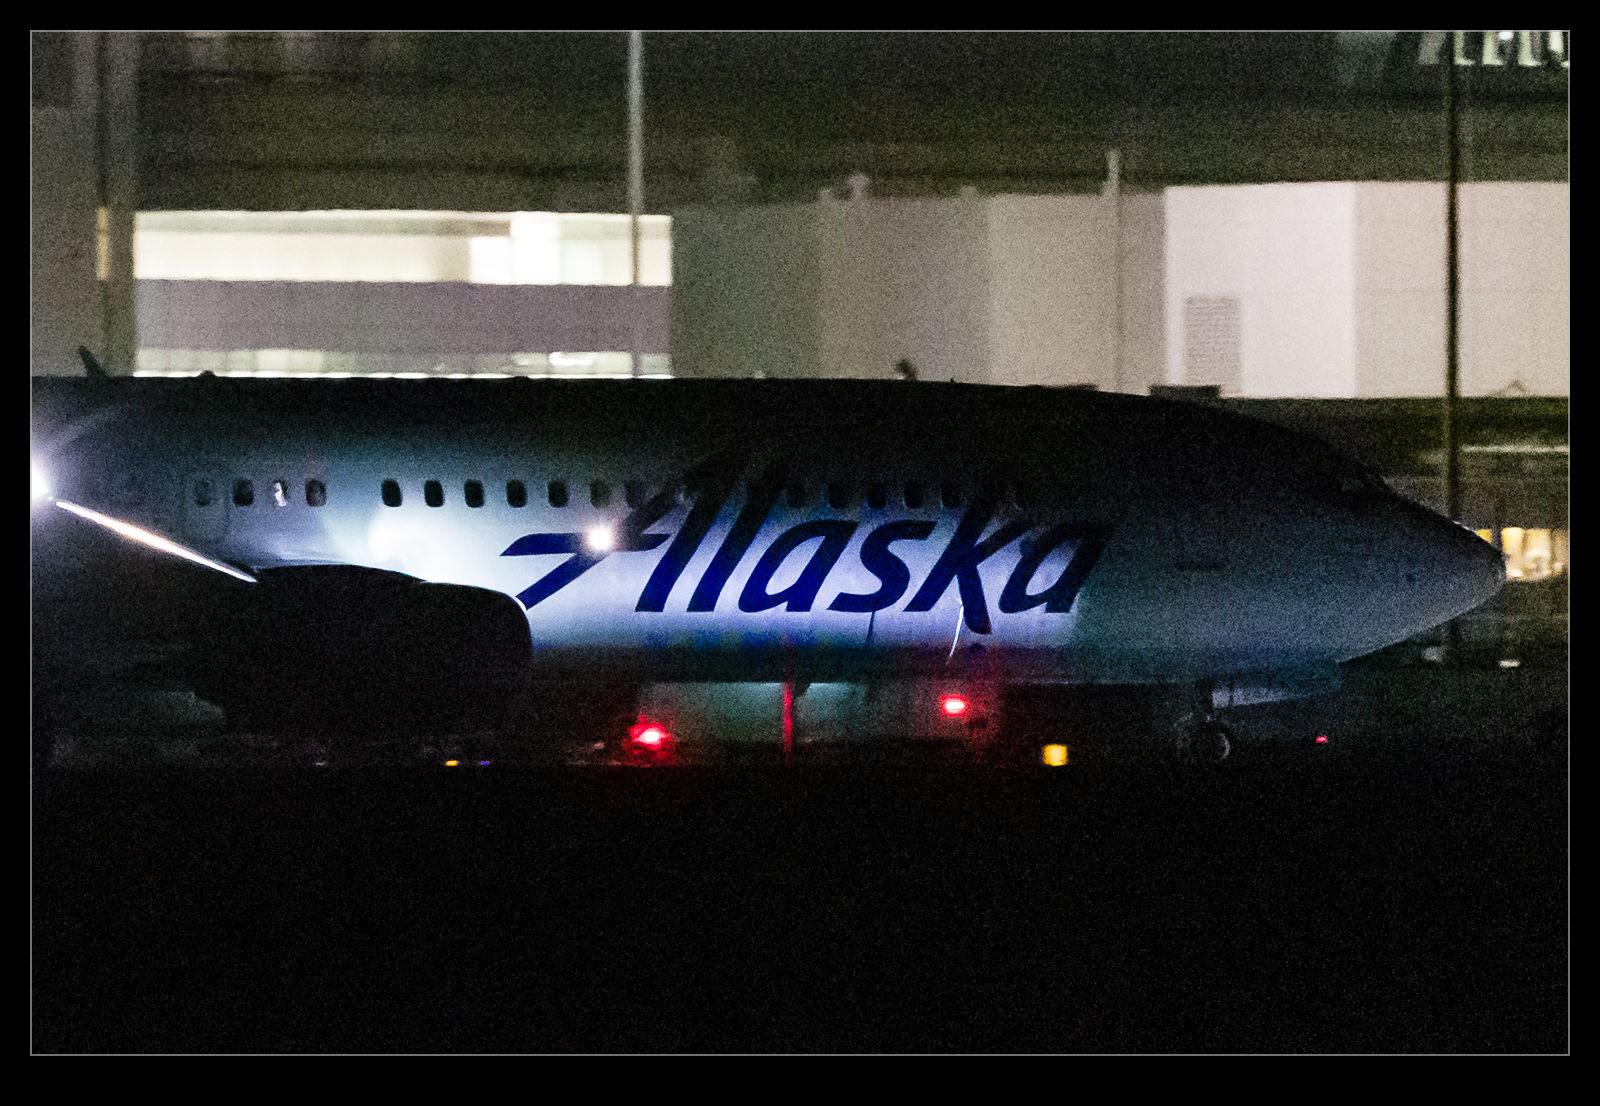
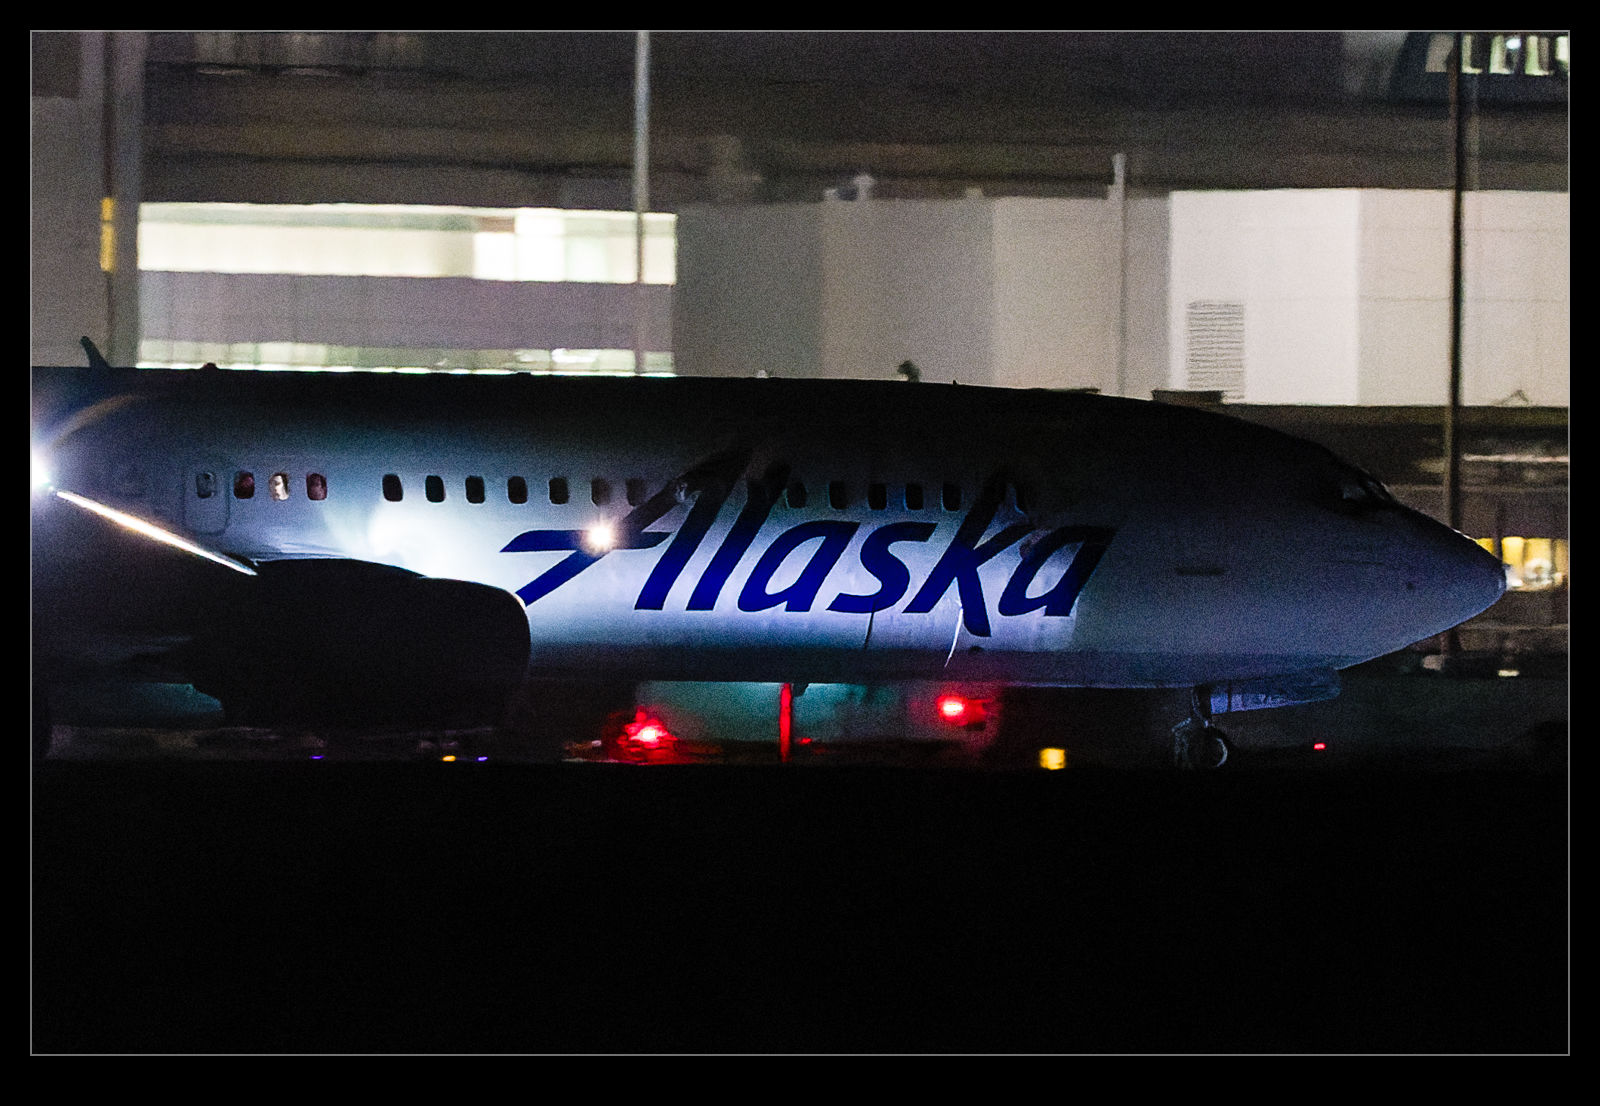
I have put pairs of shots in the post with crops in on each image to give a comparison of the output so you can judge for yourself. Will I buy the software? I don’t know. It is currently $90. That is quite a bit for software that does one thing only. The interface with my workflow is a bit clunky and it has benefit in a relatively limited set of circumstances from what I have seen so far.

 Now for some further feedback as my experimentation has progressed. I did try the tool out on some more normal shots. There are some minor differences from a conversion of the raw within Lightroom but they don’t seem to be significant enough to justify the investment. I played with some shots that had very contrasty scenes and it was slightly less noisy but, again, not that big a deal. They also felt over sharpened.
I have had some problems with the program. After a while, I got conversions where the new DNG file was just black. This happened on a few occasions. I found switching to CPU only solved the issue but only after I deleted the DNGs that had been created. Interestingly, once I went back to Auto mode, it continued to work. A weird bug and not one unique to me apparently. I have also had erratic results when it exports to Lightroom with it failing to do so on a number of occasions. This is really laborious to deal with and, combined with the fact that the drag from Lightroom to PrimeRAW only works on a Mac and not on Windows, the lack of integration is really enough to put me off.
So far, I will let the trial expire. It is a tool that is capable of some interesting improvements in more extreme situations but the integration is poor and the benefits are limited for me so, with that in mind, it just isn’t worth the expenditure. If it made more of a difference to normal shots, I might consider it but it currently doesn’t offer enough to justify the cost or the process slowdown.
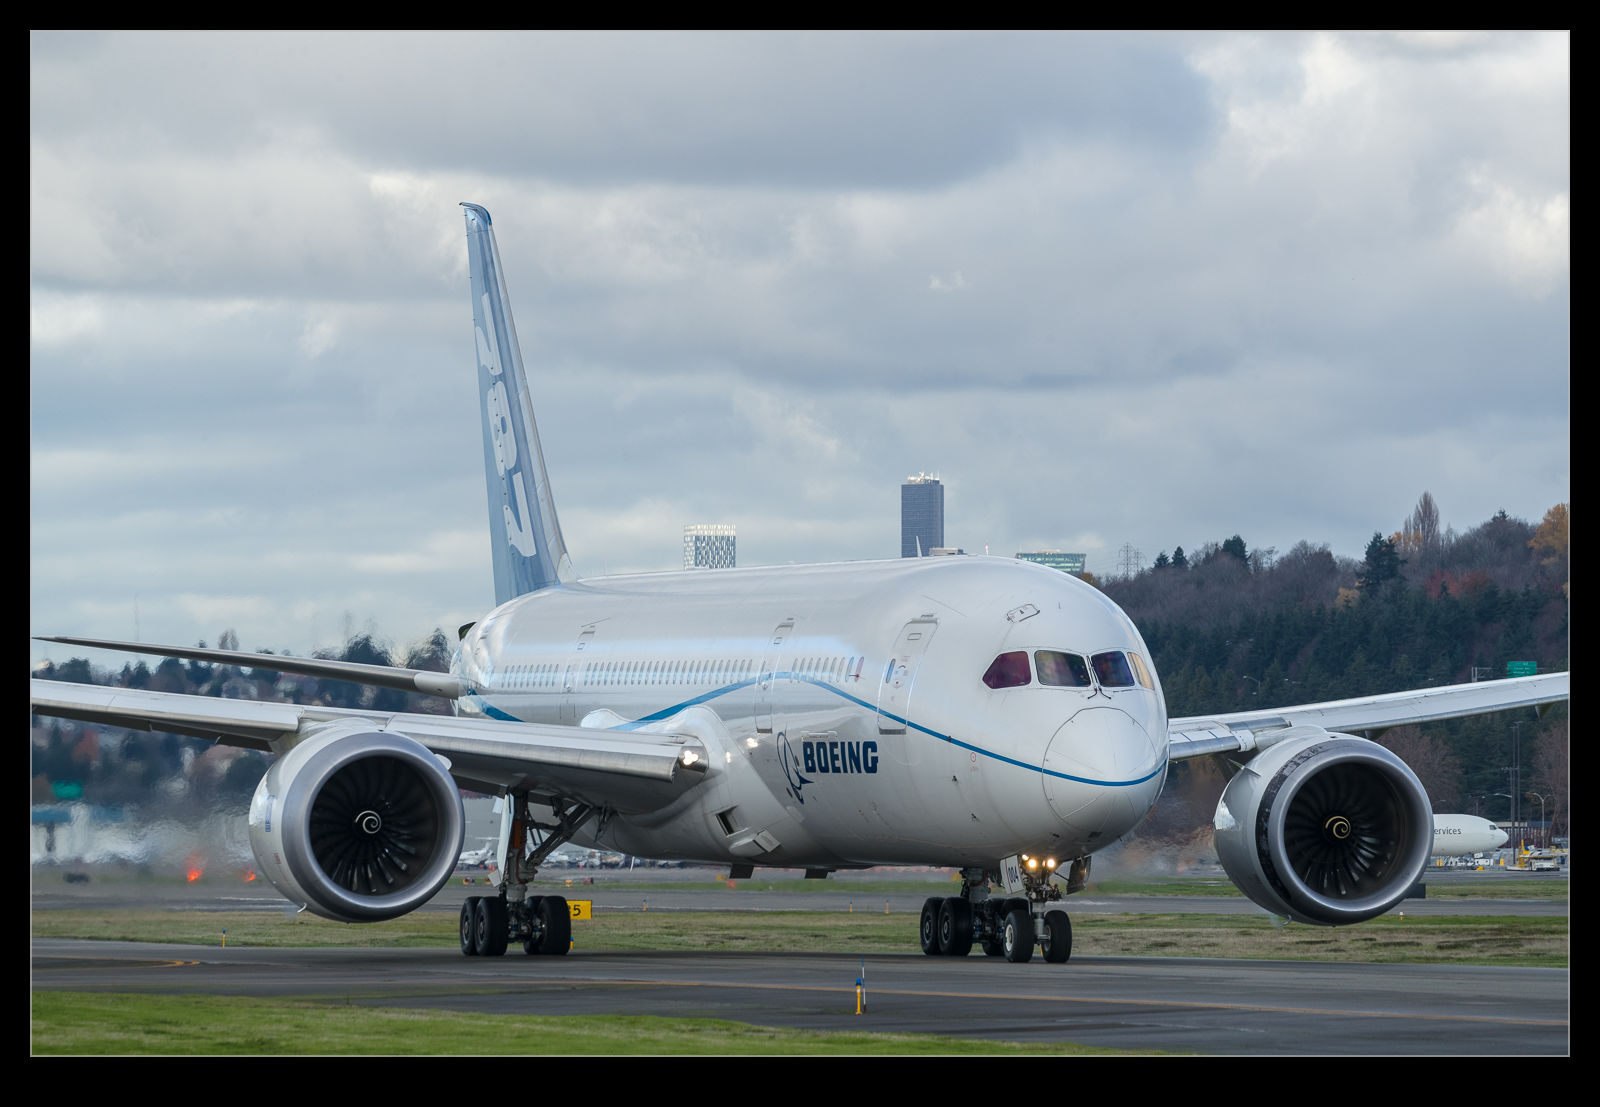
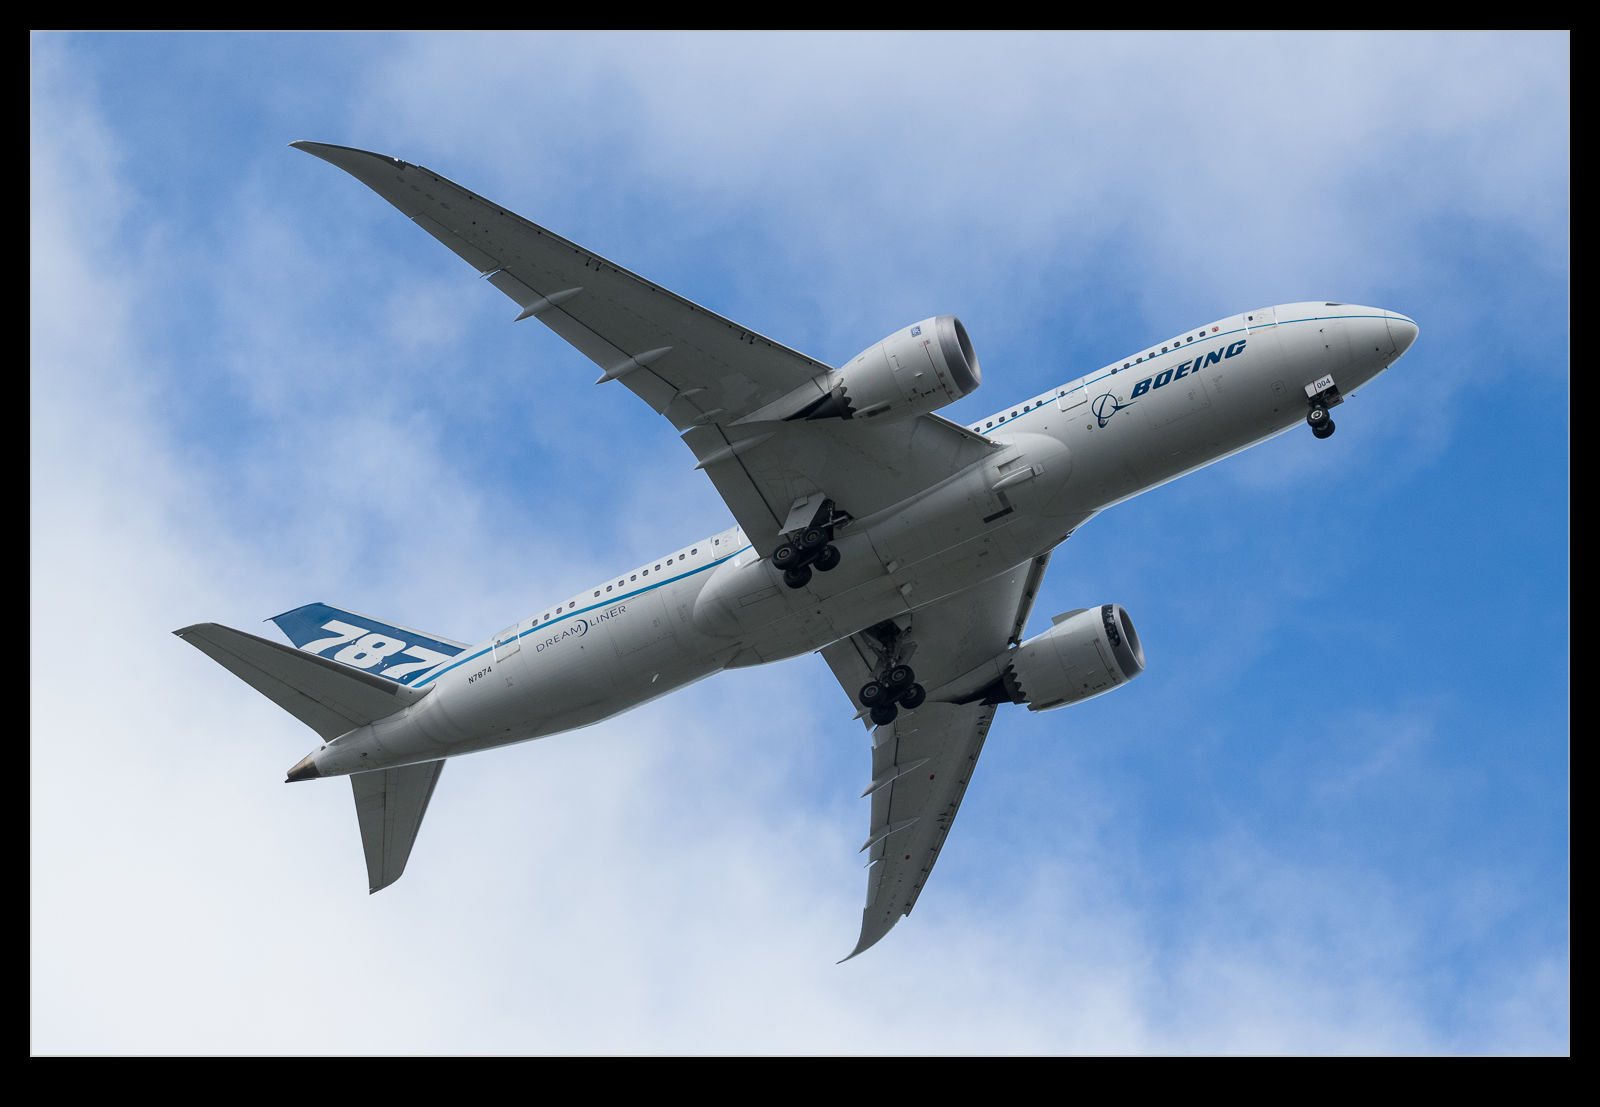
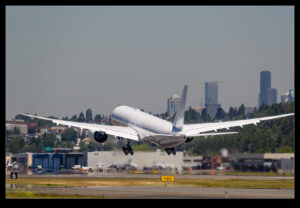
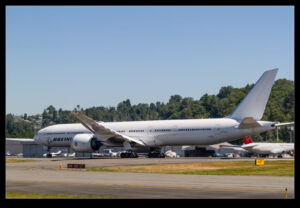
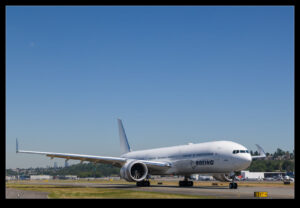
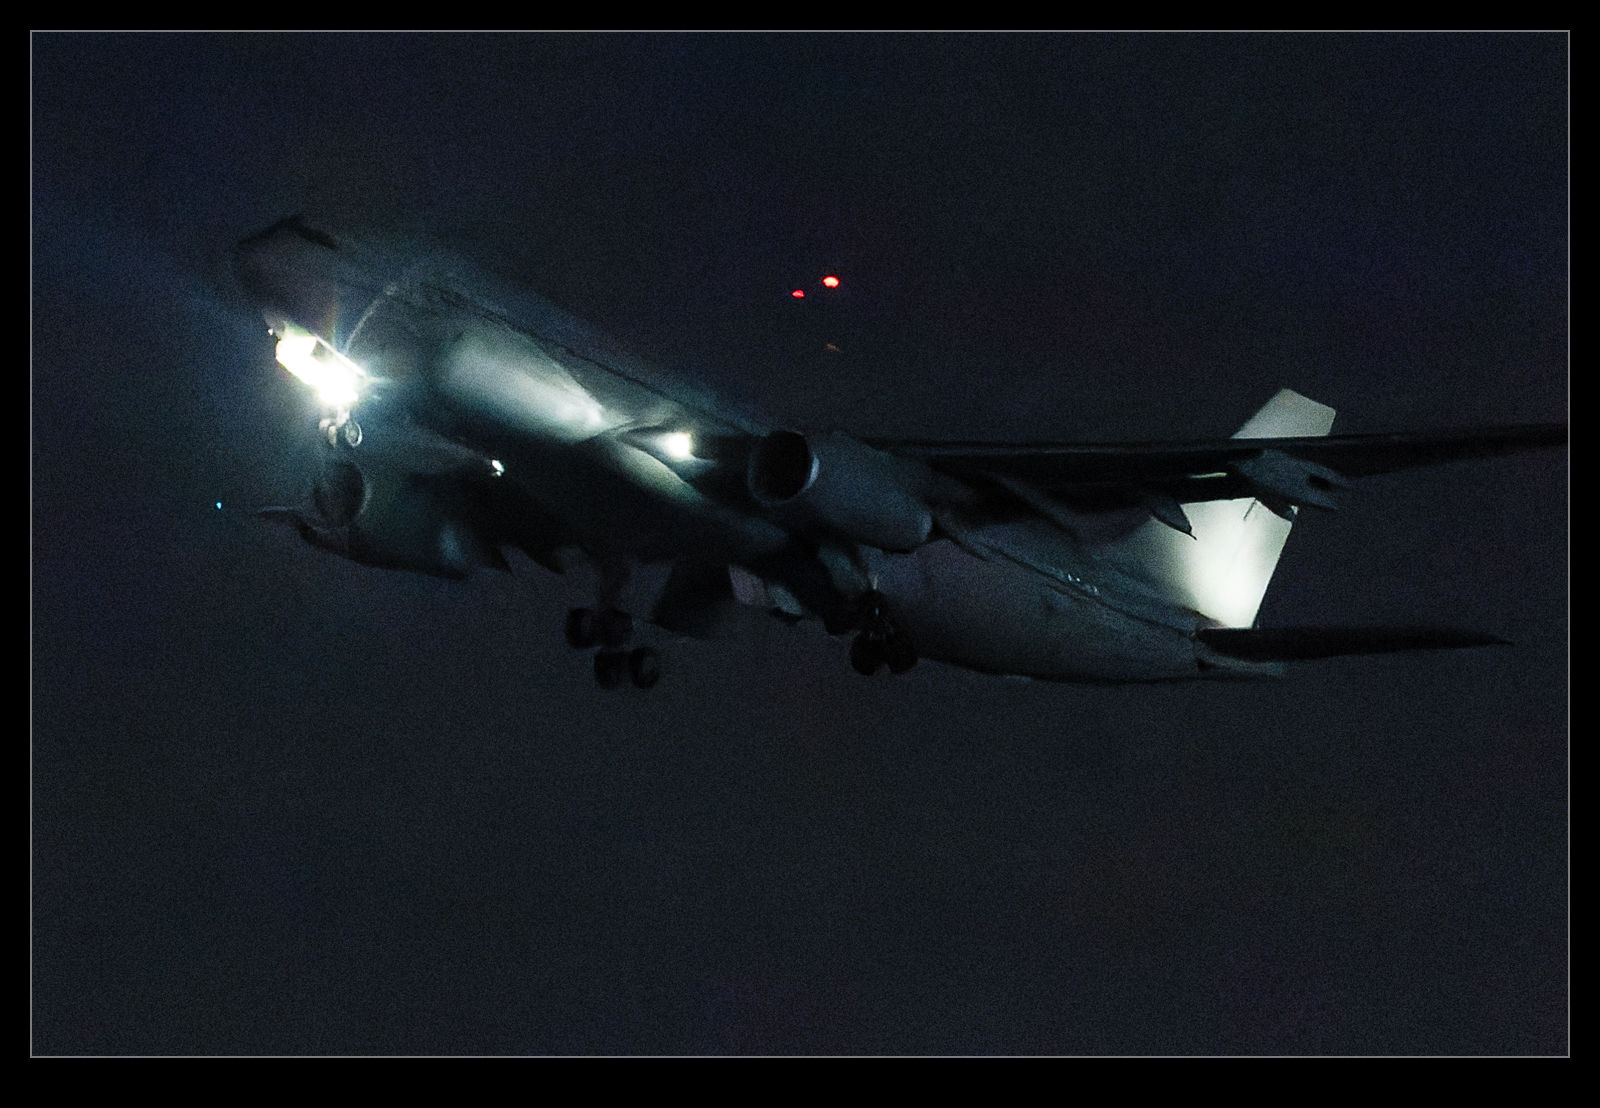
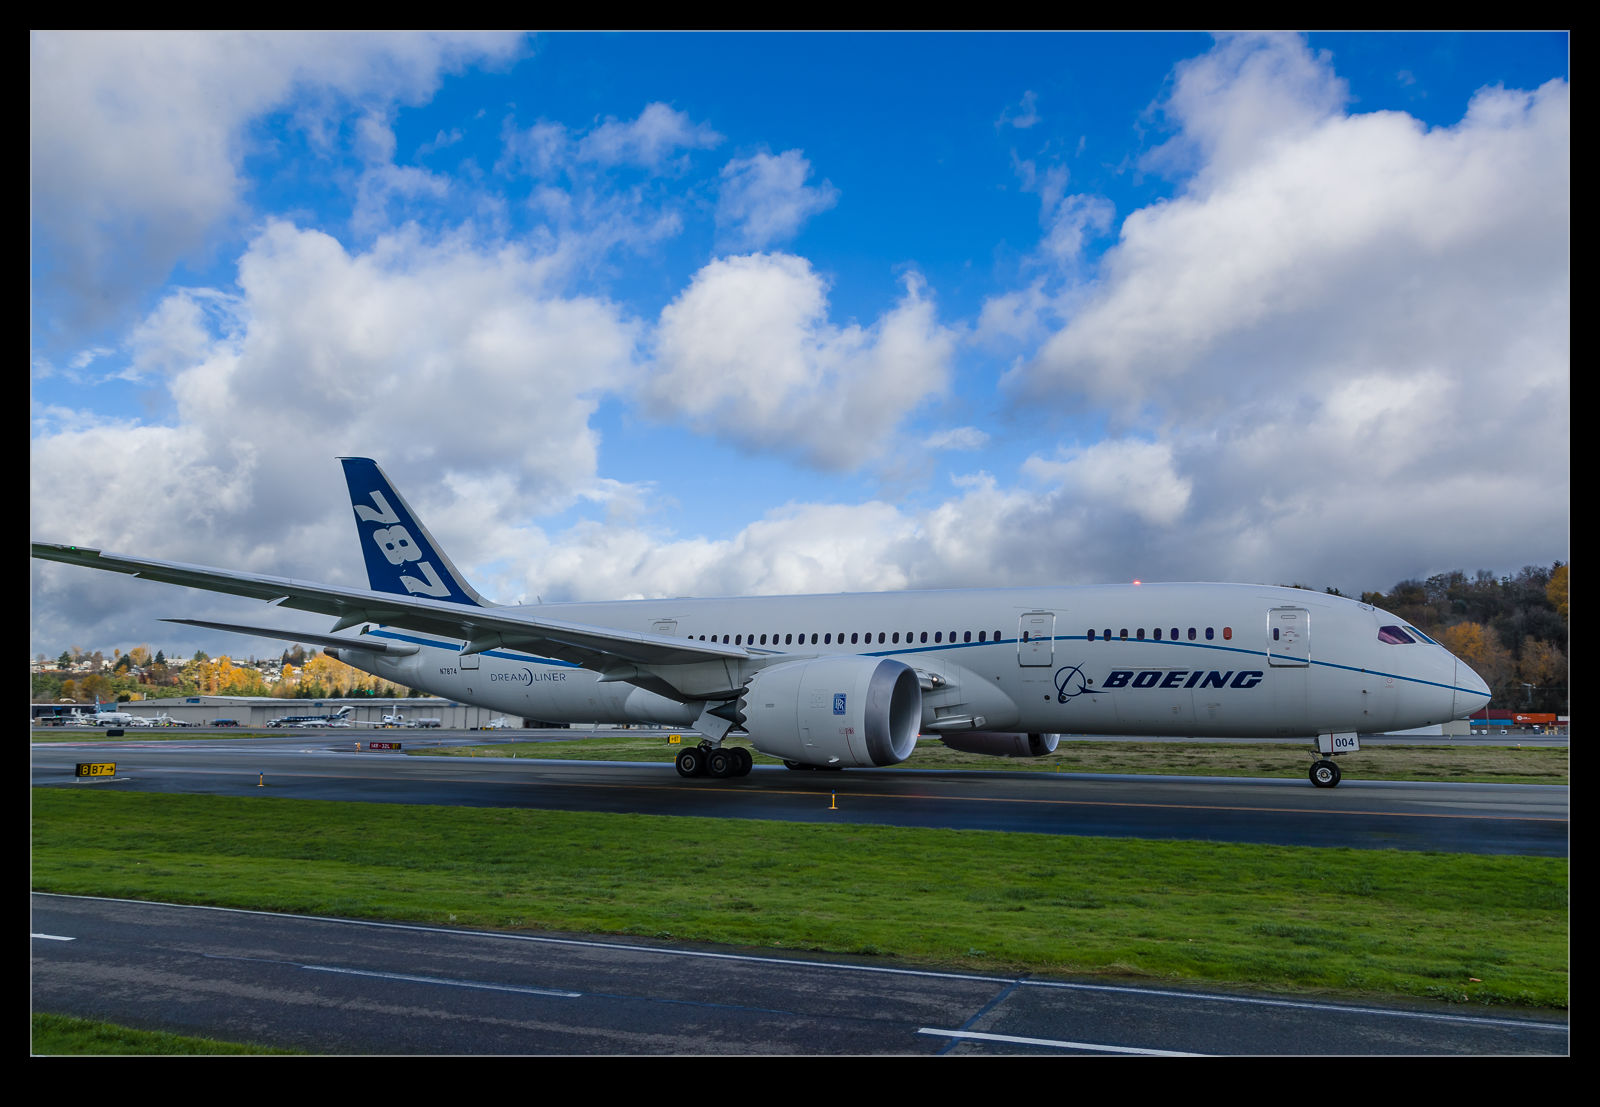 Of the original 787 development airframes, three are now in museums and Boeing has one that it continues to use for test work. It was the fourth of the jets and, I assume, the closest to a production standard. It was recently out at Boeing Field for a flight. It taxied by me to the end of the taxiway where it then waited for a very long time. Some fire trucks were close by but not attending it – just watching as far as I could tell. They called up to say that they would be there for a long time so the tower was diverting things around them.
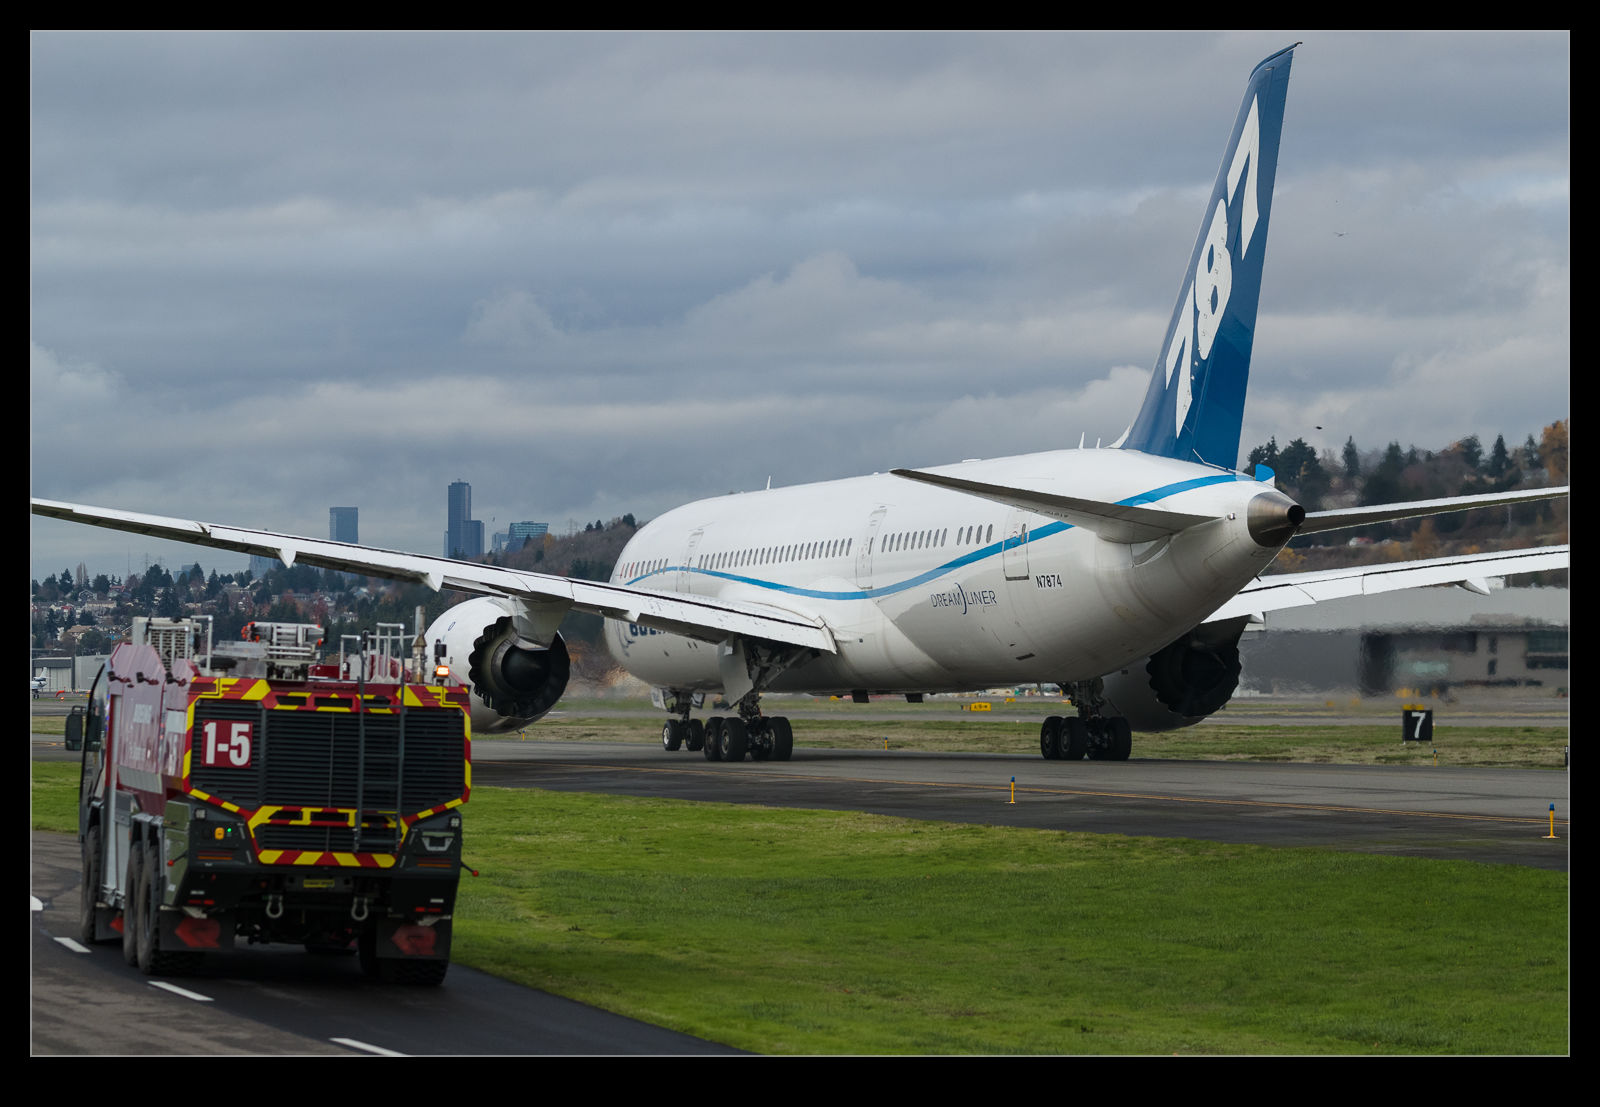 Eventually they taxied back before finally getting whatever was the issue sorted out at which point the runway in use had changed. They had to head to the other end of the field for departure. This time they did take off and headed off for whatever testing they had planned. Not sure of whatever it was that caused them so much trouble but I guess it got resolved.