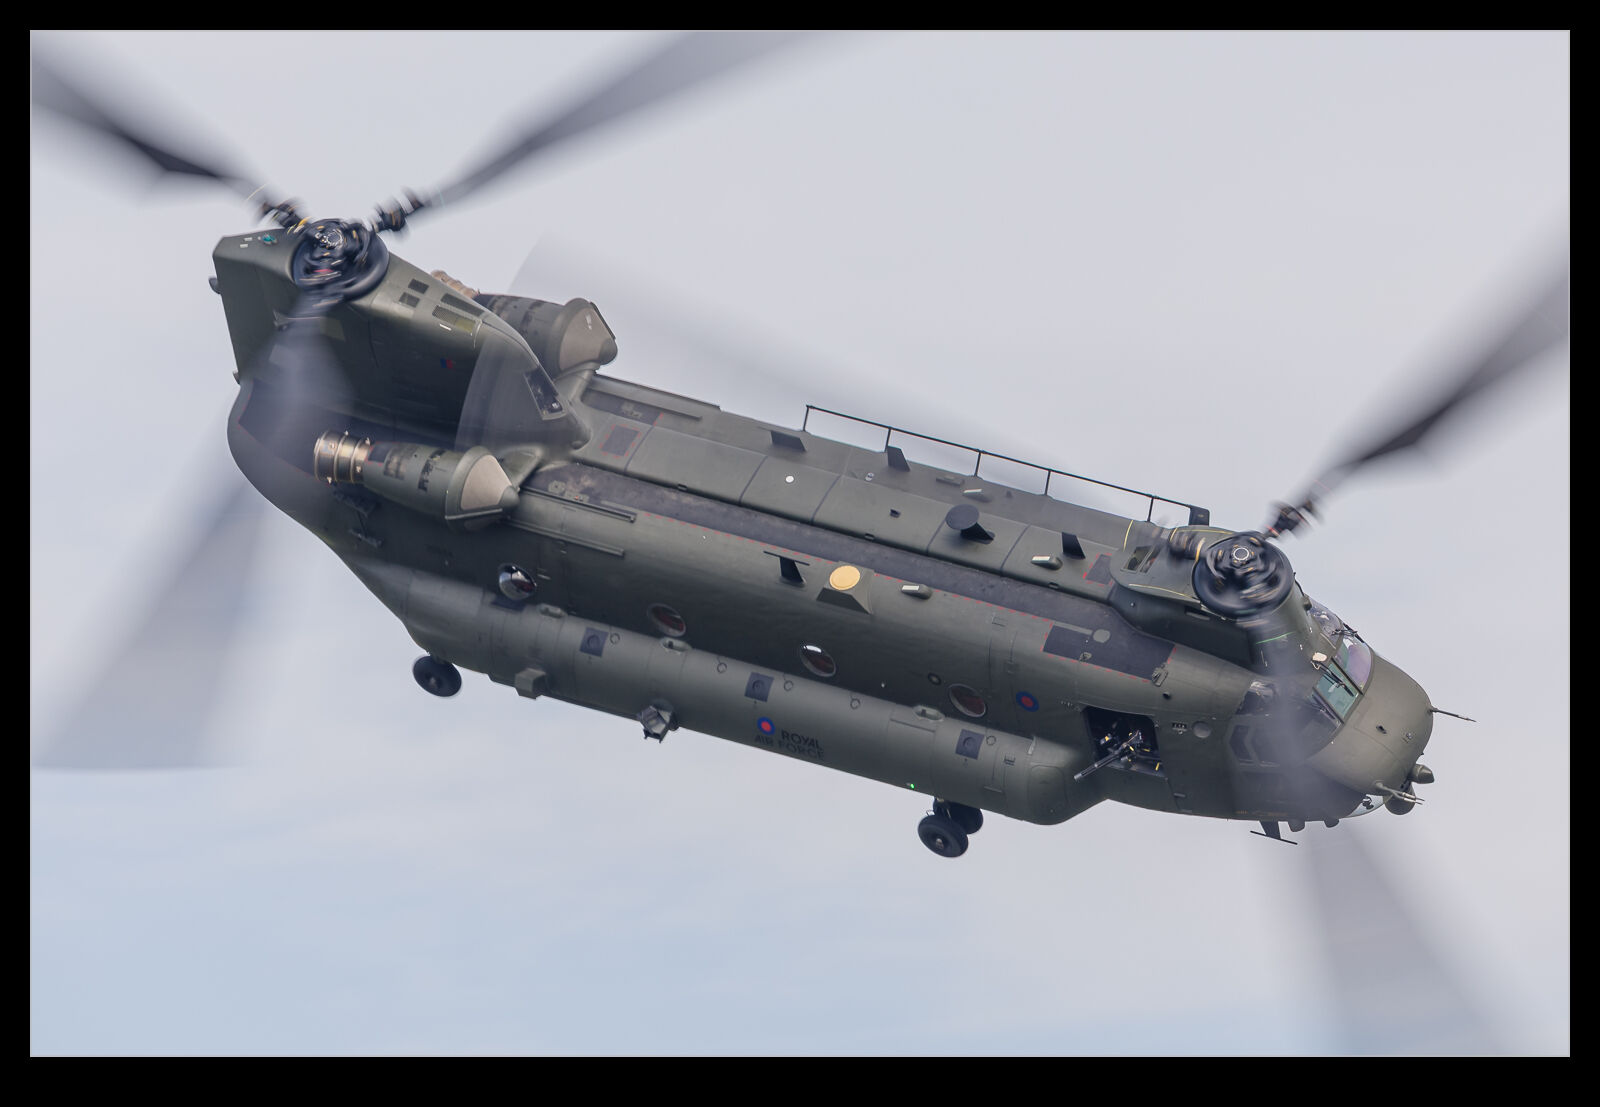
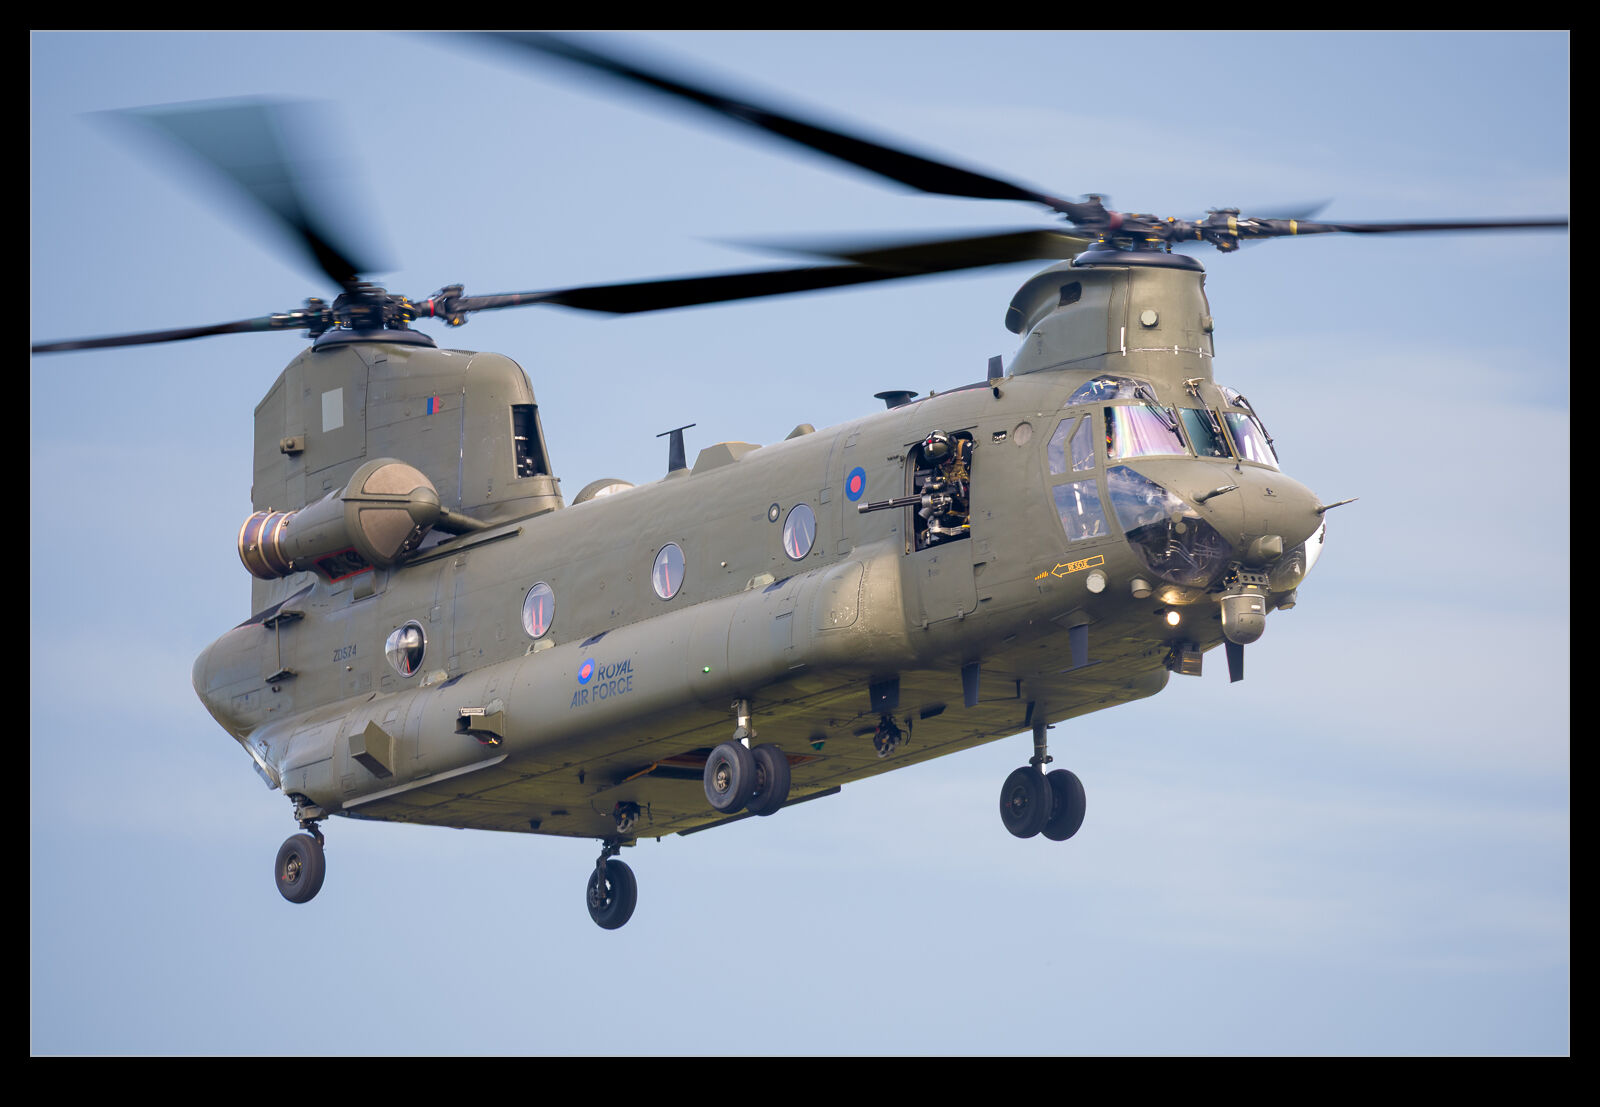
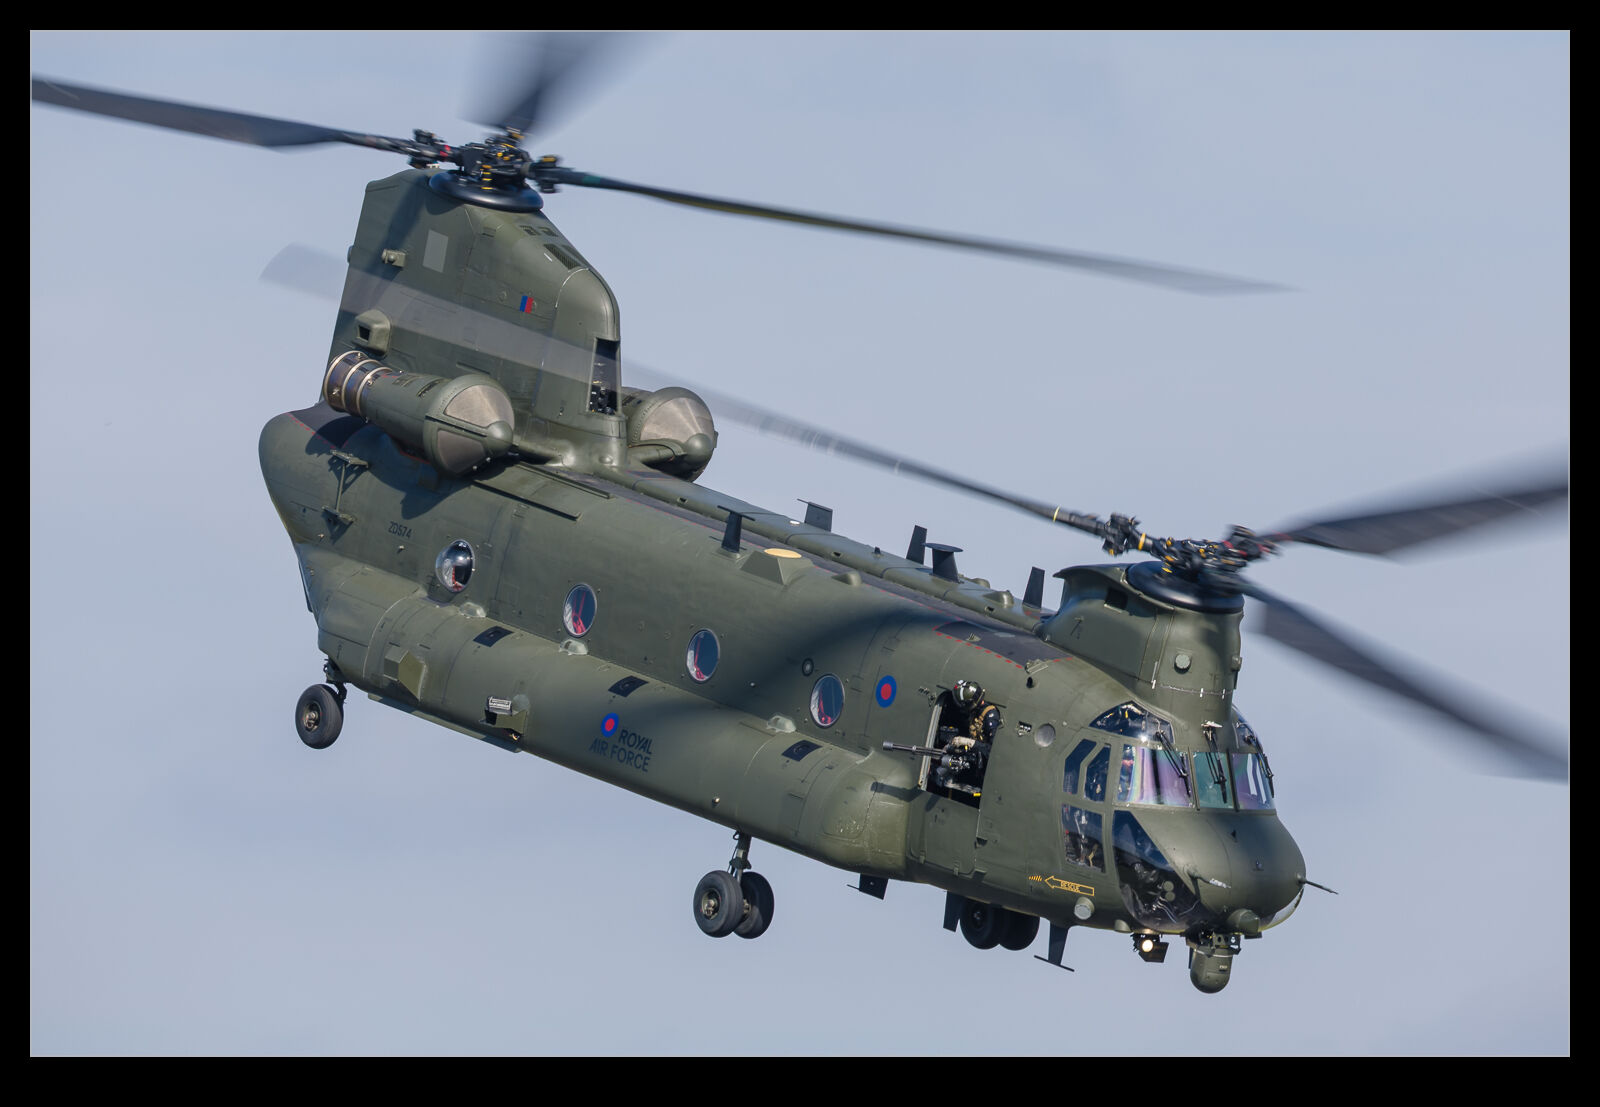
 The final display of the Cosford air show was the Chinook demo. I have always enjoyed a Chinook display because it is a very agile helicopter despite its size and it can be thrown around which impresses. There is also the wheelie that it can do which has a unique feel to it. However, I wasn’t prepared for just how much I enjoyed the display.
 There were a number of elements that made it so good. First, it was at the end of the show, and the light had come around to be more favourable for photos. This could have been even better because a bit of cloud cover rolled in. A little while after the display was over, this cleared and the warm light was so nice. It would have been great to have that on the helicopter during the display. Let’s not focus on the negative though, when there is so much positive.
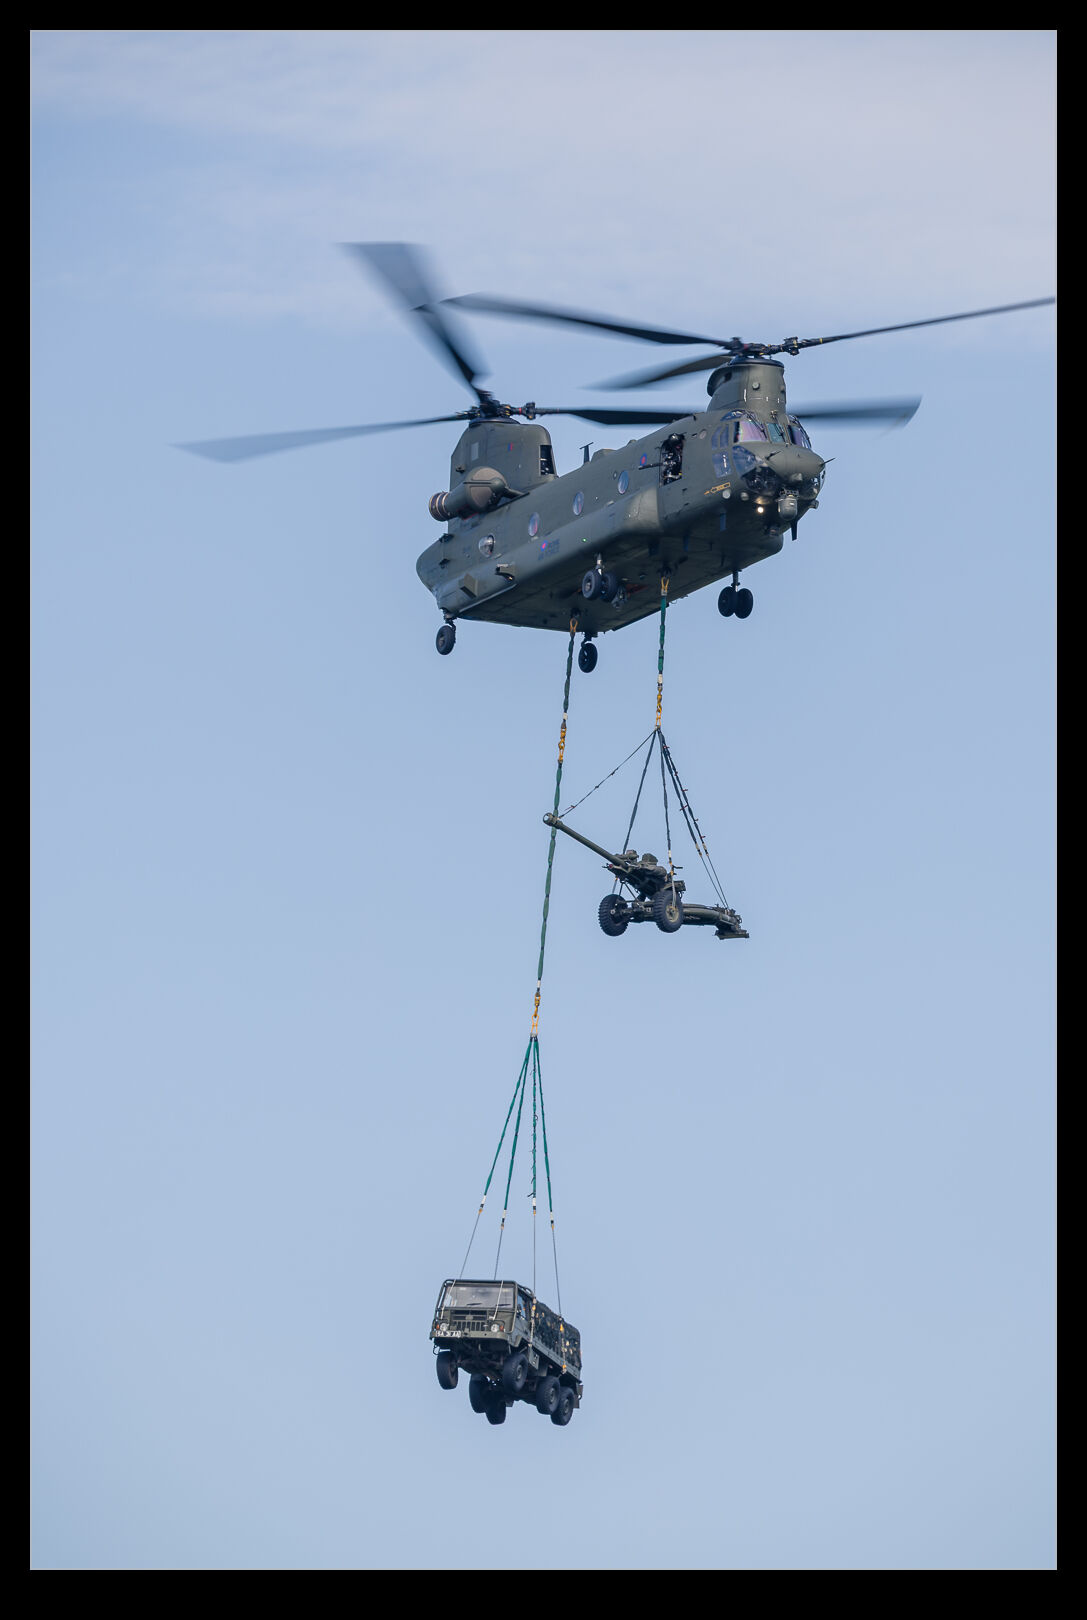
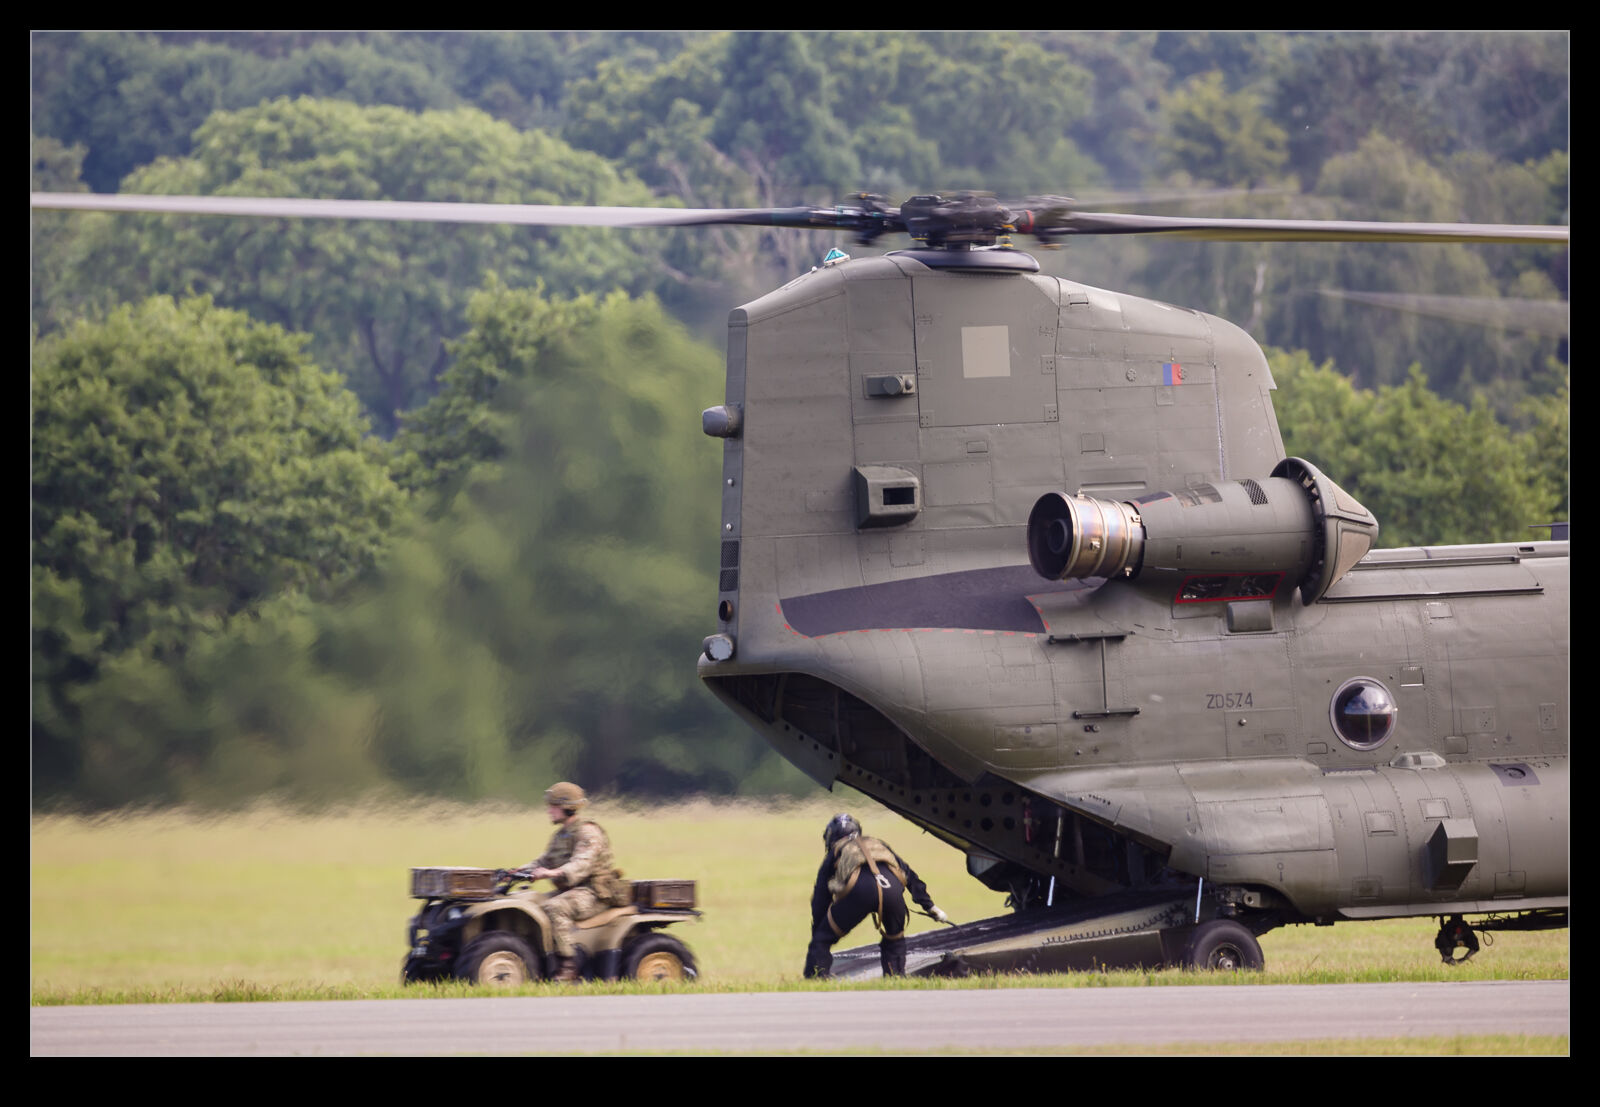
 They started the display carrying in a couple of underslung loads. Showing off the lifting performance of the helicopter is a great way of showing what this capability is all about. They had a howitzer and a truck on lifting lines using two of the three pickup points that the Chinook has. A bit of manoeuvring with that before dropping it off on the airfield. The gun crew then came out and set the gun up. They proceeded to fire off a few blank rounds.
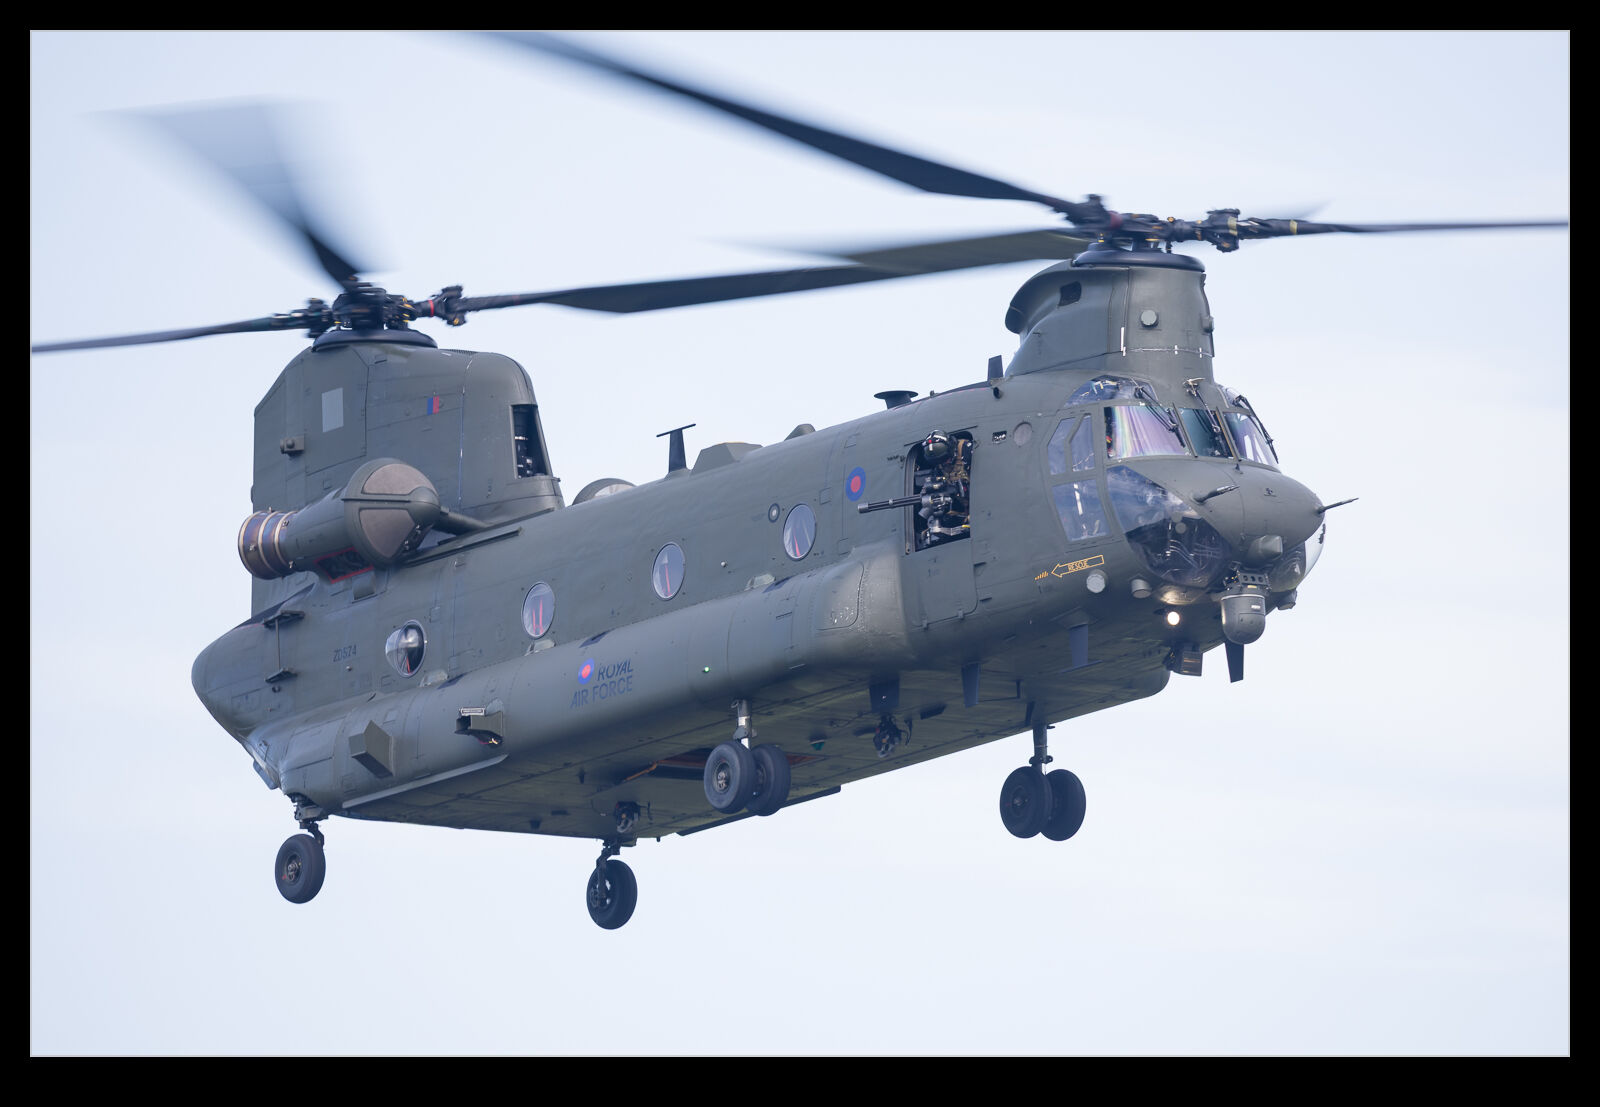
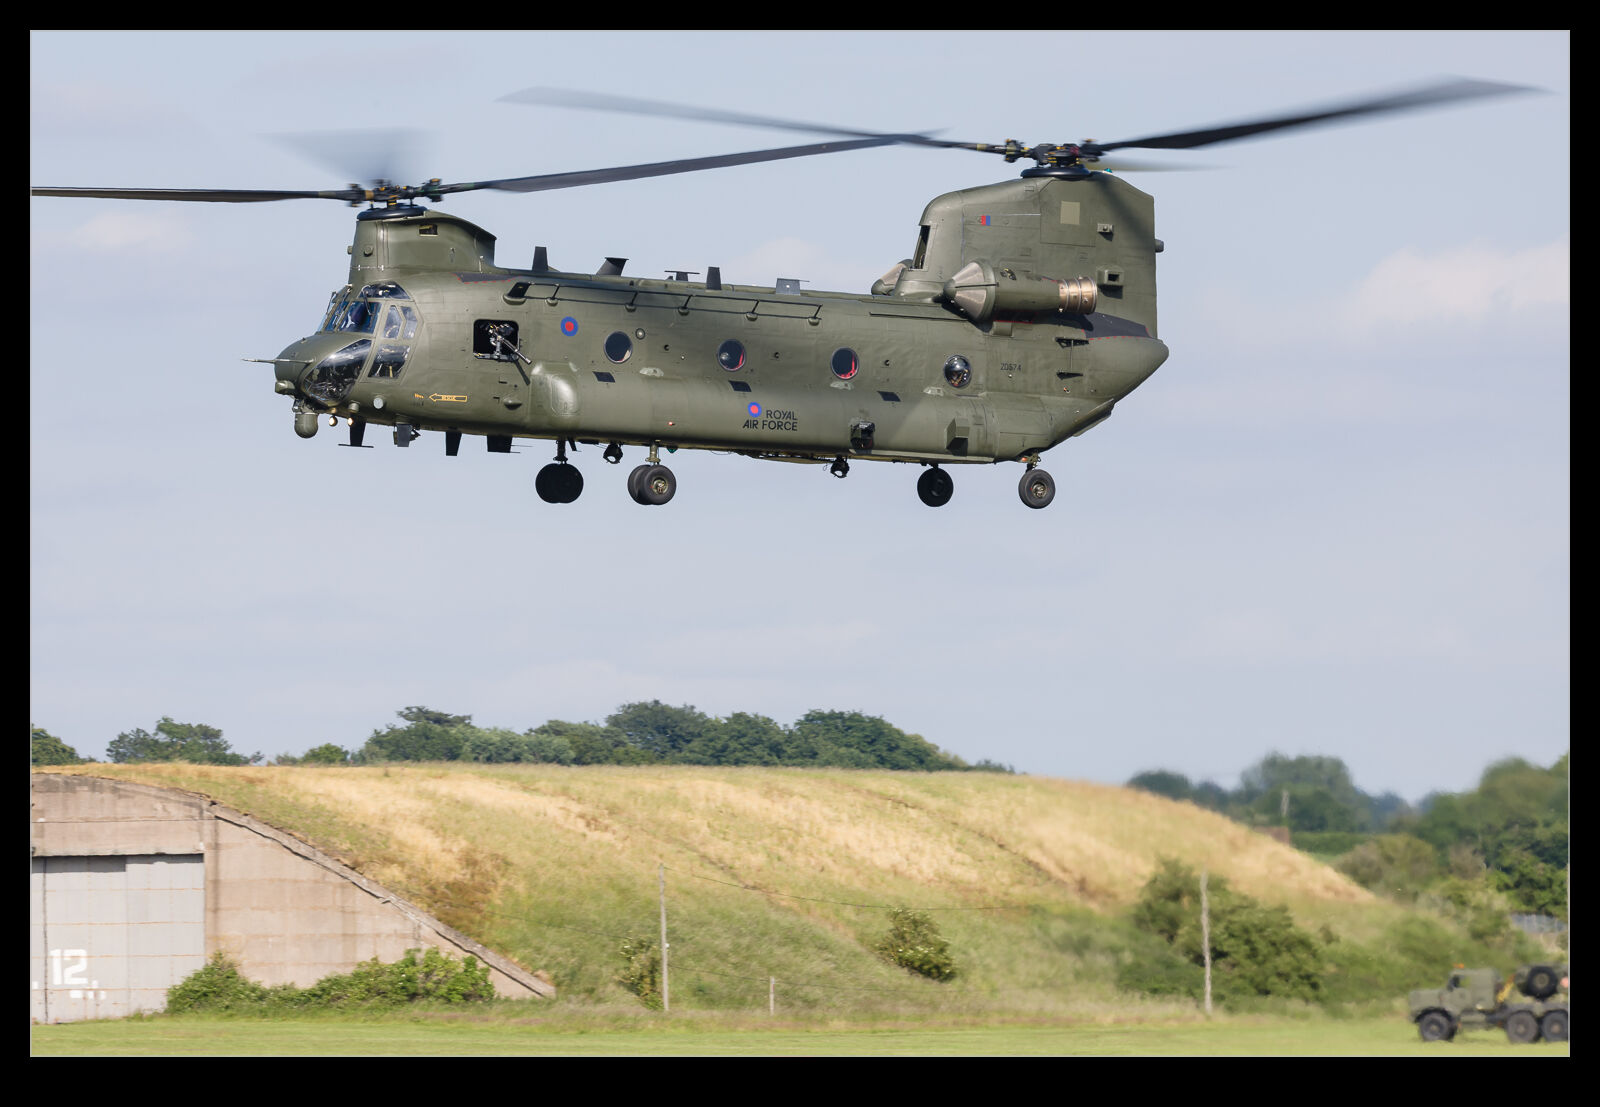 Then it was back to throwing the helicopter around for a bit. A helicopter display always has an advantage in that it can keep things in front of the crowd, and some tight turns certainly achieved that.
 However, I haven’t yet highlighted what really made the display great. The commentary was top notch. You might think that a military display narrator is going to run through a staid list of talking points but that was not the case here. Sure, they did highlight the capabilities of the helicopter and the helicopter force as a while but there was so much ridiculousness thrown in to keep you amused throughout.
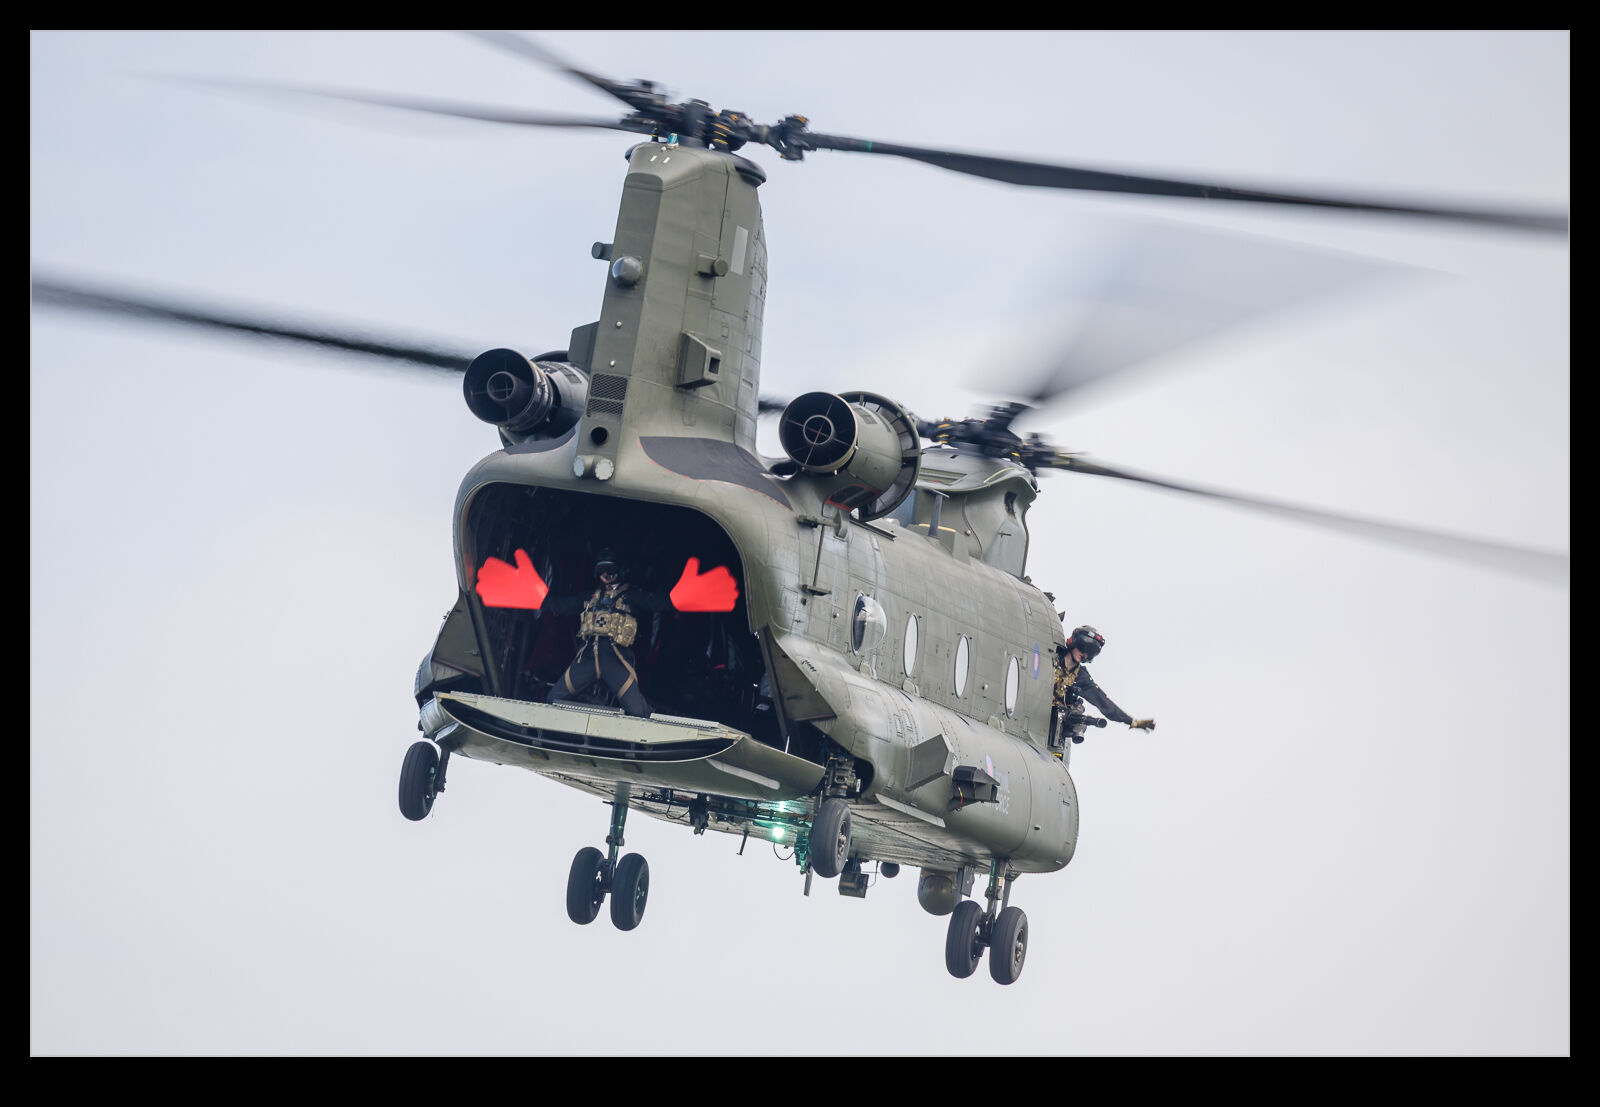
 Whether it was pointing out that one of the crew had both of his friends in attendance or describing the vertical climb and pointing out it has no operational benefit but it does look really cool, the lines kept coming. They were delivered in such a normal way, though, that you needed to pay attention to spot when the serious bits had been superseded by the more flippant lines. Top stuff and hats off to the team. Great flying, great performance and excellent writing!