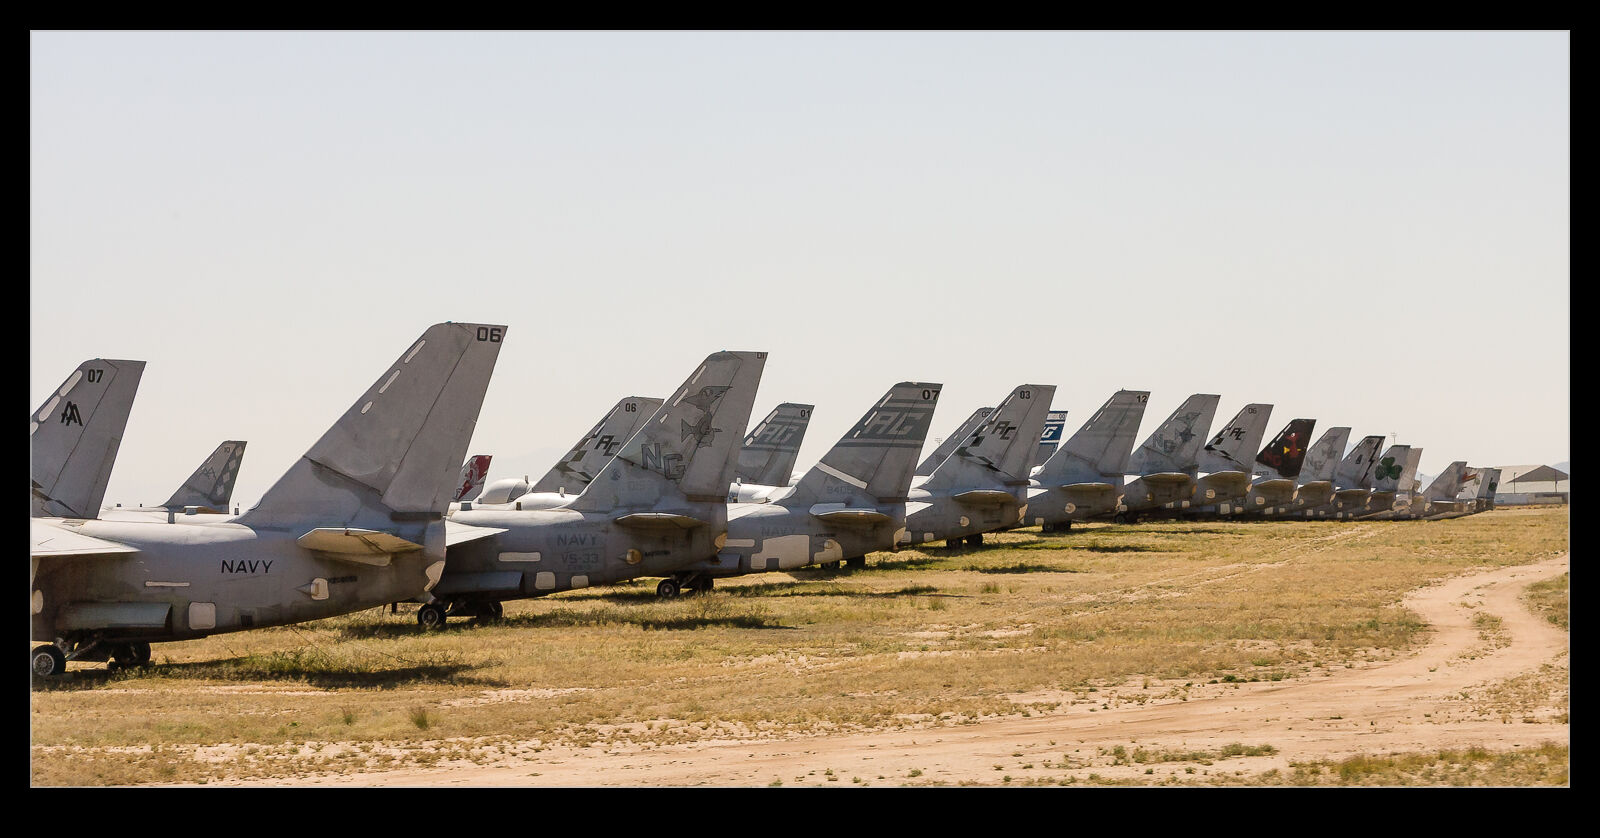
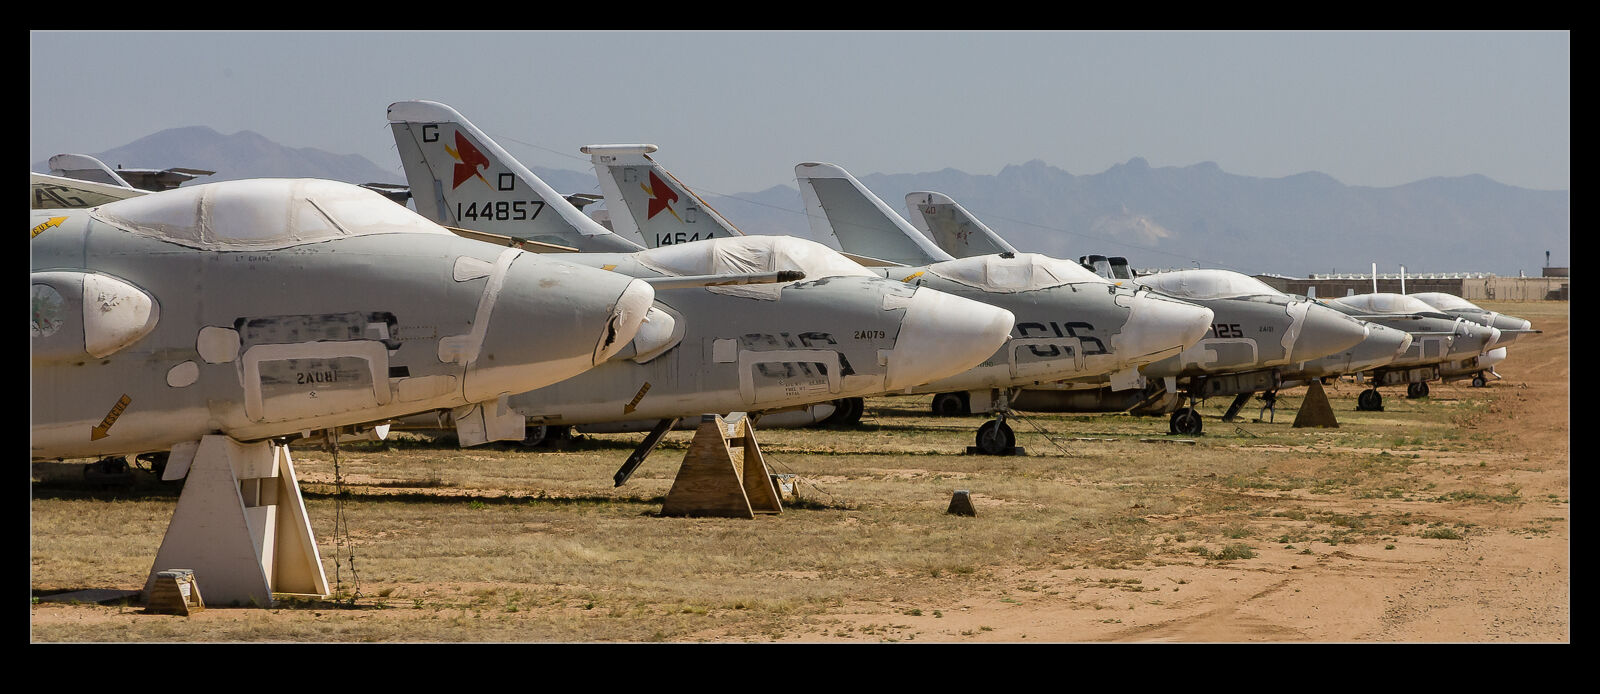
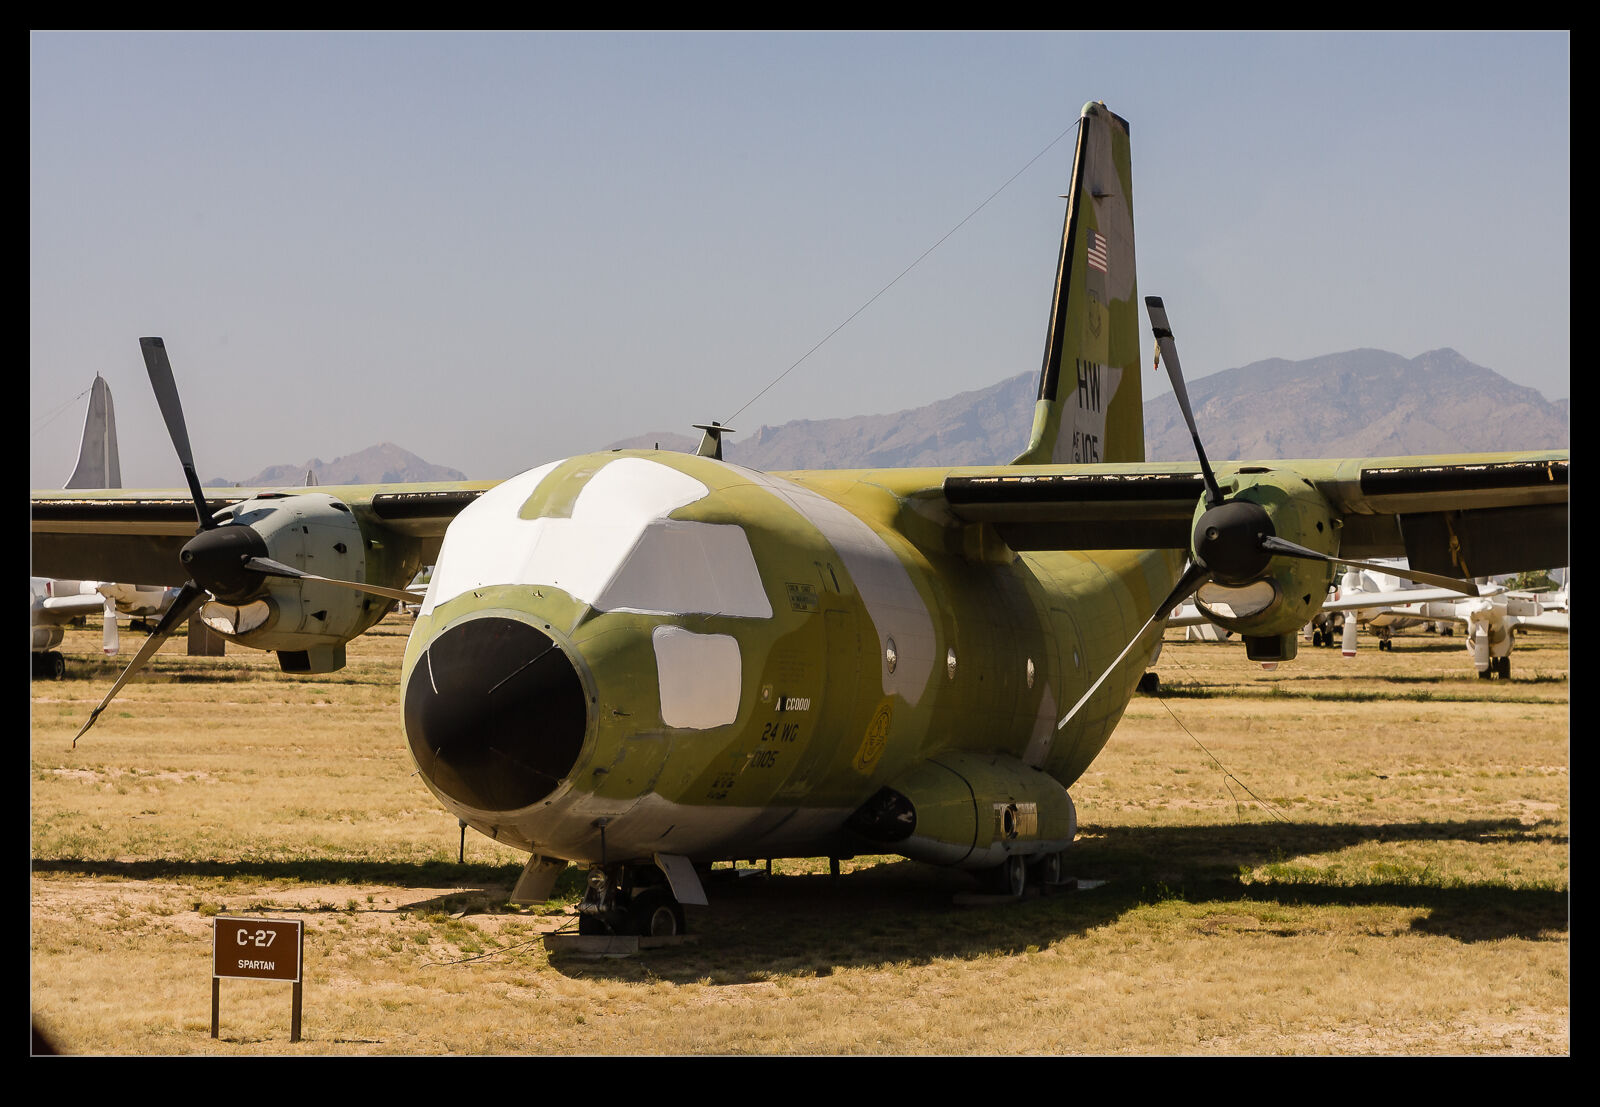
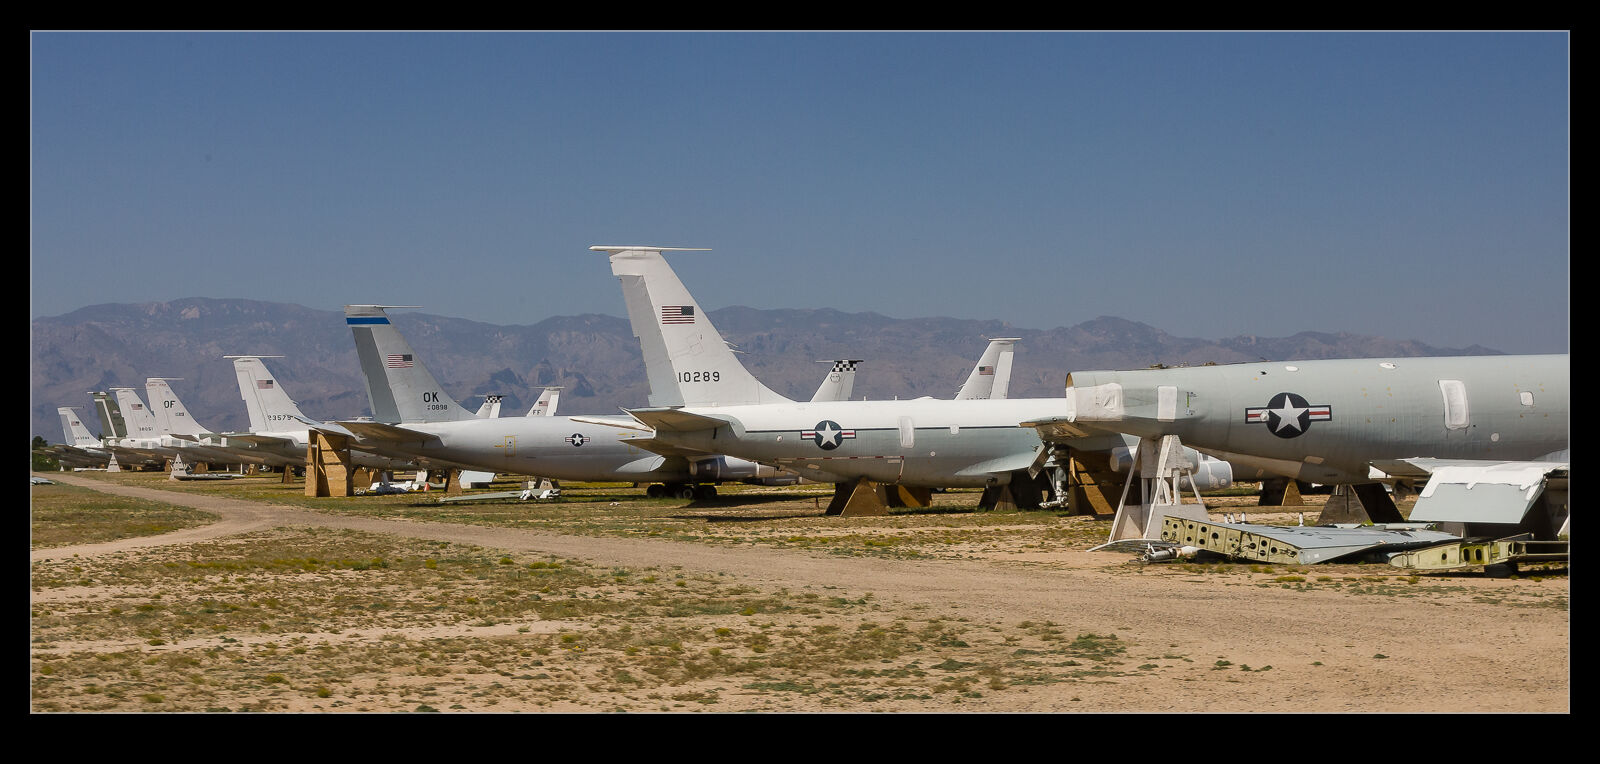
 I have been a bit critical of the reflection removal tool in Lightroom but, while it seems to have become less effective on some shots, it still can do the job on others. This got me thinking back to my visit to Davis Monthan AFB’s storage facilities in the days when the Pima Museum was still able to operate a bus tour of the rows of stored aircraft.
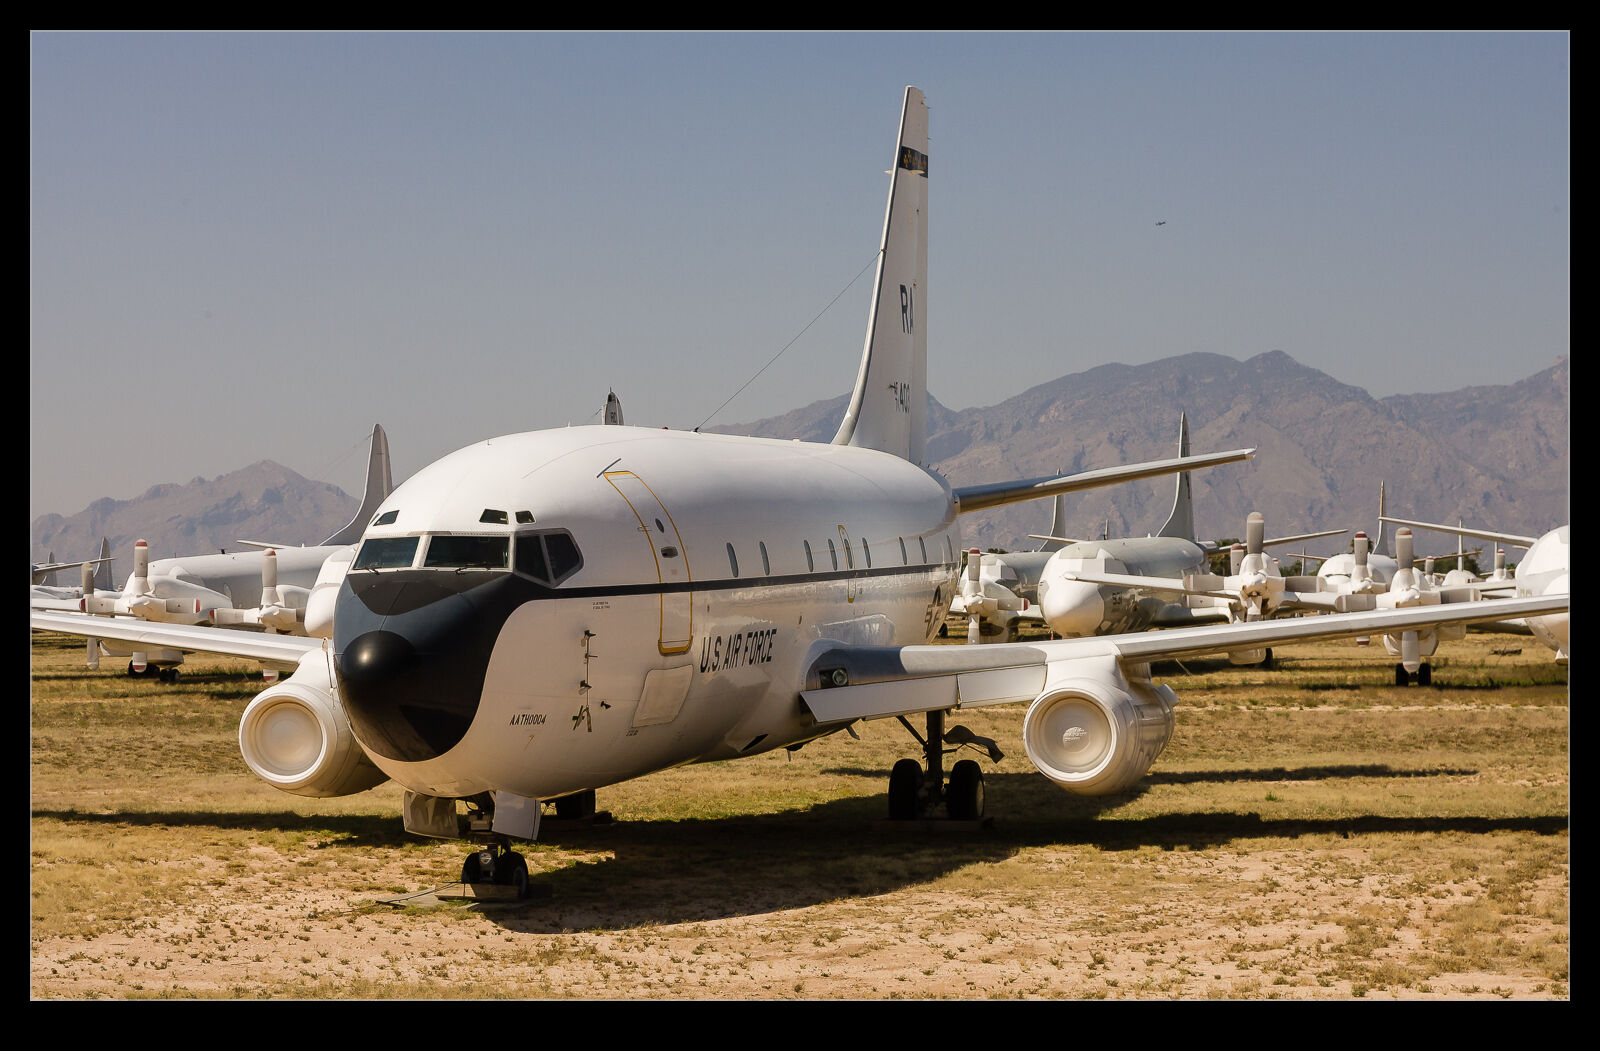
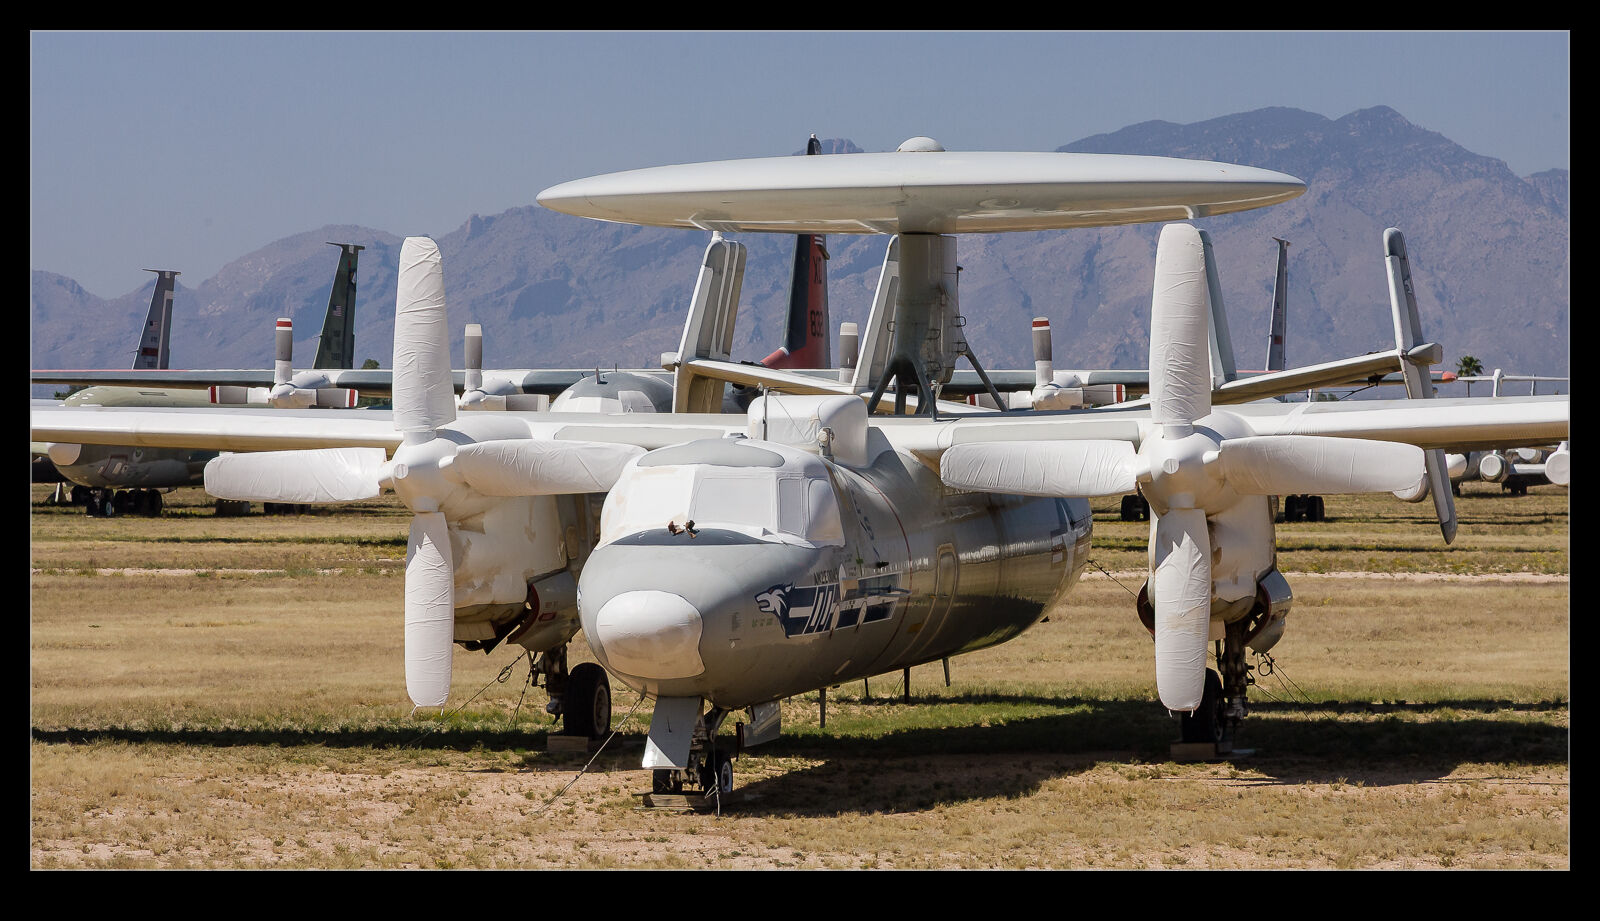
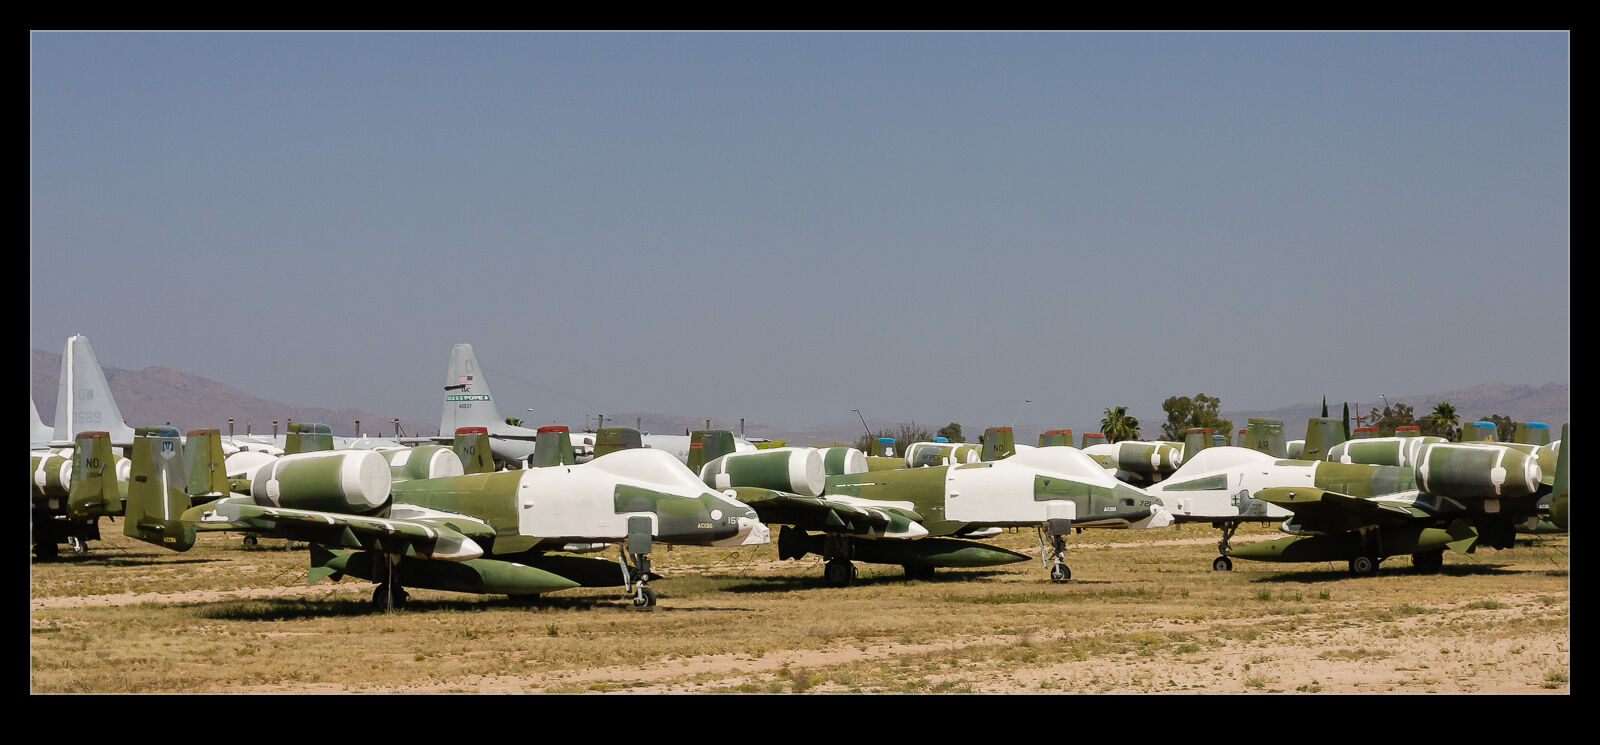
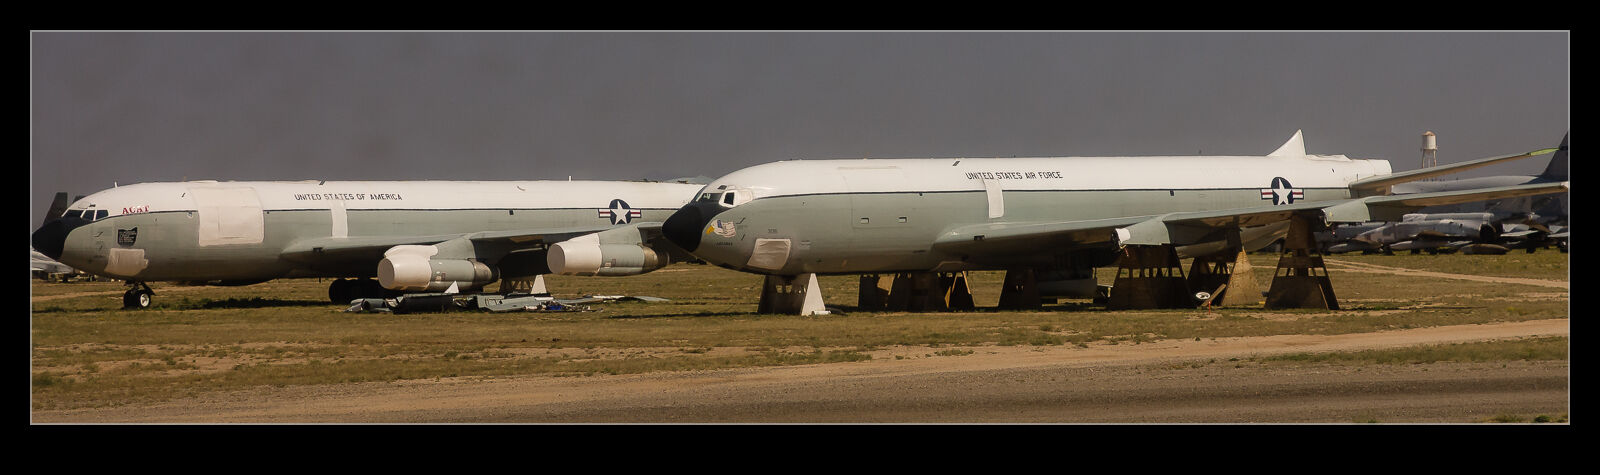
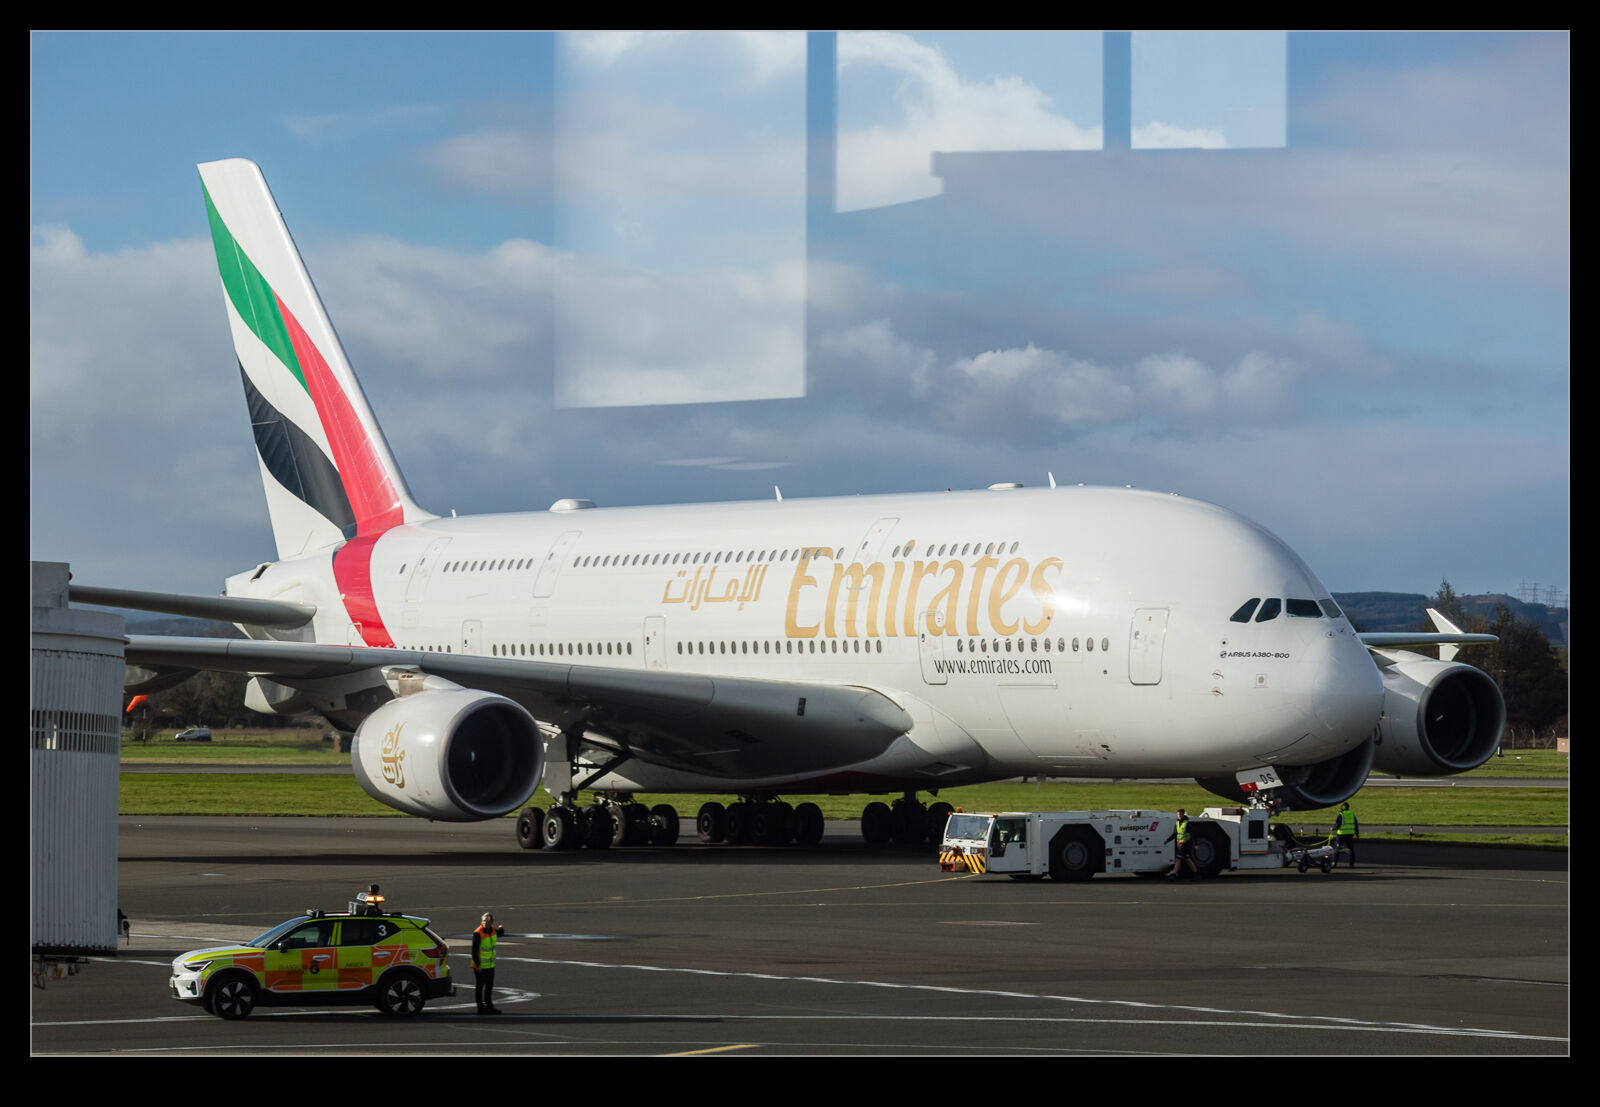
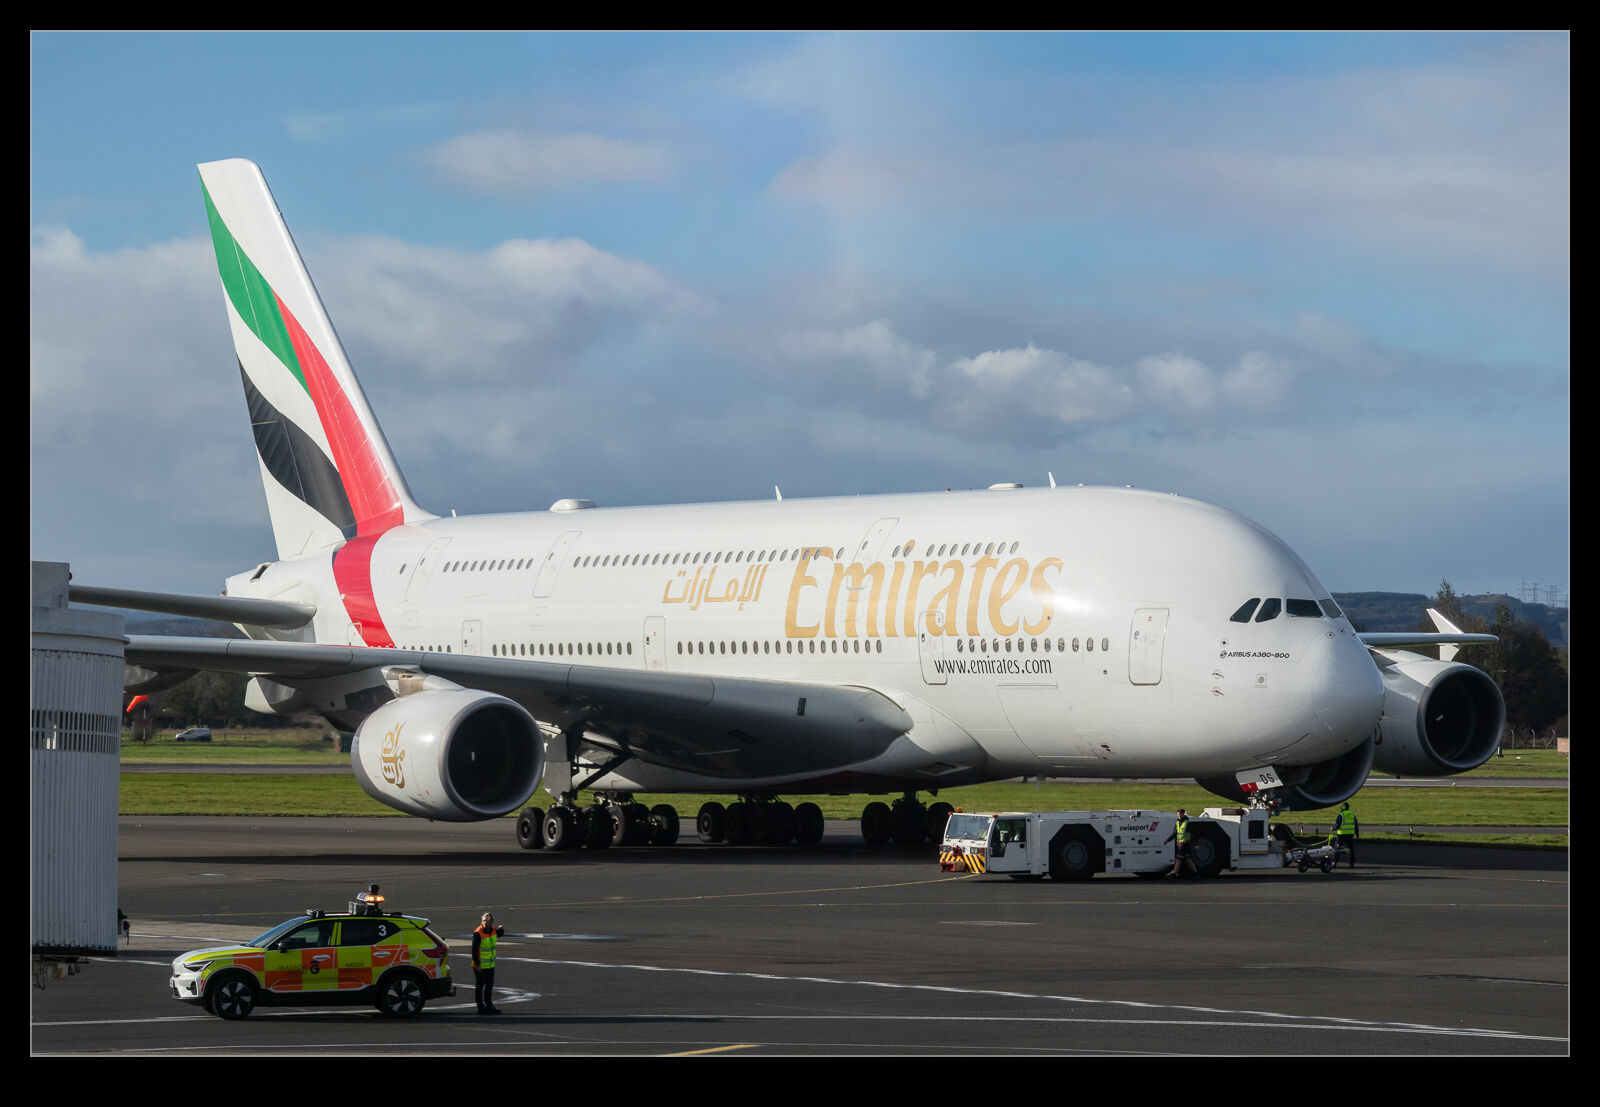
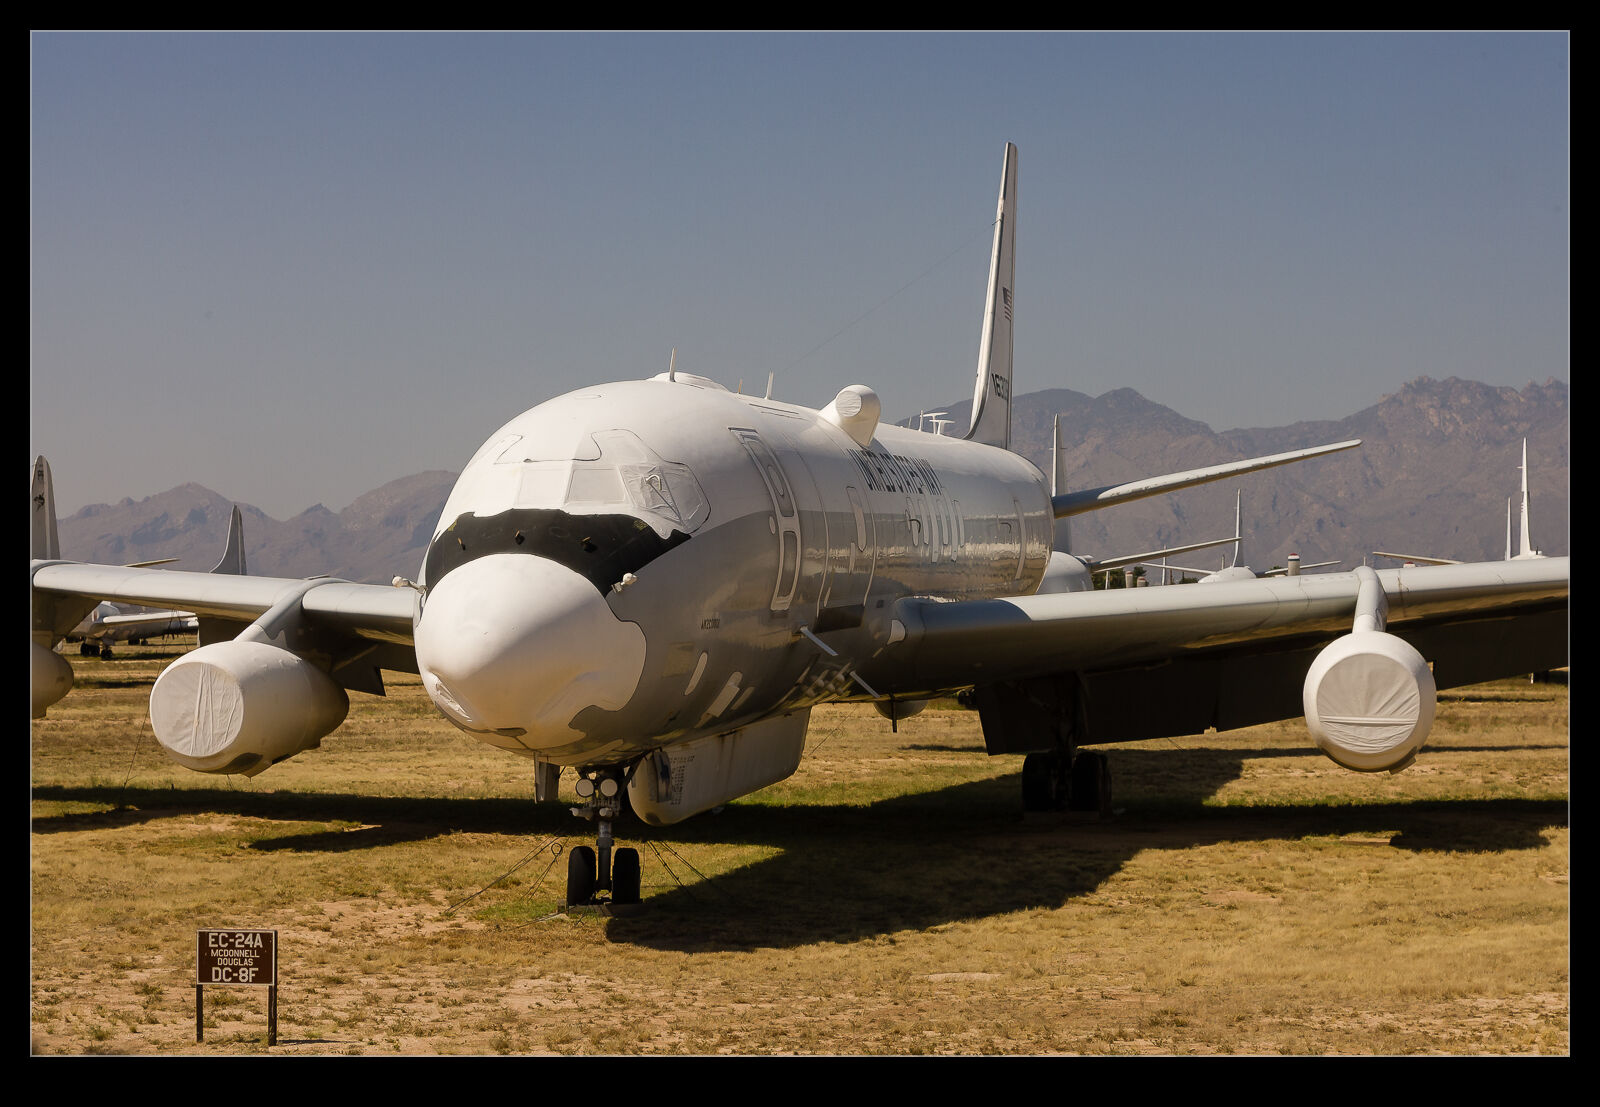
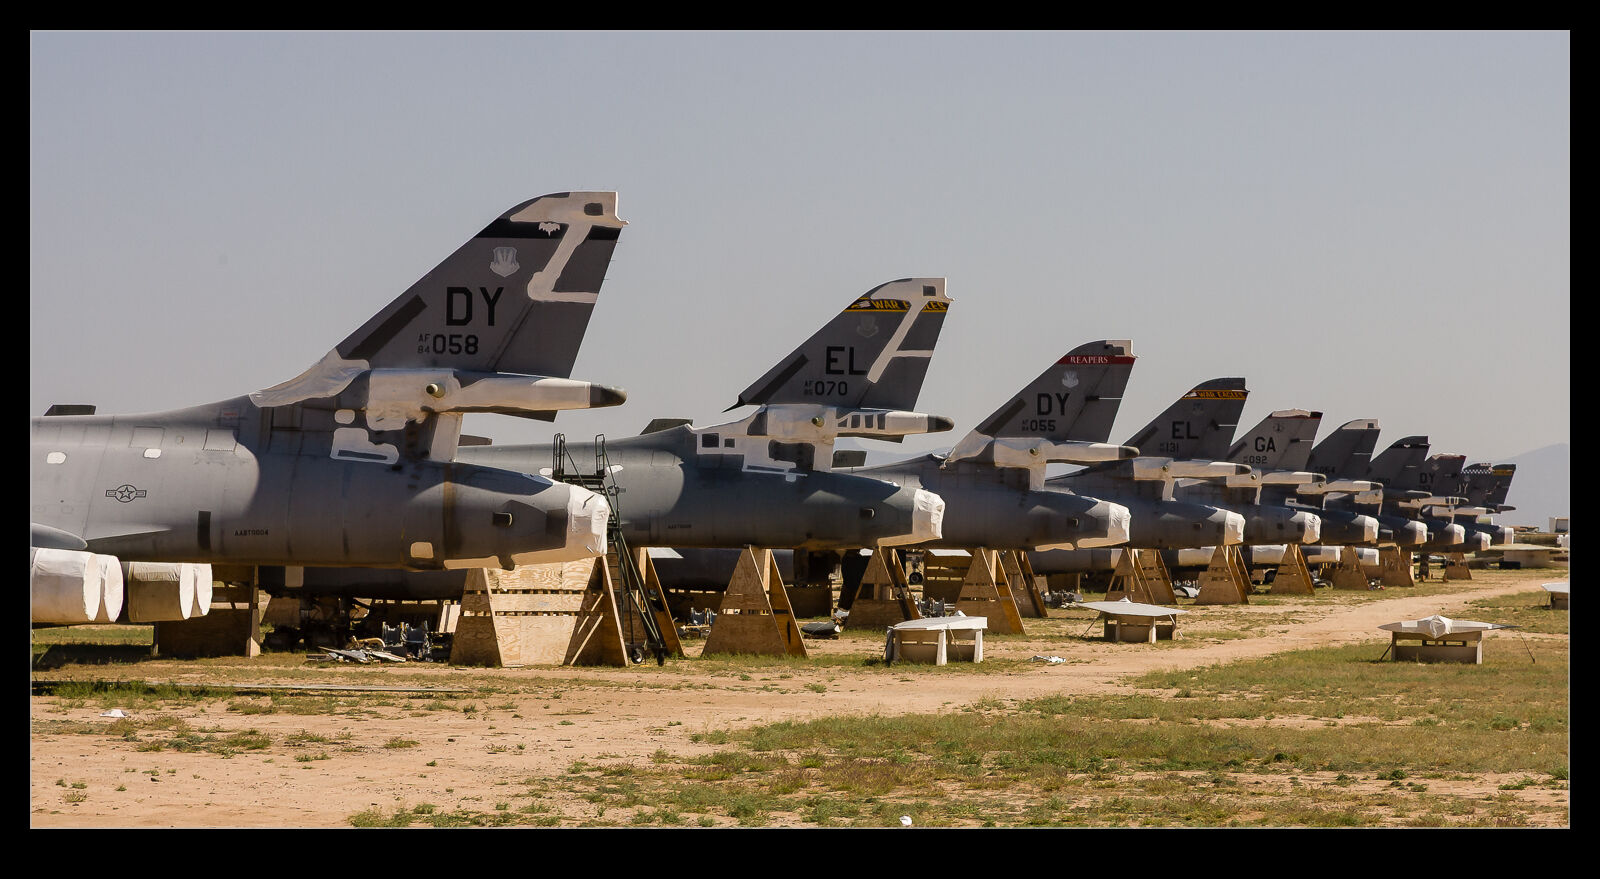 I tried my best to get clear shots through the windows of the bus and often did okay. However, when something of interest was on the opposite side, I was taking a lot more chances when trying to get a shot without any reflections in it. A friend of mine, Karl, regularly posts images from the day and month many years before and he recently had some DM shots, and this was what triggered this idea. I worked my way through some of the original shots that I wouldn’t have previously used because of the reflections. I managed to rework some of them to make something far more usable.