I have been using Lightroom since the initial version was released. It used to be quite a simple application and anything complex was undertaken in Photoshop. As Lightroom has got more and more capable, the number of times I go into Photoshop has reduced. What I didn’t realize until recently was that Adobe uses Photoshop as the proving ground for some of the features that will ultimately make their way into Lightroom. I thought that Camera Raw and Lightroom’s Develop module were identical and they almost are. However, not quite.

 In Photoshop, they have a check box to allow you try experimental features. I found out about this related to a feature designed to remove reflections. Anyone who has taken a photo through a window will know that you can get reflections off the glass of things your side of the window and these can ruin an otherwise usable image. (Photographing through a window is not a great option but sometimes it is all you have to work with.)

 This feature analyses the image to see what it thinks might be artifacts from inside the window and allows you to remove them. Interestingly, the slider that comes with it can be moved either way. You can fully remove the reflection or can fully remove the rest of the image and leave only the reflection. This can be rather fun to play around with.

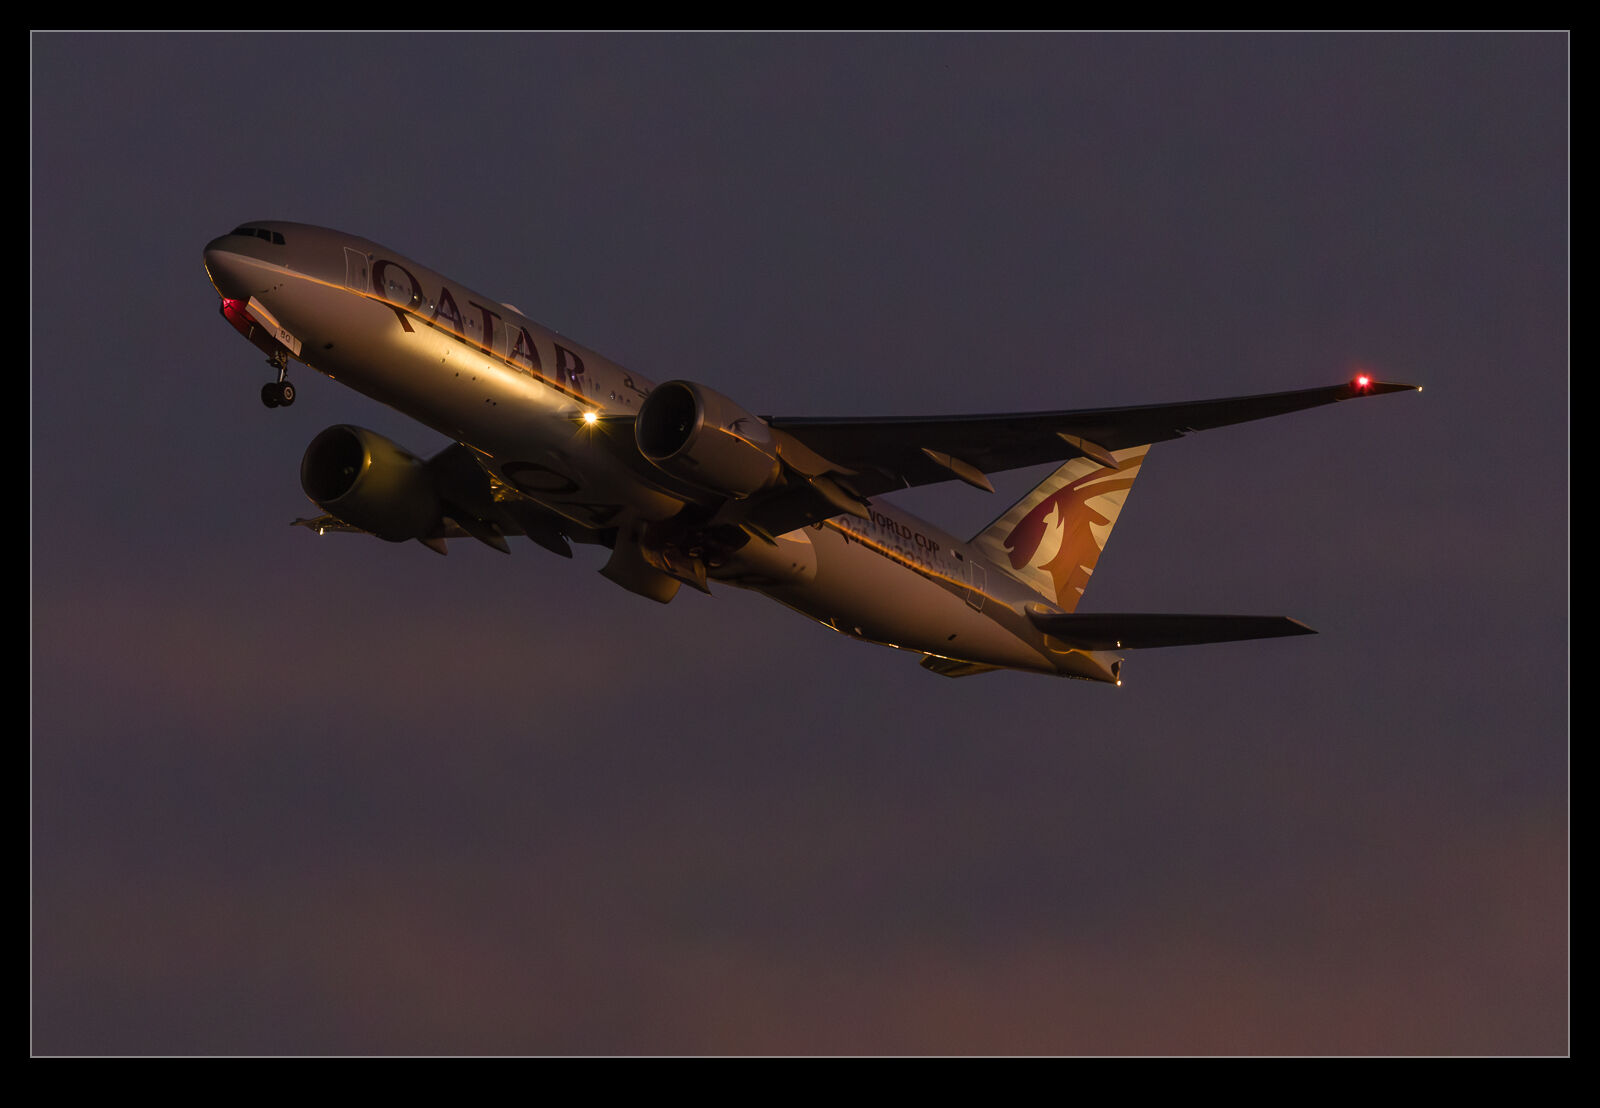
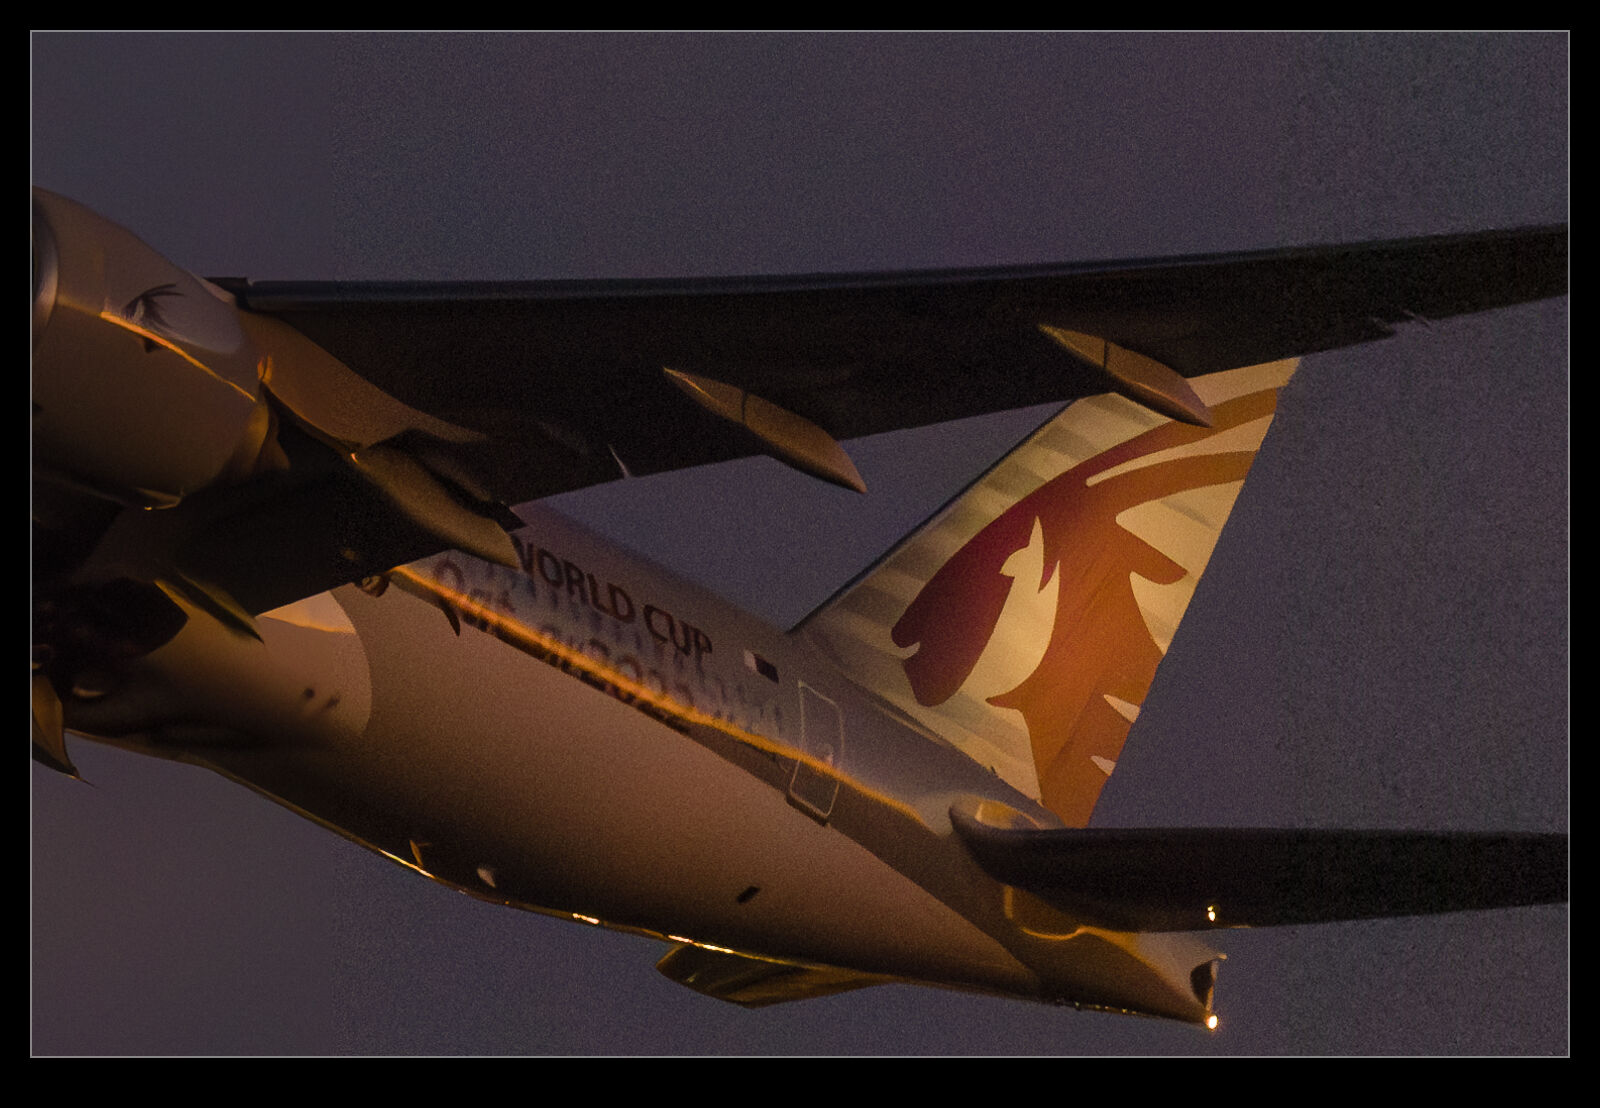
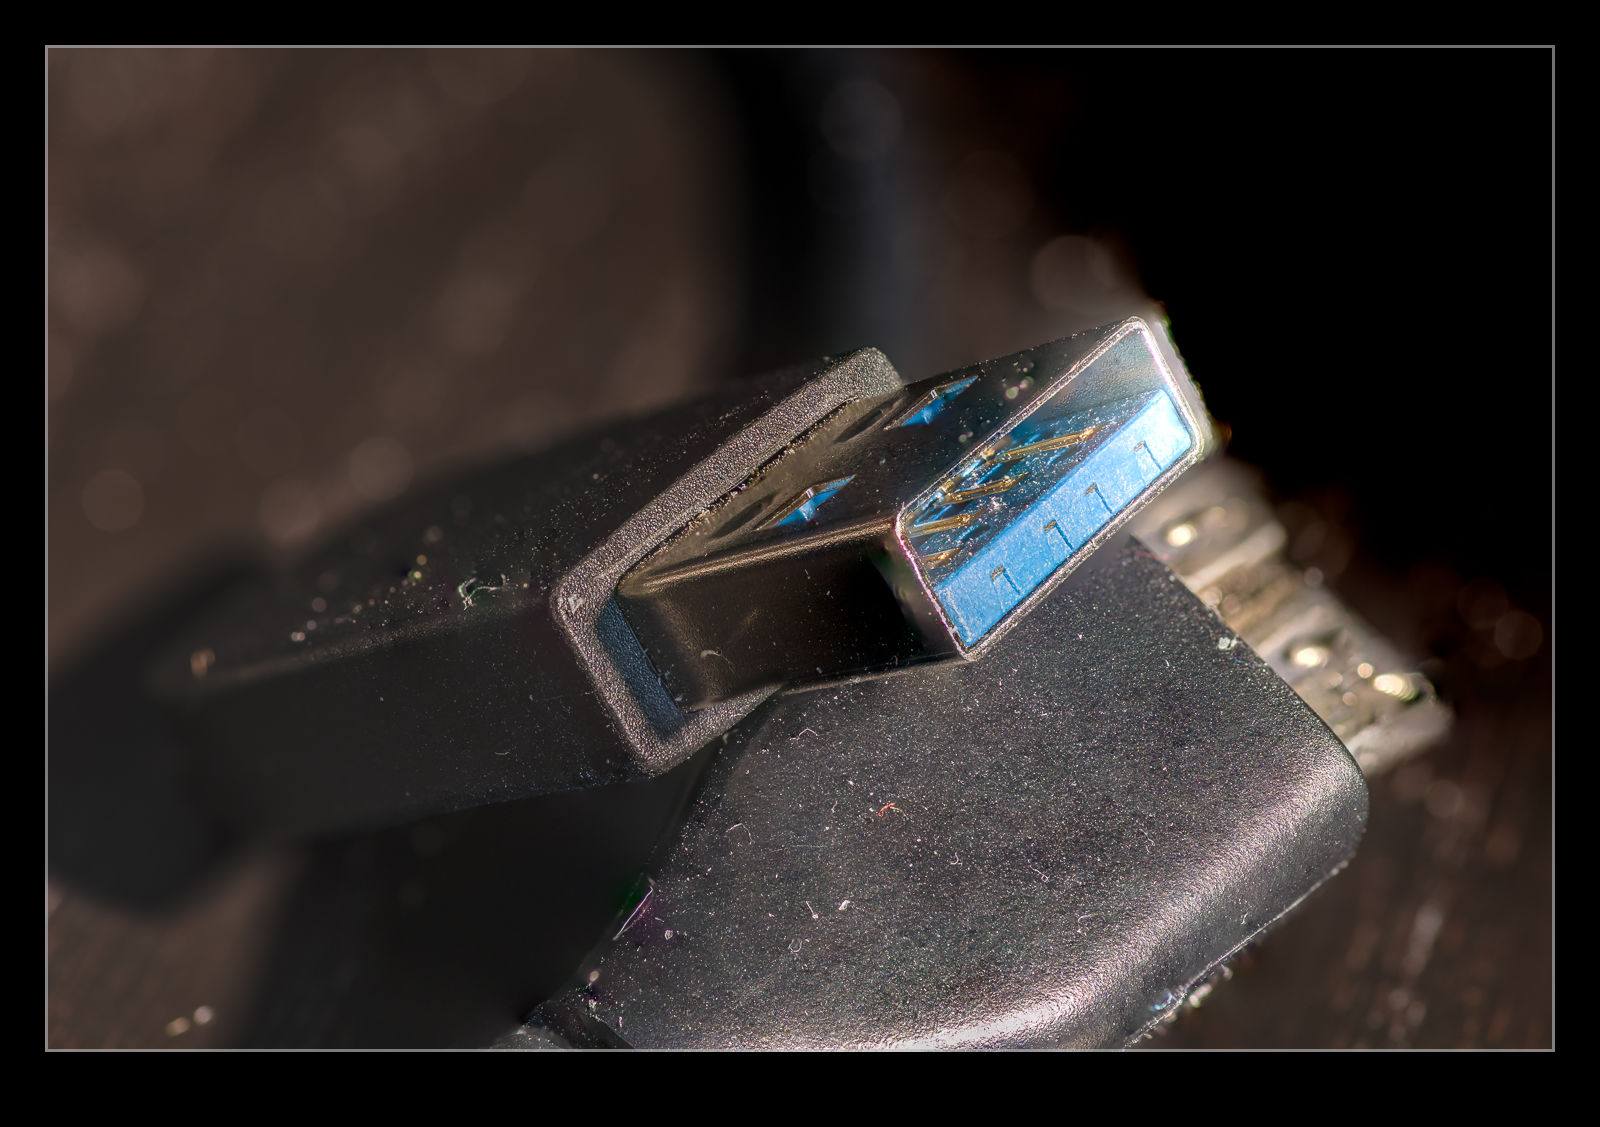
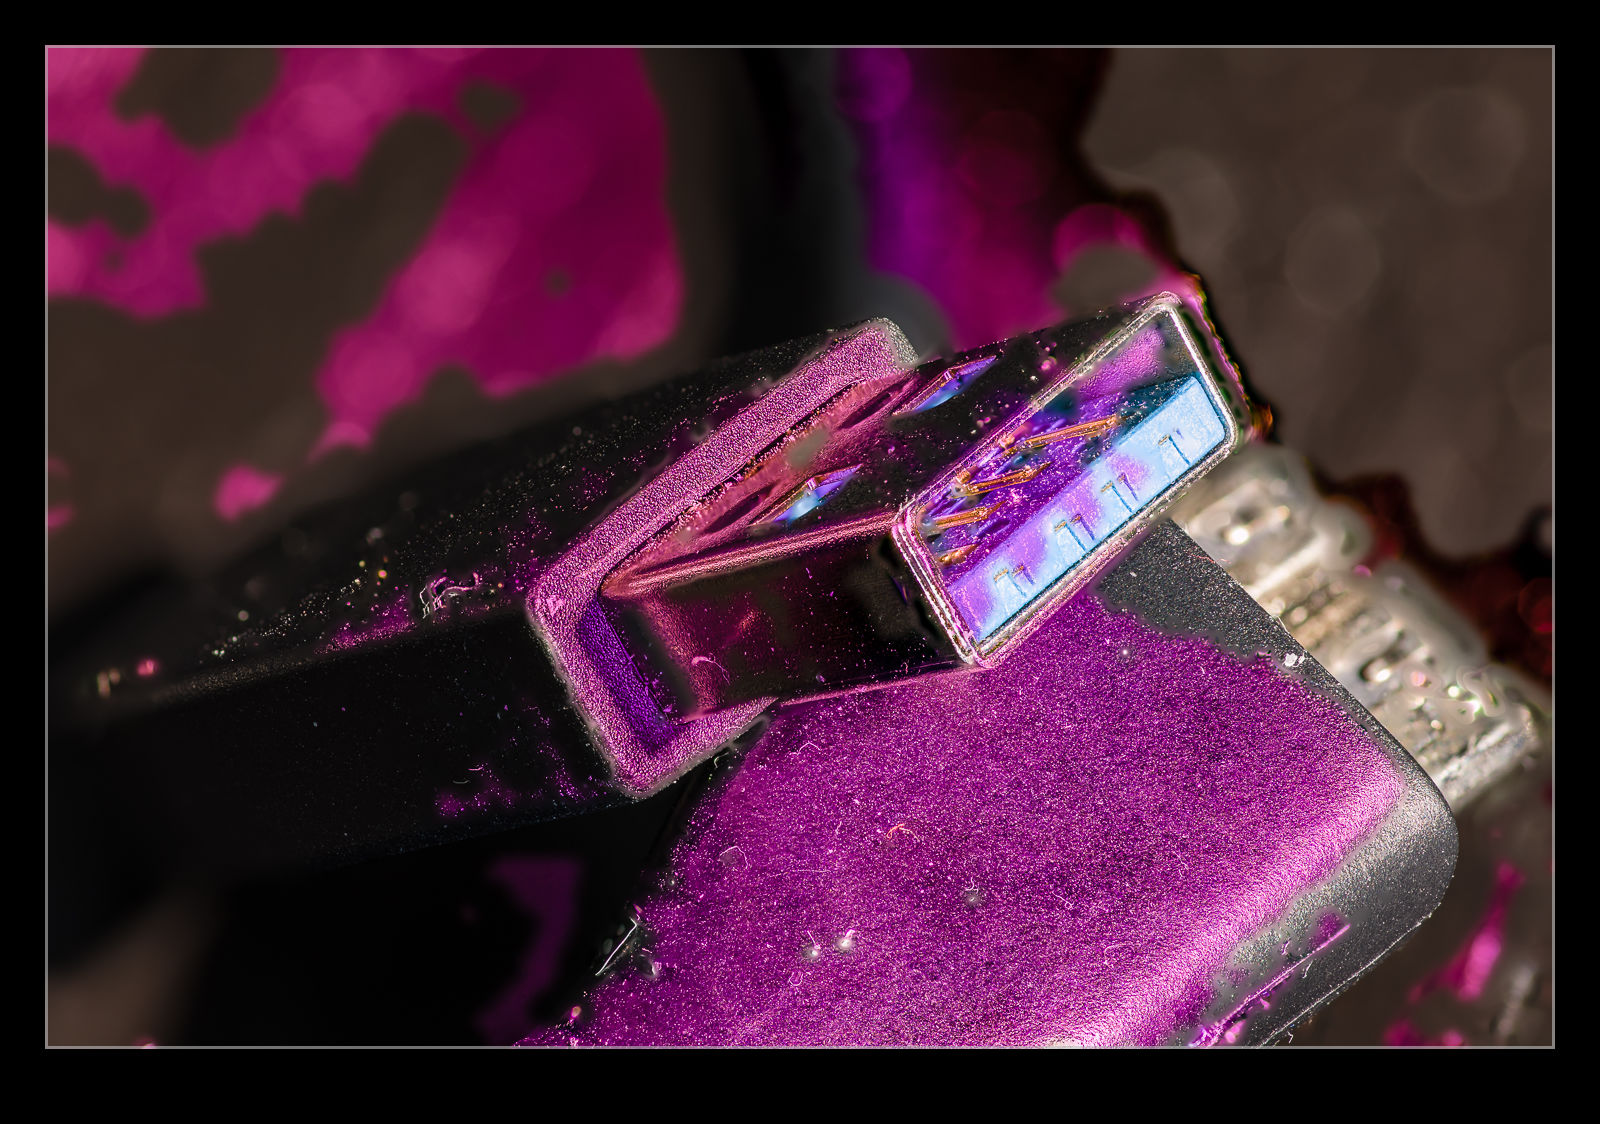
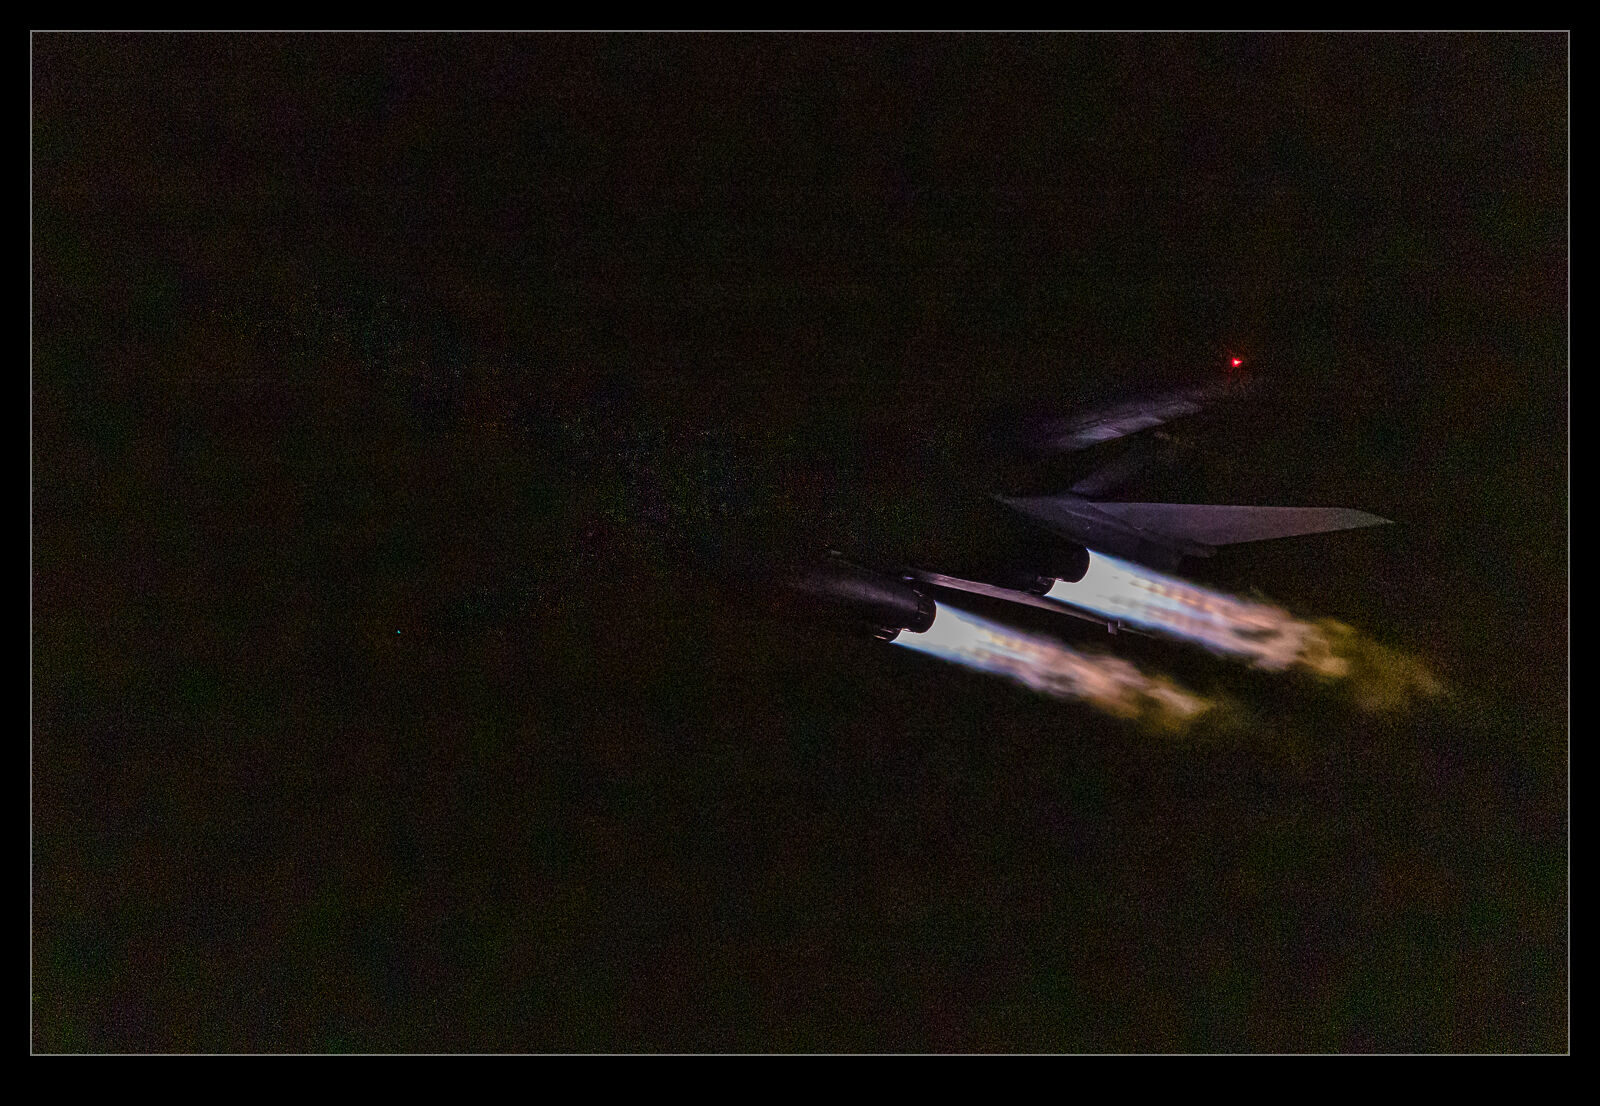
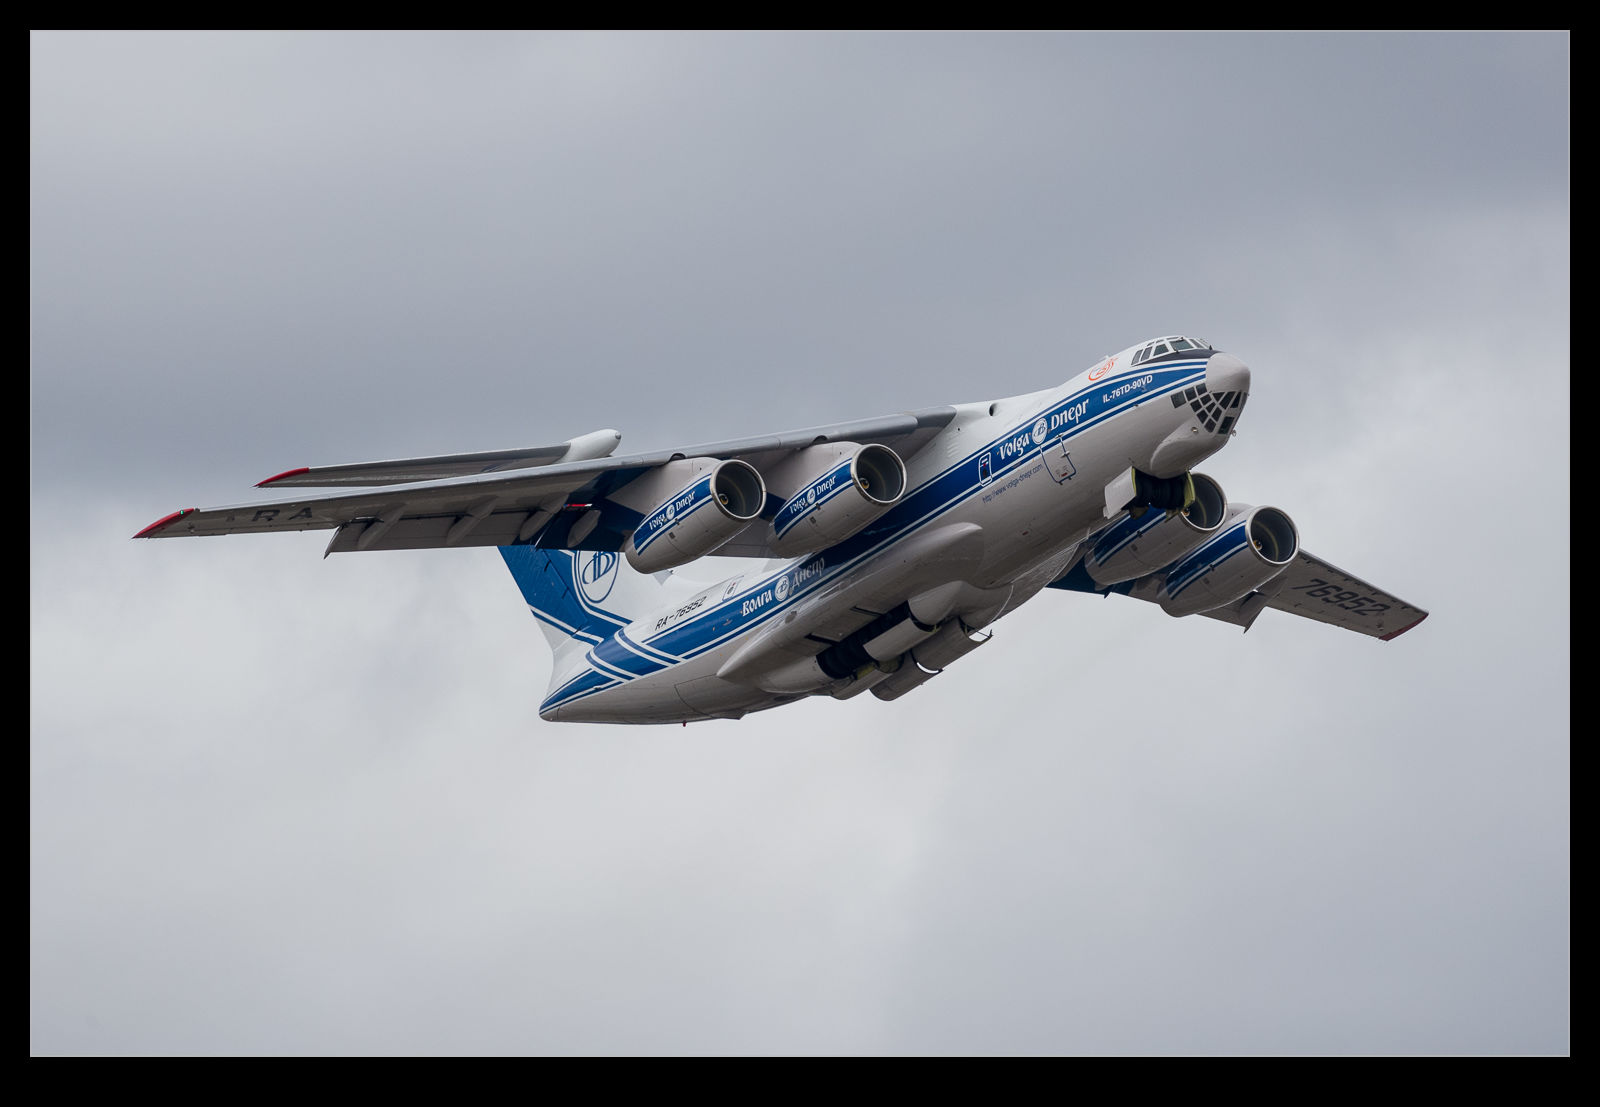
 I was interested in what this would do for some shots I had got while inside the airport at Narita a few years ago. It was a dark and rainy day and I did try to avoid reflections but was not always successful. Some of the shots I liked most from an action point of view were the ones with light from inside intruding into the shot. These were the ones I worked with. You can judge the results. As I have the before and after versions here. It isn’t perfect but it does work rather well for an experimental feature. I hope it gets productionised soon and finds its way into the Lightroom Develop module too.