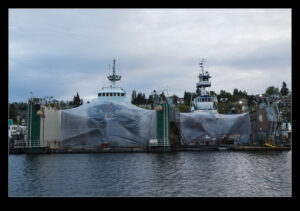
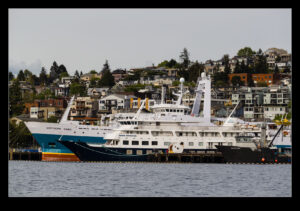
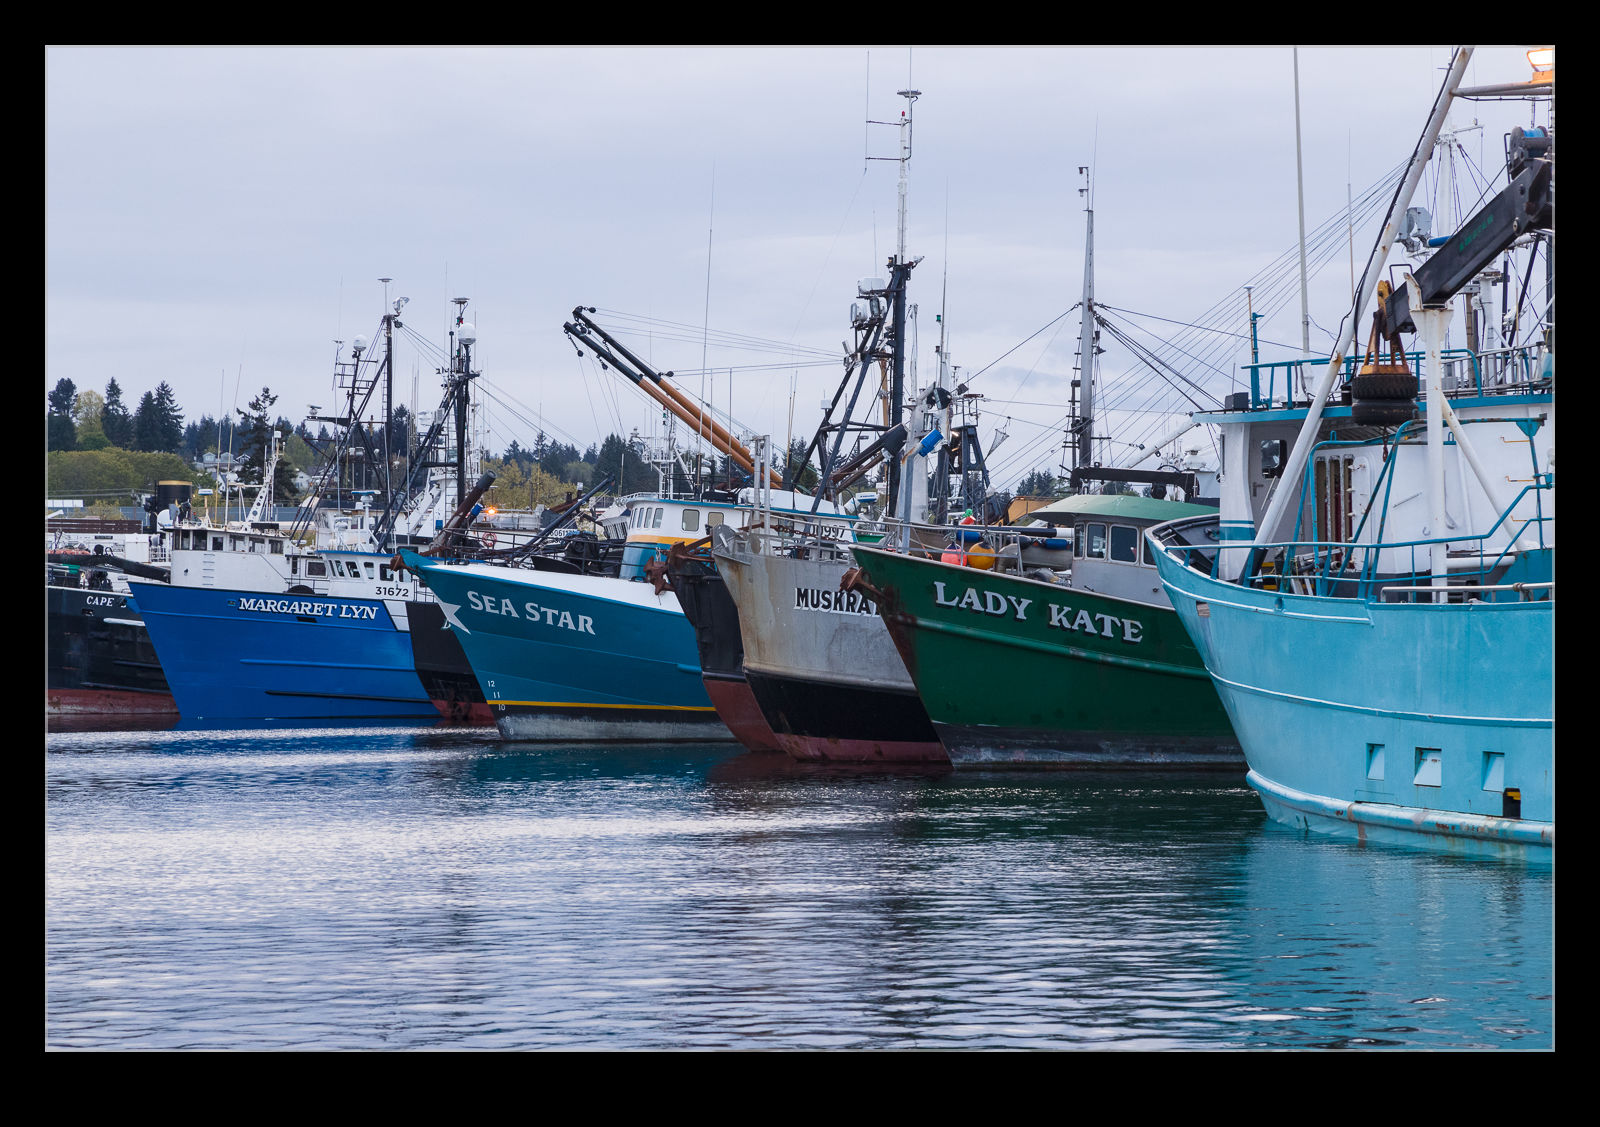
 Lake Union is a real mix of boat types. We were crossing it on a pontoon rental that my friend Torger had access to. We got to see a lot of different stuff out there. There is plenty of cash in Seattle so there were a lot of the large boats that are owned by those with a touch more cash than me. However, while the leisure market is a big deal these days, Seattle is still a commercial port. Fishing boats abound in Salmon Bay and out towards Lake Union. There are dry docks for the work that big vessels need including floating dry docks.
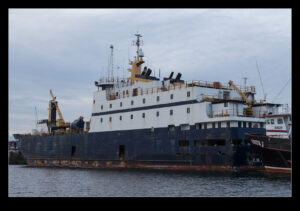
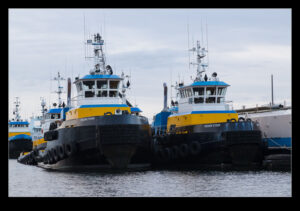
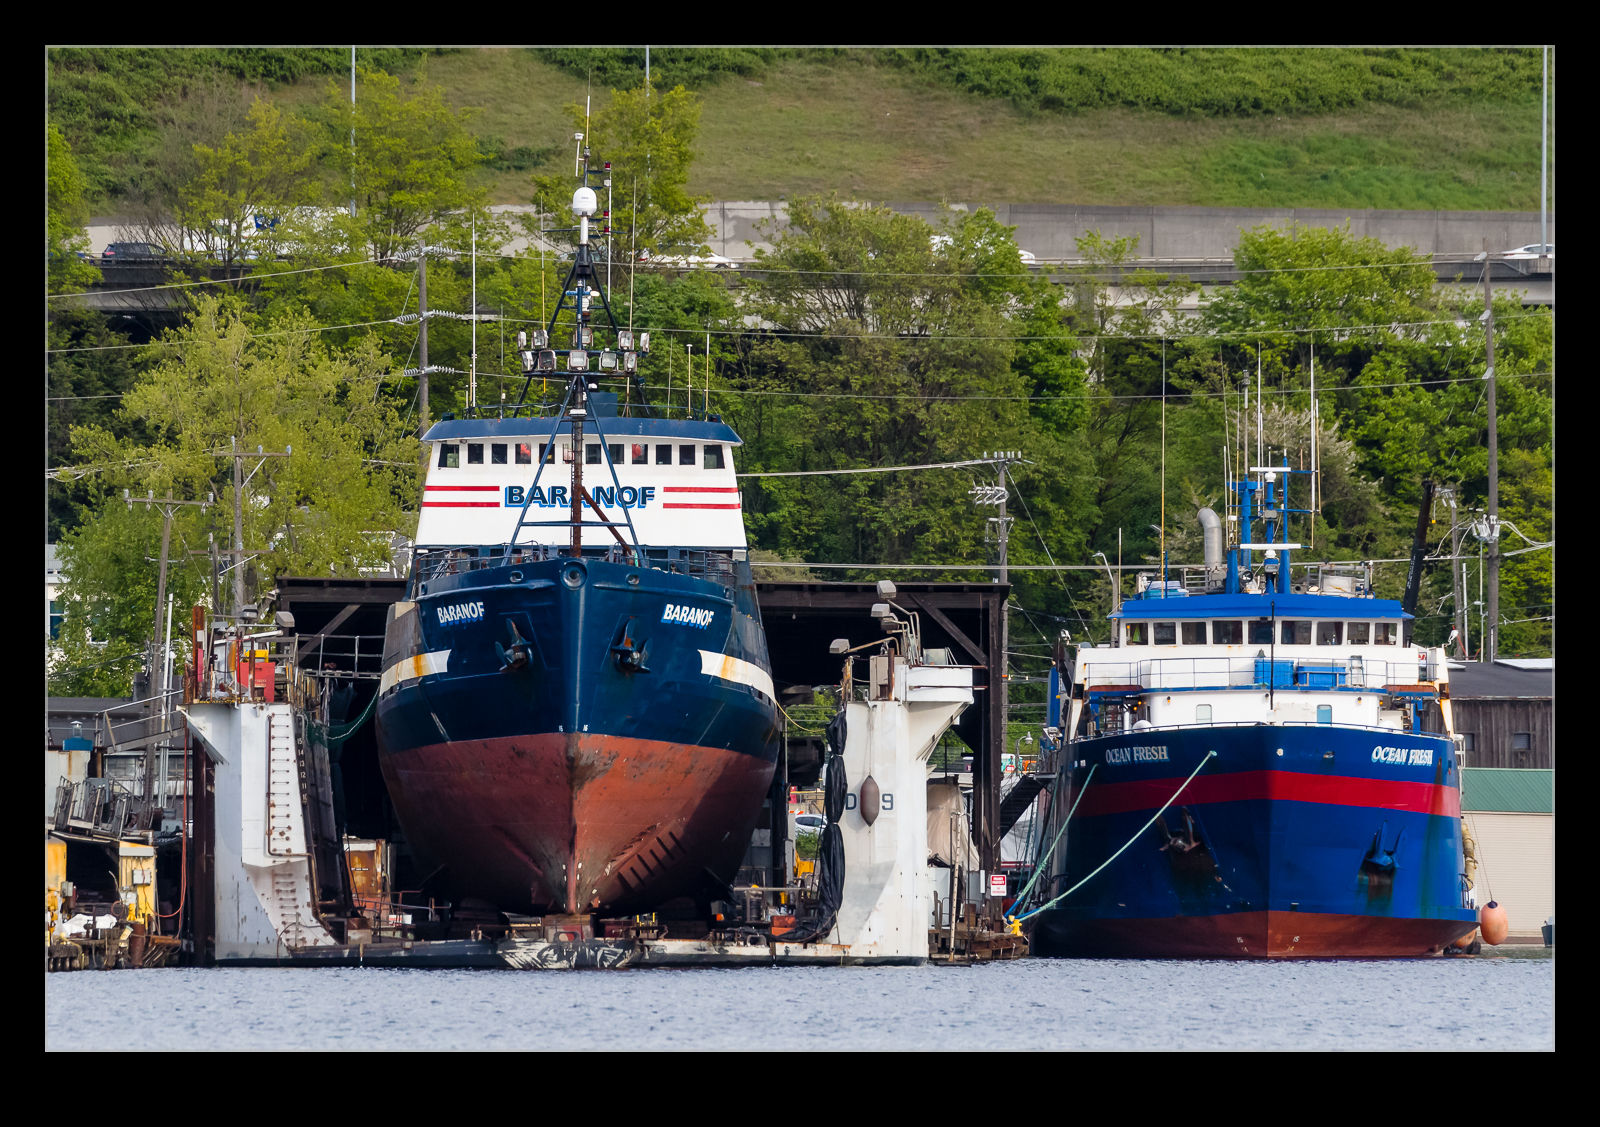 Towing operations are aplenty. Tugs to pull barges up the coast to Alaska are there as are tugs for more local duties. Fishing vessels also mean fish processing vessels. These boats take the catch from the smaller boats and process and freeze it for transport back to the distribution facilities ashore. These fishing vessels look pretty substantial when you see them alongside in Seattle. However, I imagine when you are out in the Bearing Straits, they suddenly seem a lot smaller as the big swells of the northern Pacific are heading in their direction. Not a job for the faint of heart.