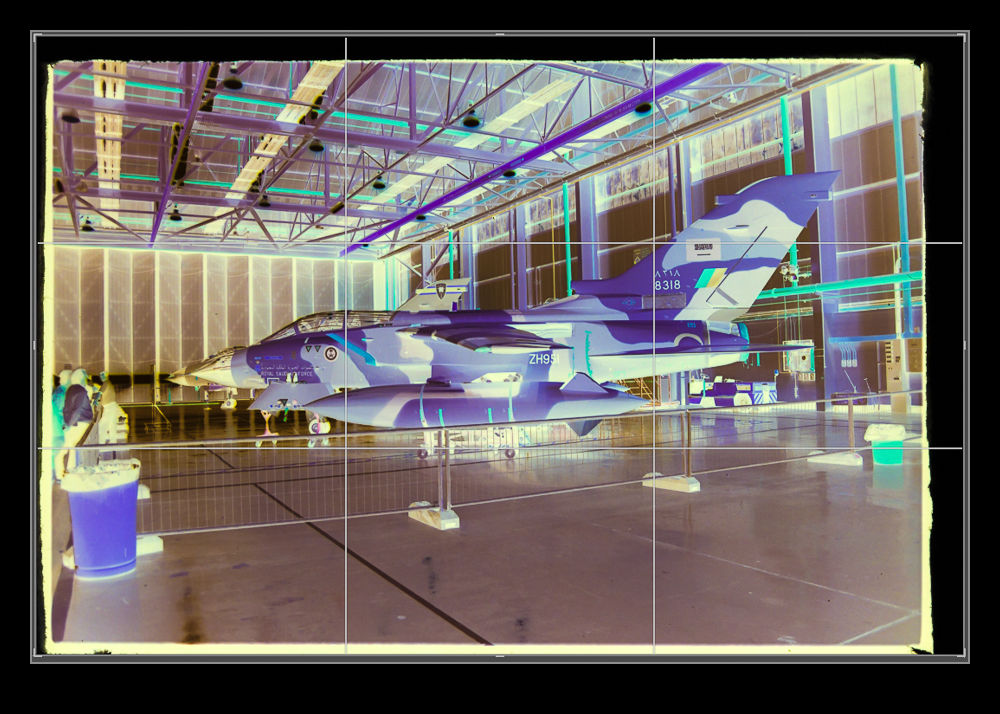
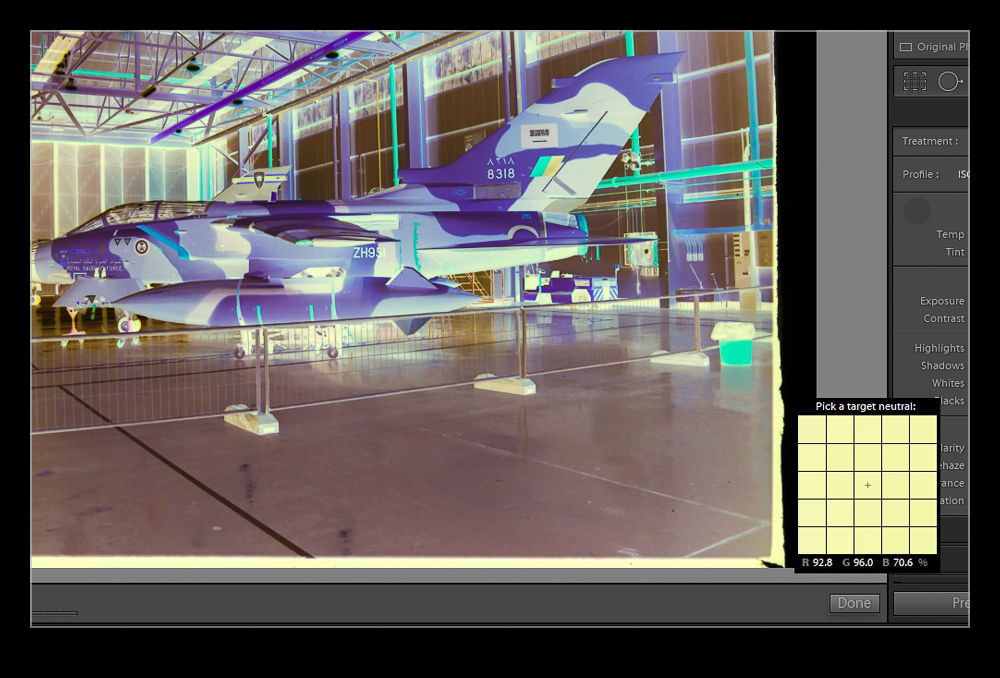
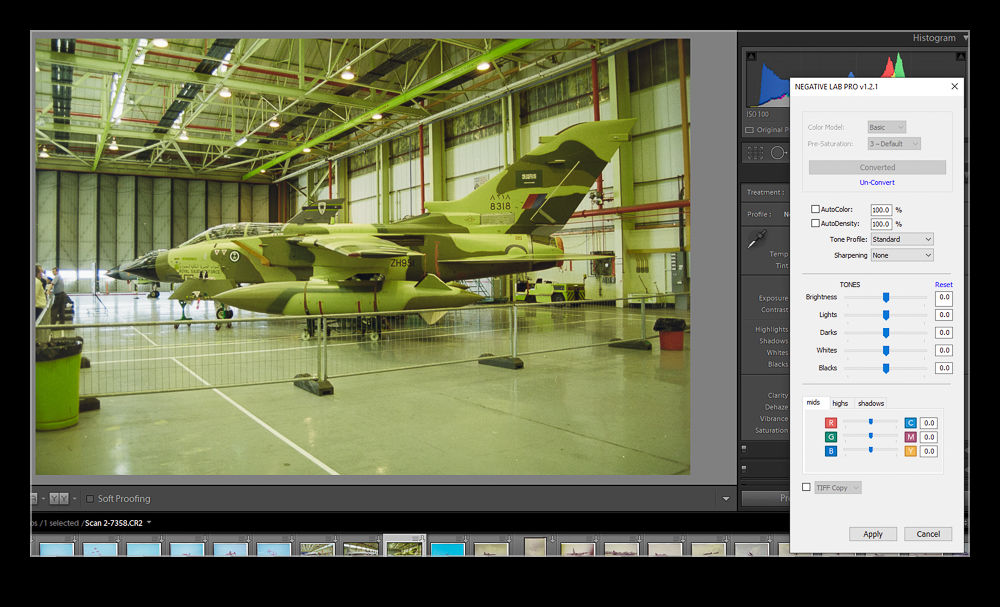
I decided to try a little experiment with my slide scanning. Having scanned a bunch of slides and negatives using a DSLR and macro lens set up, I had come across a few slides where the image just didn’t seem to work out very well. A big part of this is that the original slides were not very well exposed so I was starting from a less than ideal place. However, when editing the raw file, I found I wasn’t able to get a balance of exposures that I liked, despite slides supposedly having a very narrow dynamic range.

 Since I could see some detail in the original slide, I figured an HDR approach might be of use. I took three shots of the slide with differing exposure – an inconvenient thing to do when tethered since the AEB function didn’t seem to work on the 40D in that mode – and then ran the HDR function in Lightroom on the three exposures. Despite the borders possibly confusing the algorithm, it seemed to do a pretty reasonable job of getting more of the image in a usable exposure range. This is not a great image and would not normally be making it to the blog but, as an example of getting something more out of a problem shot, I thought it might be of interest to someone.