Tag Archives: statistics

Experimenting With Avoiding Heat Haze

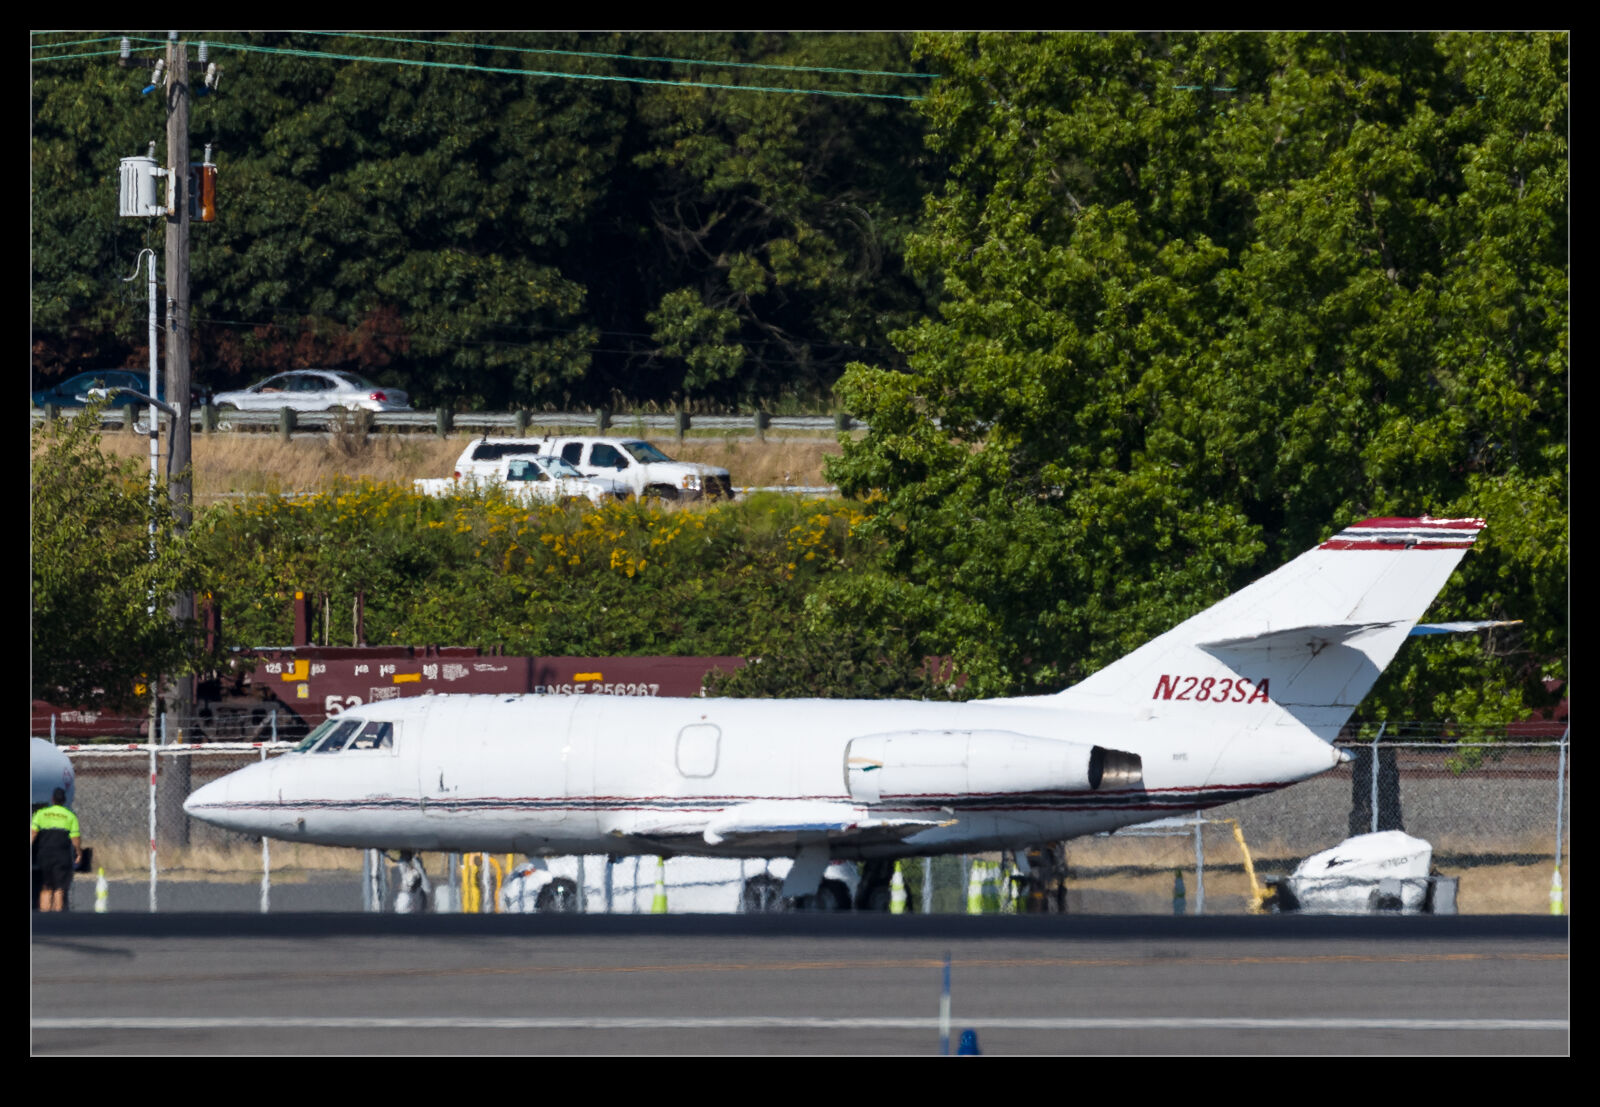
Summer weather means lots of sunny days but also means lots of heat haze.  I was at Boeing Field one sunny afternoon and there were two jets parked across the field that I wanted shots of – one was an Illinois ANG KC-135R and the other was a Falcon 20.  Looking through the viewfinder, both of the were shimmering in the heat haze that a warm and reasonably humid day brings.  This is the downside of summer in the Pacific Northwest.

Not long before I had watched a video on YouTube about photographing Saturn through a telescope.  The image of Saturn was all over the shop but they were using a software technique to take multiple images and build a more stable and sharper final image.  It worked reasonably well and this got me thinking about how to do something similar.  In the past I have used Photoshop to blend together multiple images to remove the moving elements of a shot like people or traffic.  I wrote about it in this post.
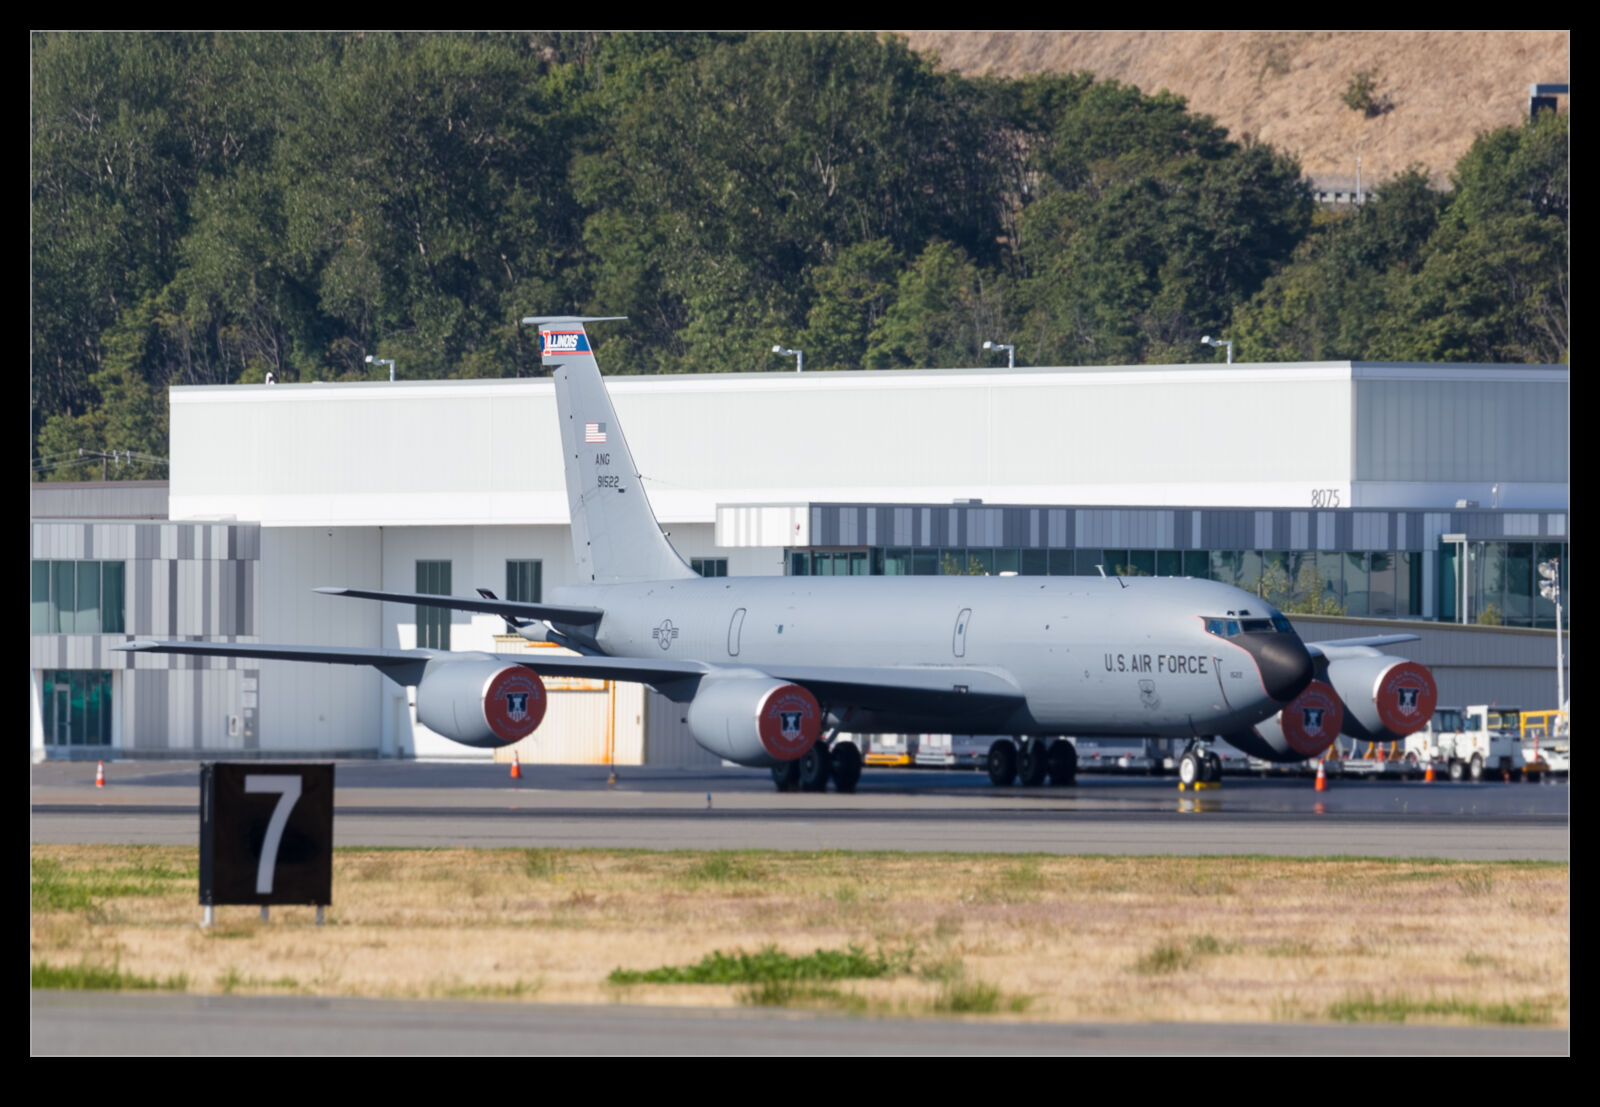
I thought I would see if something similar could be done.  I put the frame rate on to high and steadied myself before firing off a few seconds of shots.  I wanted a lot of images to provide the best opportunity for the statistical analysis to find the right solution.  Importing this in to Photoshop as layers and then auto aligning them allowed the analysis tool to do its thing.  I don’t think the result is quite what I want and I may experiment with different analysis methods – median versus mean for example – to see which ones are most effective.  However, there is clearly a smoothing out of the distortion and, if I needed to get a shot on a hazy day when there wouldn’t be another chance, I would definitely fall back on this approach to see whether it produced something more usable.
Learning a Better Way to Blend in Photoshop

I occasionally use the Statistics function in Photoshop to blend multiple images in order to get rid of the distractions that I don’t want like people or vehicles.  Up until now, this has been a real pain to do.  I would identify the images in Lightroom but would have to open Photoshop, go into the Statistics function, use the browse function in there to select the images and then it would run everything in one go.  This was not a convenient way to go and the output image then needed to be manually added to Lightroom which is not handy.

It turns out that there is a better way.  This may have been in Photoshop all along and I never knew or it could have been a recent addition.  Either way, it is there and I shall now use it for future projects.  I have even created a Photoshop action to cover the process and assigned a function key so it will now do the heavy lifting without my intervention.  It all starts out in Lightroom.  Select all the images that will be used for the blend.  Then use Edit>Open As Layers and a new document will open in Photoshop with all shots as layers.

If everything has been shot on a tripod, things will be properly aligned by default but I often do these things on the spur of the moment so they are hand held.  Consequently, while my efforts to keep pointing in the same direction are not bad, the first task is to select all layers and Auto Align layers to tidy things up.  Next, go into the Layer tab and, under Smart Object, convert to a Smart Object.  This may take a little while.

Next step is to go back into Layers>Smart Objects>Stack Mode.  This brings up the same options as you get through the Statistics function.  Select Mean and send it on its way and you end up with a shot that, depending on the number of shots taken and the clear space in enough of them, results in a clear shot.  Usually I find that I haven’t got enough shots of the right type to get everything to disappear so some ghostly elements may remain but they are certainly less distracting than the figures in the original shots.  I have no idea what the other modes will achieve and the descriptions Adobe provides in their help files are so obscure as to be virtually useless. Instead I shall have to experiment with them to see what happens.  Thankfully, now I have this new method, I can undo the last step easily to try each option which would not have been possible using the Statistics dialog.  Another win!

Blending to Remove Traffic

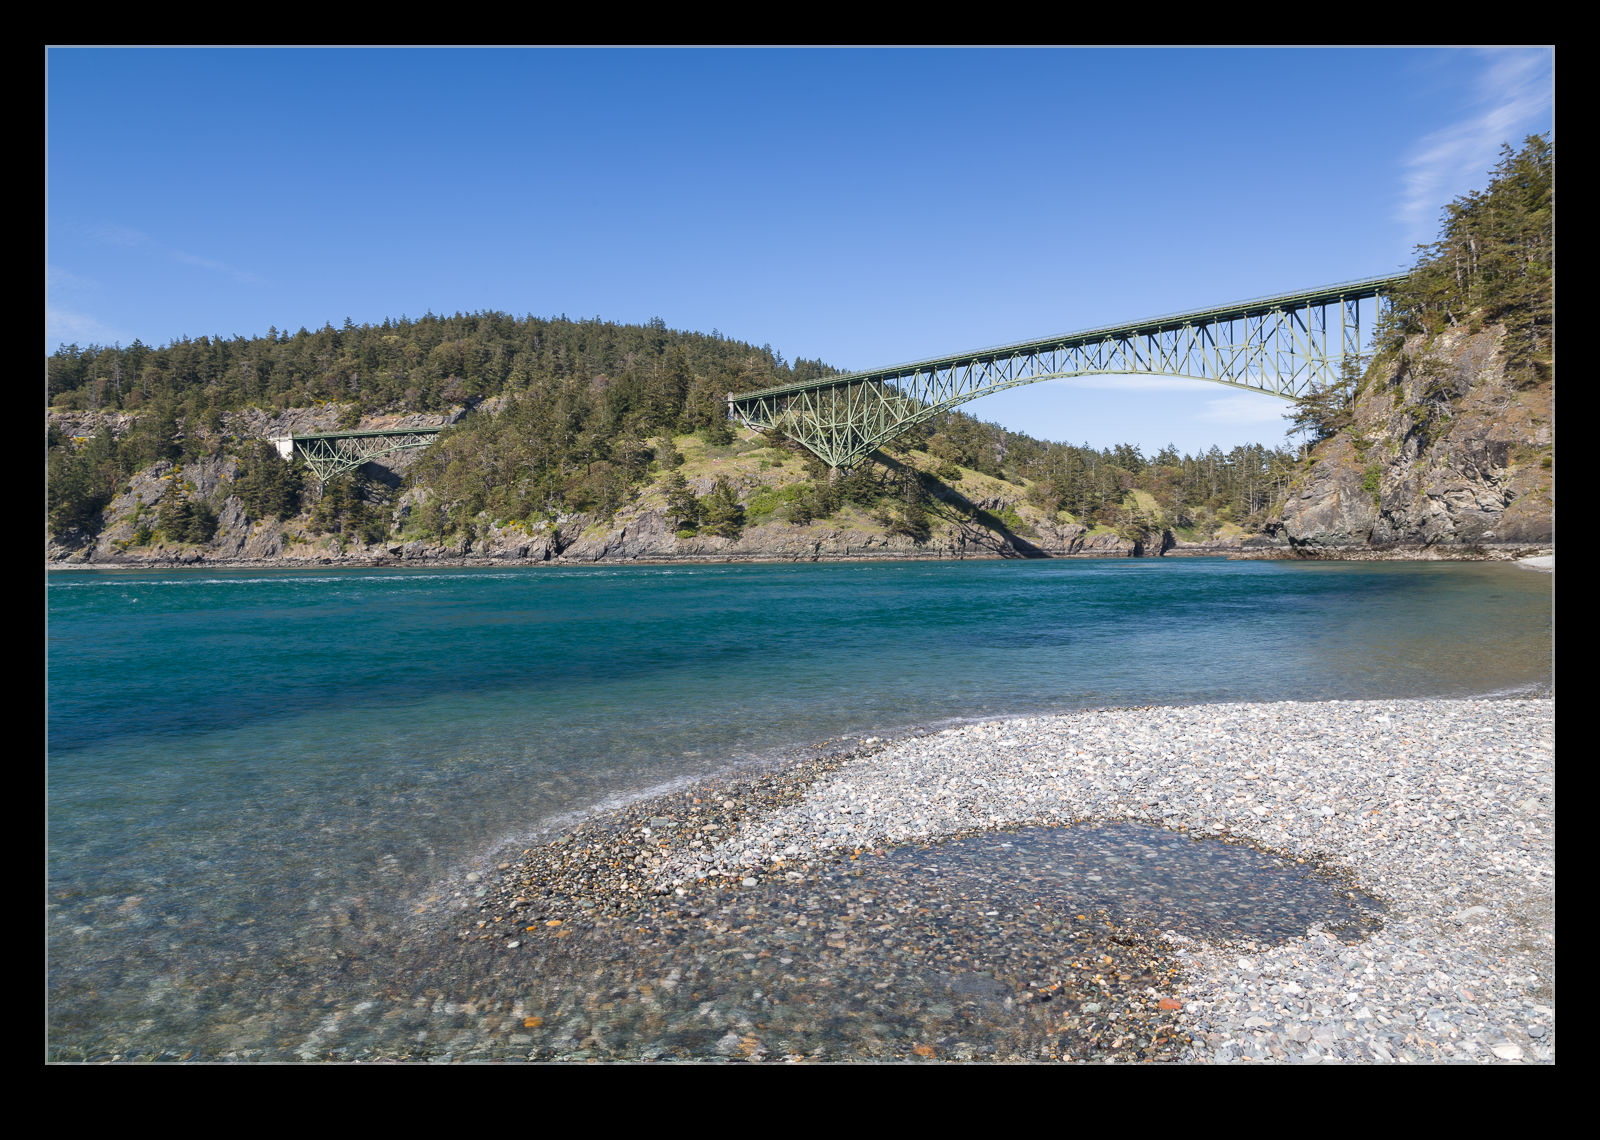
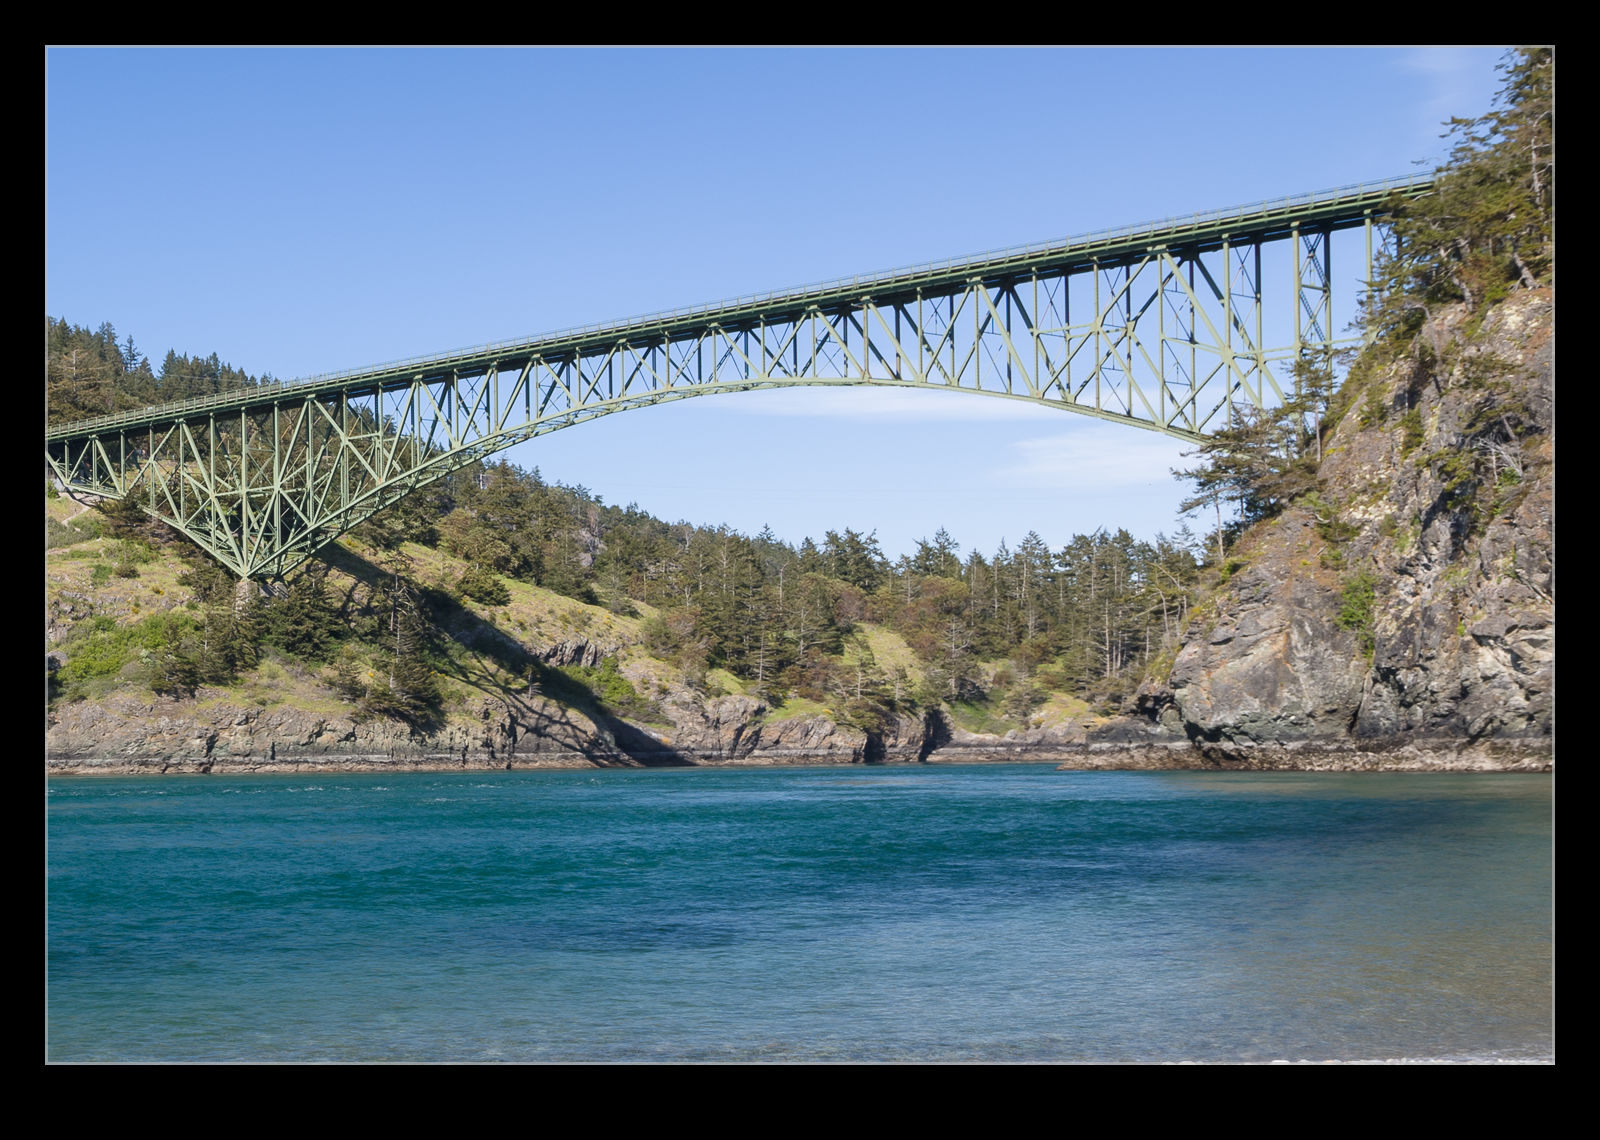
During a previous visit to Vancouver, I experimented to blending images of the same scene to remove objects I didn’t want included.  When photographing the bridge at Deception Pass, I decided to have another go at this.  The bridge was very interesting but I found the traffic on the bridge to be a distraction.  Looking at some of the shots afterwards, it wasn’t as bad as I thought at the time but, even so, I decided to try processing the shots.

This was the same approach as before.  Load all of the images into Photoshop using the Statistics function and use Median to average things out and hopefully remove the items that I didn’t want to appear.  It seemed to work pretty well.  The top shot has the output while the one below is one of the input shots cropped in along with the final result to show what was removed.

Trying to Remove the Traffic on the Bridge

The suspension bridge at Lions Gate in Stanley Park, Vancouver is a magnet for photographers.  I was only passing through but, as we watched the traffic moving across the bridge, I was thinking about how to get a shot that didn’t have cars on it.  The traffic was steady so there was not way I would get a clear moment.  Indeed, while we were there, they changed the lights and reversed the center lane based on the traffic demand.

I didn’t have a tripod but I did decide to experiment with an alternative technique.  This is best done using a tripod and a lot of exposures but I figured I would go with shots that were pretty closely aligned and about half a dozen shots.  This didn’t work perfectly but it didn’t go too badly.  When you get back to the computer, you open up Photoshop.  Click on File and Statistics and a dialog opens up.  Select all of the files and change the option at the top to Median and check Align Images.  Then send it on its way.

Lions Gate.jpgIf the shots are good and there are enough, the algorithm will look at each shot and see the changing items – cars in this case – as the oddities.  It will see what is consistent in each shot and get rid of the odd stuff.  If you have it right, the cars will vanish.  In this case, there were some overlaps and not enough shots but it still did a reasonable job.