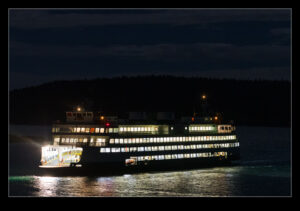
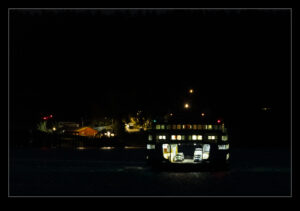
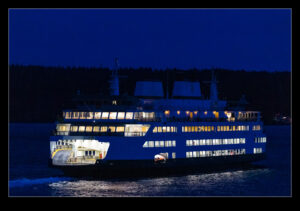
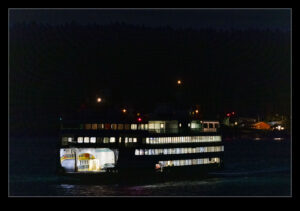
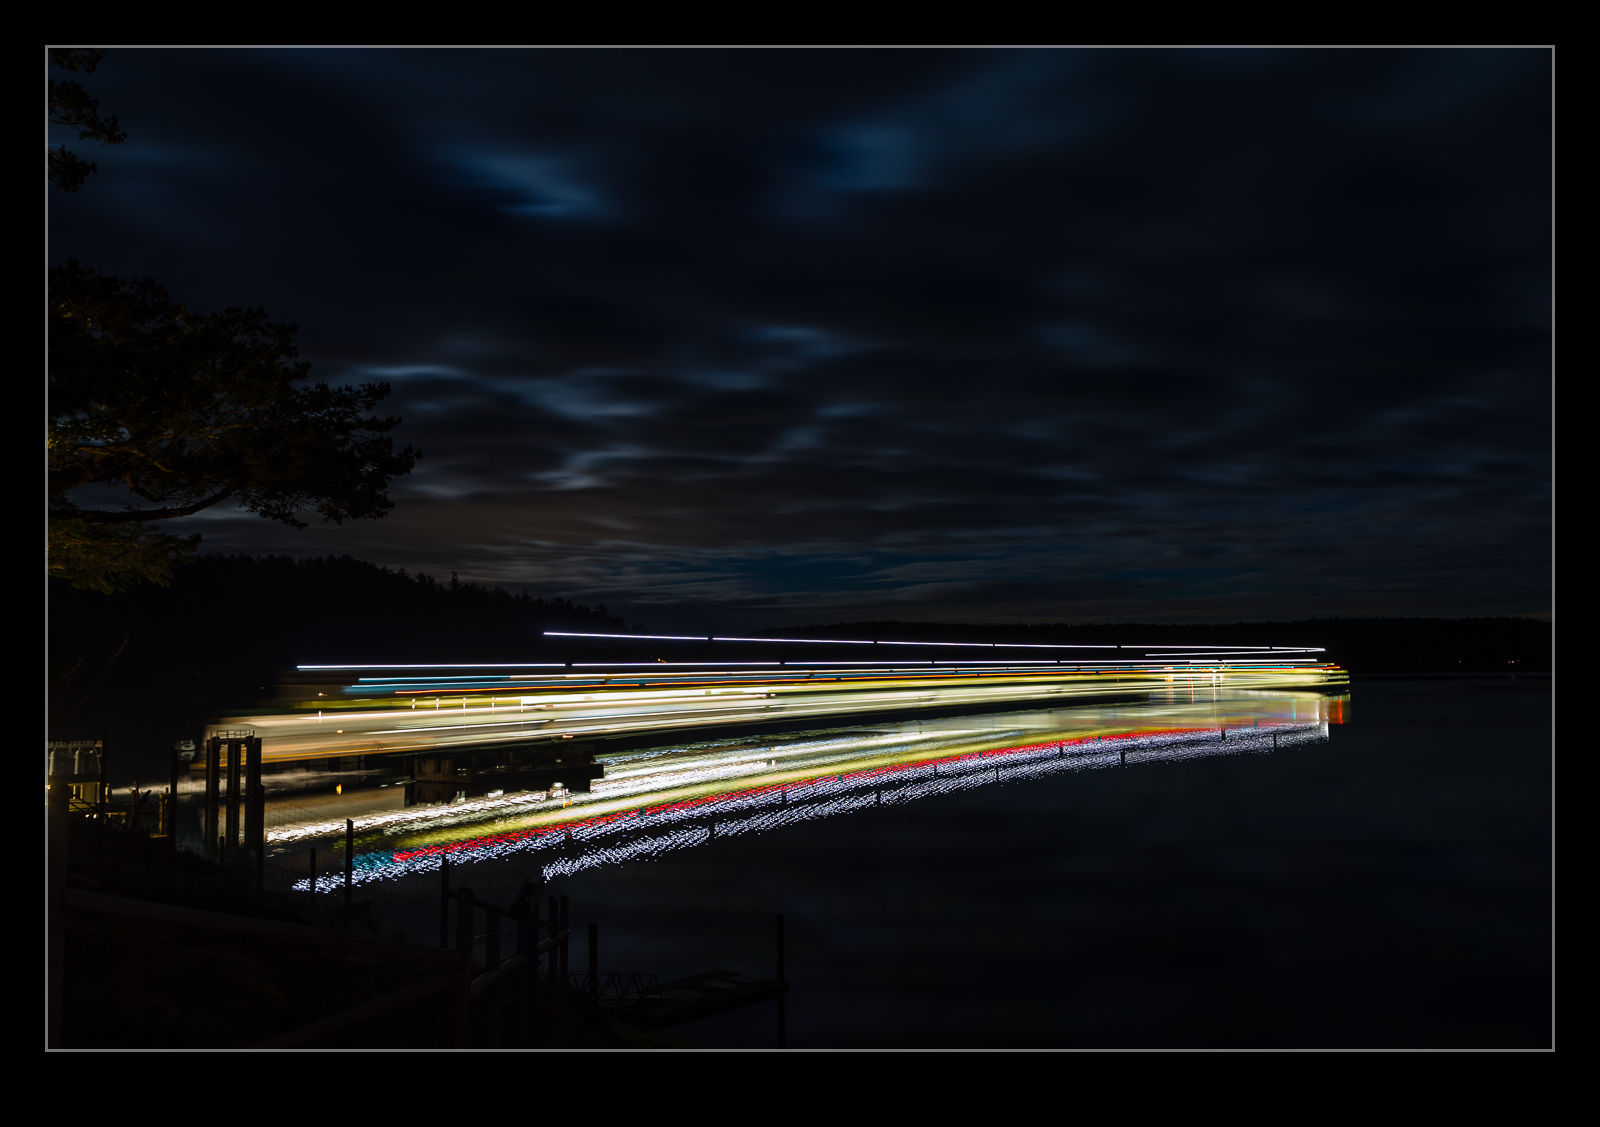
 With the ferries coming and going to the terminal at Orcas, I was able to have plenty of chances to take photos. I did get standard shots of the boats in low light conditions. They are not easy to shoot since they are constantly moving. No long exposures at low ISOs are possible so it is high ISO and the associated noise. However, I did decide to experiment with some long exposures and blending of shots. The boats make a curving approach to the terminal. I thought this might make a nice long exposure. It worked okay but the curve is a bit disguised by being too low down to really appreciate it. However, it was fun to try.
Tag Archives: blend
Focus Stacking and Backyard Arachnids
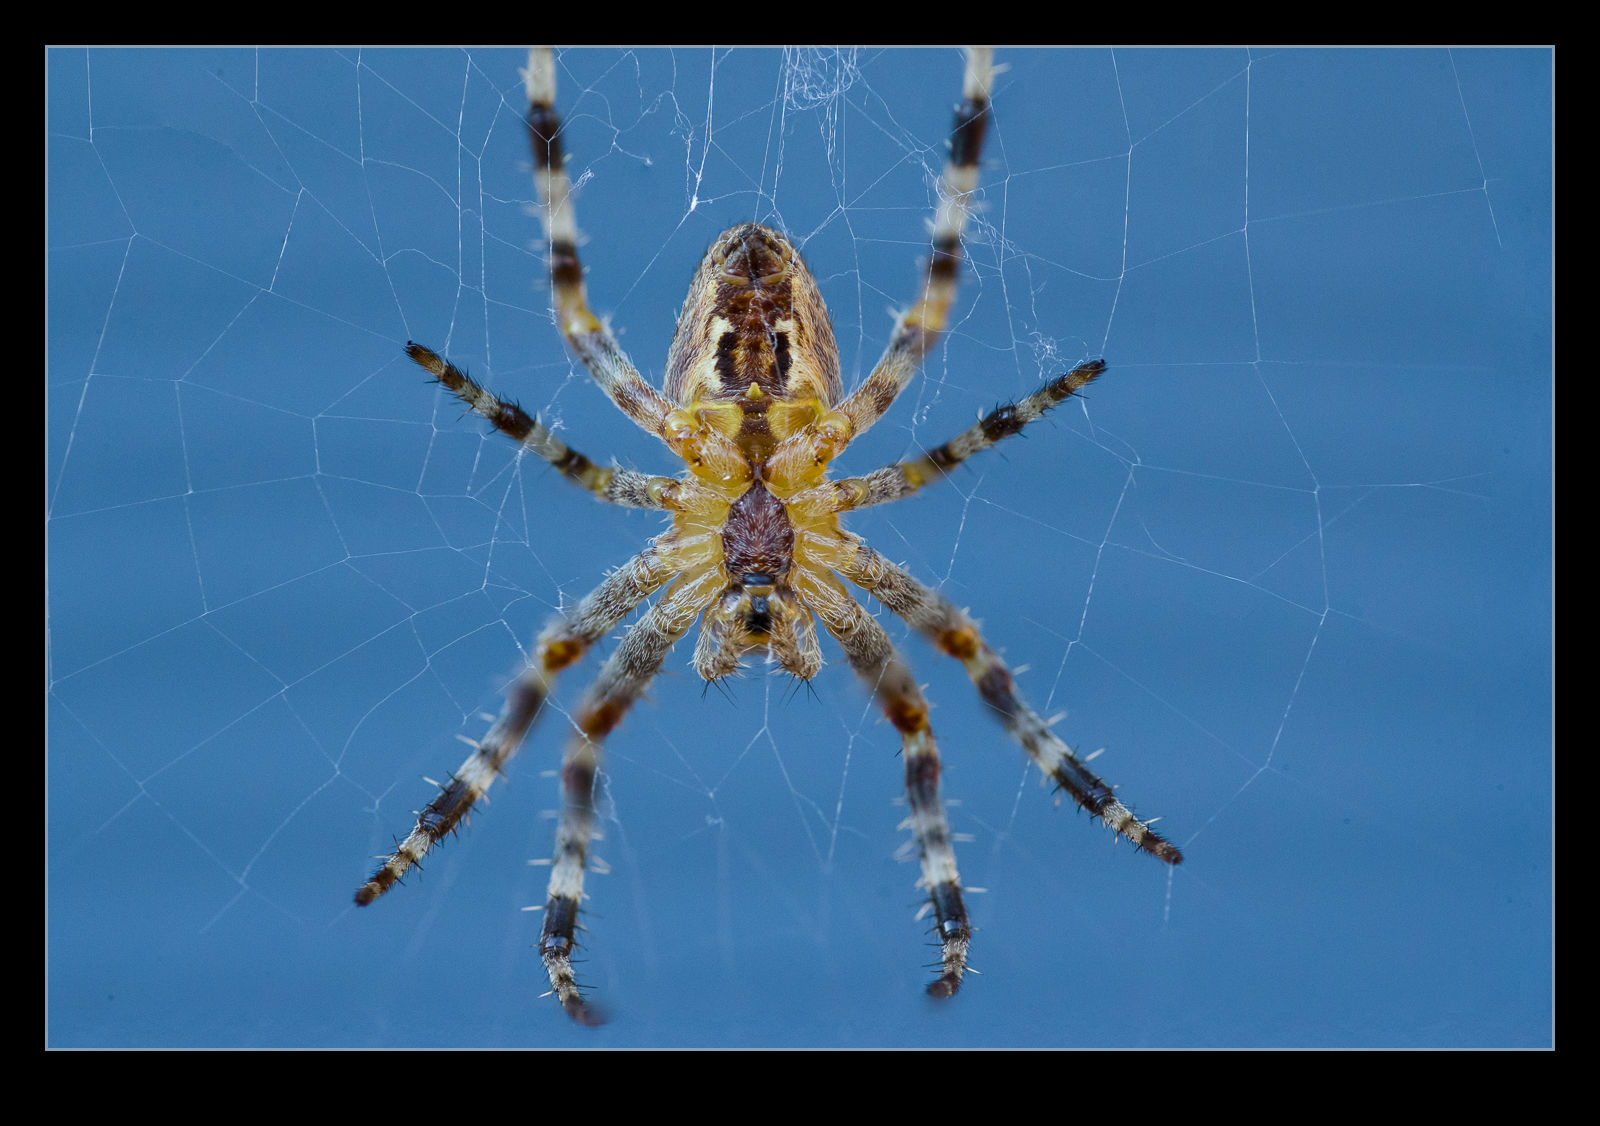 I’m sure a bunch of my relatives will look away for this post. Maybe they aren’t fans of focus stacking but it could be the spiders that put them off. My macro lens has been out a lot during the pandemic since it provides something to photograph close at home that is a bit different. In fact, I have got so used to having it available, when I am out with a normal lens and come across something small and interesting, I am a bit frustrated to realize I can’t get a close up shot.
 The problem with the lens is that it is not a very advanced one and the autofocus on it is pretty crap. When I am trying to hand hold the lens and something is moving and so am I, things get a little unpredictable. We had a few spider webs in the backyard with the owners sitting in the middle. The afternoon sun provided great illumination so I figured I should give it a go. I tend to go to manual focus and move to get the shot but with the breeze moving the web a lot, things are pretty tricky. This is what prompted me to try cheating.
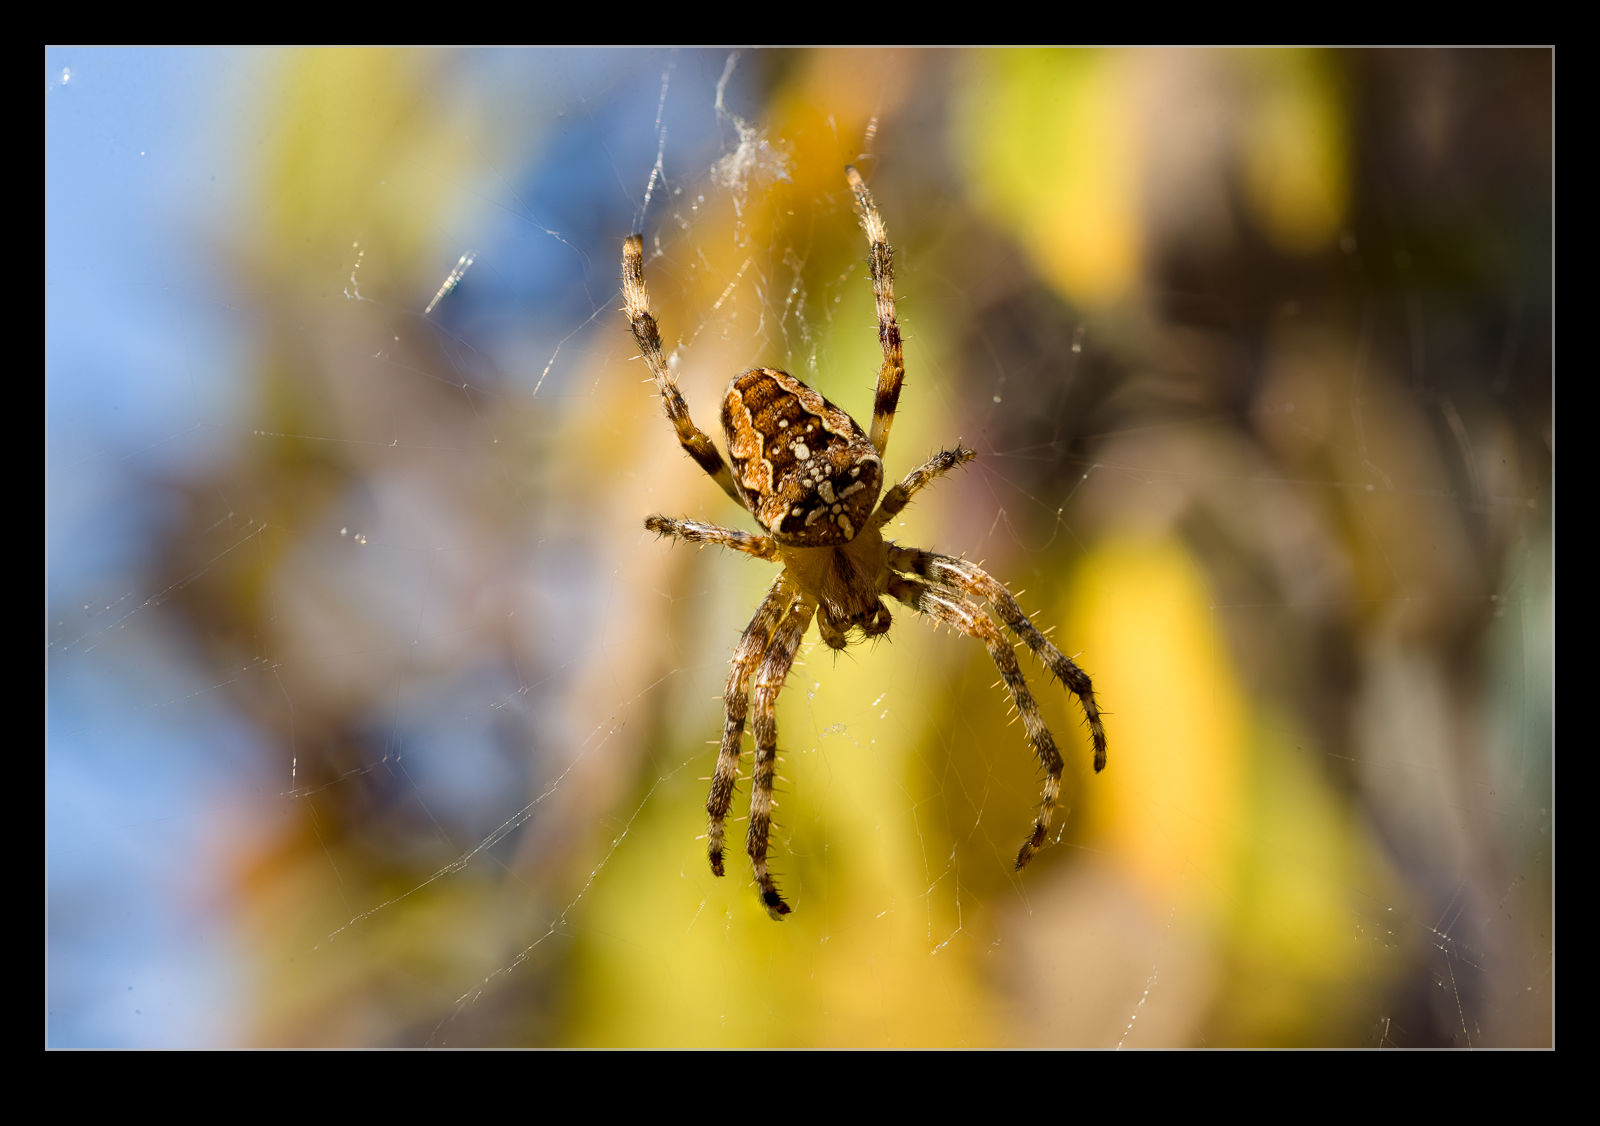 I figured that focus stacking does a good job of increasing the area in focus and it manages to align images and make use of what is already in focus. If I can be straight on to the spider and stay reasonably still and roughly at the right focus point, let the web move towards and away from me and fire a bunch of shots off hand held. Ignore the ones that have nothing in focus and then let Photoshop work on the remainder.
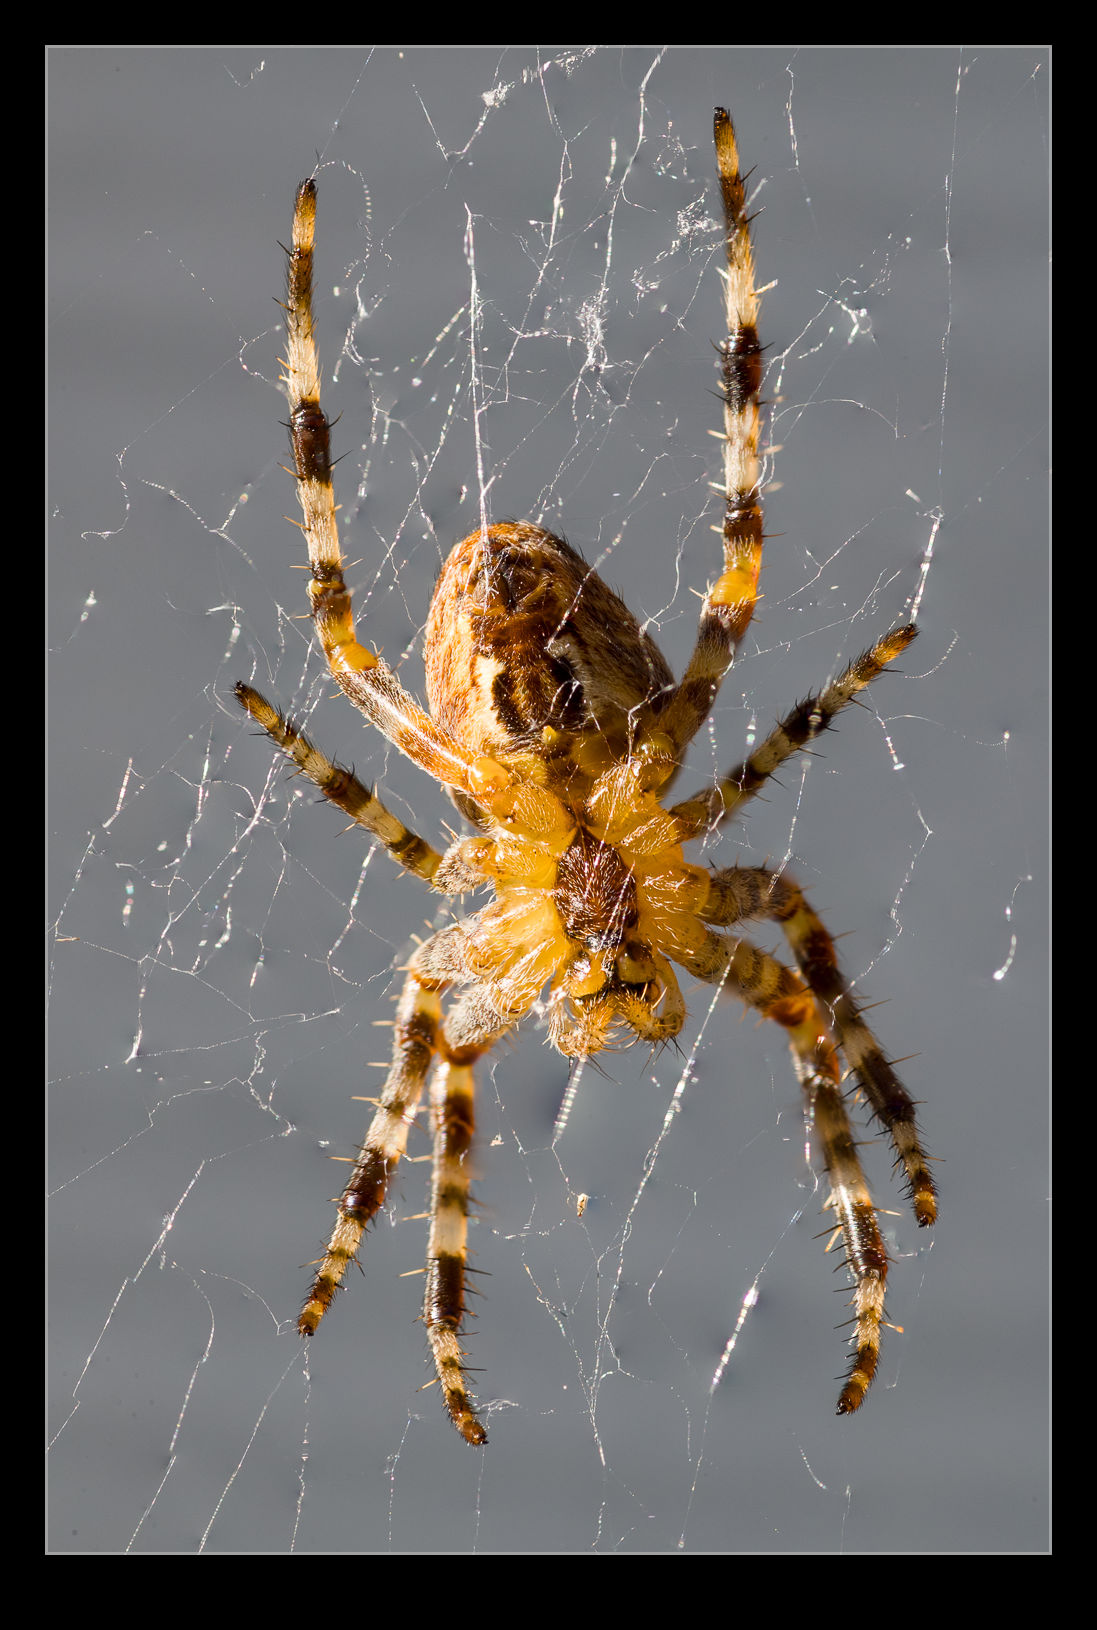 It isn’t a perfect solution and some weird things happen at the edges of the frame but the center works out pretty well and you can crop in a little to address the edges. I was quite pleased with the outcome to be honest. It is making the best of a few bad elements but it did do quite well. You don’t get to control what is in focus for each shot so getting a complete set to work with is unlikely but overall, not a bad experiment.

Focus Stack Animation
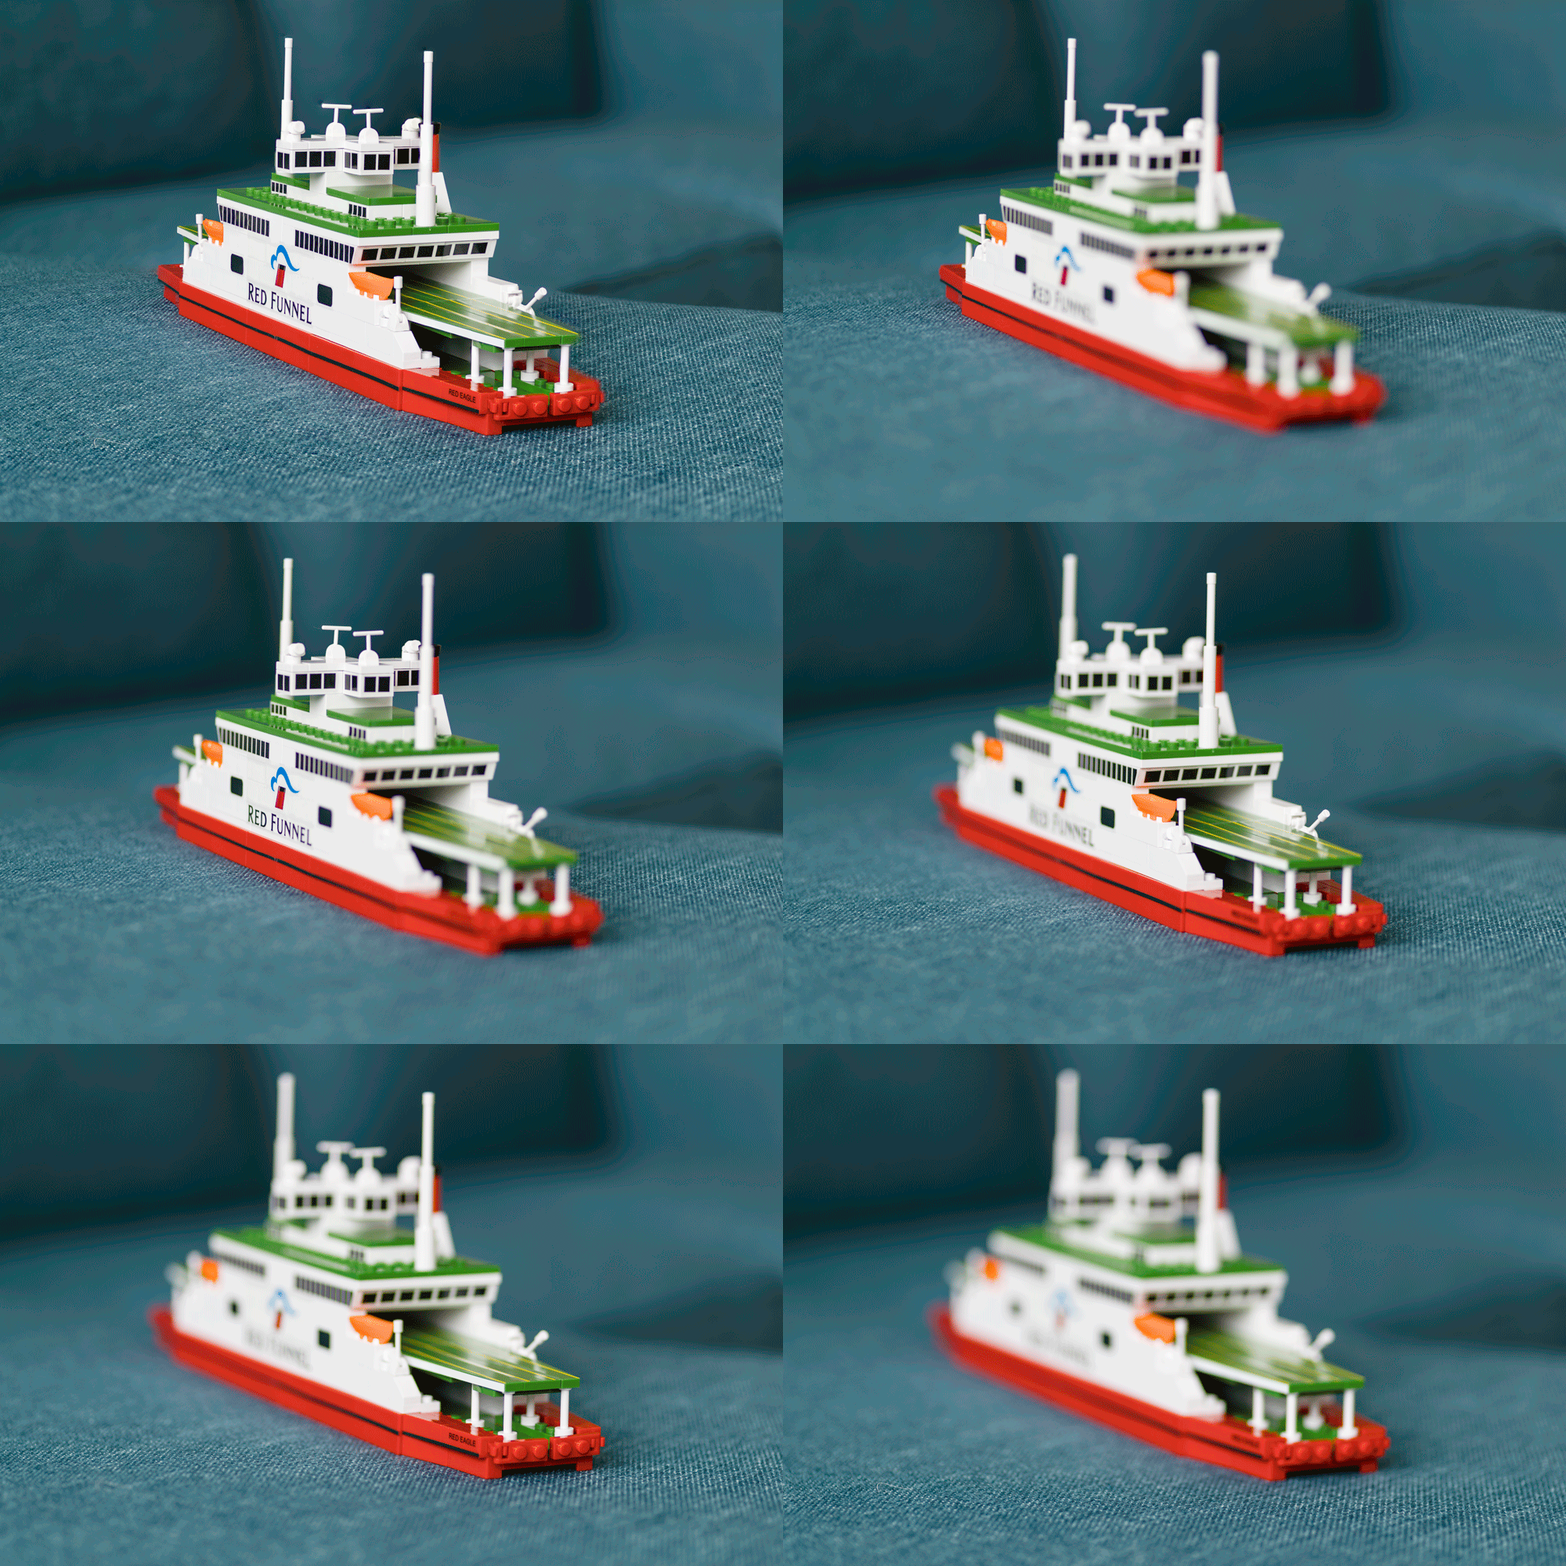
In some previous posts I showed the results of experimenting with focus stacking. In those posts, I would combine one of the individual shots with the finished effort to show how shallow the depth of field could be on individual shots and how deep the focus was on the final image. I was pondering whether this was an effective way of communicating the concept to someone when it occurred to me that animation might be a better way. I created a new stack of images for a different subject but this time I used Photoshop to animate the movement of the point of focus through the shot and then show the final image. This can then be an animated GIF. I wonder, does this provide a better demonstration?
Learning a Better Way to Blend in Photoshop
I occasionally use the Statistics function in Photoshop to blend multiple images in order to get rid of the distractions that I don’t want like people or vehicles. Up until now, this has been a real pain to do. I would identify the images in Lightroom but would have to open Photoshop, go into the Statistics function, use the browse function in there to select the images and then it would run everything in one go. This was not a convenient way to go and the output image then needed to be manually added to Lightroom which is not handy.
It turns out that there is a better way. This may have been in Photoshop all along and I never knew or it could have been a recent addition. Either way, it is there and I shall now use it for future projects. I have even created a Photoshop action to cover the process and assigned a function key so it will now do the heavy lifting without my intervention. It all starts out in Lightroom. Select all the images that will be used for the blend. Then use Edit>Open As Layers and a new document will open in Photoshop with all shots as layers.
If everything has been shot on a tripod, things will be properly aligned by default but I often do these things on the spur of the moment so they are hand held. Consequently, while my efforts to keep pointing in the same direction are not bad, the first task is to select all layers and Auto Align layers to tidy things up. Next, go into the Layer tab and, under Smart Object, convert to a Smart Object. This may take a little while.
Next step is to go back into Layers>Smart Objects>Stack Mode. This brings up the same options as you get through the Statistics function. Select Mean and send it on its way and you end up with a shot that, depending on the number of shots taken and the clear space in enough of them, results in a clear shot. Usually I find that I haven’t got enough shots of the right type to get everything to disappear so some ghostly elements may remain but they are certainly less distracting than the figures in the original shots. I have no idea what the other modes will achieve and the descriptions Adobe provides in their help files are so obscure as to be virtually useless. Instead I shall have to experiment with them to see what happens. Thankfully, now I have this new method, I can undo the last step easily to try each option which would not have been possible using the Statistics dialog. Another win!
Blending to Remove Traffic
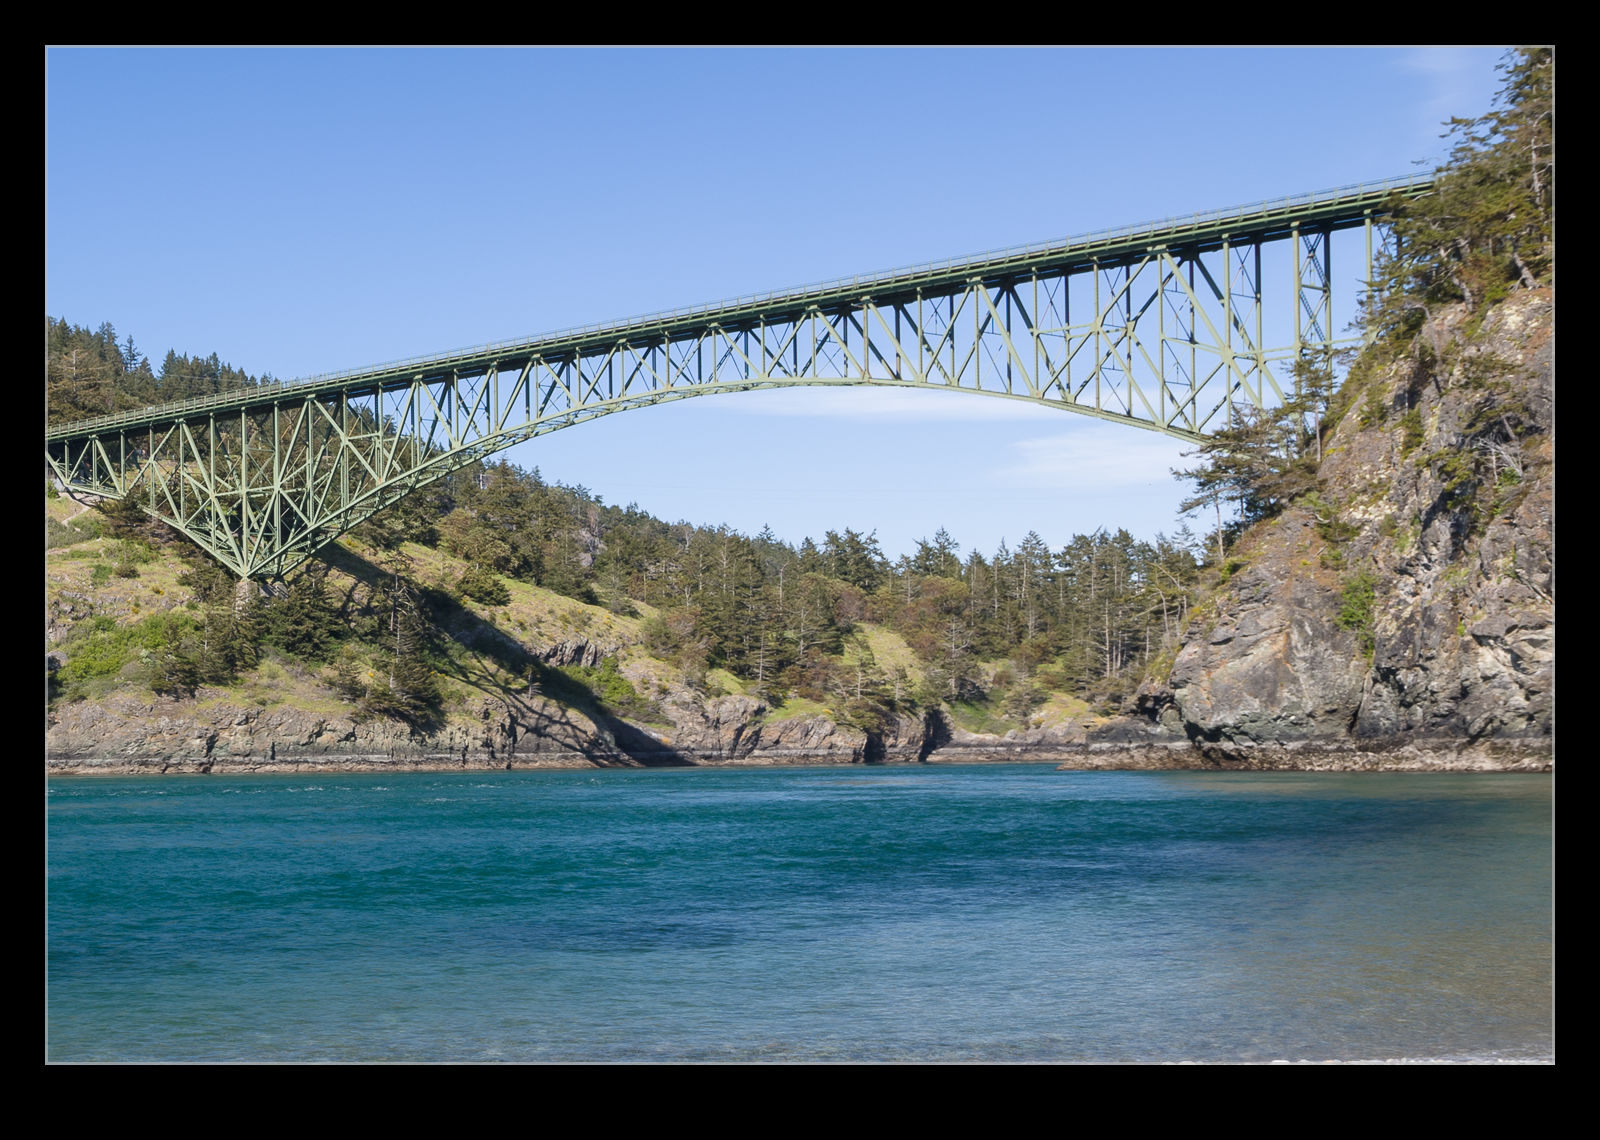
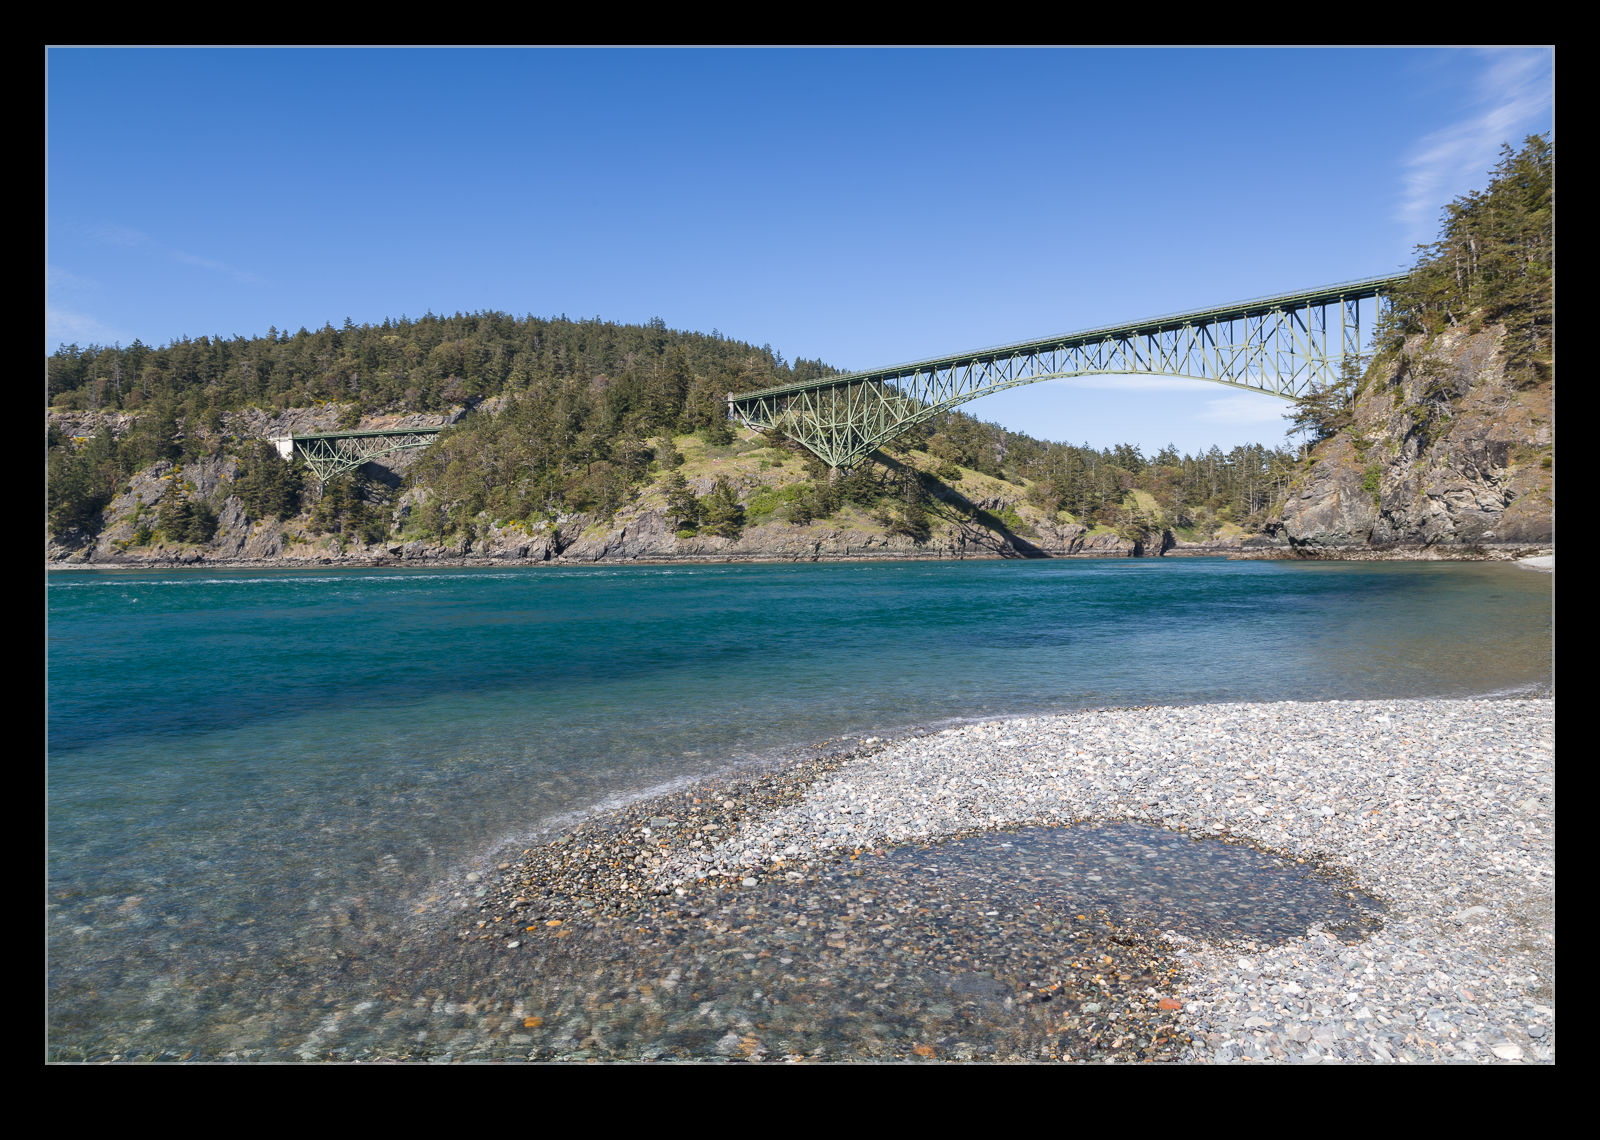 During a previous visit to Vancouver, I experimented to blending images of the same scene to remove objects I didn’t want included. When photographing the bridge at Deception Pass, I decided to have another go at this. The bridge was very interesting but I found the traffic on the bridge to be a distraction. Looking at some of the shots afterwards, it wasn’t as bad as I thought at the time but, even so, I decided to try processing the shots.
This was the same approach as before. Load all of the images into Photoshop using the Statistics function and use Median to average things out and hopefully remove the items that I didn’t want to appear. It seemed to work pretty well. The top shot has the output while the one below is one of the input shots cropped in along with the final result to show what was removed.
Another Go at Stitching iPhone Raw Shots
 As I posted a while ago, I have been experimenting with stitching shots from my phone. Since I am shooting in raw on the phone, I have some latitude to play with the shots in post that wasn’t there before. This time, though, I thought about it a bit more and put the camera into manual mode to fix the exposure. This should make the stitching and blending easier than when it changed between shots (although, to give the Lightroom team credit, it did a pretty good job anyway). I allowed plenty of overlap and the merge seemed to go pretty well. Since it outputs a dng file, you still have the chance to edit more aggressively than would be possible with a jpeg. Meanwhile, you get a higher resolution shot than with the internal pano mode. This may be my go to method from now on.
SFO Night Time Lapse Take 2
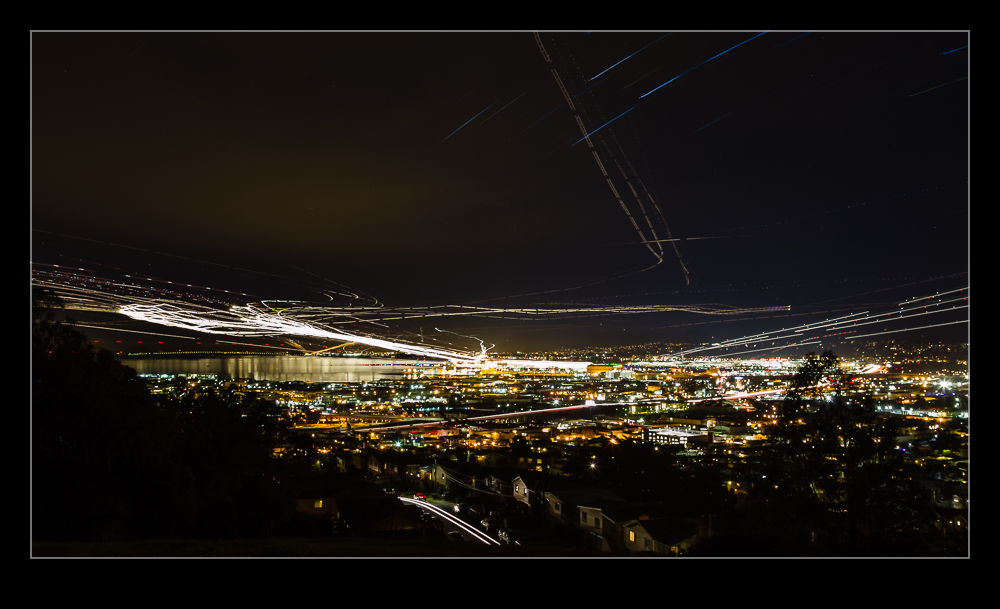 Last summer my friend Paul had been across and we had hatched a plan to shot some time lapse and night streak shots of SFO from a hill that overlooks the airport. The plan seemed like a good one but it was thwarted by two things. First, there was some cloud in the area which obscured some fo the view. Second, it doesn’t get dark until late in the summer and Paul was on UK time so was pretty worn out by the time we could do anything.
Instead, we concluded that a second attempt would be made when he was over during the winter. So it was that we found ourselves back up on the hill. We had come well prepared this time with sturdy tripods and good cable releases. The only thing I had forgotten was the chairs since you have a lot of time to hang around on a dark hillside taking shots like this. I took a long sequence of shots that would be edited into the time lapse. When I got home, some quick work in LRTimelapse and the video was together as you can see below. I also decided to see how well the sequence would blend together to get a streak image. I have never tried to work with quite so many layers in Photoshop before. It certainly struggled with it but it did work. Unfortunately, there must have been some very slight movement on the tripod because the ground lights did not exactly align which made for a blurry foreground when using the Lighten blend mode. To counter this, I duplicated one of the base layers and masked that back in to give the ground a clearer image. The blended version is the one at the top of the post.
HDR Panoramas
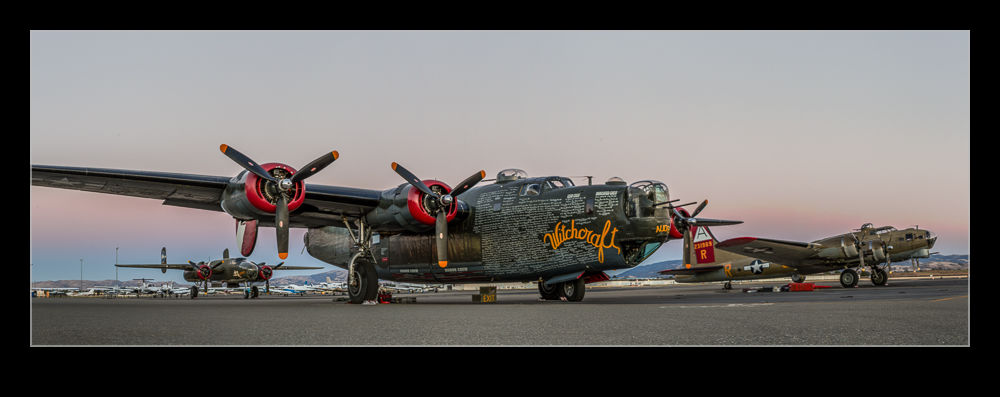 Another one of my processing technique posts today. For those of you interested in pictures of places, today will probably be one you pass on. You have been warned. This is about my first venture into the realm of HDR panoramas. I know at least one of you who knows exactly how to do this sort of thing and does it on a regular basis. You also will probably skip the rest of the post. However, you have some specialized tools for doing the job and I am playing with Lightroom and Photoshop so here is how it goes.
My initial thought having taken the shots was which order to carry out the processing. HDR first or pano first. I concluded that it had to be pano first. All of the pano exposures were consistent and would stitch properly while I wasn’t convinced that each of the pano frames would be consistent if I had done the HDR blending first. However, this left me with a second concern. Would the pano merge produce images that would align for the HDR merge. I use the pano tools built into Photoshop and, while I select the algorithm it uses, I did not have confidence that it would produce an identical alignment for each set of exposures. However, this was the route I tried.
Stitching the panos was straightforward enough. I created each of them from Lightroom and ended up with five panos with differing exposures. At this point I could have taken them directly to HDR Pro within Photoshop but, since I wanted everything to end up in the Lightroom catalog, I decided to save the files and go to HDR Pro from there.
Here I encountered my first hiccup. As expected, the panos produced were not identical. There were very close but not identical. HDR Pro only works on files that are the same dimensions. I imagine some more specialized HDR applications might be able to handle this but I was stuck with Photoshop. Since the panos were thousands of pixels across and only a few pixels different, I opened them back up in Photoshop and changed the canvas size to be identical in each case. HDR Pro is able to manage alignment of slightly misaligned shots anyway so I wanted worried about the positioning. Also, with such small changes in dimensions, I didn’t fear that I would have distortion.
With this change made, Photoshop went to work and created the HDR file. Amazingly, it worked just fine. I didn’t have any problems with the files being distorted relative to each other and it did a great job of blending them. All that was left was to crop everything in to clear up the empty corners from the pano creation (I didn’t get rid of those in the first instance since I was trying to keep the pano files identical in size and alignment) and then a few tweaks back in Lightroom had the job finished. I was pretty pleased with how it worked and, with the experience of this time, should be able to turn them around quite quickly next time.
Boeing 777-300ER Main Gear
 When Boeing launched the 777-300ER, they took the stretched fuselage of the 777-300, a model that didn’t sell particularly well and married it to the updated wing that made use of the fuel capacity of the outboard portion of the wing that had been left when the original concept of a folding wing was contemplated. The increased the weights of the jet, added far more powerful engines and, with the increased fuel capacity, came up with a winning formula that has done a very effective job of killing off the 747.
One problem that they had to deal with during development was runway length requirements for takeoff. Even with the bigger engines, the long fuselage limited rotation angles at takeoff and meant a higher takeoff speed was required which meant a longer runway requirement. Boeing came up with an interesting solution (after dumping some slightly more curious ideas). The main gear on the 777 has a triple axle bogie. Previously this had rotated about the pin attaching it to the main gear leg. Boeing’s solution was to lock the bogie level during takeoff.
The result of this is to have the rotation of the jet at takeoff to take place around the rear wheels of the bogie rather than the gear leg pin. The slight aft movement of the rotation point allows the aircraft to rotate slightly more nose up and gain a greater angle of attack. This gives slightly more lift for a given speed. This means an earlier takeoff and a shorter runway requirement.
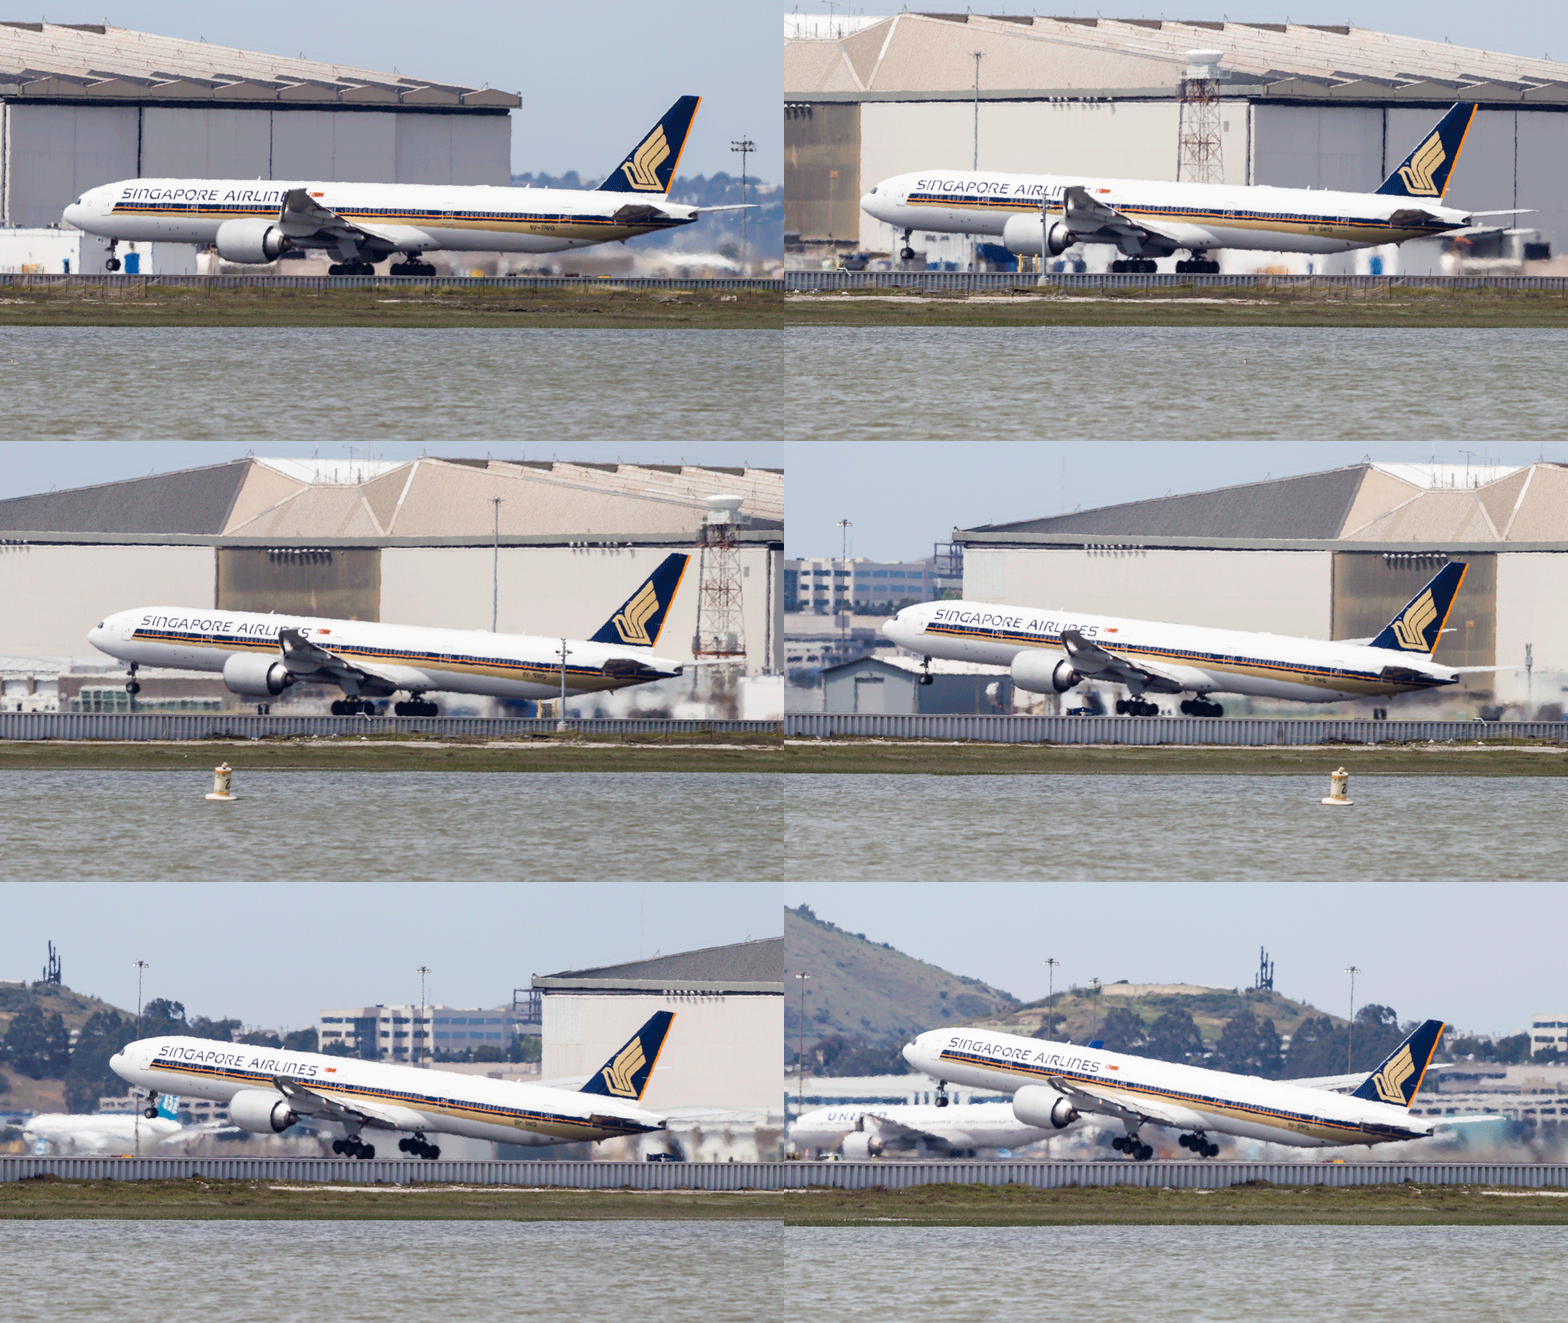
I have tried many times to witness this at work. First, it happens pretty quickly. Second, I am often in a poor position to see the rotation point. Recently I was at SFO to pick up some people. I was getting a few shots prior to their flight arriving and a Singapore 777-300ER was taking off. The rotation point is quite far away (although, if you are in the terminal, you might have a good view) and the heat haze is a problem. However, I decided to get a sequence of shots anyway. Now, how to use them.
Heat haze is crappy on stills but less of an issue with moving images so I decided to animate the sequence. I imported all of the shots into Photoshop as layers in a single document via Lightroom. The hardest part was aligning them. I started at the bottom layer and then progressively made each layer above visible. I then changed the latest top layer blend mode to difference. This makes aligning them a lot easier since everything is black unless it is different. I was focused on the gear so used that as the reference as the fuselage rotated. Once each layer was in place, I changed the blend mode back to normal and moved to the next layer up.
Once they were all aligned, I used the animation timeline to make frames from each layer (and reversed the order since every time I do this they seem to be the wrong way around). Then I could crop in to get the overall view I was after and save the file. A Save for Web allows the generation of the animated GIF and we are done. The image at the top is the final result. It does allow you to see a bit of what is going on if you look closely although it is still a bit hard given the distance, the angle to the ground and the heat haze. I guess I will have to find a location closer next time.
Night Shoot at SFO
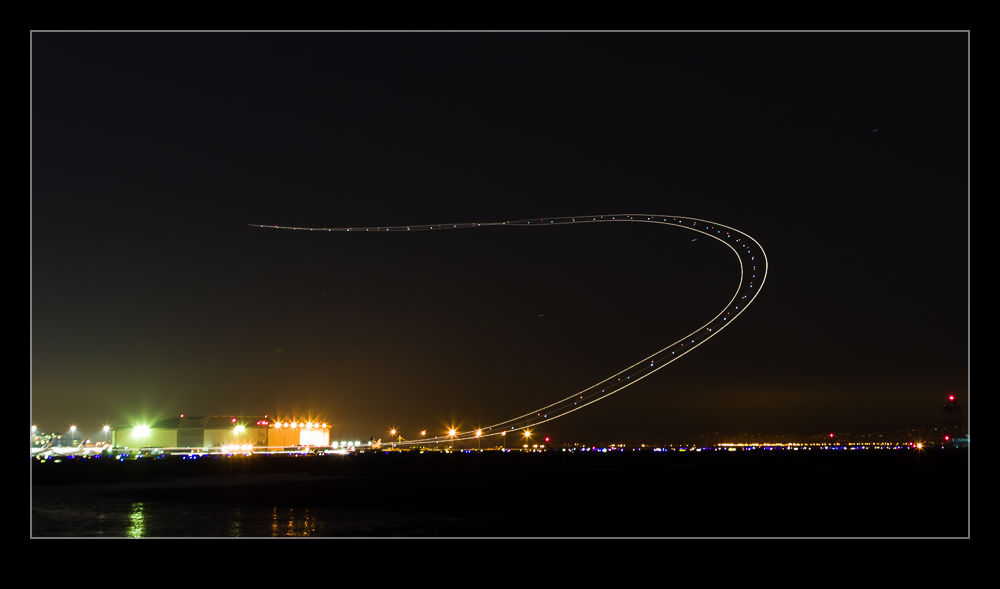 One idea that Paul had was for us to have a go at shooting some light trails at SFO after it got dark. This sounded like a good plan. Unfortunately, we didn’t have any tripods or cable releases with us. No matter. Target was around the corner so we popped in there and bought a couple of $15 specials. Hmm, these were quality items indeed. Given how much a good tripod costs, can you imagine what a $15 tripod is like?
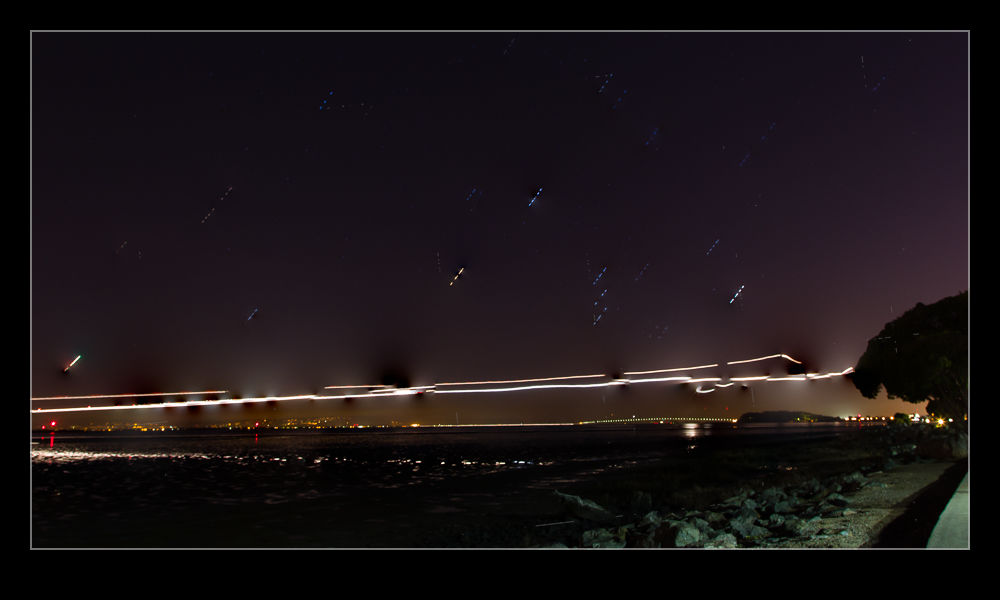 However, we made the best of it. Getting perfect alignment was tricky so some post processing cropping to level stuff up would be required. The camera wobbled a lot on the tripod when touched so I chose to trigger it with the shutter button on a 2 second delay. This allowed some wobbling to stop and, on a long exposure, any lingering wobble would be lost.
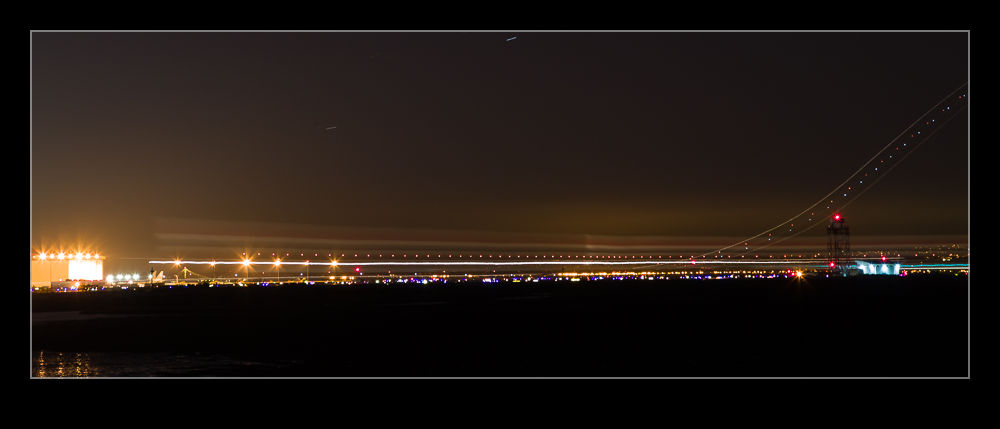 We got some stuff but it wasn’t brilliant. However, a short while later, I had to go to SFO to pick up some family members arriving on an evening flight so I decided to go a little earlier and try again, this time with some more appropriate kit in the form of a decent tripod and a cable release. This time, I was able to control things a bit better and get a few shots of interest. There wasn’t a huge amount of traffic so I didn’t get too many trails but I did get a slowly taxiing British Airways 747 which left an interesting smear across the frame.
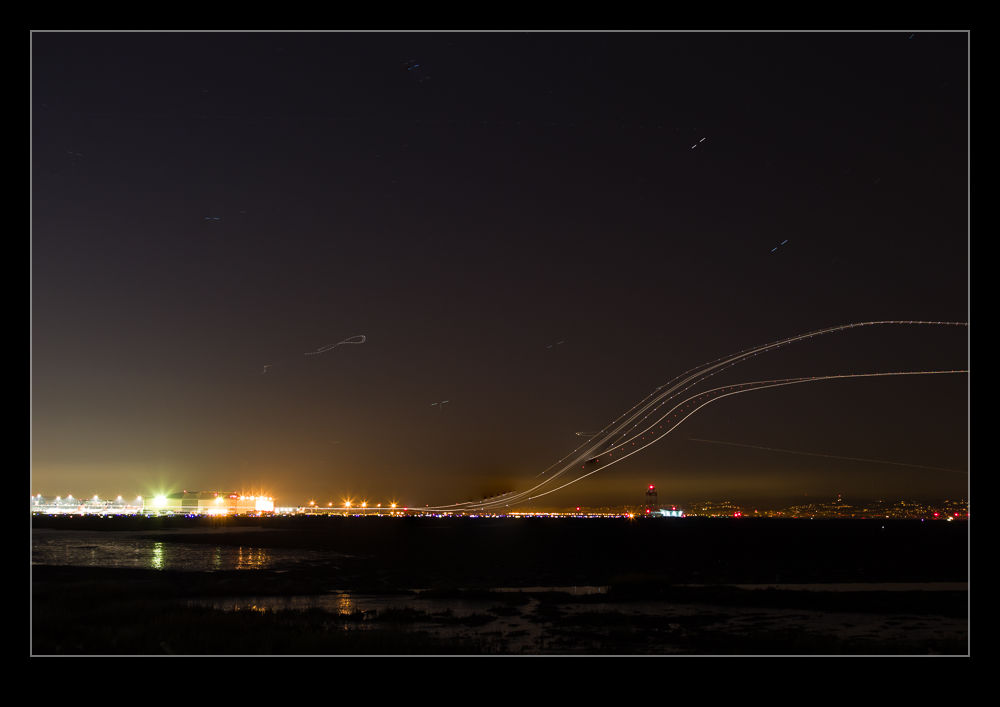 The alignment with the moving planes is not fantastic from where I was but it was okay. Coyote Point looks like it might be better but I think it closes at sunset so I’m not sure whether that will be possible or not. We shall see.
