Category Archives: technique

Trying a Time Lapse of the Eclipse

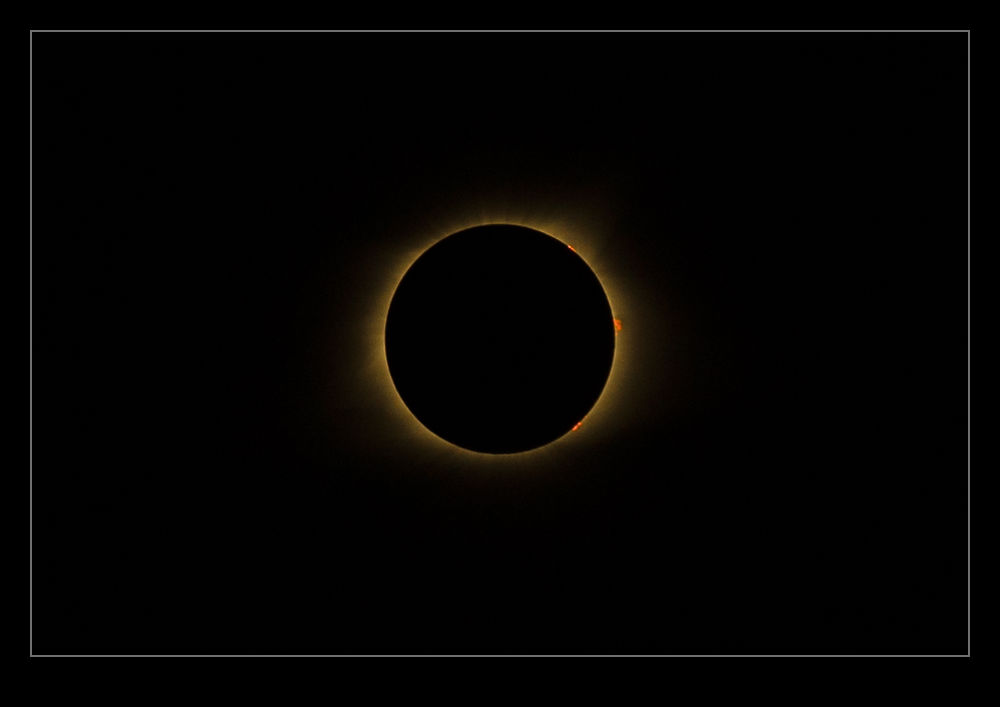
When thinking about the eclipse and what photos I wanted to get, I did contemplate running a video of the transition.  However, since the start to finish was going to be over two hours, I figured that would be a lot of video that would never get used or would only be seen speeded up.  Therefore, a time lapse seemed like the best option.  I set up a camera with the 100-400 lens on it can’t at an angle to, hopefully, align with the direction the sun progressed across the sky.  I didn’t know how much time it would take to cross the viewfinder so I planned on taking a number of sequences with re-positioning after each pass.

This ran just fine during the eclipse itself.  My only problems came at totality when I really lost the plot on what I was supposed to do, so overcome was I by the sight of the corona.  I initially forgot to remove the solar filter so everything was just dark.  When I did take it off, I had not adjusted from the manual exposure I had been running up to that time.  However, in the scheme of the eclipse, the totality moment was fleeting so is not a big part of the time lapse anyway.

I have edited together the sequences I shot and here is the resulting video.

Adobe Fixed the Time Zone Issue for Video

In this previous post, I noted that there was a problem with the way in which Lightroom identified the time of video files.  I was having to manually adjust the capture time after importing them.  When I contacted Adobe, they said it was a problem with Canon and vice versa.  Not helpful.  However, I notice that, with a recent update (I won’t say upgrade because some aspects of it seem to have really screwed up Lightroom performance), the video files now come in with the correct time associated.  I only found this out because I was about to adjust them when I realized they were already correct.  One little annoyance has now gone away.  Hurrah!

Can You Find Yourself in North Vancouver?

Standing on the shore in Vancouver on a sunny Sunday afternoon provided a great view of North Vancouver. Plenty of boats were making their way across the bay including some large ones which proved a little problematic for this task. I figured I could use the long lens, shoot a large sequence and create a panorama when I got home. It turned out that Photoshop and Lightroom both struggled compiling this panorama so I ended up positioning everything manually. However, it all worked out pretty well. Here is the result. Feel free to navigate around to see what you can find.

Trying Something Different for the Night Burner Shots

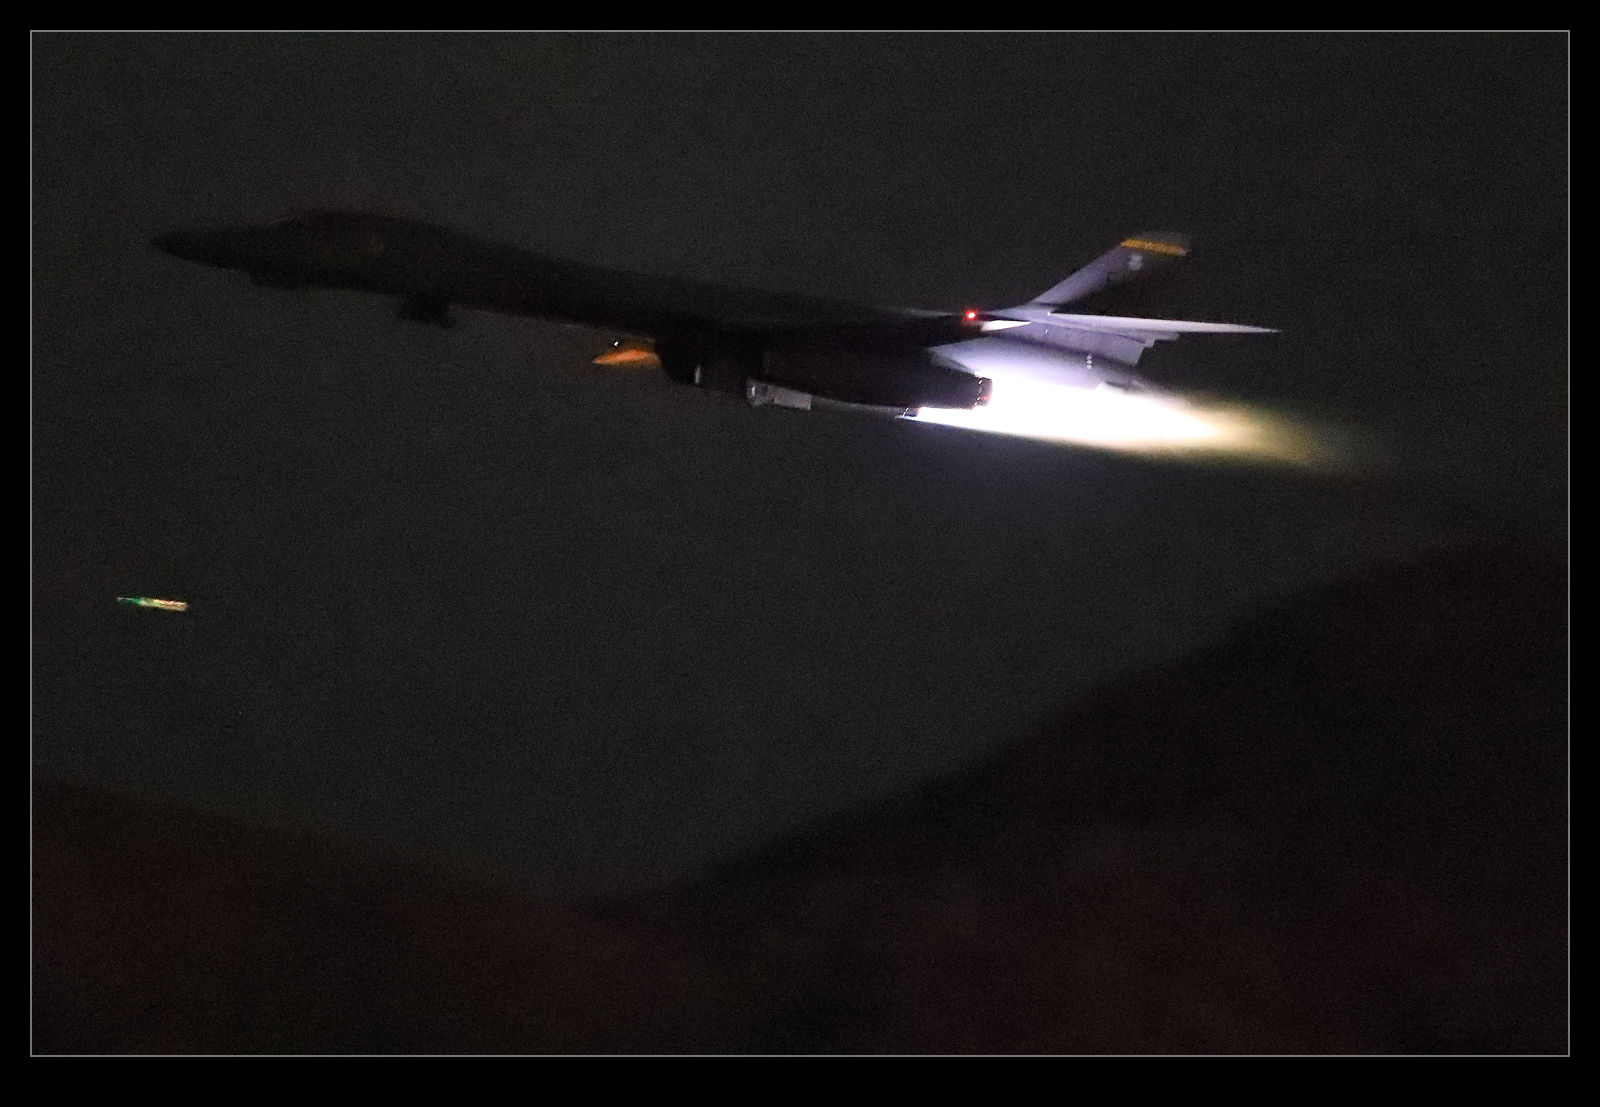
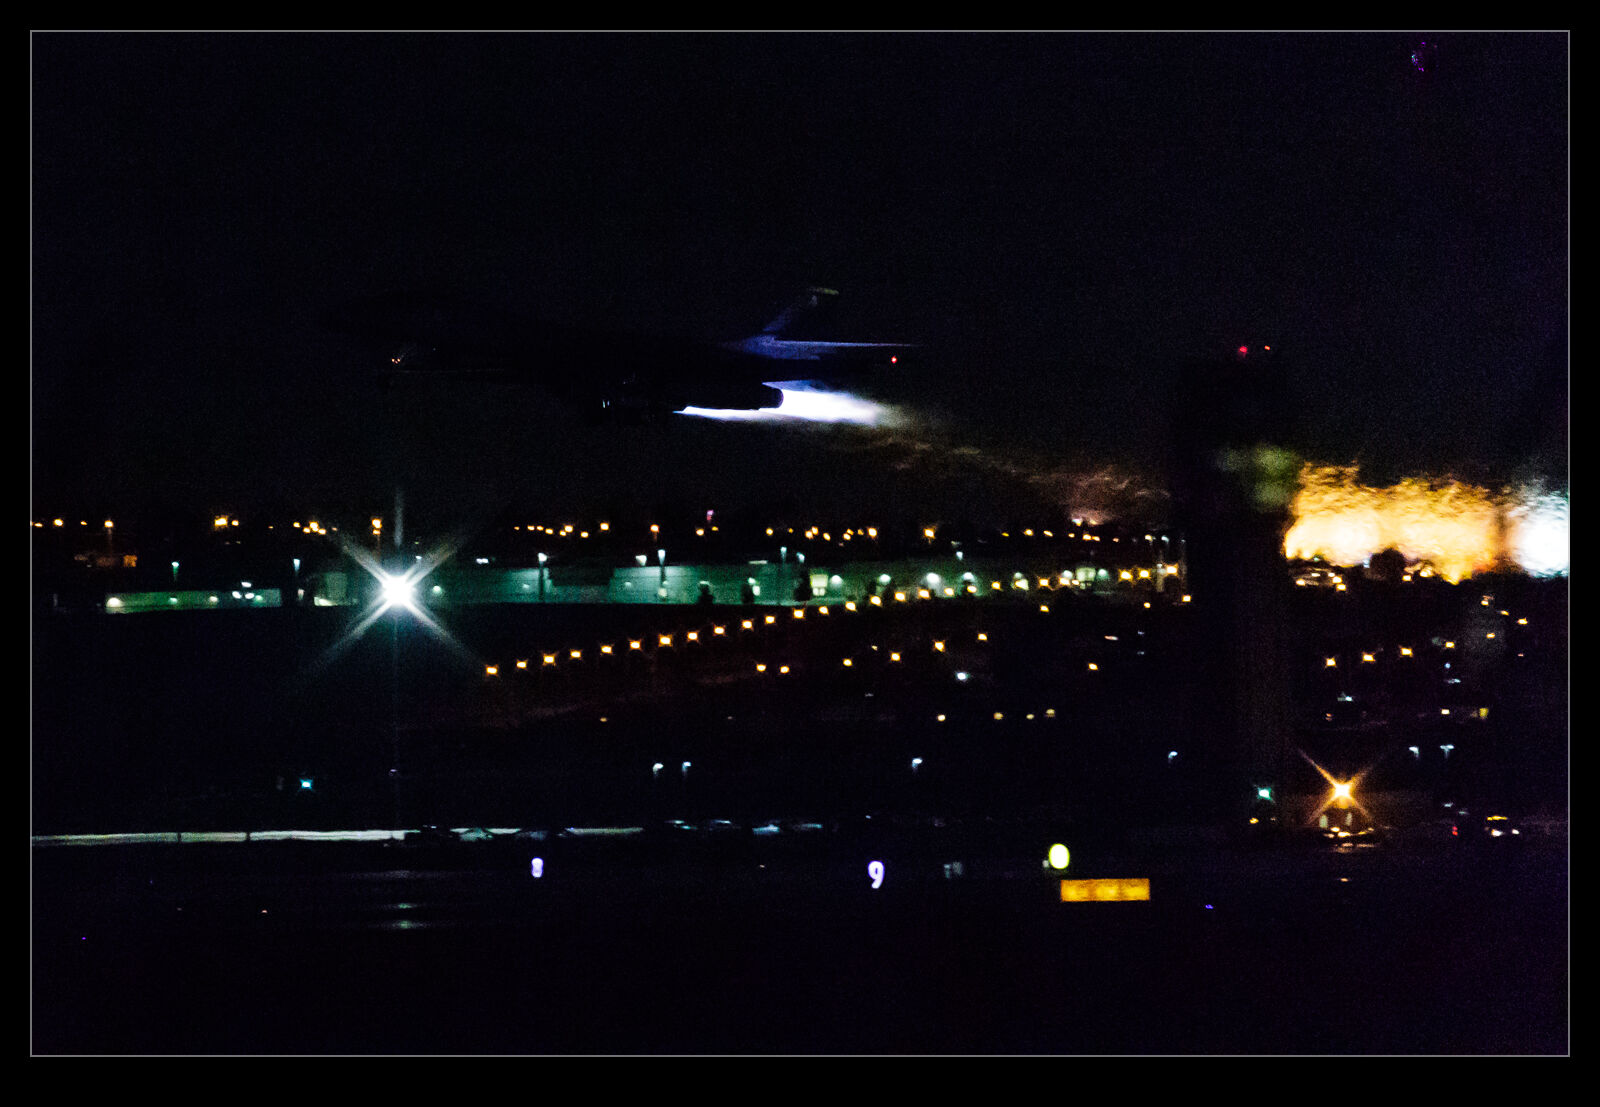
When the B-1s show up at Red Flag, everyone is pretty pleased.  A big bomber with four afterburning engines is like a giant fighter to photograph.  It is a good looking jet.  It also has a nice feature at night.  The majority of the fighters that take off in burner are back to military power shortly after getting airborne.  The B-1 is a different story.  It stays in burner for a ridiculous amount of time.  Not having flown one, I don’t know whether they pull back the power from full burner at some point but they do stay plugged in for ages.  Long into the climb you can still see the glow.

I have shot the B-1s from a location out in the area on the extended centerline before.  Go back to some old posts here and here and you will see the sort of shots I am talking about.  Paul has also shot from out there so we agreed to try something different.  We headed closer to the rotation point.  The jets get airborne pretty smartly and, the closer in they are, the further away they are from the highway.  However, something that had more of a side on feel was what I was after and so we tried a different spot.

Of course, you never know what time the launch will start and when the B-1s will be scheduled for so there is a lot of sitting around and waiting – in the dark.  During the day it is easy to hang about and wait for something to move.  At night things seem to take longer and you feel a bit more exposed.  However, they did eventually launch and these shots are the result.  I have learned some new things about the behavior of the camera at night which will be useful next time so, while the shots aren’t perfect, it was certainly worthwhile.

Seattle Skyline Zoomify

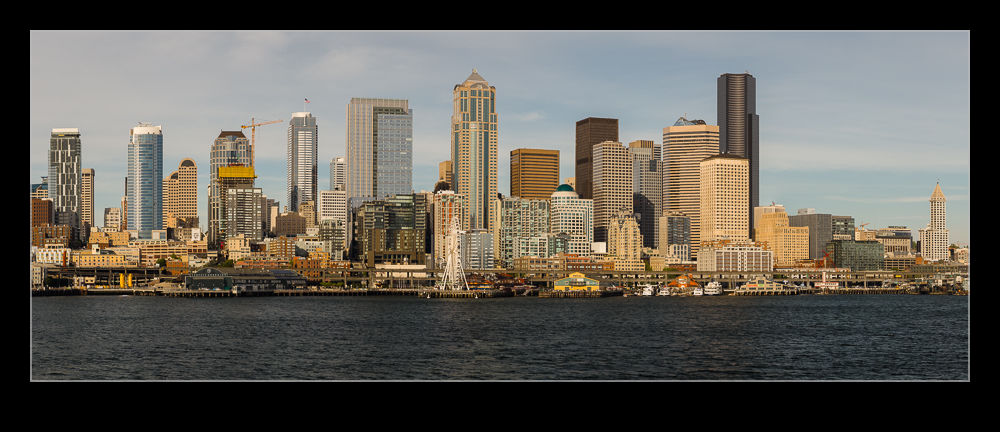
On our boat ride back from Bainbridge Island, we were getting back to Seattle in the early evening.  The light was not at its best but it was certainly becoming nice.  While the boat was moving, if you were quick it was possible to shoot a series for a pano so that is what I did.  The resulting pano is rather large.  Therefore, the above image is a small excerpt but to zoom in and pan around, you can go to the Zoomify version of the shot below.

Sensor De-mosaicing and Southwest Colors

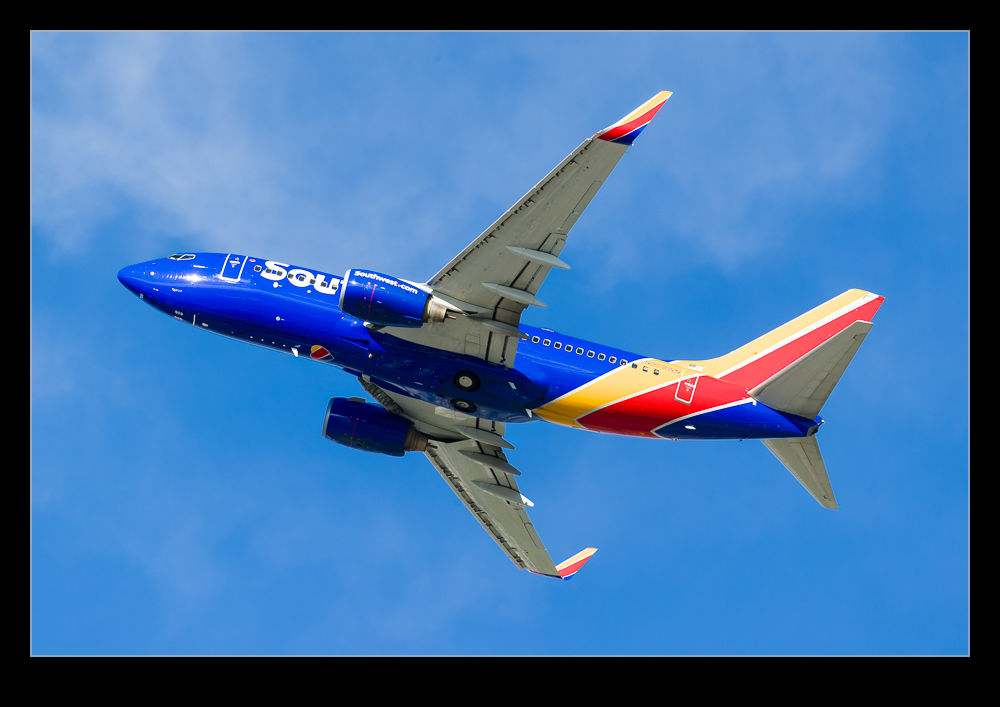
I have been pondering the way in which the method by which digital images are captured is affected by what is being photographed.  As part of my workflow, I render 1:1 versions of the images and then quickly weed out the ones that are not sharp.  This needs you to be able to see some detail in the shot that shows whether the sharpness is there.  I have found that, if a Southwest Airlines 737 is in the new color scheme, something odd happens.

Digital image sensors actually capture one of three colors.  Each pixel is sensitive to a certain color – either red, green or blue – courtesy of a filter.  They colors are arranged on the sensor in a pattern called a Bayer pattern.  The camera then carries out calculations based on what the pixels around each location see to calculate what the actual color should be for each location.  This process is known as de-mosaicing.  It can be a simple averaging but more complex calculations have been developed to avoid strange artifacts.

When I photograph the new Southwest scheme, something strange occurs around the N number on the rear fuselage.  It looks very blotchy, even when every other part of the airframe looks sharp and clear.  I am wondering whether the color of the airframe and the color of the registration digits are in some way confusing the de-mosaicing algorithm and resulting in some odd elements to the processed image that weren’t there in real life.  If any of you have photographed this color scheme, can you see whether you had something similar and, if you did or didn’t, let me know what camera you were shooting with so we can see if it is manufacturer specific or not.

Another Go at Stitching iPhone Raw Shots

As I posted a while ago, I have been experimenting with stitching shots from my phone.  Since I am shooting in raw on the phone, I have some latitude to play with the shots in post that wasn’t there before.  This time, though, I thought about it a bit more and put the camera into manual mode to fix the exposure.  This should make the stitching and blending easier than when it changed between shots (although, to give the Lightroom team credit, it did a pretty good job anyway).  I allowed plenty of overlap and the merge seemed to go pretty well.  Since it outputs a dng file, you still have the chance to edit more aggressively than would be possible with a jpeg.  Meanwhile, you get a higher resolution shot than with the internal pano mode.  This may be my go to method from now on.

It is Dark at Nellis During the Night Launch

On previous trips to Red Flag I have taken pictures of the departing B-1Bs as they fly overhead.  The burners are really impressive and definitely worth getting a shot of from below.  However, having done this a few times, I wanted to try something different.  The fighter get out of burner very quickly after they get airborne.  They are in mil power for ages before they get to you on the centerline.  I wanted to see what you could get from the side a lot closer in so Paul agreed to try something different.

We ended up shooting a lot of side on stuff of departures for the night launch.  Unfortunately, we didn’t appreciate just how dark it is at Nellis at night.  We had a good moon so we were hopeful that there might be some residual light.  It turns out that this is not the case.  Even close in, the fighters are out of burner.  The tankers and the E-7 went out and I got some shots but they were a struggle, event making use of the best high ISO capabilities of the cameras.  The B-1s did show up okay but I still didn’t do as well as I thought I should have.

I learned a bit about the performance of the cameras.  I was shooting at super high ISO settings with the camera wide open.  However, as I review the shots, I realize the camera was behaving in a way that I had not anticipated.  I was shooting in aperture priority with some negative exposure compensation dialed in.  As I look through the shots I see that the camera would start out with a dark shot, gradually boost the exposure and then go dark again.  I would review the shots and see one that was looking good but know that the next would be dark.

When shooting in such limited light, the shutter speeds are very low and the number of lost shots is high.  Therefore, you can’t afford to have the exposure be bad.  I don’t know how many shots I lost since they may not have been sharp anyway but I cut down on my opportunities.  In future, I need to have all of the exposures be acceptable in order to maximize my opportunities.  Therefore, I think I shall have to go fully manual on everything for these shots.  Set ISO up high and then go to manual aperture and shutter speed.  I will still lose a lot of shots but at least I can focus on dealing with my handholding technique rather than worrying about how the camera is metering a dark night.  It’s not too reasonable to expect the camera to get that right every time.  It is a pretty extreme case!

Blue Angels at Oceana (And High ISO)

I have only been to the Oceana show once.  I headed down there with my friends Ben and Simon.  We weren’t terribly lucky with the weather.  There was flying during the show but things were overcast and deteriorated as the show went on.  The finale of the show was, naturally for a big Navy base, the Blue Angels.  I was shooting with a 1D Mk IIN in those days and that was a camera that was not happy at high ISO settings.

The problem was, the light was not good and the ISO needed to be cranked up a bit.  Amusingly, if you were shooting today, the ISO levels would not be anything that caused concern.  Current cameras can shoot at ISO levels without any noise levels that would have been unthinkable back then.  However, I did learn something very important with this shoot.  The shot above is one that I got as one of the solo jets got airborne.  I used it as a test for processing.

I processed two versions of the image, one with a lot of noise reduction dialed in and one with everything zeroed out.  I think combined them in one Photoshop image and used a layer mask to show one version in one half of the image and the other for the second half.  When I viewed the final image on the screen, the noise in one half was awfully apparent.  It was a clear problem.  However, I then printed the image.  When I did so, things were very different.  If you looked closely, you could see a little difference.  However, when you looked from normal viewing distances, there was no obvious difference between the two.

My takeaway from this is that viewing images on screens has really affected our approach to images.  We get very fixated on the finest detail while the image as a whole is something we forget.  We print less and less these days and the screen is a harsh tool for viewing.

Puffy Cloud Backdrops

My personal preference is to shoot planes tight.  I like to see the detail up close and usually strive to get that in my shots.  However, sometimes I remember that there is more to it than that and there is something interesting about the context of the shot.  It doesn’t have to be a detailed shot of the plane.  It can be a wider shot when no one is looking at the plane expecting to see the intricacies of its structure.

Having some nice clouds to play with is an important part of the story.  Going wide when the sky is blue is not really going to add any drama.  However, some nice puffy clouds will certainly be appreciated in this situation.  In this case I was with some friends at O’Hare shortly after a storm had passed through.  Things had cleared up nicely but there was still plenty of evidence in the air of what had been dumping water on us a short while before.

I doubt closer shots would have been much use anyway.  With the amount of moisture in the air and the warmth that was quickly coming back now that the sun was out, heat haze would have destroyed an detail with a longer lens.  Going wider was probably the only option.  It was certainly worth it though.  The texture of the clouds after the storm was there to see and to be emphasized in the shots.  The plane provides a focal point to explore the image from but is not too important itself.  You can’t just do this but, from time to time, it is good to fight your normal style.