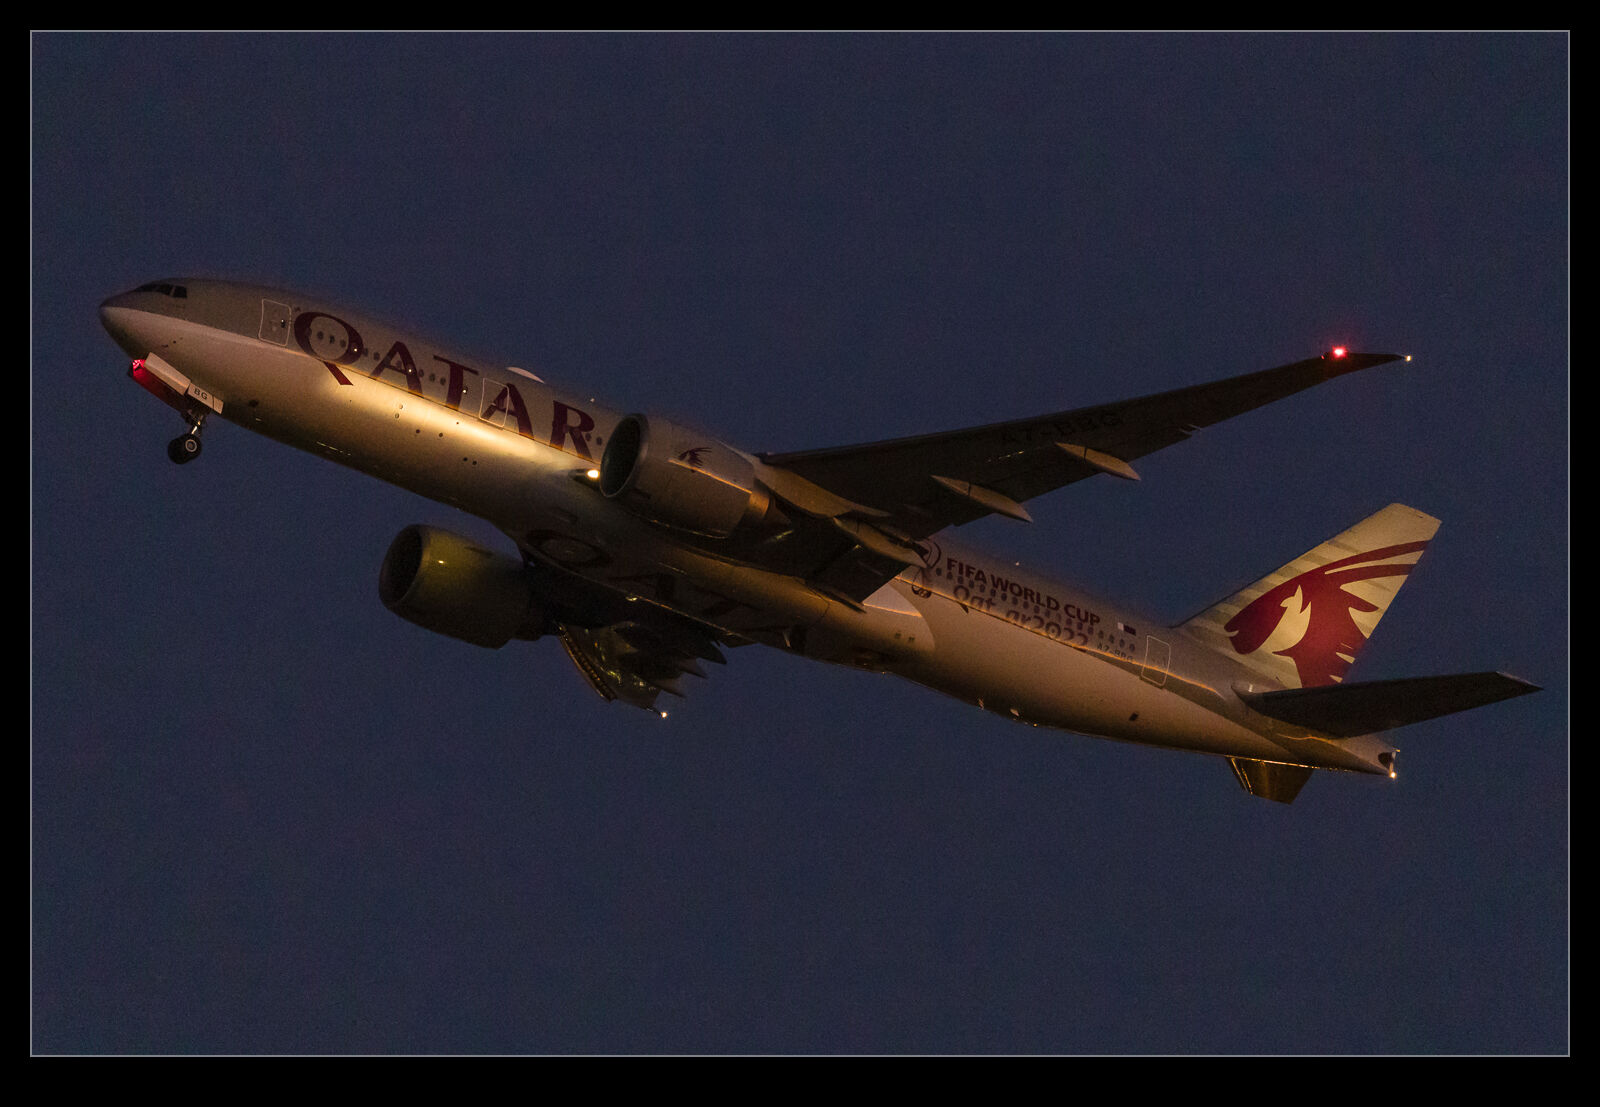
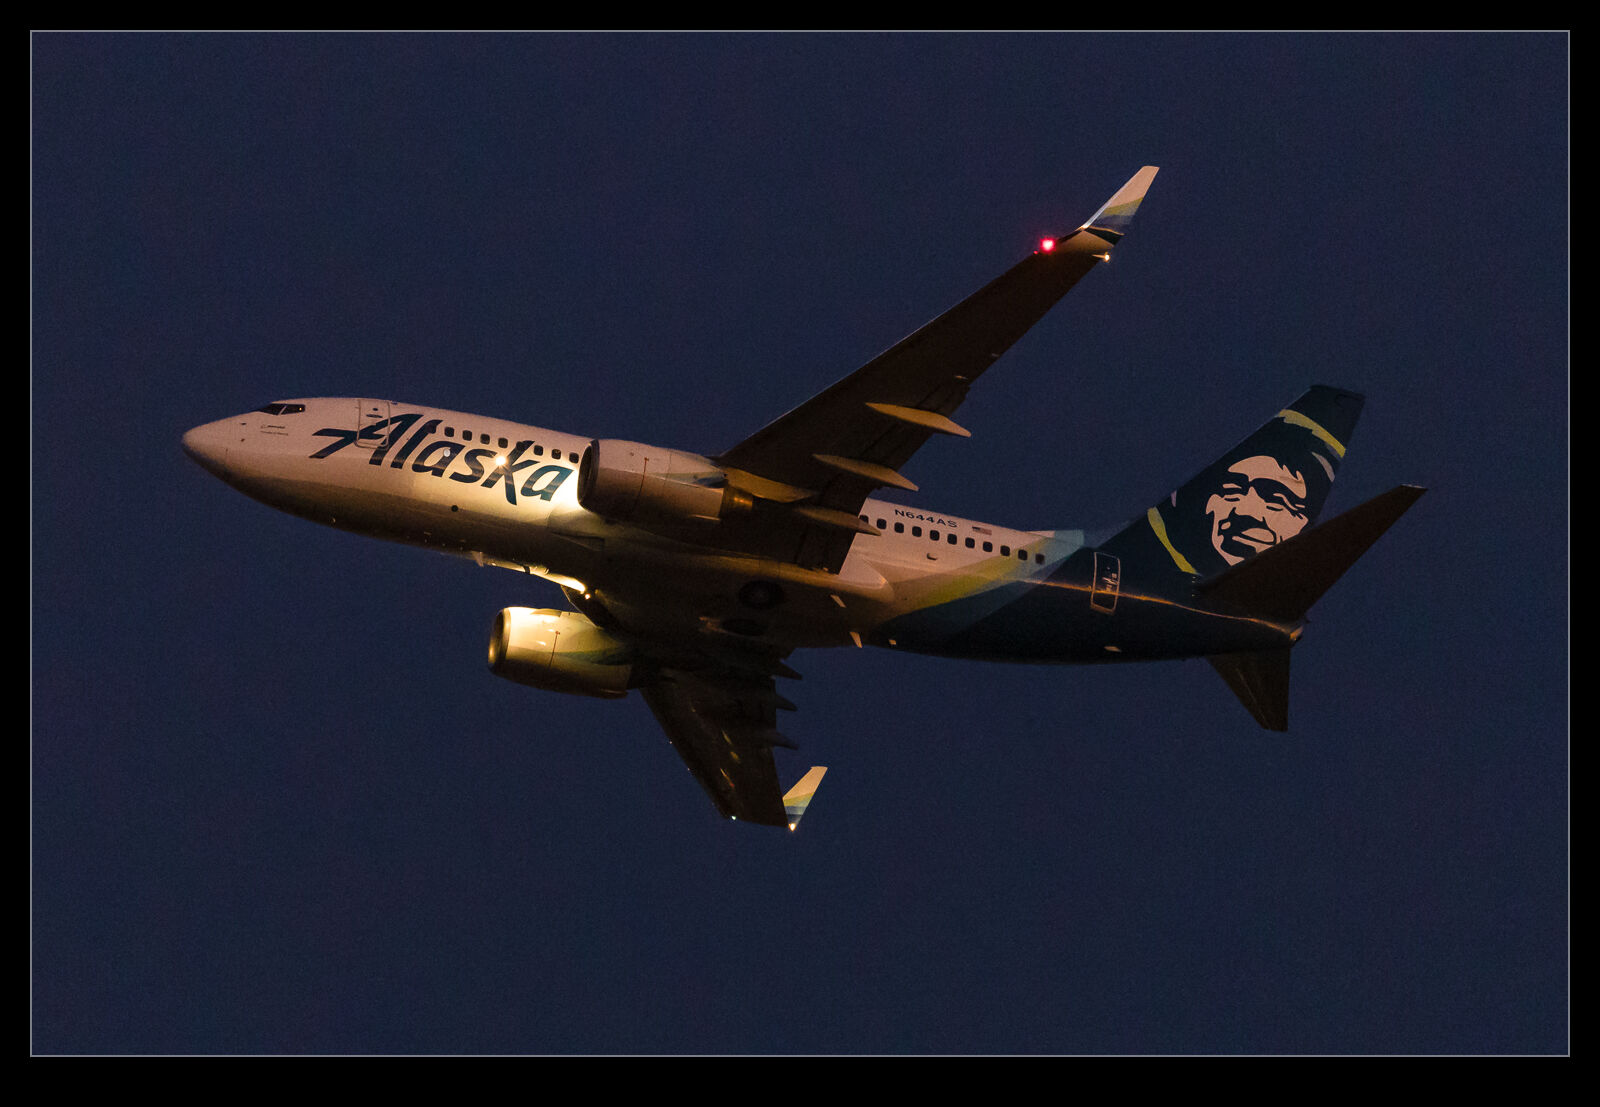
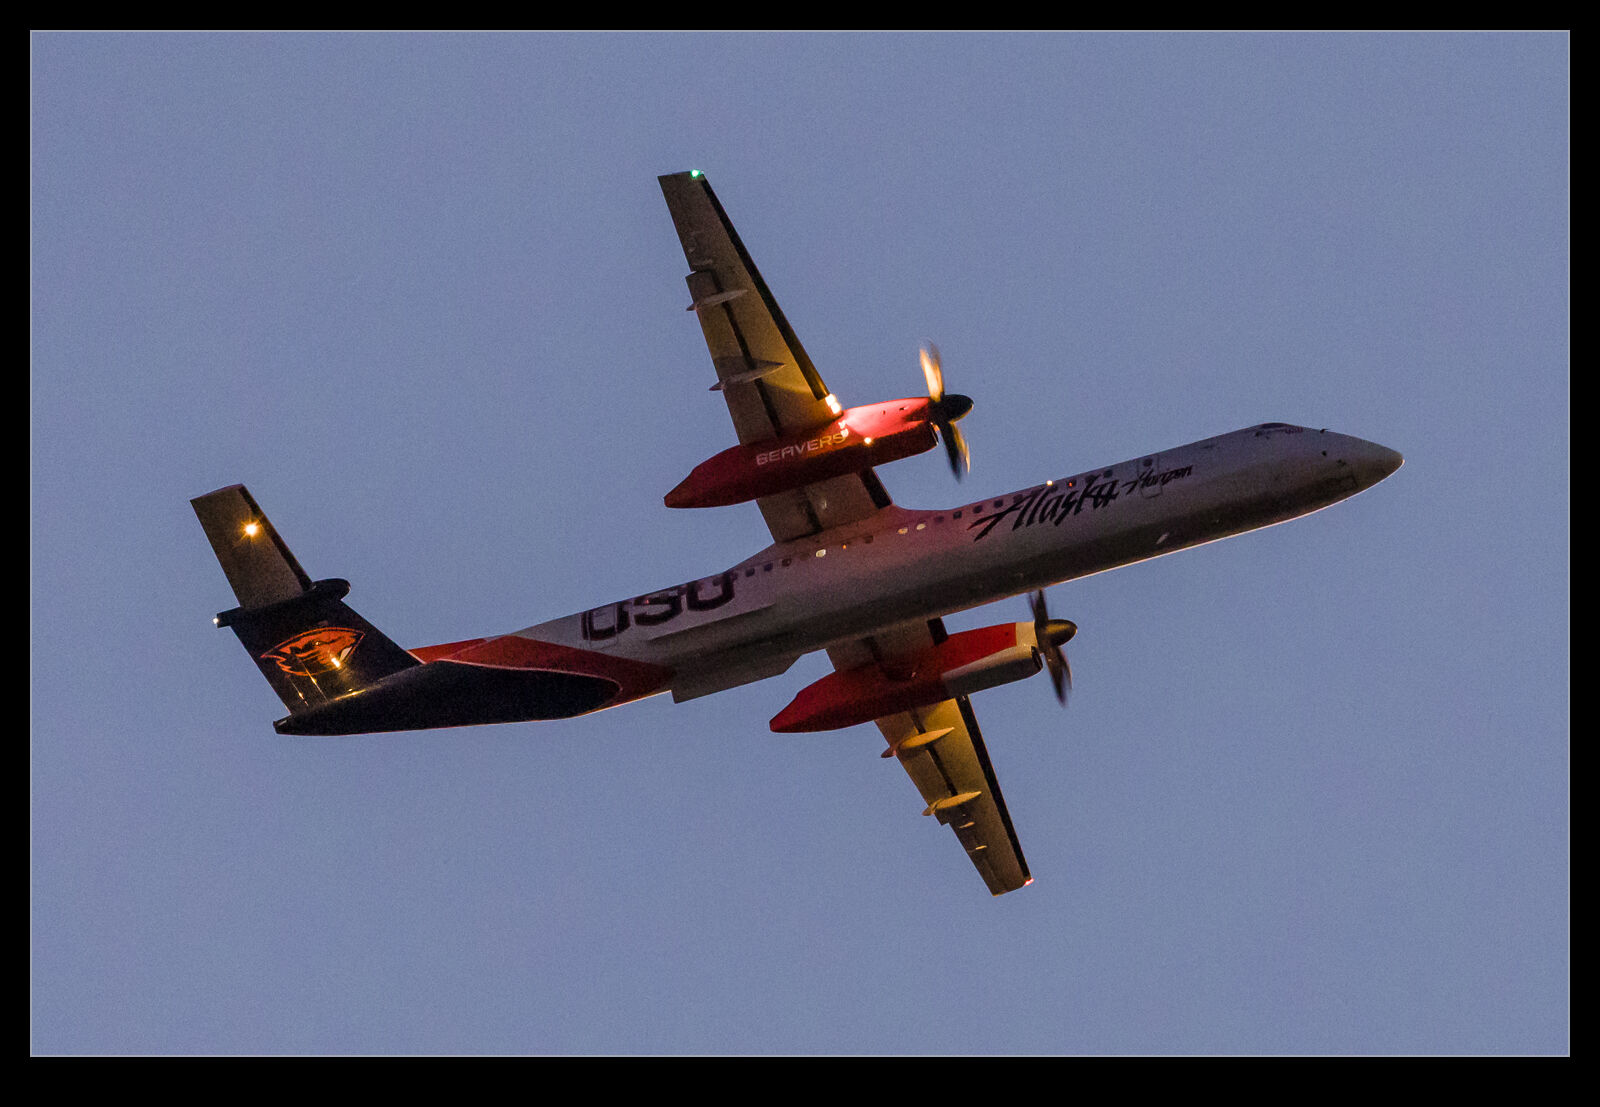
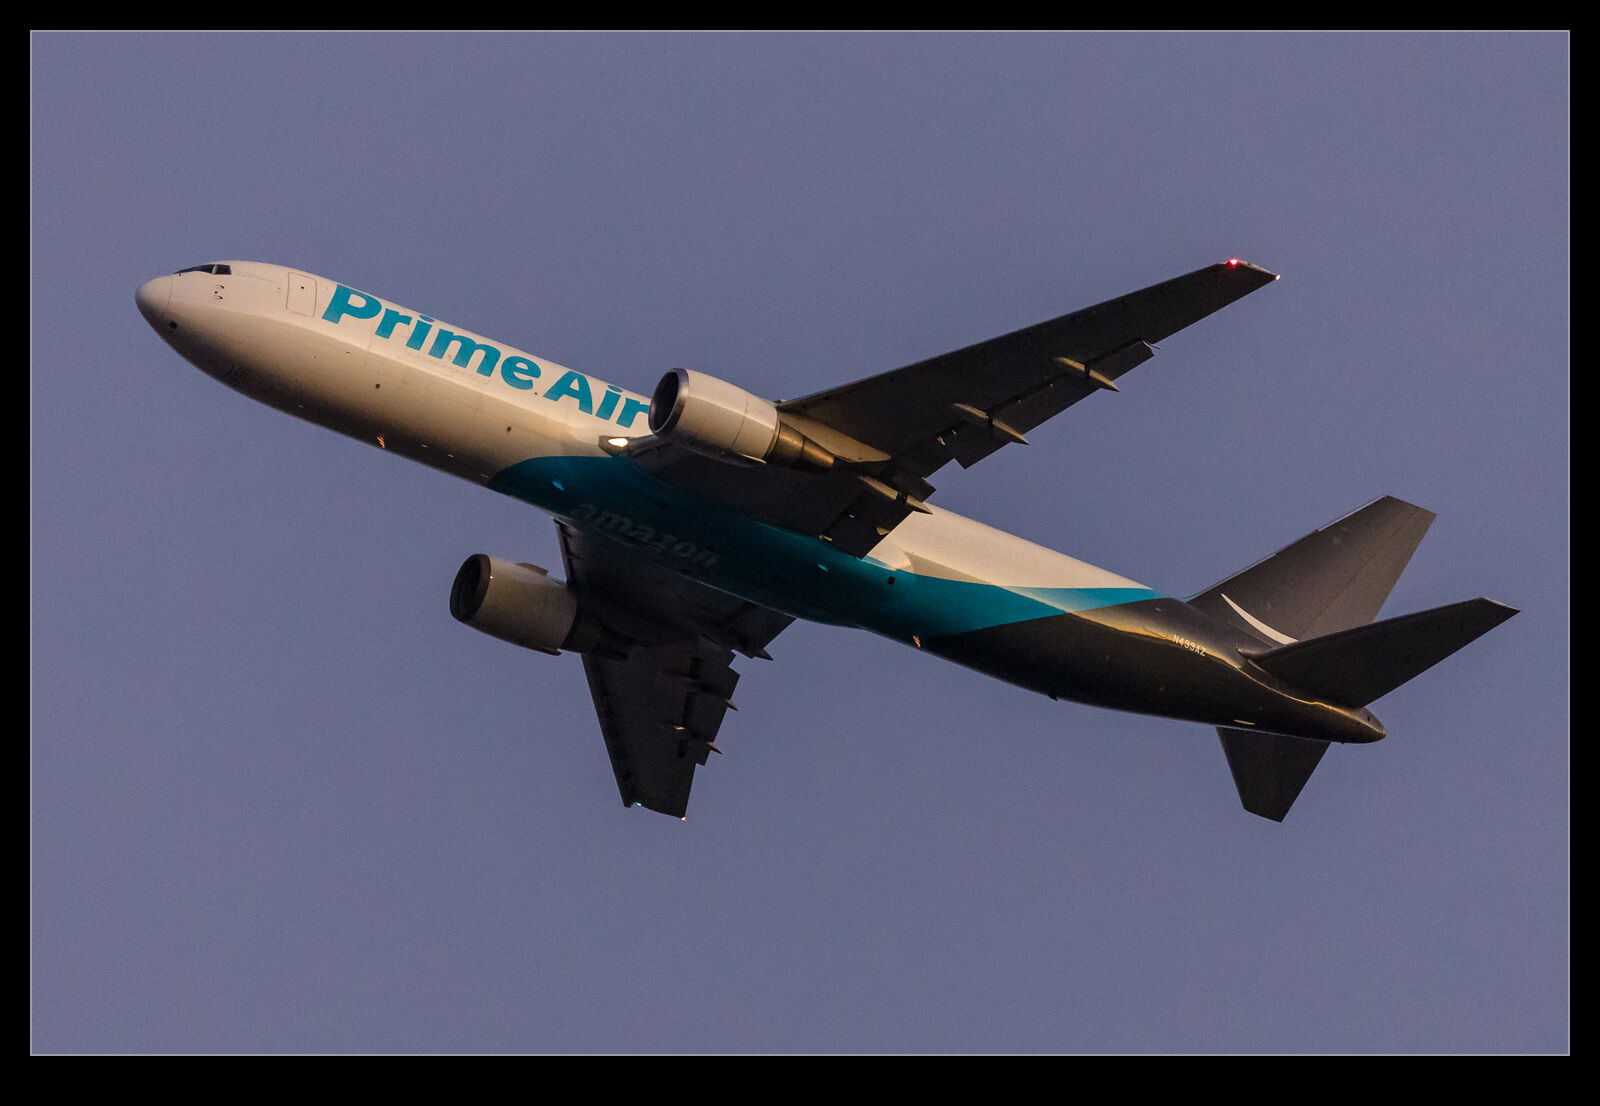
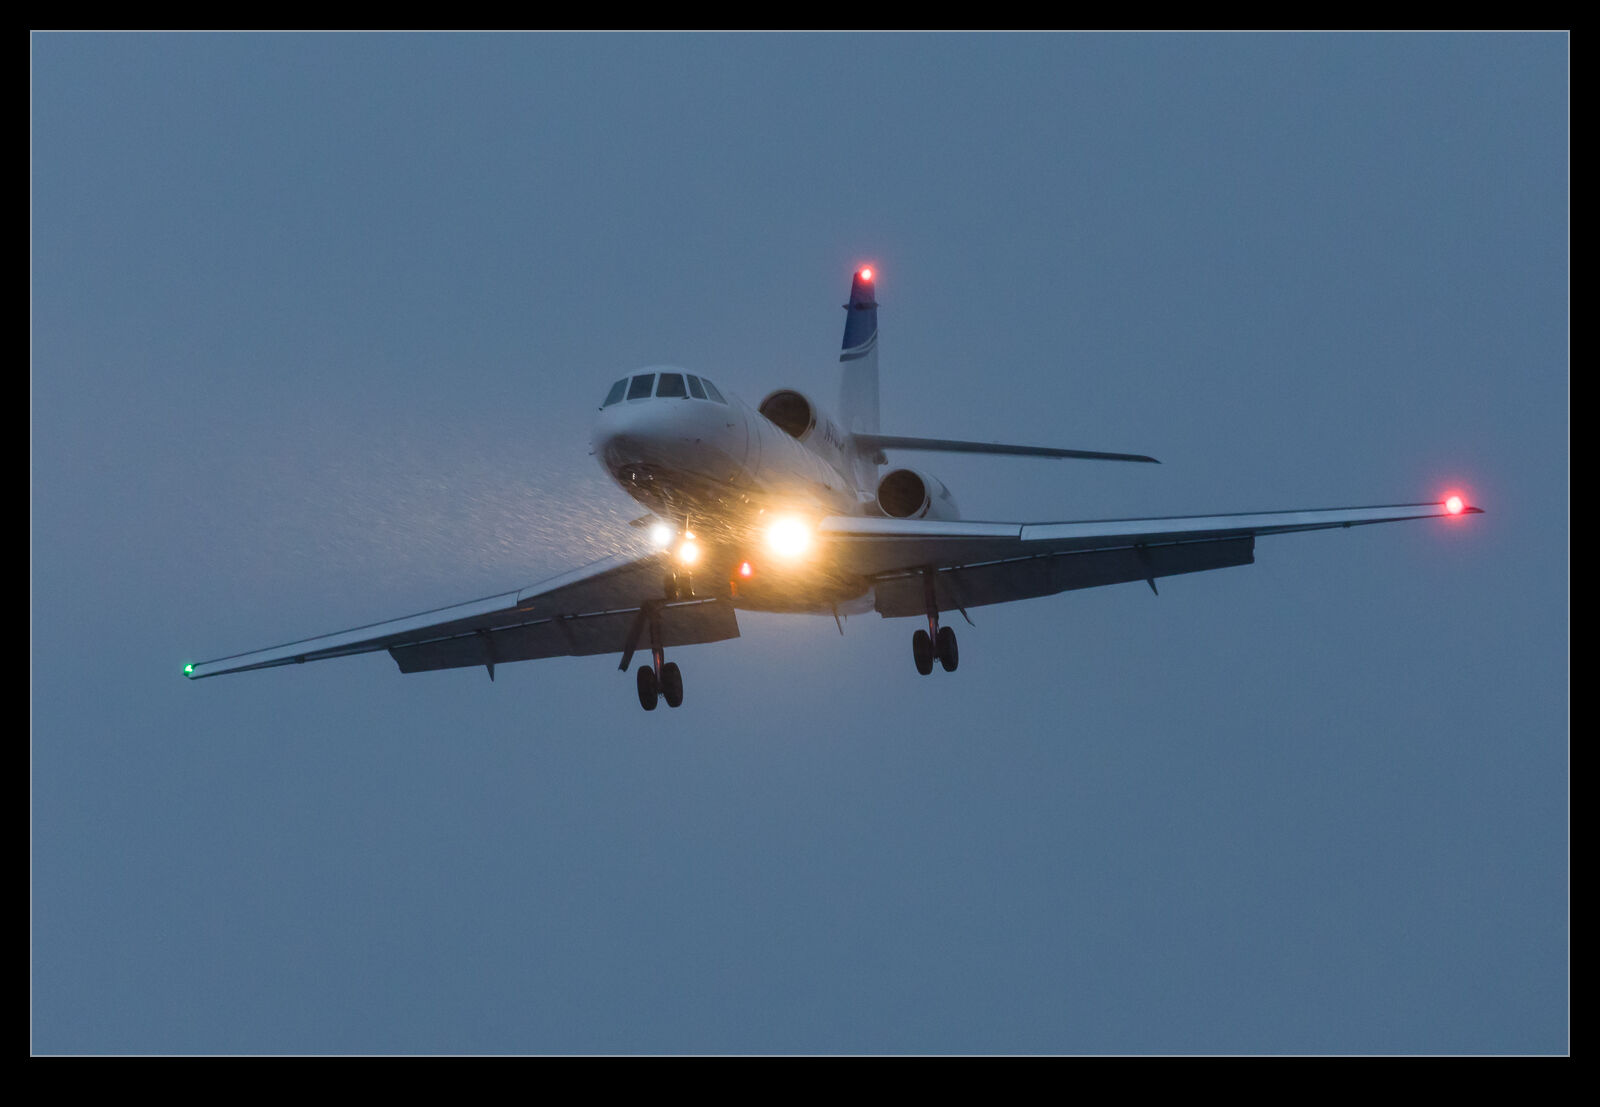
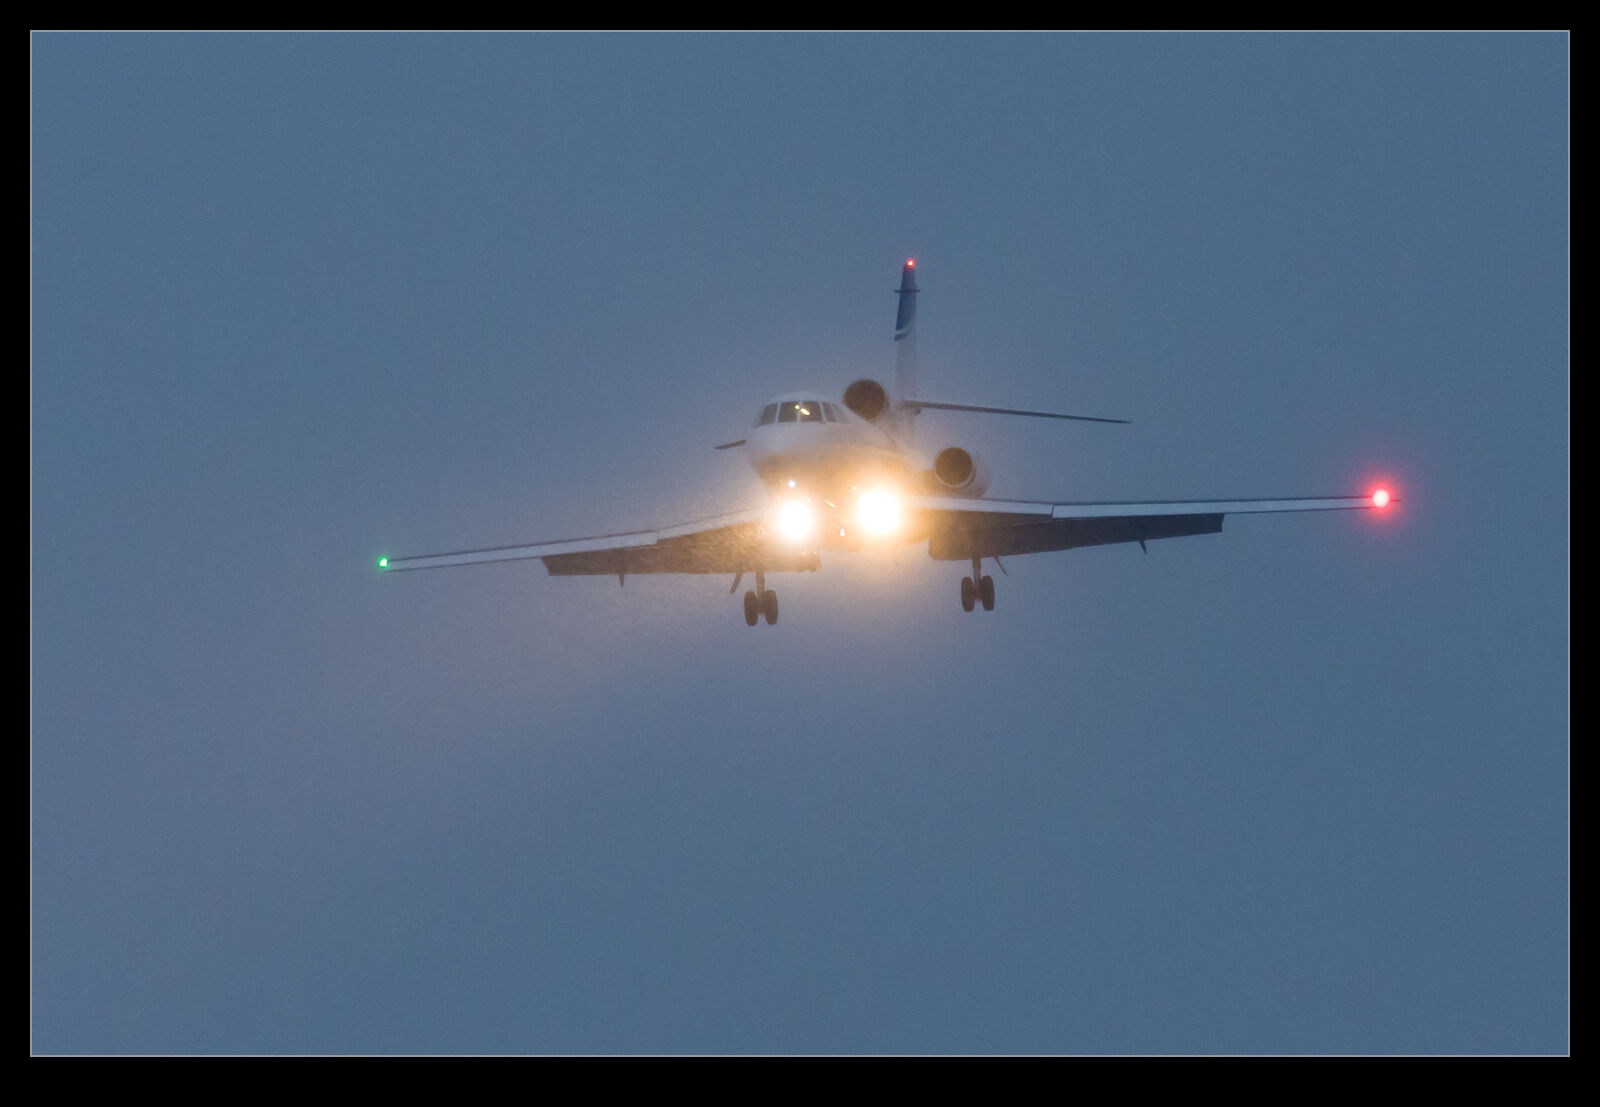
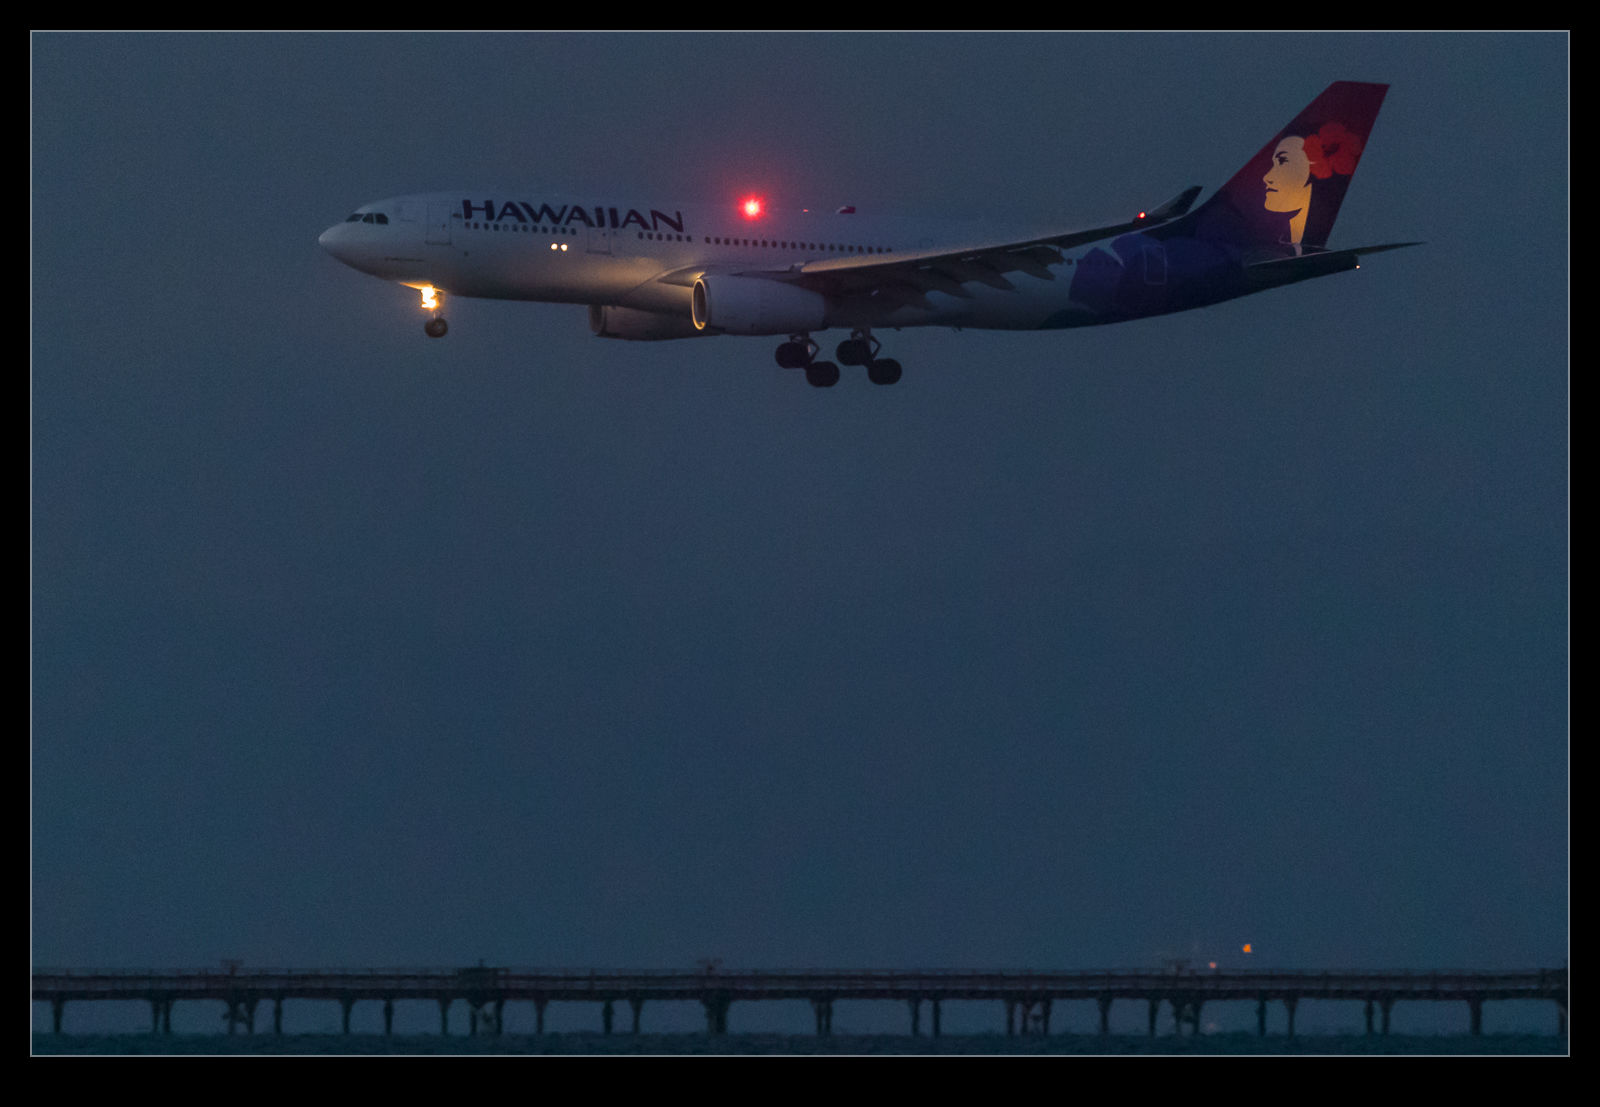
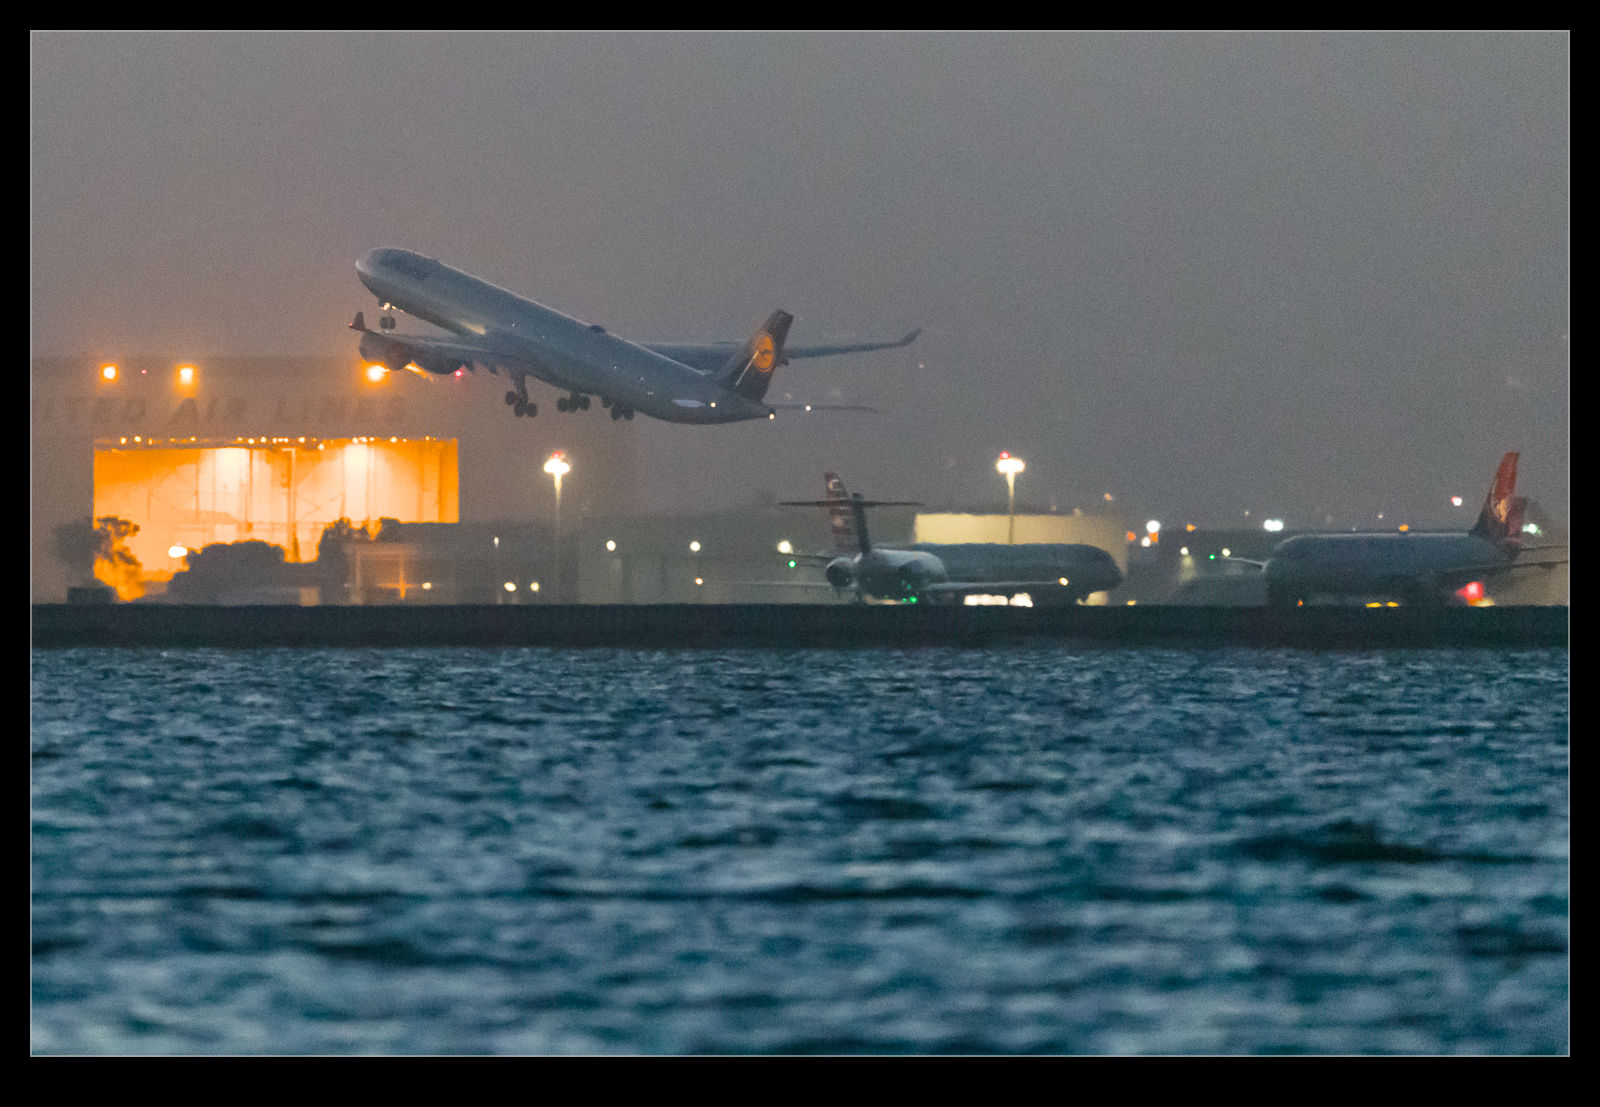
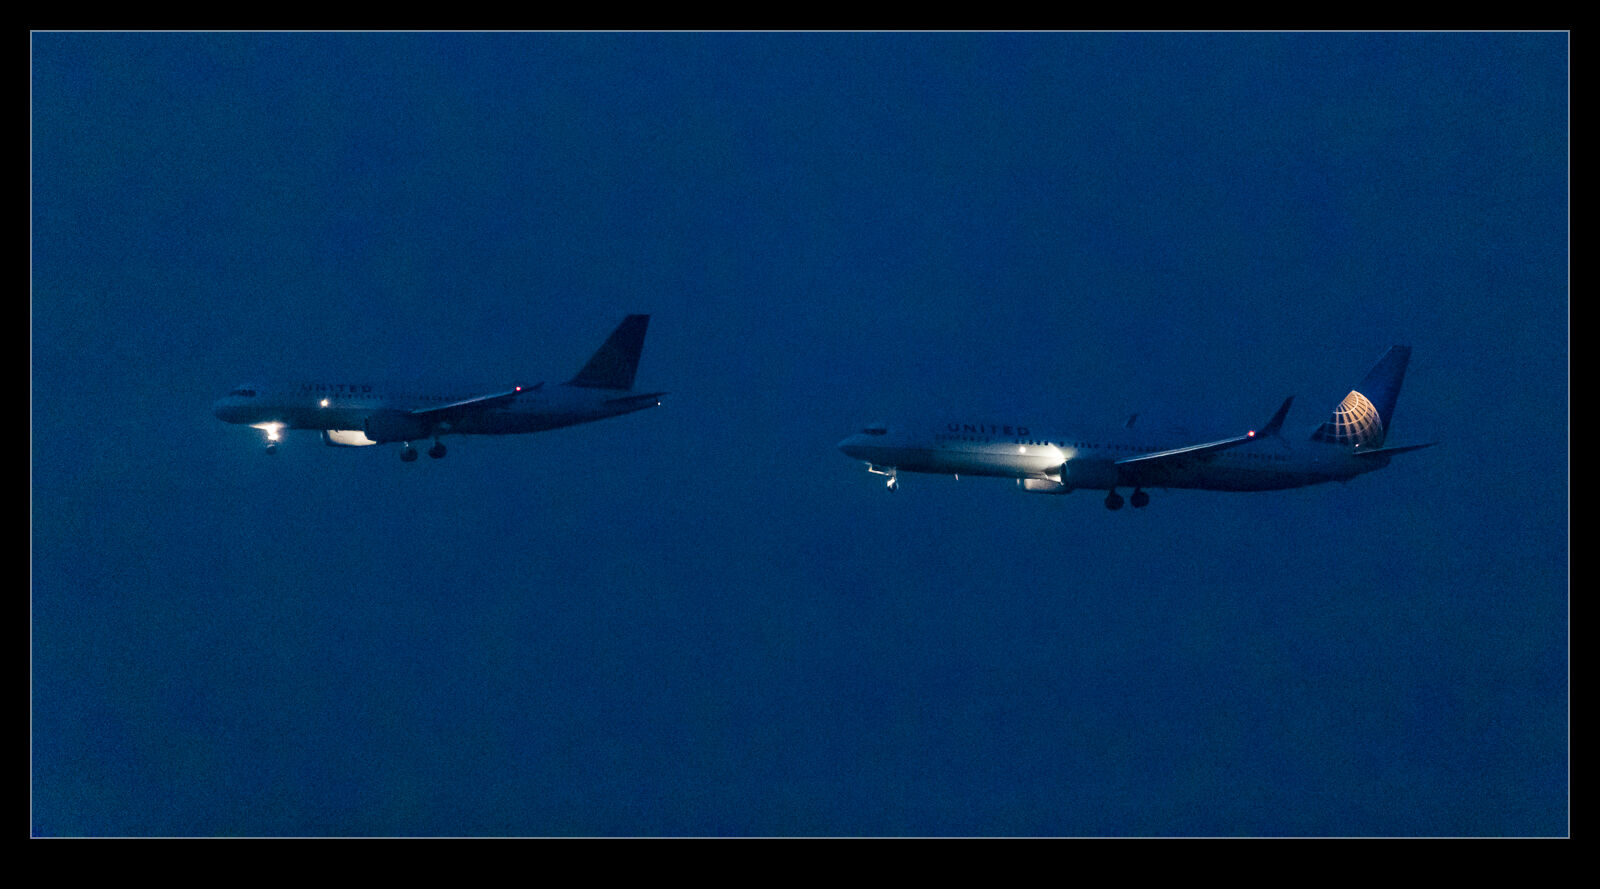
The high ISO capabilities of modern cameras are a constant source of discussion whenever a new camera comes out. It was quite funny to see everyone get so excited about the multi-million ISO range on the Nikon D5 when it was announced, only to see that the high ranges were nothing more than moose with a bit of an image overlaid on them. Not a big surprise but still funny to see how much everyone was going nuts about it before the reality set in.
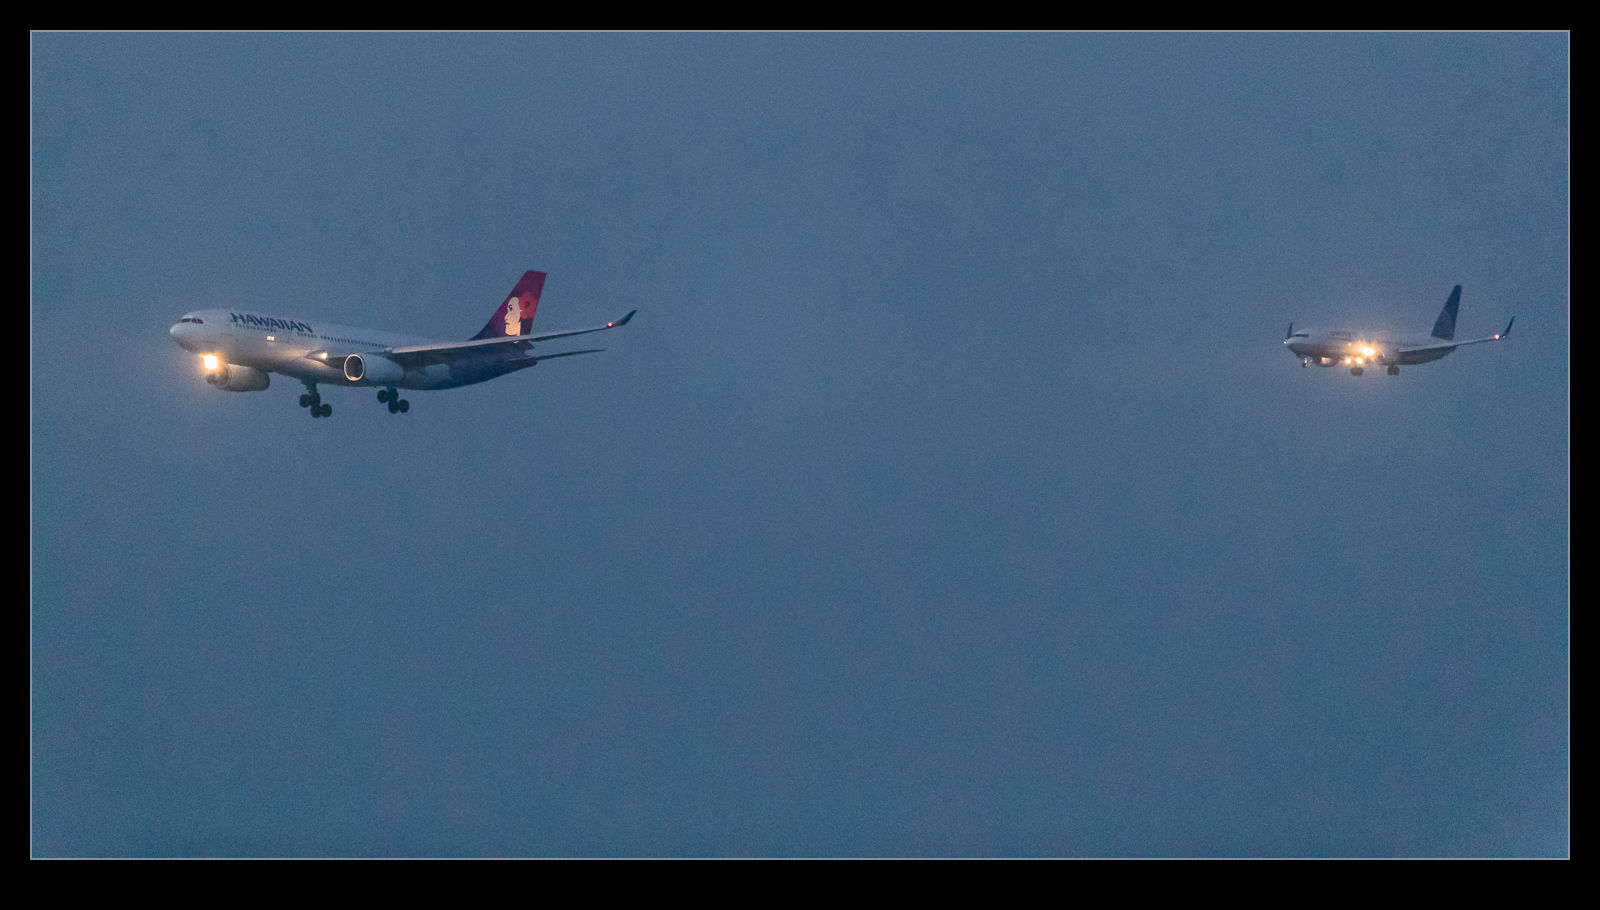
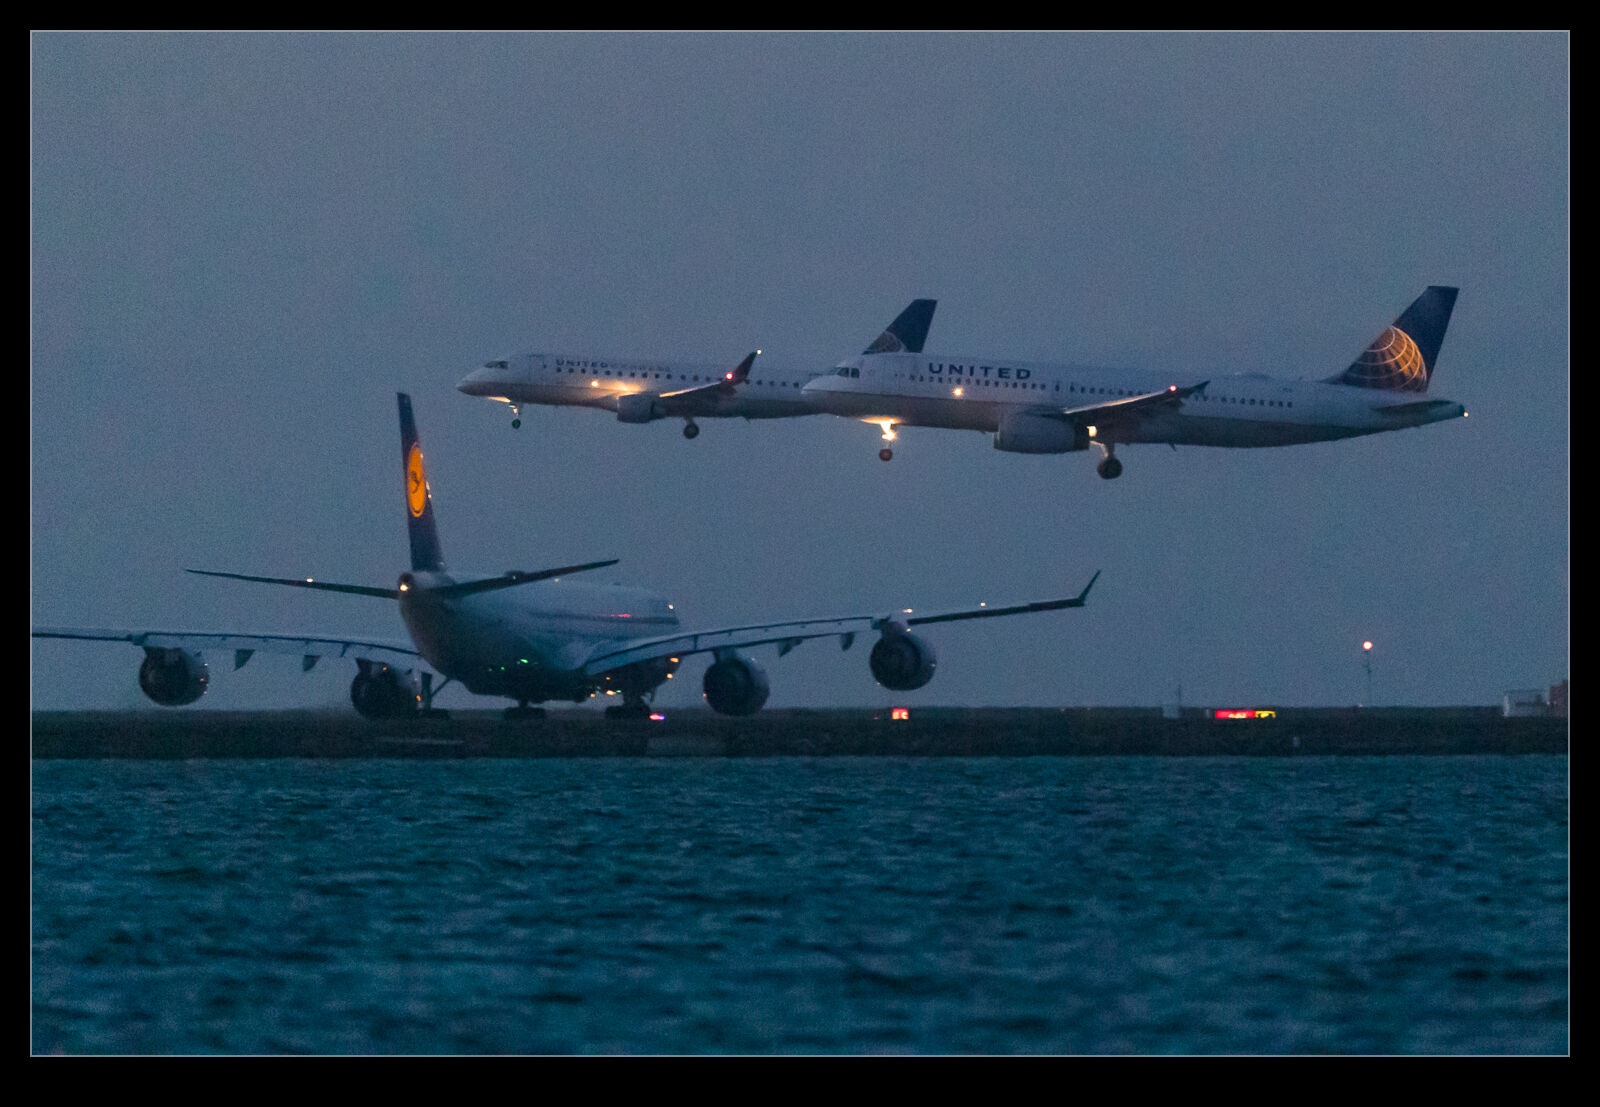
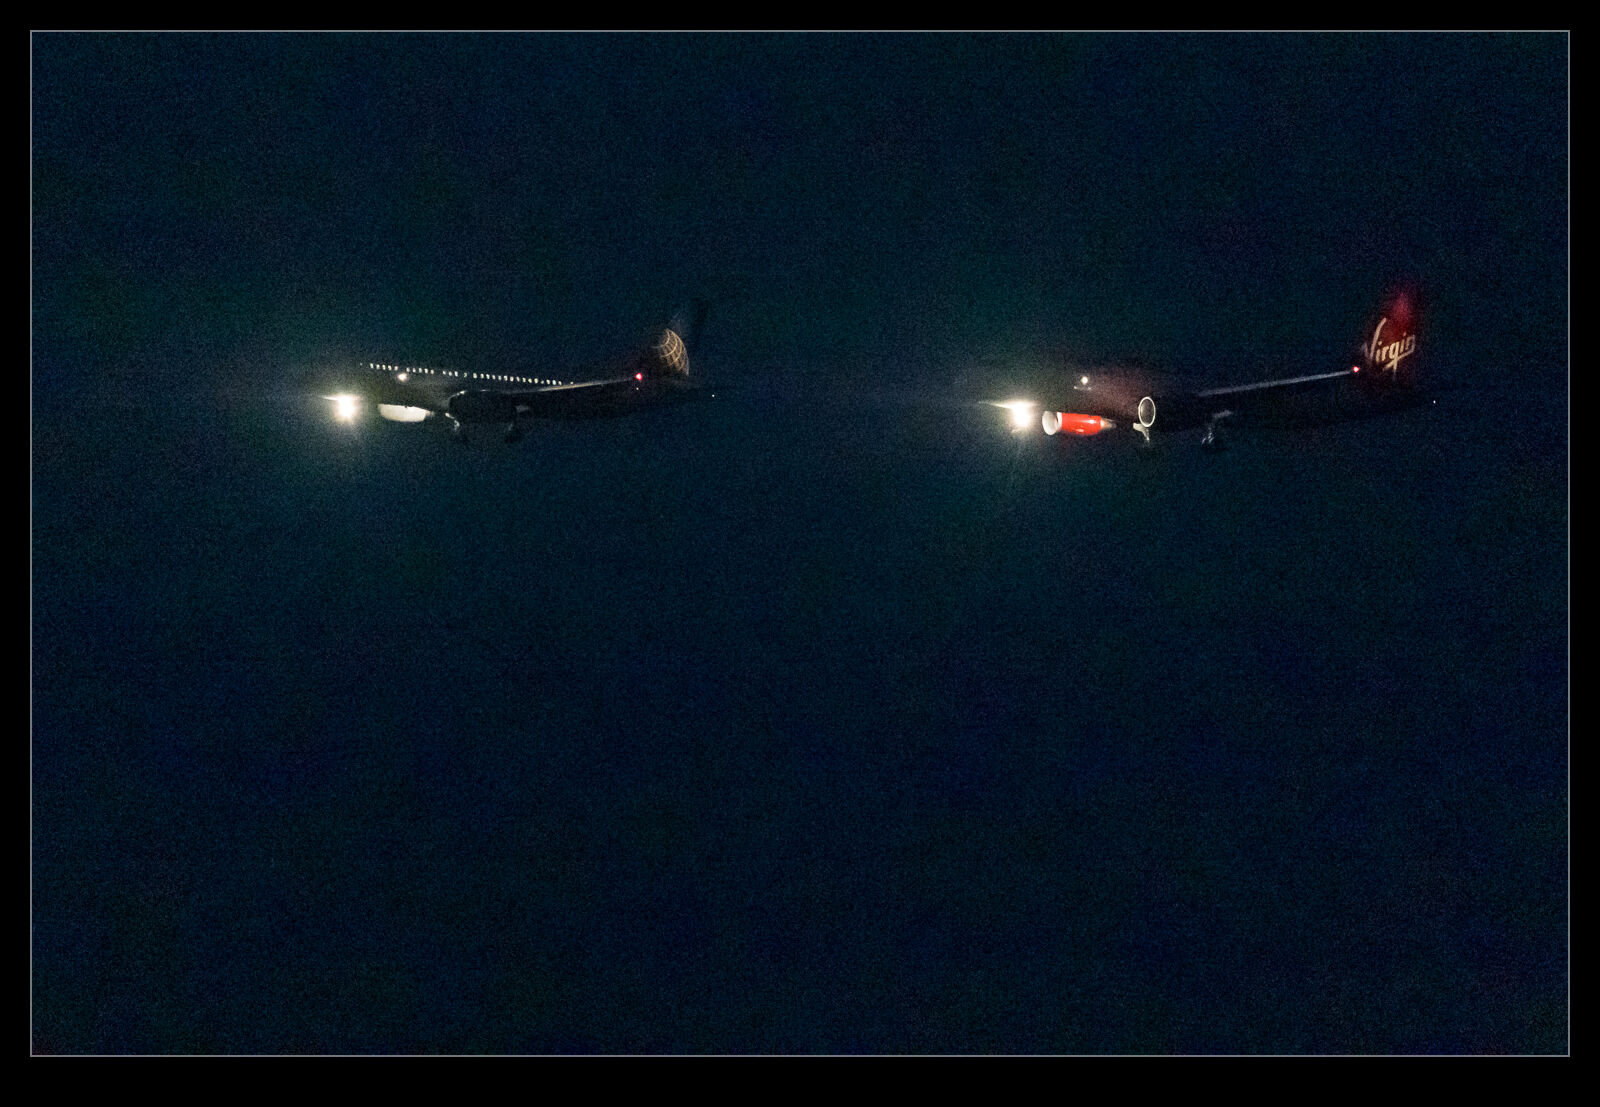
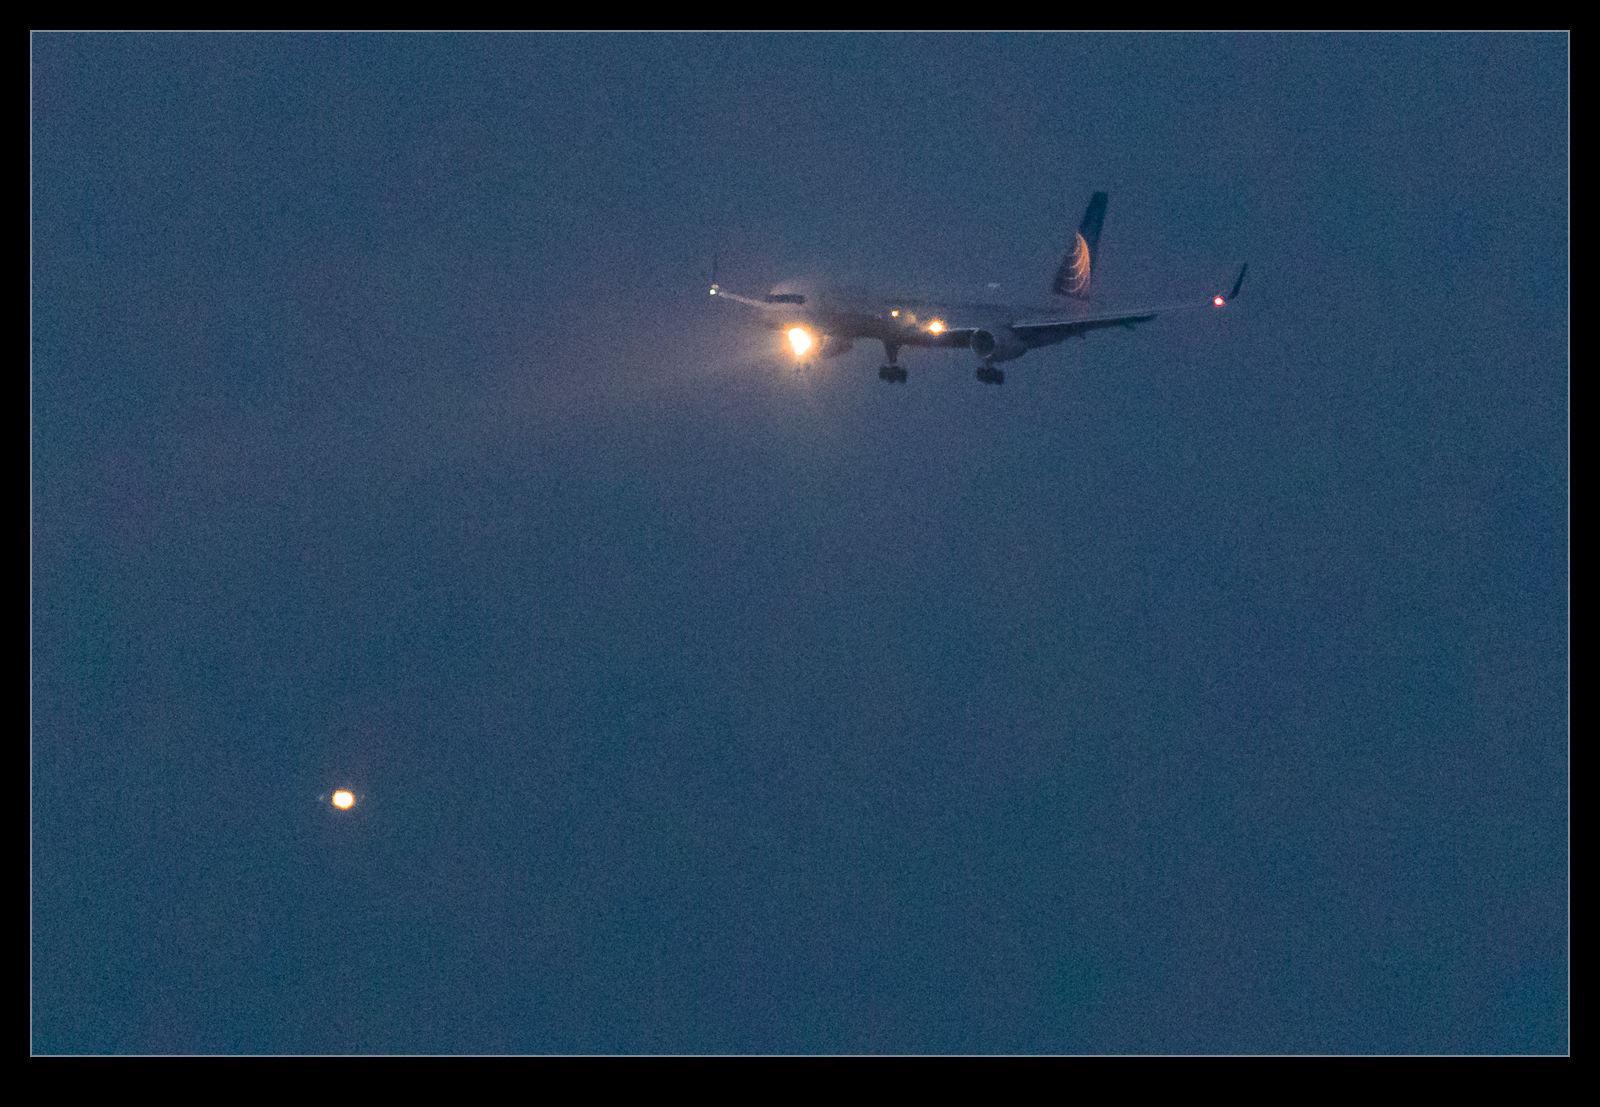
Consequently, I was interested to see what the new bodies I bought were really capable of. I have already posted a little about some of the shots I took as the light faded at SFO. I was shooting with a tripod and a gimbal mount to make things easier but I was also working within the ISO range of the camera. I went with auto ISO and exposure compensation while shooting in aperture priory and wide open to get what I could. However, I really wanted to see what was possible so I changed to manual mode, exposure compensation and auto ISO to see what could be done. Auto ISO is not going to use the extended ranges of ISO.
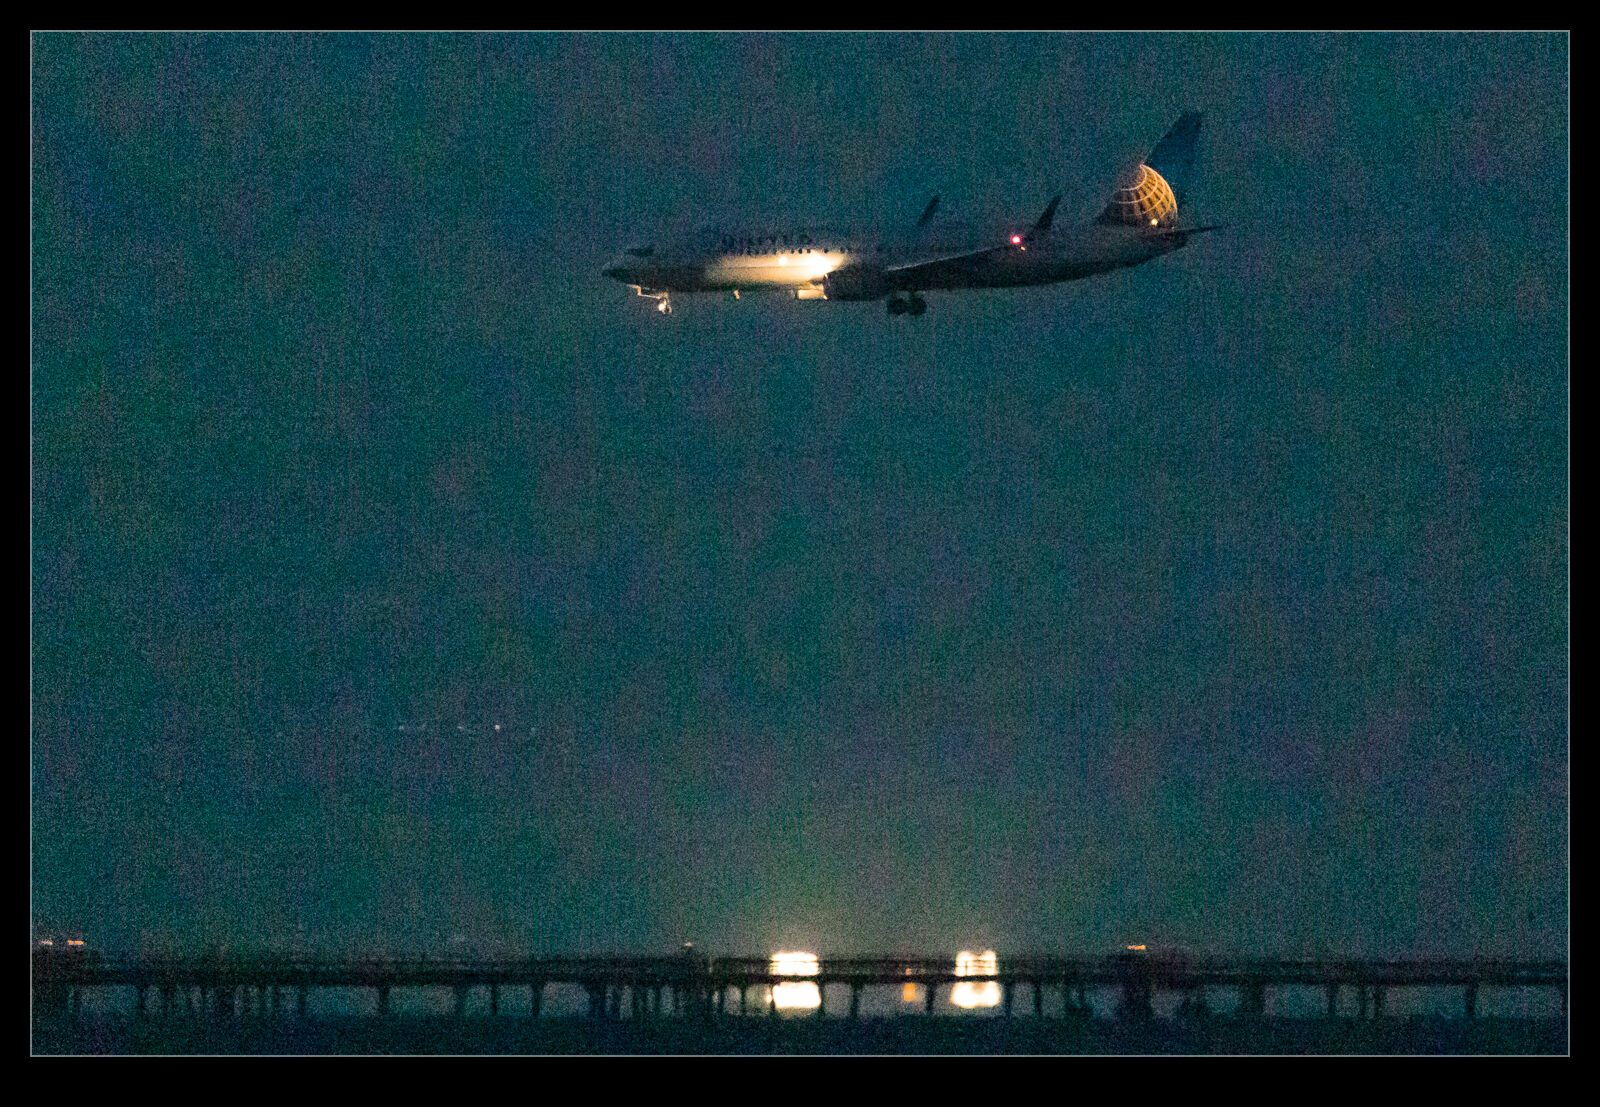
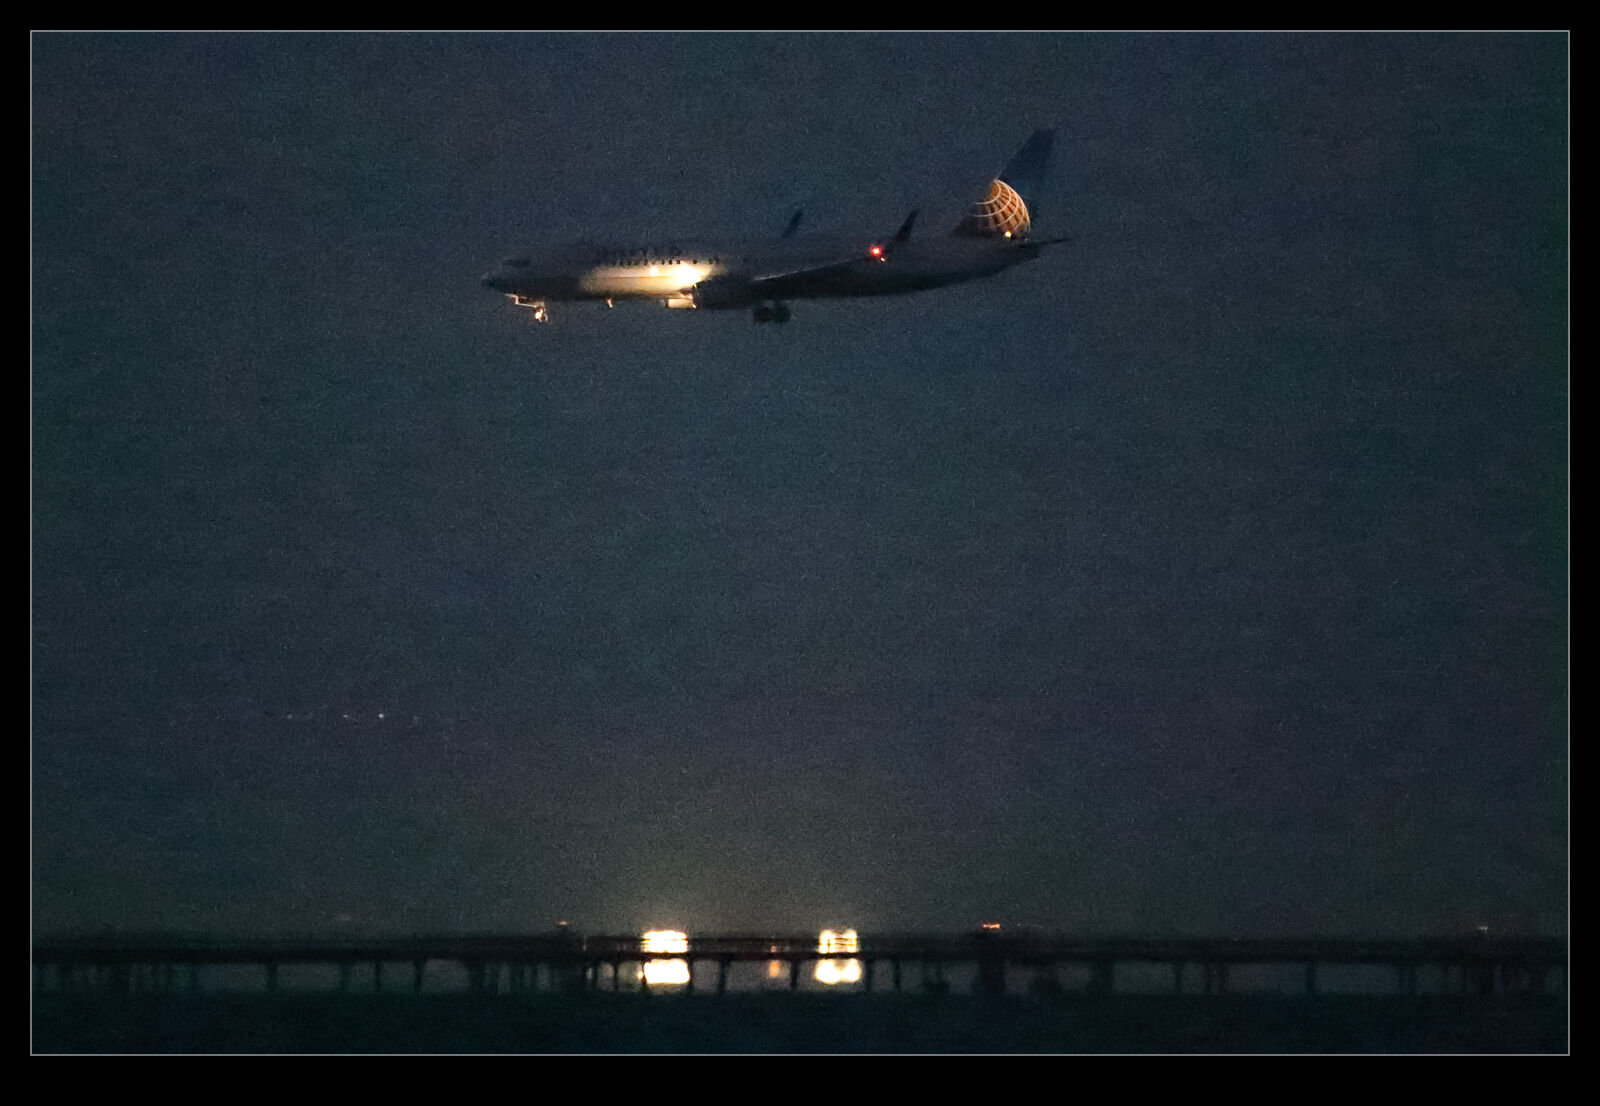 I don’t know about the Nikon cameras but the Canon cameras tend to have three extended range ISO settings at the high end. There is the highest ISO setting that it recognizes and then there are H1, H2 and H3. They don’t name them with the actual ISO settings but you know what they are based on what you see on the camera. The manufacturer does not label them as normal ISO settings because they do not stand behind them as a capability. There is a good reason for that. They are just like the highest Nikon settings. Useful if you have no option but not very good otherwise.
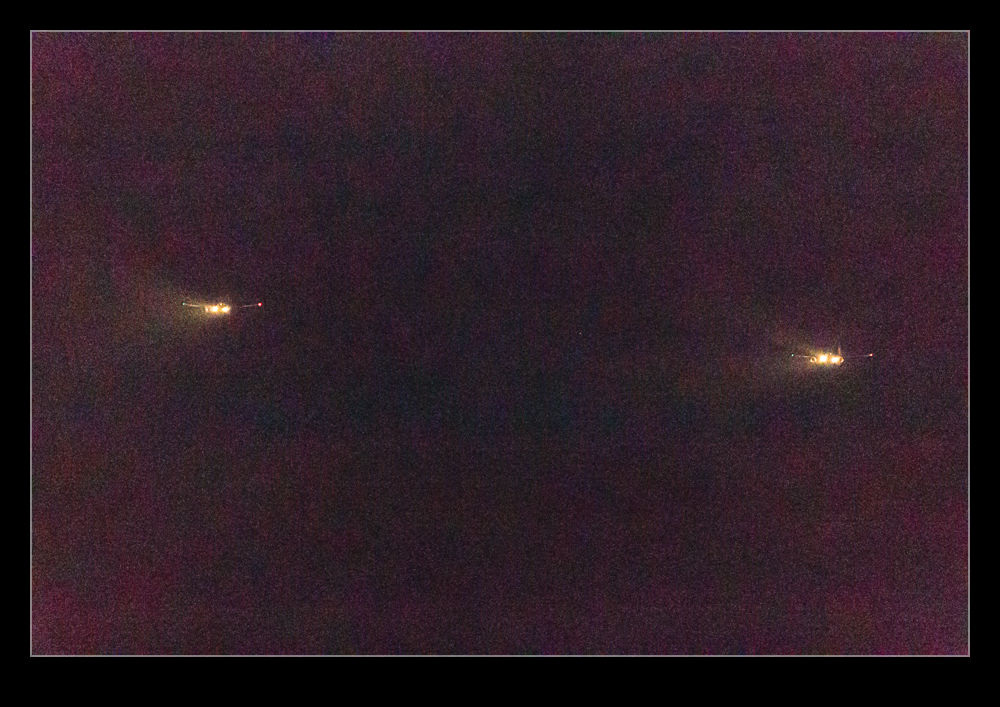
The same was true with my older bodies. They had a very high ISO range that was not great but it would do in a pinch. At the Albuquerque Balloon Fiesta I shot an Aero Commander in the pitch black that flew over and I saw stuff in the shot I couldn’t see with the naked eye. This is with a camera that is ancient by modern standards. I expected a bit more with the latest generation. Certainly, there is more to be achieved with what we have now. However, post processing becomes a part of the story.
My first experience with these shots was in Lightroom. The shots did not look good at all. However, there was a clue in all of this. The first view in Lightroom is based on the JPEG that is baked into the raw file. It looked okay until it was rendering by Adobe at which point it looked a lot worse. This piqued my interest. Sure enough, at the extended ISO ranges, the shots looked pretty awful. Lots of purple backgrounds. These were not going to be any good. However, the initial preview had looked good., is this a case of Lightroom not being able to render the shots well? I figured I should try going to the source.
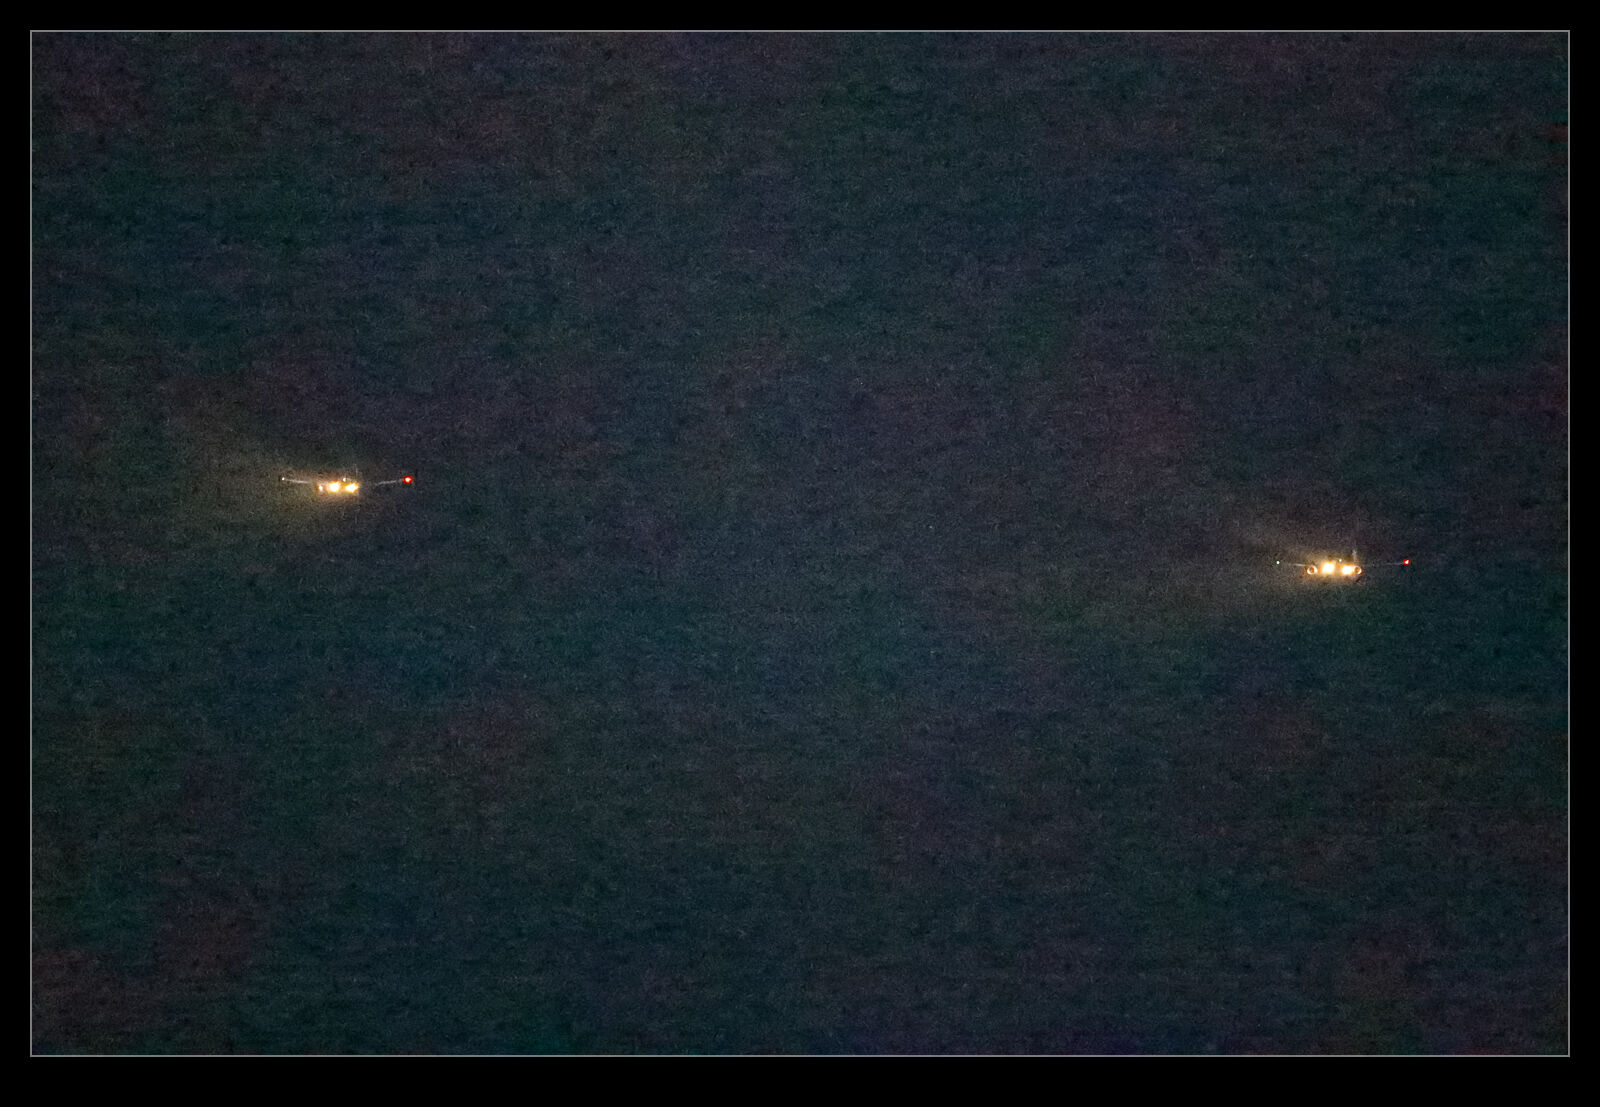 At various ISAP symposiums, the Canon guys have talked about how their software is the one that you should use since only Canon know how to decode their shots properly. They have the recipe for the secret sauce. Since Digital Photo Professional (DPP), Canon’s own software for decoding raw files, is so terrible to use, I never bother with it. The raw processing in Lightroom (and ACR since they are the same) is so much easier to use normally and works really well. DPP is just awful in comparison. However, we are now dealing with the extremes of capabilities of the camera. The embedded previews seemed better so maybe it is possible that DPP will be able to do a better job.
You can now be the judge. Here are some pairs of shots. They are the same shot in each case. The first is processed in Adobe Lightroom and the second is processed in DPP. I think it is clear that DPP is better able to work with the raw files when it comes to extreme ISO settings. The shots certainly have a more normal look to them. The Lightroom shots look really messed up by comparison. It doesn’t mean I will be using the extended ISO ranges on a regular basis. Jumping to DPP for processing is not helpful on a regular basis. However, if the need arises, I know that I can push the camera a lot further and use DPP to get something that is okay if not great. This could be handy at some point.
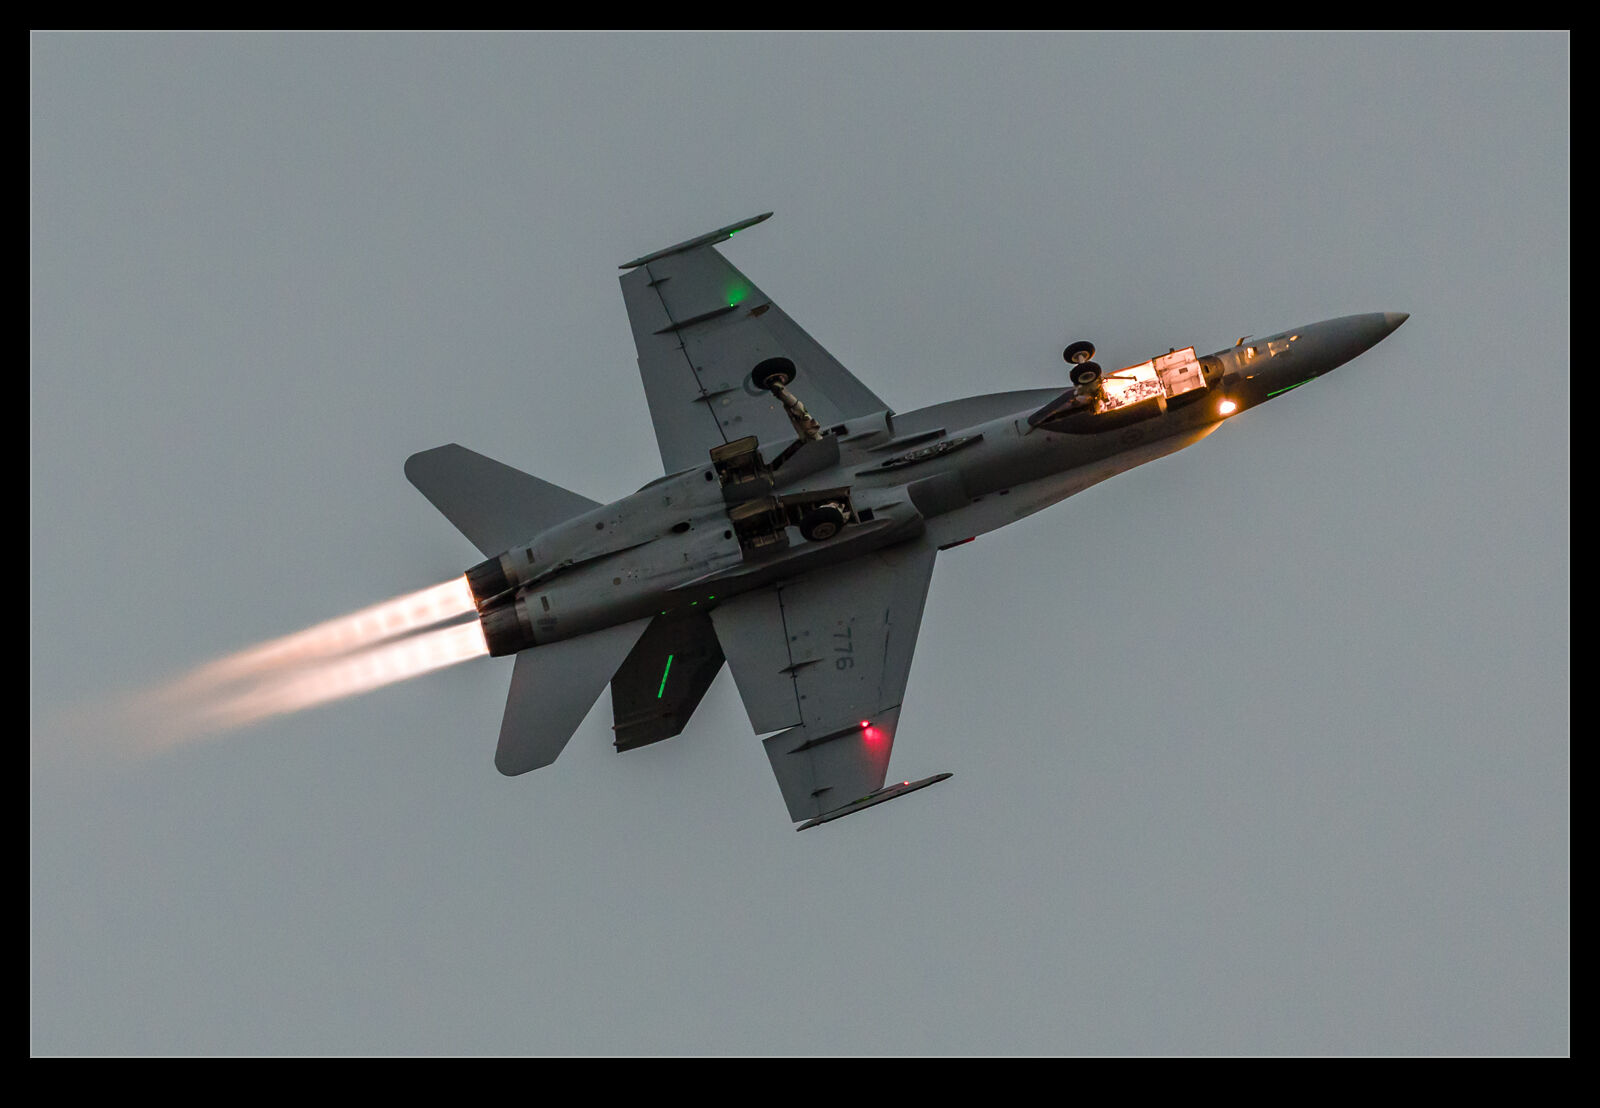
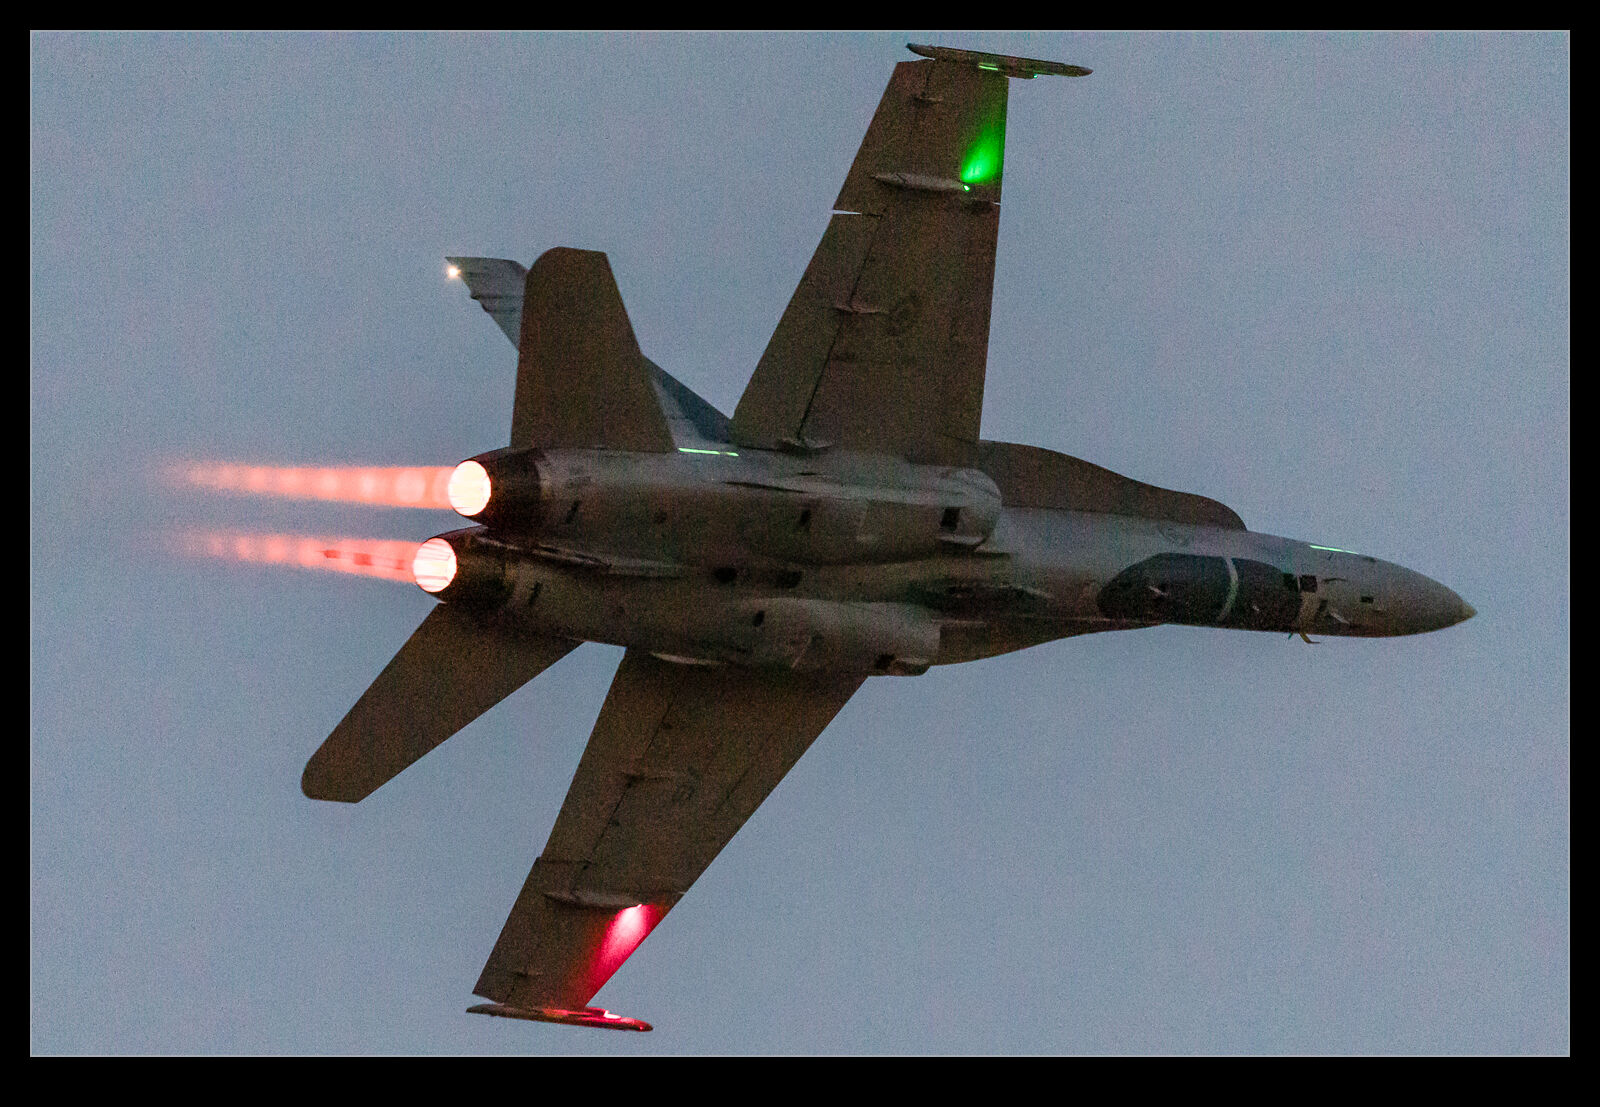
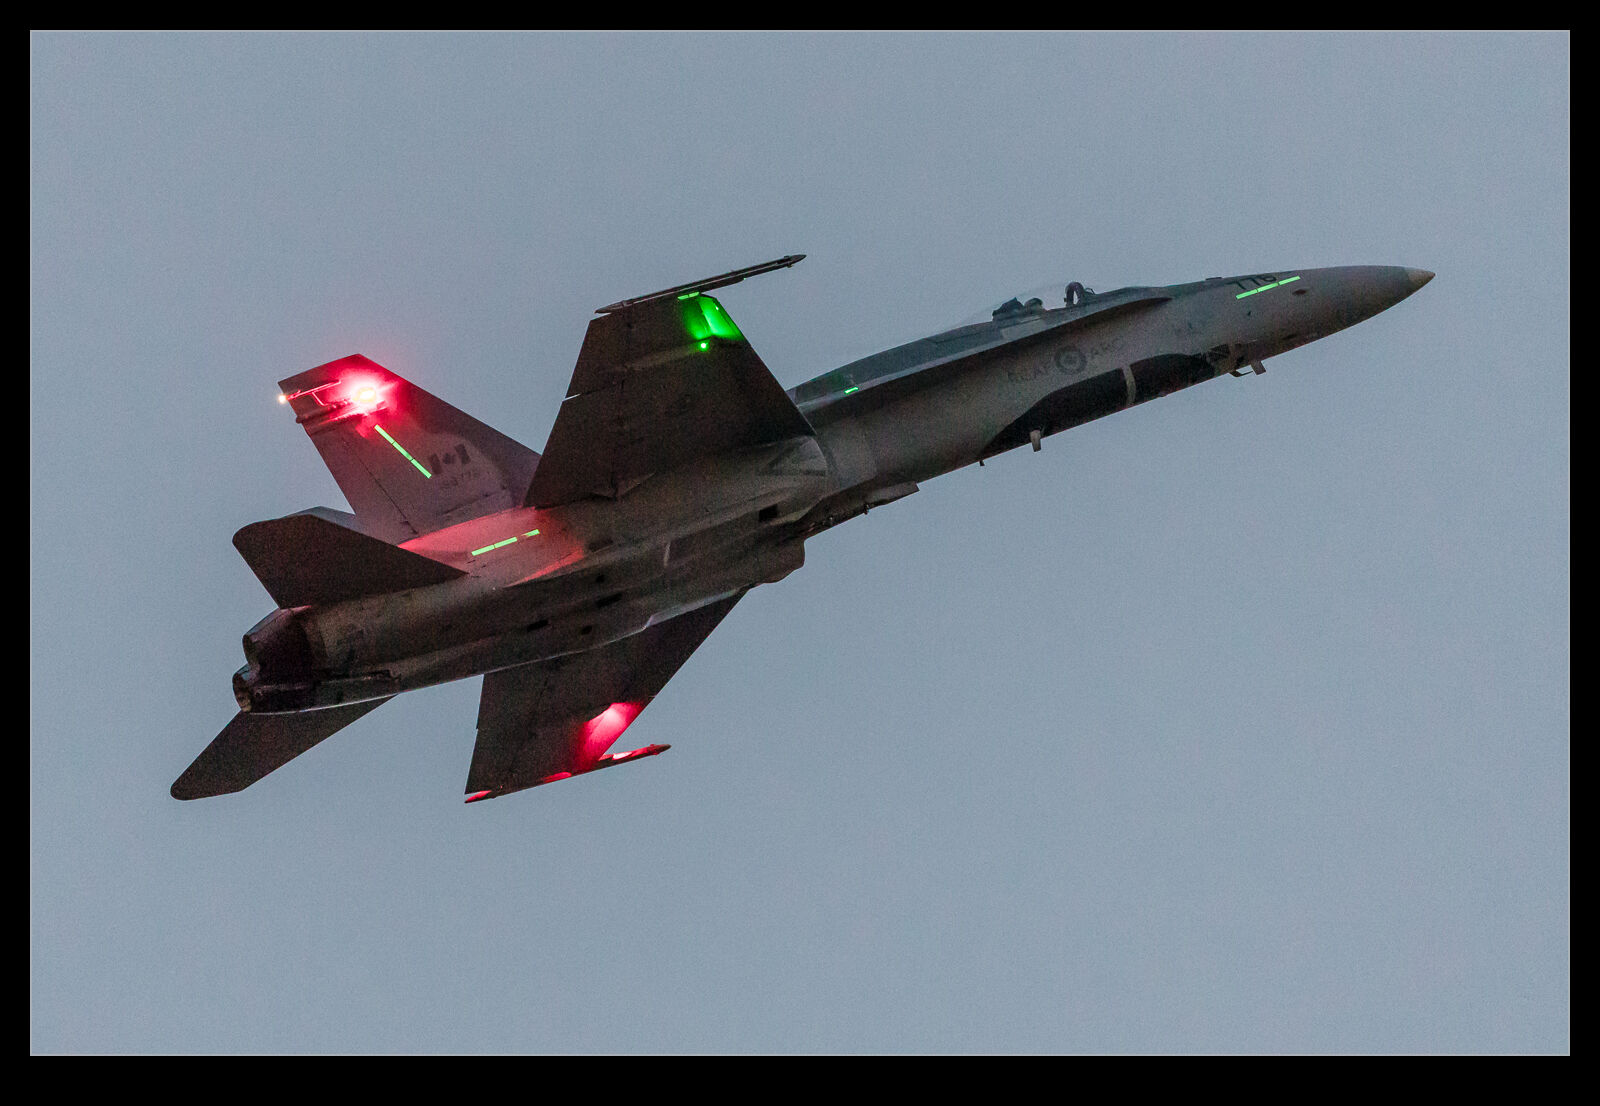
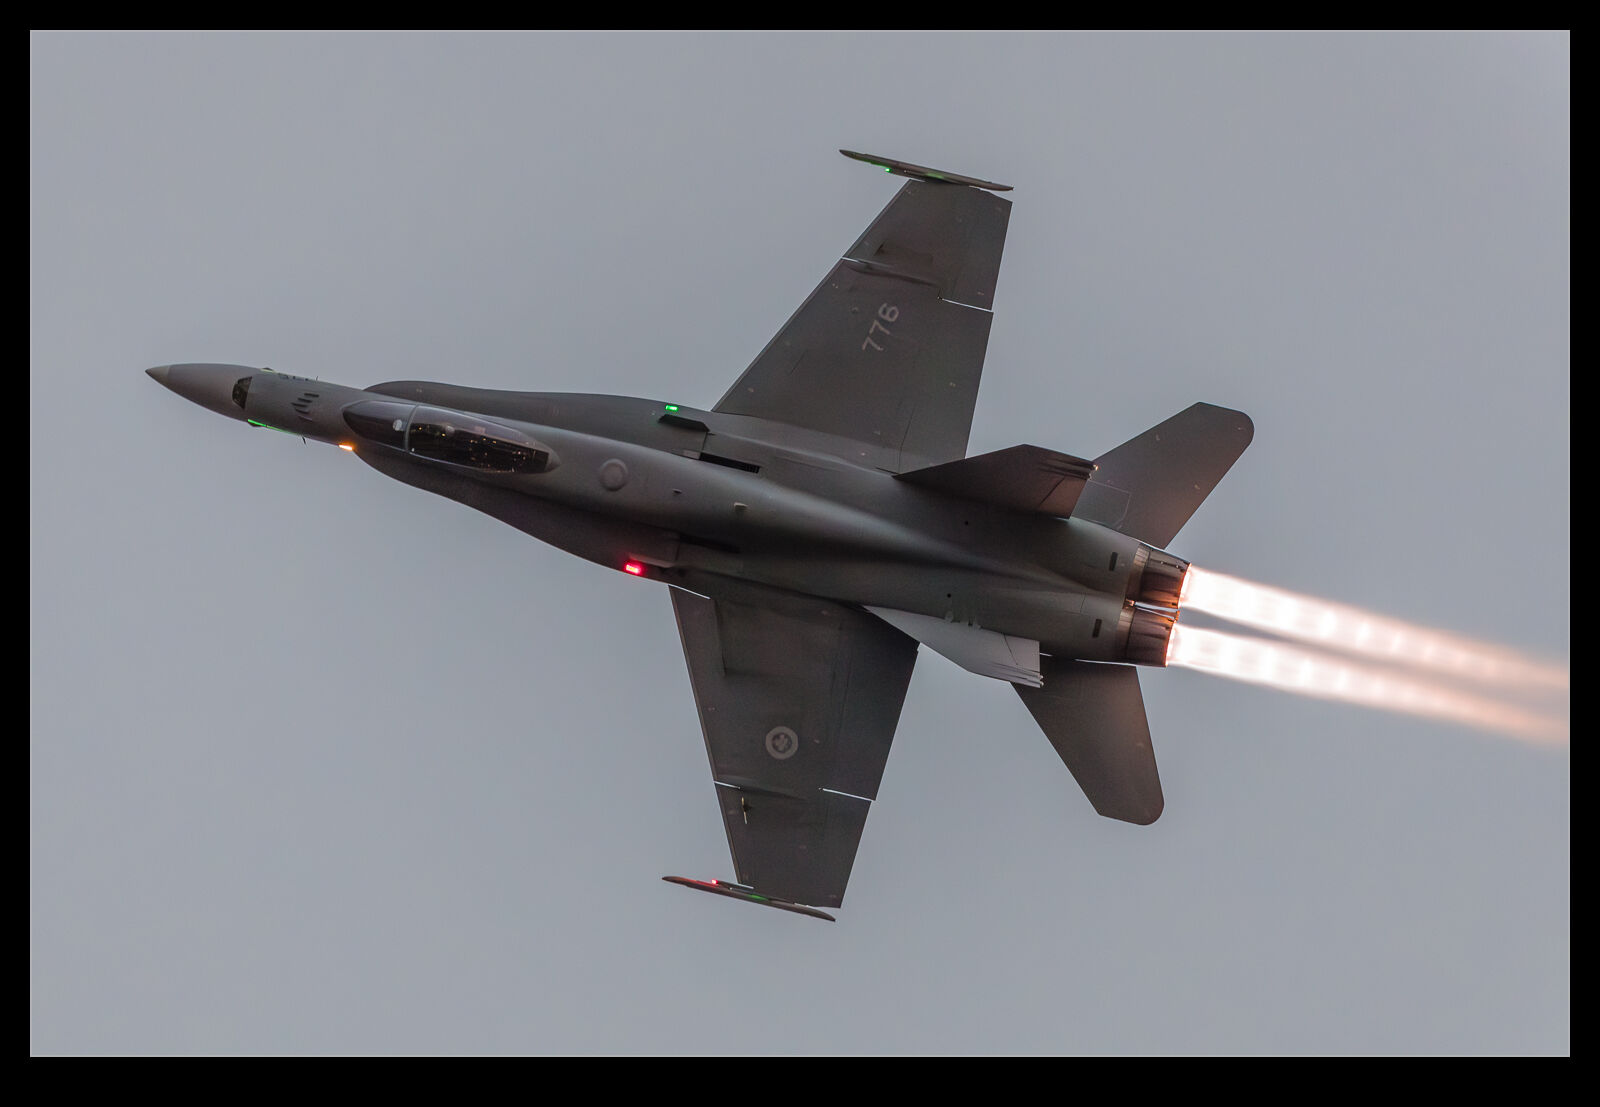 The later stages of the Abbotsford Air Show included a performance by the RCAF CF-188A Hornet. By the time it was performing, the light was pretty much gone. The late performance has some benefits in that the burners are more striking against a darker sky, but the RCAF display often ends with a landing with the hook lowered. I had seen this before at Chino and the same problem as happened there occurred here. The touchdown point was a long way away from the spectator line, so it was too far away to get a decent shot.
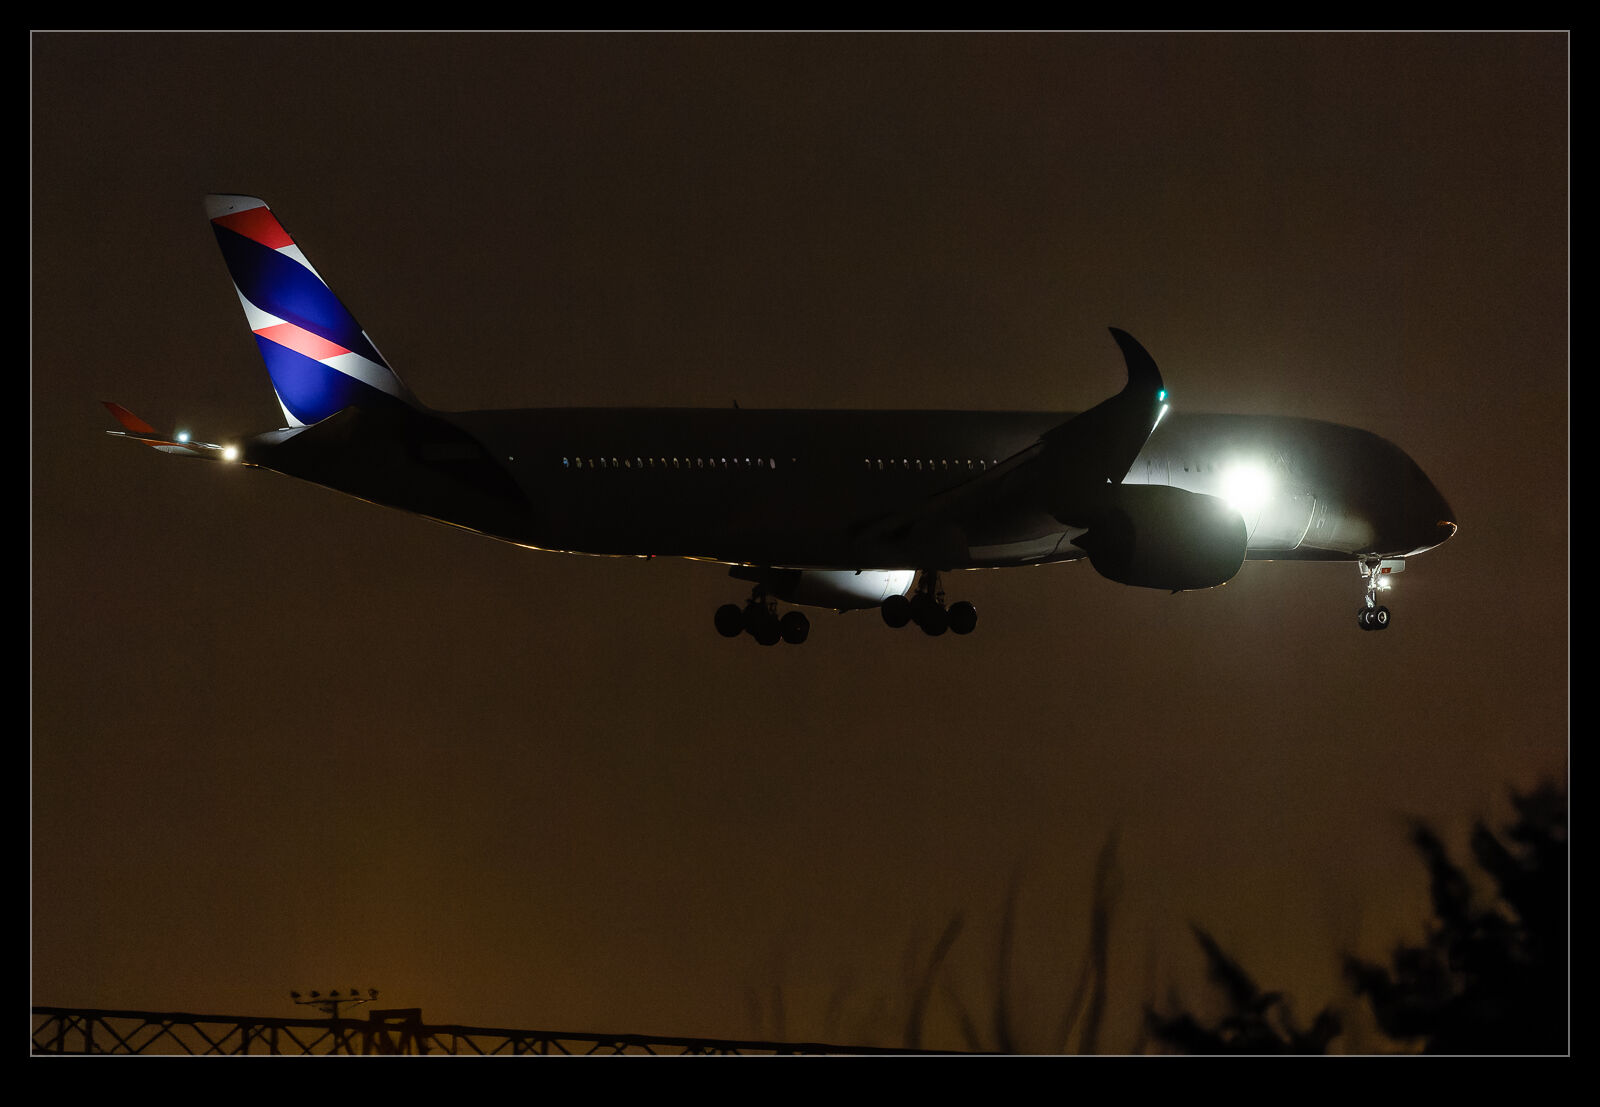
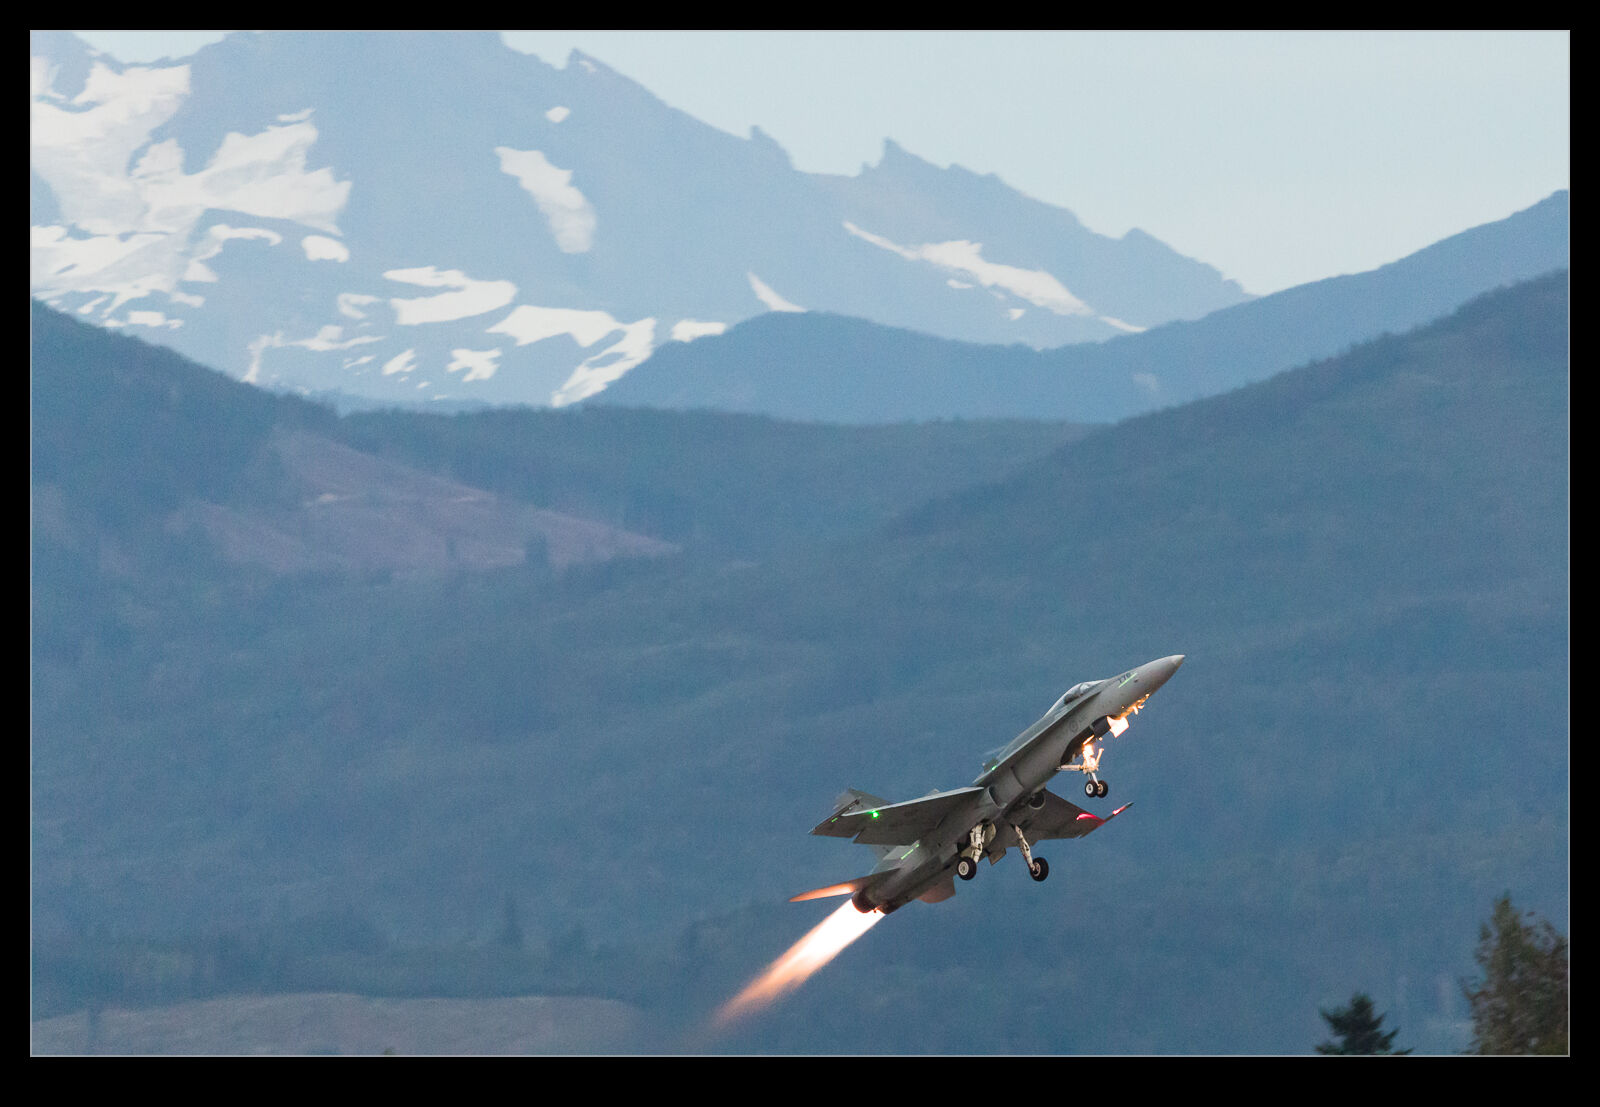 However, there was the rest of the display to go for. My current cameras seem very able to handle low light conditions. The focus might be a touch slower or less accurate as the light diminishes but I wasn’t noticing a significant problem. Also, the high ISO capabilities of current generation cameras are really impressive so shooting in such conditions is not necessarily a problem. The camera will be able to perform although that won’t compensate for a jet just not looking that good with so little light. You still have to pick your shots.
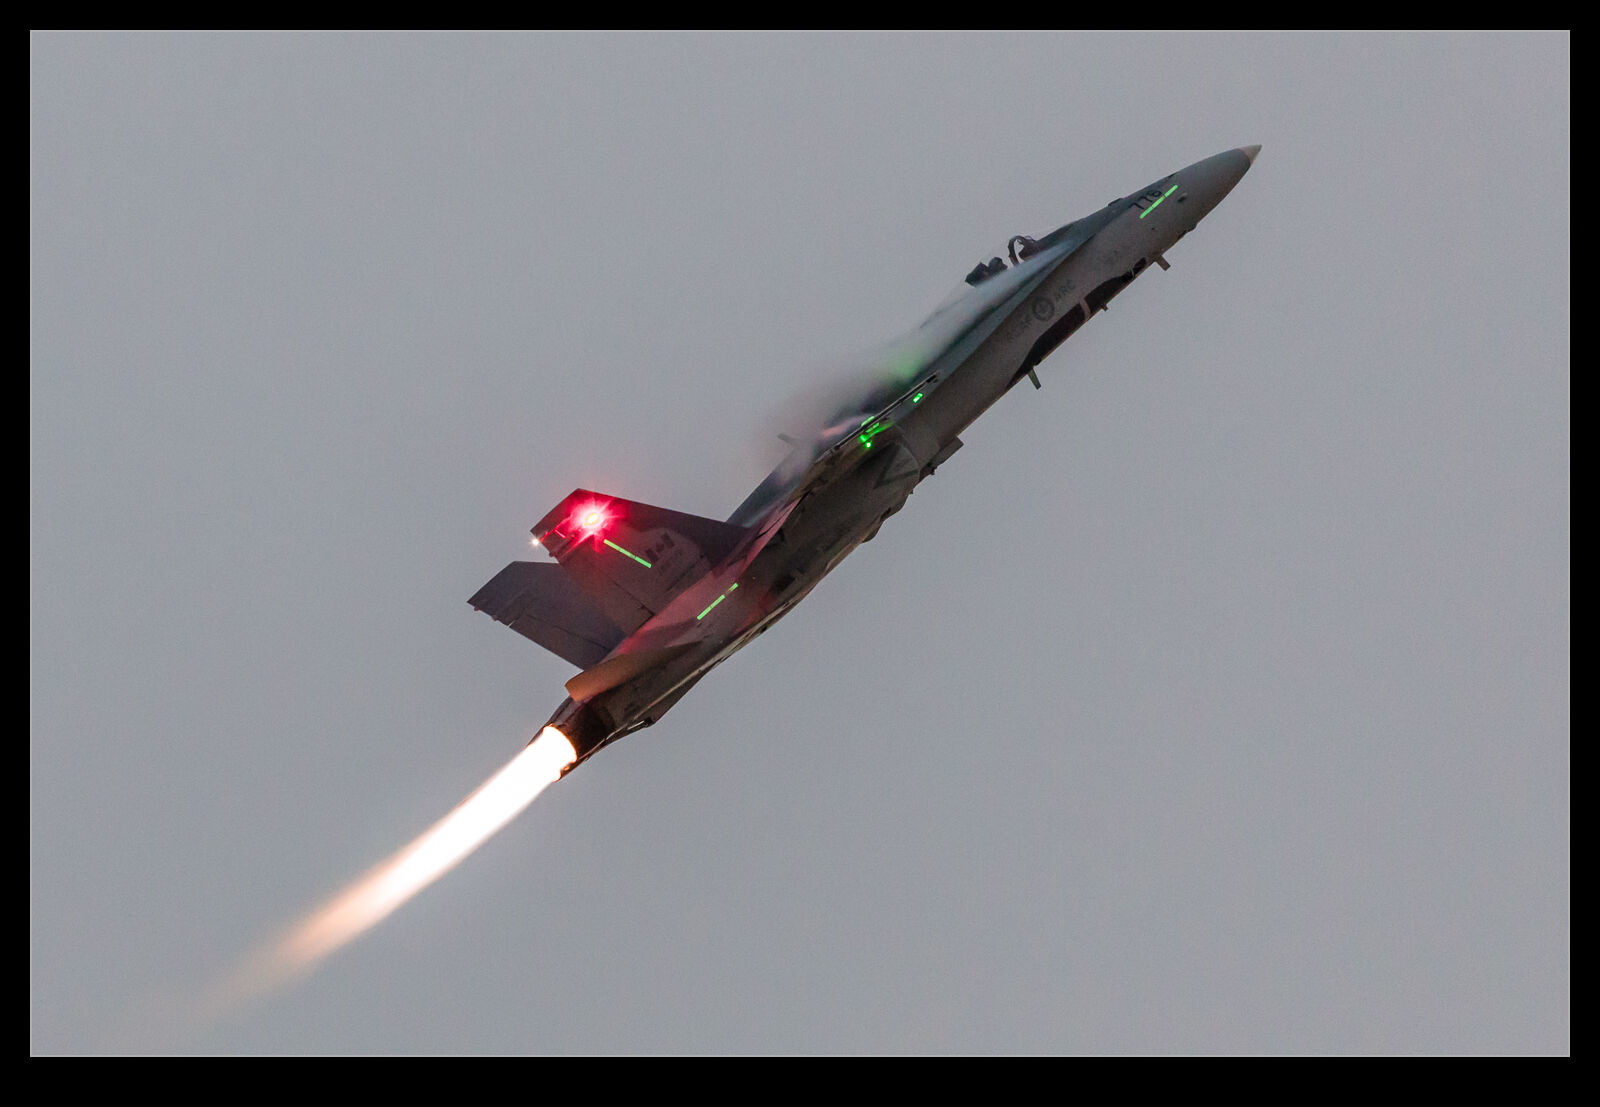 The Hornet is a good display jet with the ability to point the nose in different directions rapidly and to pull a decent amount of vapor from the air. It can turn and it can blast through, so it makes for a good show. Original generation Hornets are starting to become a rarity. It won’t be long before the Canadian jets have been replaced by F-35s. Other operators have already transitioned and more will follow. Catch the legacy Hornets while you can and, preferably, in interesting lighting conditions.