 There was a meeting of the IPMS northwest branch at the Museum of Flight recently. My friend Jim had given me a heads up about it taking place and, with a day free, I figured I would pop along. The display as a whole gets its own post but this one was about my experimenting with focus stacking. I went to this a previous year and took some focus stacking shots handheld to see how it would go. This time I went prepared and took a bunch of shots.
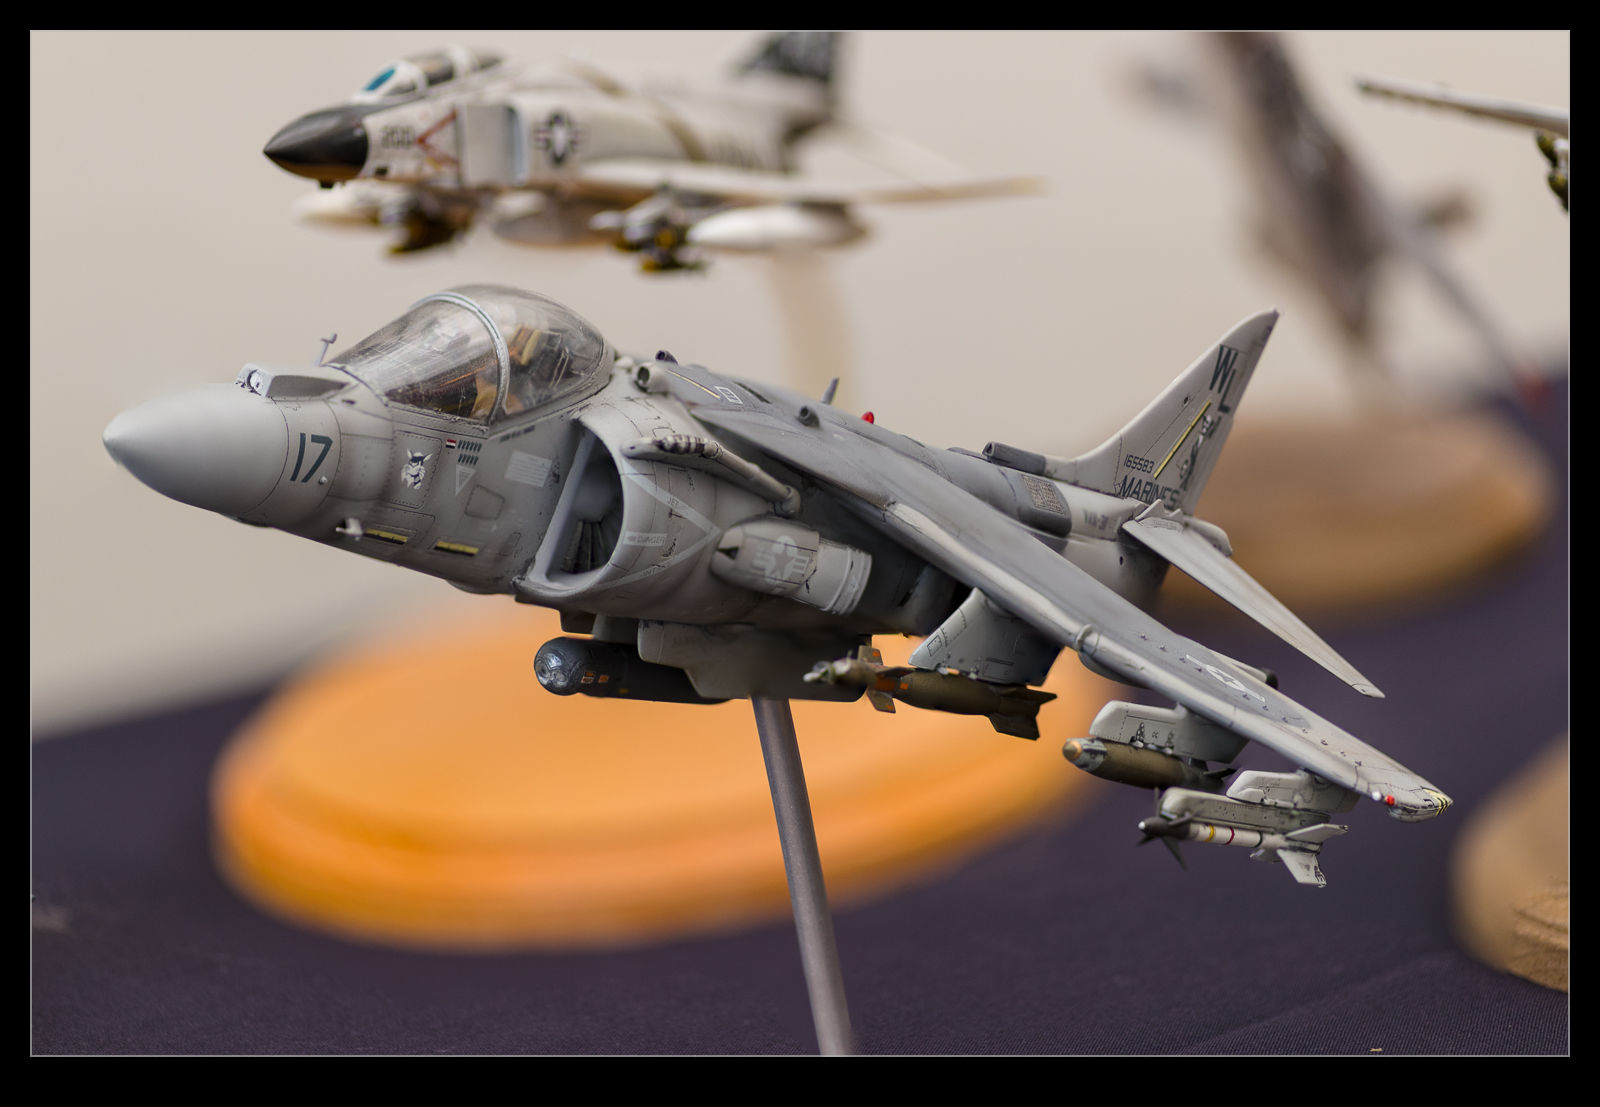
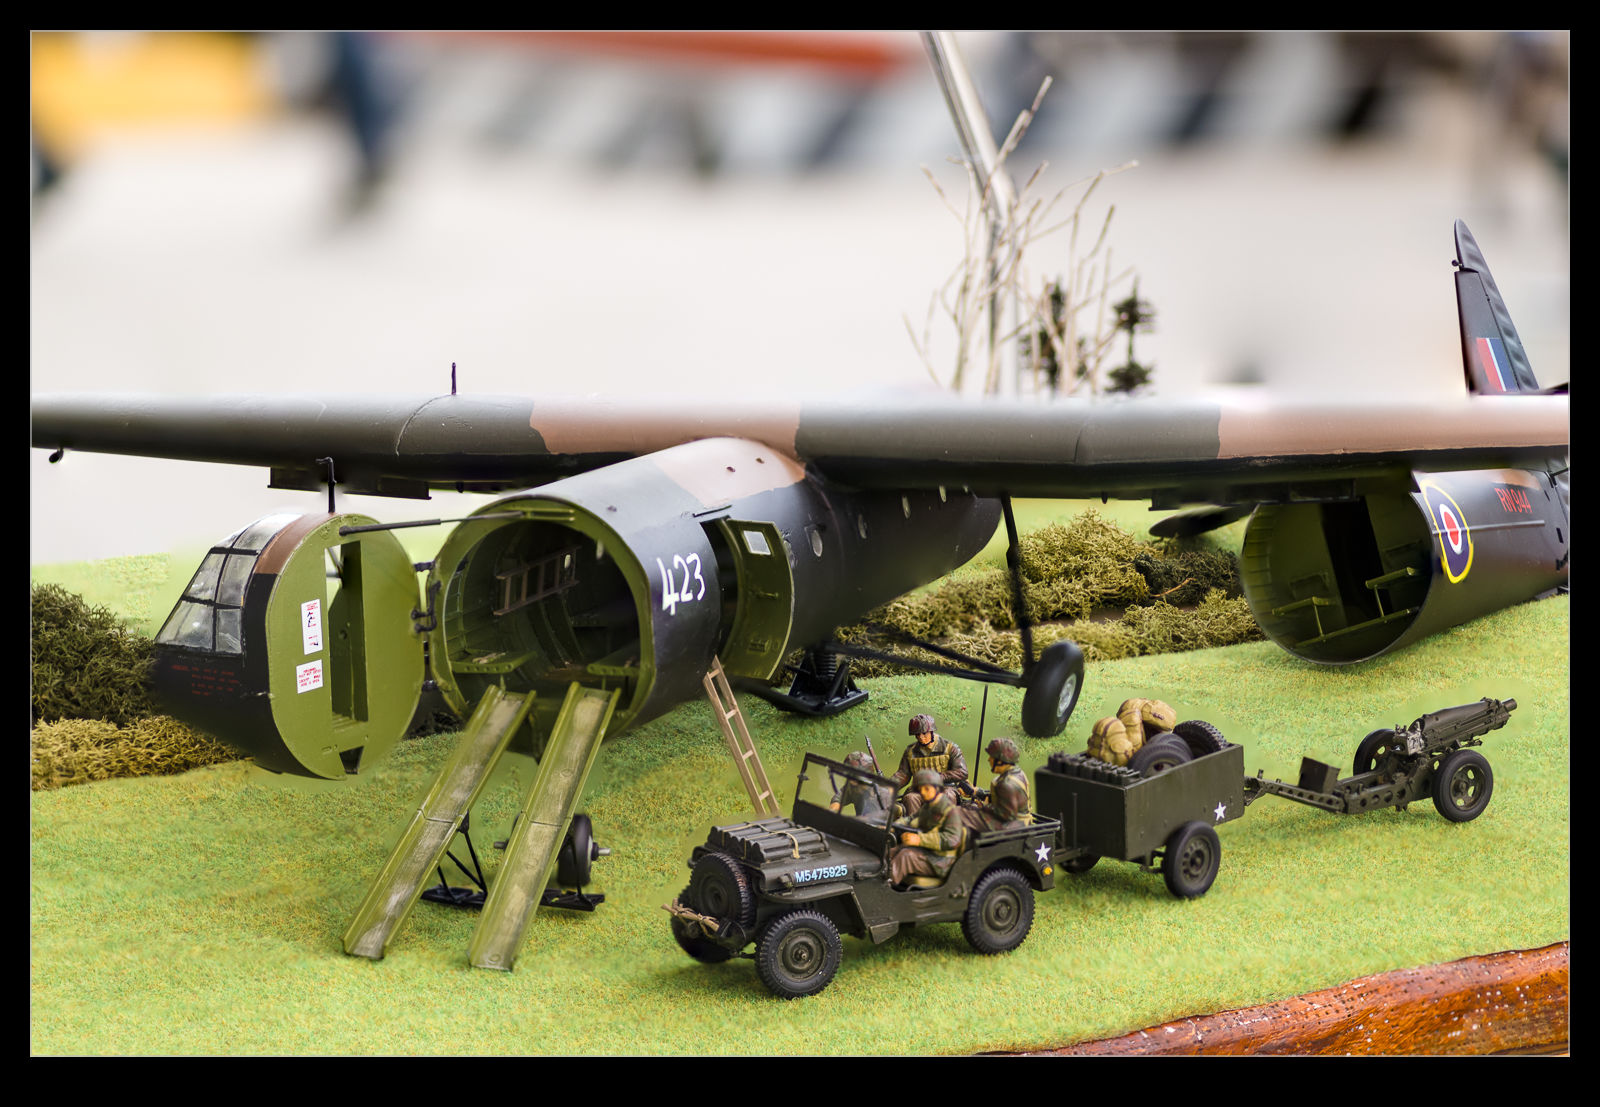
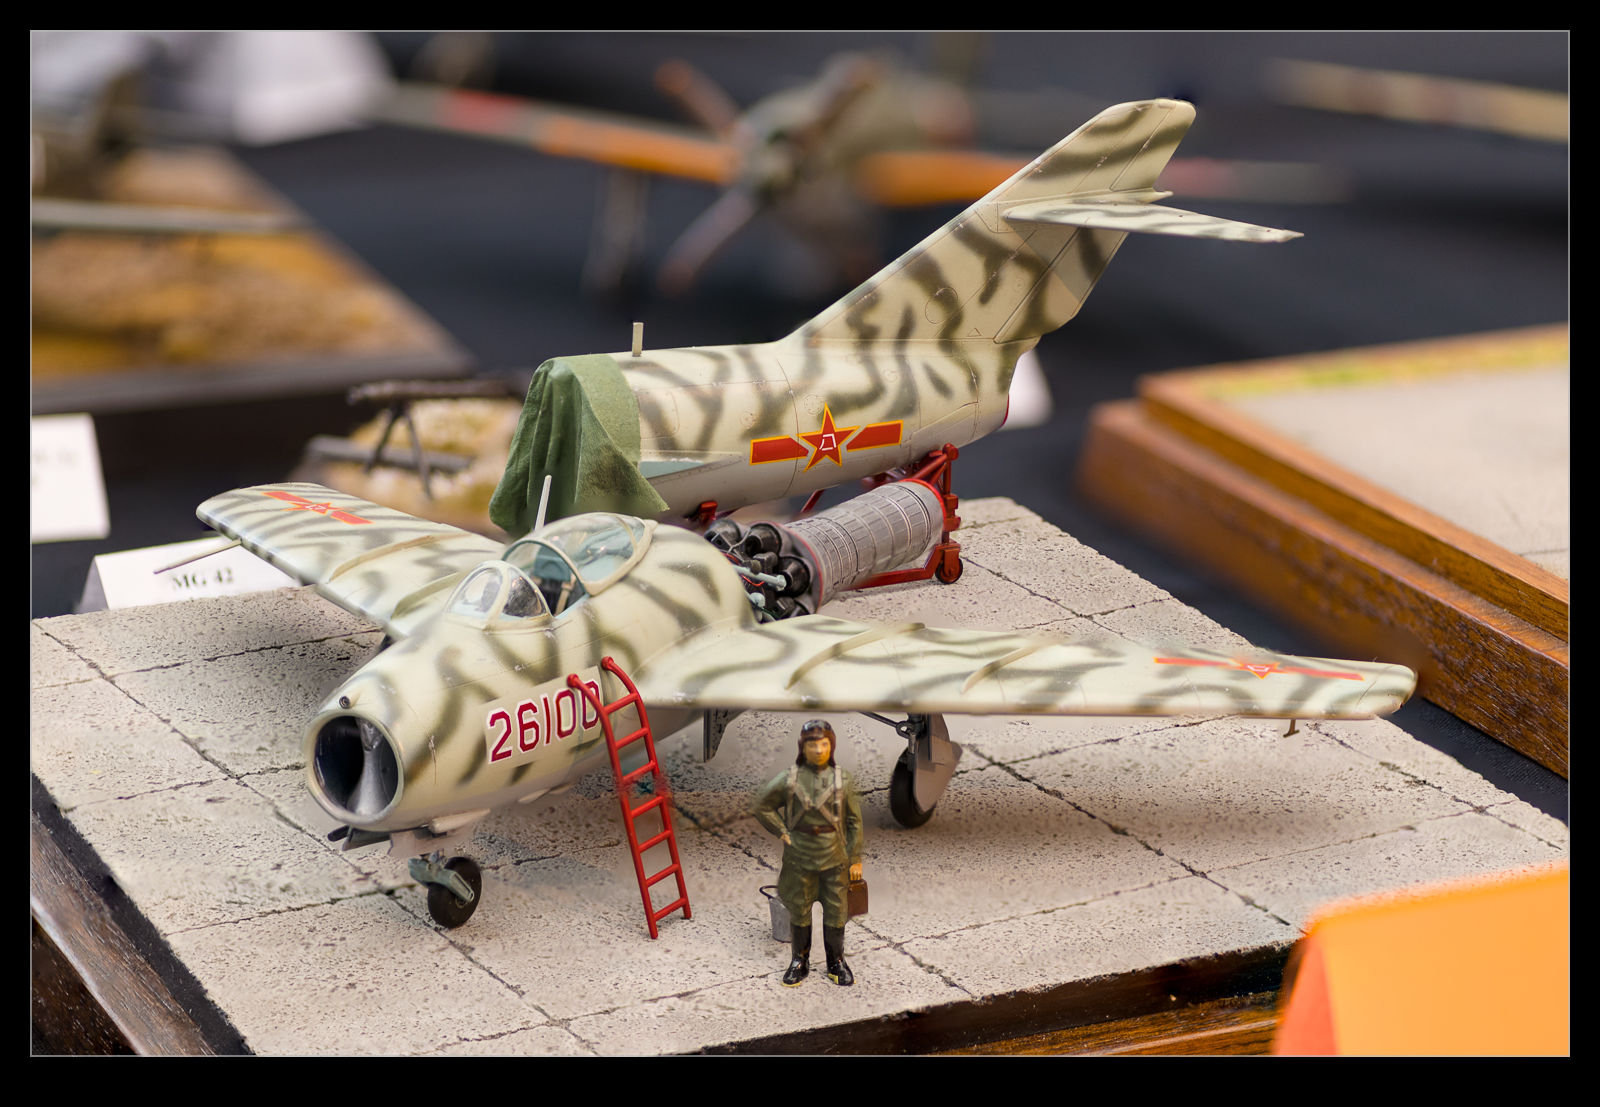
 I took a tripod and my macro f/2.8 lens to try and get detailed shots while isolating the background. There were lots of models on display, some of which were really good. However, they didn’t all make good subjects since many were displayed in amongst lots of other models. I picked the ones I liked as a wandered around and them went back to shoot them. Many of the stacks worked out just fine and I include an example or two of what worked well. However, some of them just confused the software.
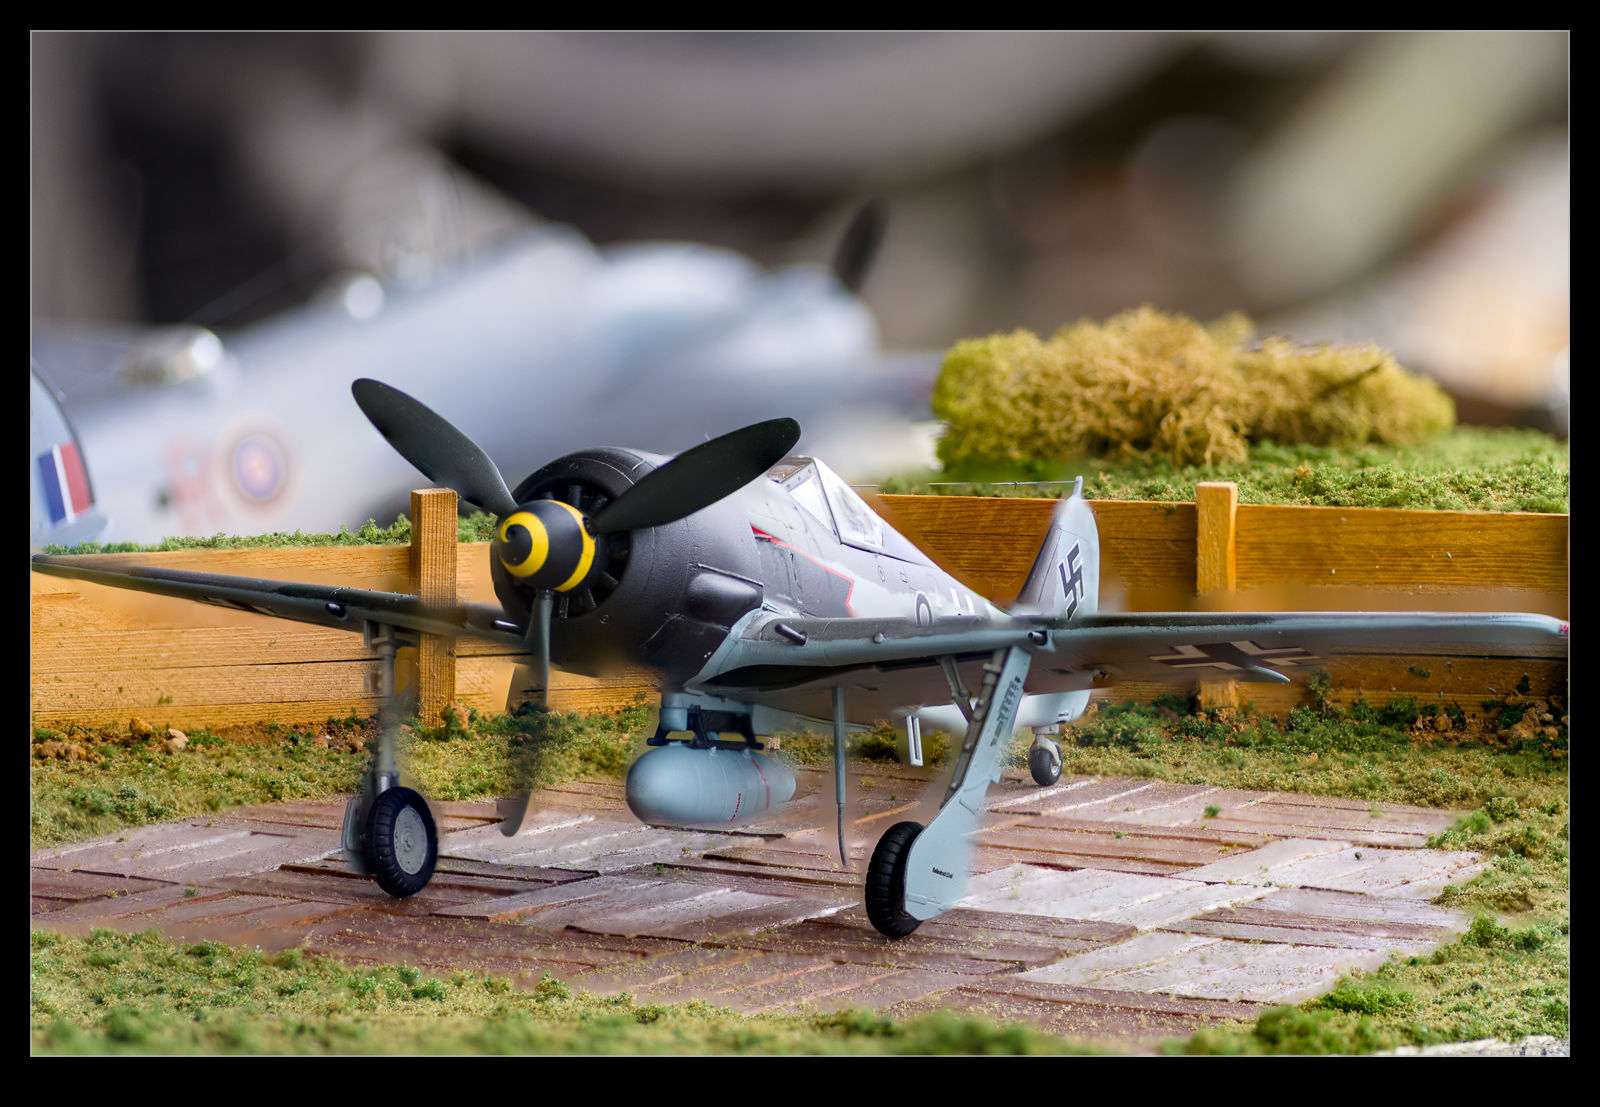
 I use Photoshop to do my focus stacks. However, on one of the shots that I really wanted to work well – the FW190 which had a diorama – things didn’t work well. I decided to Google other software solutions and came up with two other applications for focus stacking. I downloaded trials of both but neither managed to do a good job of it. I guess this combination of shots just made it too hard for the software to make it work. I can see the rear fuselage markings of the FW190 showing through the wing of the aircraft. Maybe this is a function of the narrow depth of field of the f/2.8 shots. The wing gets blurred out a lot when the rear fuselage is in focus and it decides to take that area as the one to give preference too.
 All of this is to say, I have found a new aspect of this technique that needs further investigation. My earlier experiments with focus stacking probably made it easier on the software. I have now started to make it a bit harder. Maybe I need to control the aperture to get things to behave the way I want. That might have to be tailored to make sure I don’t get the background coming in to focus too much since that separation is something that I want to preserve. If you have experience with this, I would welcome advice.
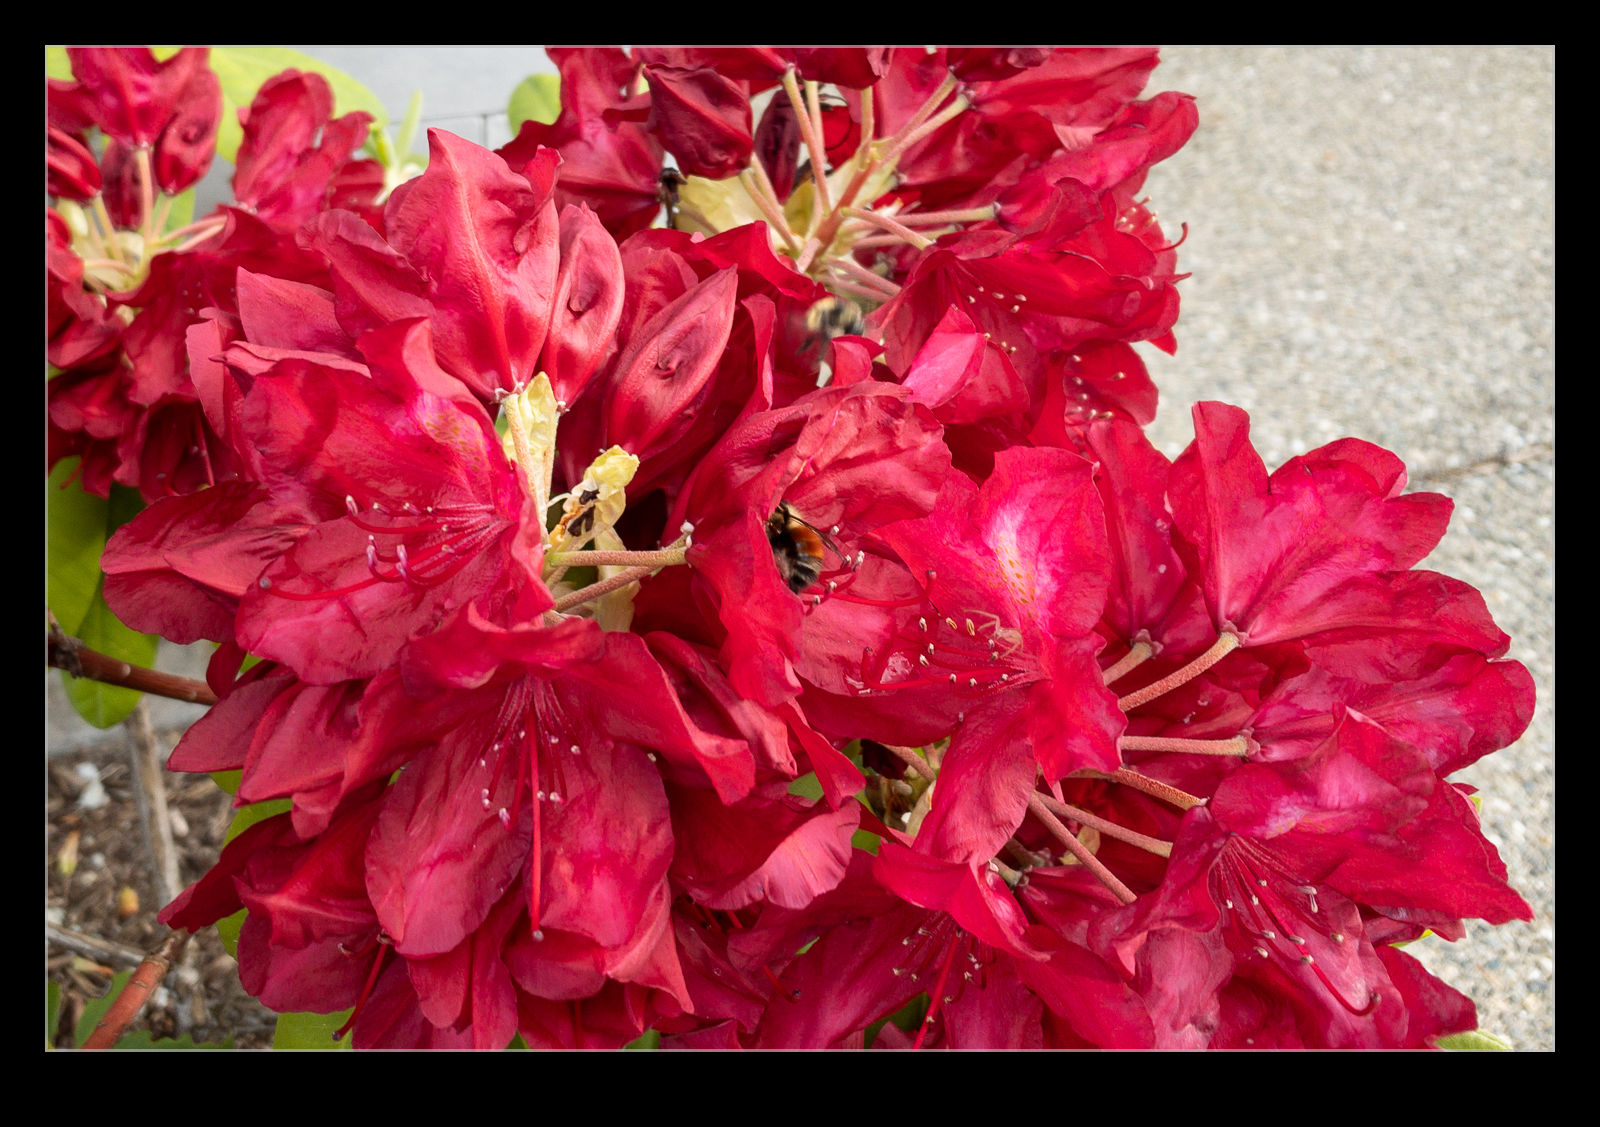
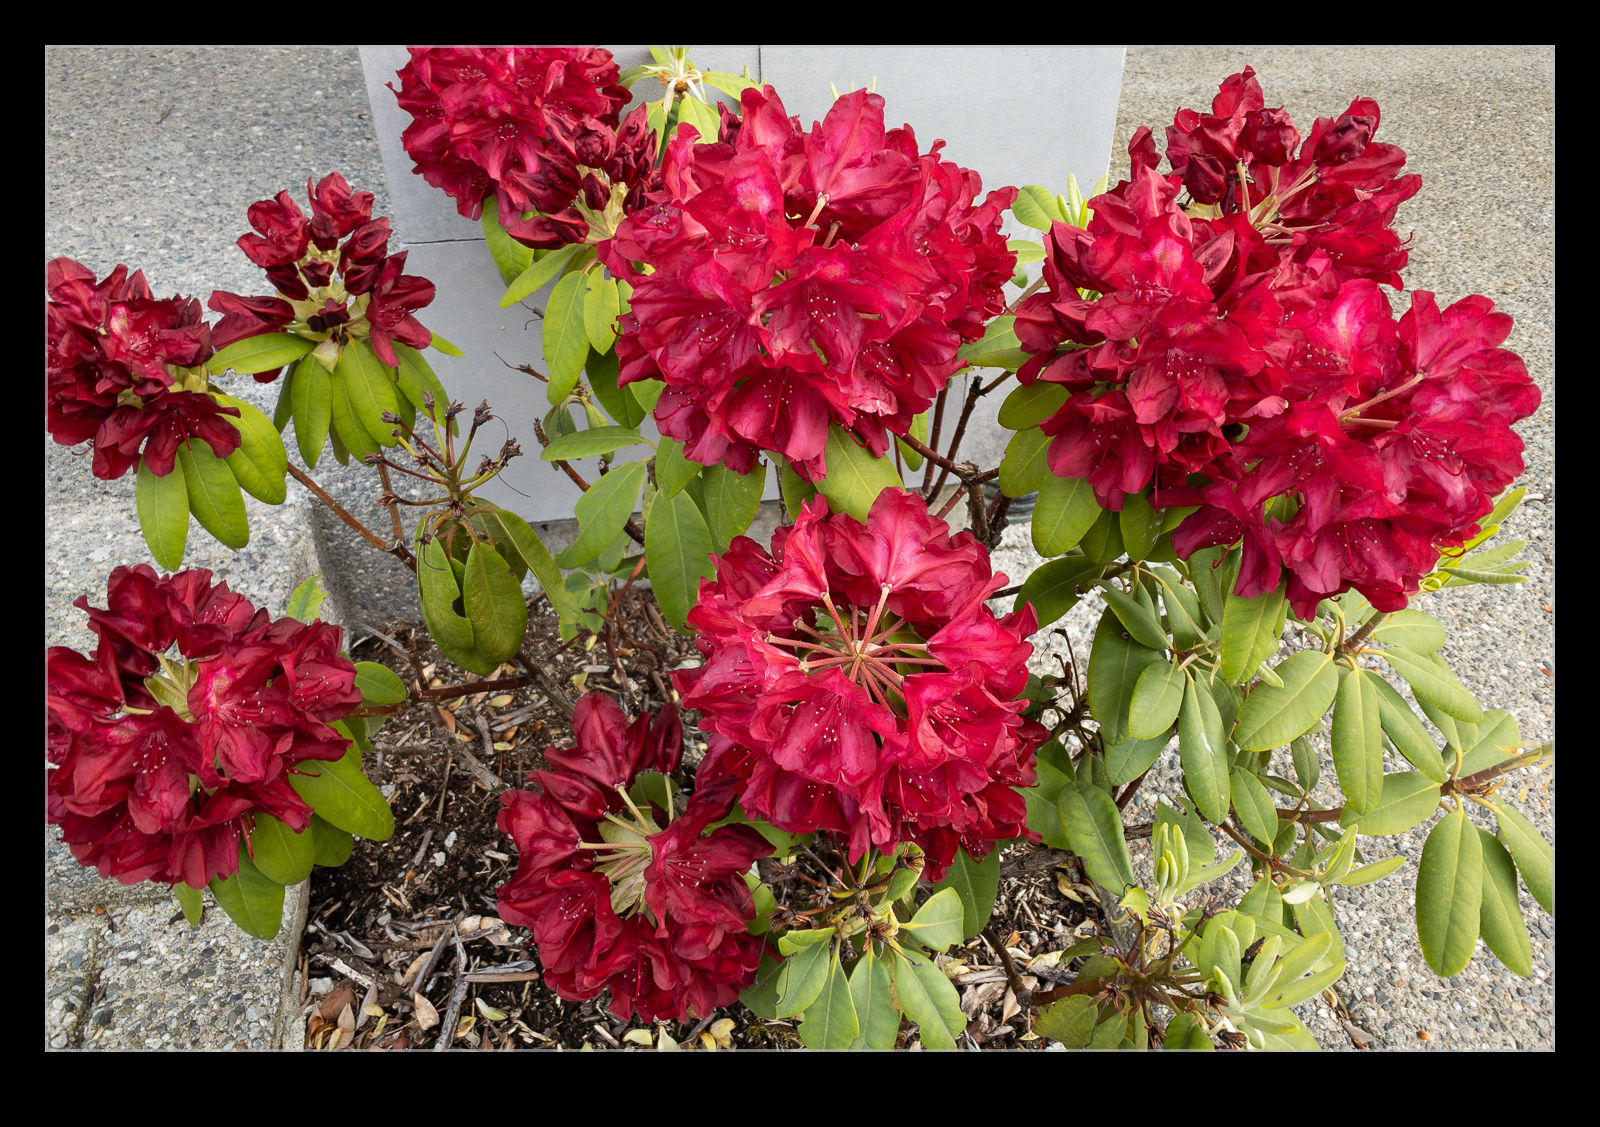
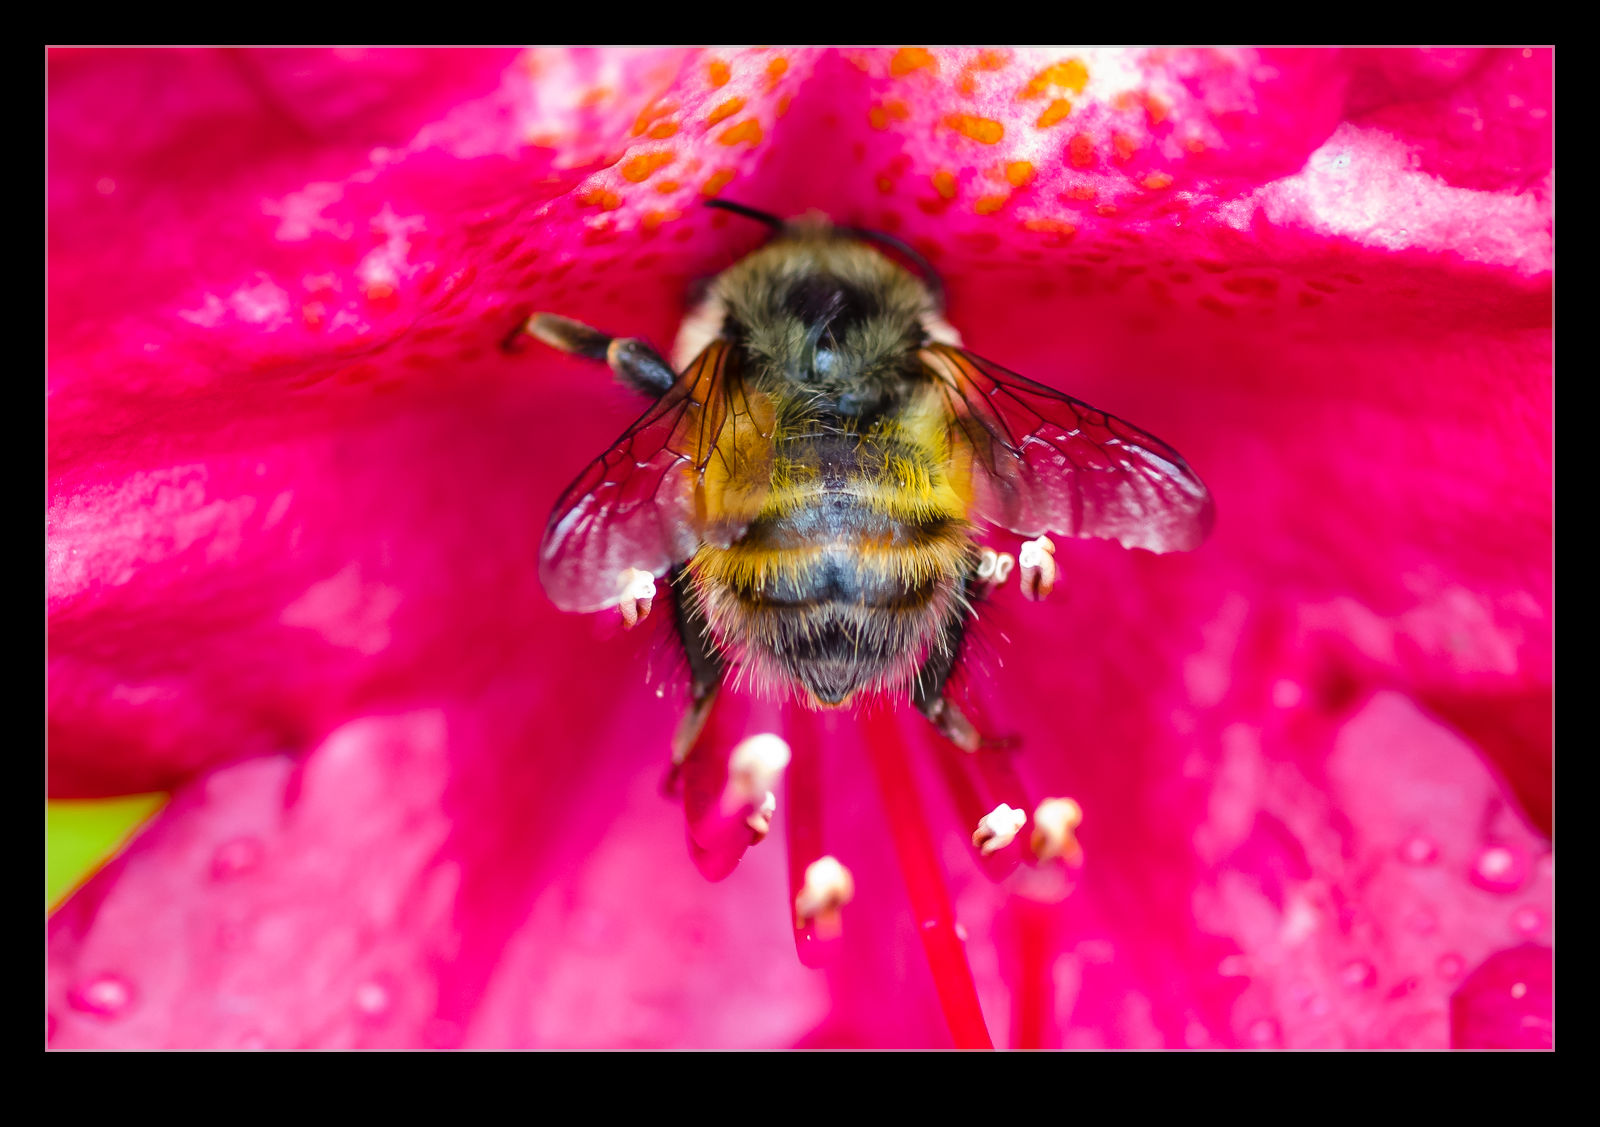 The Puget Sound area is currently abloom. Everywhere you look there are flowers. It is quite beautiful. We haven’t seen too many hummingbirds on our feeder recently and it’s not hard to see why when they have so many places to feed right now. We have some blooms in our front yard too and this means the bees are visiting. I decided to try and use the macro lens to get some shots of them. My lens is a Tokina unit. I bought it for the negative scanning process for which it worked well. However, the focusing drive is not fantastic and it hunts a bit when I use it for things other than manual mode. However, it is still worth a shot. Here are a couple of bee shots from the yard. I can’t go anywhere so I may as well shoot at home!