After a little bit of time shooting with the 1DX MkII, I have started to build my impressions of how it is working for me. This is definitely only a first impressions review since there will be a lot of time before I have got totally used to it and have worked out the details of its functionality. For reference, I have previously been shooting with the 1D MkIV so things have moved on a lot from that.
Focus is a good place to start. I didn’t have a particular problem with the MkIV but this one does seem to be a bit snappier when it comes to focus. I was recently shooting some subjects which had a lot of scope for the focus to get confused. However, it seemed to be reliably on target – certainly far more than I used to experience. There are a multitude of focus points and combinations. I haven’t even started to get into them yet. I tend to have simple requirements of the focus points, generally based around the center point but I will be trying more in due course.
Exposure has thrown up a couple of things of note so far. First is the amount of light you get with a full frame sensor. I have read a few things about the way camera manufacturers reference ISO and aperture combinations with crop bodies but I hadn’t had a chance to explore this. Using the same ISO and aperture as I used to, I am getting shutter speeds noticeably higher than before. I will now revisit what my settings are since I don’t need speeds that high. The other change is in the handling of backlight. I had got a good grip on what exposure compensation I needed for various sky conditions with the previous body. Starting with those resulted in overexposure. I find the body is better able to get it right itself so I have been tweaking the exposure comp down.
Video capabilities have been significantly expanded but I have yet to get too far into them. I started out with the default HD settings but I have changed to a larger file size format to get more latitude for editing. Having not done any detailed editing yet, I have not found out how much of a difference this makes. I have not played with 4K at all yet. The big thing in video is the dual pixel autofocus. Previously I had to fix focus before the shot started and any zooming would tend to move things out of focus. Now I can select by touch what I want to track and the camera seems to do a nice job of keeping that sharp during motion, panning or zooming. This is a nice addition to have when dealing with motion relatively close in.
The setup of the control buttons is an evolution of what I know. There are some additional buttons to work with and they are configurable. I haven’t tried reassigning anything yet since I want to find out what I need most often before I do so. They have made a switch in the stills to video control with that now having its own control. I am still getting used to it compared to the way I did it on the MkIV but I firmly believe the new configuration will be a big improvement. I just need to retrain myself to use it without thinking.
Preset configurations are a great addition. I moaned about this to a Canon rep many years ago. The 40D had preset configurations you could program and switch between quickly. When shooting props and jets, this is a nice thing to be able to do very quickly. Everything about the setup is programmed so it is a powerful addition. Finally I have it on a better body. There are three presets. I have one for jets, one for props and the third I have configured so I can give the camera to someone else to shoot without having to explain back button focus and center points. It is in a more user friendly configuration to hand off. I shall see whether that gets much use or not.
The card configuration is now CFast in one slot and Compact Flash in the other. The camera came with a 64Gb CFast card and I have put existing 64Gb CF in the other slot. So far I have not had to use the CF so I haven’t noticed the write speed. Buffer is huge so I doubt this will be an issue. The CFast is working fine. It does seem to download very quickly via the USB3 card reader that was also included. The card does also get noticeably warm when working a lot. No specific upside or downside so far. The CFast is required for 4K at 60fps but otherwise CF will work fine.
Now for one of the big surprises. Canon has upped the frame rate to 14fps. It was 12fps on the 1DX and 10fps on my old MkIV. I did not think that this would be a big deal. A small increase? I was wrong. This thing flies along. A quick squeeze of the shutter and suddenly I have three shots. It buzzes rather than has the sound of individual actuations. This means a slight variation of shooting technique for me. I used to shoot short bursts for each view. I could then pick my favorite of the burst during post processing. I can still do this but now it is a shorter hold of the button to get the same effect.
A small addition I like is the built in GPS. I have been using an app on my phone to create a gpx file tracklog during photo shoots. I can then import this in Lightroom and it matches with the shot times to tag the images. With a built in GPS, the shots are automatically tagged. This will help when flying which often meant I couldn’t get the tracklog to work in the old process. As a aside, the GPS allows the camera time to automatically update so no need to plug them in periodically to get the time synced up.
I can’t overlook the fact that the 1DX MkII is a full frame camera. I was a little concerned about losing the crop factor I had on the MkIV. Shooting aircraft sometimes makes the extra reach of the crop factor helpful. The pixel density is a little below what it was before so I don’t have the virtual crop to play with. However, so far I am finding that I am just shooting like normal based on what I see in the viewfinder. We shall see if I notice the difference as I get to do a variety of shoots.
File size is a step up as a result of the higher pixel count. This is resulting in a bit more effort for the computer when it is rendering the shots. I can see a noticeable difference in the speed with which the 1:1 renderings get completed. This is not yet causing a problem but I shall see whether a bottleneck develops. I will also see how this impacts my backups. I previously used to back up files in blocks of 1,000 per Blu-ray disc. If there were no video or large edit files, the disc would have spare capacity. Currently, it looks like I might still be able to do the same thing but with less margin. Another thing to watch as experience is gained.
Battery life is officially down on the previous camera. The increased processing power requires more juice from the batteries. I have been on a couple of big shoots on consecutive days with many thousands of shots over the days without having gone through one battery. If there is a reduction, it is certainly not causing me any operational concerns.
That summarizes everything I have identified so far. I have a long way to go in learning to make good use of the camera but I have to say I am very happy with it so far. It is a great piece of kit. I have much to still try. I have not even got in to the high ISO capabilities at this point. This is something I want to play with before too long. Longer days will make that a bit trickier but the opportunity will present itself. When I do, anticipate a post on that too! Overall, I love it. Anyone want to buy a MkIV?
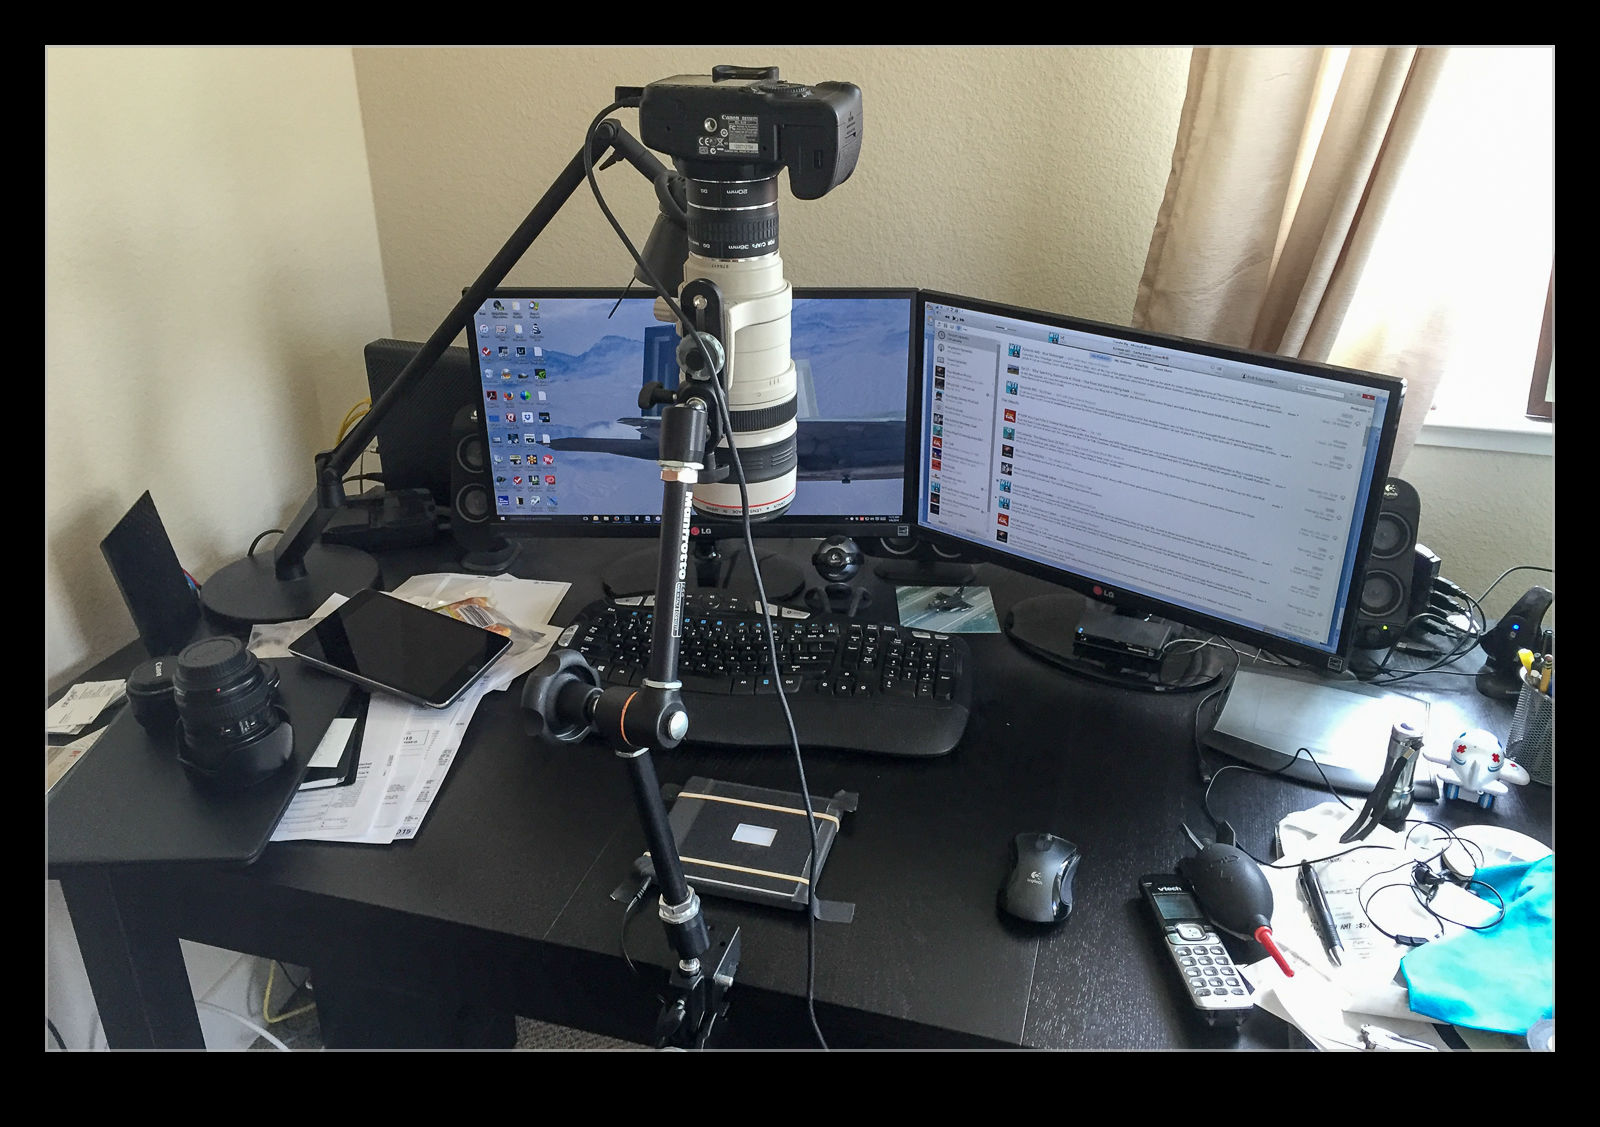
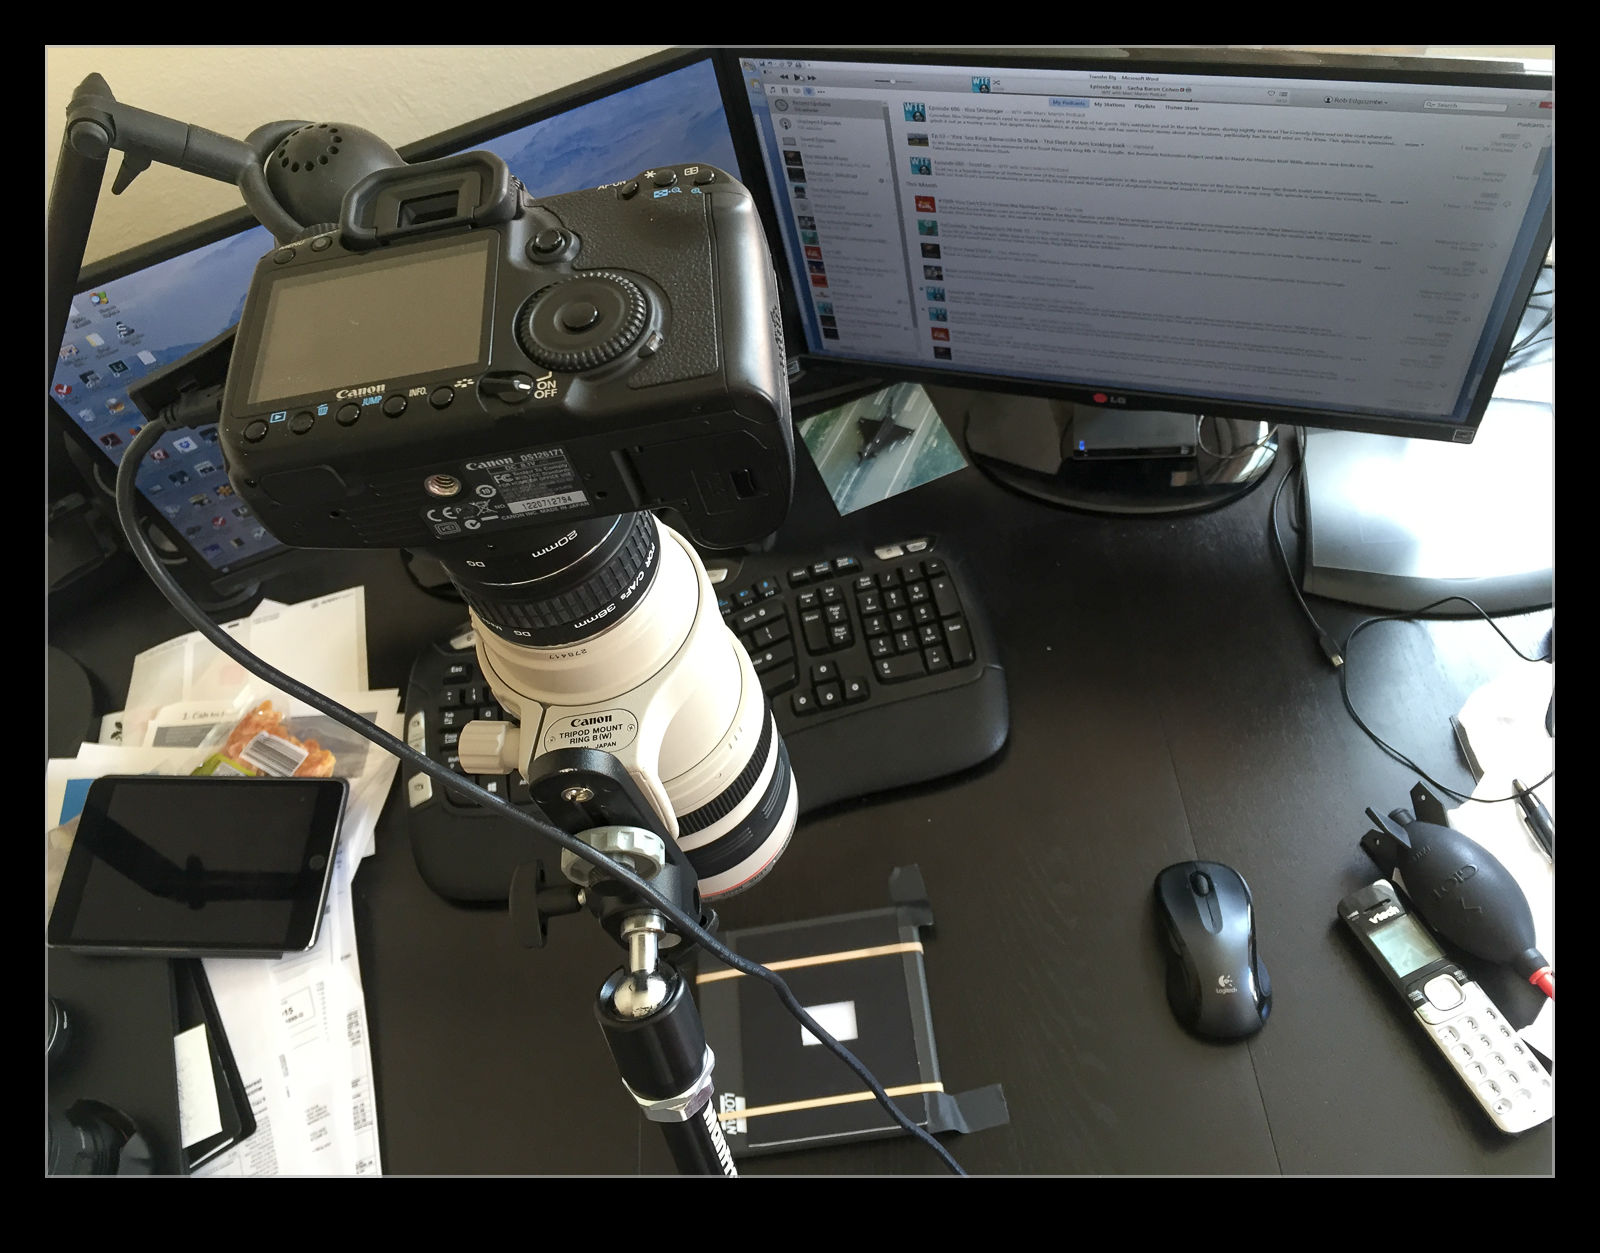
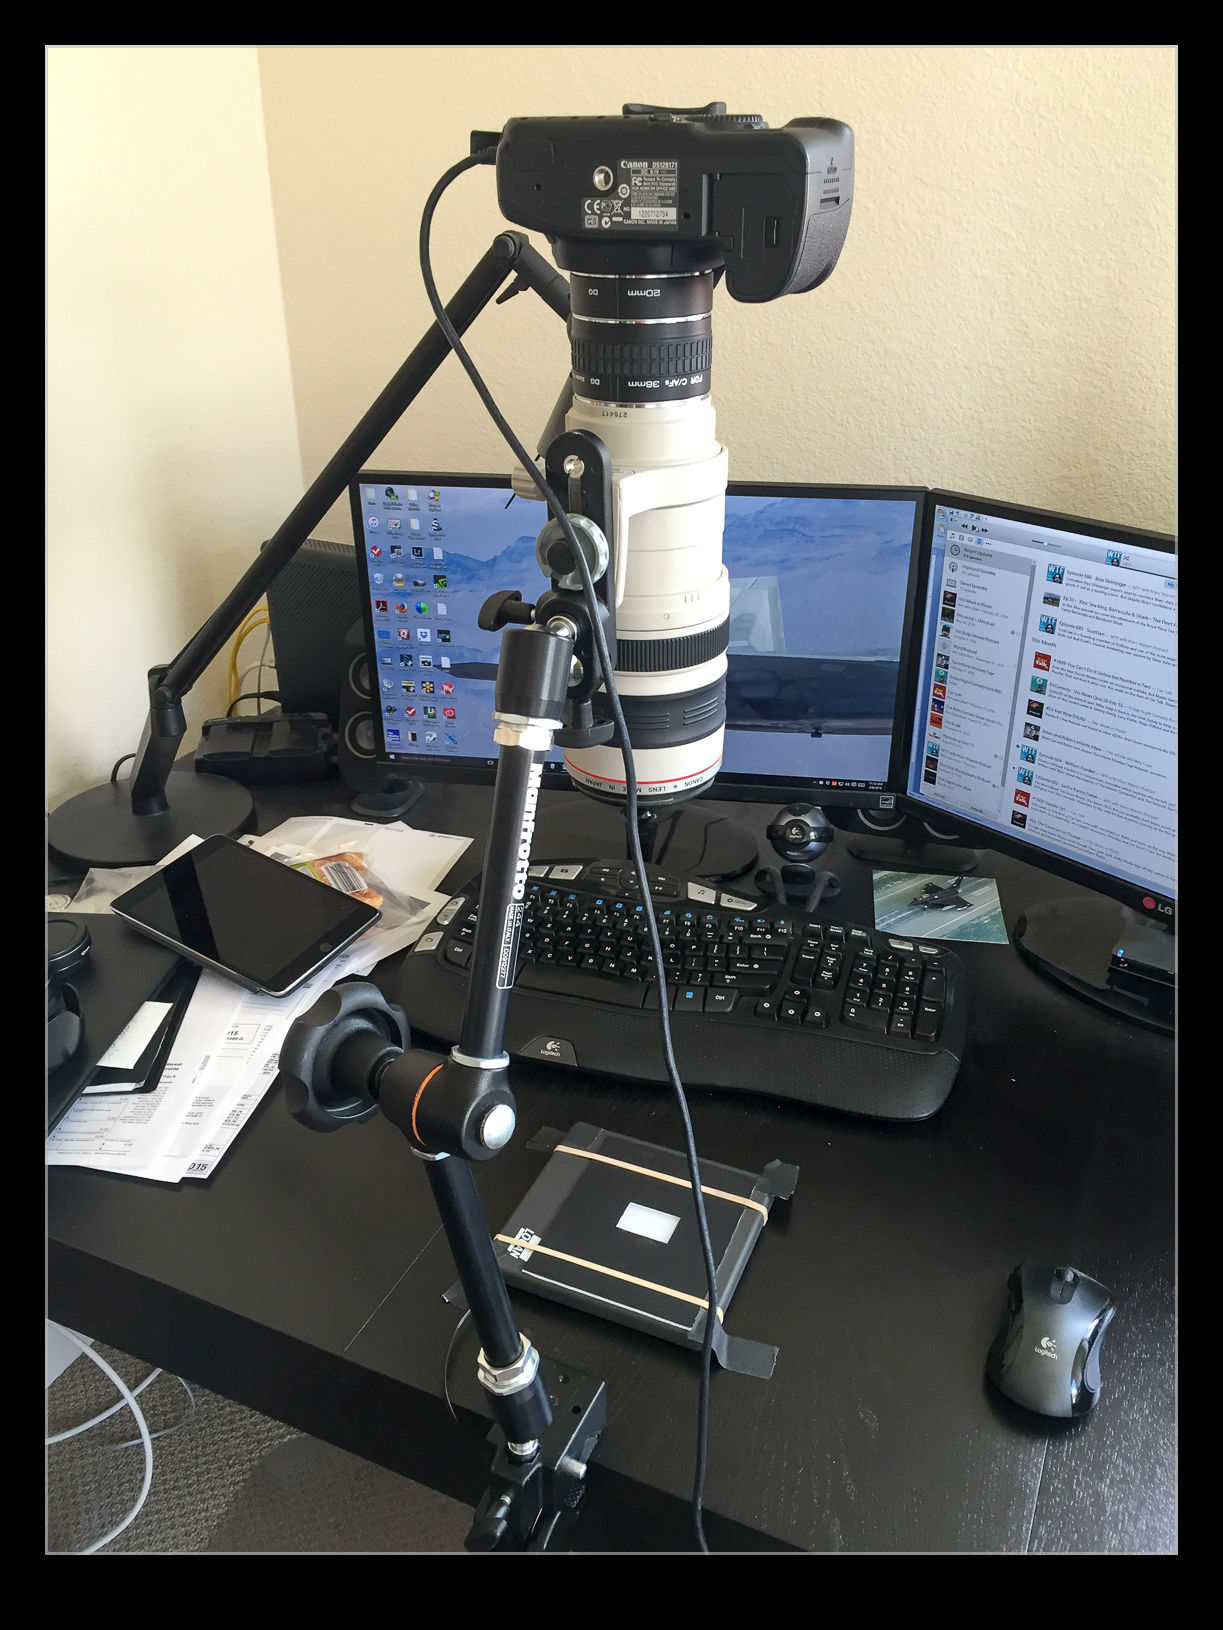
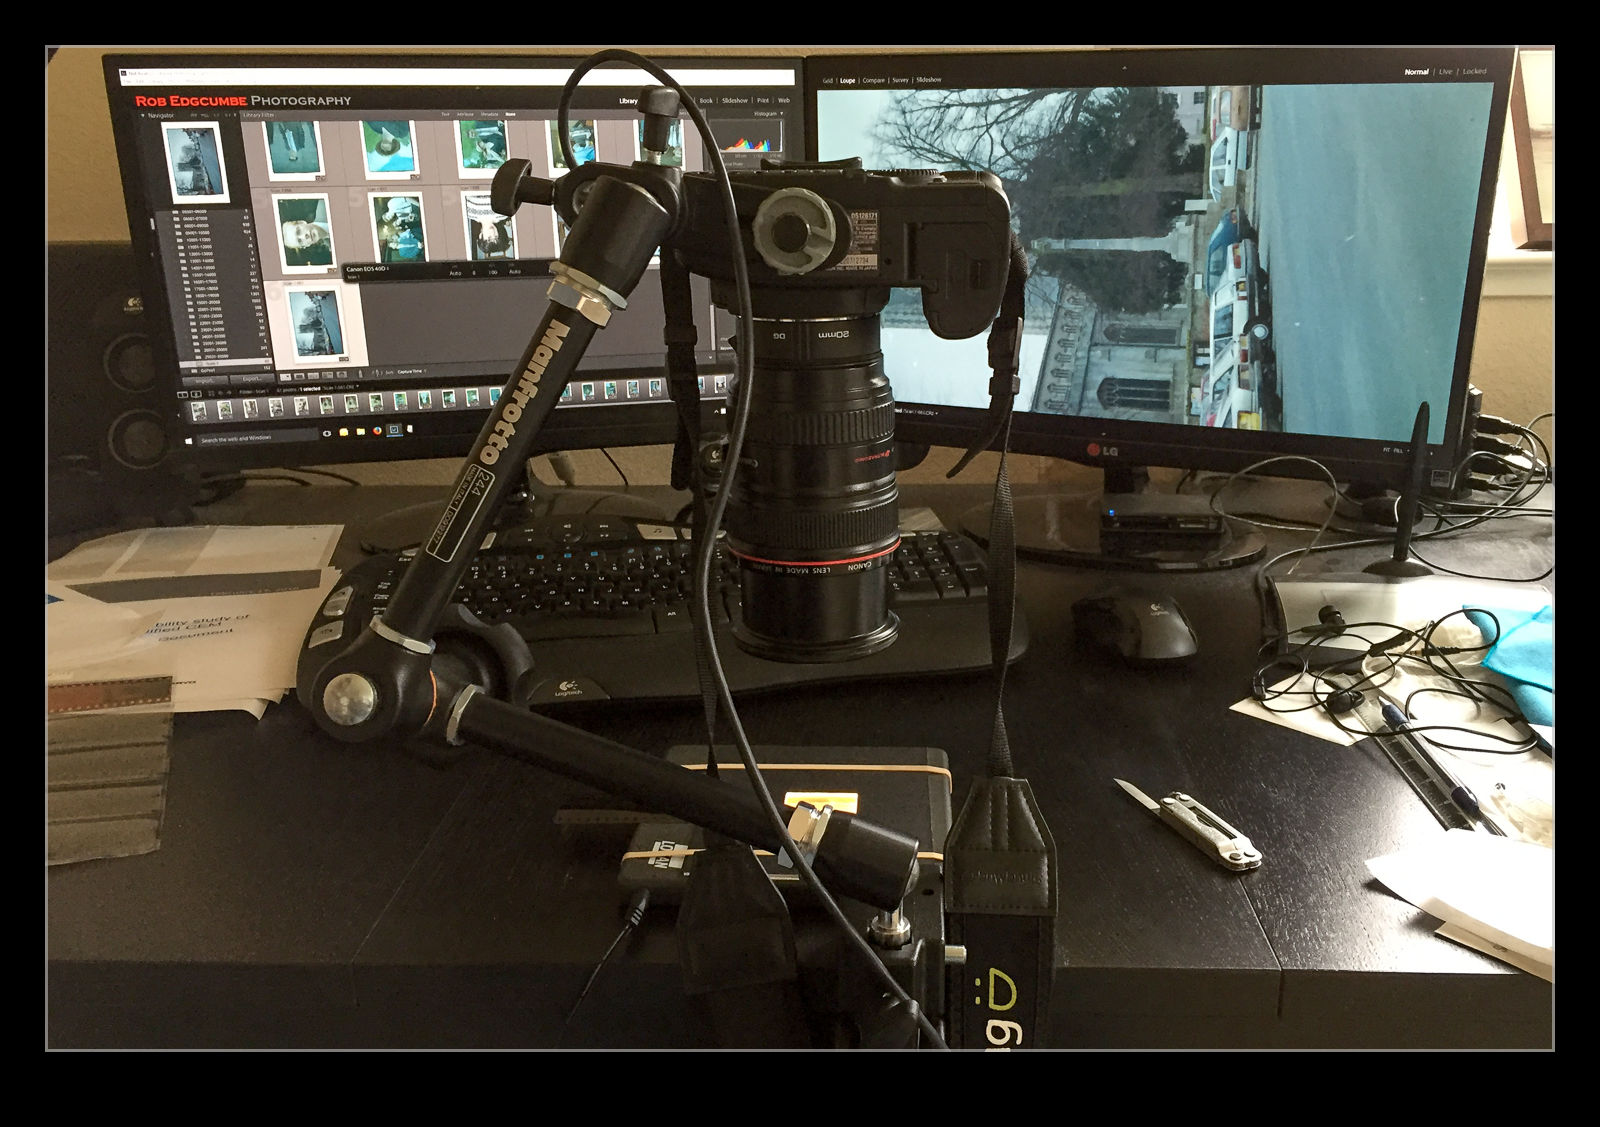 I am in the process of experimenting with a new approach to scanning old photographs. For many years I have been using a Minolta Scan Dual III scanner. It can accept strips of negatives or slides and does a reasonable job of scanning them in. It is a bit labor intensive and is certainly not fast. Moreover, the scanner is not terribly reliable and it will often hang mid scan requiring me to restart it and close down the application before restarting that too. Since it takes a long time, I often get it running and go and do something else so I might miss the problem.
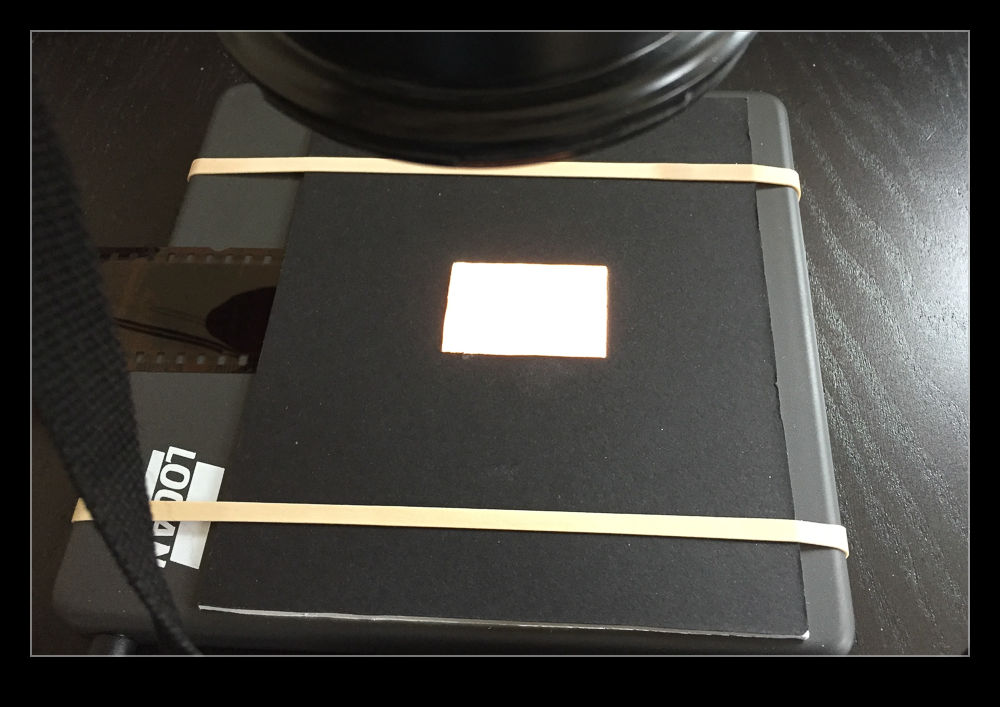 I am taking the images at my desk so I am able to tether the camera to the computer and use Lightroom to capture the images directly. This has actually provided me with an opportunity to drag out one of my older bodies that doesn’t get used anymore. My old 40D has been sitting on a shelf for a long time but it has come back into use for this project. It has more than enough resolution for this task. (Unfortunately, the batteries are now rather old and don’t hold a charge well so I am going to get an AC adapter from Amazon for ten dollars which should free me to scan as much as I want.)
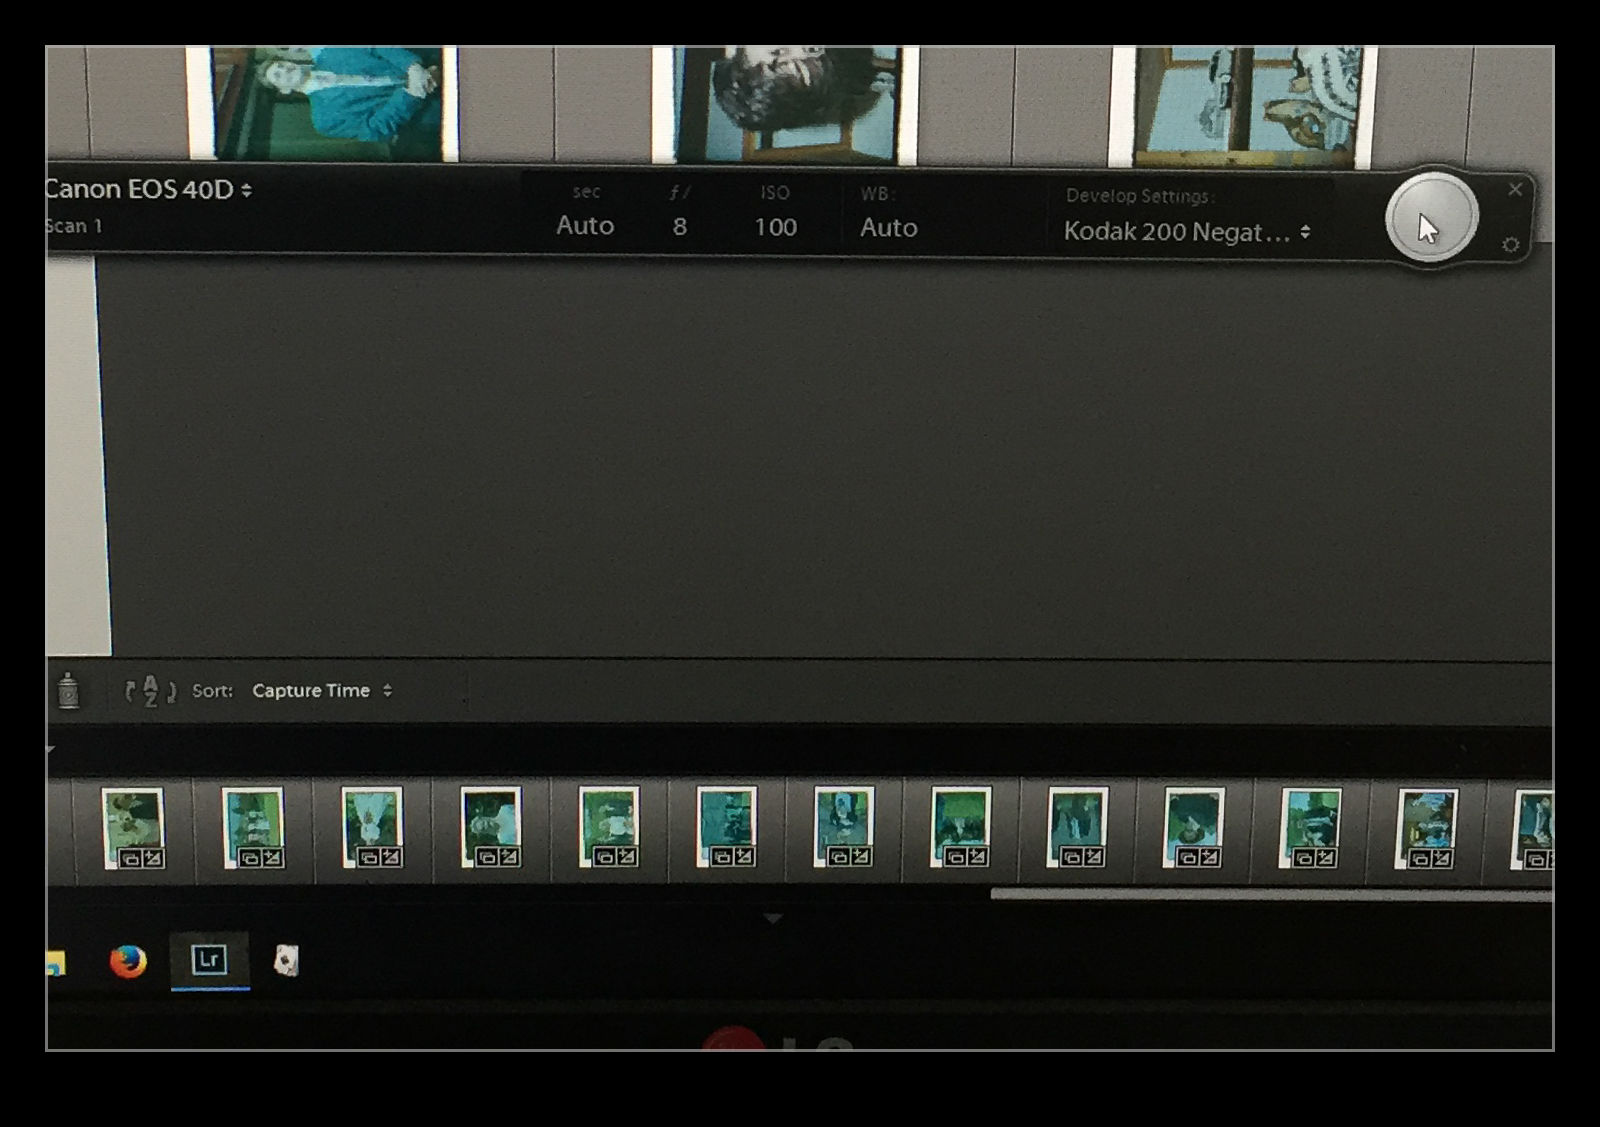 The image is now recognizable but not there yet. Now I have to do some manual manipulation to tidy it up. The sliders have to be used carefully in this case because they are now working in reverse as a result of the tone curve that I applied. This requires some thought. Exposure is still exposure but is reversed. Usually shots look a bit washed out so, what would normally by the Blacks slider is now the Whites. Shadows are handled with the Highlights and vice versa. It takes a bit of getting used to but it is not too hard after some practice. I tried using Auto Tone but it did not do a great job. I imagine the algorithms were not designed for operating in reverse!