 I am in the process of experimenting with a new approach to scanning old photographs. For many years I have been using a Minolta Scan Dual III scanner. It can accept strips of negatives or slides and does a reasonable job of scanning them in. It is a bit labor intensive and is certainly not fast. Moreover, the scanner is not terribly reliable and it will often hang mid scan requiring me to restart it and close down the application before restarting that too. Since it takes a long time, I often get it running and go and do something else so I might miss the problem.
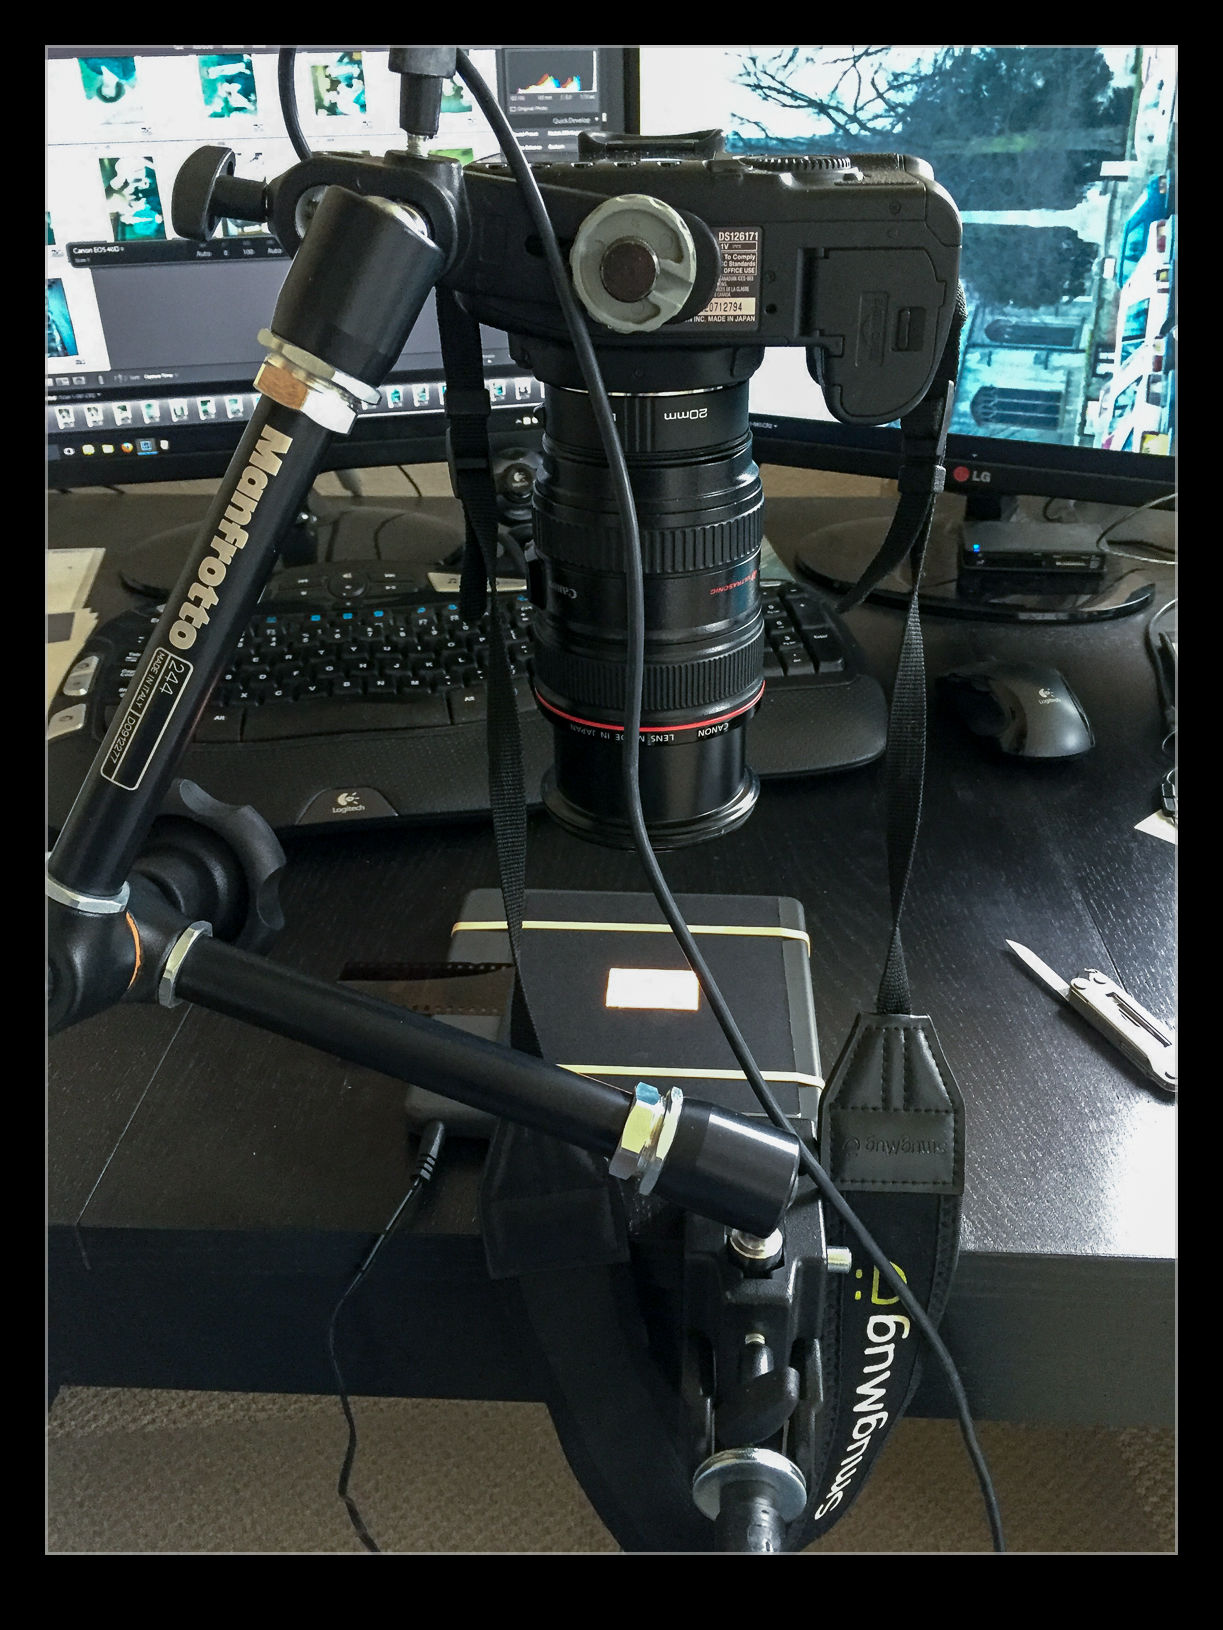
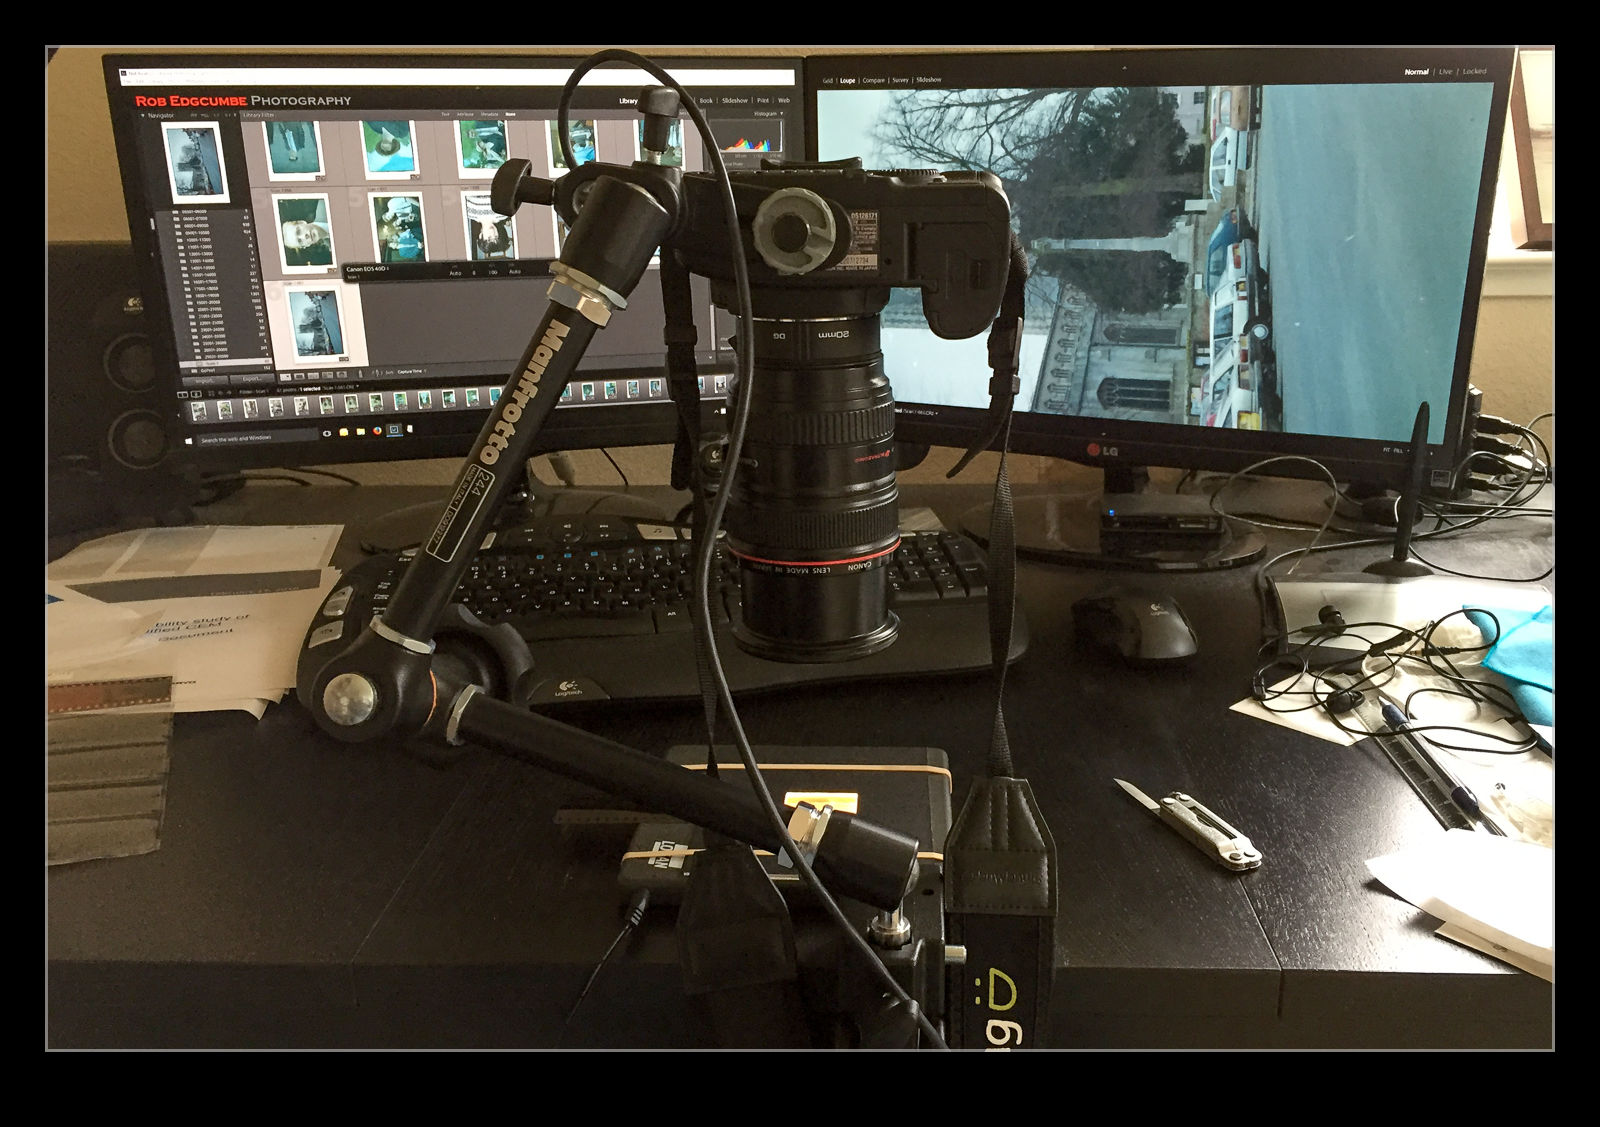
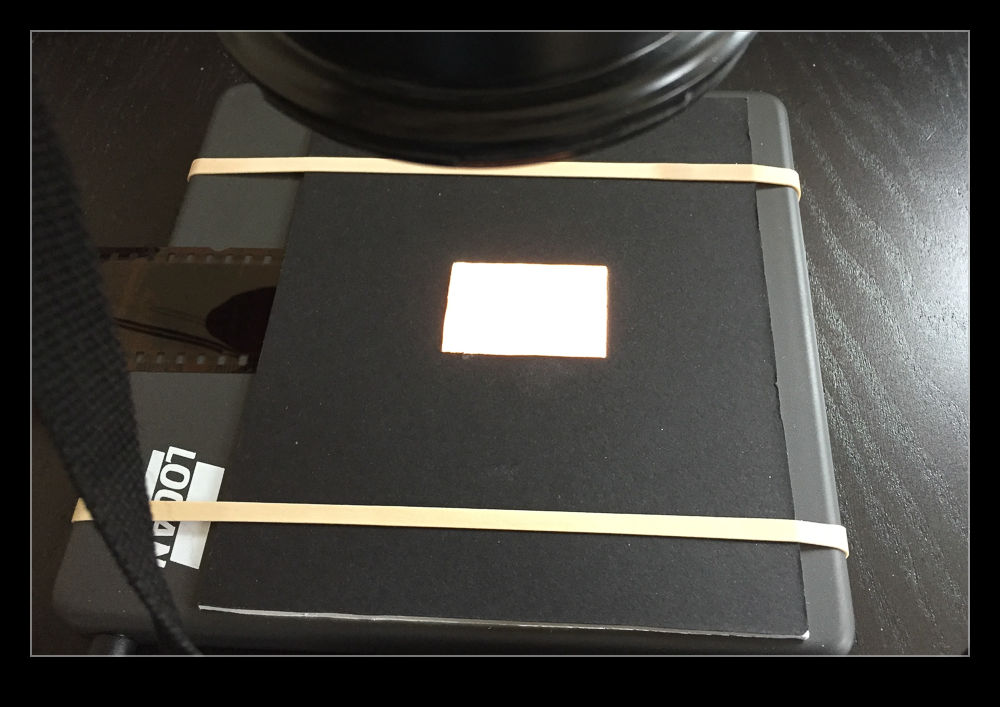
I do have another imaging tool that works very quickly. In fact I have several of them. These are my current digital cameras. I have bought a set of extension tubes to allow me to treat existing lenses as macro lenses. I have also acquired a small light pad. Cutting some card to shape means I can hold down any old negatives and view them through a hole with illumination from the light pad below. Mount a camera on an arm looking down on the pad and I now have a way to image the negative.
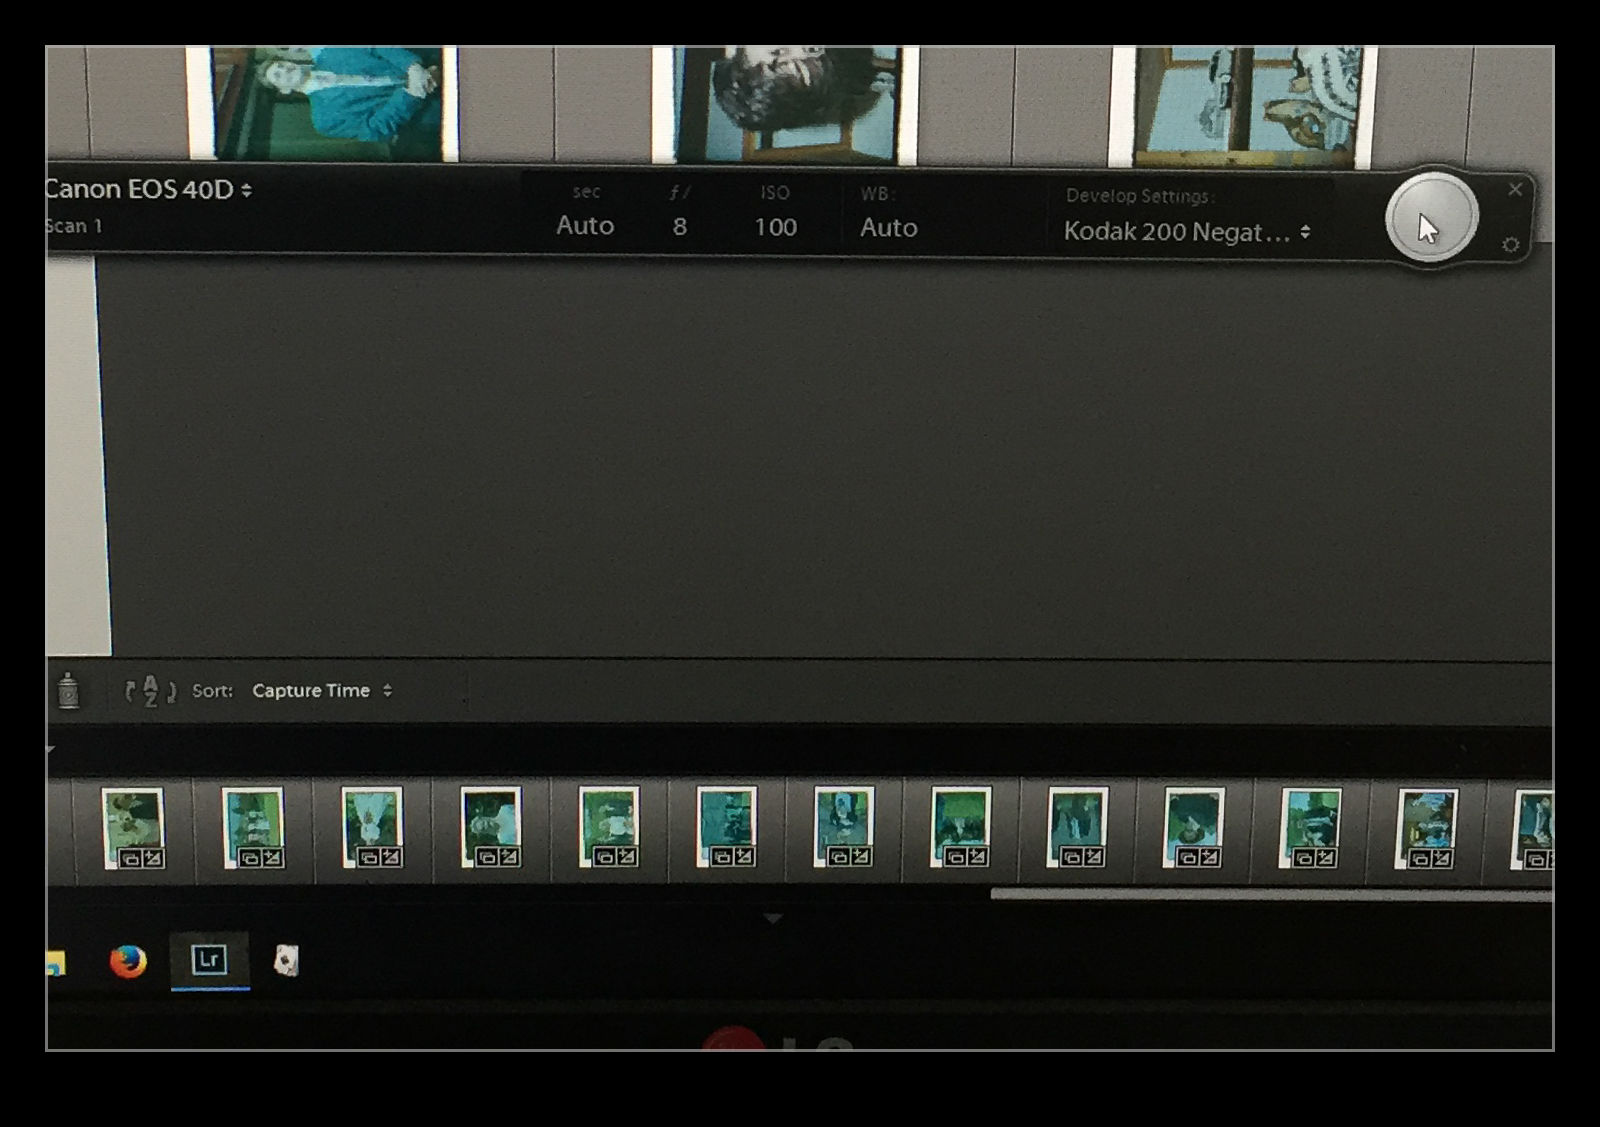
 I am taking the images at my desk so I am able to tether the camera to the computer and use Lightroom to capture the images directly. This has actually provided me with an opportunity to drag out one of my older bodies that doesn’t get used anymore. My old 40D has been sitting on a shelf for a long time but it has come back into use for this project. It has more than enough resolution for this task. (Unfortunately, the batteries are now rather old and don’t hold a charge well so I am going to get an AC adapter from Amazon for ten dollars which should free me to scan as much as I want.)
I slide the negative into the holder and check the rough alignment through the viewfinder. Fortunately, although it took me a while to find it, the 40D does have Liveview so I can make use of that to make sure the alignment is right. I use the trigger release in Lightroom’s tether dialog to take the shot to avoid disturbing the setup. If an image needs over or under exposure, I have to remember that it is a negative so I have to use exposure compensation in the opposite sense. The shot is imported straight in the Lightroom when it is taken. The first thing that I need to do is reverse the tone curve to change the negative to a positive. A white balance correction will take out the color cast of the negative and I now have an image to work with. I have a preset for given film types that does this during the import process.
 The image is now recognizable but not there yet. Now I have to do some manual manipulation to tidy it up. The sliders have to be used carefully in this case because they are now working in reverse as a result of the tone curve that I applied. This requires some thought. Exposure is still exposure but is reversed. Usually shots look a bit washed out so, what would normally by the Blacks slider is now the Whites. Shadows are handled with the Highlights and vice versa. It takes a bit of getting used to but it is not too hard after some practice. I tried using Auto Tone but it did not do a great job. I imagine the algorithms were not designed for operating in reverse!
With everything set up, I can work through a shoot very quickly. Choosing which ones to ignore and reshooting if something doesn’t look right can be done pretty much on the fly. Is the image quality great? It’s okay but not amazing. However, many of the originals are not that great either. For the majority, it actually does a pretty decent job and sets me up for something that I can do more work on if I need to. It is a big improvement on my previous approach and now I will make quick scans when I need them rather than be dreading the time involved and avoiding all but the must have shots to save time.