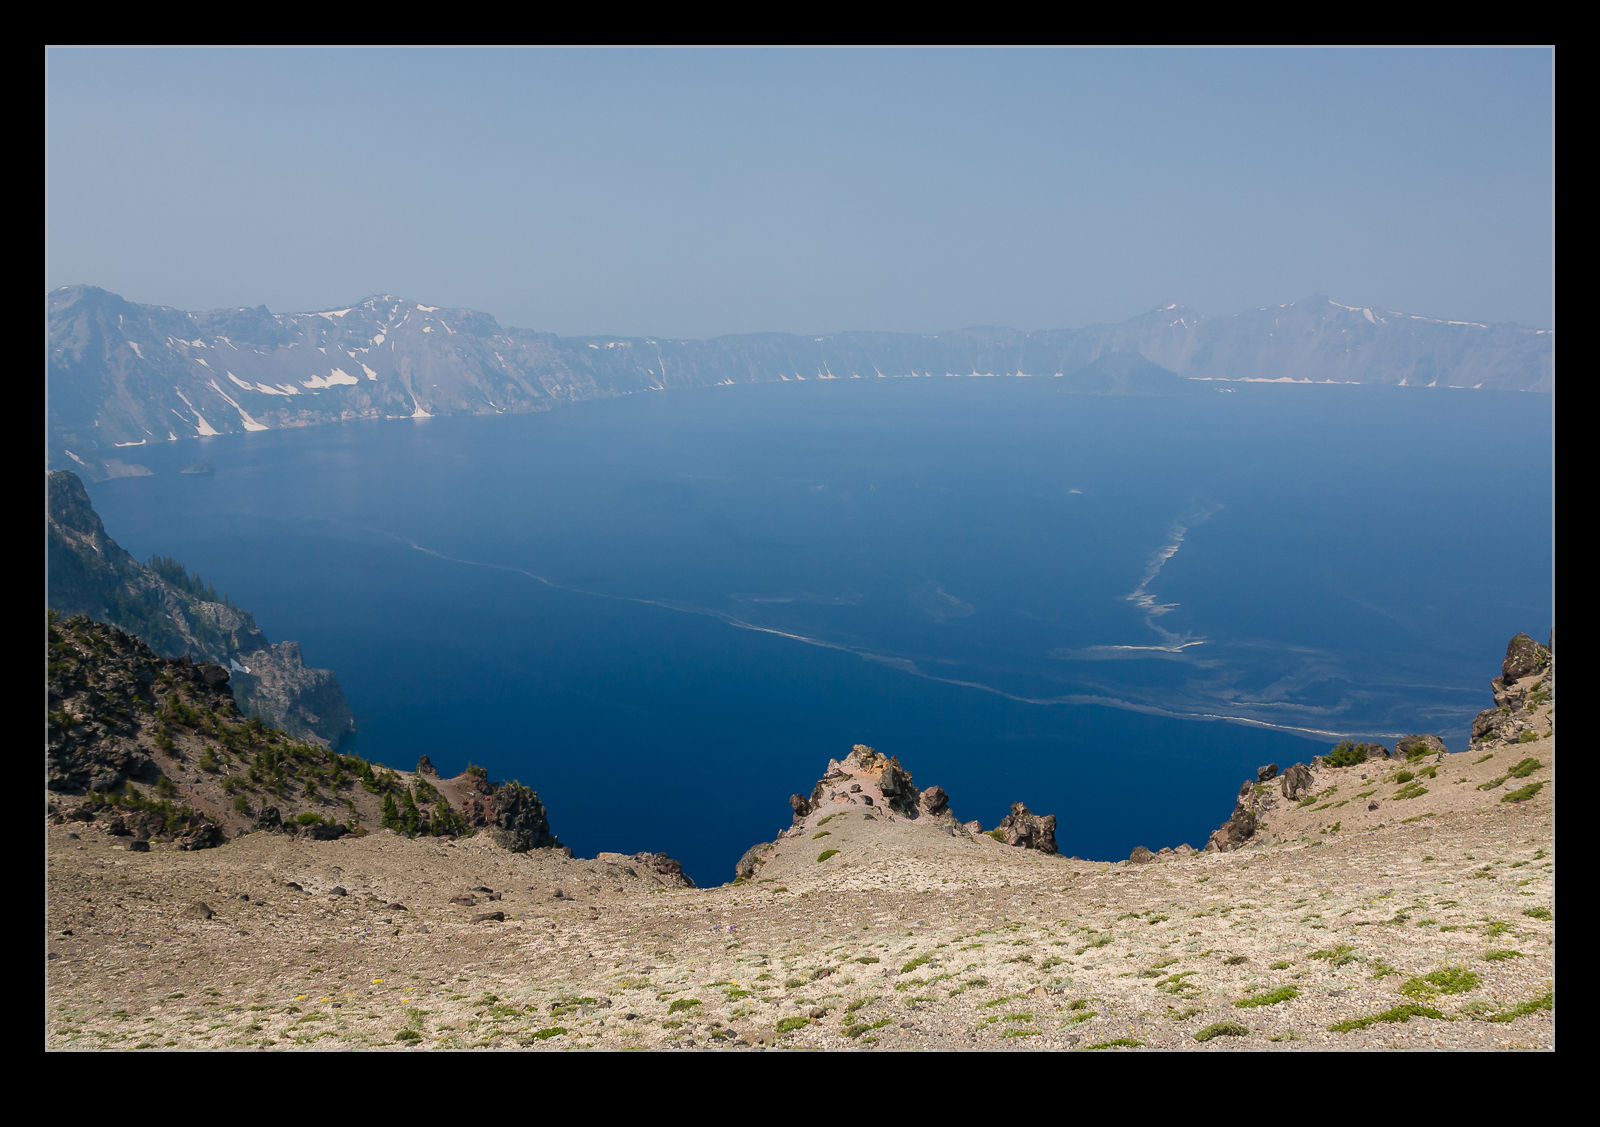
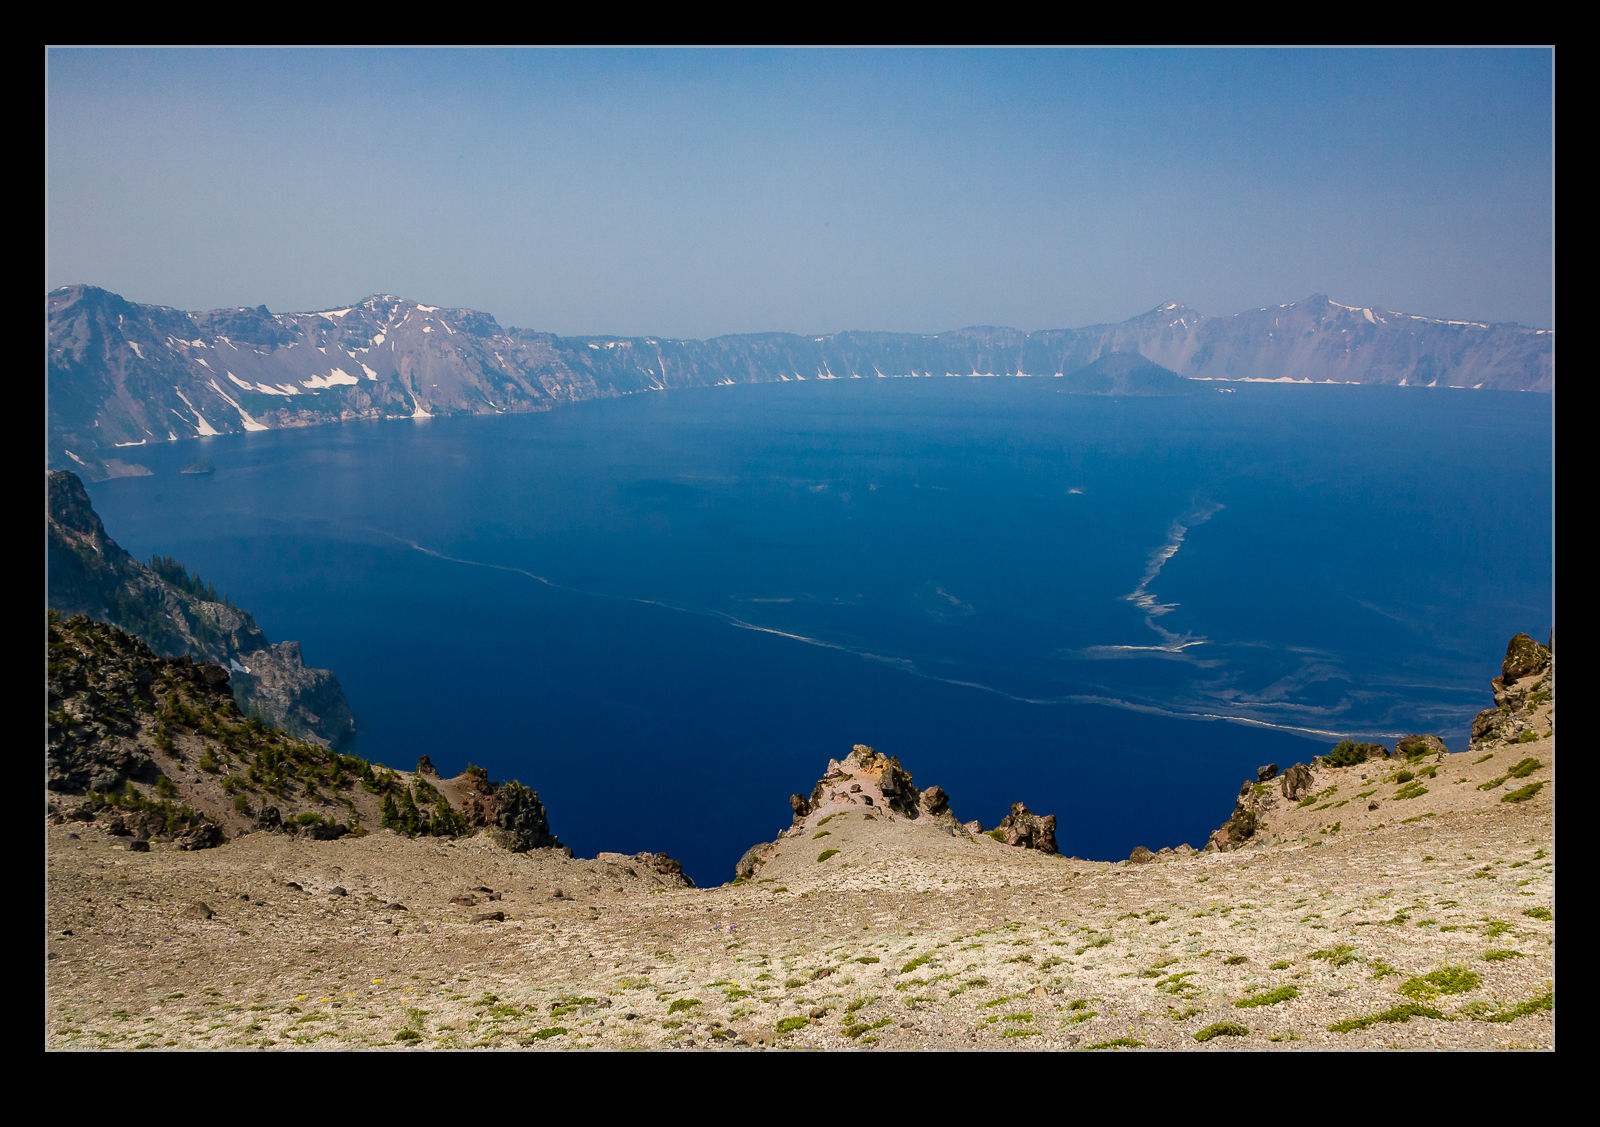
A slight change in direction today. I am going to talk about a post processing tip that I recently read in the NAPP magazine, Photoshop User. It was a tip about how to manage dust in images. This may be something that everyone knows about in which case I apologize for being late to the game.
Dust is a familiar problem to a lot of photographers. It isn’t familiar to a lot more but it should be given the number of shots you can see that have dust spots all over them. Cameras have got better in recent years with the addition of dust cleaning functions that shake the dust off. However, not all cameras have them and they don’t always work perfectly.
When shooting aircraft against a blue sky, dust spots can be particularly conspicuous. If the area with the spot already has a lot of detail in it, the chances are you won’t notice it – particularly if the aperture is reasonably wide. In that case, you don’t really have a problem. The difficulty with dust spots is that you can get to a point where you cease to be able to see them.
Lightroom has a nice feature to assist in dust spotting. If you zoom in to 1:1 view in the Develop module and press Page Up or Page Down, you can look at the whole image to use your spot removal tool. As it moves down to the bottom of the image, another press of the button will move you across and back to the top so you cover the whole image without having to think about it. In the past, I have used this technique combined with really ramping up the Blacks slider to make the dust show up. Even then, the results are not always perfect.
The tip from the magazine was the creation of two Tone Curves to help show up the dust. I will describe the creation of the curves at the bottom since it is a bit long-winded and many may not be interested. The two curves when applied to the image create a very freaky effect. You could actually think of it as a creative finish itself but I will leave you to decide on that one. You can save the curves as a preset and use them whenever you need them. (I assume you can do this too in Camera Raw if you are using Photoshop since ACR and Lightroom use the same processing.)
The colors will be really messed up but the effect will make the dust spots really jump out of the image. You might wonder why there are two curves but, interestingly enough, some spots will show up clearly with one curve but barely at all with the other. I tend to apply one curve and run across the image, then apply the other curve and run back the way I came. It really doesn’t take very long to do.
One thing to bear in mind with this. The technique finds dust spots you had no idea were there. You will start to think that your sensor is filthy. Yes, it is – BUT – most of this stuff is totally invisible. Don’t get paranoid. You can get messed up with this. I had some shots of a vintage prop aircraft and the slow shutter speeds had resulted in small apertures and more conspicuous dust. I ended up with so many spot removal edits that the image rendering took a lot longer than normal. I suspect I had gone overboard with those shots.
Do you have to do this with all shots? Nah. However, if you are planning on doing something significant with the shots and you are concerned to keep dust spots out of the image, this could be a good way for you to find the dust more quickly and get back to what you really want to be doing rather than hunting for dust which, I suspect, is not most people’s favorite task.
Creating the Curve:
The curves are reversed versions of each other. One of them starts at 0,0 and the other starts at 0,100. Create a point at each 10% across the x-axis with each point alternating between 0 and 100. You then have a very aggressive looking sine curve (or cosine curve for the alternate I guess).
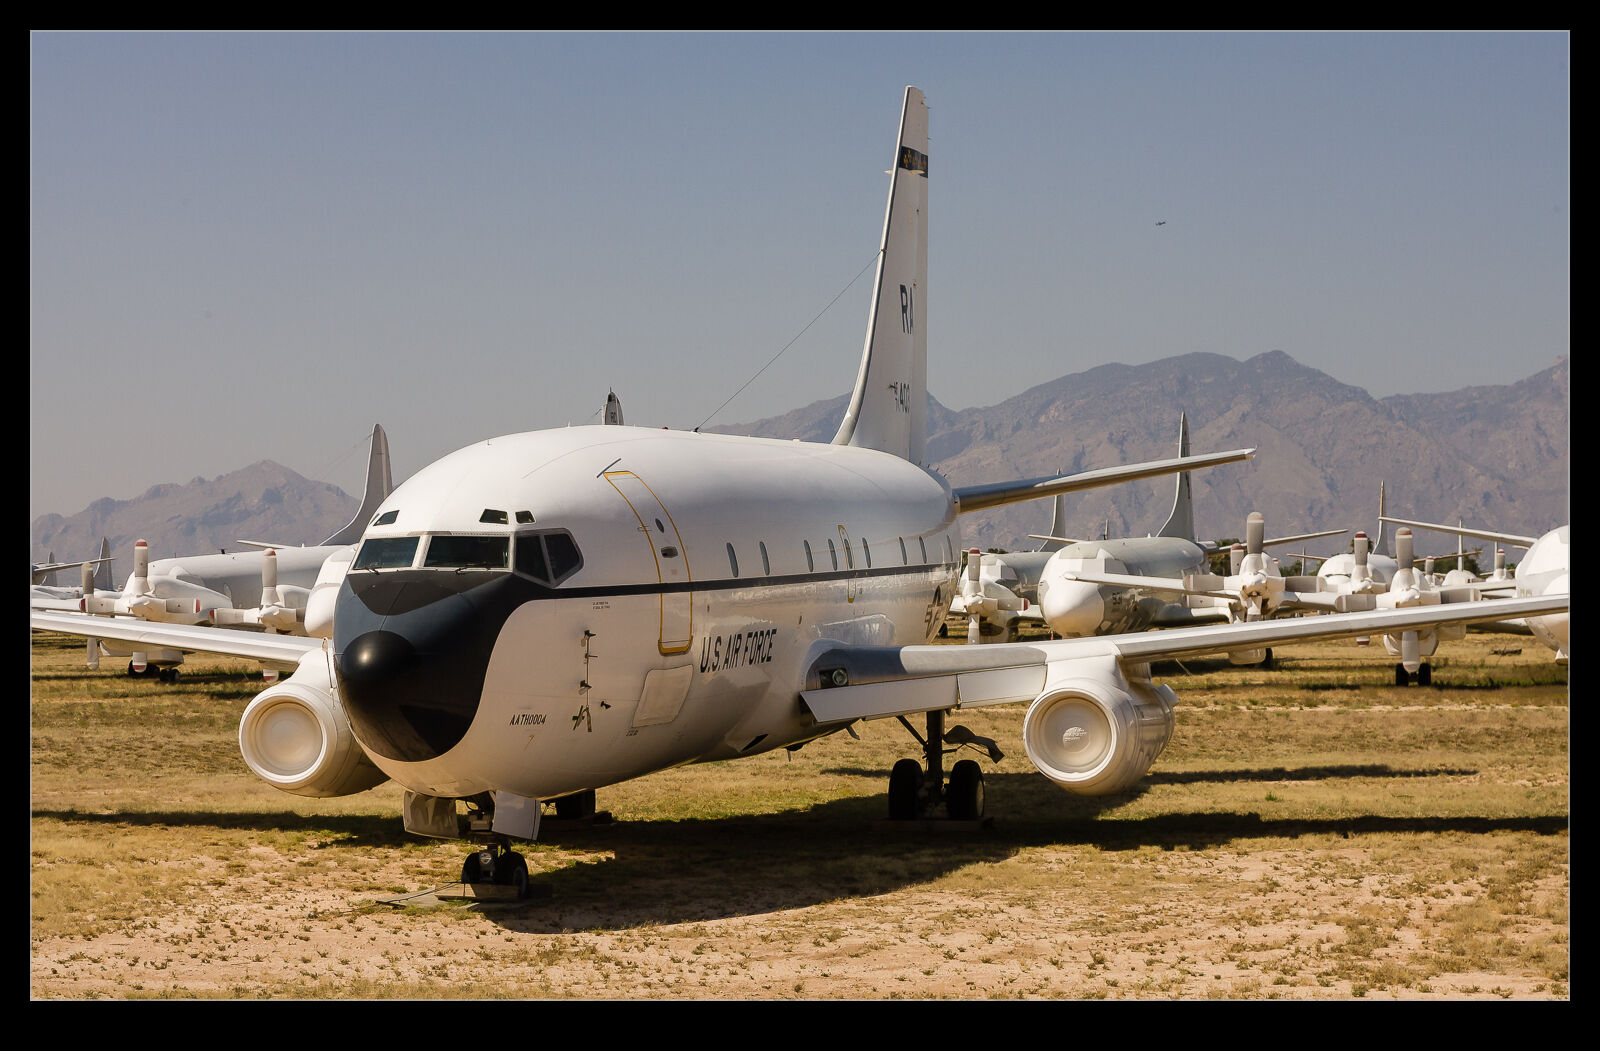
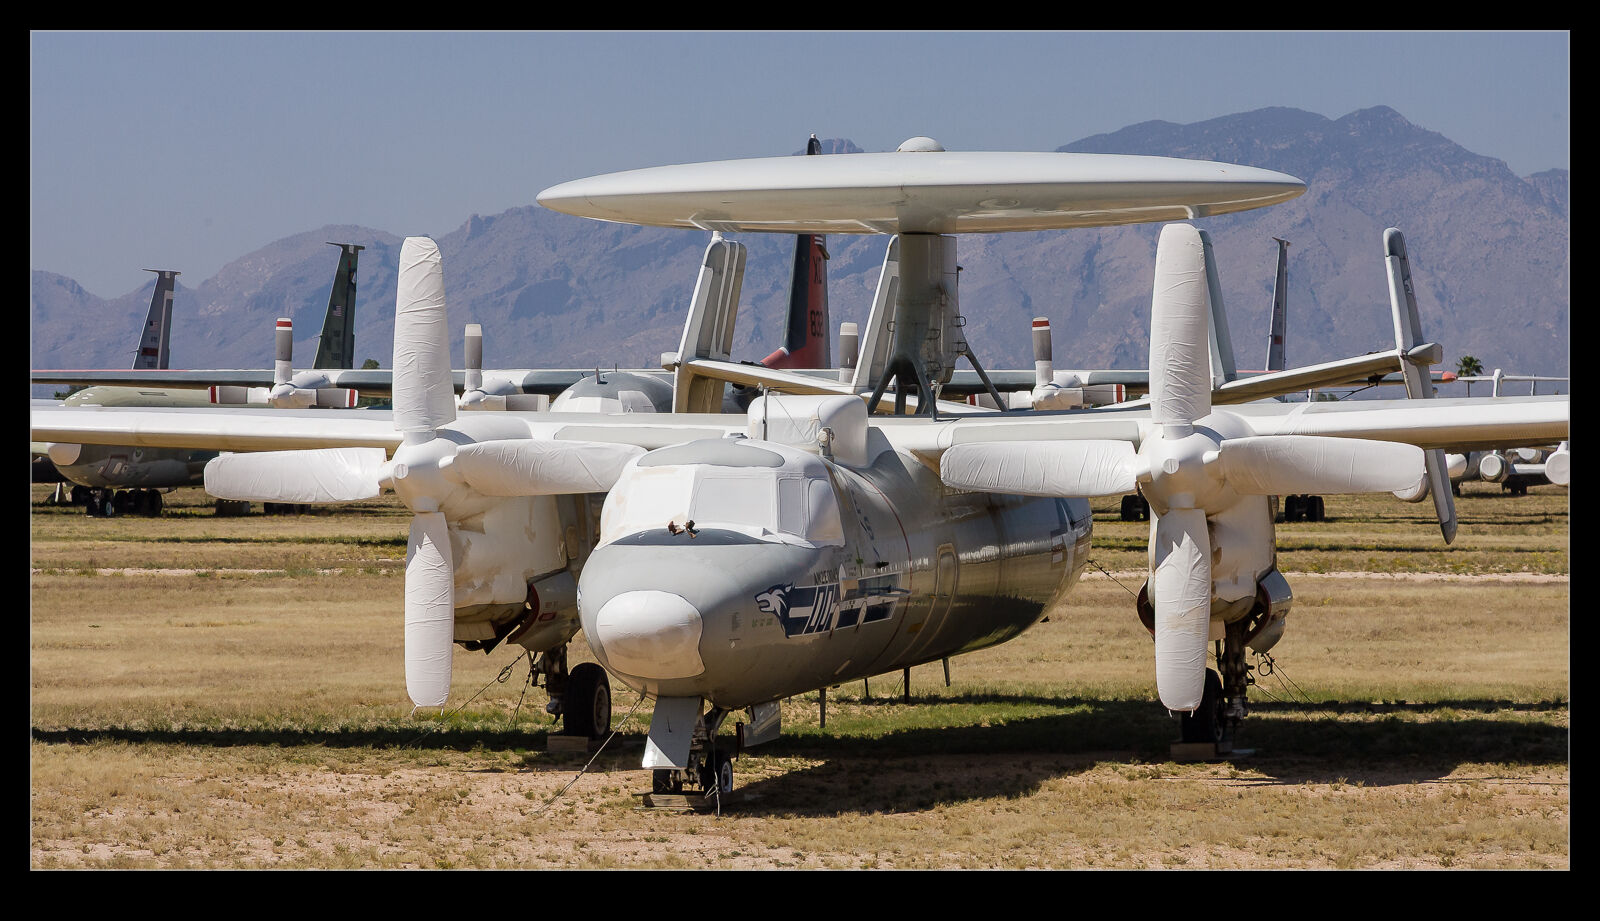
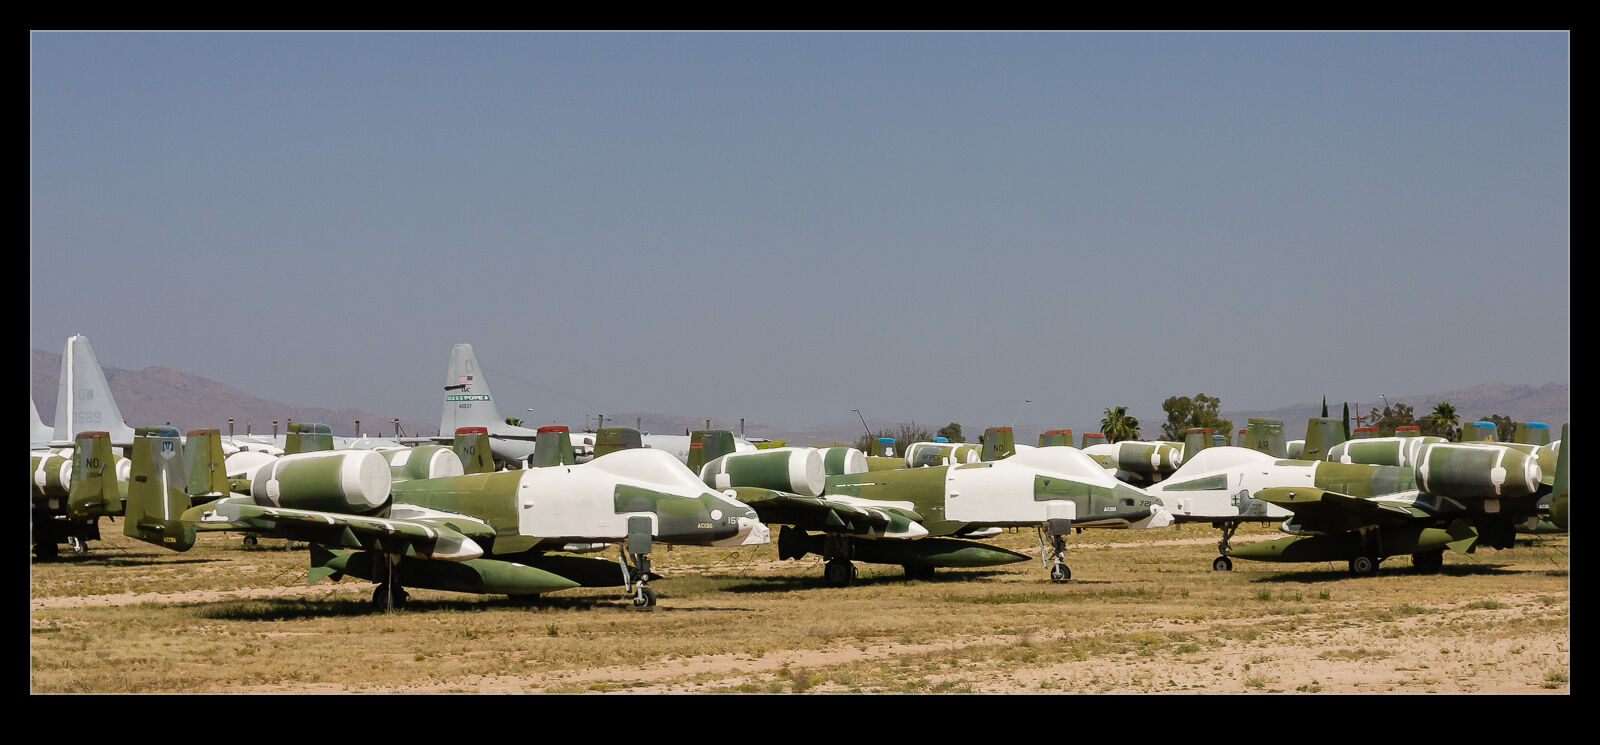
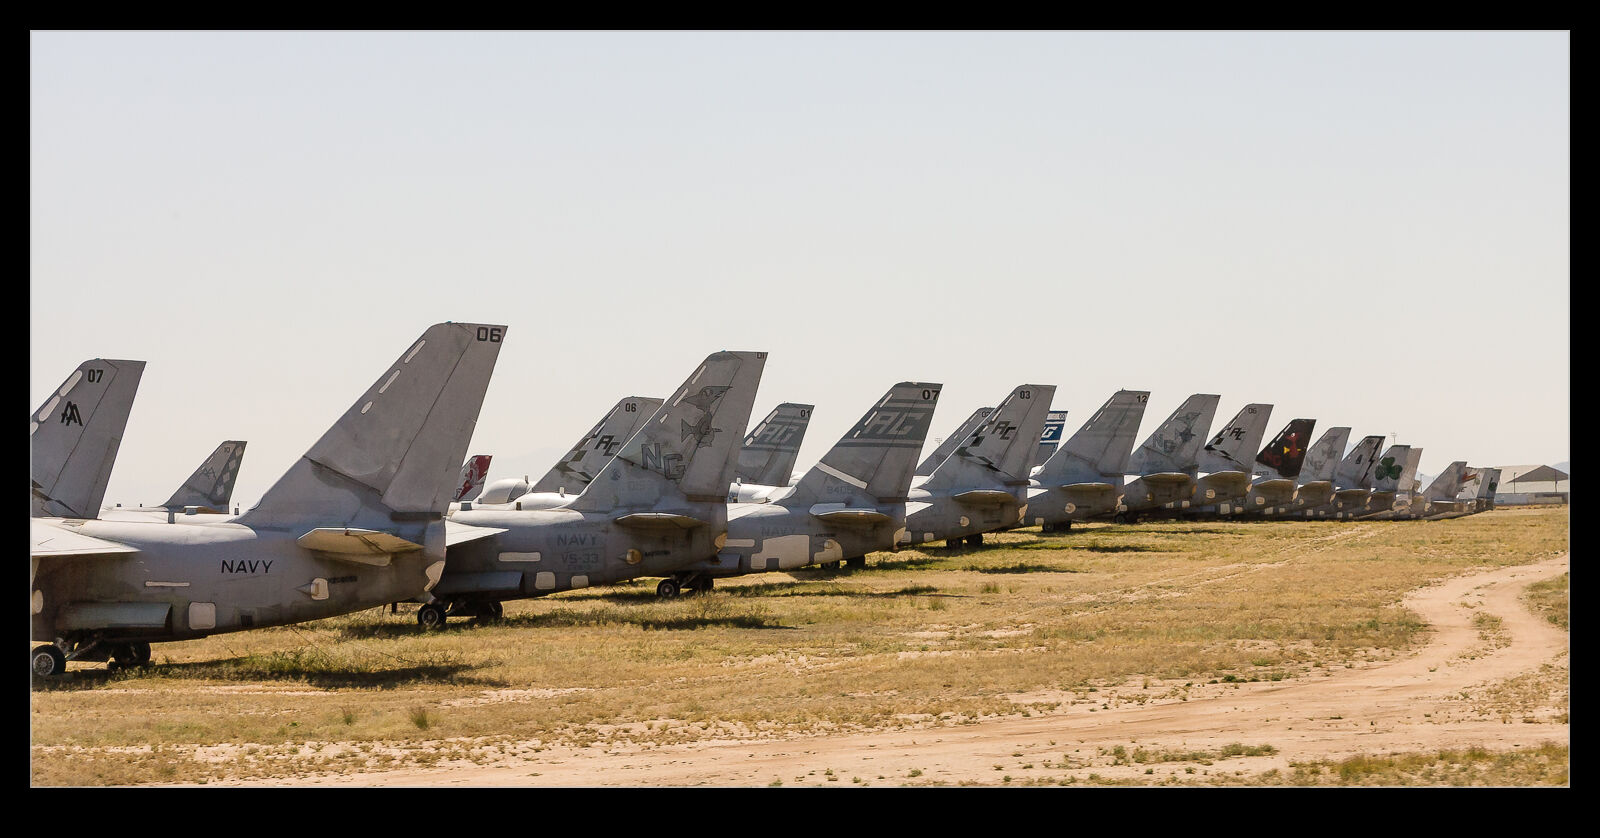
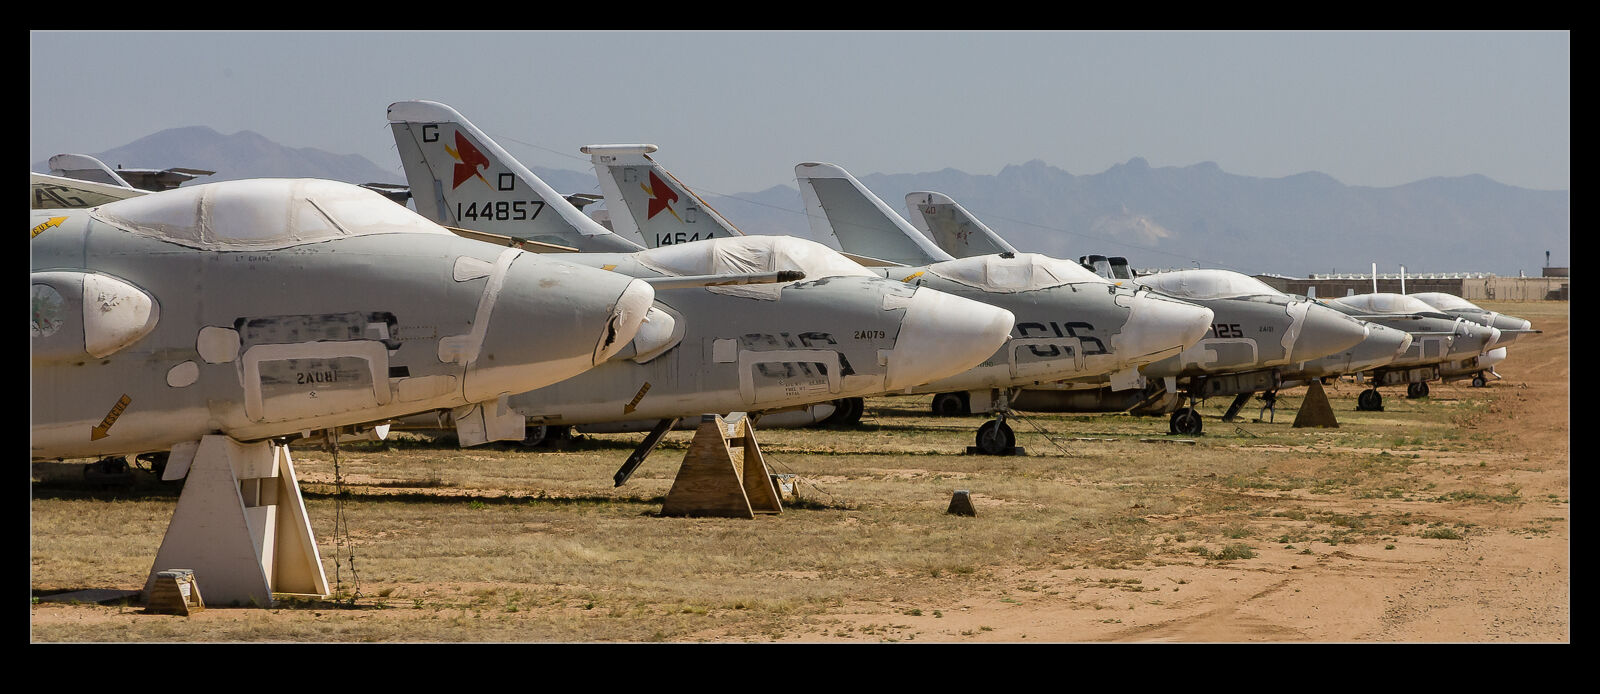
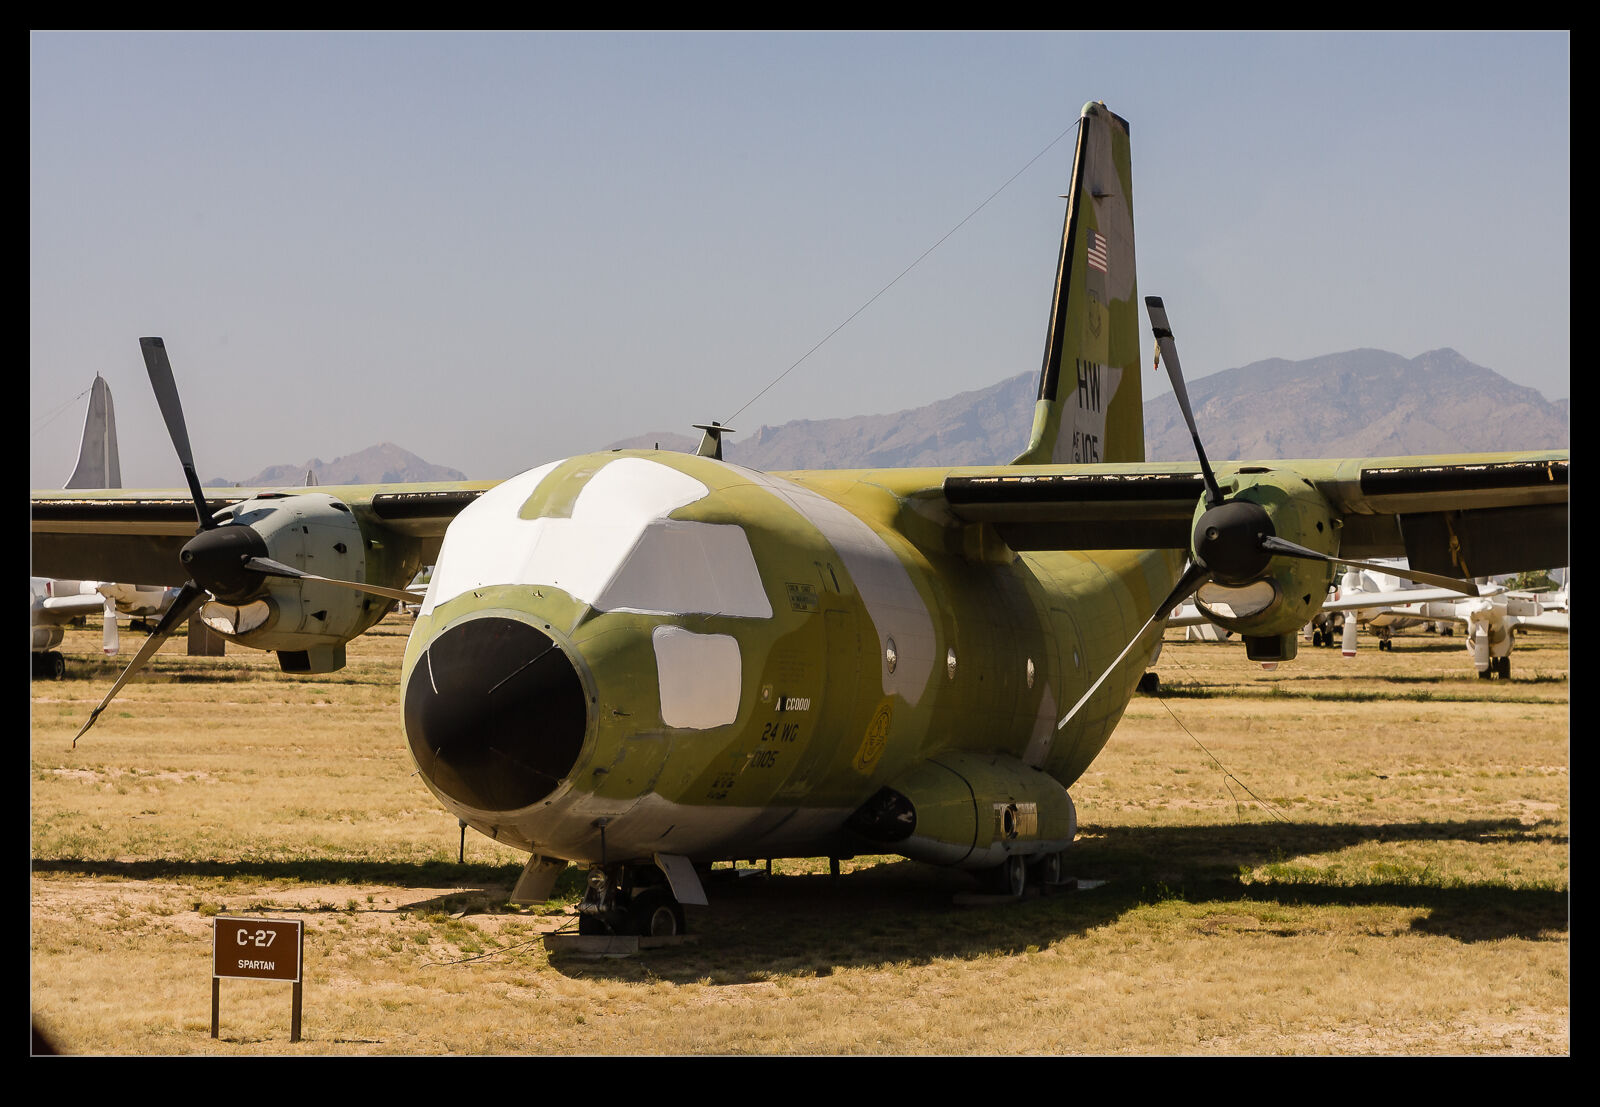
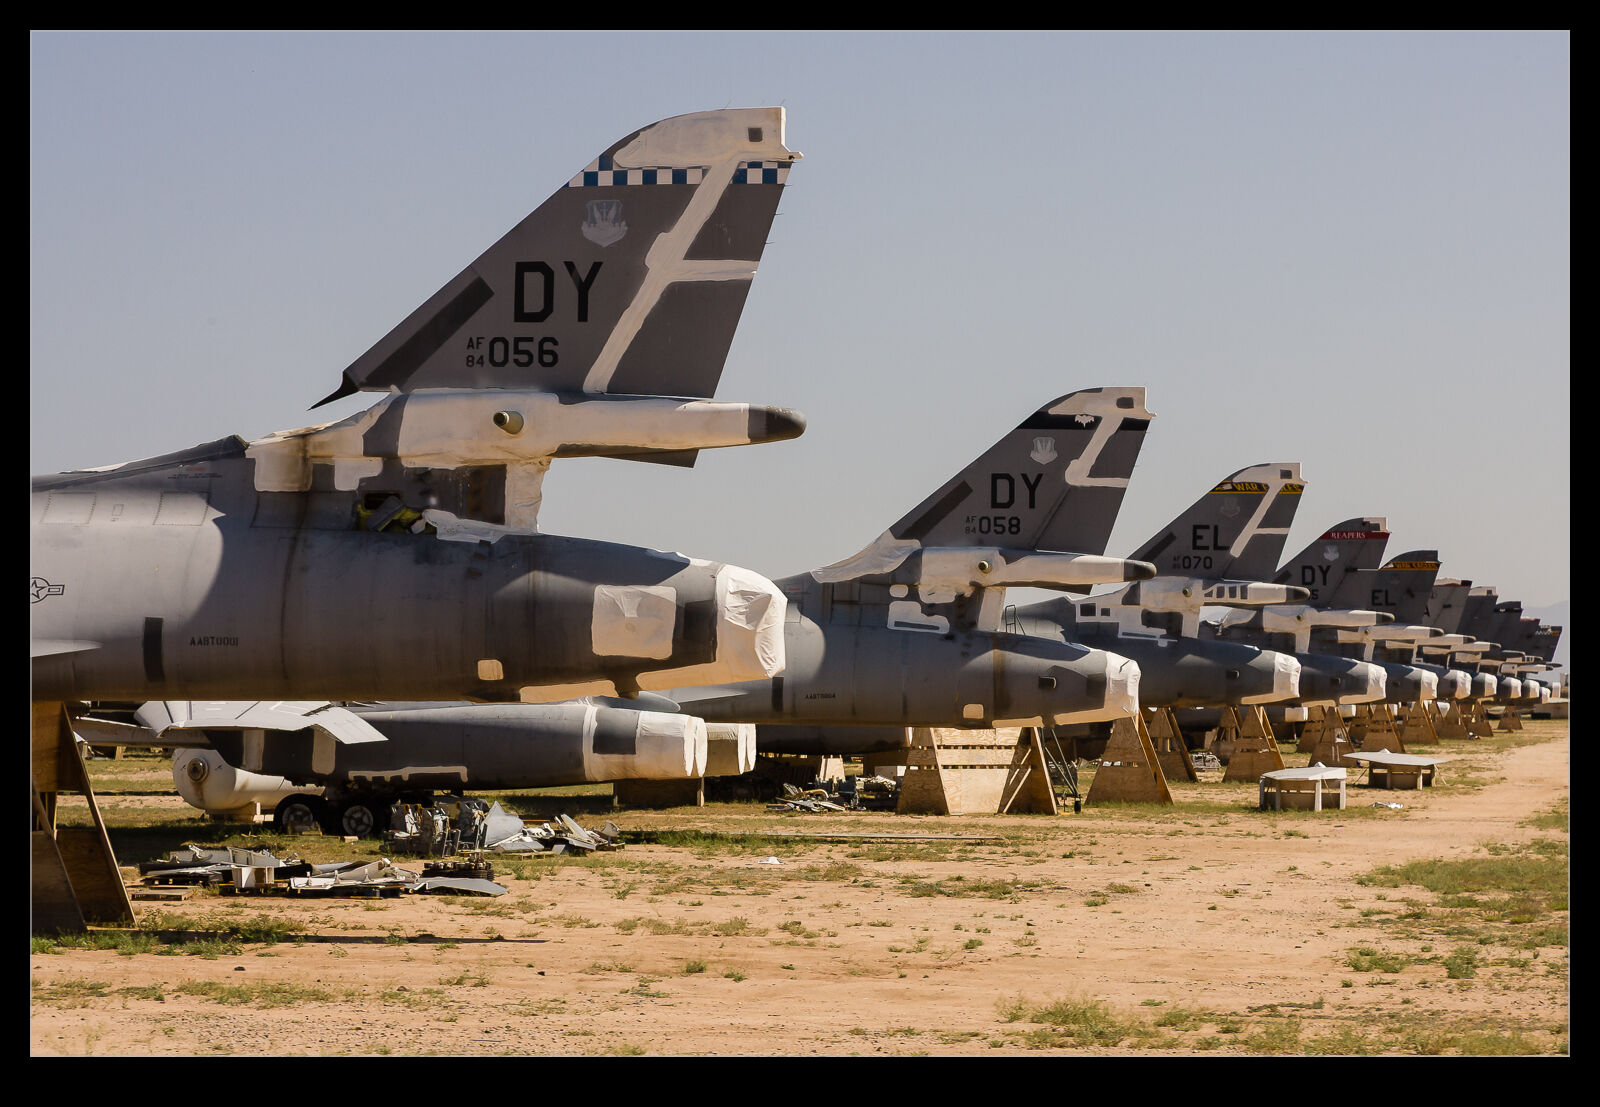
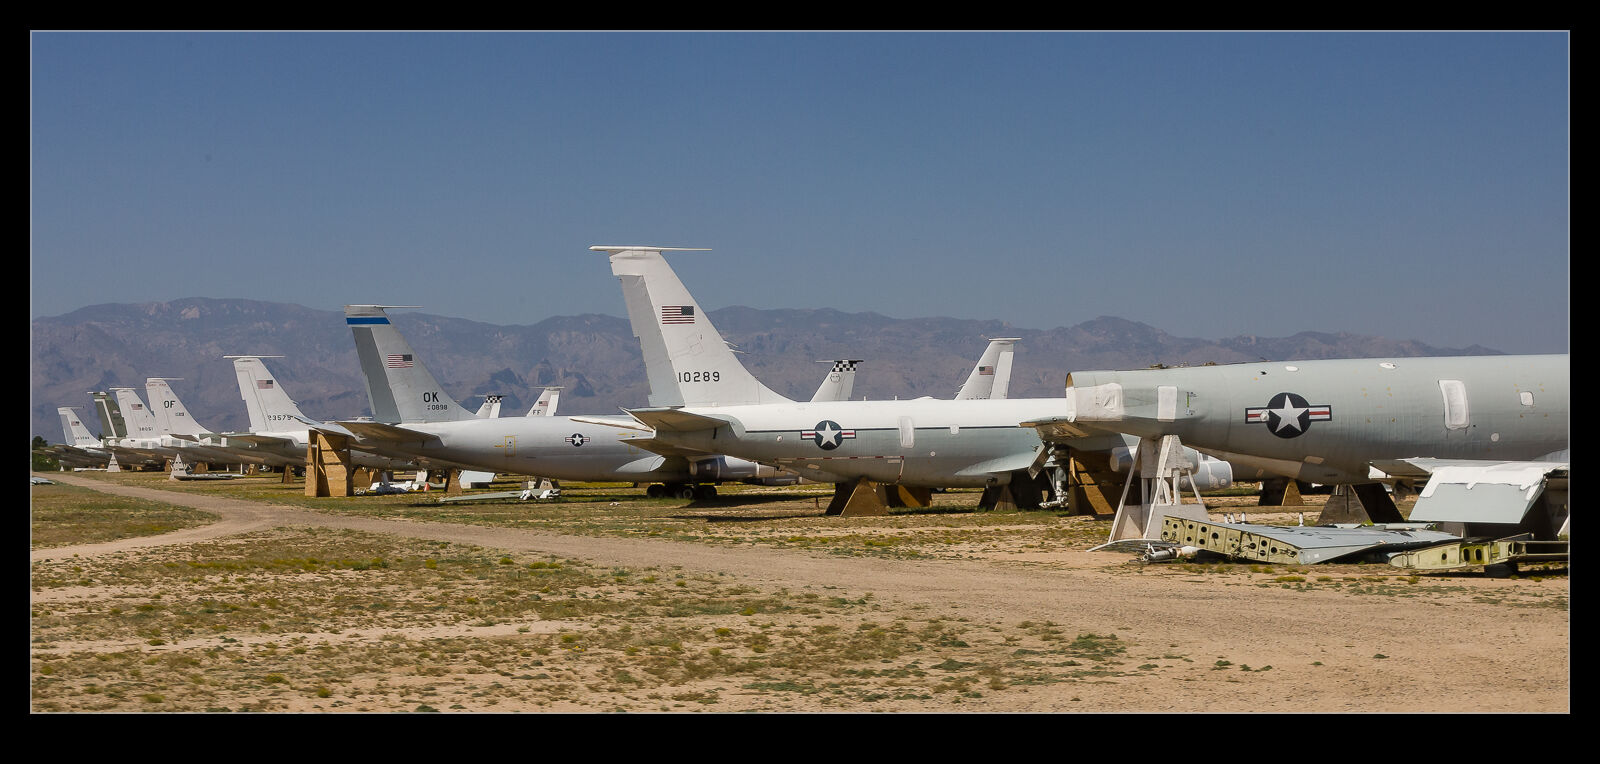
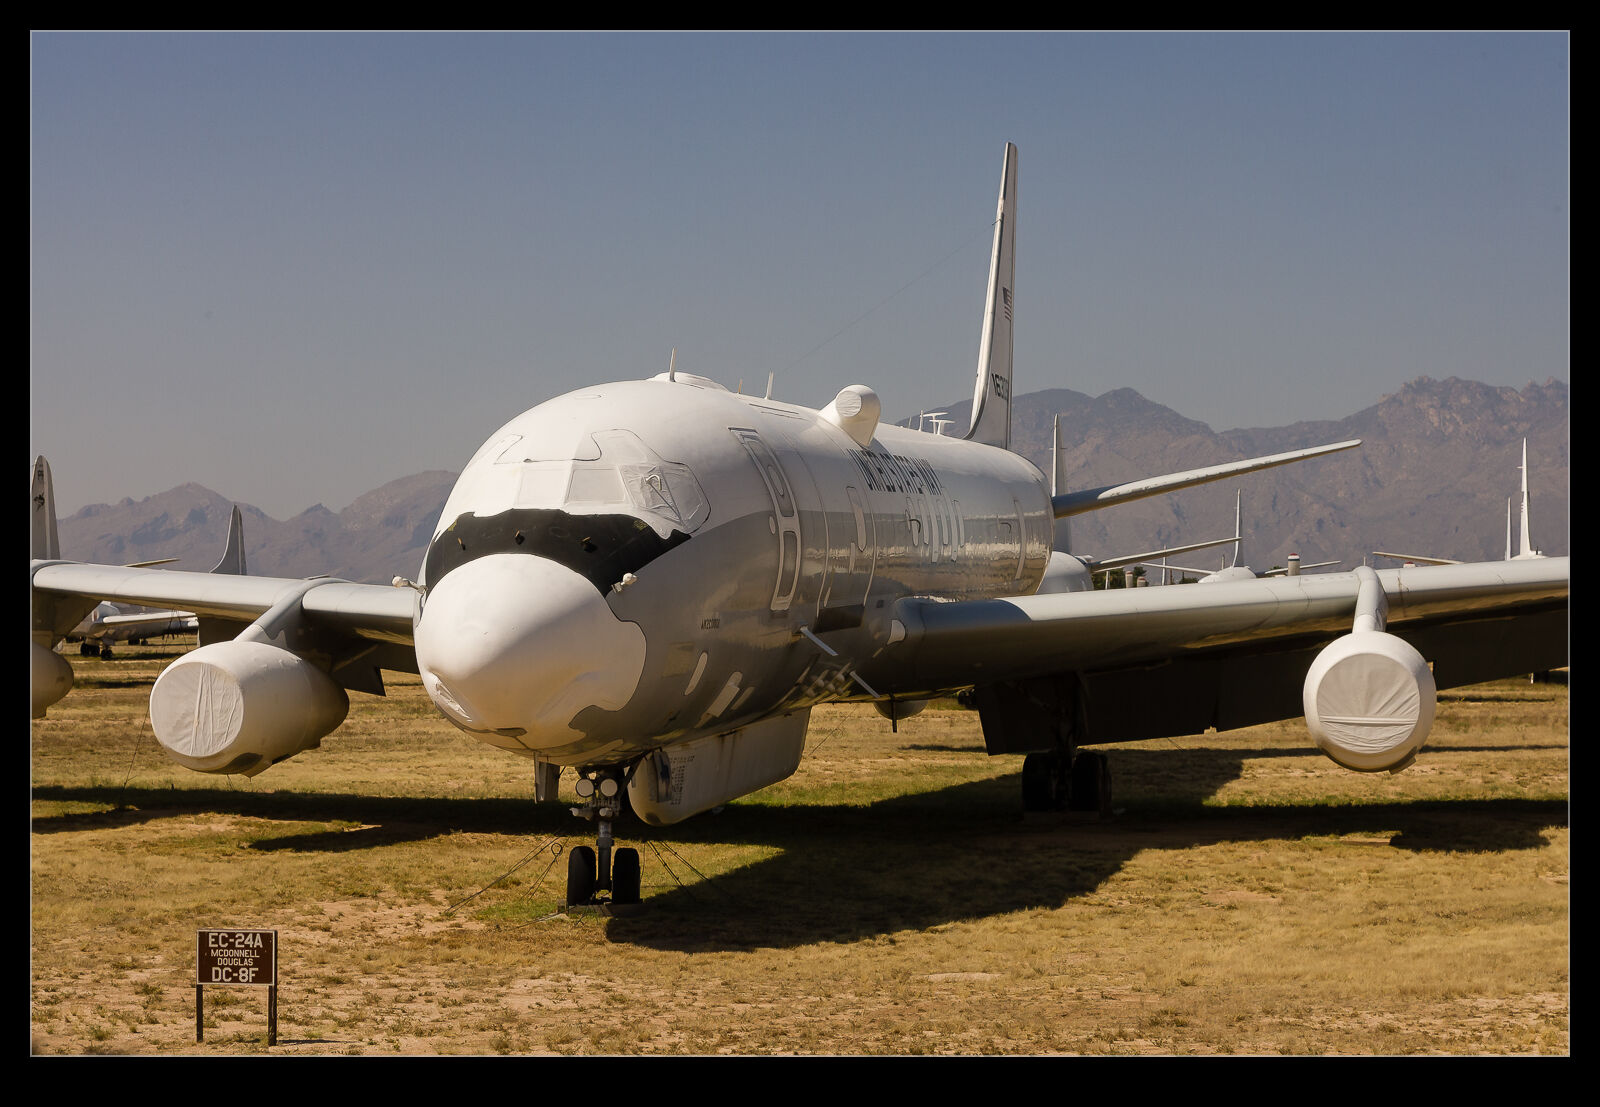 I have been a bit critical of the reflection removal tool in Lightroom but, while it seems to have become less effective on some shots, it still can do the job on others. This got me thinking back to my visit to Davis Monthan AFB’s storage facilities in the days when the Pima Museum was still able to operate a bus tour of the rows of stored aircraft.
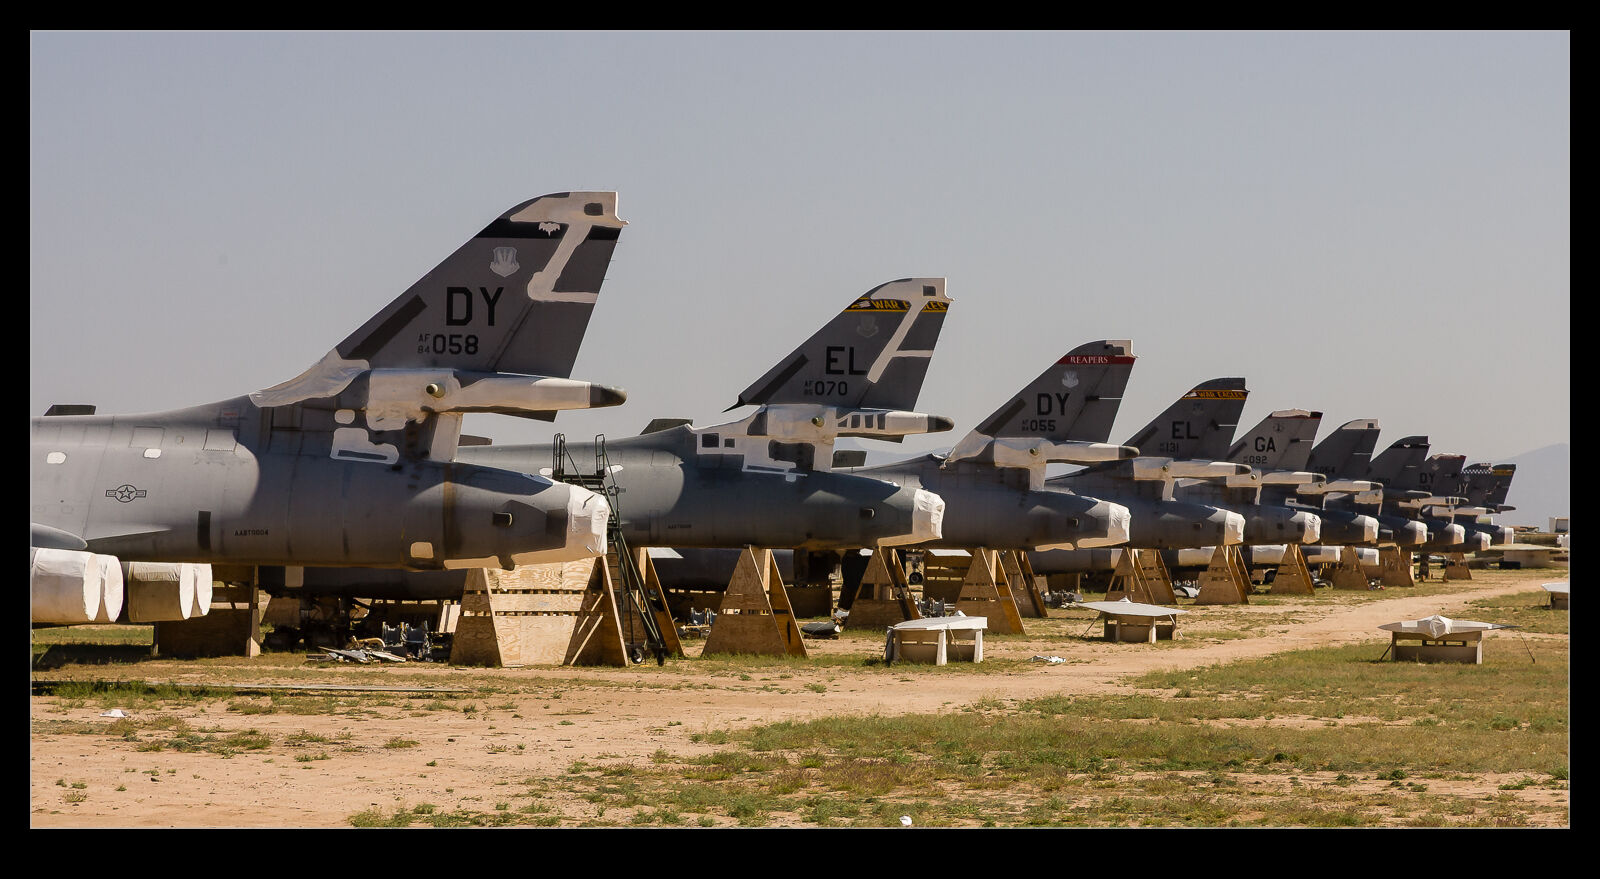 I tried my best to get clear shots through the windows of the bus and often did okay. However, when something of interest was on the opposite side, I was taking a lot more chances when trying to get a shot without any reflections in it. A friend of mine, Karl, regularly posts images from the day and month many years before and he recently had some DM shots, and this was what triggered this idea. I worked my way through some of the original shots that I wouldn’t have previously used because of the reflections. I managed to rework some of them to make something far more usable.