 In previous posts I have described my efforts at scanning old negatives using a digital camera, macro lens and a light table. I have had mixed success with the process for converting the negatives into positives with some films responding better than others. I was okay with the output but thought things could be better. A YouTube video showed up on my page that was about scanning negatives with a digital camera and I decided to watch to see if they did anything different to me. The technique for shooting the negatives was similar enough but they introduced me to a Lightroom plugin called Negative Lab Pro.
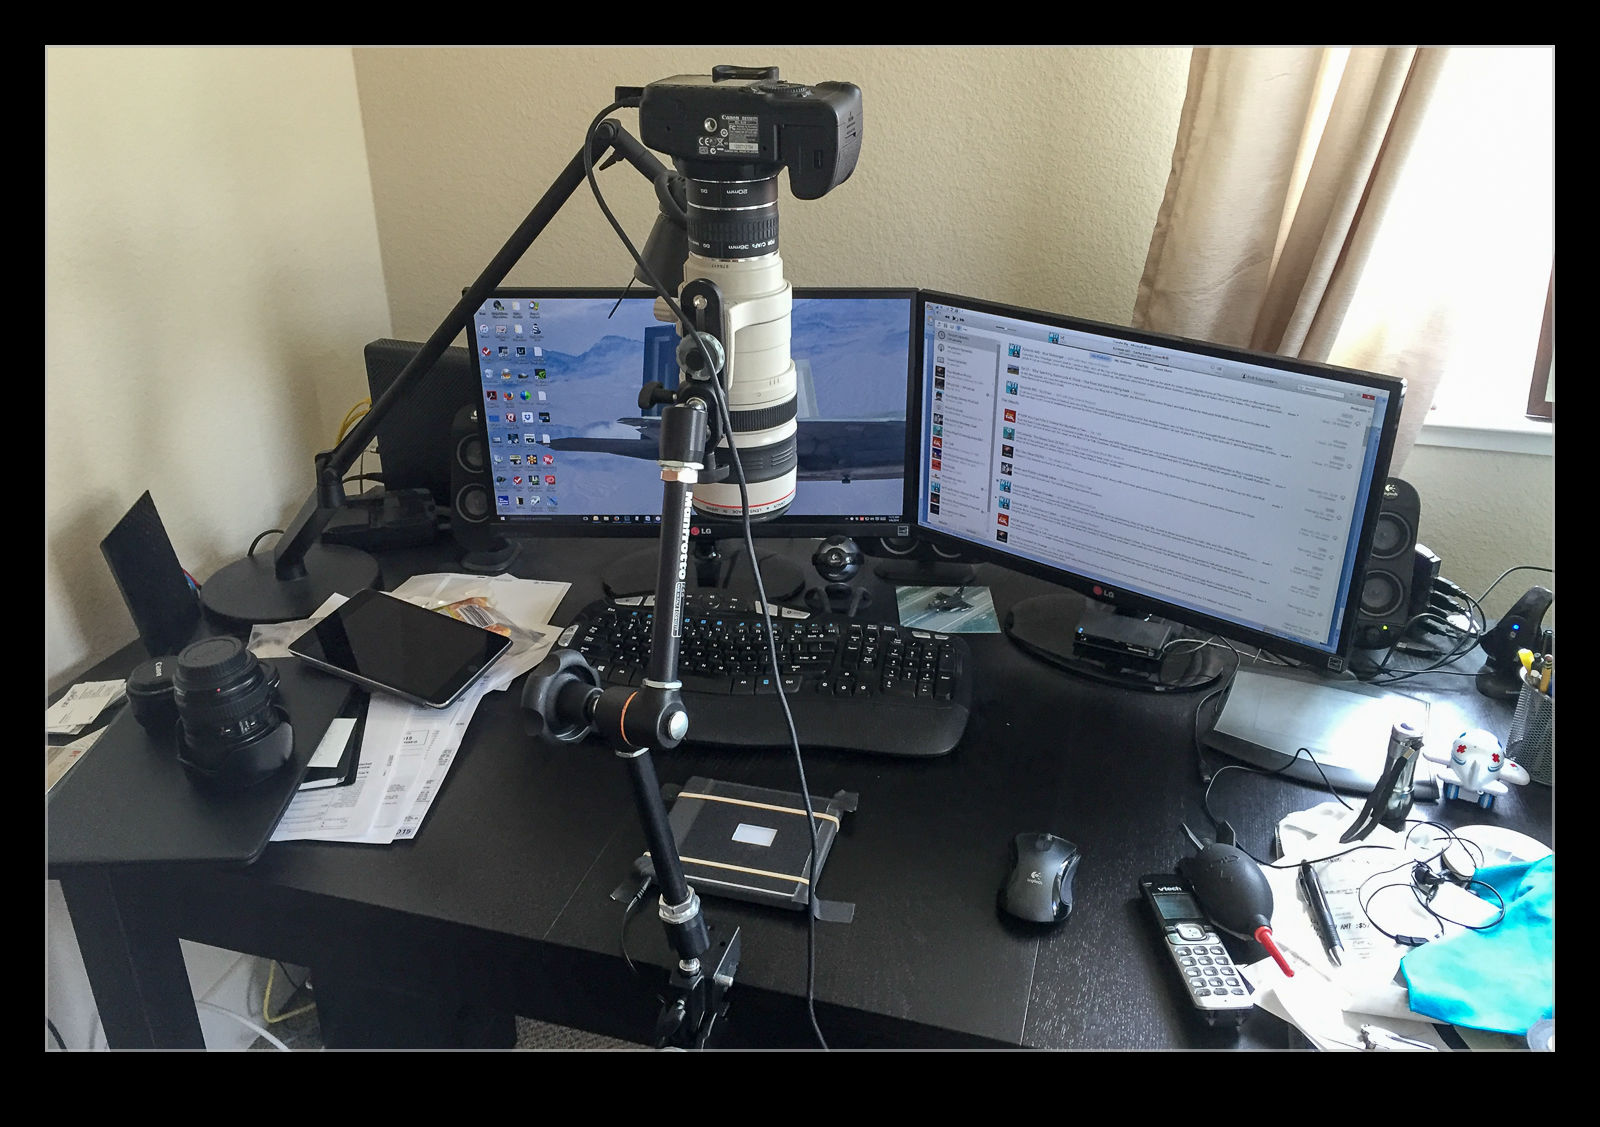
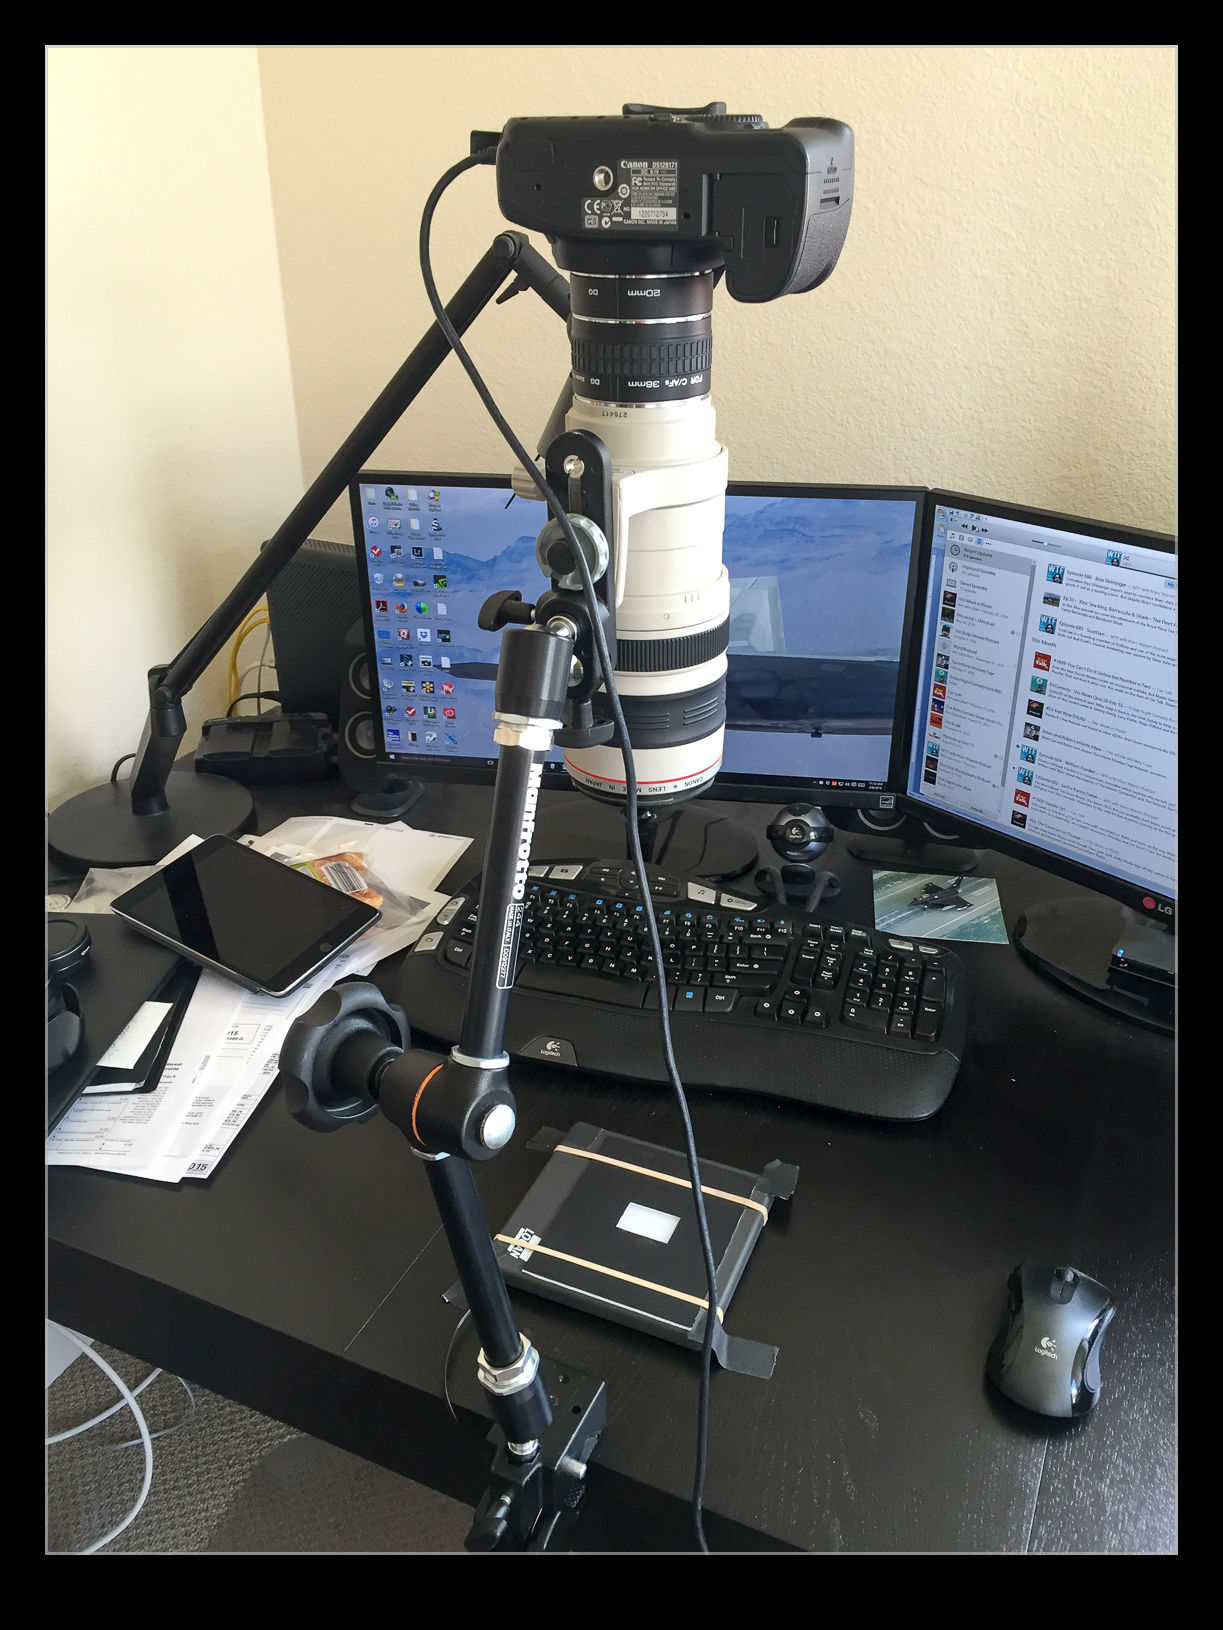
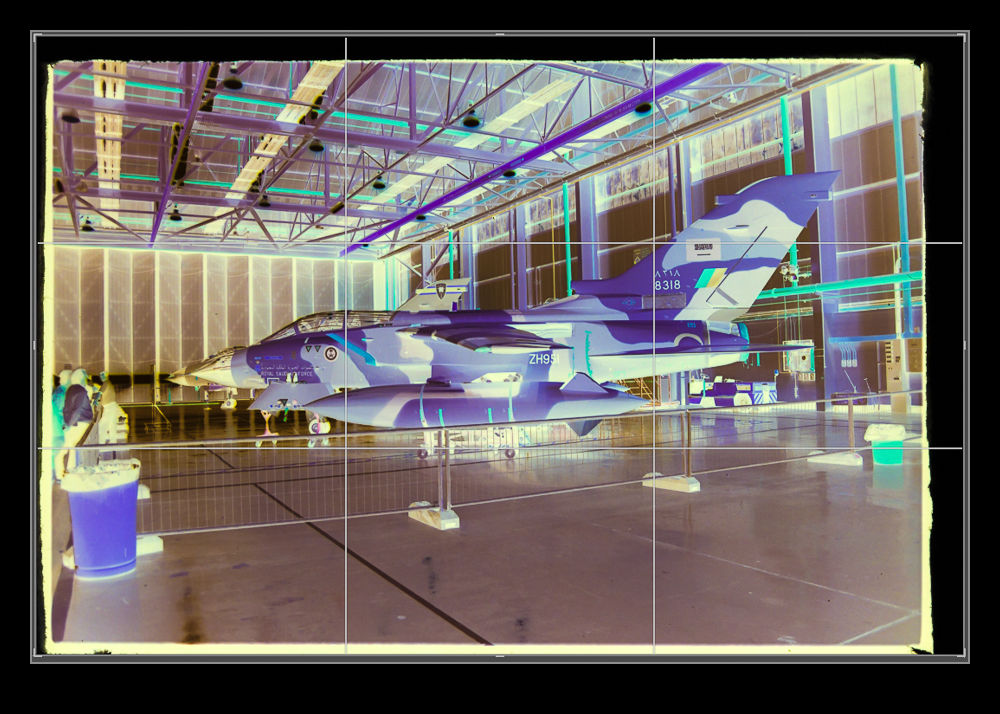
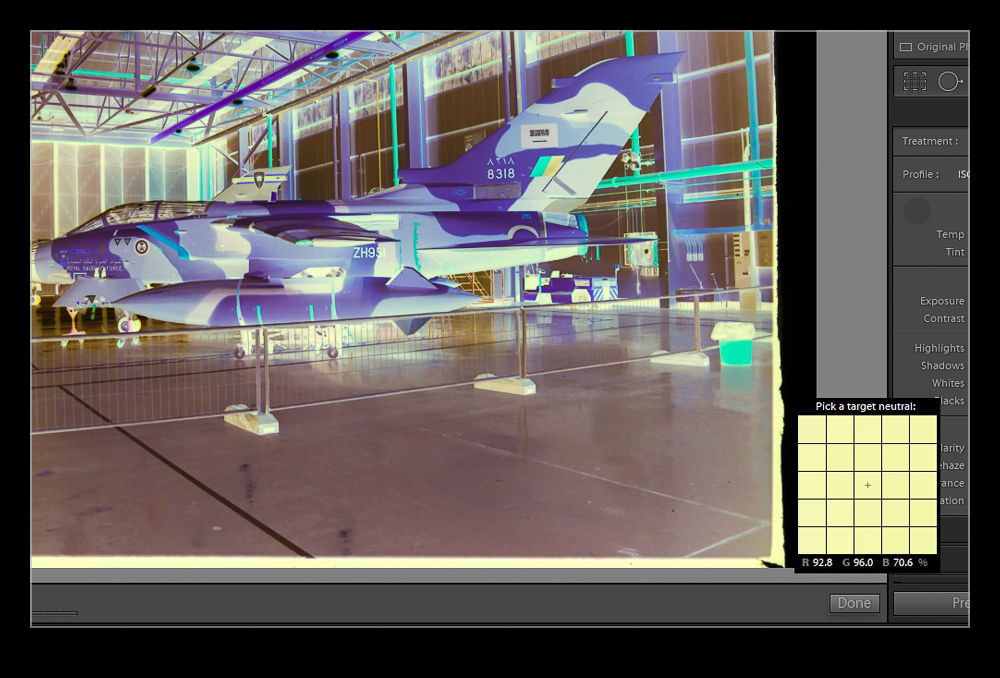 I downloaded a trial of the software and gave it a go. I was sufficiently impressed with the output that I stumped up the cash for the full version. It isn’t cheap but, given that I can now use it on several thousand images, I figured it was worth the investment. The plugin requires a small amount of effort. I revert the images back to a normal San without any of my previous edits and conversions. The first thing to do after that is to take a white balance reading from some of the visible edge of the film to neutralize any color shift. Then you crop in on the image. Apparently, it is important to avoid getting any unexposed edges in shot as this messes with the algorithm.
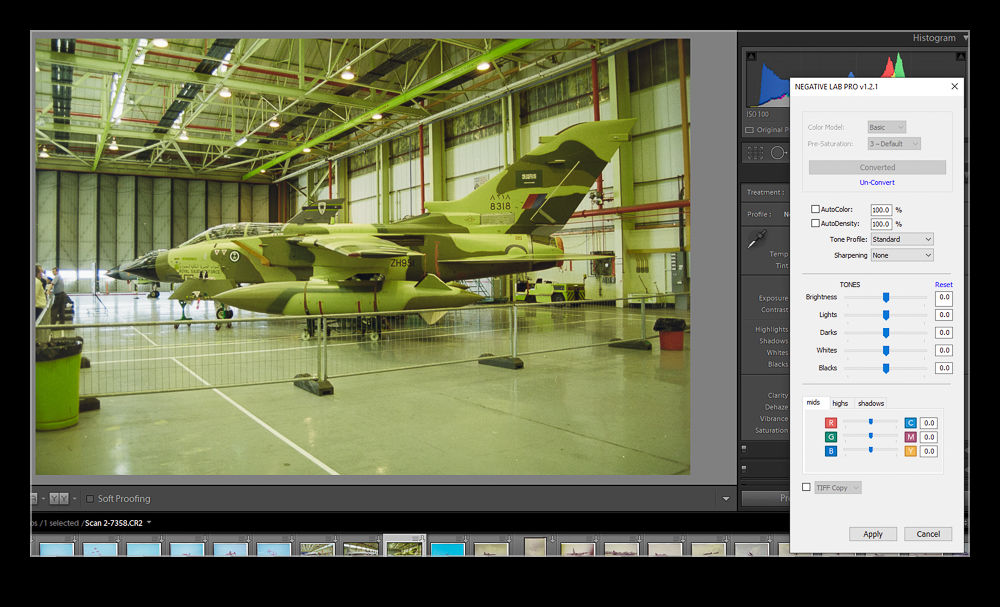
 Then you open up the dialog box. It analyses the image and does a conversion. You then get some basic sliders to tweak the settings such as exposure and color balance. There are some auto setting check boxes but I haven’t found them to be too helpful so far. Then you click okay and the image is ready to do further editing in Lightroom. You can also do batch conversions of images if you want although I think it is probably better to focus on individual processing. I have been playing with this on a range of images so far and I like the results. My old negatives are not that great and this is not going to suddenly make them amazing but I am impressed how much more I can get out of some of the scans using this software.