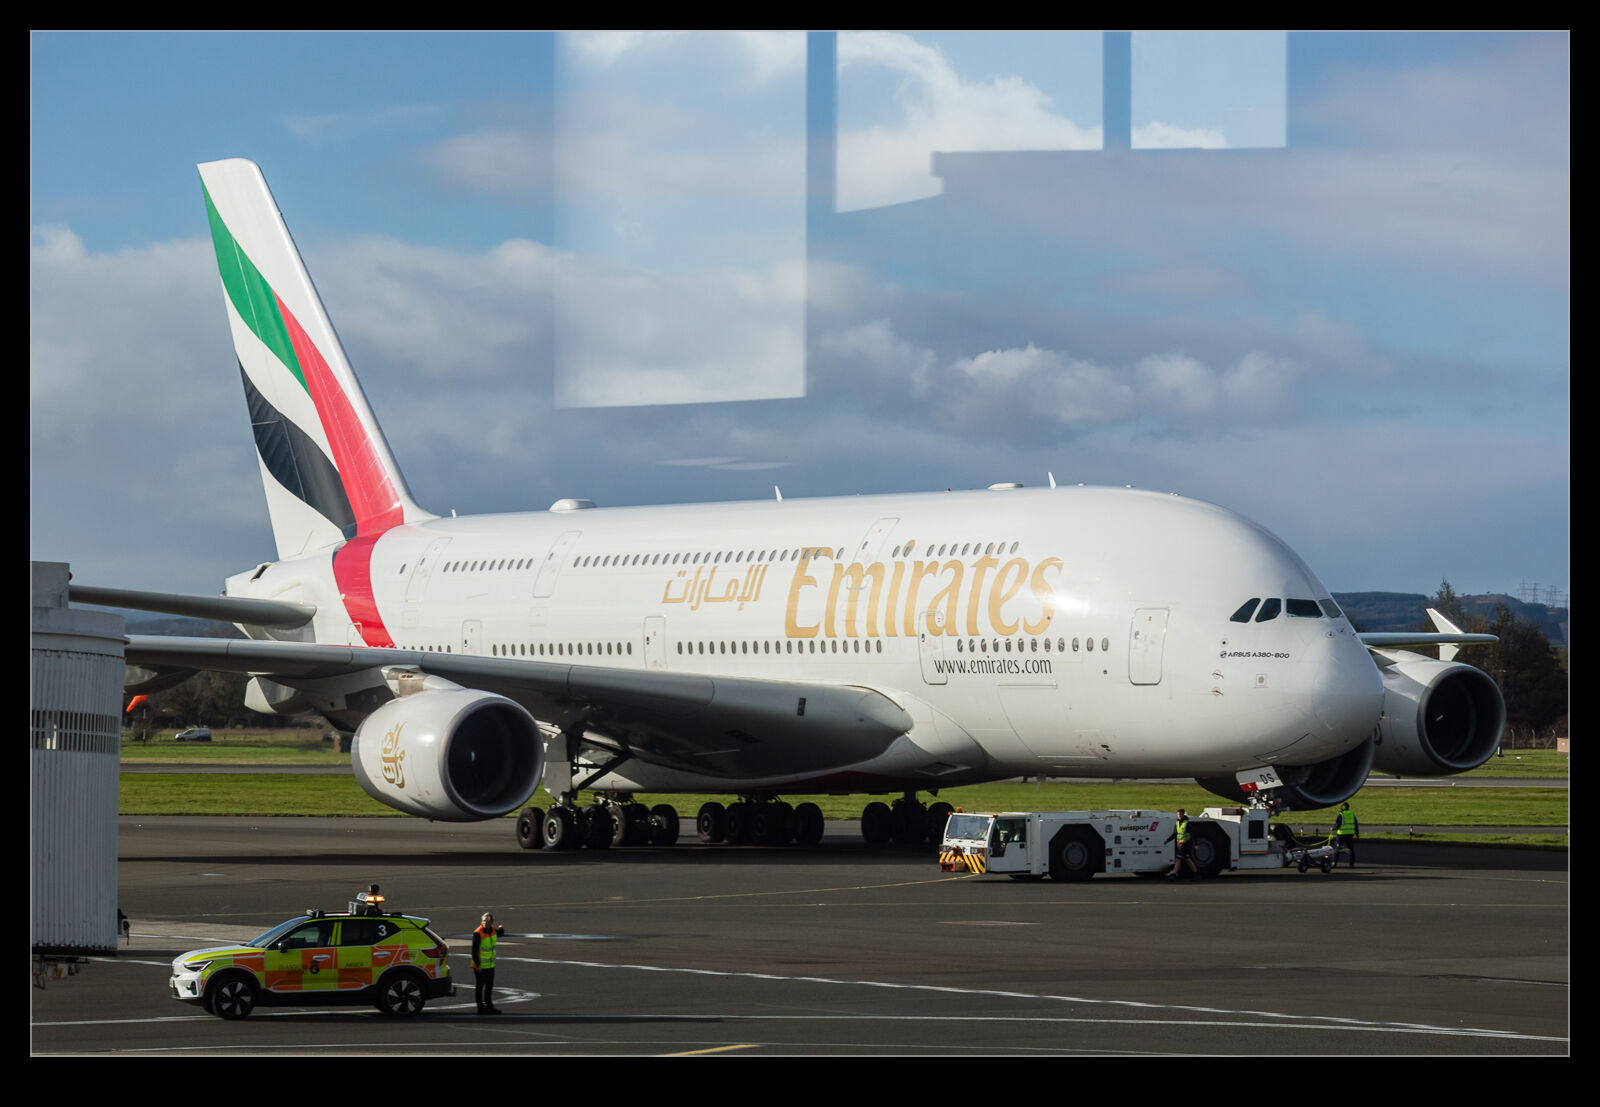
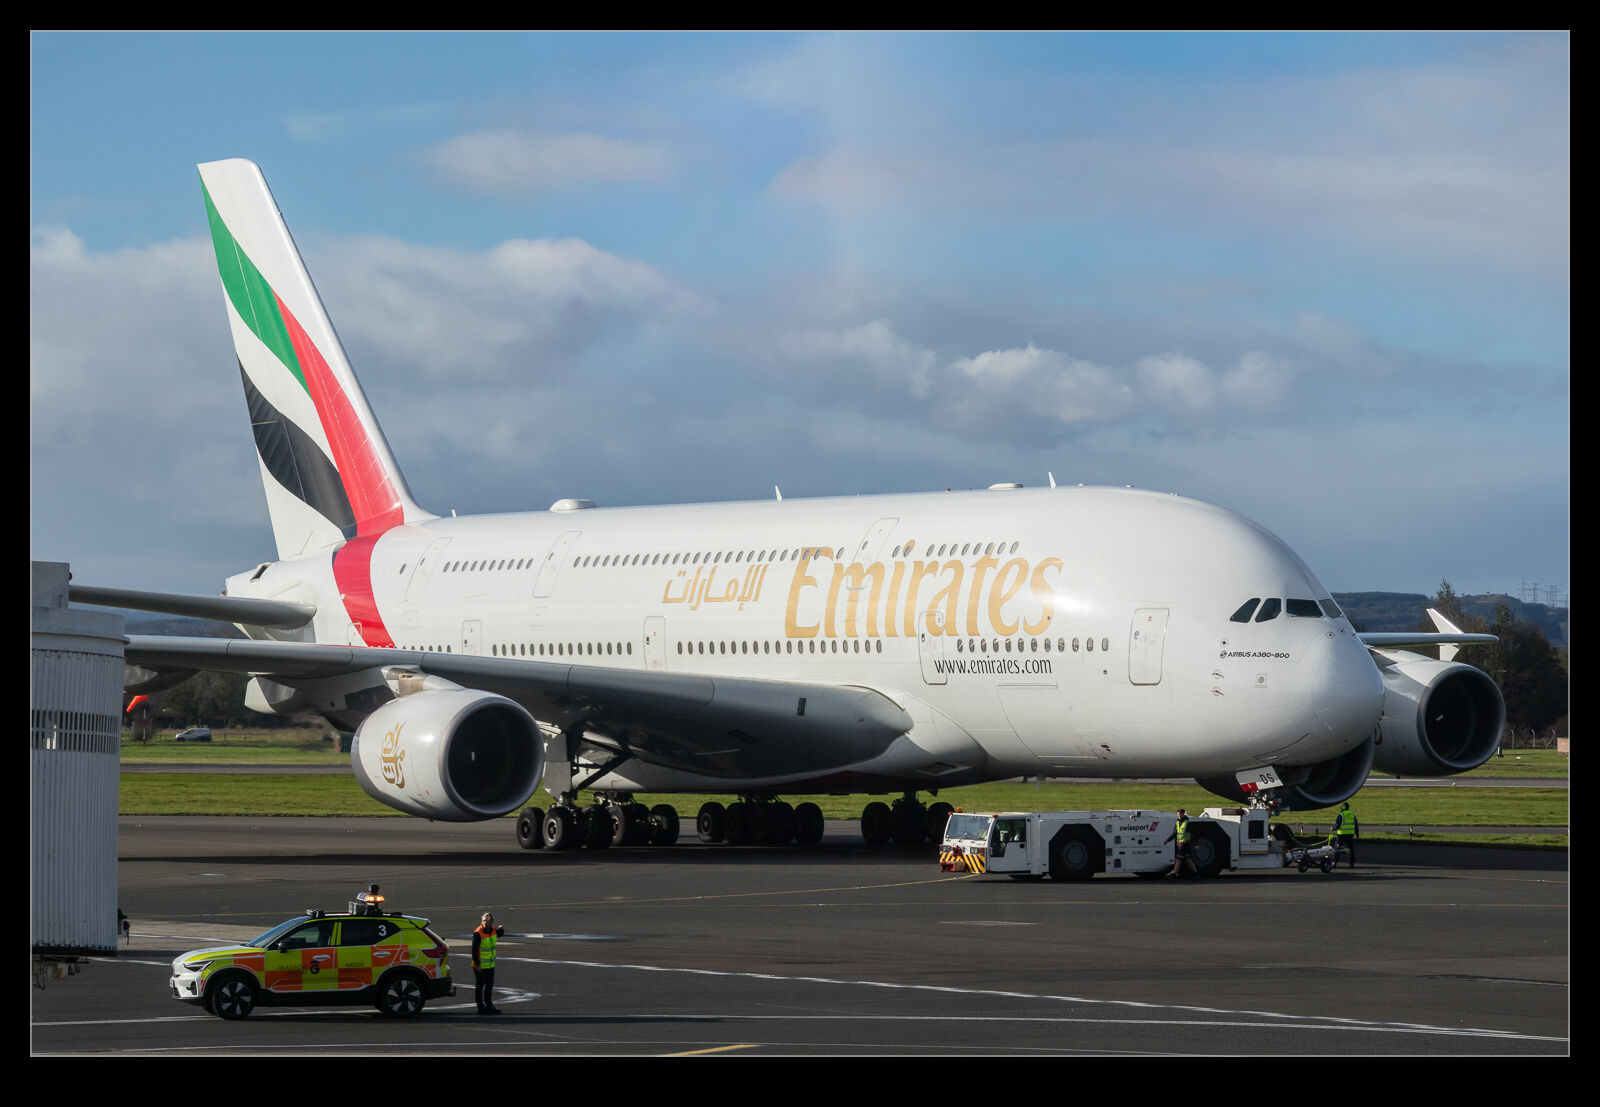
 When Adobe introduced the reflection removal tool, I was really impressed by its capabilities. I played with a number of shots that I had taken through windows, and they worked out really well. There have been some updates that Adobe has made, and it feels like it isn’t working as well as it should. I was at Glasgow Airport waiting for a flight home and an Emirates A380 was taxiing out so I grabbed a few shots through the glass. There was a really obvious reflection in the sky area of the shot. I figured that the tool would knock it out easily. Instead, it didn’t even recognise it was there. That is the first of these images. I tried a couple of different shots and none of them worked. I wonder what they have done to the tool that has made it struggle here. I ended up making manual selections and using the AI remove tool to try instead. It was okay but not a great result.
Tag Archives: adobe photoshop lightroom
Processing With Masks – A Video
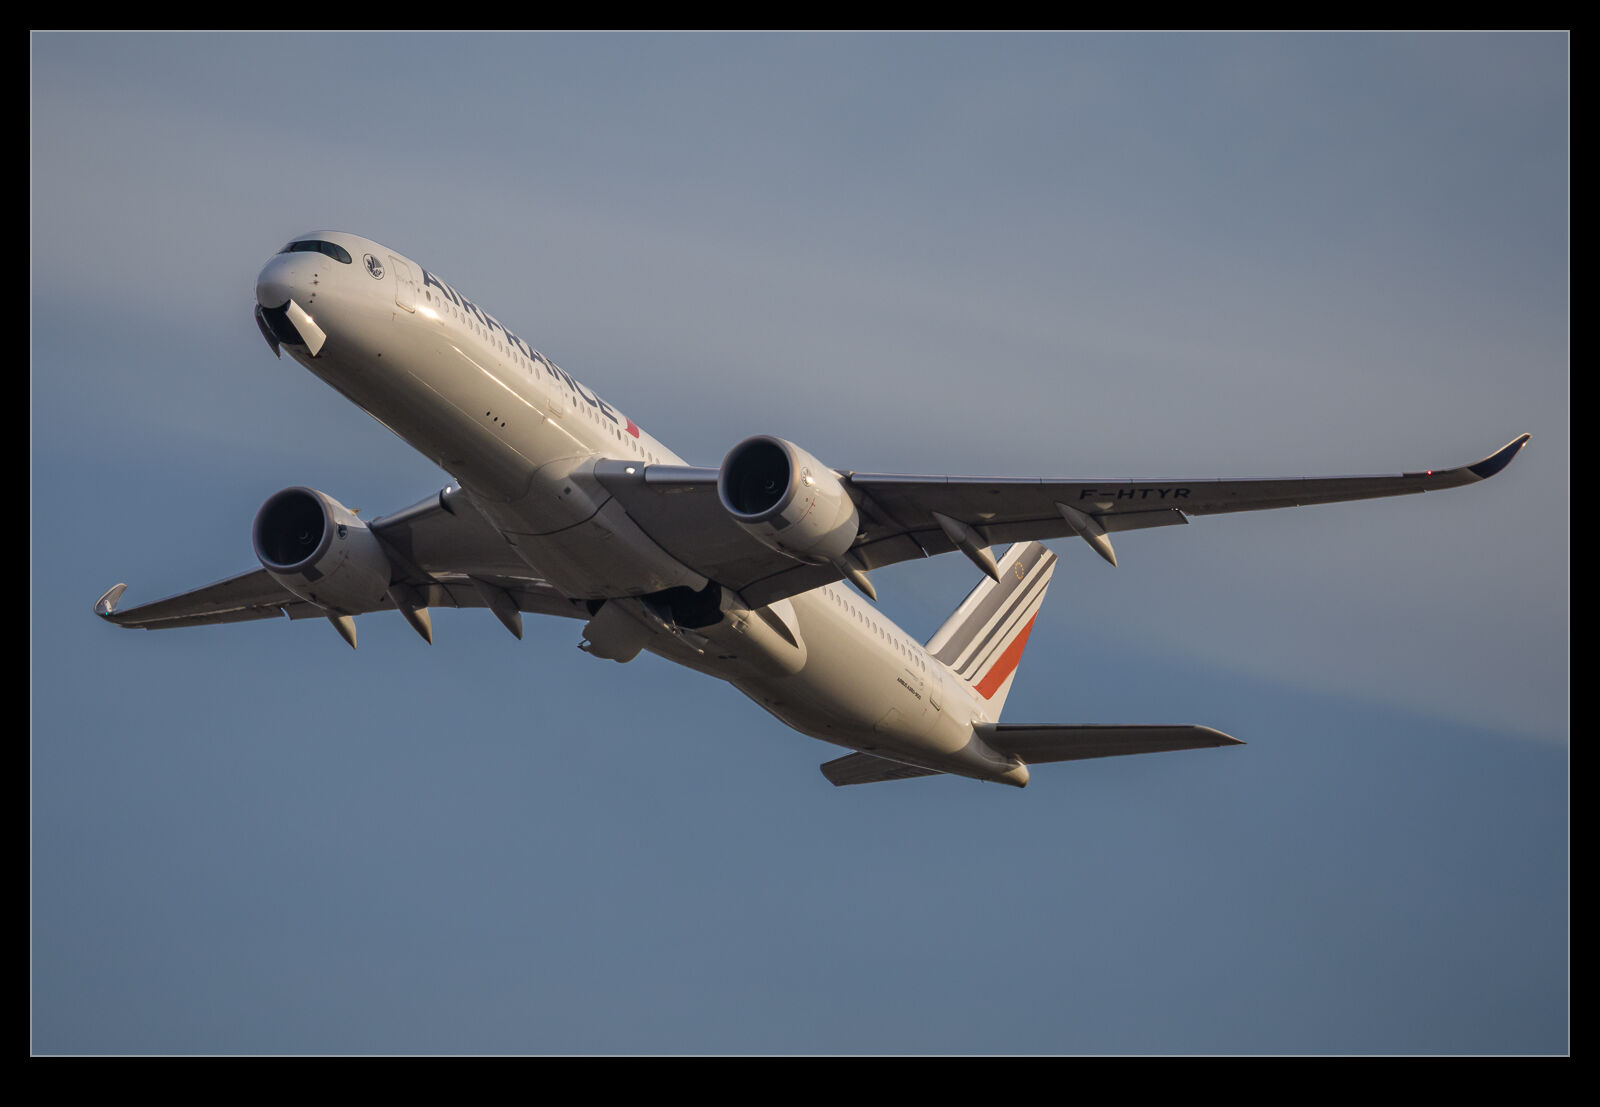 Every once in a while, I post about some change I have made to my processing techniques for my images. I have posted in the past about how I have been using the masking tools in Lightroom to work on images – particularly those with poor lighting conditions where the background and the subject need significantly different edits.
I have recently tweaked my approach to improve it. This involves an extra step to try and get a better selection of the subject and the background. This also addresses some of the issues I find with Lightroom’s selection algorithms. Sometimes it picks things that just don’t make sense. Anyway, I did a full process of an image and recorded the whole thing with my explanation as to why I was doing what I was doing. It is not a short video so only for those with a serious interest. However, if you want to check it out, here it is.
Reflection Removing – Choose Settings Wisely

 A previous post had looked at what was, at that time, a development feature in Photoshop that removed reflections from images. Adobe puts development items in Photoshop first to get user experience with them before rolling them out to the software suite. Since Camera Raw and Lightroom’s develop module are basically the same, once it becomes a production item, it also makes it into Lightroom. Such is the case with the reflection removal tool.
I have used it a few times on shots, and it does work pretty well. It isn’t perfect but can be effective. I tried it out on a Typhoon that was refuelling from a Voyager. Shooting through the windows of the Voyager can be a bit tricky and the reflection removal tool can really help. I gave it a go, and the reflection was swiftly taken out. However, when I checked the rest of the image, I saw that a lot of detail in the shot was gone. It was at this point that I realised that the tool has three settings. I was on Preview. I switched to Best and, while the processing took a lot longer, lo and behold the detail was restored.

 I have the overall photo above with the before and after versions for a comparison. Beneath I have two crops of the larger image with the Preview and Best settings. I won’t say which is which, but I think it should be pretty obvious. The tool defaults to Preview when you use it so, if you give it a try, don’t be put off if the initial results are disappointing. Make sure to experiment with the settings.
Early Morning Breeze Departure
 I’ve seen a couple of Breeze airliners, but they are not operating in our neck of the woods, so they are still a rarity for me. When one of the A220s came to Boeing Field on a charter for a sports team, I was hoping to catch it. They were due out early one morning, so I was able to go before heading to the office. This did mean that conditions were going to be rather restricted with the sun only just above the horizon (assuming clouds weren’t there as well) but this would actually suit me since I didn’t want the jet to be backlit.
 Sports charters have a habit of not going even close to the time that they are scheduled so I wondered whether I would be able to get the takeoff before needing to leave. Imagine my surprise and delight when they called up pretty much on schedule. Soon the jet was crossing the runway for taxiway Bravo and then heading to the departure end. As they rolled and rotated, there was just enough light in the sky to make for some rather pleasant colors, and I was really pleased with how the shots came out. The actual light levels were very low, so I shot at high ISOs. The cameras do a remarkable job of this these days but there was still a bit of noise to deal with and the latest noise reduction algorithms in Lightroom dealt with that very effectively.
Various Ways To Stitch A Panorama
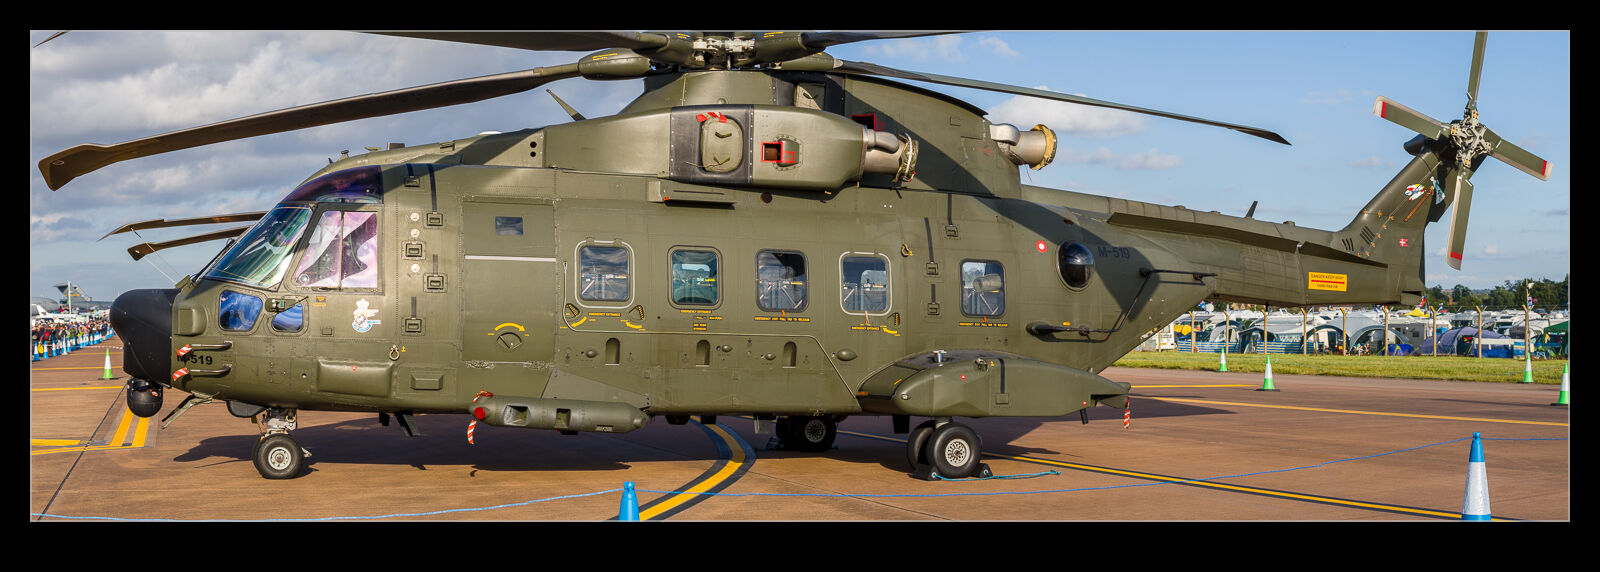

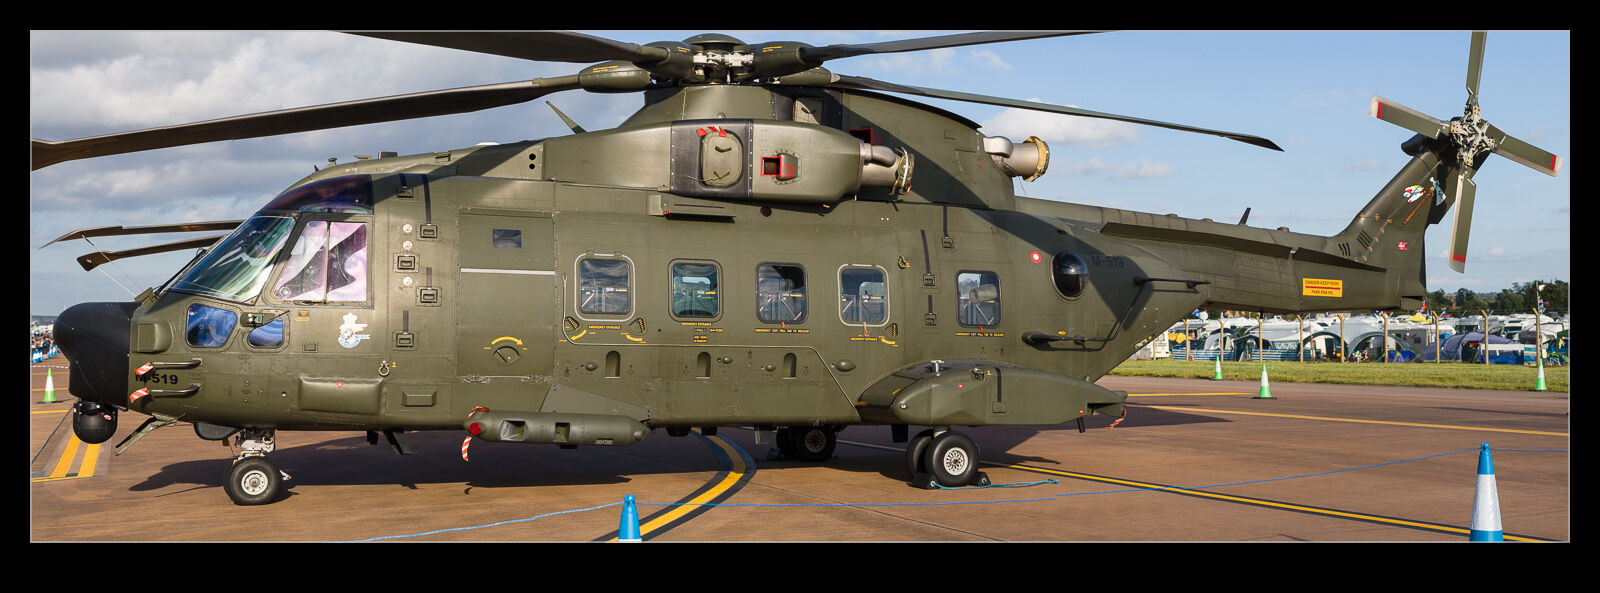 Lightroom has three methods for stitching the panoramas together. I tend to use one but for some shots, a different style is beneficial. I was flipping through some shots of an HH-101 Caesar helicopter that I took at RIAT in 2019. I also had a Danish AW101 that I had shot in pano format. The Danish airframe had not been shot as well as it could have been and I did not have sufficient coverage. I decided to try different versions of the stitching to see which one gave the best result. Some result in a more natural look while others look more fish eyed. I can also stitch in Photoshop which gives me more capability for filling in gaps but, with the tricky areas being the rotors, that wasn’t going to work well since the AI is not going to work that out. Stitching also allows some warping to fill edge gaps but this can mess with the alignment of the main part of the image. I tried a couple of versions and they are compared here.
Speeding Up Lightroom
YouTube is a fantastic way to lose track of time. It may well have an abundance of crap but it also has lots of informative material. More importantly, watch one thing and you get recommendations of other things, many of which are actually quite useful. I was watching a video by Tony Northrup on building a computer for photo processing and he was talking about putting the Lightroom catalog on an SSD. This got me thinking about something.
When I built my system, I installed an SSD to be the drive on which the OS is installed along with the applications. I have traditional hard drives for the data storage. One of these was set up with the Lightroom catalogs keeping them separate from the image files to make the response time better. At the time of the build, a 250Gb SSD was affordable but not cheap so that was what I went with. With everything installed, that doesn’t have enough space for the catalogs.
I never thought more about it until after this video. I started thinking about some old SSDs I have and looked at whether the catalogs would fit on either of them. It turns out that, with all of the preview files, the SSDs were not big enough. However, I did then have a look at the price of a drive that would be large enough such as another 250Gb drive. That would have plenty to spare to account for future needs.
While looking at these, I was also able to see 500Gb drives and they are only about $150. I was unaware just how much the price had fallen. Consequently, a spare drive bay now holds my Lightroom catalogs. I only have a relatively small amount of experience with the new configuration but it is safe to say that things are positively zipping along compared to where they were before. I was wondering whether the system might be in need up upgrade or replacement but this one change seems to have made things significantly better. I will report further if I discover more but, if you have a similar configuration, this might be the upgrade that makes things noticeably better.


