Tag Archives: editing

New Lightroom Feature I Don’t Have Yet

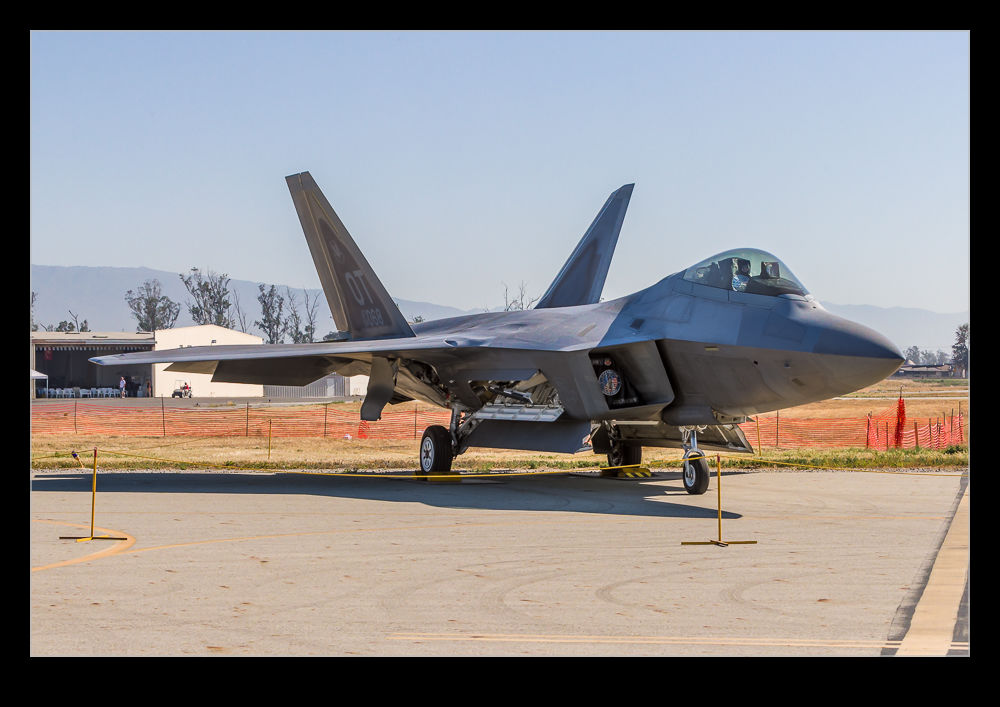
I have seen announcements from Adobe about a feature that is coming soon to Lightroom which seems particularly appealing to me.  When dealing with dull and overcast conditions, I shoot quite heavily overexposed.  This gives me a lot more shadow detail to work with and also still allows me to pull back detail in the sky.  On a dull day, a couple of stops of overexposure can work quite effectively.  The Lightroom/Camera Raw editing only has a limited amount you can do with the exposure and shadows sliders so it is not ideal for this.  However, the new version of Lightroom is going to use AI to analyze the image for a subject to be selected or a sky.  What I didn’t realize was that this was already available in Photoshop.  I decided to have a play with it there to see how it works and get a feel for the way it might work in Lightroom soon.

I opened the image in Photoshop as a Smart Object.  I then created a New Smart Object Via Copy to duplicate the object.  In Select, I picked Subject and it did a pretty good job of selecting the airframe.  Some edges were a little vague but overall pretty good.  I used that selection to make a mask on the upper layer.  Then, I was able to open each Smart Object in Camera Raw and edit them each to optimize the sky or the background.  Some tweaking was occasionally required to ensure that it didn’t look like a bad superimposed job but it worked quite well.  Lightroom will have this function as a filter so I should be able to do something similar in there but we shall see when it gets released.  If it works, it could be a great addition to the editing toolset.  I wish I had known about it in Photoshop before to be honest!

UPDATE: The Lightroom update is now out and I have played with it a bit. I think it is even better than the Photoshop implmentation so I shall put together a more detailed post on how it is working out for me.

DxO PureRAW Testing

Whenever you suddenly see a bunch of YouTube videos on a similar topic, you wonder whether a company has been sending out copies of its product to people to get them talking about it.  I think this must be the case with DxO Mark since I have come across a lot of videos about their new raw convertor, PureRAW.  Having watched a couple of the videos – the technique clearly works – I was curious about the capabilities of the product.  Since they provide a 30 day free trial, I decided to give it a go.

One of the topics which seems to get people really worked up if they are too focused on the products and less on the photos you take with them is Raw conversions.  You can shoot JPEGs in camera but, if you shoot Raw, you tend to have a lot more flexibility with post processing.  (For those not in to this stuff – and I am amazed you are still reading this if that is the case – a Raw file is the data that comes off the sensor with very little processing applied.). Software developers come up with their own ways of converting this data into an image.  Camera manufacturers provide their own raw converters but they don’t share the detailed understanding with the software manufacturers so they have to create their own.


The most widespread software provider is Adobe with their Camera Raw convertor built in to Photoshop and Lightroom.  There are others with their own software and you can come across some quite heated discussions online about which is the best.  Hyperbole abounds in these discussions with anyone getting in to the debate almost always dismissing Camera Raw as terrible.  It’s clearly not terrible but it might have its limitations.

PureRAW is a convertor which doesn’t really give you much control.  Instead, it takes the Raw file, does its magic and then creates a new DNG raw file which you can them import direct in to Lightroom (if you choose – which I do) to continue to edit in much the same way you would have previously.  Watching the reviews, they seemed to suggest that for normal shots at normal ISO settings, there was not much in it.  However, for high ISO images, they showed significant differences with reduced noise, sharper images and clearer detail.  Some reviewers thought it might even be a bit oversharpened.
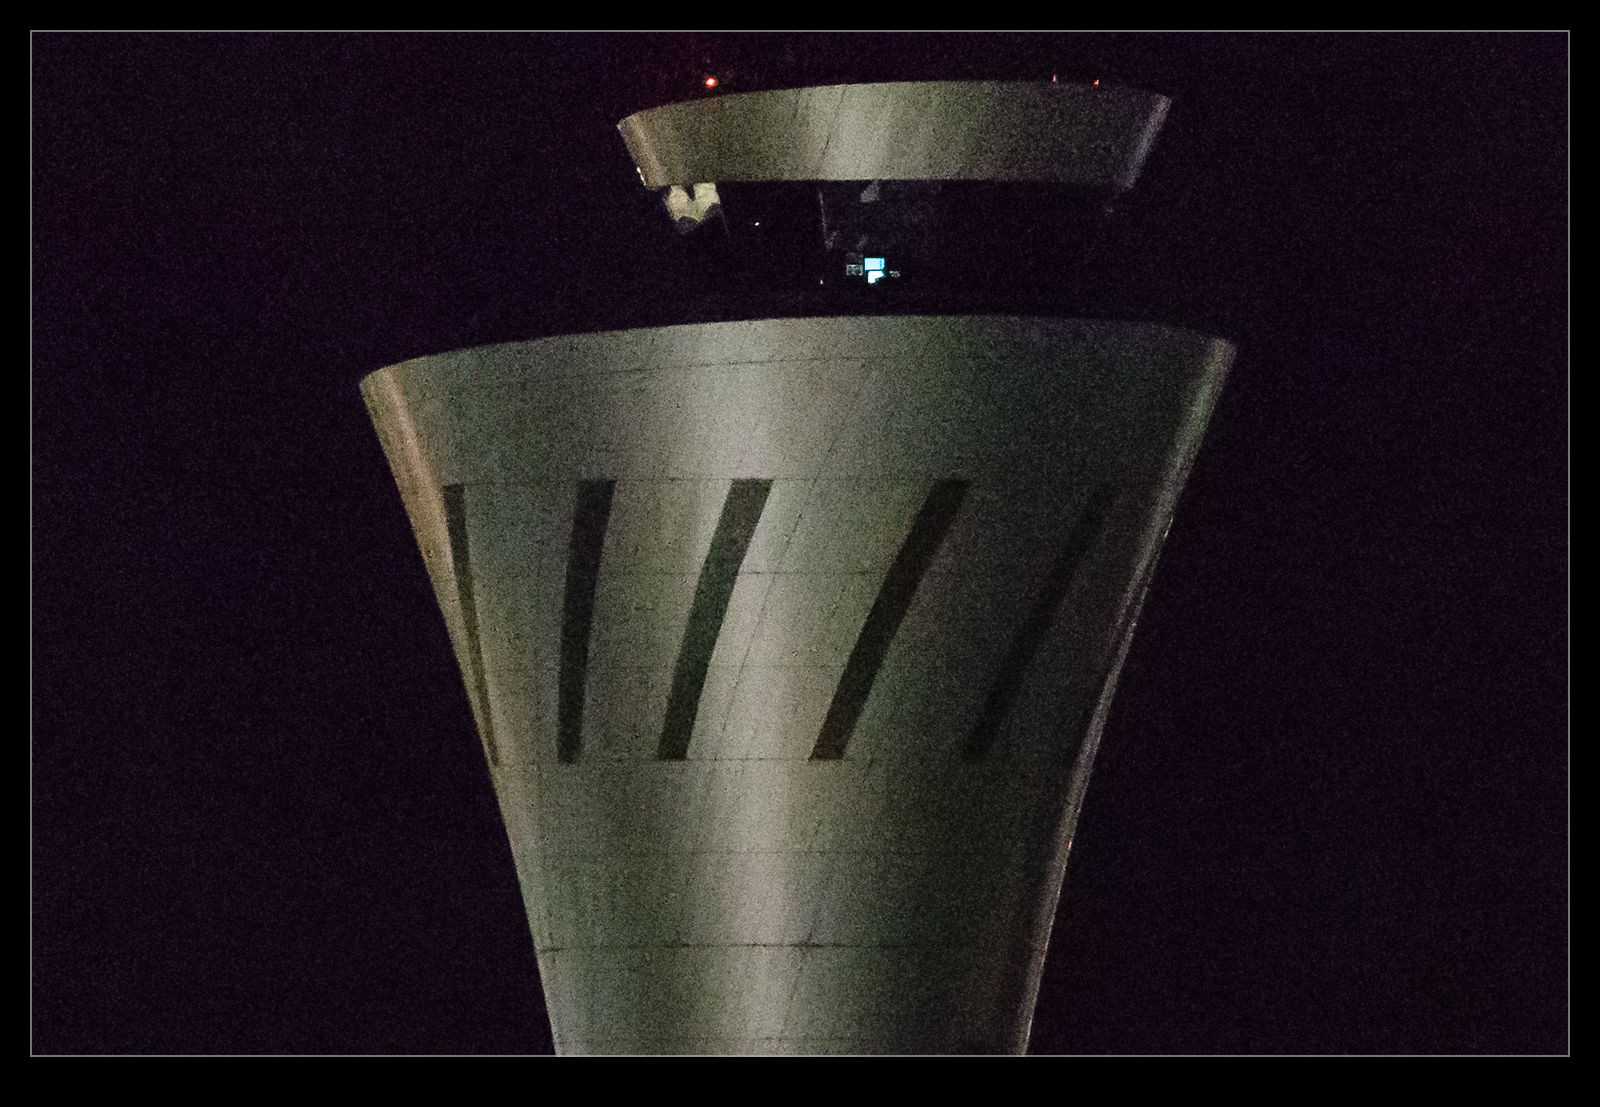
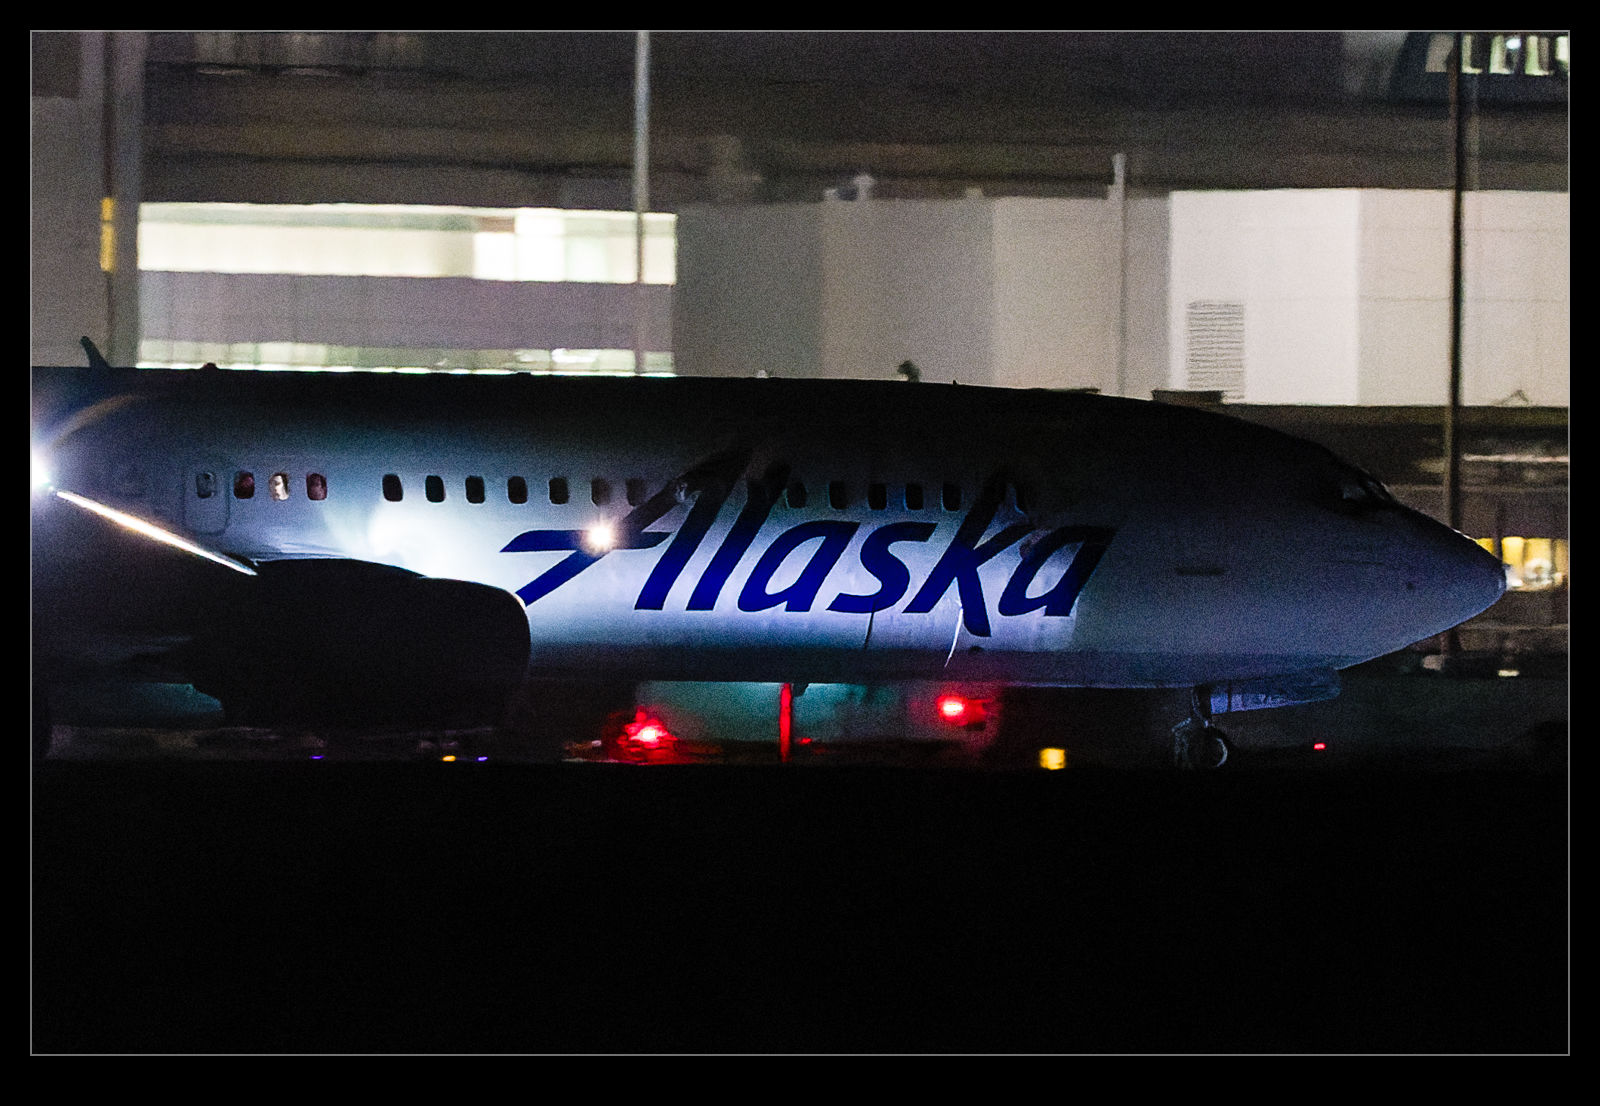
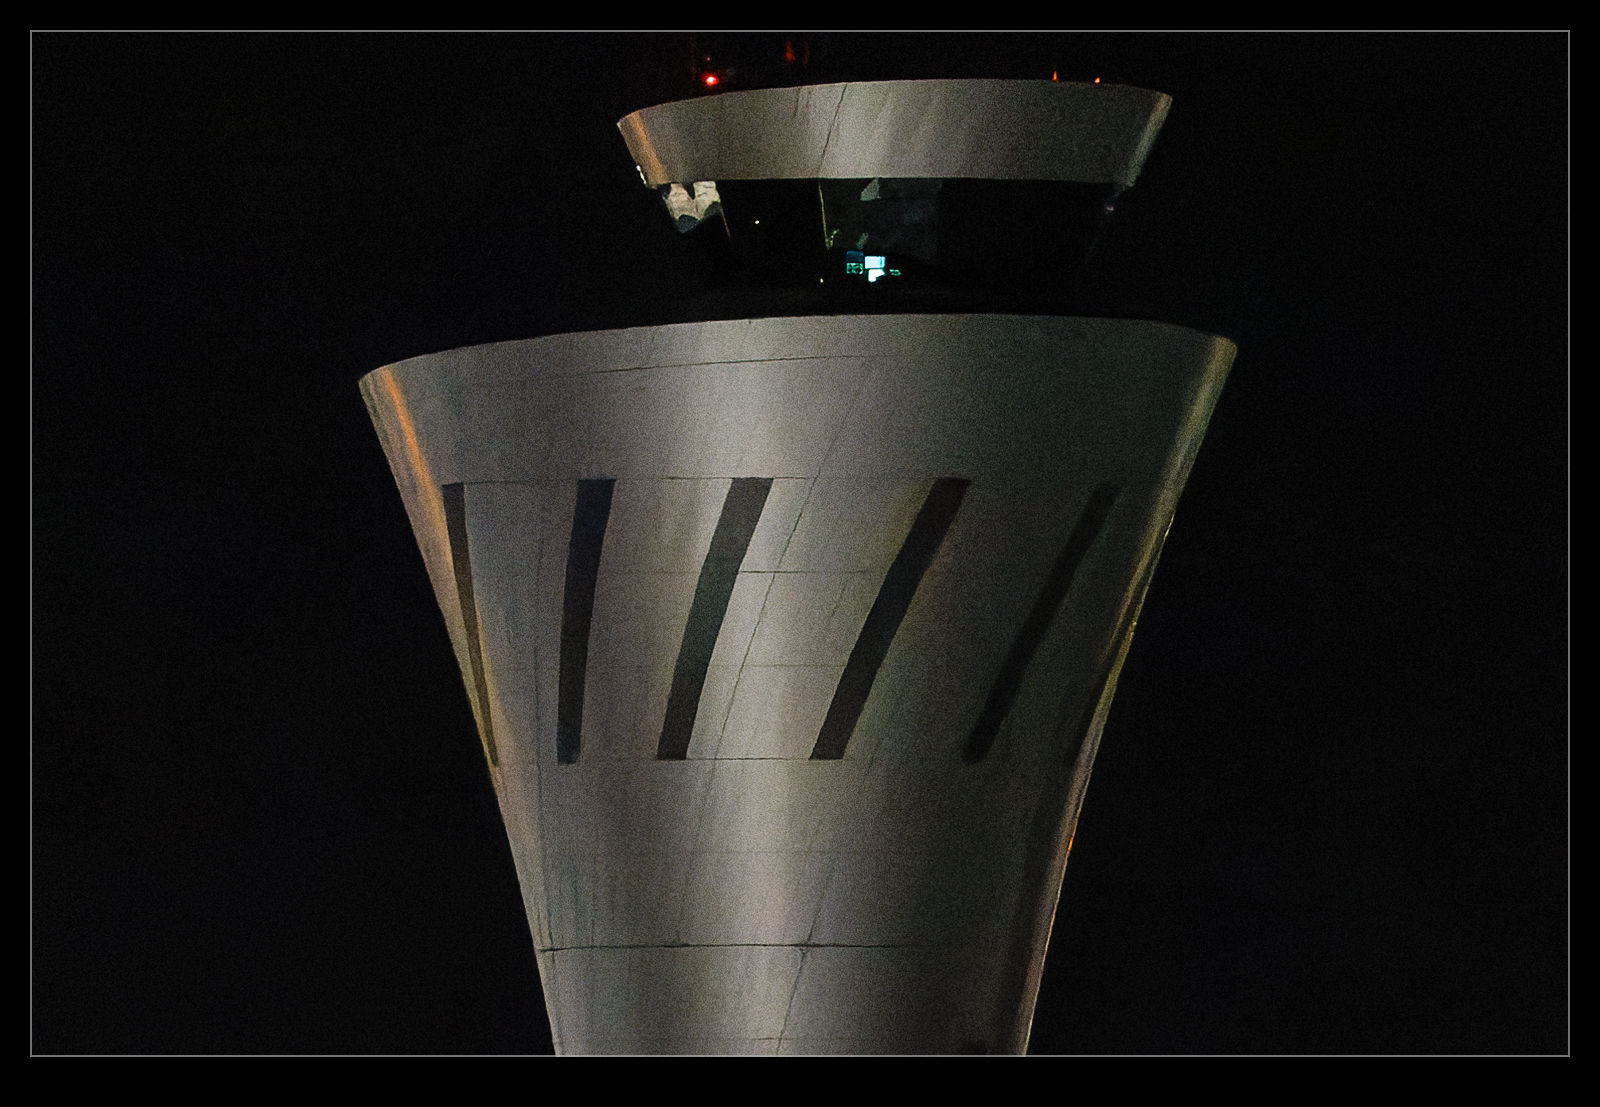
I figured I would try out my own experimentation with some really high ISO images.  I have some shots at ridiculously high ISO settings that I took at night or in poorly lit environments.  These seemed like a good place to start.  The workflow is not ideal – this would not be something I do for all images but only for some that seemed like they would need it – because I have to select the shot from Windows Explorer (getting there by right clicking on the image in Lightroom) and then drag in to PureRAW.  I can drag a whole bunch of shots over there before having to do anything to them.

The program will download profiles for the camera and lens combinations if it doesn’t already have them and you have to agree to this.  Not sure why it doesn’t do it automatically to be honest but I guess there is a reason.  When you have all of the shots of interest selected, you click Process and off it goes.  It isn’t terribly fast but I wasn’t dealing with a huge number of shots.  Interestingly, I took a look at Task Manager to see how much resource it was using and the processor was barely ticking over so it wasn’t stressing the machine at all.  At a later stage, for reasons I shall explain in a while, I did deactivate the use of the graphics card and things got considerably slower.

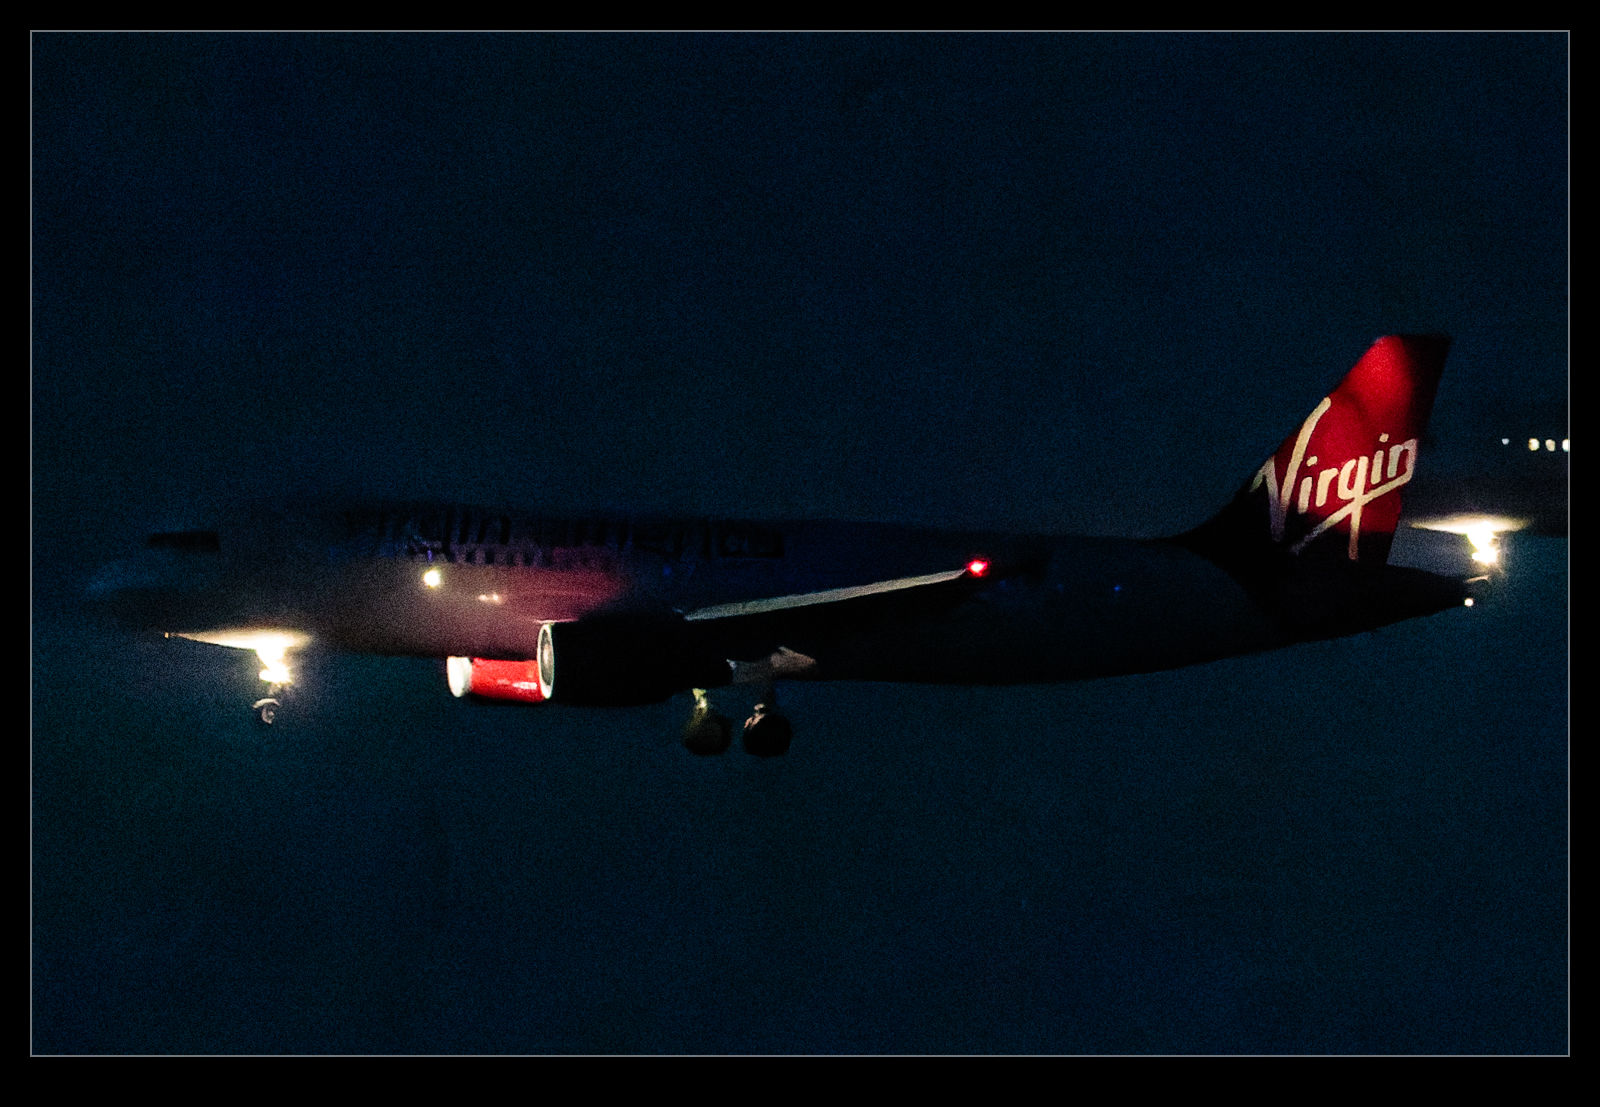
When the processing is finished, you have the option to export them to Lightroom.  It saves them in a sub folder for the original folder and they all import together.  Since I have Lightroom sort by capture time, the new files arrive alongside the original which makes comparing them pretty simple.  For the 204,000 ISO shot (an extended range ISO for that camera), things were slightly better but still really noisy.  For the 51,000 ISO shots, things actually did appear to be pretty impressive.  I have a normal profile for the camera that I use for the raw conversion and a preset for high ISO conversions and the comparison is not dramatic but it is definitely a sharper, more detailed and slightly cleaner result.

I have put pairs of shots in the post with crops in on each image to give a comparison of the output so you can judge for yourself.  Will I buy the software?  I don’t know.  It is currently $90.  That is quite a bit for software that does one thing only.  The interface with my workflow is a bit clunky and it has benefit in a relatively limited set of circumstances from what I have seen so far.

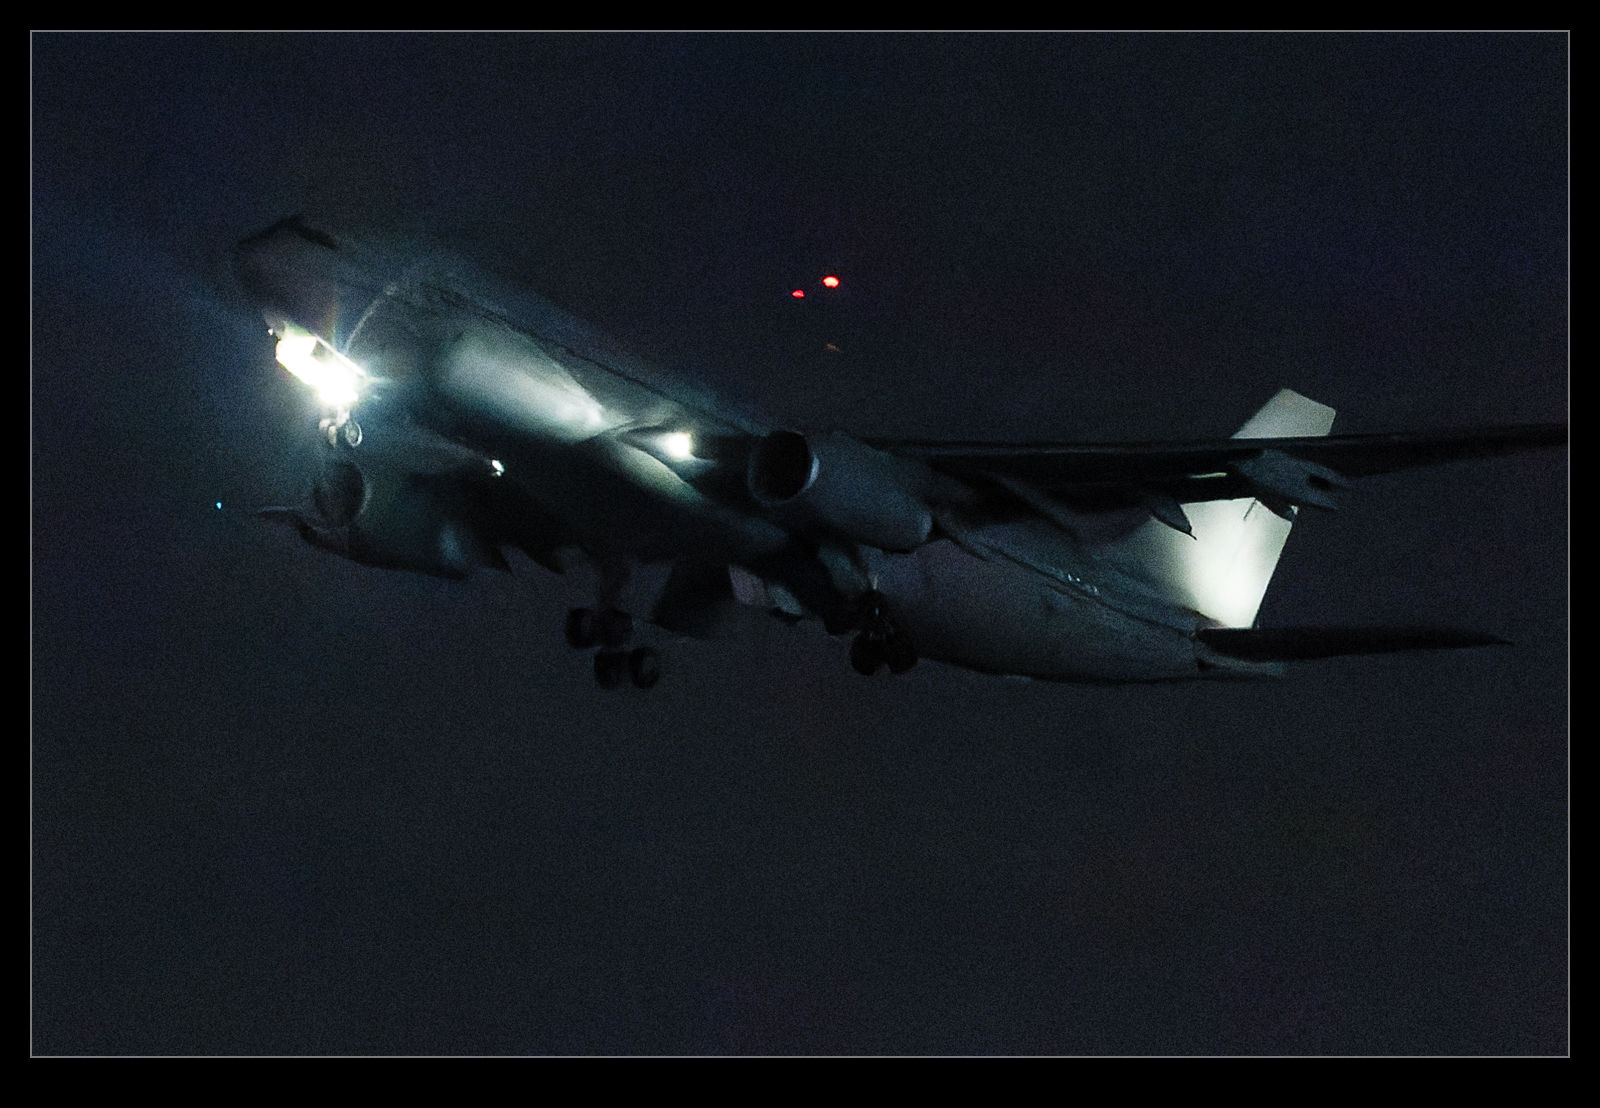
Now for some further feedback as my experimentation has progressed.  I did try the tool out on some more normal shots.  There are some minor differences from a conversion of the raw within Lightroom but they don’t seem to be significant enough to justify the investment.  I played with some shots that had very contrasty scenes and it was slightly less noisy but, again, not that big a deal.  They also felt over sharpened.

I have had some problems with the program.  After a while, I got conversions where the new DNG file was just black.  This happened on a few occasions.  I found switching to CPU only solved the issue but only after I deleted the DNGs that had been created.  Interestingly, once I went back to Auto mode, it continued to work.  A weird bug and not one unique to me apparently.  I have also had erratic results when it exports to Lightroom with it failing to do so on a number of occasions.  This is really laborious to deal with and, combined with the fact that the drag from Lightroom to PrimeRAW only works on a Mac and not on Windows, the lack of integration is really enough to put me off.

So far, I will let the trial expire.  It is a tool that is capable of some interesting improvements in more extreme situations but the integration is poor and the benefits are limited for me so, with that in mind, it just isn’t worth the expenditure.  If it made more of a difference to normal shots, I might consider it but it currently doesn’t offer enough to justify the cost or the process slowdown.


HDR Tech Comparison – What’s Up Lightroom?

A while back I saw a Scott Kelby video on YouTube about the HDR functionality in Lightroom and that in Photoshop.  I had assumed that they were the same prior to seeing his video but he showed that the Photoshop version of the HDR was significantly cleaner than that in Lightroom.  I was interested in how this could be but I wasn’t too concerned.  The Lightroom version was so easy to use I figured the impact was not so much that it would show up in my shots.

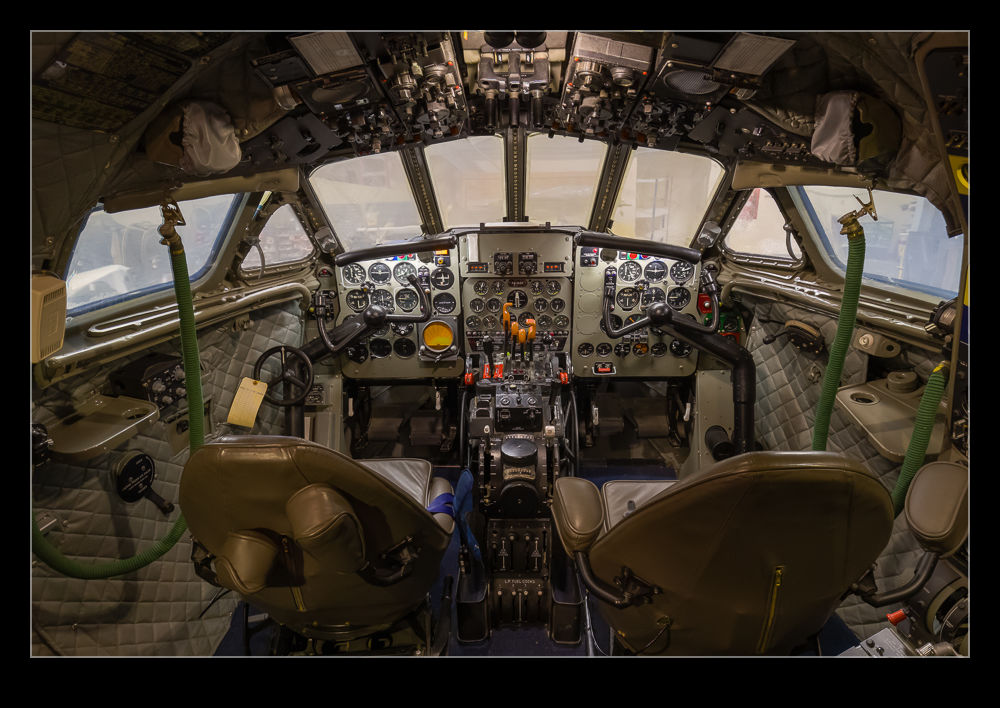
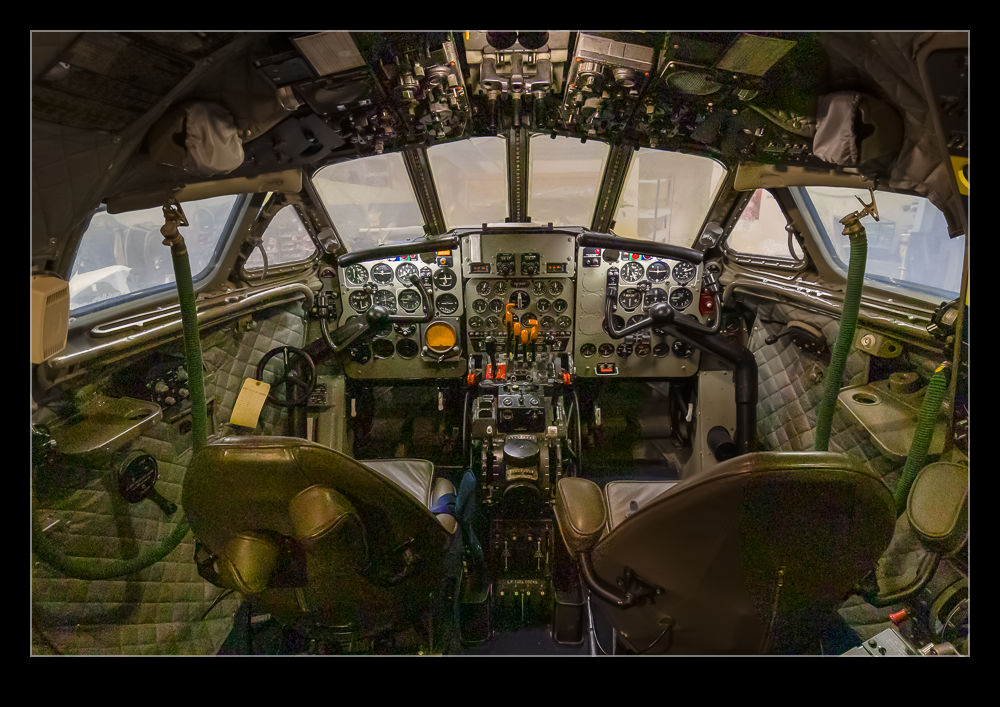
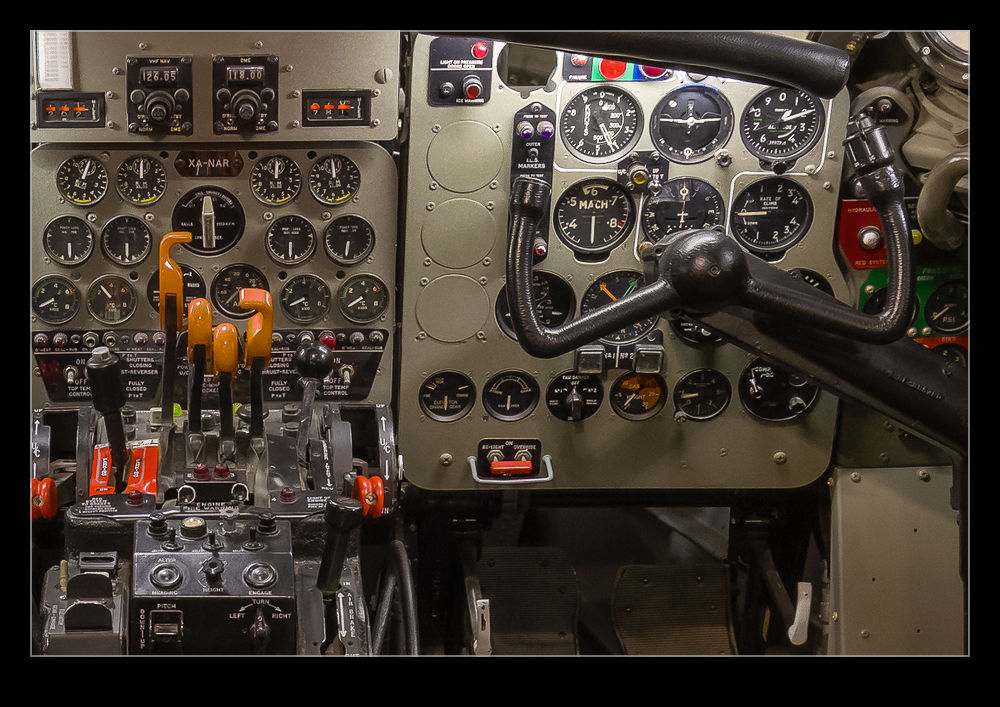
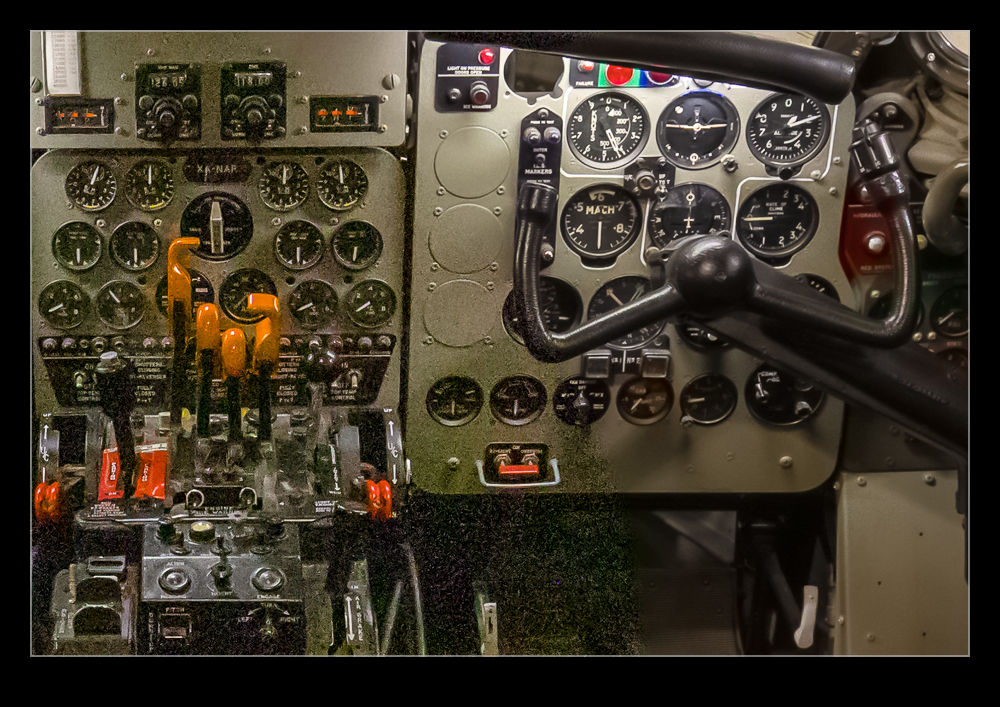
Then, I found out I was wrong.  I was in the cockpit of the Comet at the Museum of Flight’s restoration facility at Paine Field.  I took a sequence for HDR because the cockpit is very dark but the view out of the windows is much brighter.  It isn’t particularly important since the view outside is nothing special but I did it anyway since I was there.  The lighter shot had quite a bit of shadow noise and, when I created the HDR in Lightroom, the noise was very conspicuous on the finished version.  I decided to try it in Photoshop to see what happened.  The difference was significant.  I include both of the full shots as processed along with the section of cockpit shadow so you can see the impact.

Video Editing With DaVinci Resolve

While it is not what it was designed for, I have been using Adobe Photoshop for my video editing for quite a while now.  It did enough for my purposes so I couldn’t see the point in investing in new software purely for video.  However, I was talking to someone hat was starting to play with video creation and they wanted something to work with, so I looked around at what was available.  I saw that DaVinci Resolve, while available as a full feature video editor commercially, came also with a free version that seemed to have a lot of the features that the basic user could want.

Since I was potentially going to recommend this, I figured I ought to try it out myself first to see how it worked.  I have to say I have been very pleased with it.  There are clearly plenty of features in even the free version that I am unlikely to take advantage of.  It is also a lot more user friendly than Photoshop when editing video (which is hardly surprising given that is what it is designed to do).  I have played with a few edits now and I am starting to get the hang of it.  One lesson I have learned so far is to choose the continuous save option.  I spent a lot of time on an edit and the software locked up after lots of work.  The whole thing was lost.  Now it keeps a running save going (although I haven’t tested that properly as it hasn’t crashed since).  This looks like it is my new go to for video work.

My Revised Workflow

My approach to processing images after a shoot is something that constantly evolves.  I have written about how I do this in the past but a few things have changed since I wrote that so I thought I would write up the latest approach in case it is of any use/interest to any other shooters out there.  I should say at the start that my workflow is based around the use of Lightroom.  If you don’t use Lightroom, this might not be of any use to you although I imagine that a similar process could be achieved with other software.

One thing to highlight at the start is that, when shooting aviation (and that is the majority of my photography), I aim to slightly overexpose my shots.  I have found that going a slight bit over and then bringing the exposure back down in post-production gives a better balance of exposure across the shots and also makes for more pleasing sky colors.  This is something I do when shooting RAW.  If you shoot in JPEG, this might still work but your latitude for adjustment afterwards is a bit reduced so you might not get the same effect.  I don’t shoot in JPEG so I can’t state what happens.

All the shots are imported in to Lightroom and I will form a Collection Set for the shoot.  I don’t have specific folders for shoots, nor do I have a renaming convention.  I keyword all shoots and this is how I manage files and find things later.  Keywording is a story for another day.  Within the Collection Set, I shall create a series of Smart Collections.  They vary depending on what I have shot.  There will always be Not Rejects, Rejects and Picks.  Then, depending on what else there is, there might be Videos, Time Lapse, Blend Stack, Pano Originals, Pano Edits, HDR Originals and HDR Edits.  I keyword any of these types of shot with that term so the smart collections will pick them up.  The Smart Collections may be looking for a date range or shoot specific keywords depending on what I have been shooting.

The aim for all of this is that I get a Smart Collection which is unrejected shots which doesn’t include and shots from HDRs, panos, time lapses or blend stacks.  I don’t want to get rid of those shots by mistake and I want to be able to edit those shots at a convenient time.  Then the Not Rejects folder becomes my focus.  I am aiming to get all of them roughly corrected for exposure so I can make decisions about which shots to keep.  I will be looking for sharpness/focus issues and exposure variation can really mess with how you perceive sharpness.  I will open a shot up in the Develop module and I will have the Grid view on the second monitor.  I can now select shots with the same exposure and choose Auto Sync.  Then a change to one shot will be reflected in all of them.

It used to be that I would select the shots by eye.  Then it occurred to me that the Metadata filter is powerful here.  I select the filter of shutter speed and then I can select each shutter speed in turn.  Now it is easy to select the similar shots and edit together.  This really speeds up the quick edit process.  I know tweak whatever needs tweaking and get everything basically okay.  I won’t bother with detailed editing unless a shot is going to be used for something further.  Now I select all files and, in the Library module, select Render 1-1 Views.  Then I head off to do something else for a while.

When the rendering is done (I don’t try and do anything else while it is underway because, while you can do other Lightroom tasks, everything gets pretty sluggish.  It is easier to wait.  I may even shut Lightroom down and restart it after the rendering is done because it seems to like the chance to clean itself up.  Then I go to the first of the Not Rejects shots.  I have it full screen on the main screen and then zoom to 100% on the second screen.  The Smart Collection is set up to show any file that is not marked as a reject (or all of the other stuff I mentioned earlier) so now I can click through the shots.  If a shot is good, I Right Arrow to the next one.  If it is bad, hit X and it disappears.  Now I can run through the whole shoot and quickly get rid of all shots that are not good, be they unsharp, chopping off a bit of something or just clearly useless.

When this first pass is done, I am now left with a bunch of shots, many of which are very similar.  Since I know they all are basically acceptable, I can now select all the ones that I won’t have a need for and hit X.  Very quickly I am down to a far more manageable number of shots.  Then I can pick which ones I want to do something with.  Hit P for those and they will automatically appear in the Picks Smart Collection and I can come back to them at any time.  If I have shots that will be used for a specific piece, I may create a Collection specifically for that publication and just drag the shots in so I can deal with them at any time.

That pretty much sums up how I handle a shoot.  Some will have pano shots, some will have HDR, occasionally there will be time lapses and often videos.  Sadly, the integration of video between Lightroom and Photoshop is non-existent so I have yet to have a good process for video editing.  Maybe one day Adobe will fix that.  They tempted us by having video in Lightroom but they never took it any further despite the fact that the opening in layers option for stills would be ideal for video editing.  One day…

Enfuse for HDR

I am a little late to discovering the Enfuse plugin for working with HDR images.  I started out many years ago using Photomatix.  At the time, it was the go to software for creating HDR images.  Then Adobe got a lot better with their HDR software within Photoshop and I started to use that.  Even more recently, Adobe built HDR processing in to Lightroom and I didn’t need to go to Photoshop at all.  The HDR software worked reasonably well so I stuck with it.  I sometimes felt that it didn’t do as good a job of using the full range of the exposures but it was okay.

I wasn’t entirely satisfied though so have kept an eye on other options.  Someone mentioned Enfuse to me so I decided to give it a go.  It is a plugin for Lightroom and, in the free download, you can try it out but with a limitation on the output image size of 500 pixels.  Obviously this isn’t useful for anything other than testing but that is the point.

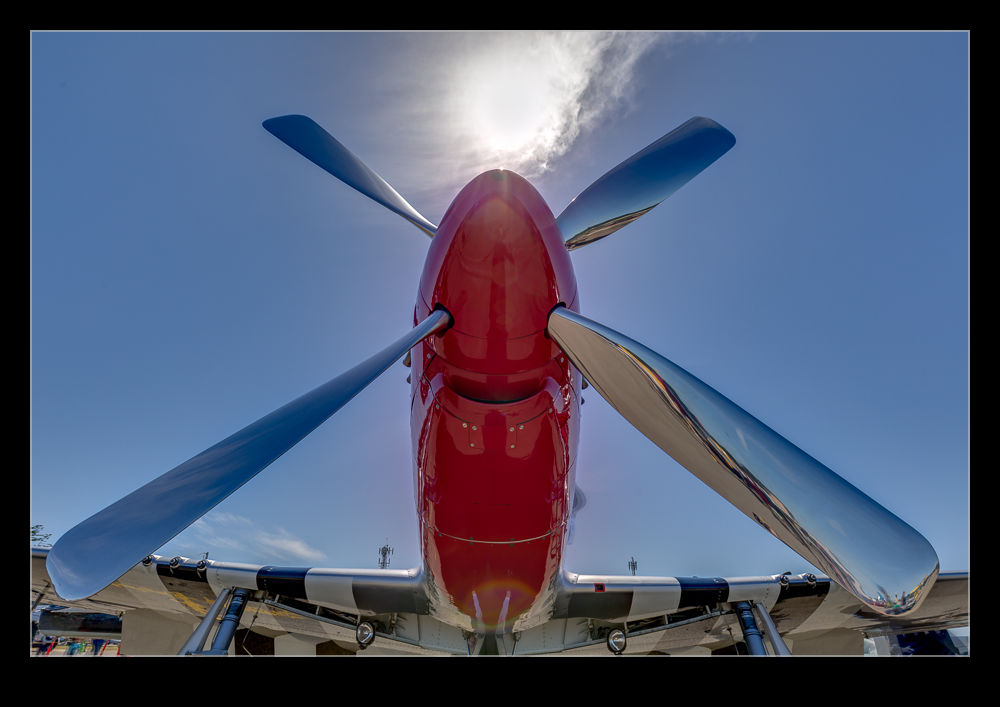
The first thing I tried it on was a shot I made at Half Moon Bay looking up at a P-51 Mustang prop and directly into the sun.  This is certainly as much of a range of exposures as you are likely to get.  The perfect thing for an HDR trial.  The results in the small scale file seemed pretty impressive so I decided to buy the package.  There is no fixed price.  You make a donation via PayPal and get a registration code.  I am impressed by the quality of some of the work people put out so I am happy to donate for what they do.  With the software activated, I reran the P-51 shots.  Below is the version I got from Lightroom’s own HDR and following it the version from Enfuse.

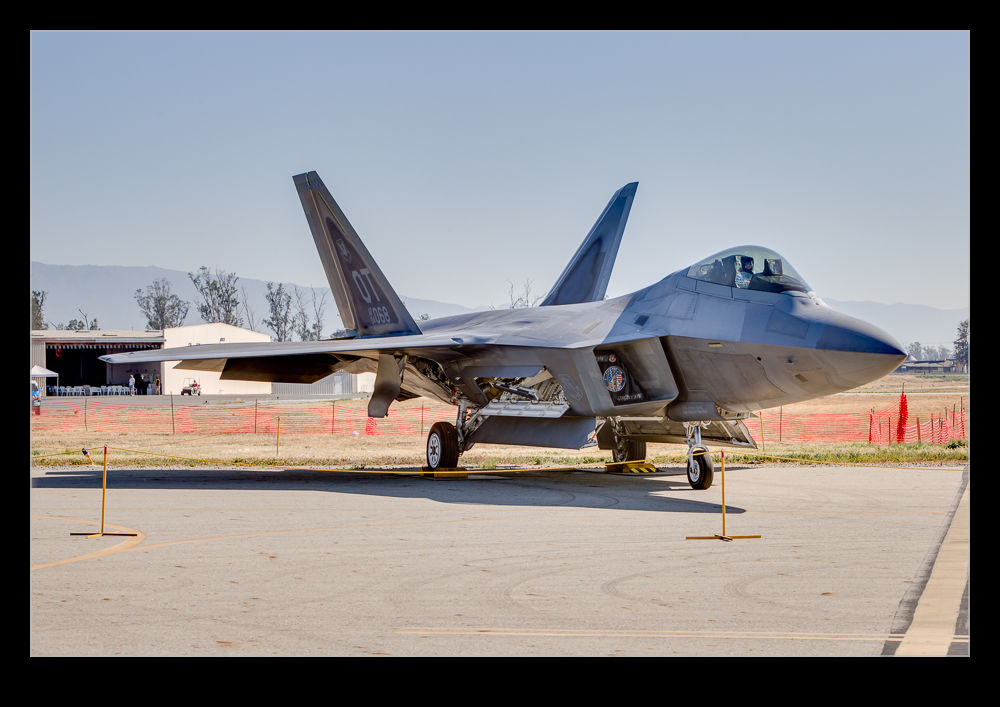
C59F8003enfuseHDR.jpg C59F8003-HDR.jpgI did have some issues initially.  Lightroom was not reimporting the image after it was created.  This turned out to be an issue with the way I named the file in the dialog and a tweak to that seemed to fix things.  Strangely, it had been fine on the trial so I have no idea why it became an issue but it is done.  I also played with a slightly less extreme case with an F-22 and, as above, the Lightroom version is first and the Enfuse version is second.  I was really pleased with the result on this one with a very natural look to things.  So far, I see Enfuse being a useful tool for my HDR going forward.

AU0E0447enfuseHDR.jpg AU0E0447-HDR.jpg

Haze Filter

The Creative Cloud version of Lightroom drops new features in to the software when the updates are installed. This is a nice thing to have happen but, unless you are paying attention, you might not be aware of some of the new features. It took me a while after the last update to learn that a new filter had been added that was designed to take haze out of images. This is a great idea. I have experimented with trying to remove the effect of haze in shots before but, because the effect varies by distance, it can be quite tricky to get something that doesn’t look totally wrong.

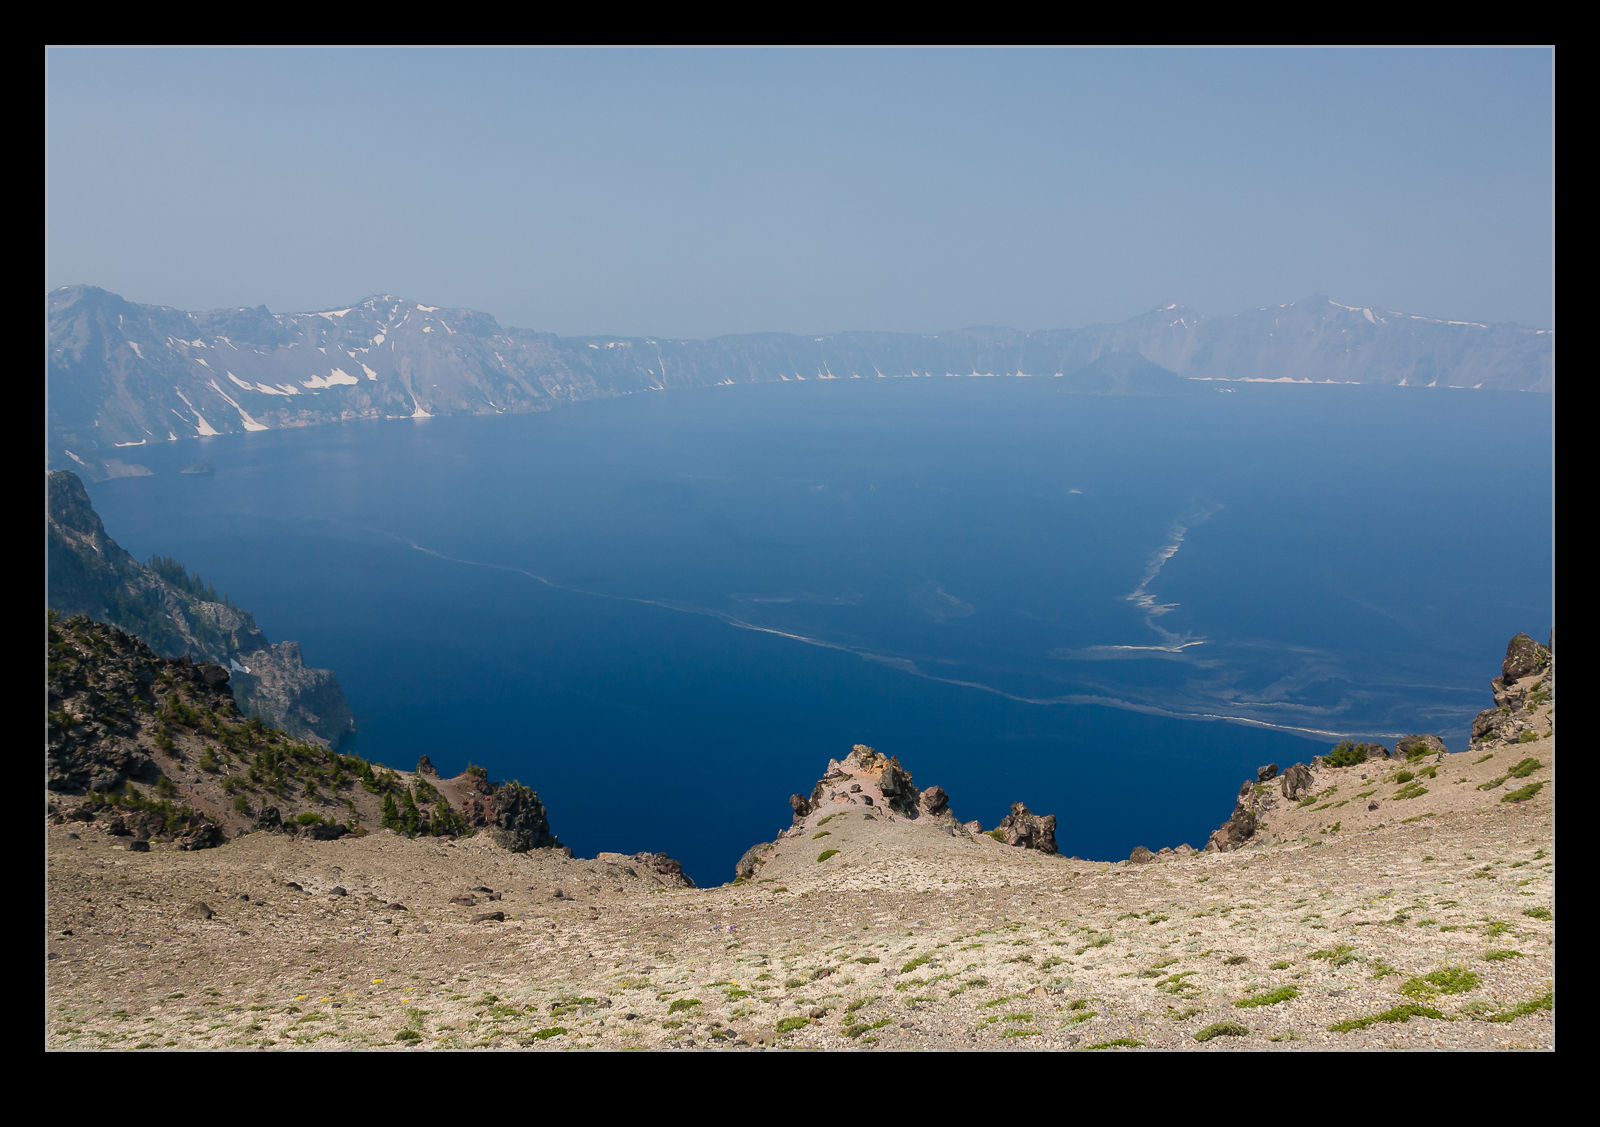
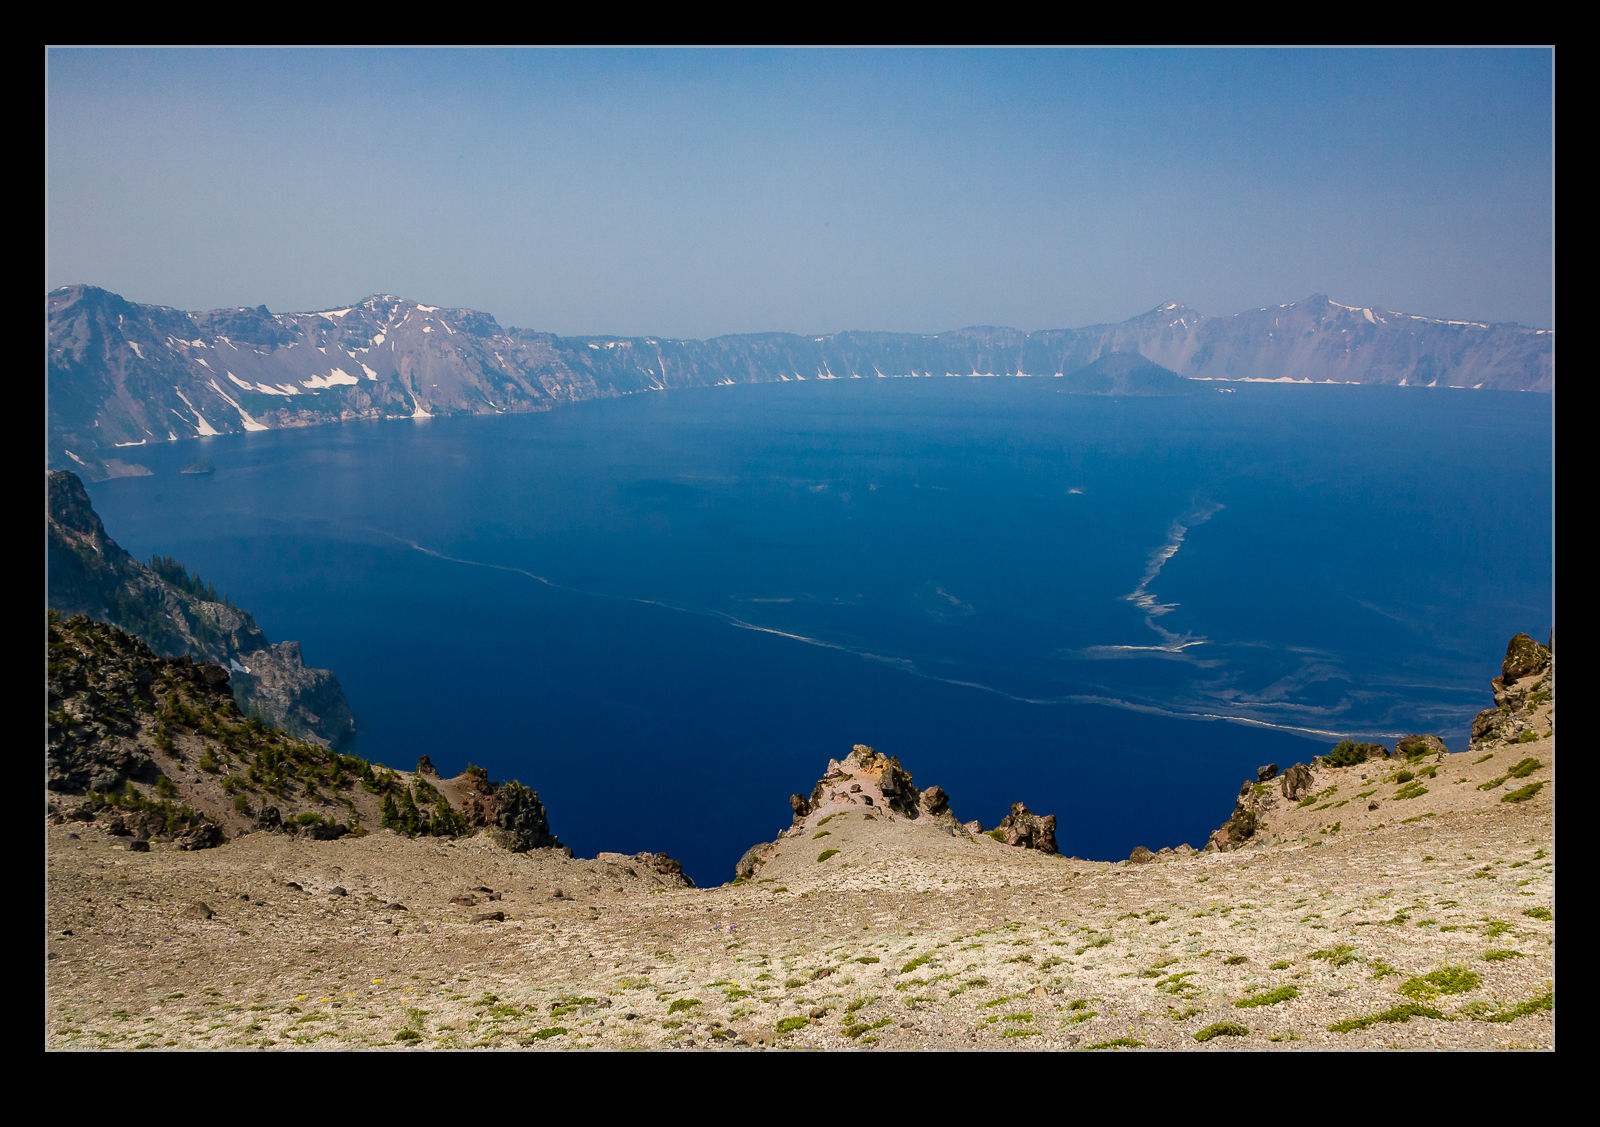
QB5Y5727.jpg QB5Y5727-2.jpgI have not played with the filter a lot but I did decide to try it out on a shot I took at Crater Lake a few years back. Wildfires had resulted in smoke in the air which meant the usual clear view across the lake was obscured. I thought I would see how the filter worked out. Above are the before and after shots. It is an improvement but obviously isn’t going to rescue a totally messed up shot. I did try a more aggressive setting but that looked wrong itself so this was the one I went with. We shall see if this has other uses for me over time.

Clever Feature of Lightroom CC

This one is something that I can attribute to the Kelby media juggernaut. I did not discover this myself but, if you are a user of Lightroom CC and use either the HDR or the panorama functions, this could be of interest. One of my issues with them was that they took a while to bring up a preview. Once you had got this, the processing would work in the background.

It turns out, if you don’t need to tweak the settings and are happy with what you used previously, you can hold Shift and Ctrl and press either M for panorama or H for HDR and it will launch right into processing the whole thing in the background. You can set multiple versions off if you wish and they will all get to work out of sight while you do something else. While my feelings on the outcome of the processing are not universally great and I covered this in some previous posts, it does a reasonable job most of the time and this is an even better feature that is well concealed!

The Spot Healing Brush

I recently put together a post on an old event that I had shot in my film days. It was the demonstration of the BAe 146 at London City Airport and the post is here. When I got the negatives out and scanned them, they were not in good condition. Despite washing the negatives, they still had a lot of scratches and blemishes on them. In order to prepare them for the post, I spent a great deal of time cleaning up the shots.

The tool I used was the Spot Healing Brush in Photoshop. I had used it occasionally in the past but never had I spent so much time using it in one session. It turns out I was not well aware of its functionality and I learned a little about it as I went. I had clicked on the tool and gone to work on it. The brush works by healing whatever you click on. You can click on a spot or draw across a section and it will then heal. However, it defaulted to certain settings which I wish I had known to change. It started out with Proximity as the setting. This makes it sensitive to picking up colors and patterns from things nearby.

At some point, I thought to change it to Content Aware at which point it became so much more helpful. In proximity mode, I found that I could heal many blemishes but I ended up with patterns in uniform color areas that looked very conspicuous. With content aware it came up with a far smoother solution which made for a cleaner result. Skies were the real issue for this and the change worked well.

Also, when working across edges, I found the tool was fine if I went perpendicularly across the boundary. Trying to work along an edge was tricky but if I went straight across the line, the algorithms were clever enough to know to leave the edge intact and just take out the blemish. It is a very cool tool and one I now have a better idea of how to use when required.

LRTimelapse

I have previously written about some time-lapse software that I use based on a recommendation from my friend Jo Hunter.  I used this software for a while before the creator, Gunther Wegner, updated it to a new version and deactivated the version I had.  I was a bit miffed by this but I was able to continue using the export settings from his application within Lightroom but with me having to manually manage the file cropping.  All transition and smoothing capability was lost but I could still make a basic time-lapse.

Sadly, the latest versions of Lightroom have done away with that as well and now I couldn’t even render the video.  Therefore, I decided to take a look at the latest version of his software.  It is now on version 3 so I have skipped a version en route to this place.  I had shot a few sequences recently and wanted to be able to manage them properly so decided to come back and have another go with his application.

There have been some improvements in tidying up the software so the workflow is a bit better.  There is still a certain amount of effort as you switch back and forth with Lightroom.  You have to put all of the images into a single folder while working on them.  This means a modification to my storage strategy but it isn’t difficult to manage in Lightroom and, when you are done, you can revert the images to their original locations and still render the video output.  It might be nicer if he gave you a more flexible approach to selecting files but this is not a hardship.

It has changed a little from what I am used to since now it starts out analyzing the files before you have created keyframes.  Once this is done, you save the xmp files out and reload them in Lightroom.  Define your keyframes and make any edits to them that you want and save xmp again.  Back to LRTimelpase to load the changes and now it does its smoothing very quickly.  Save xmp again and back to Lightroom and now there is an Export setting along with all of the other export options.  No going to the Slideshow module any more.

The results are pretty good.  The new export functionality actually generates a sequence of still images which it stores.  You then head back into LRTimelapse where you have a series of options for rendering a video sequence from those stills.  You can have it automatically delete the stills when it is done or keep them and render again using different output options.  This is pretty flexible although it means you have to pay attention to what you have used so you don’t end up with a ton of stored intermediate images.  The video output looks good.  I am not using the product commercially so do not have the full commercial license.  That will allow output in 4K formats.  I only wanted 1080p HD format for my purposes.  It is a little interesting that 4K is automatically assumed to be commercial use.  With people able to record 4K on GoPros these days and 4K TVs showing up, I suspect this is going to be a more mainstream format before too long.  Maybe it will be in the personal use license of future versions of LRTimelapse.  We shall see.

Was it worth the upgrade?  Yes.  Not least because I wanted to have the capability back that I had lost when Lightroom changed its output but, even so, I have found the new version to be quite a bit more friendly to work with.  I think it will encourage me to work on a few more projects.