Tag Archives: technique

IPMS Northwest Gathering – Time to Focus Stack

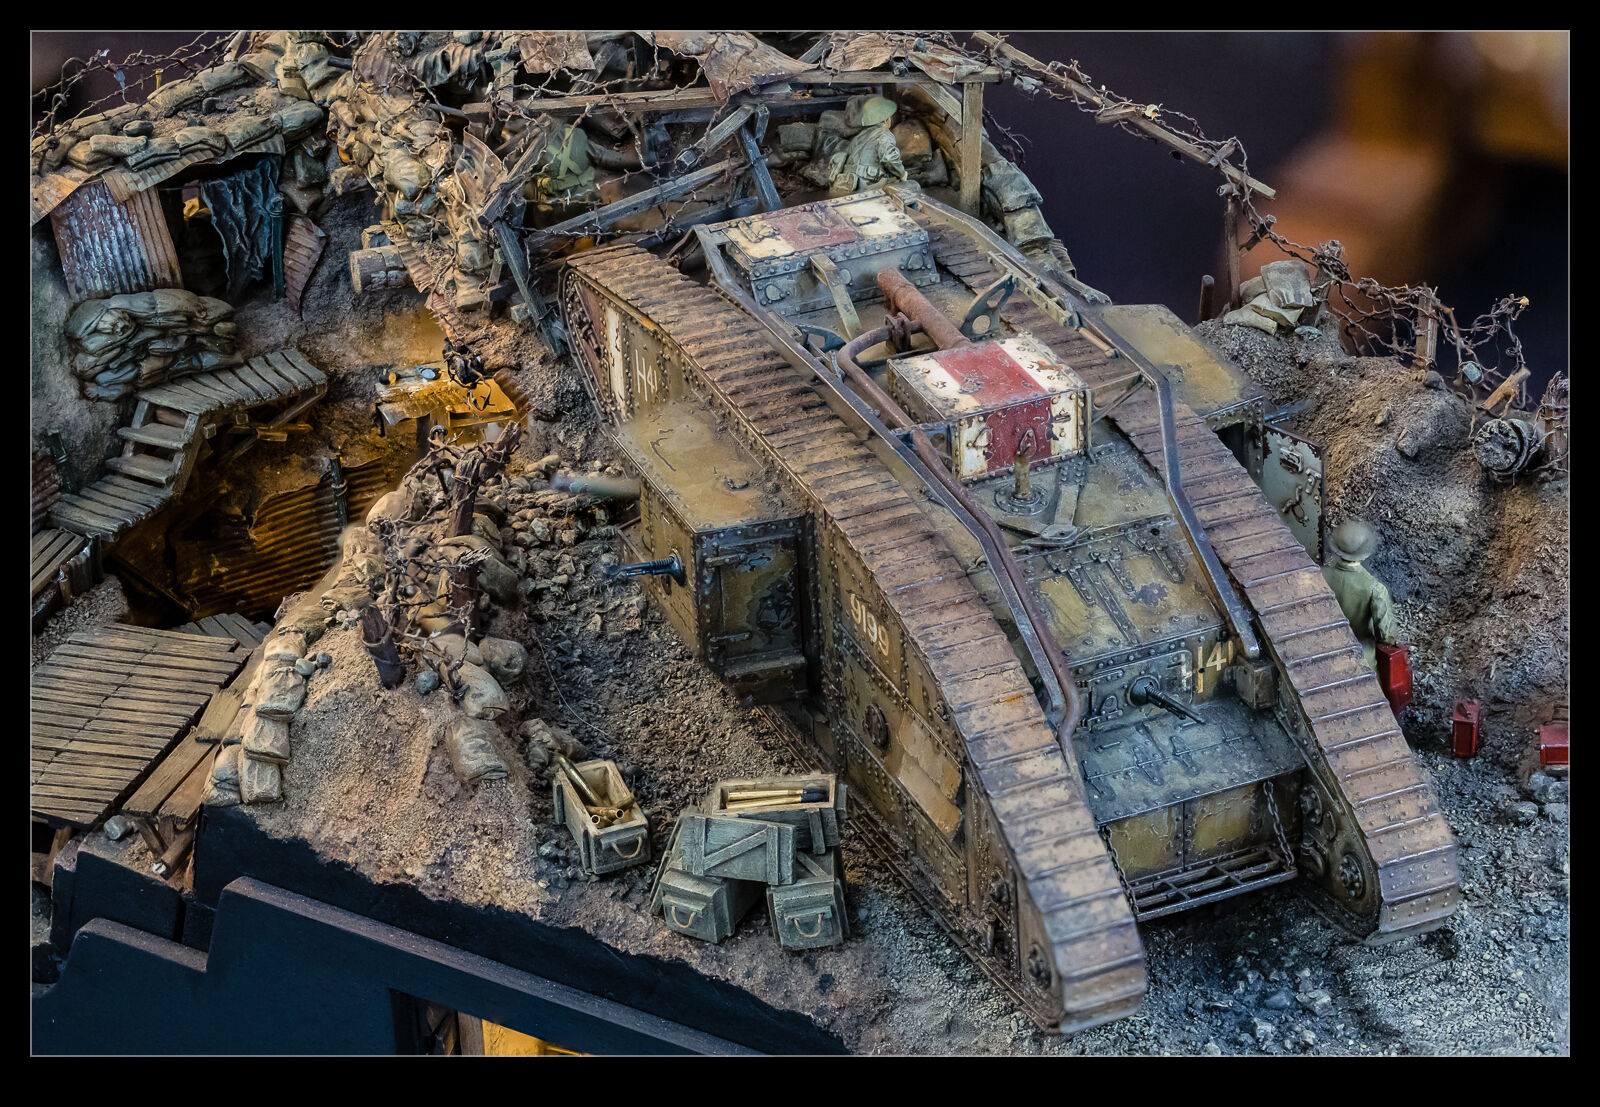
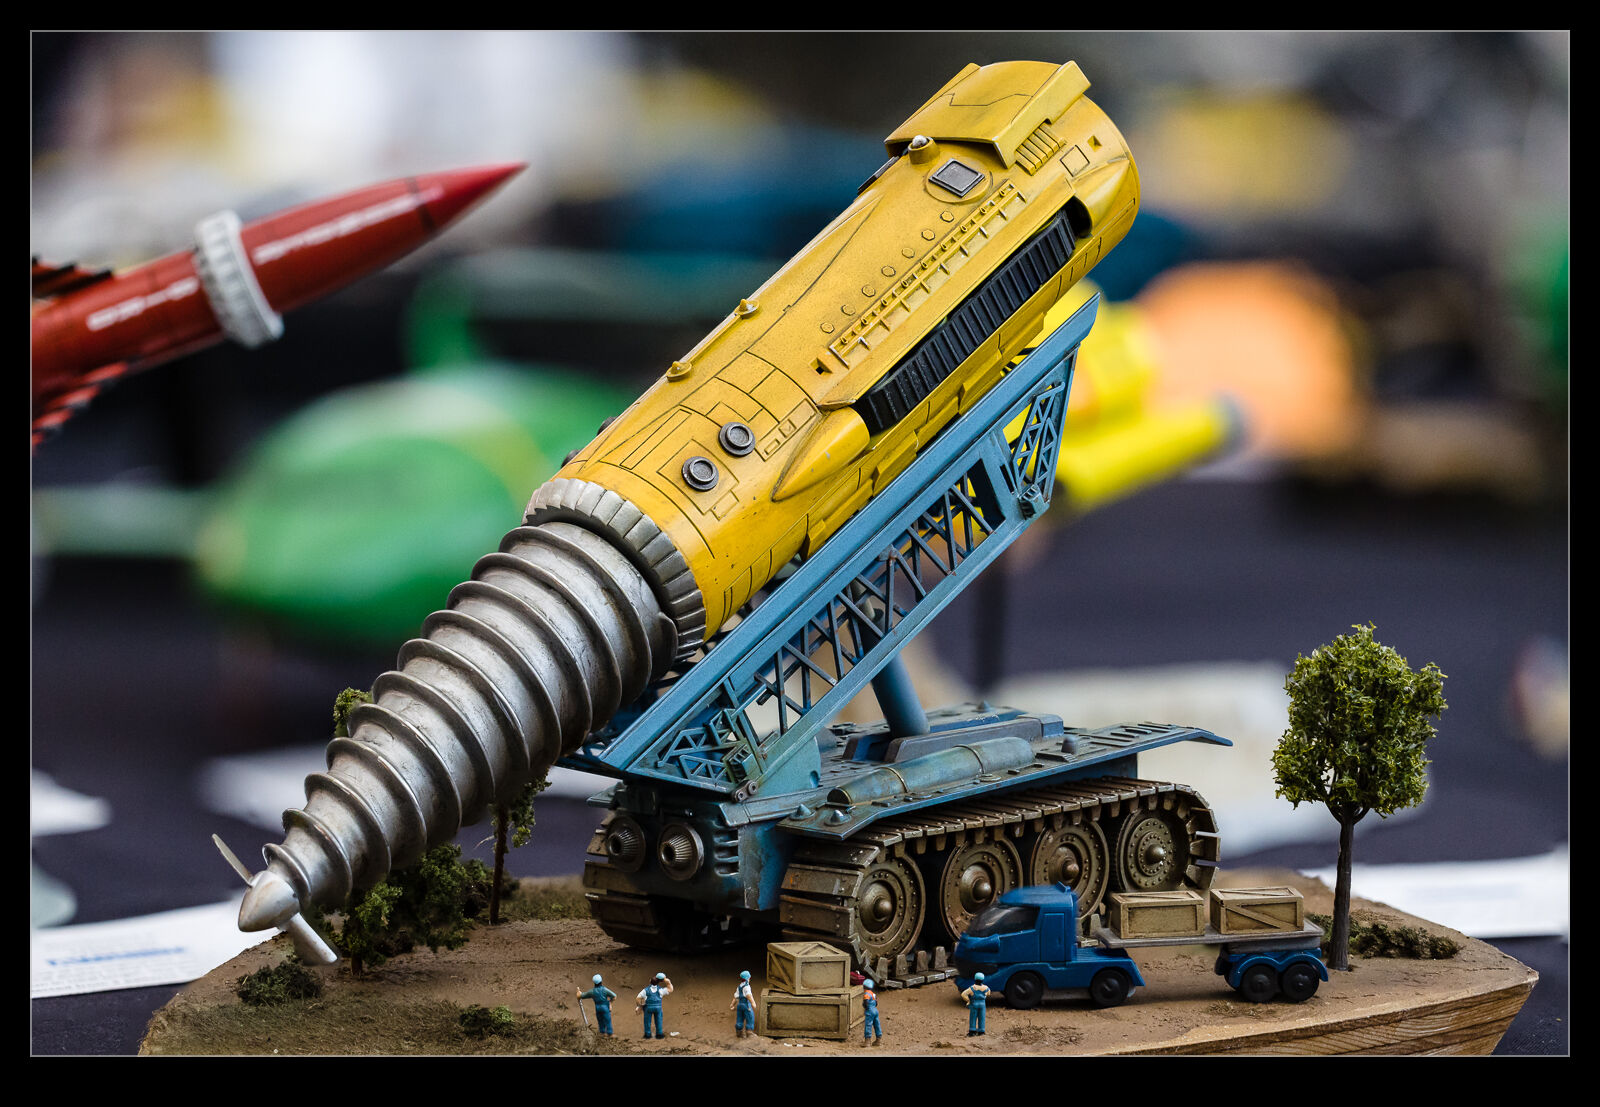
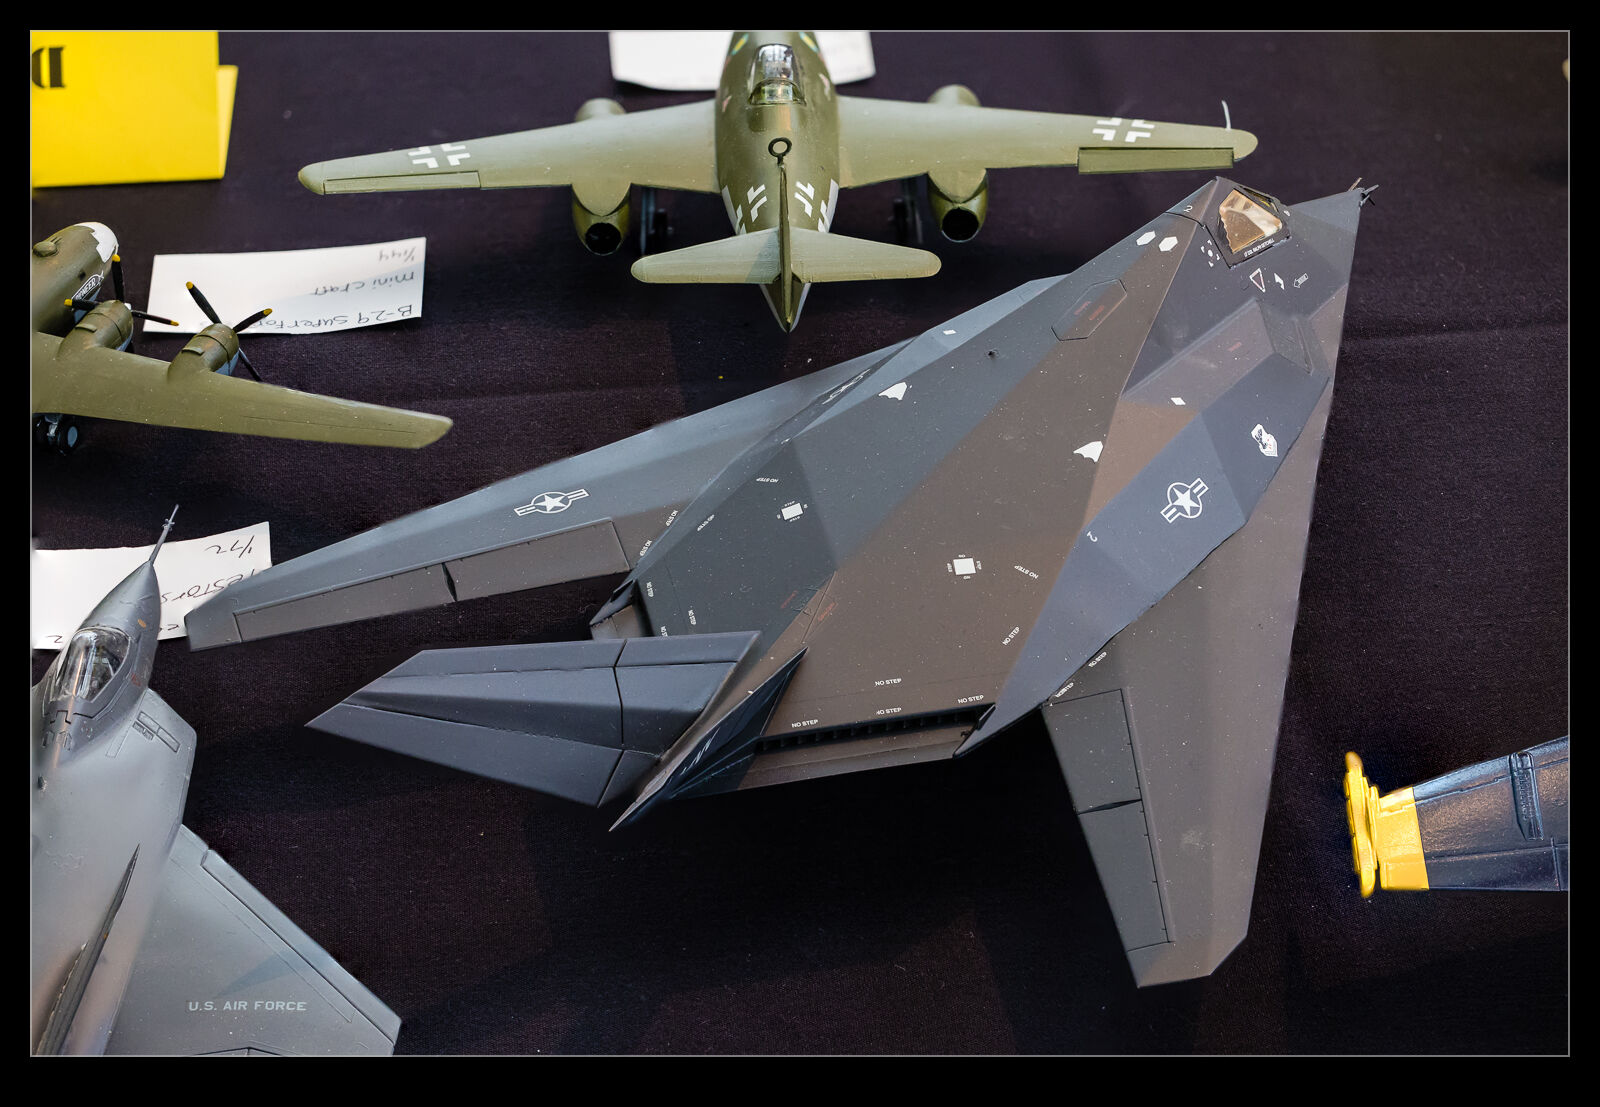
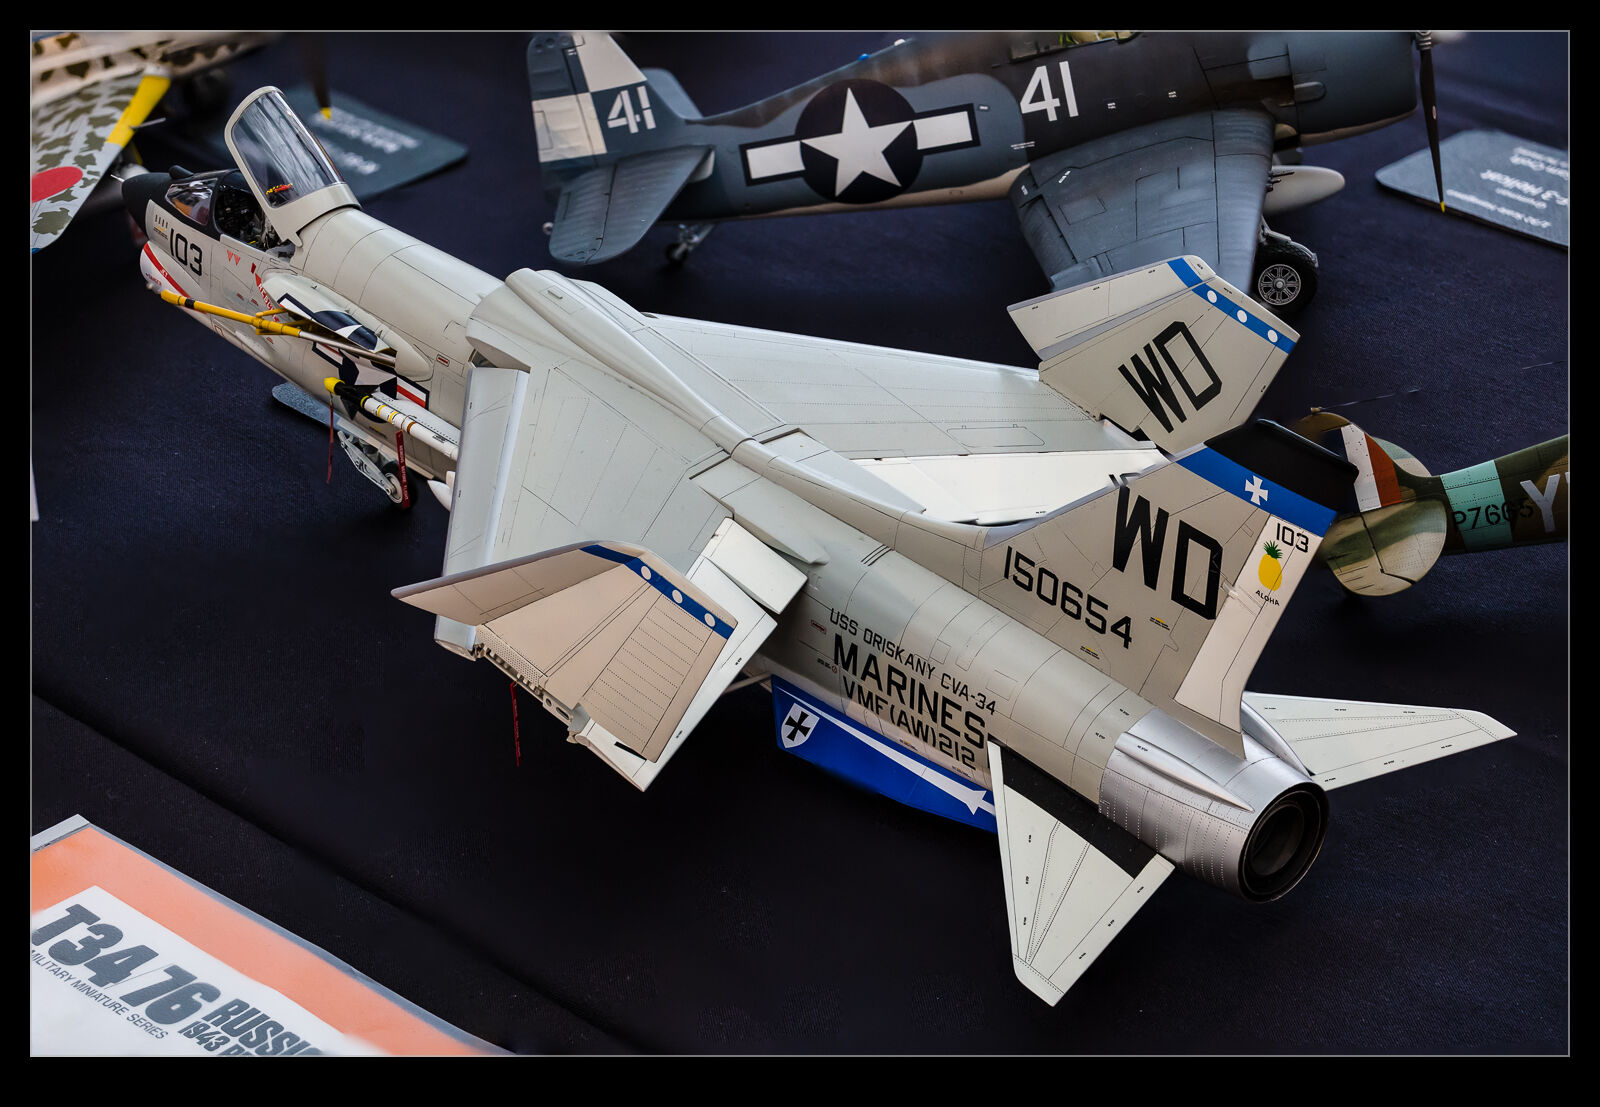
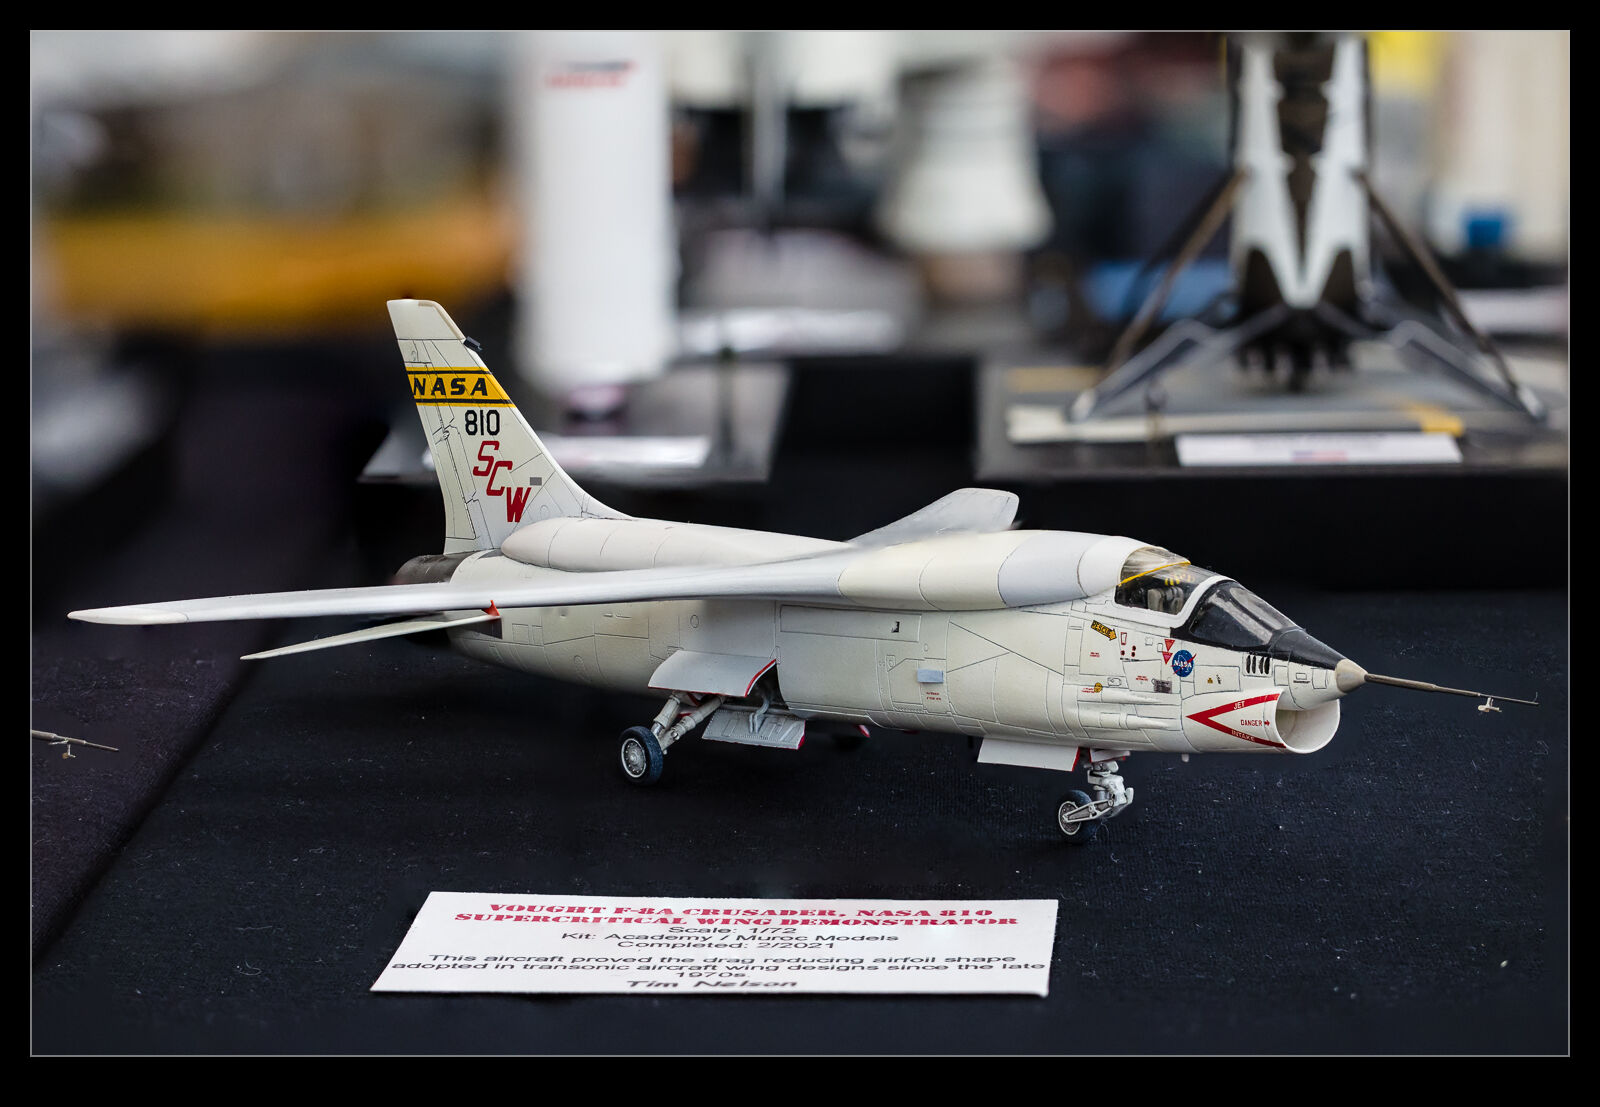
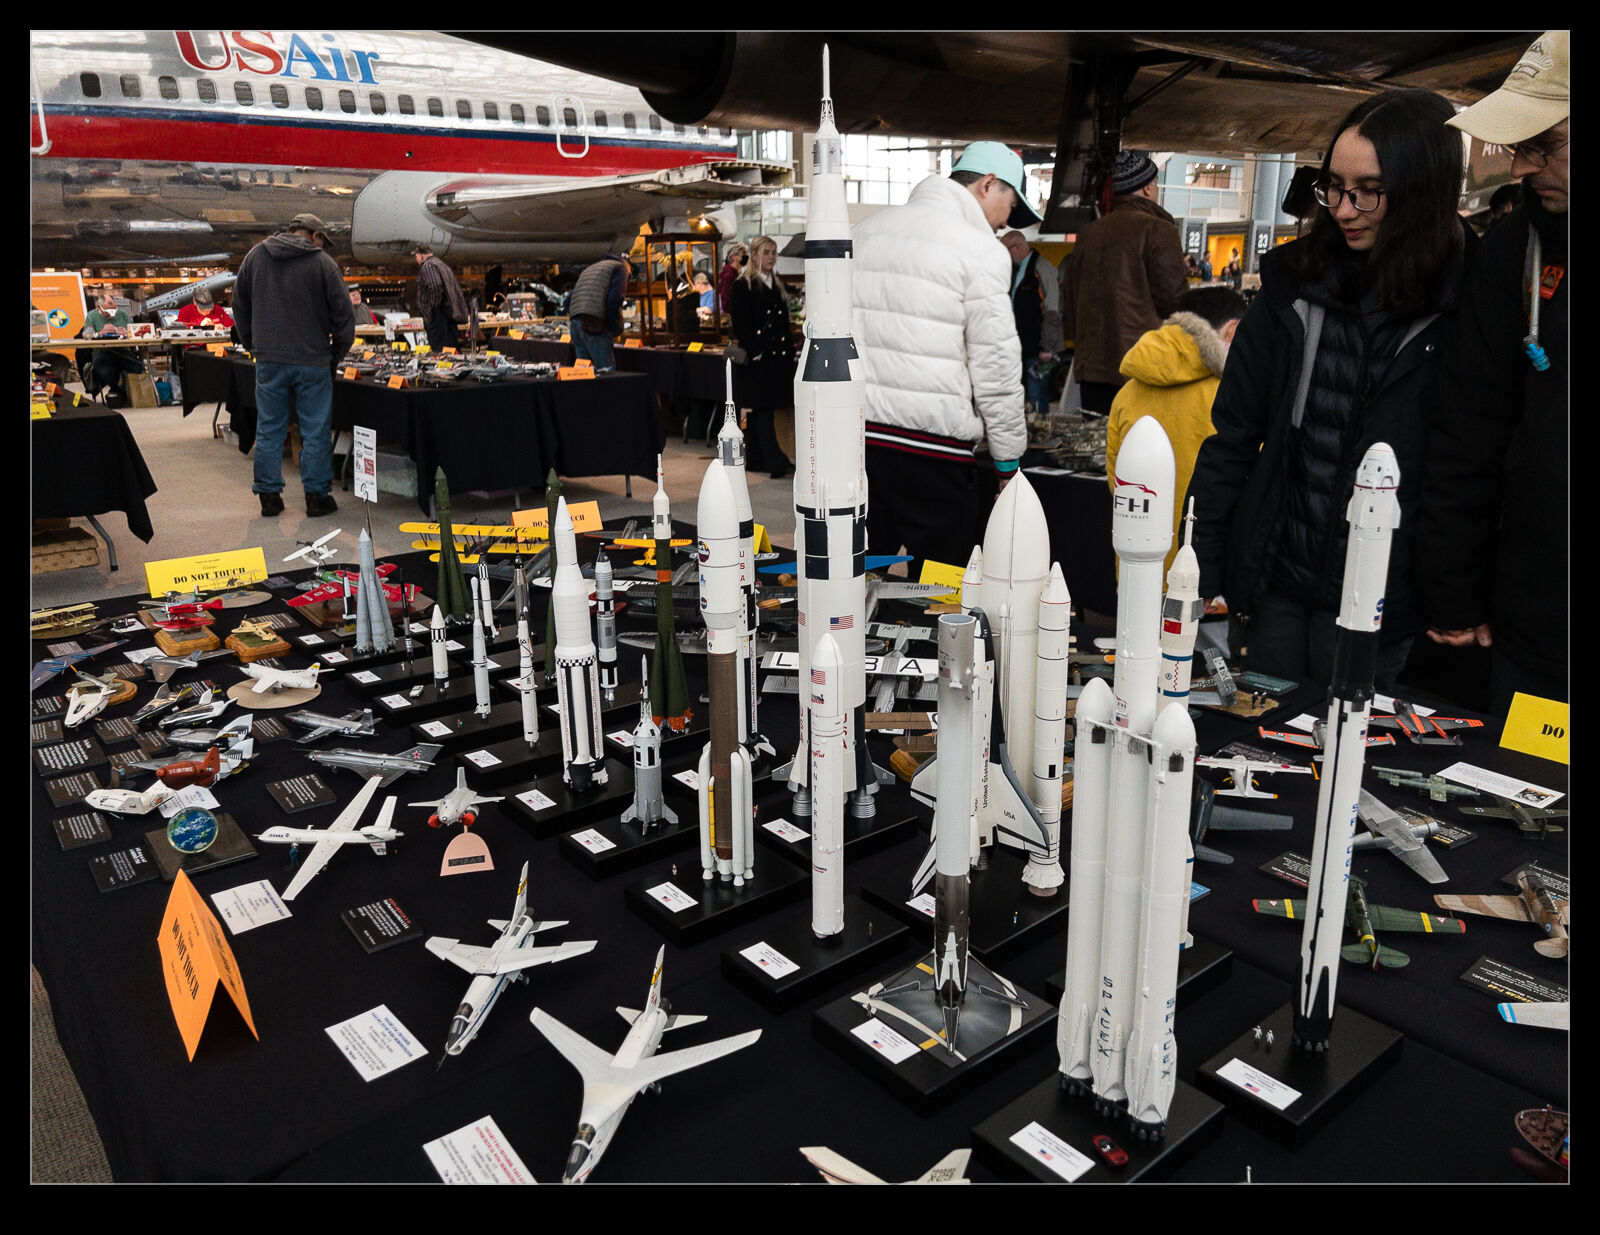
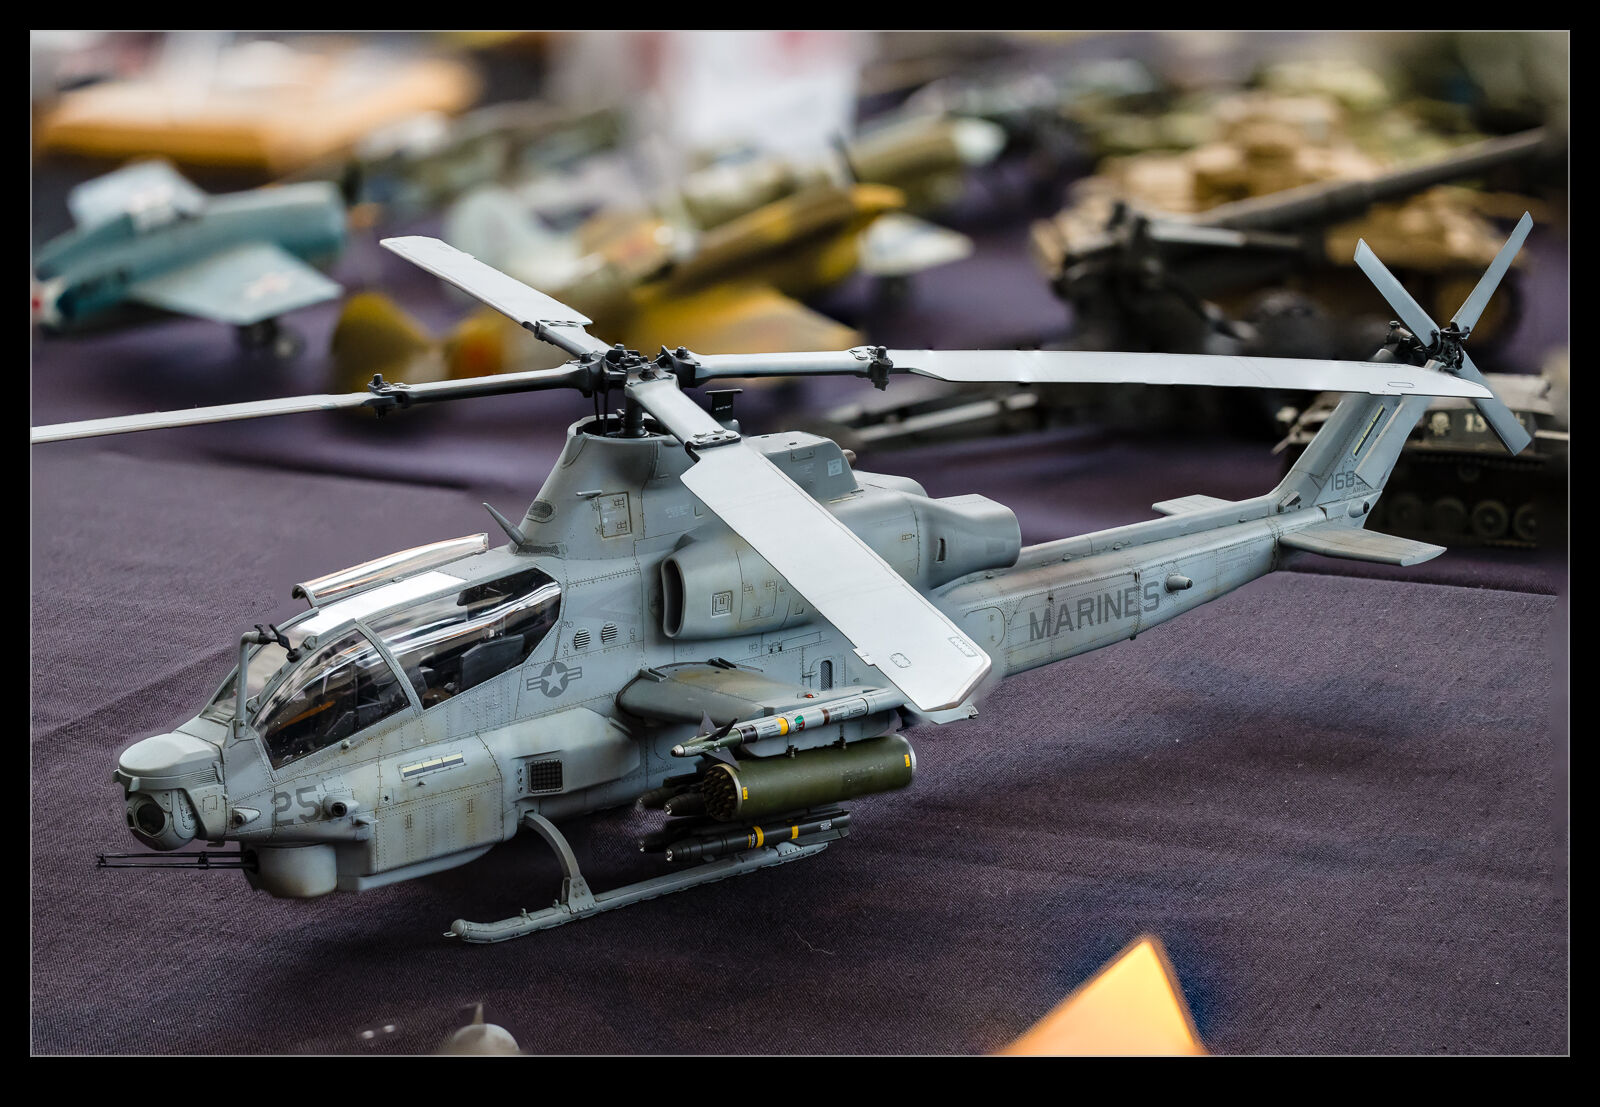
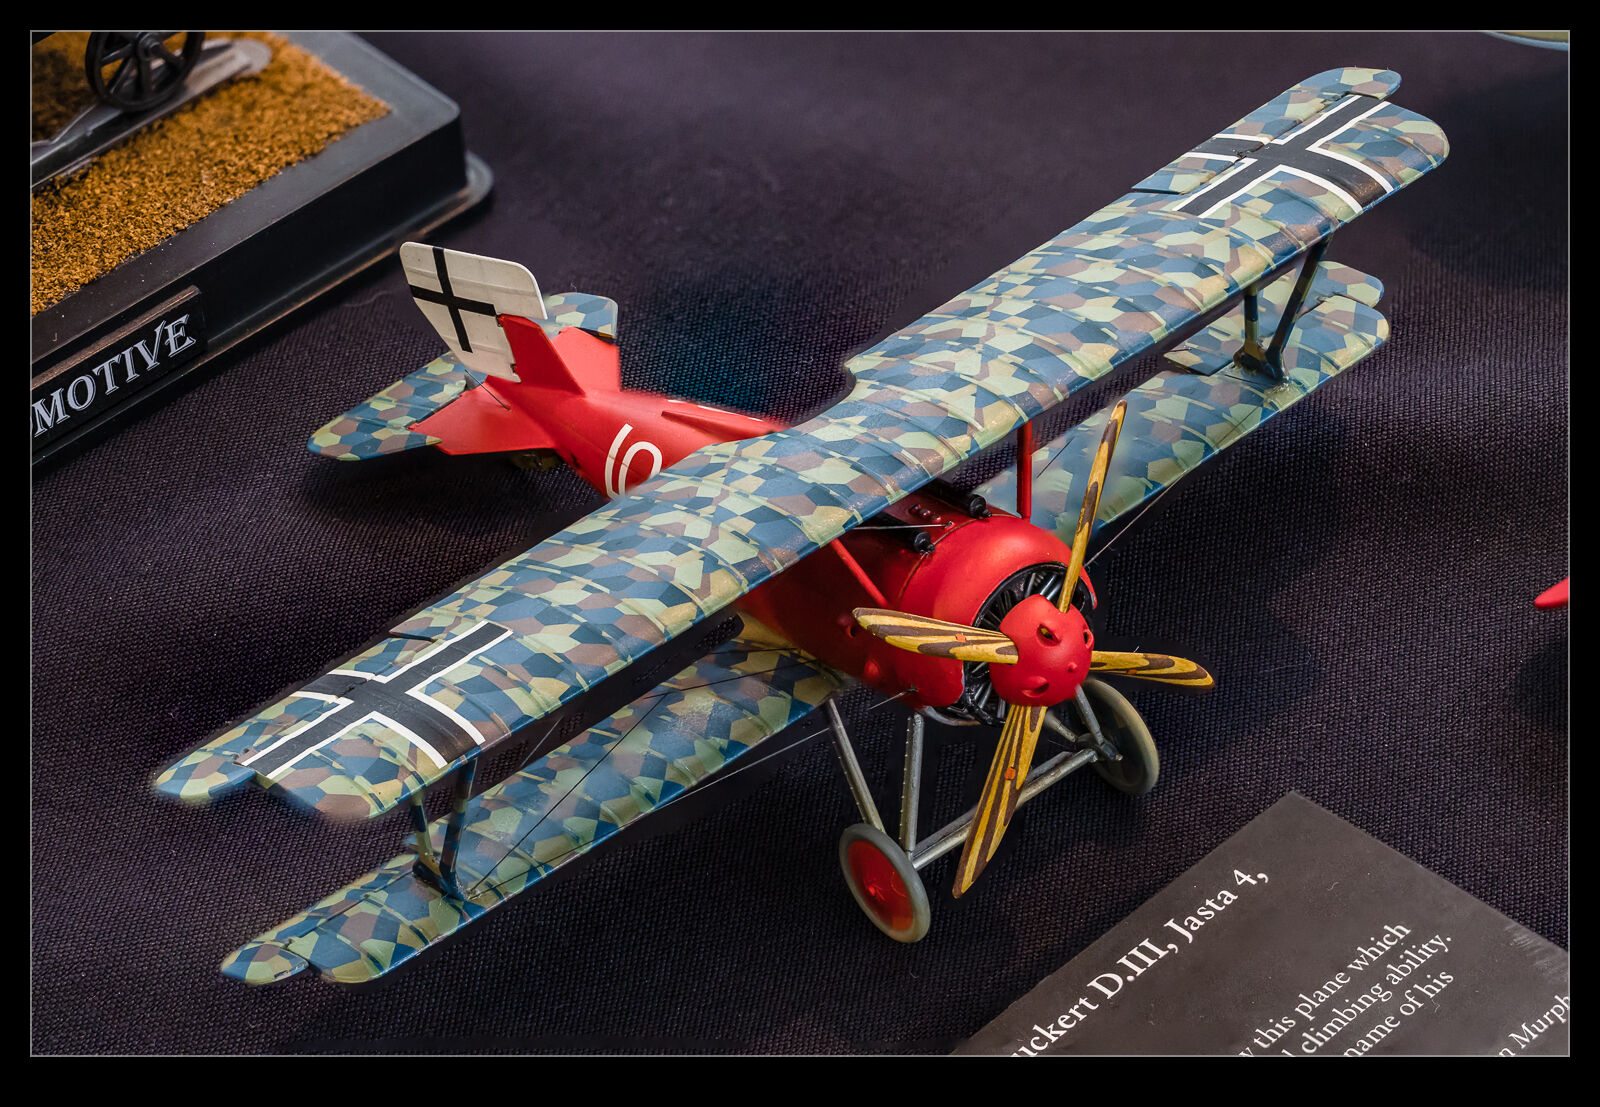
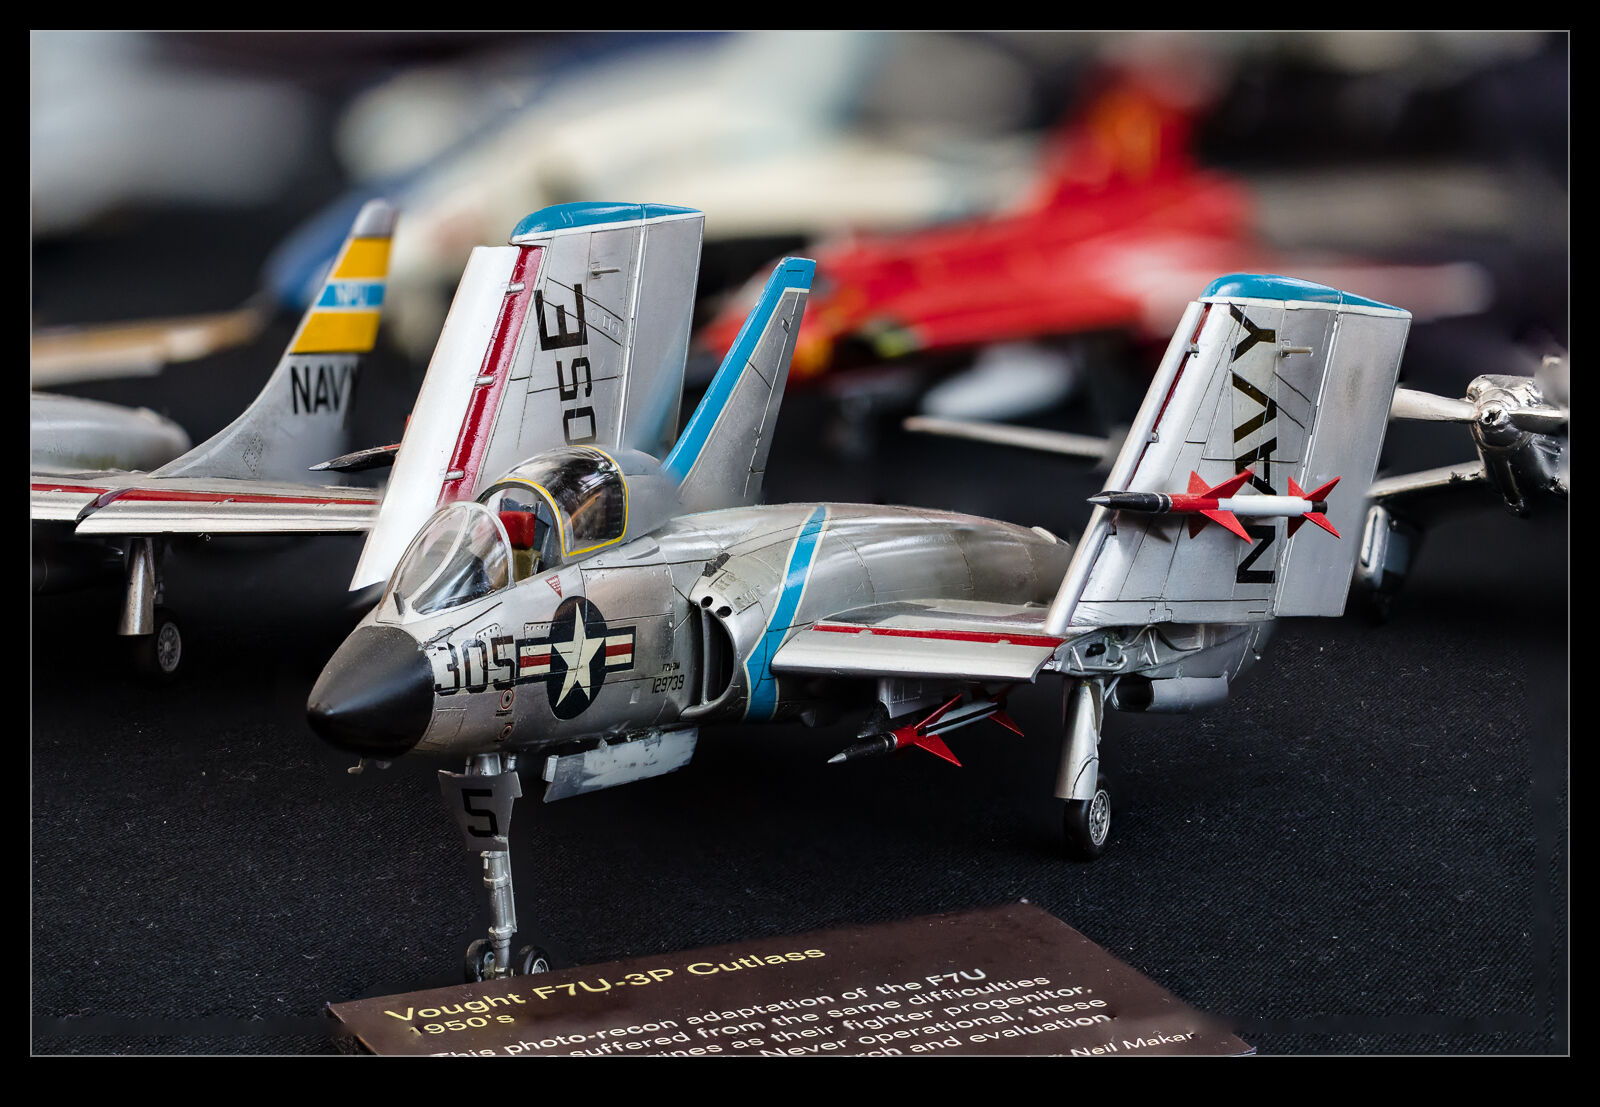
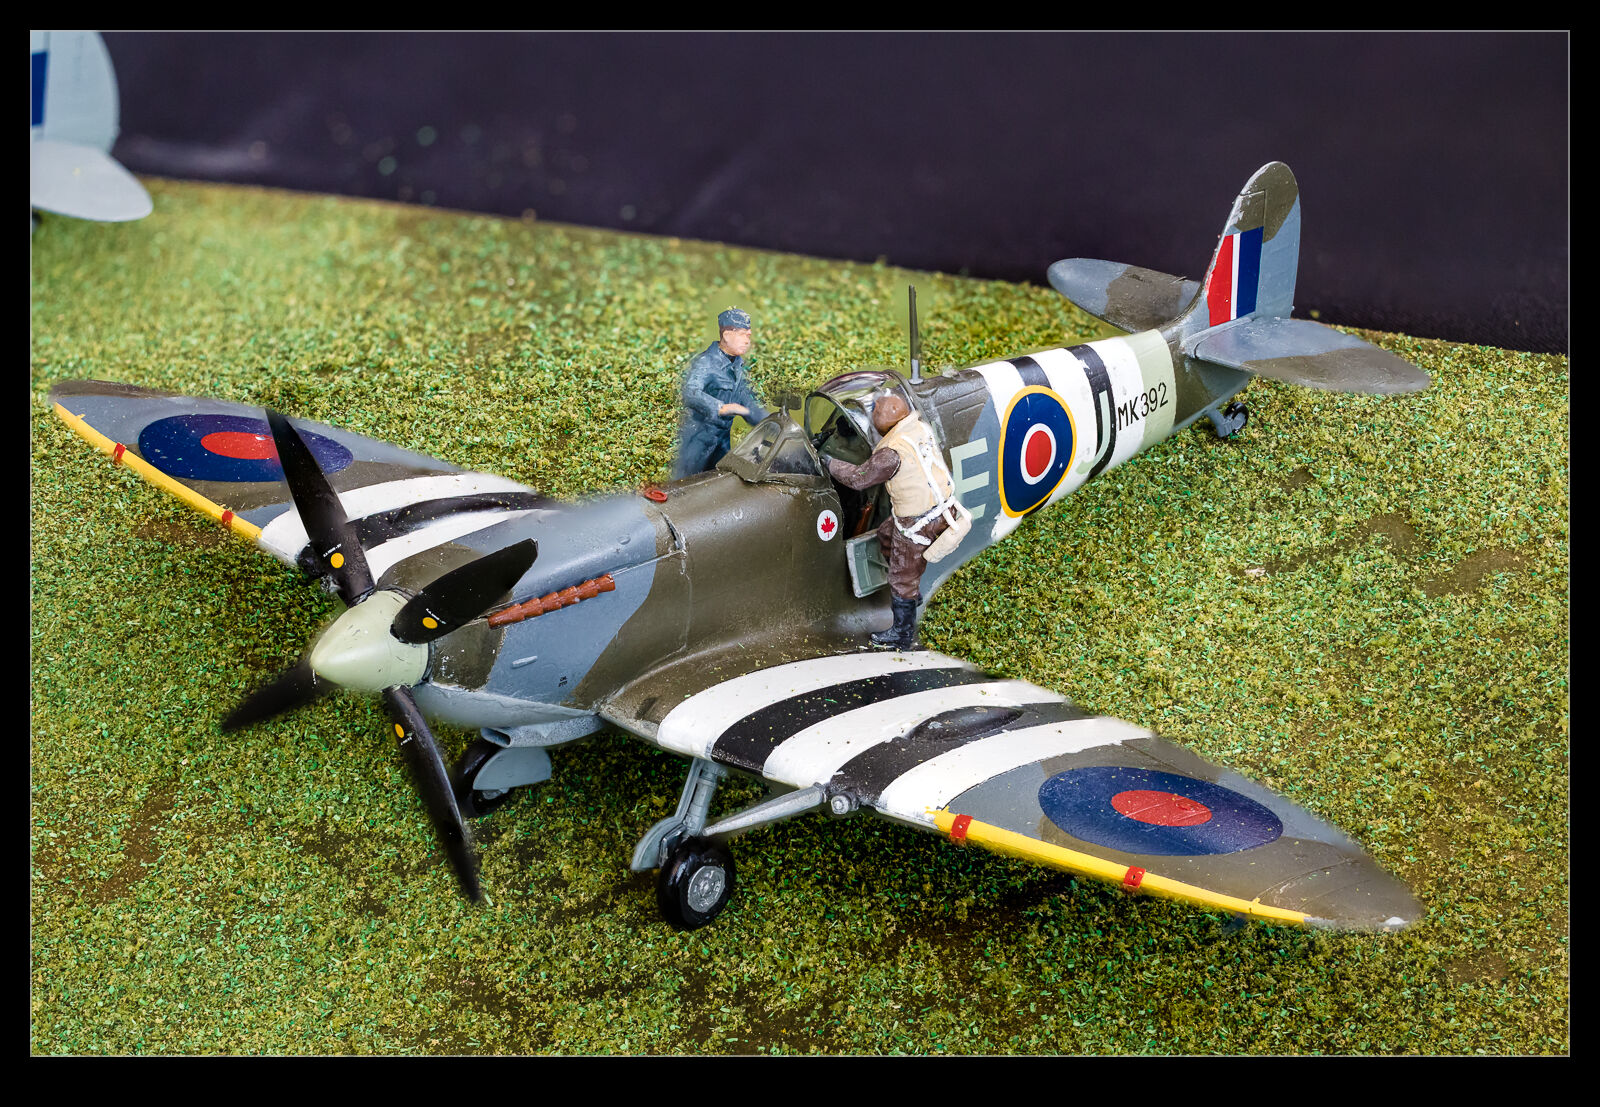
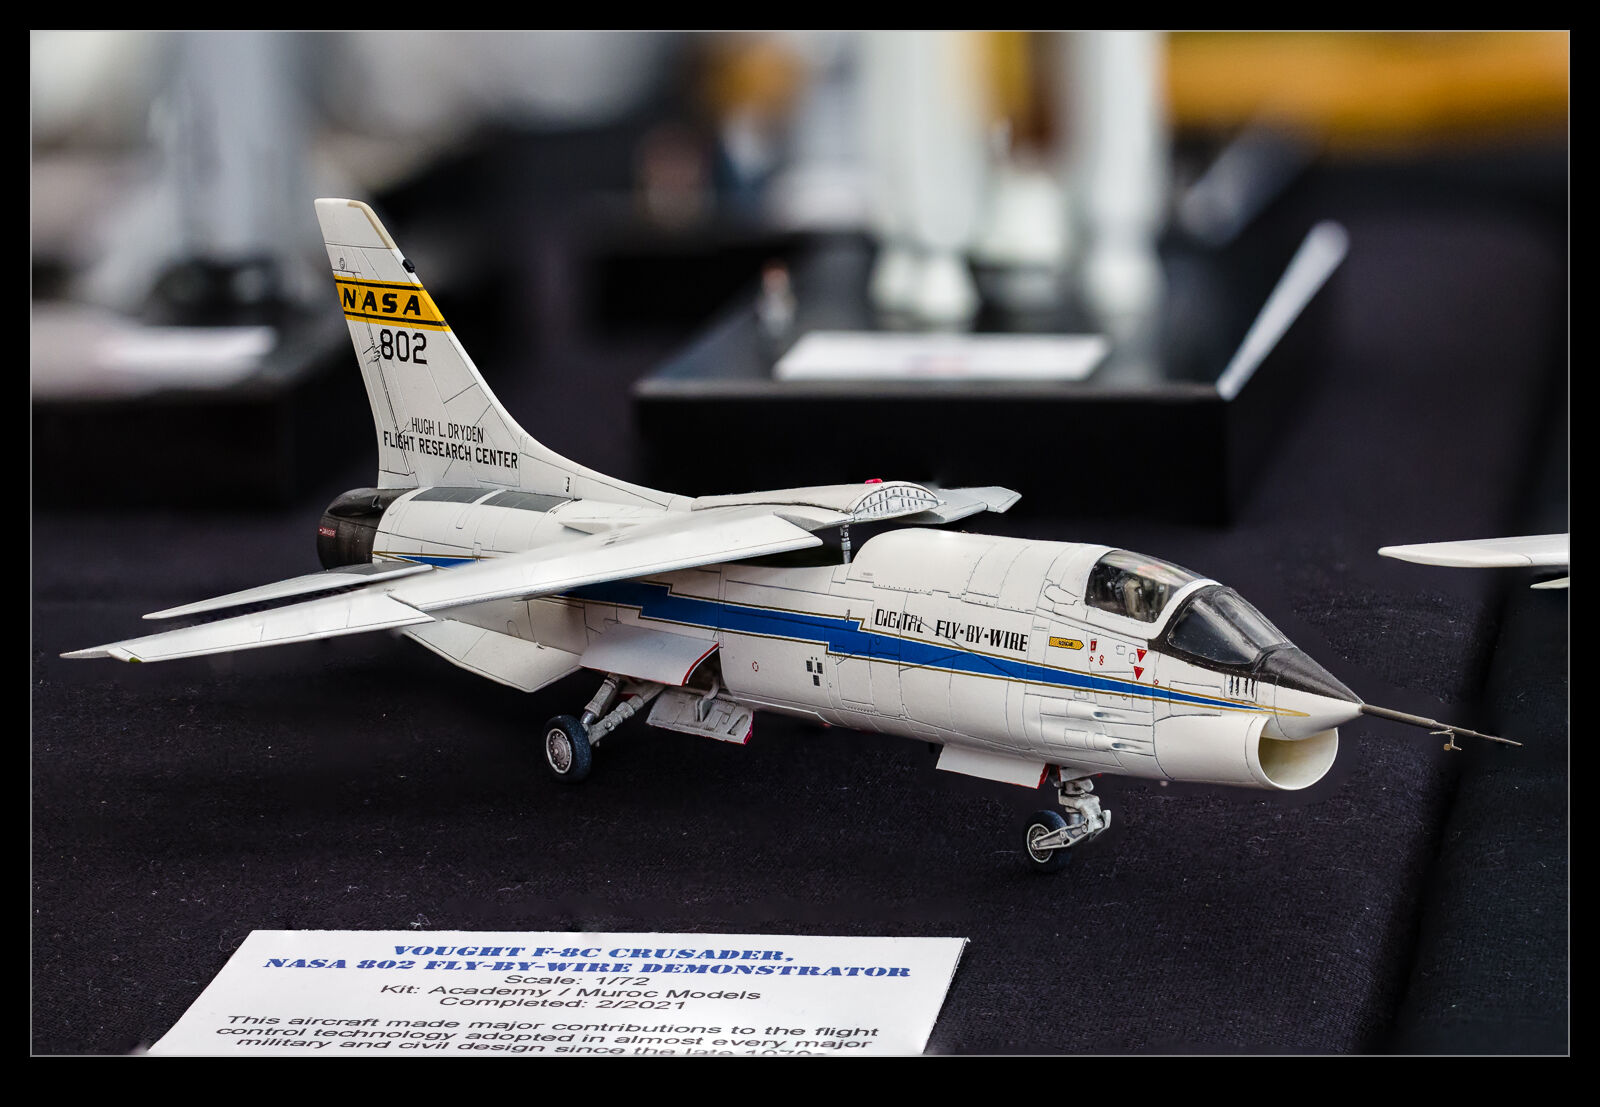
Once a year, the IPMS northwest group has a gathering at the Museum of Flight at Boeing Field.  The modelers from around the region come with their creations to put them on display.  I used to make models in my youth and have done a little bit since the pandemic started but not a huge amount and definitely not that good.  I do like to go and see how good some of the work can be.  I tend to focus on the aviation models but the others are of interest and anyone that has put together a diorama is going to get my attention.

Here are a bunch of shots of the various models on display that particularly caught my attention.  When trying to photograph models the problem is that focus is usually very shallow and so it makes the subject look very small.  I use focus stacking to try and give a clearer view of the full model and make it look slightly larger.  I am doing this handheld which is not ideal and, in some cases, the shots just don’t blend well.  Most of them came out okay though.

Experimenting with PureRAW3

This blog includes a very infrequent series of posts reviewing the processing powers of PureRAW.  The third version of this raw image processor has just been released and I downloaded the trial to see how it performs.  I was impressed by what the previous version did to clean up some high ISO shots but the need was limited and the price was high enough that I didn’t see the point in signing up for it.  I was curious as to whether the third version would change my mind.

When I download one of these trials, I always try to avoid installing it until I have time to play with it.  The trial last 30 days so I want to make sure I make good use of the time.  Once I got around to installing it, I put it to work.  I was disappointed to find the trial was limited to 20 images at a time which is a little restrictive but, for the purposes of evaluating it, I could work around this.  I had two things I wanted to do.  First, I wanted to convert some shots that I had previously tried for PureRAW2 to see how different they were.  Second, I had some recent night shots which I also wanted to try.
So, how did it perform?  Results were mixed.  I found the conversion process was quick sometimes and would slow down or stop on others.  This was annoying but I suspect is something that they will fix before too long so I wasn’t that worried.  What I was surprised about was that, when starting the process in Lightroom, the new DNGs will be reimported into Lightroom.  However, this was unbelievably slow.  I would set it off, the conversion would finish and then, a long time later, they would suddenly get added.  Again, something that is probably going to get fixed but bloody annoying in the mean time.

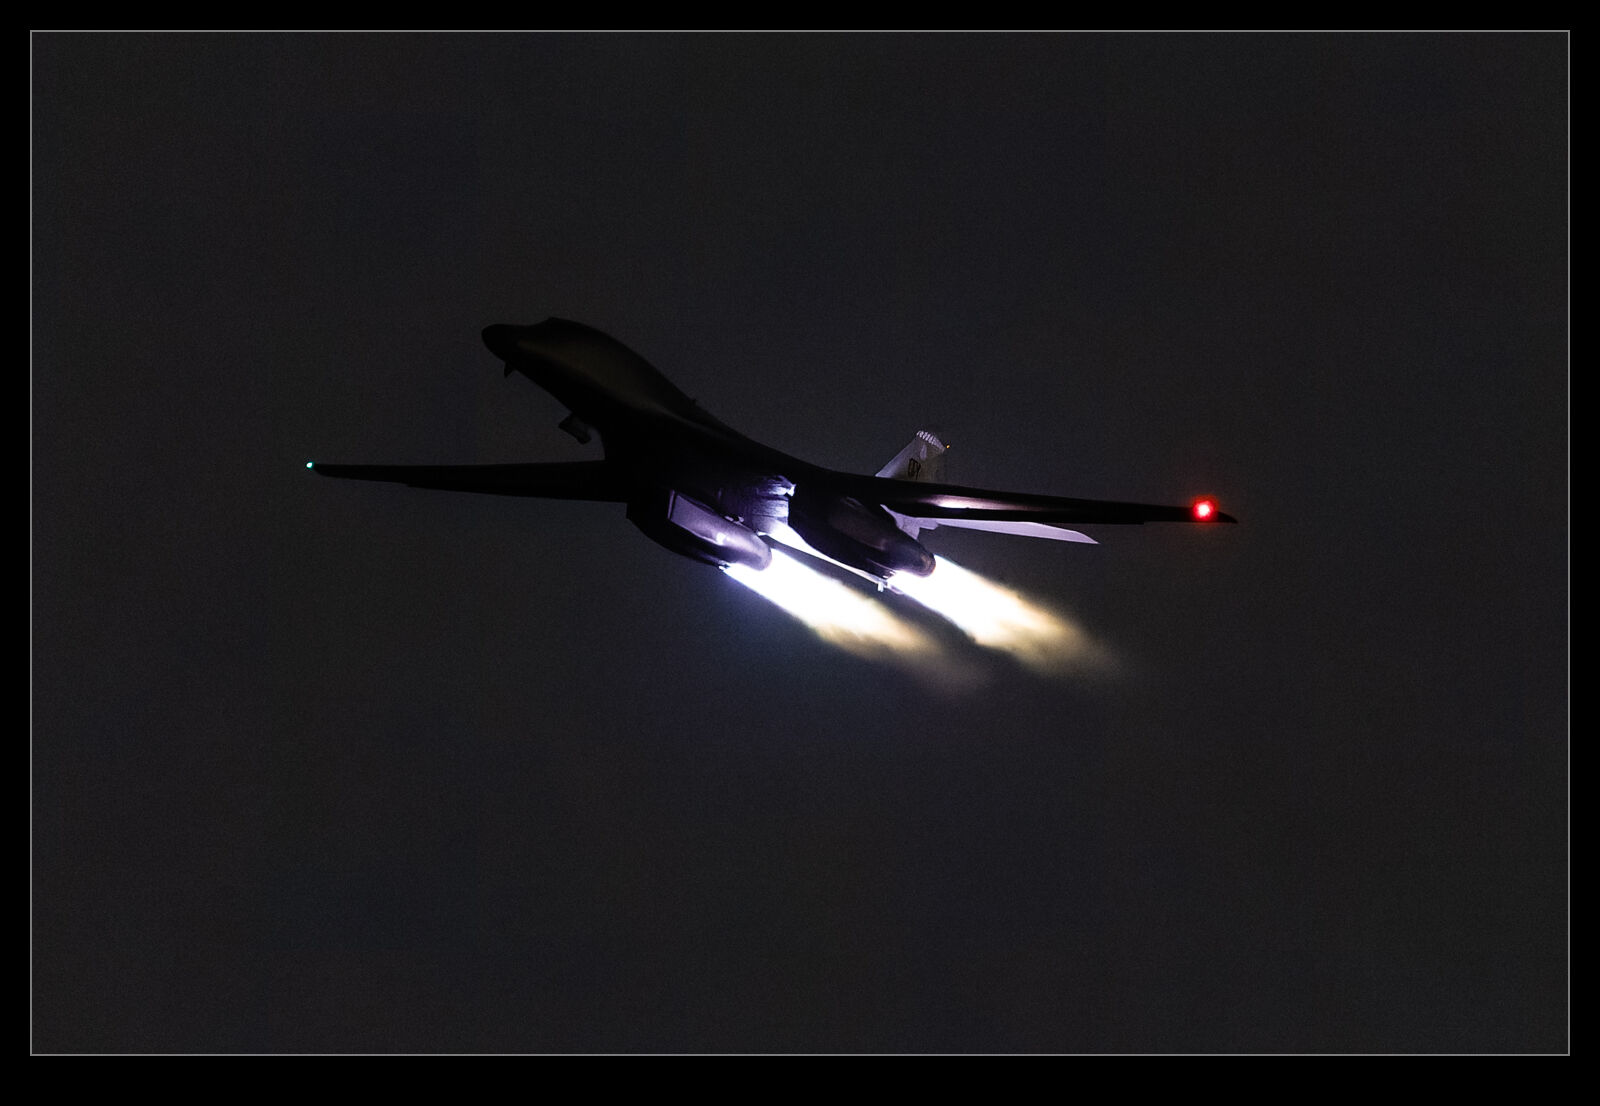
As for the output, I was quite amazed by the results.  I will show here some of the Lightroom edits along with PureRAW2 and PureRAW3 versions of the files.  As you can see, the latest version really does clean up images a lot.  However, I don’t think it is all good.  Some of the shots feel like they have been over sharpened and look too crunchy.  Also, the algorithm seems to get imaginative when it comes to lettering on airframes.  Some of the results have created shapes that just are not there in the original shot.  For some shots, this might not be an issue but, when something is supposed to be recognizable, the odd artifacts show up conspicuously.  If the shot had been soft and noisy, you wouldn’t have worried but, because it is supposed to be clear and sharp, the weird results stand out.

Is it worth it?  Not for me.  I used it on some more normal exposures and couldn’t really see much benefit.  Certainly not enough to make the effort worth it.  For high noise, it does provide some nice results and some odd side effects but, I don’t shoot enough of them to make that really worthwhile.  For now, it shall sit in the interesting but not interesting enough category.  Maybe we shall have the fourth installment of this series when PureRAW4 comes out!
Delta/LATAM Comes in After Dark

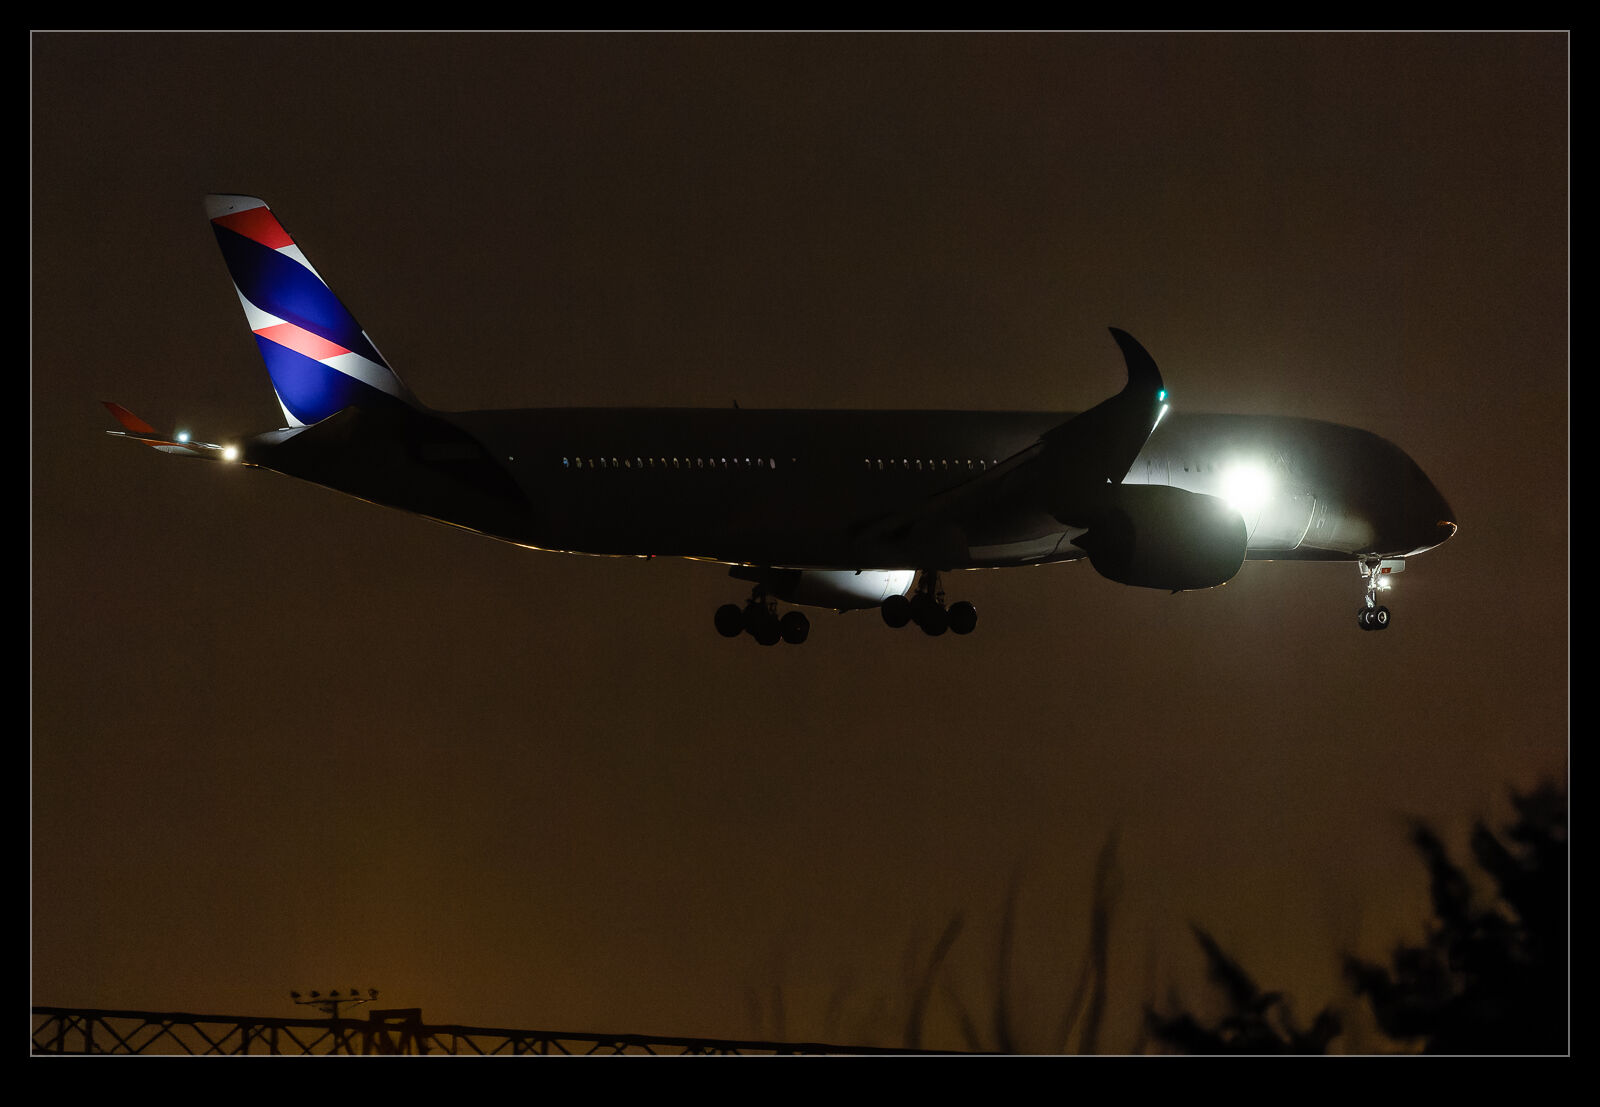
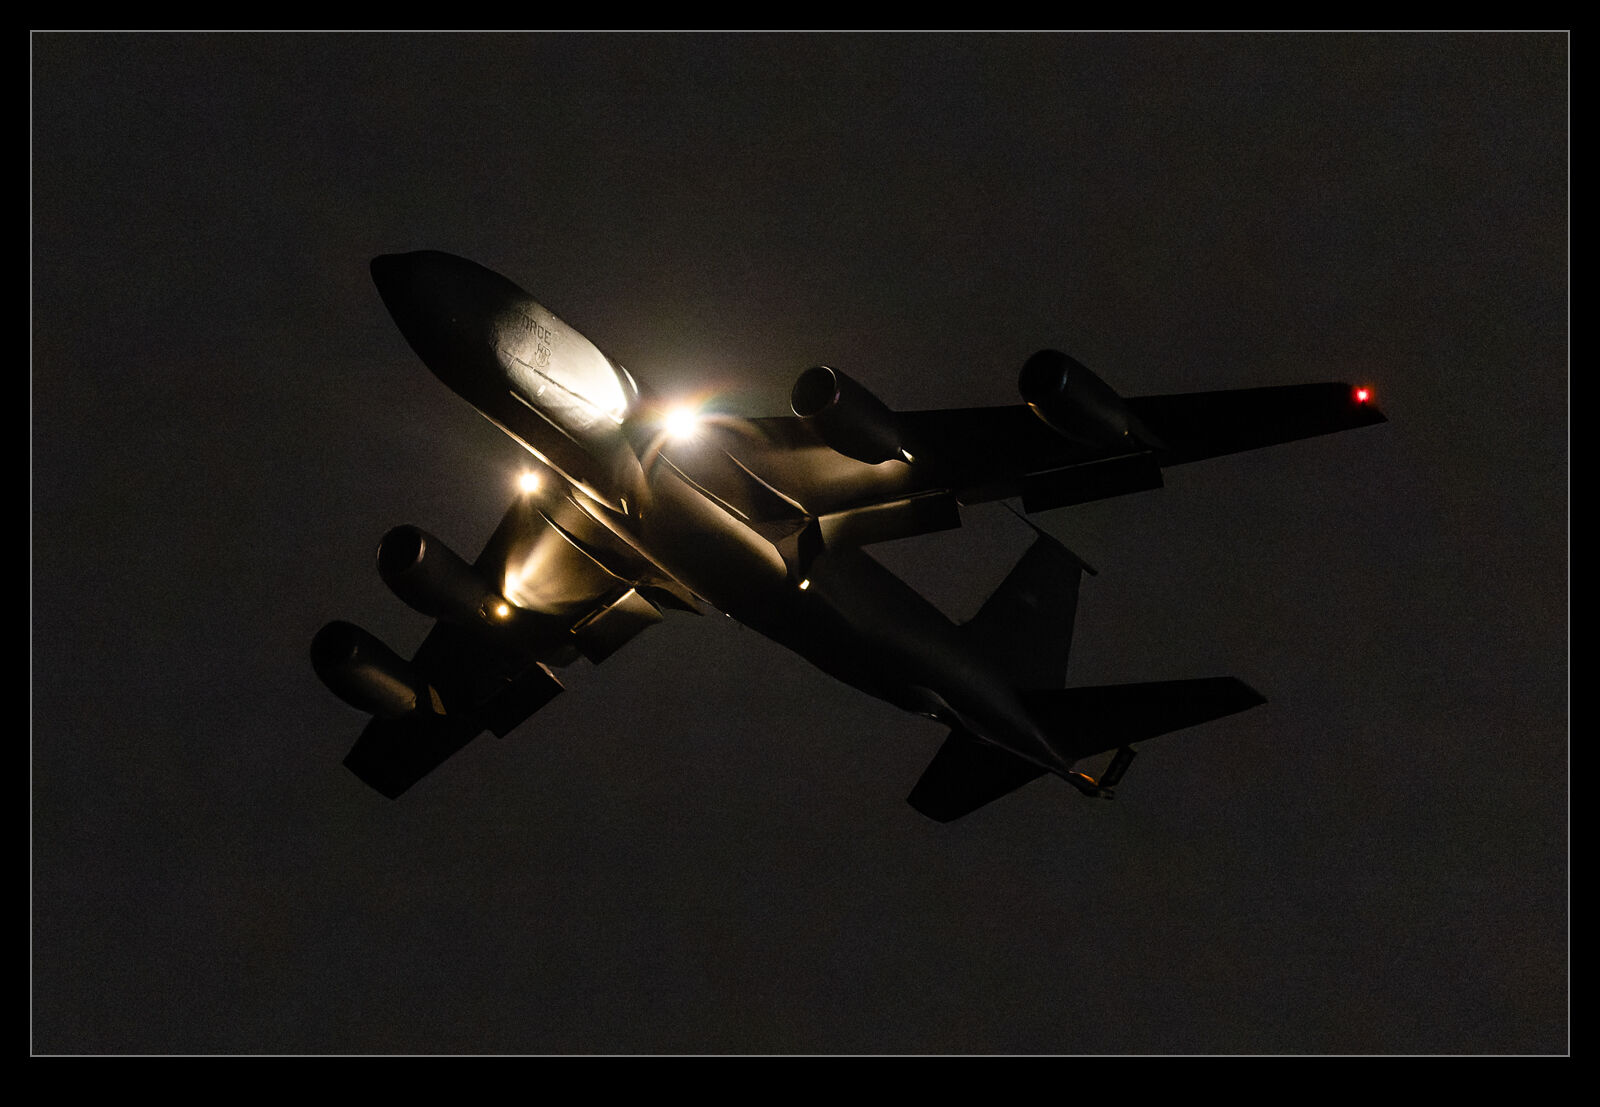
Delta picked up a few ex-LATAM Airbus A350-900s as part of that airlines restructuring during the downturn in the airline business caused by the pandemic.  They went initially in to storage and then have been progressively moved to Singapore for updating to the Delta configuration.  Seattle has been the location for them to come through on their way to Asia.  I have missed a few but one was due to come through when I could see it.  Sadly, it departed a little late from Victorville and was showing due in after dark.

Since it was an unusual movement, I figured it was still worth the effort.  I would use the 500mm since it has a wider aperture and test the low light capabilities of the camera to the full.  It still meant some very low shutter speeds but I let the tech compensate for my low skill levels.  I was pleasantly surprised by how well some of them came out given the lack of light.  Since this shoot, I did also reprocess with PureRAW3 and this improved the quality of the shot further.

Shooting at SEA After Sunset

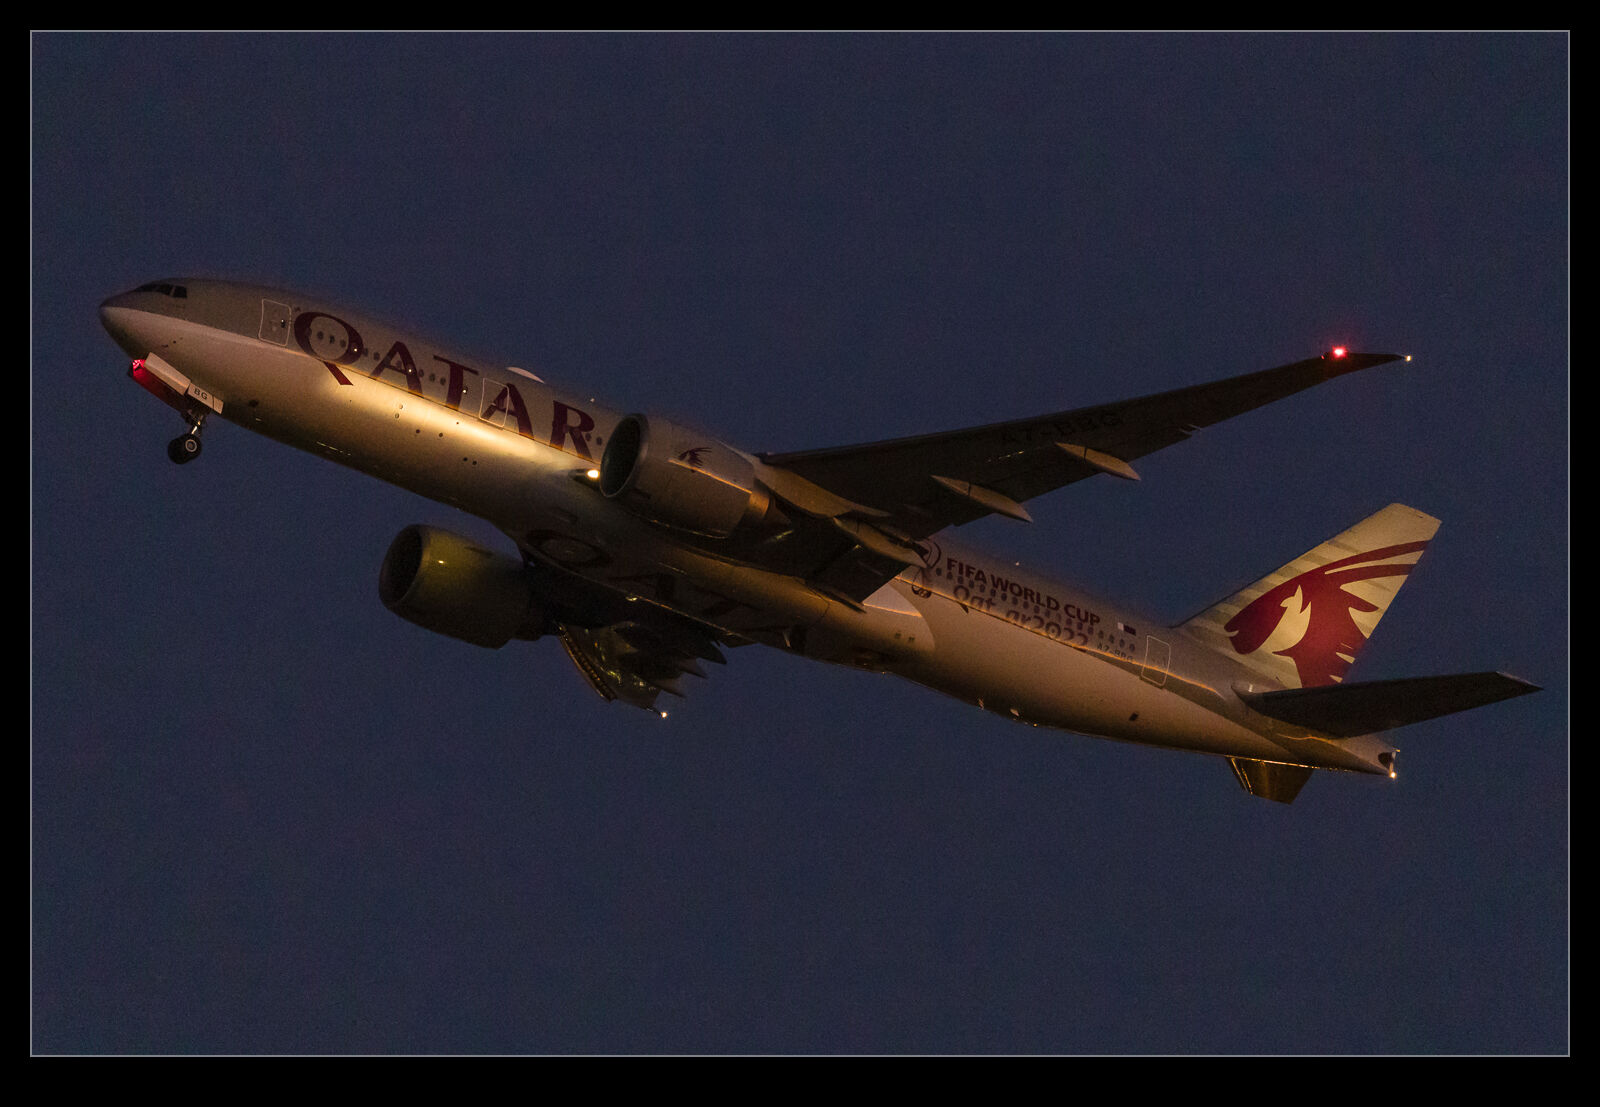
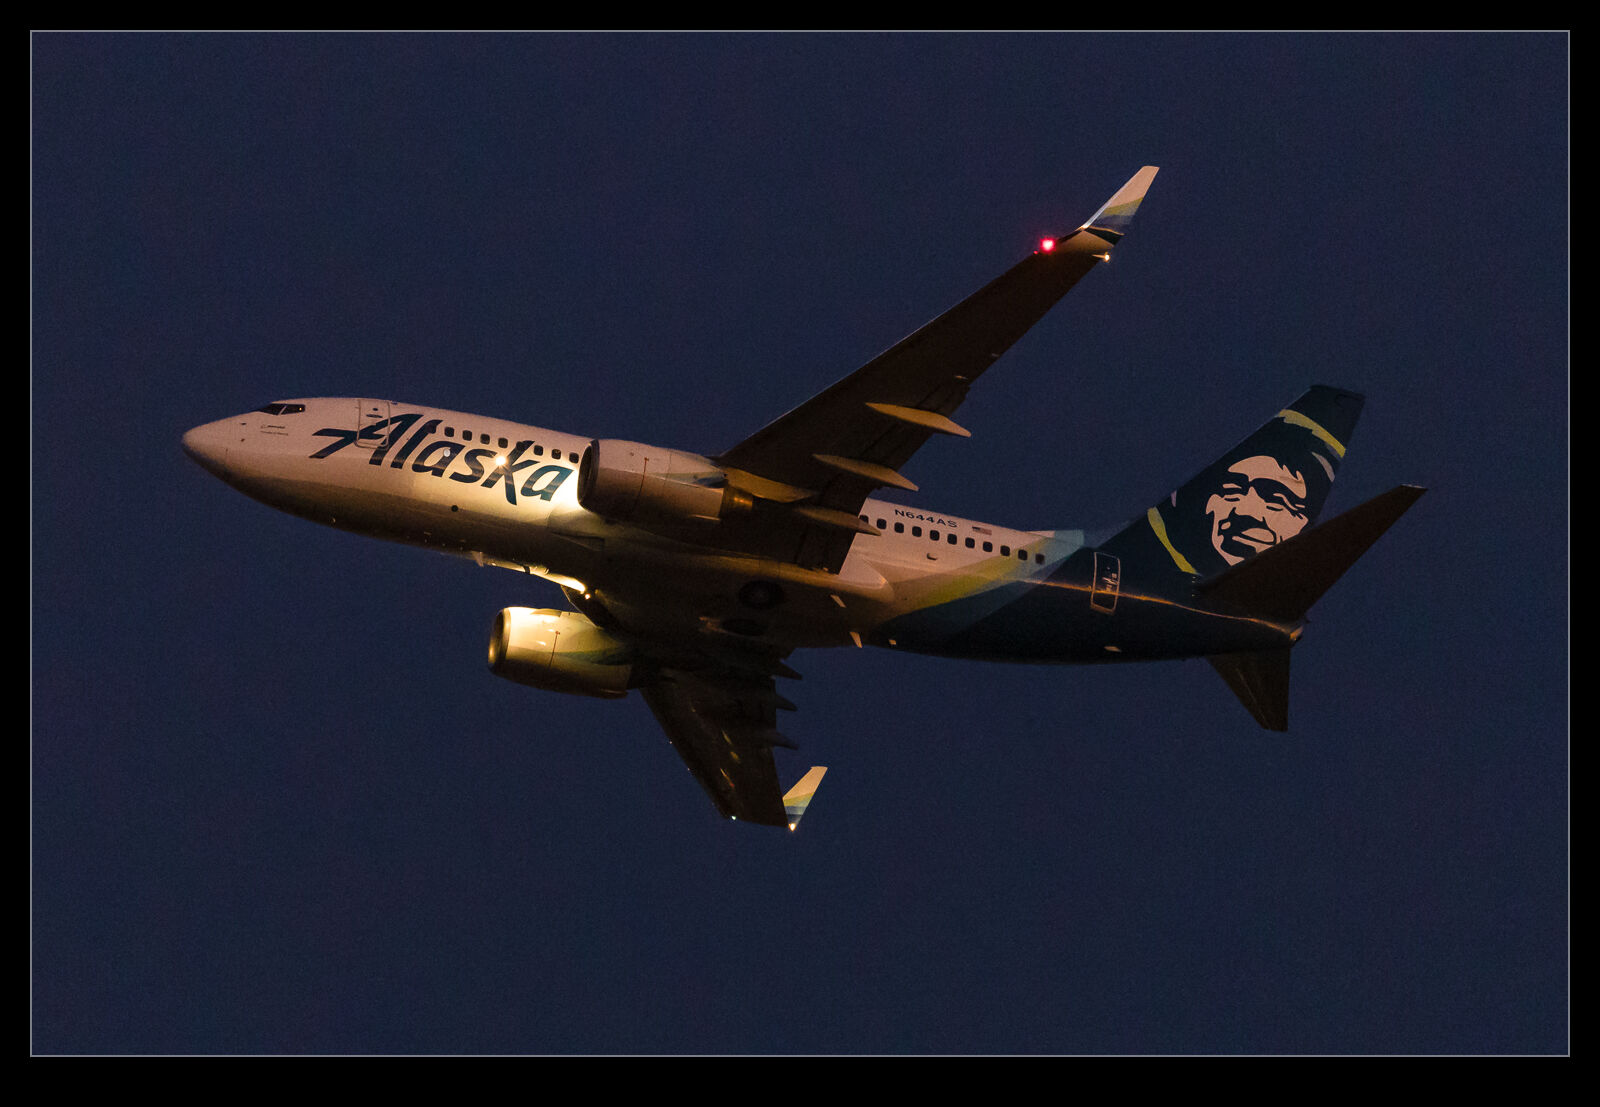
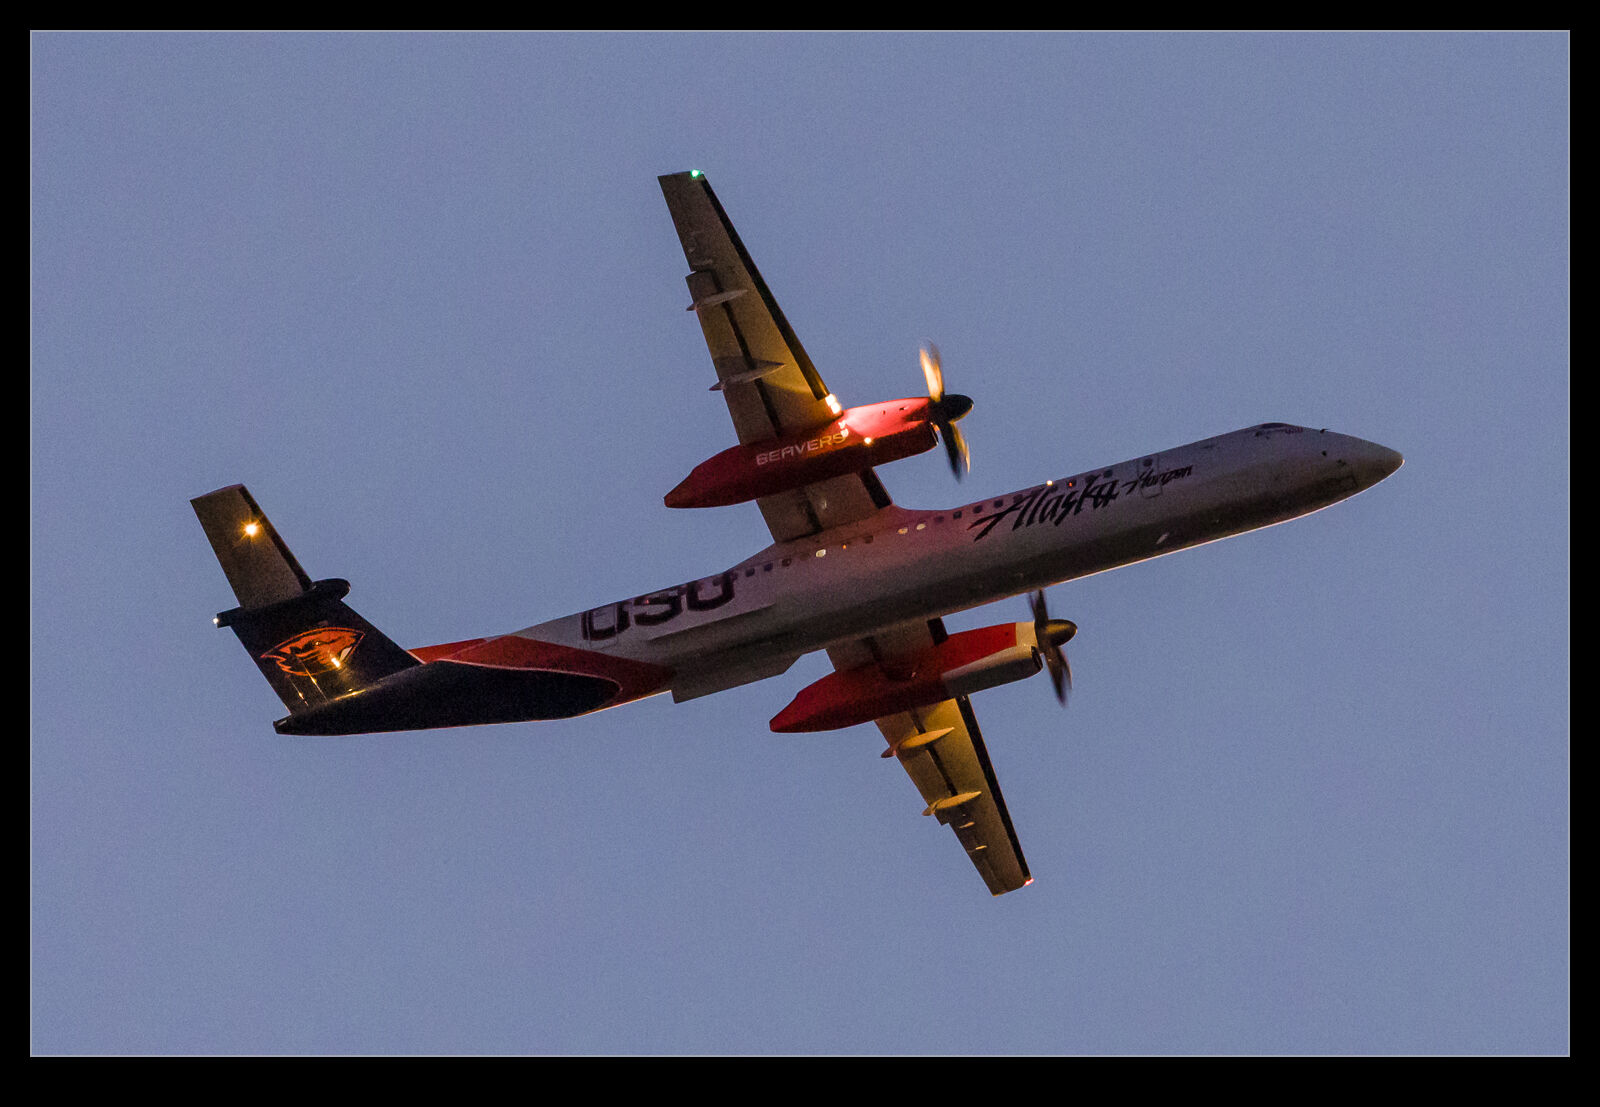
One of the things that photographers that have only used digital cameras can’t appreciate is ability to shoot in low light conditions.  When I was shooting film, you were already struggling with image quality with ISO 400 film.  Early digital cameras got very noisy as the ISO got ramped up but, these days, the capabilities of shooting in very low light are truly amazing for those of us that are old enough to remember what it was like.  ISO1000 black and white film was adventurous!

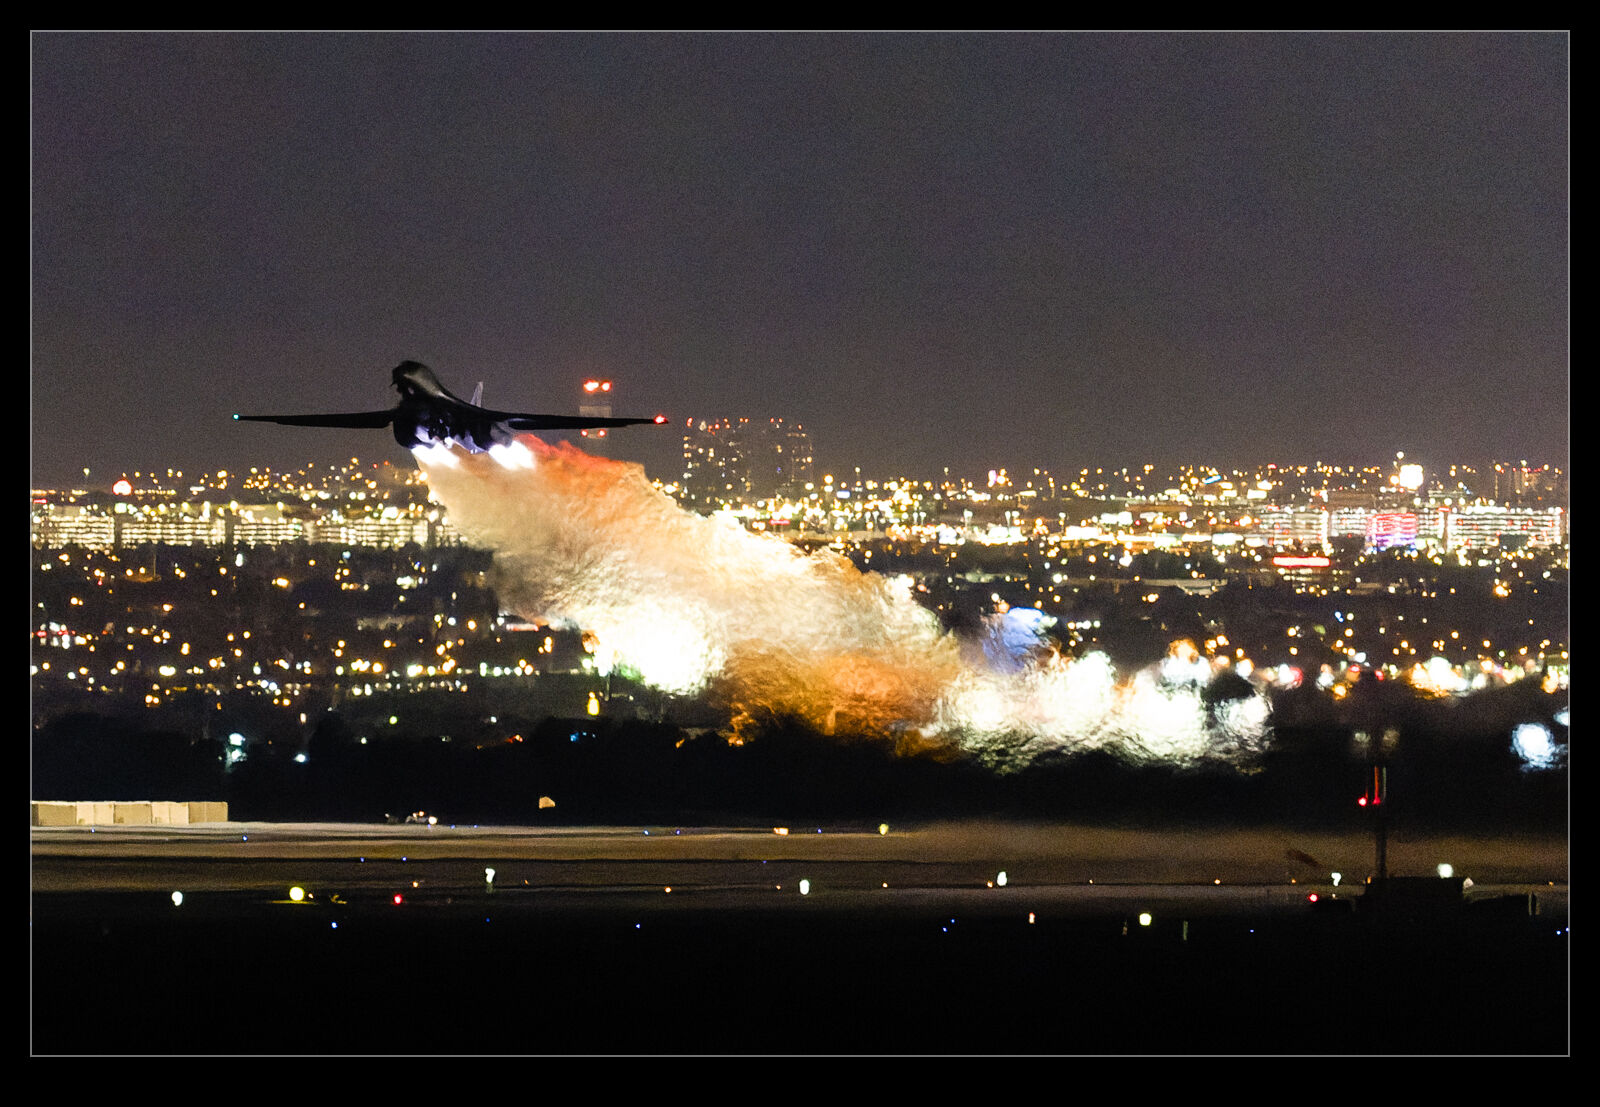
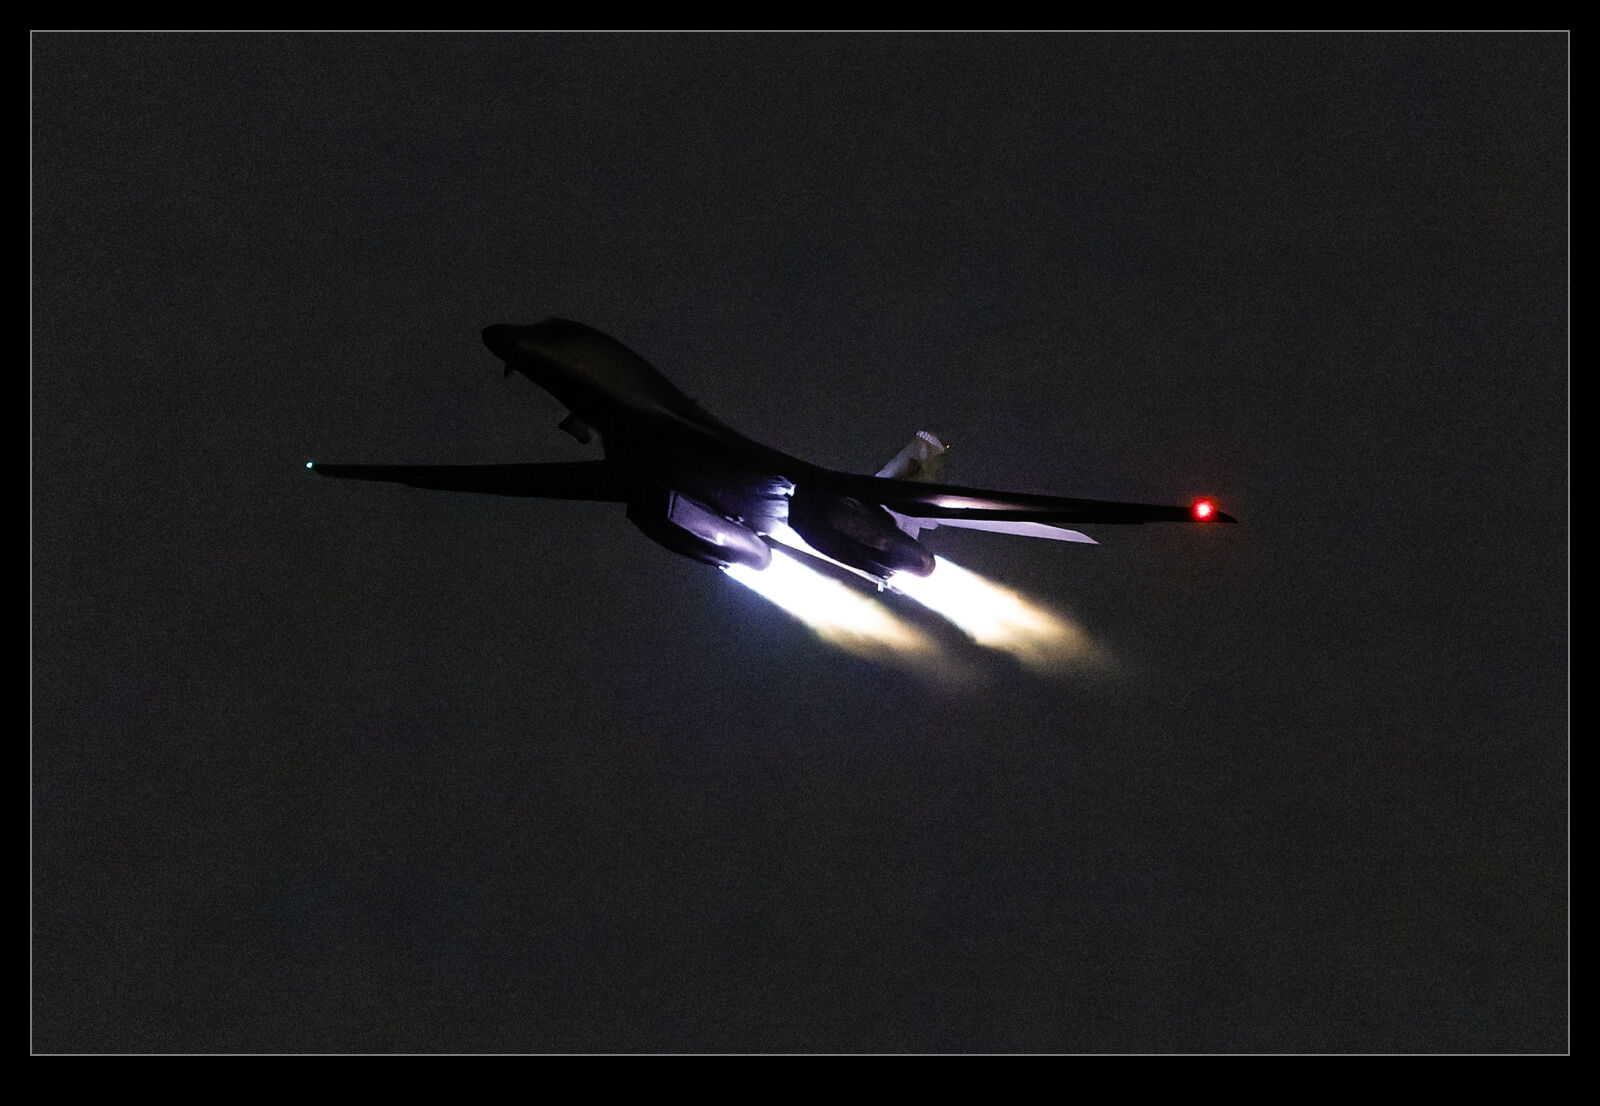
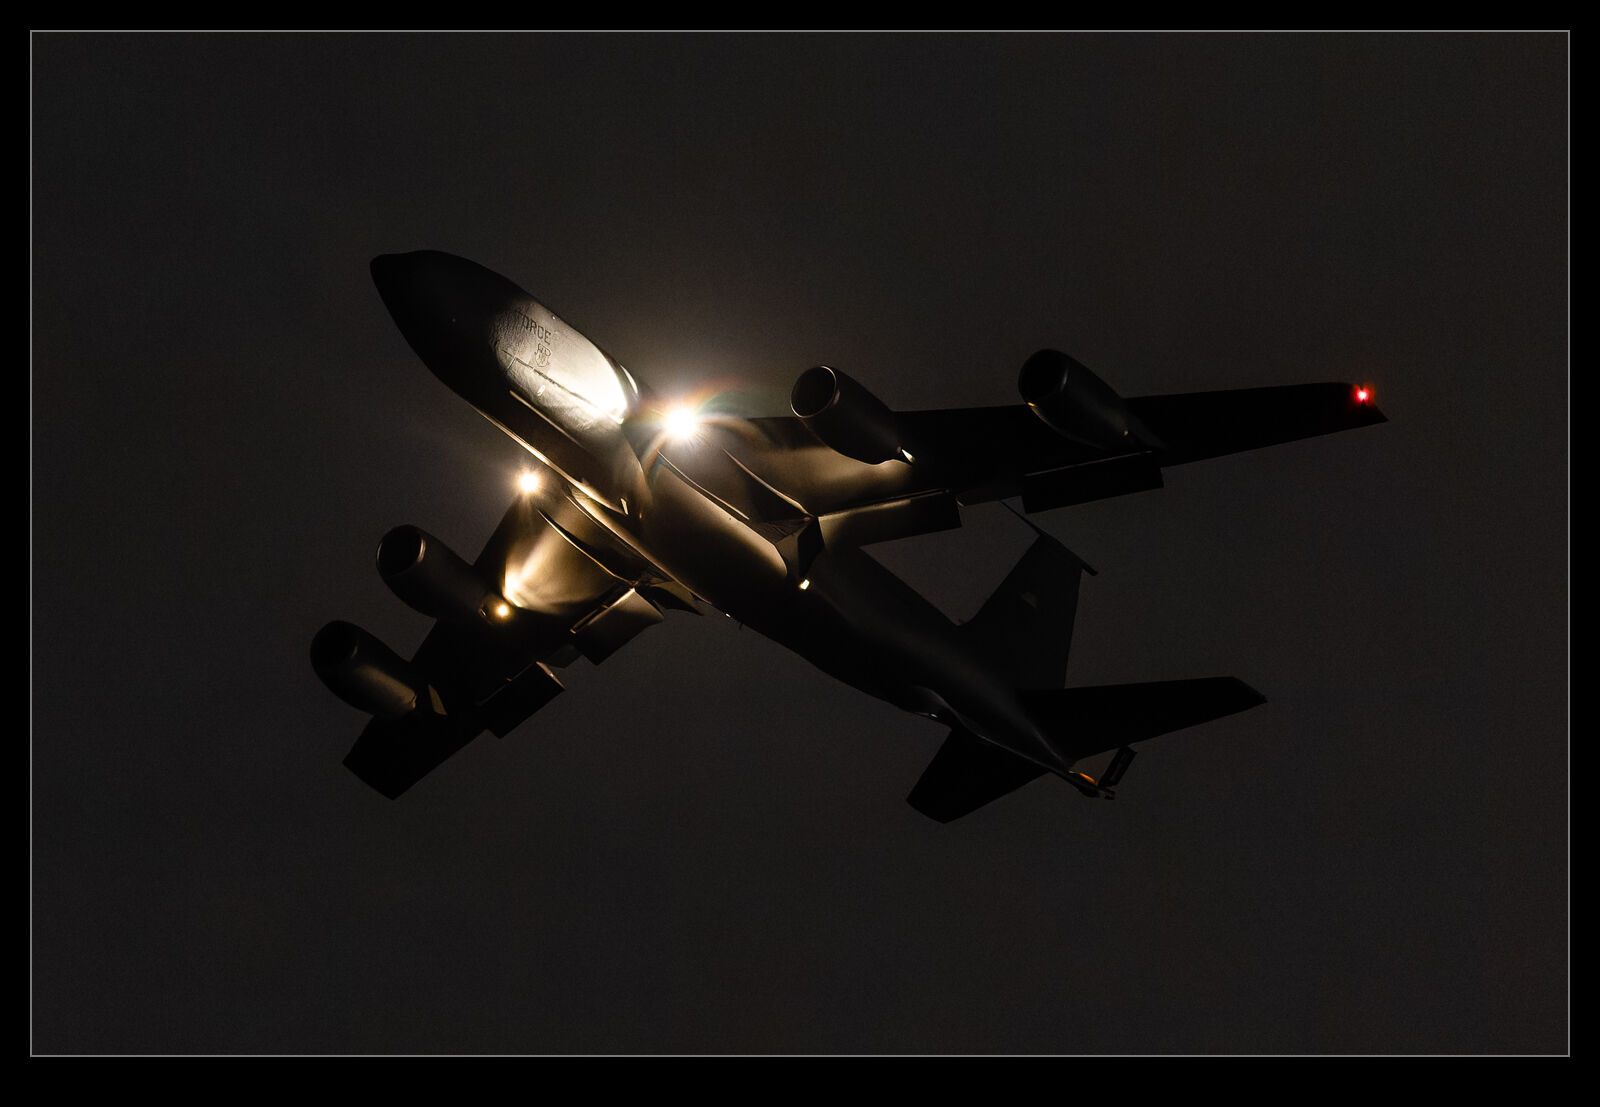
Now I feel quite comfortable trying all sorts of silly things.  I had gone down to SEA one evening to try and get a departure that was possibly going out just before sunset.  Sadly, it didn’t play ball and the sun was gone by the time it headed out.  However, I was there and the camera can do silly ISO numbers so why not.  It still needs to drop the shutter speed down quite low but, with a fast burst rate, the chances of getting a reasonable shot are not bad.

I figured I would play around with shooting departure shots as the last of the light was fading away.  It was more about trying something different rather than aiming for the perfect shot.  I did have some interesting planes to play with but also plenty of Alaska 737s.  The  light was pretty dim  and ISO51200 is quite something to work with but the image quality is really very impressive considering what conditions you are shooting in.

What A Difference A Few Minutes Makes

Paine Field is getting rather full of spare 777X airframes.  They are getting stored in all sorts of locations and a recent spot for them is alongside the main assembly building at the north end of the field.  I was using the long lens and so, rather than change lenses, I shot a few images to make a pano.  It was a little dull but more of a record shot.  A few minutes passed by the the clouds behind me had moved on and the light on the airframes had improved significantly.  I reshot the scene before it changed again.  Looking at the two shots, it is hard to believe that they were only a few minutes apart.  What an impact a change in lighting can bring to a shot.

Air Canada Special Early Sunday Departure And Lightroom Masking Options

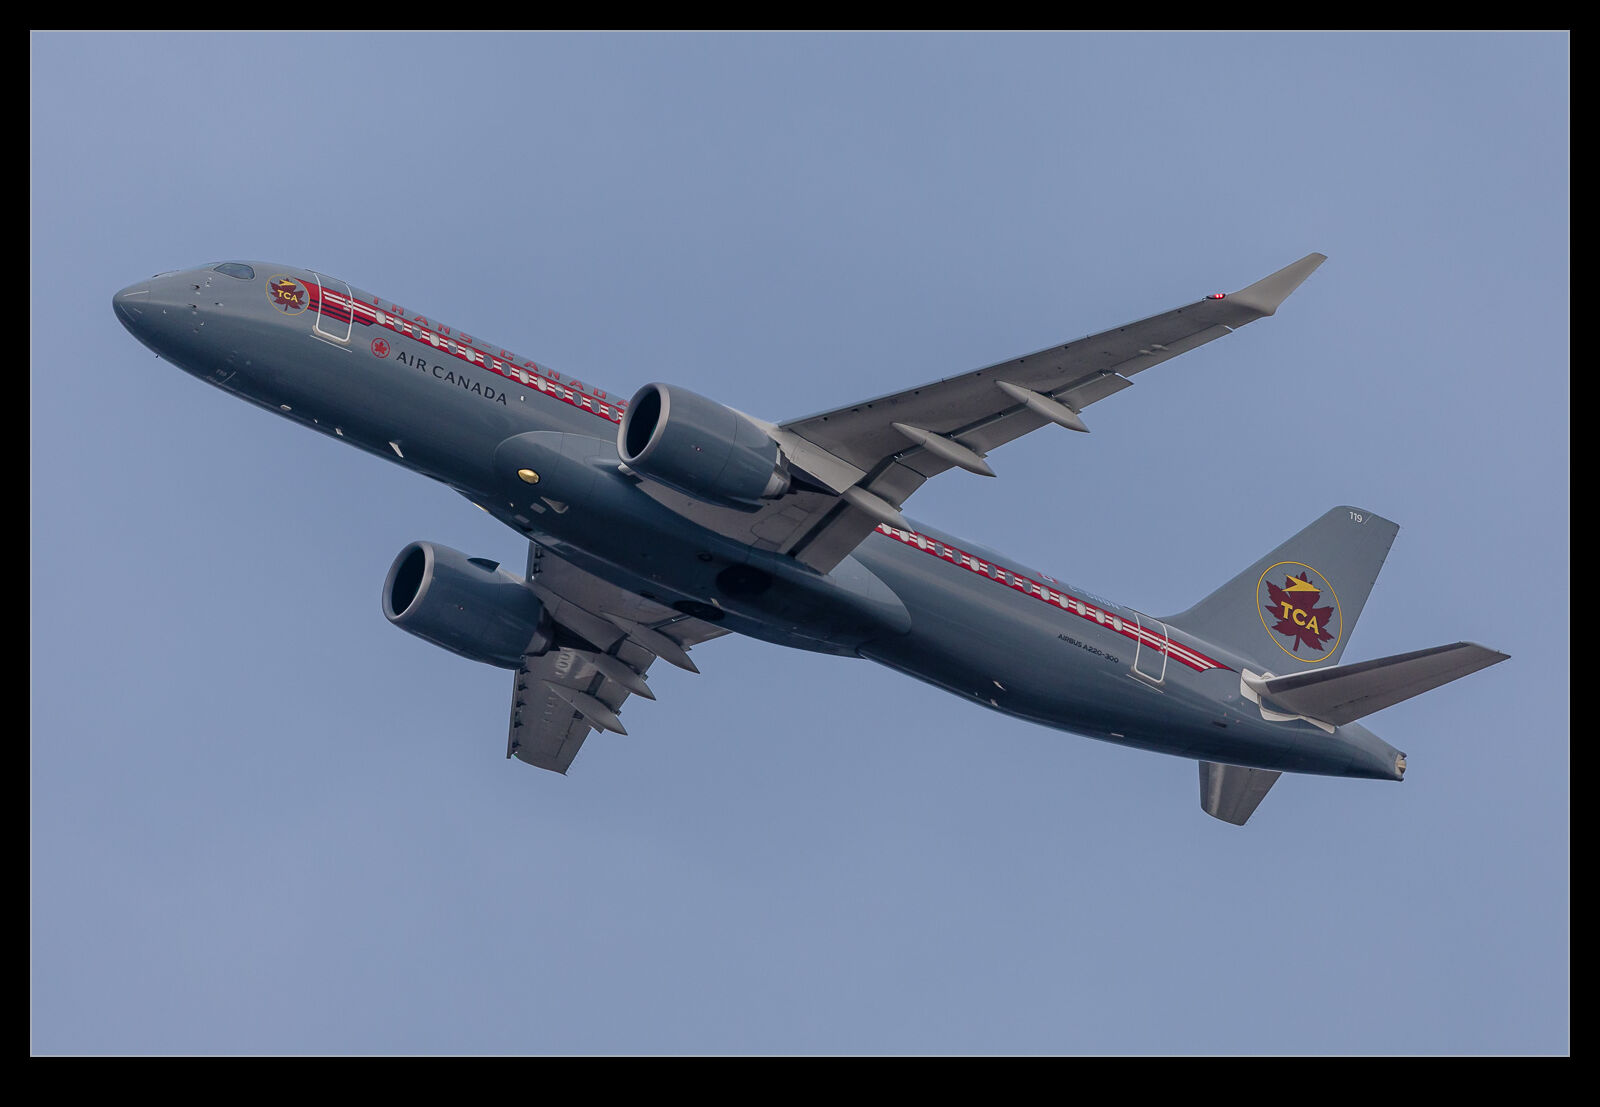
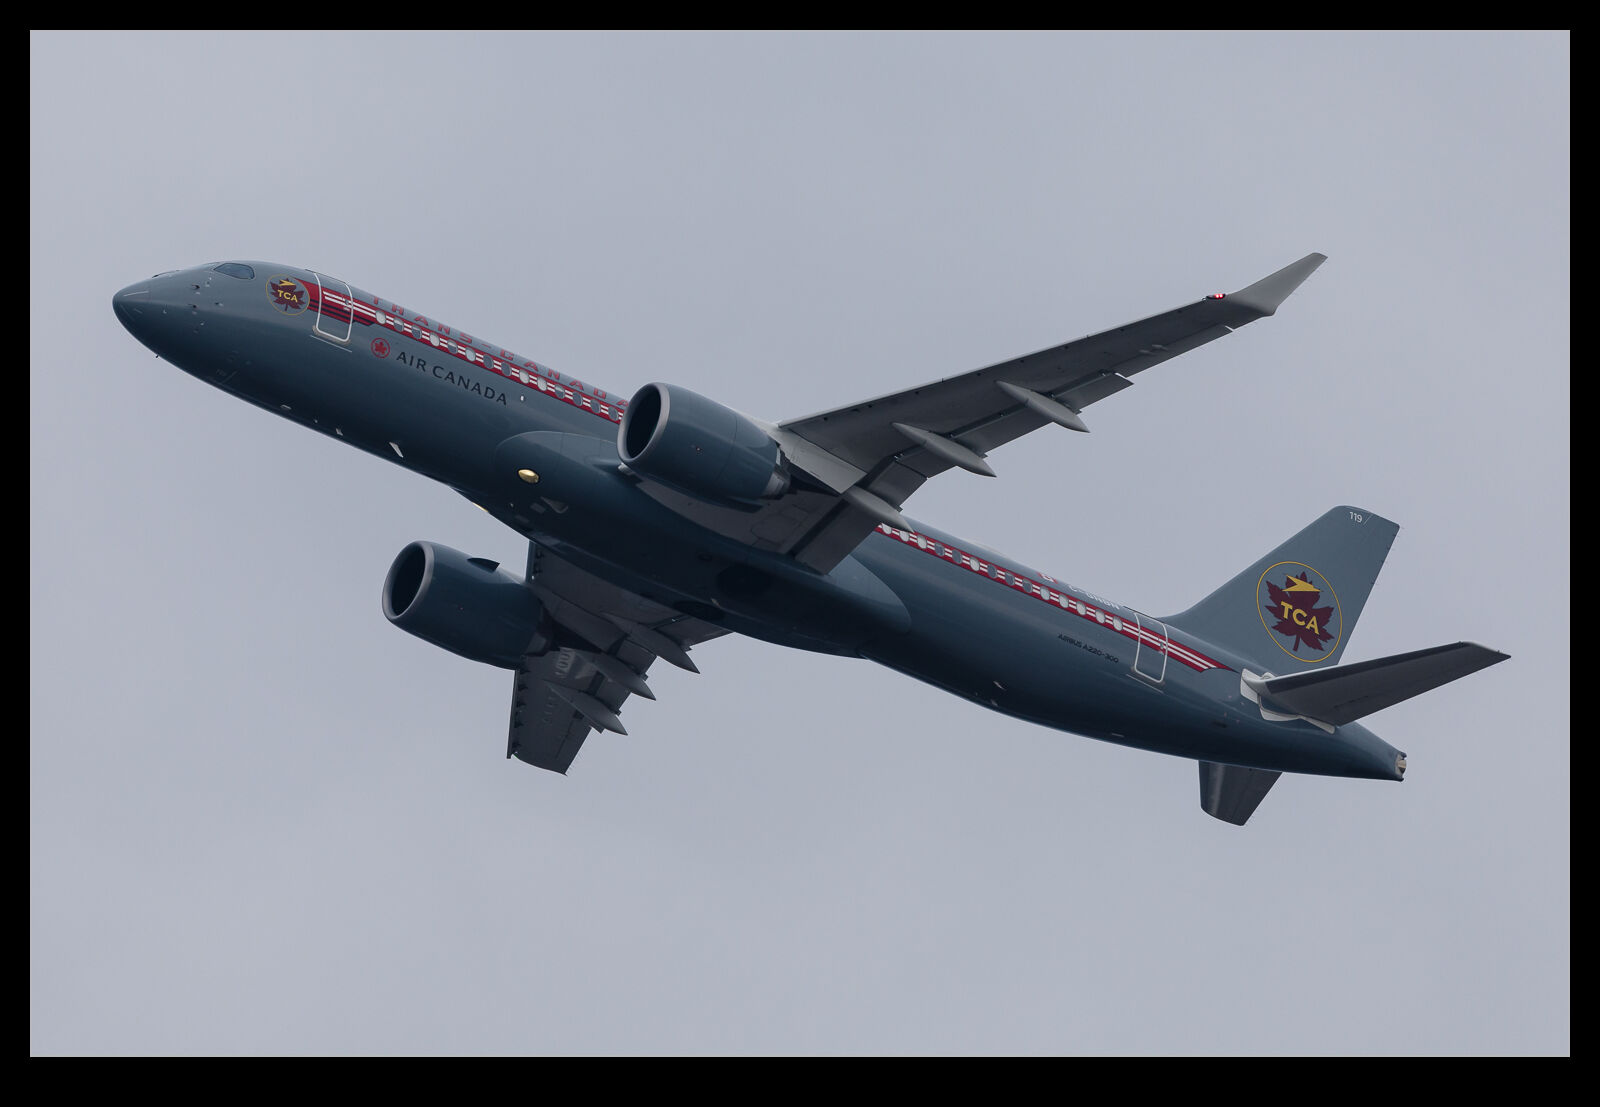
Air Canada brings a pair of A220-300s in to SEA each evening – one from Toronto and one from Montreal.  They leave the following morning with the Toronto flight heading out early and the Montreal flight following a couple of hours later.  The Toronto flight one weekend was the TCA special aircraft so I decided to head out and catch it departing.

The day started very overcast and gloomy but there was a sign that things were going to get better.  This did happen but things were still not great when the jet departed.  The light had improved a bit but the cloud was still there.  When looking at the shots, I figured it was time to make use of the masking options that Lightroom offers.  The latest update has improved their usability somewhat.  First I drop the exposure of the shot overall to get the sky looking roughly how I want it.  Then I select the aircraft suing the Subject option.  It does a pretty reasonable job but I do then refine it with an addition brush to bring in the bits it has missed and a subtract brush to take out the detail areas where the mask has overlapped.

The new option is the click on this mask and choose the Duplicate and Invert option.  This gives me a sky selection that matches what I have got for the aircraft.  For the sky, I can work on the white balance to bring it back to something more cool which suits the overall look of the shot.  I can similarly work on the white balance for the jet to make the reds pop more in the livery.  The exposure can be brought up a bit with the shadows helping a little while bringing the blacks down while improve the contrast.

All of this is pretty straightforward.  One nice feature of the latest update is that you can actually apply the same settings to multiple images.  The brush adjustments are not going to work well for this so it is best to do the overall selections and sync to the various images and then, if a shot is worthy of further work, the refining of the mask can be done afterwards.  If you know which shot is the best, you can just focus on that one.

Sentimental Journey In Damper Conditions

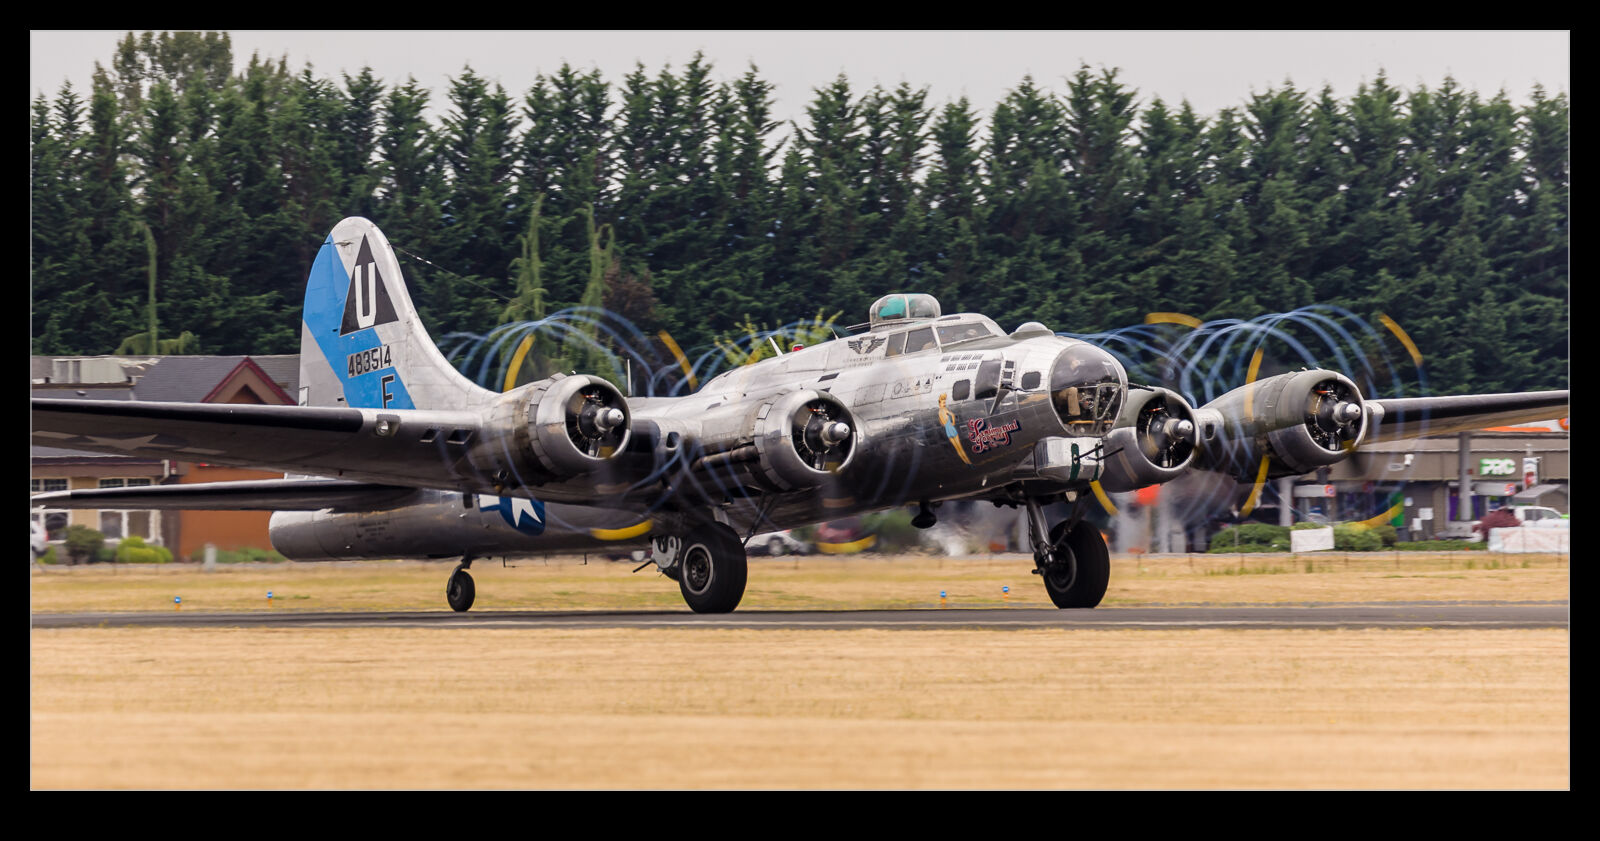
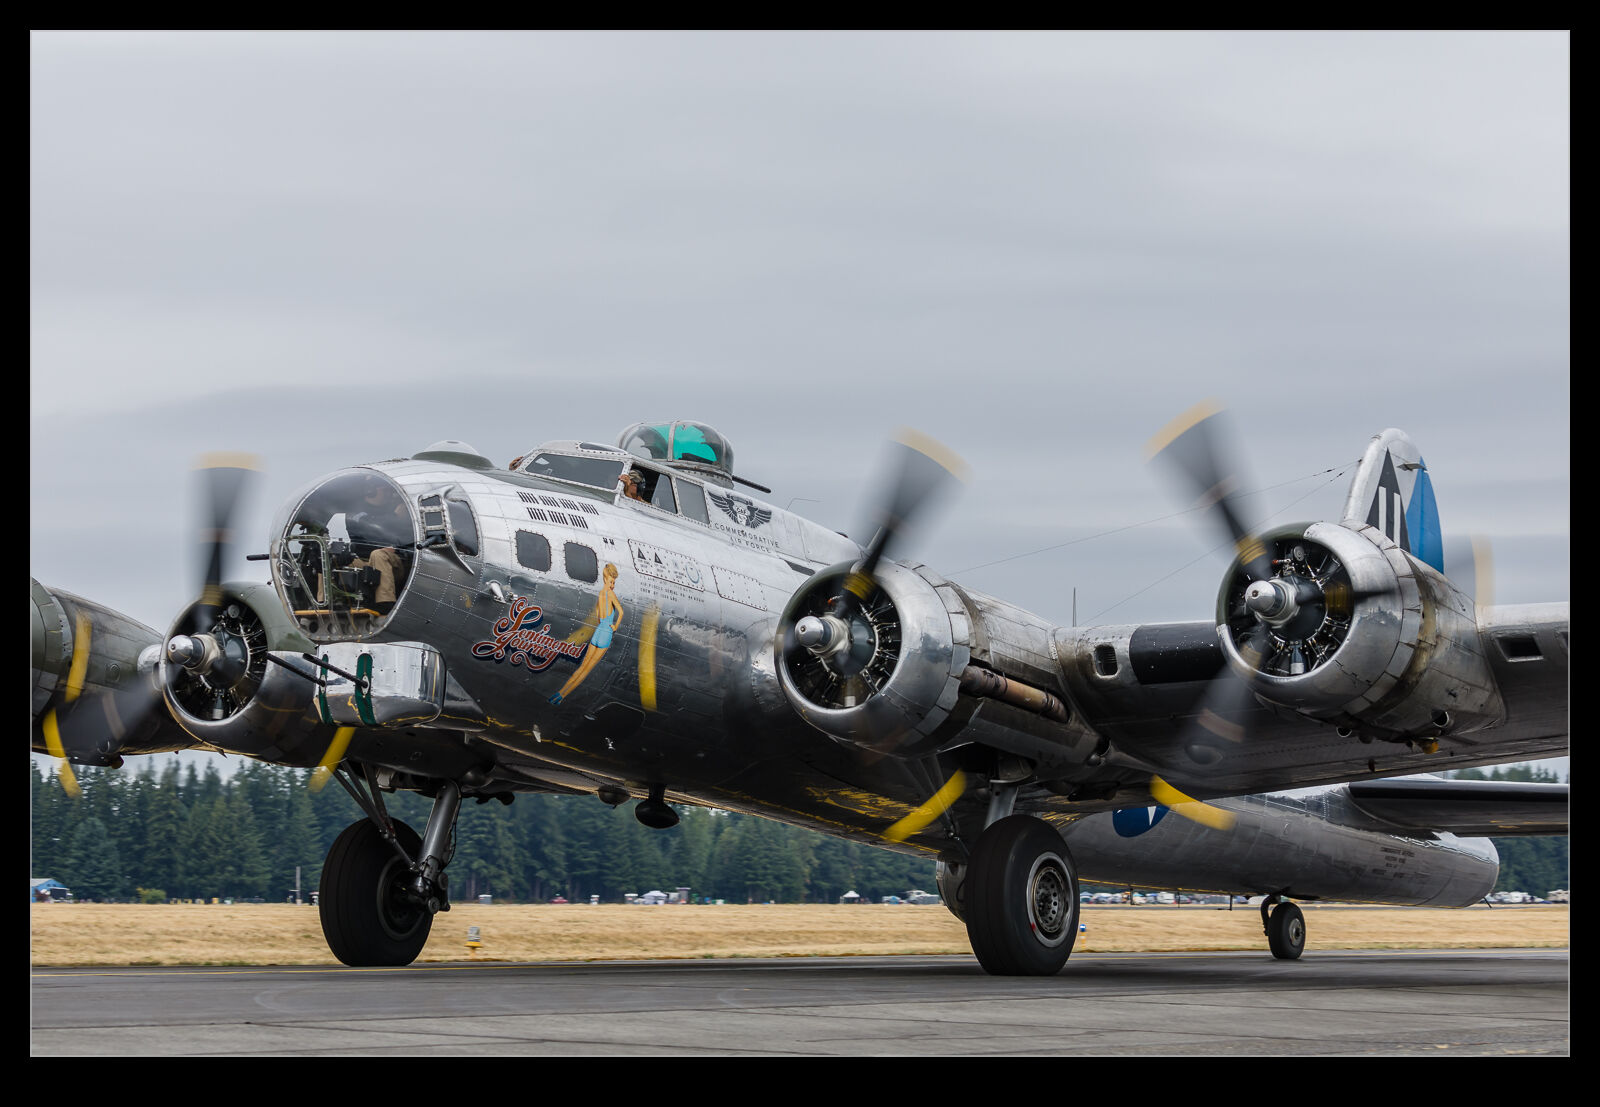
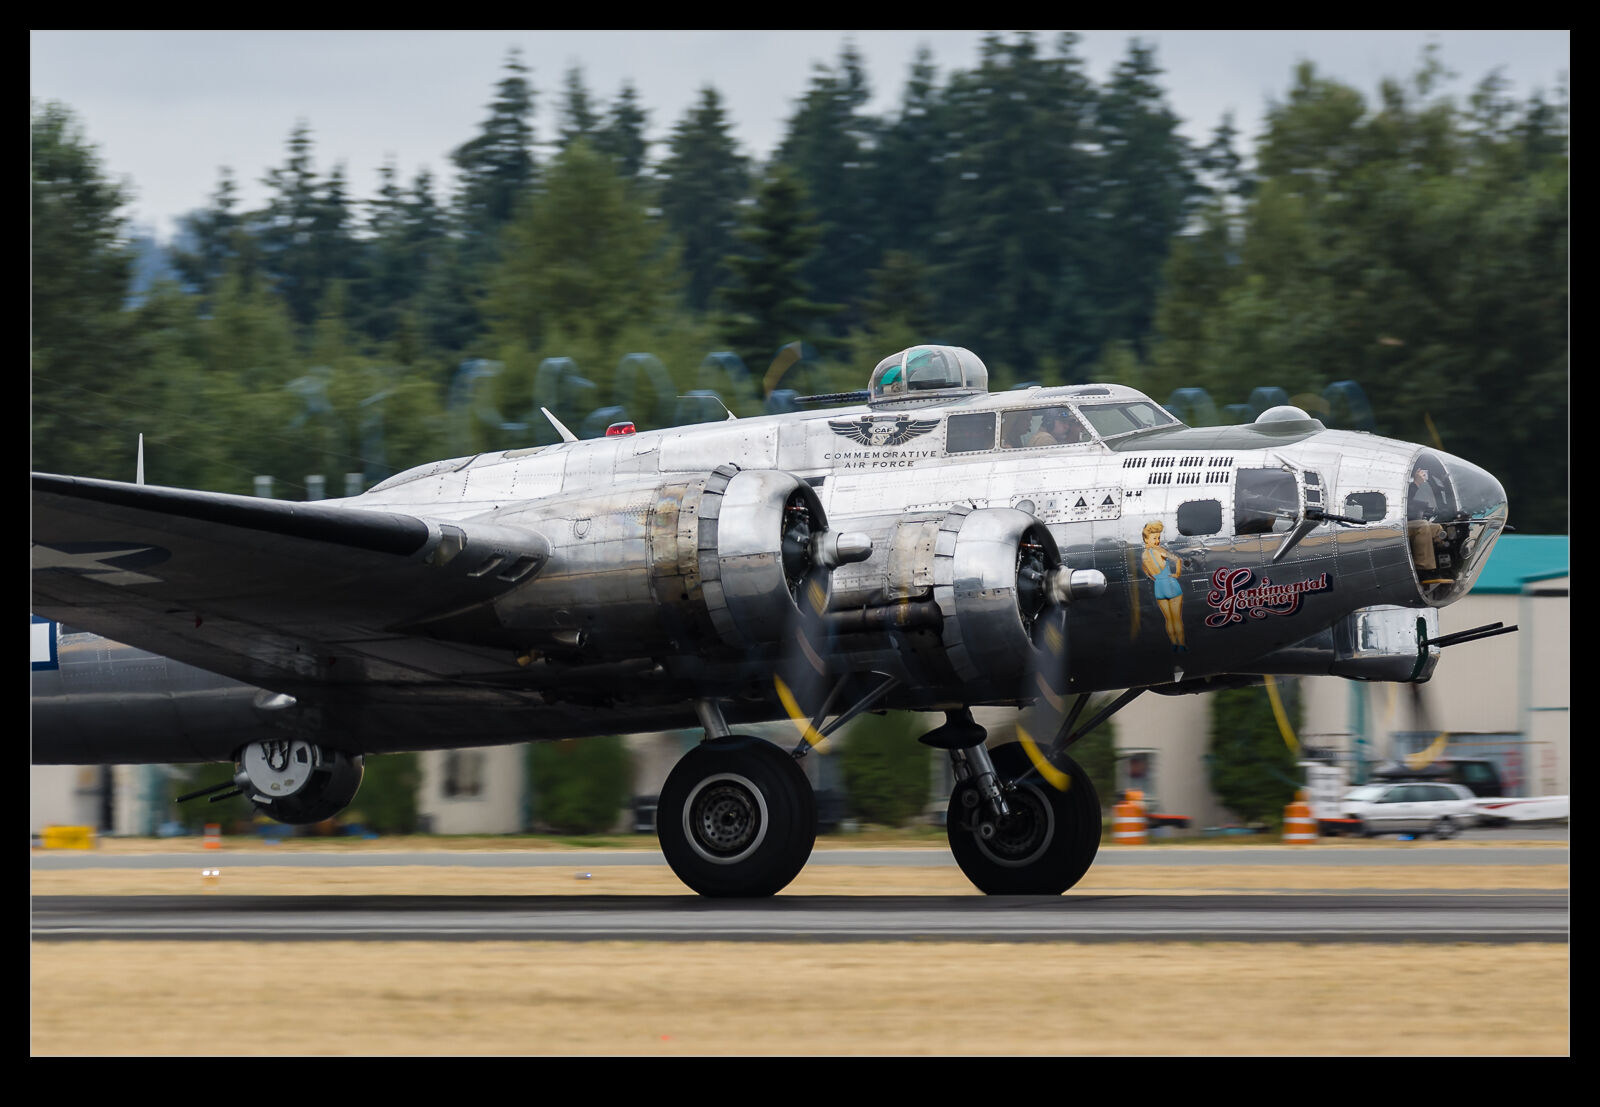
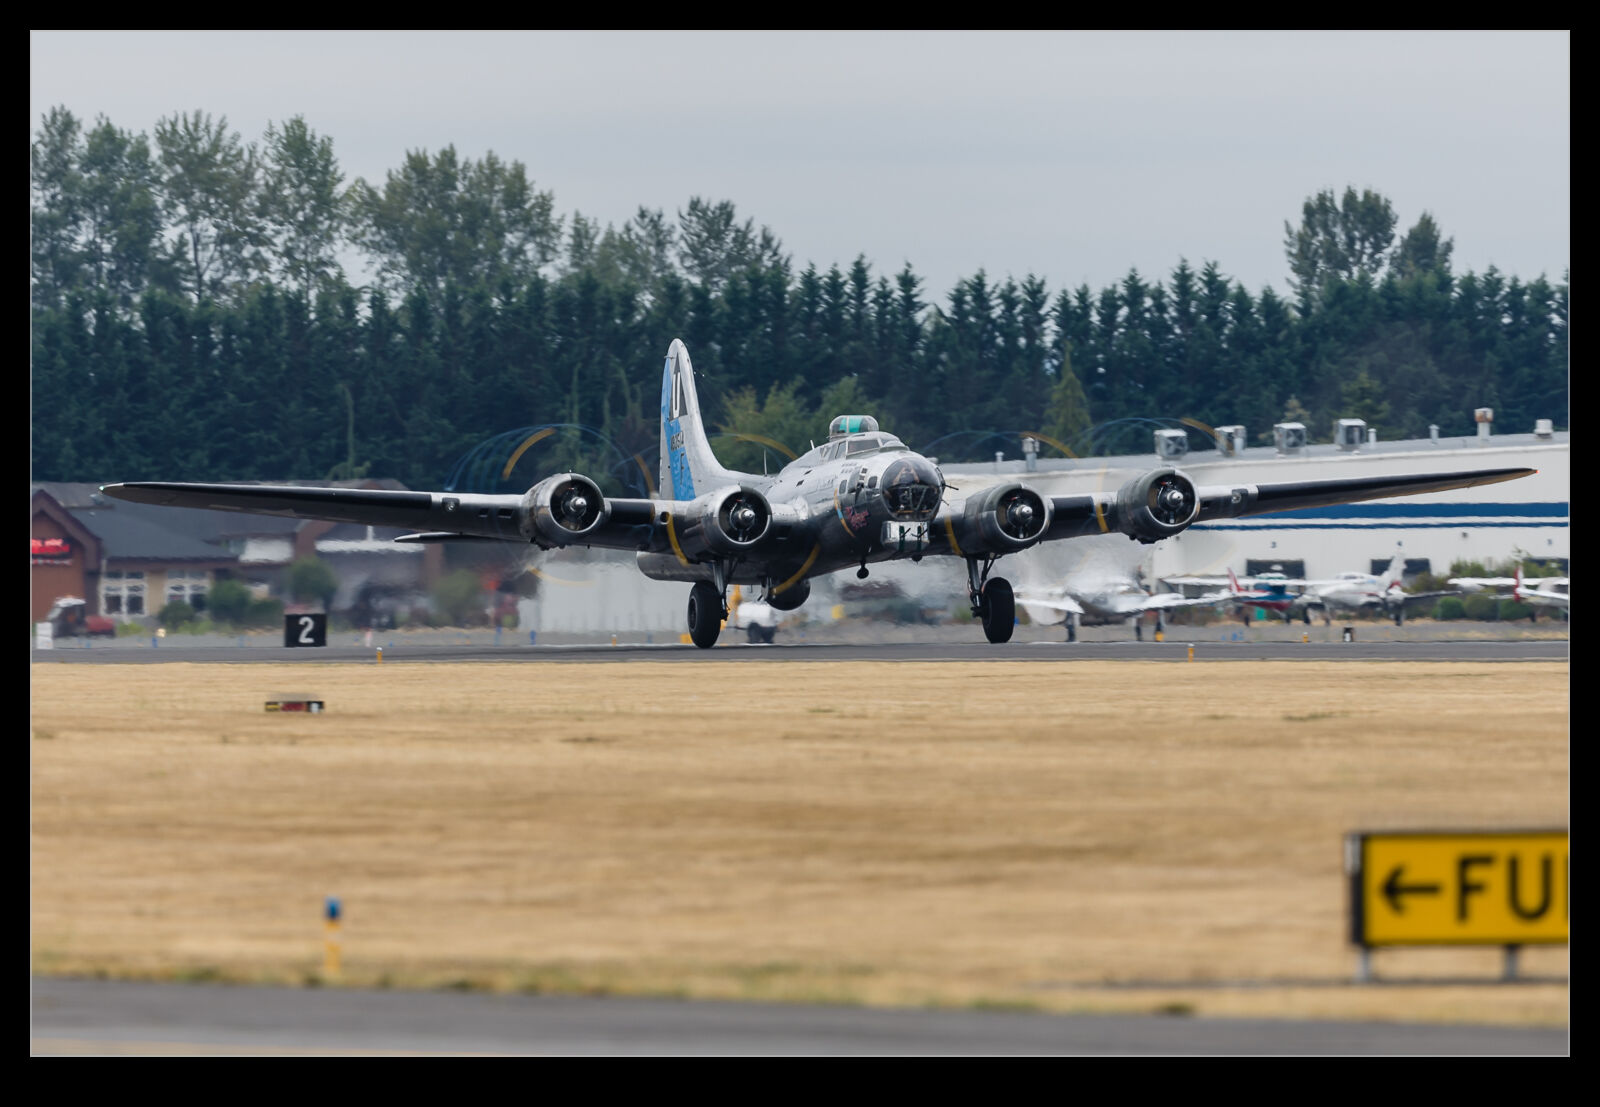
Glorious weather had greeted the B-17, Sentimental Journey, when it came to Seattle.  The following week, it moved up to Arlington but was not so lucky.  The skies were pretty overcast and the air was more humid.  It didn’t make for great conditions to shoot a bare metal aircraft.  However, many times before, I have written here about how poorer conditions can sometimes be worthwhile.  This was one of those times.

I started off shooting from further up the field and, as the B-17 started her takeoff roll, it was clear that the props were pulling a fair bit of vapor from the air.  Consequently, I headed further down the field for the next flight.  This also provided a close look at the plane as it taxied out.  The real benefit came when the power was applied.  Vortices were streaming from the tips of the props and swirling back across the wings.  It is always a tricky call when trying to shoot in these conditions.  A good bit of prop blur is good as is a blurry background to emphasize speed but, this will result in the vortices being less defined.  A faster shutter speed helps make them stand out.  I tried to get a good balance with the speed I chose.

A Lovely Tree On Its Own

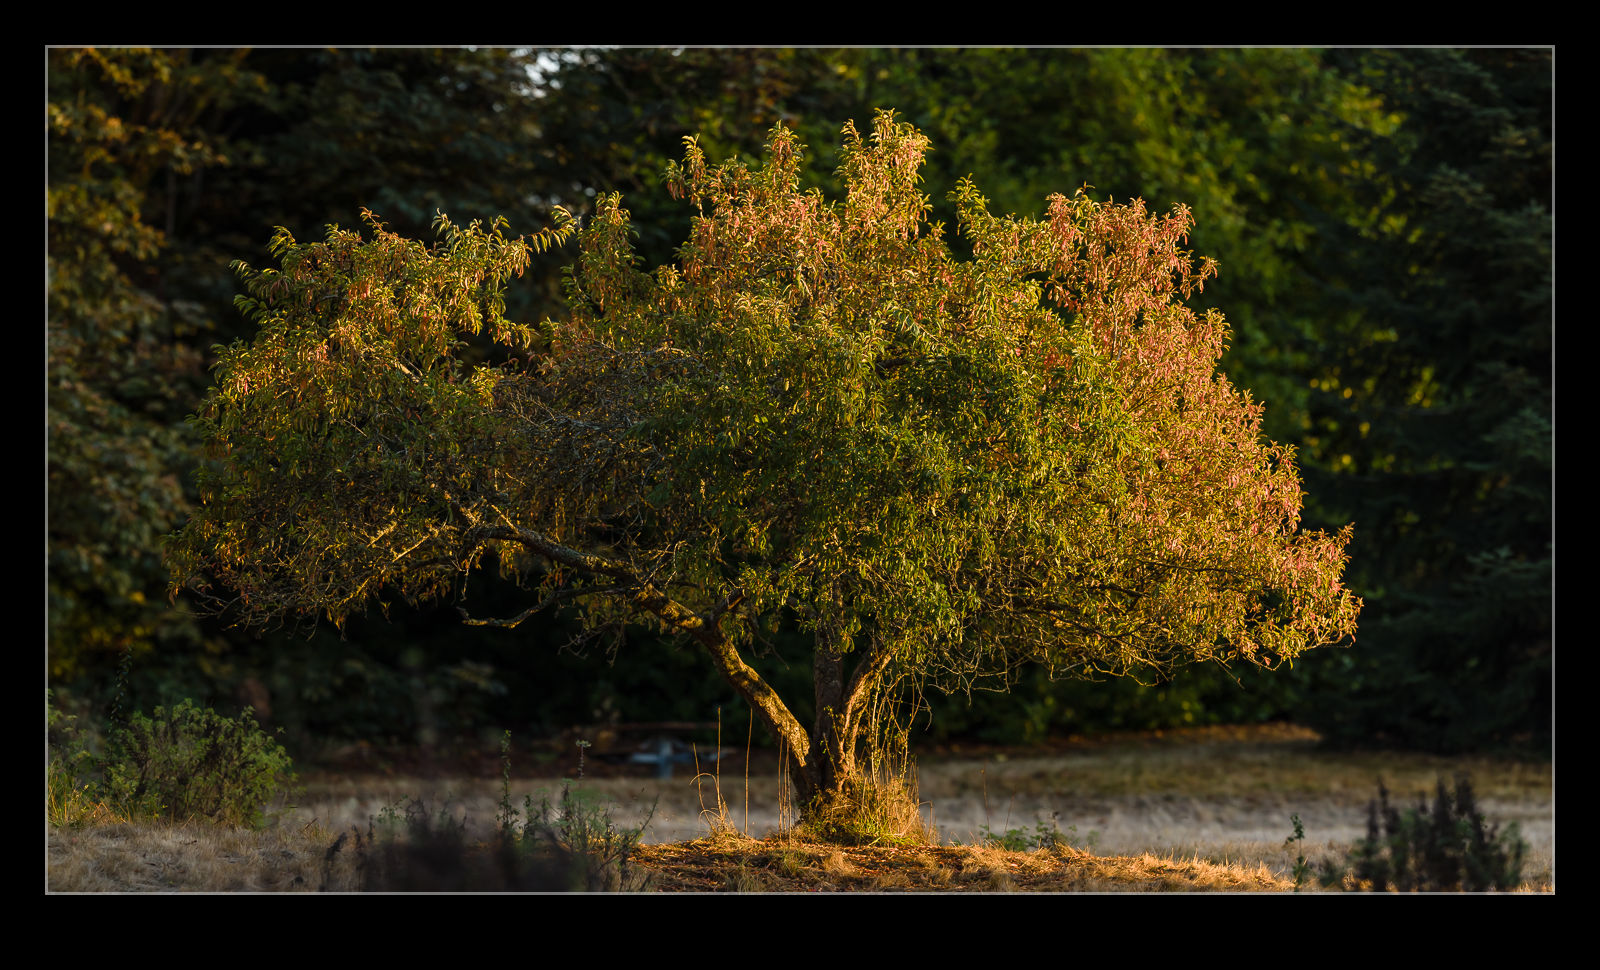
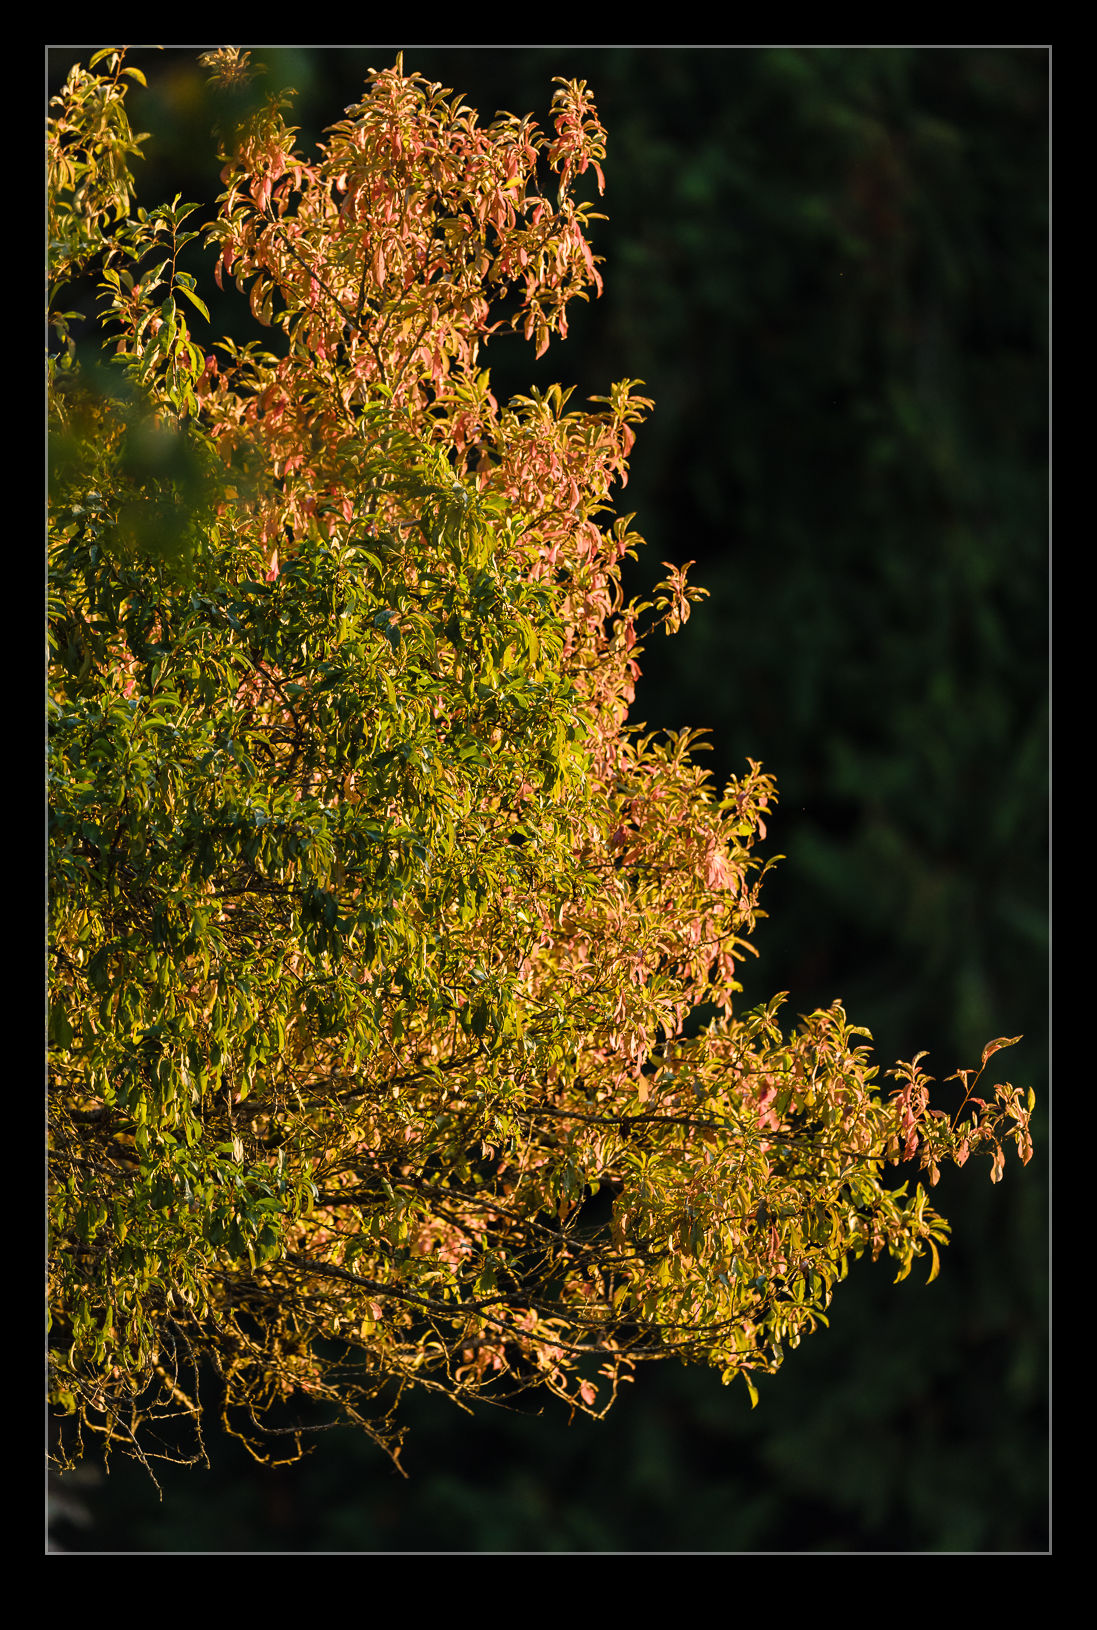
I was walking back to the car in the park when I saw the light on this one tree making it look really attractive in the evening conditions.  I only had the 500mm with me so there was only one option.  Time to shoot a pano and stitch the whole thing together when I got home.  Handholding a pano with the 500mm is not ideal but it seemed to work out okay.

Focus Stacking – Photoshop Versus Helicon

I have played around with focus stacking a lot in recent years.  Having a macro lens and a pandemic has given me plenty to opportunity to try stuff out.  I was reading something along about stacking and it mentioned software call Helicon which is said was the standard for stacking software.  I have been using Photoshop to date and, while it does a pretty good job, you do get some odd artifacts sometimes.  I decided to download a trial of Helicon and see how it does.

I waited to use the trial until I had a bit of time available.  The trial last 30 days but I wanted to make good use of it.  Once I had installed it, I went through all of my focus stacks and ran through the software.  It has a Lightroom plugin which made it easy enough to use.  I found it was not so happy with some of my handheld stacks where alignment became an issue.  Photoshop coped with that well.  For the better planned shots, it worked a lot better.  Overall, it seemed to do pretty well.

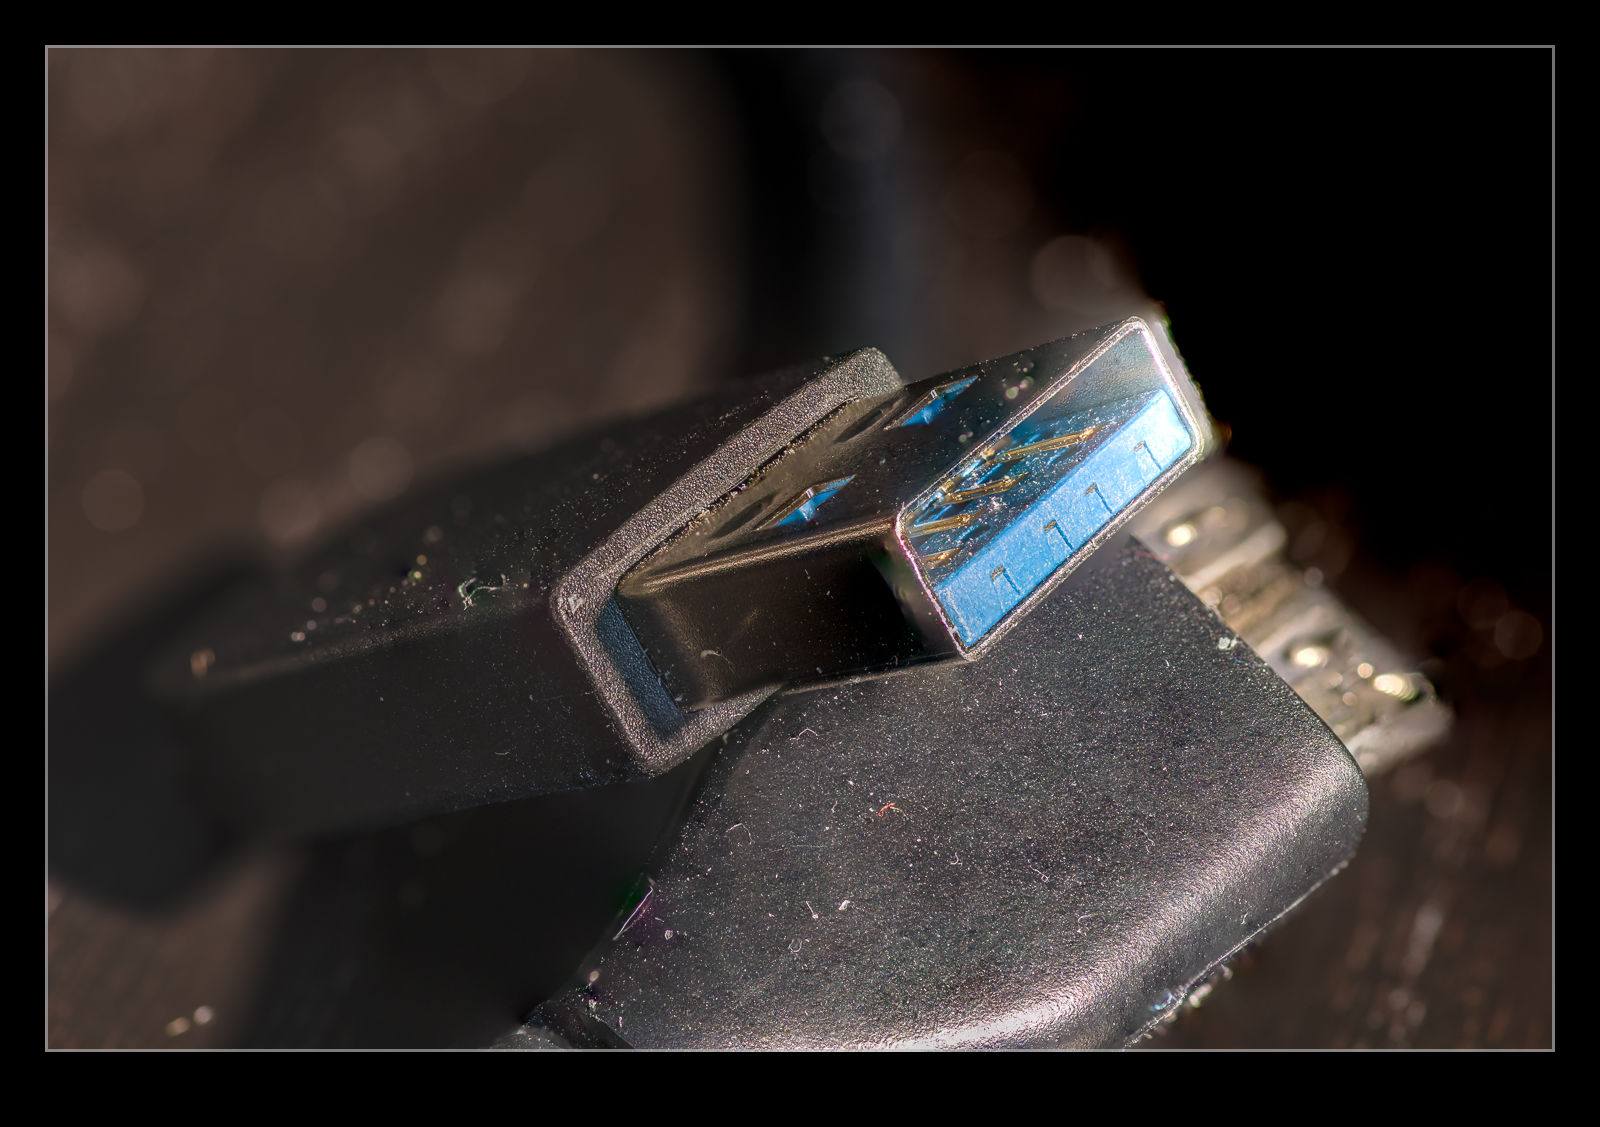
However, there was something that it struggled with.  I had been playing with some shots of a memory card holder that I had shot when I had nothing better to do.  Photoshop stacked them without any problem.  The shots were in color but everything was either black or white.  When Helicon tried stacking them, it introduced some strange purple coloration.  I have no idea why it did this.  It was almost like a chromatic aberration filter in reverse.  I suspect there is a way to understand the more detailed settings and fix this but it was a weird outcome.  Since I want something simple that basically works, this made me decide that buying the full version wasn’t worth it.  I have already paid for Photoshop so I shall stick with that.
Newly Arrived Dak

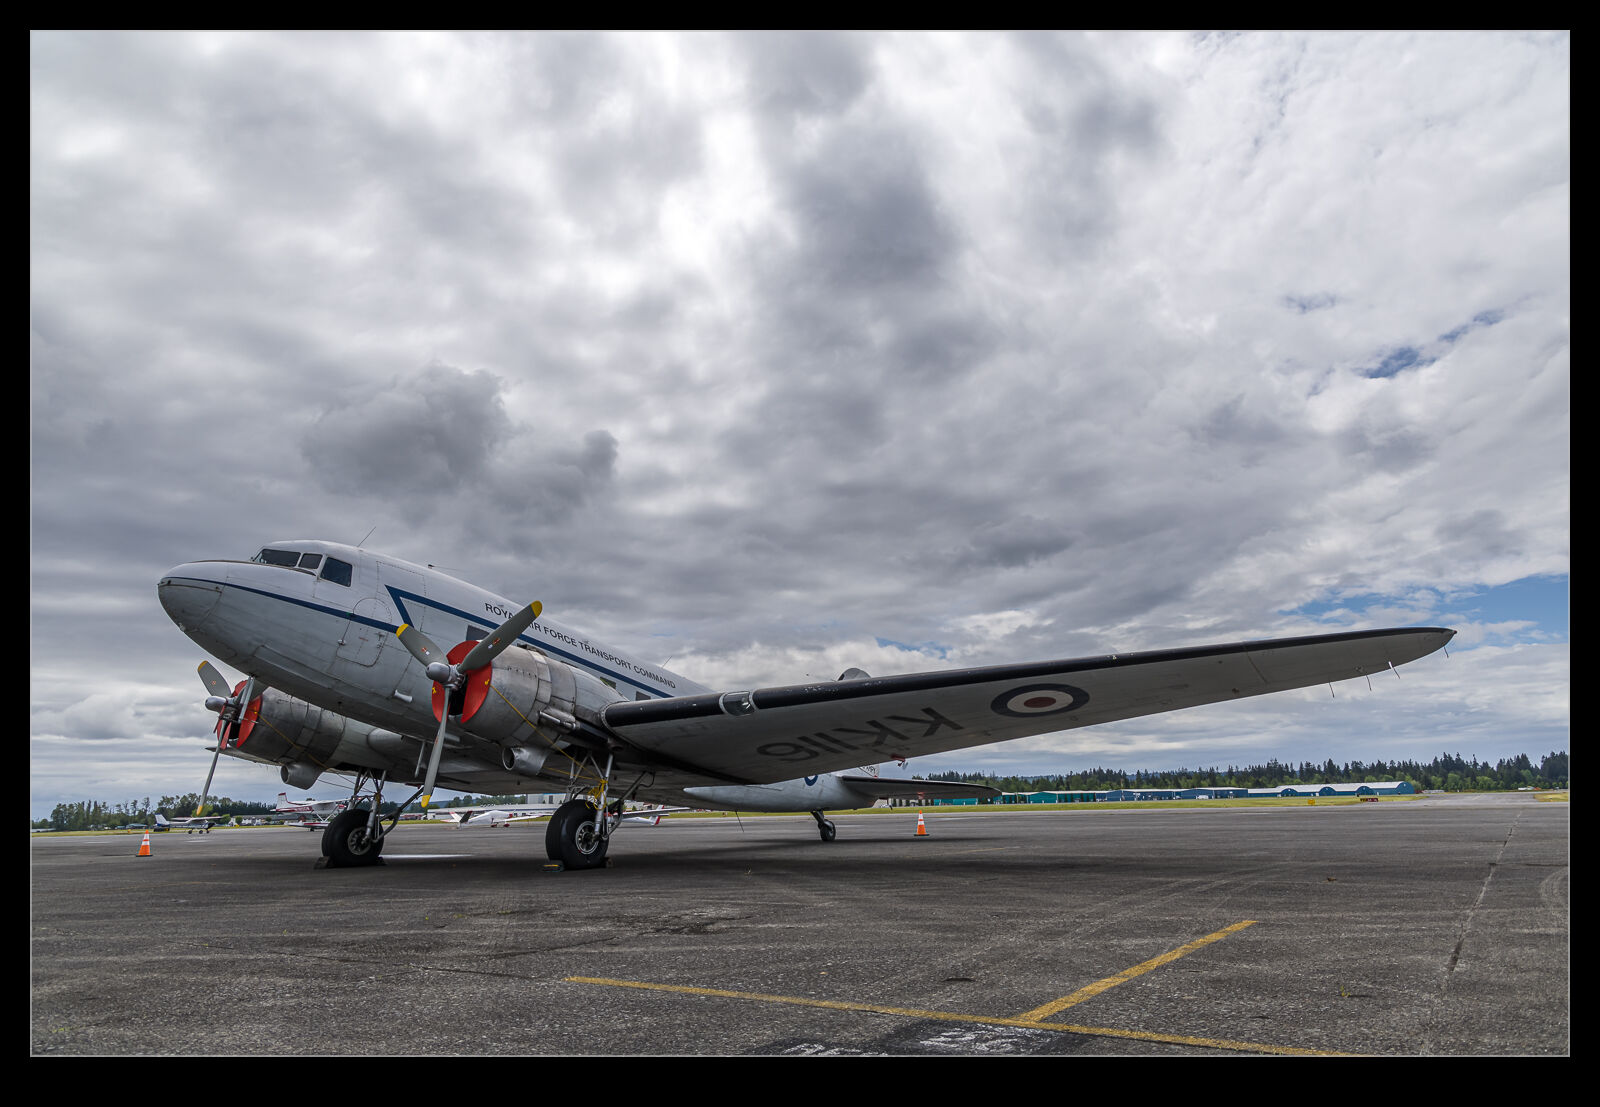
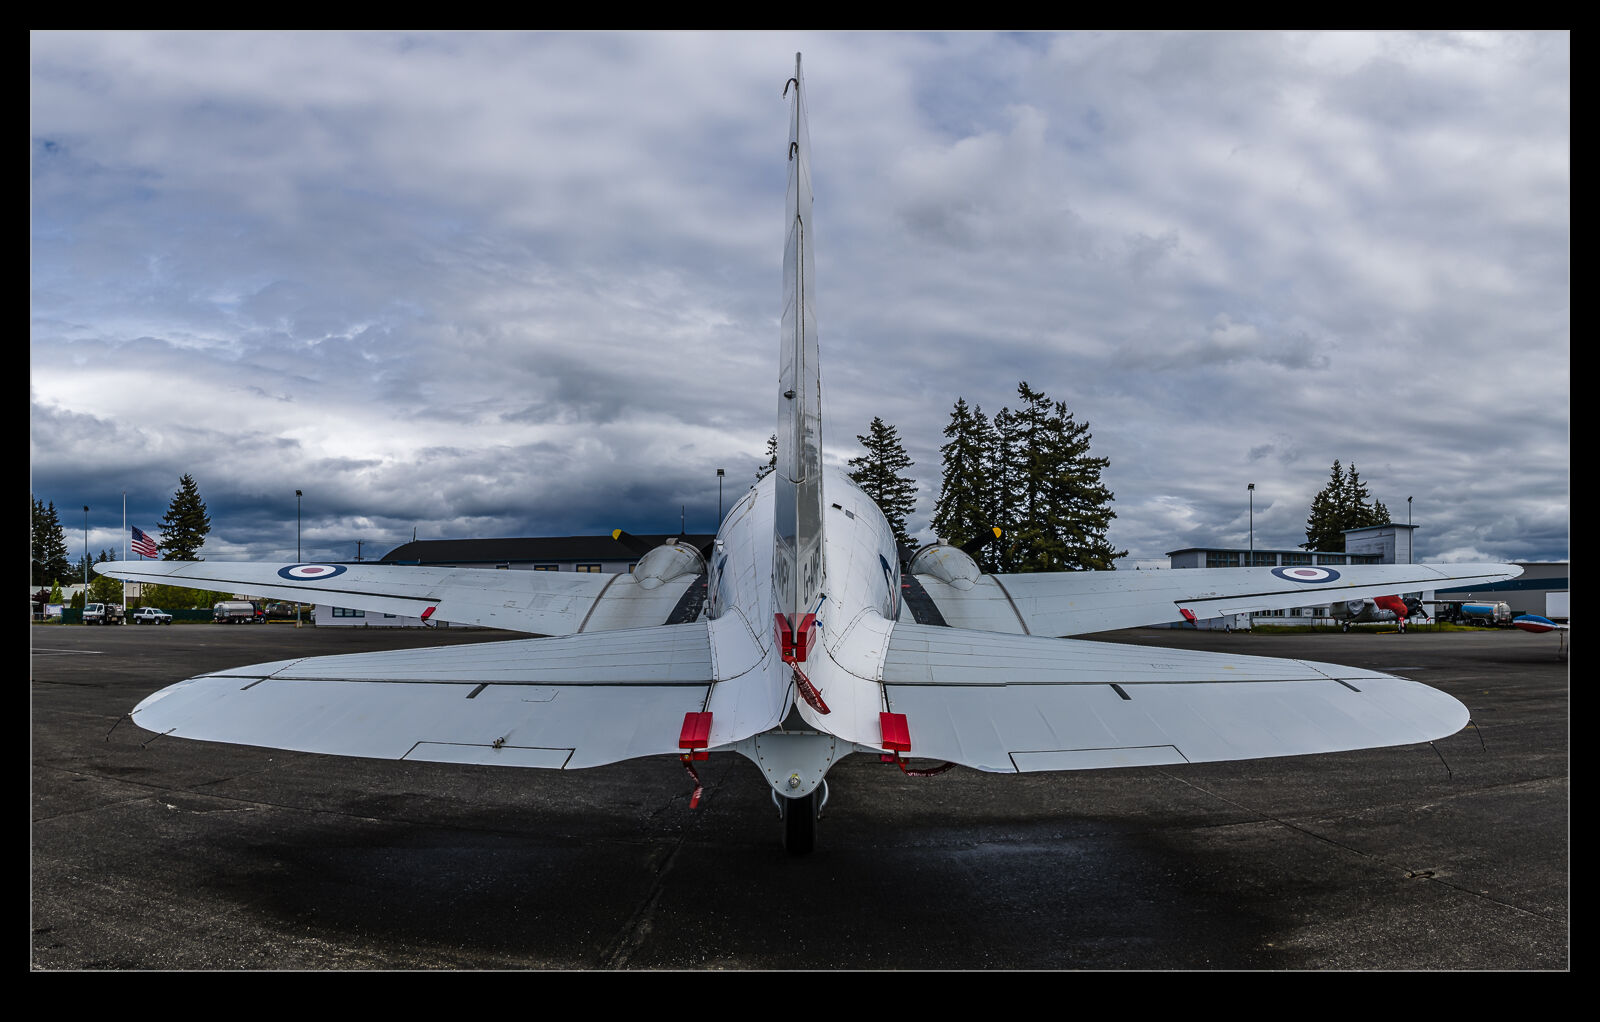
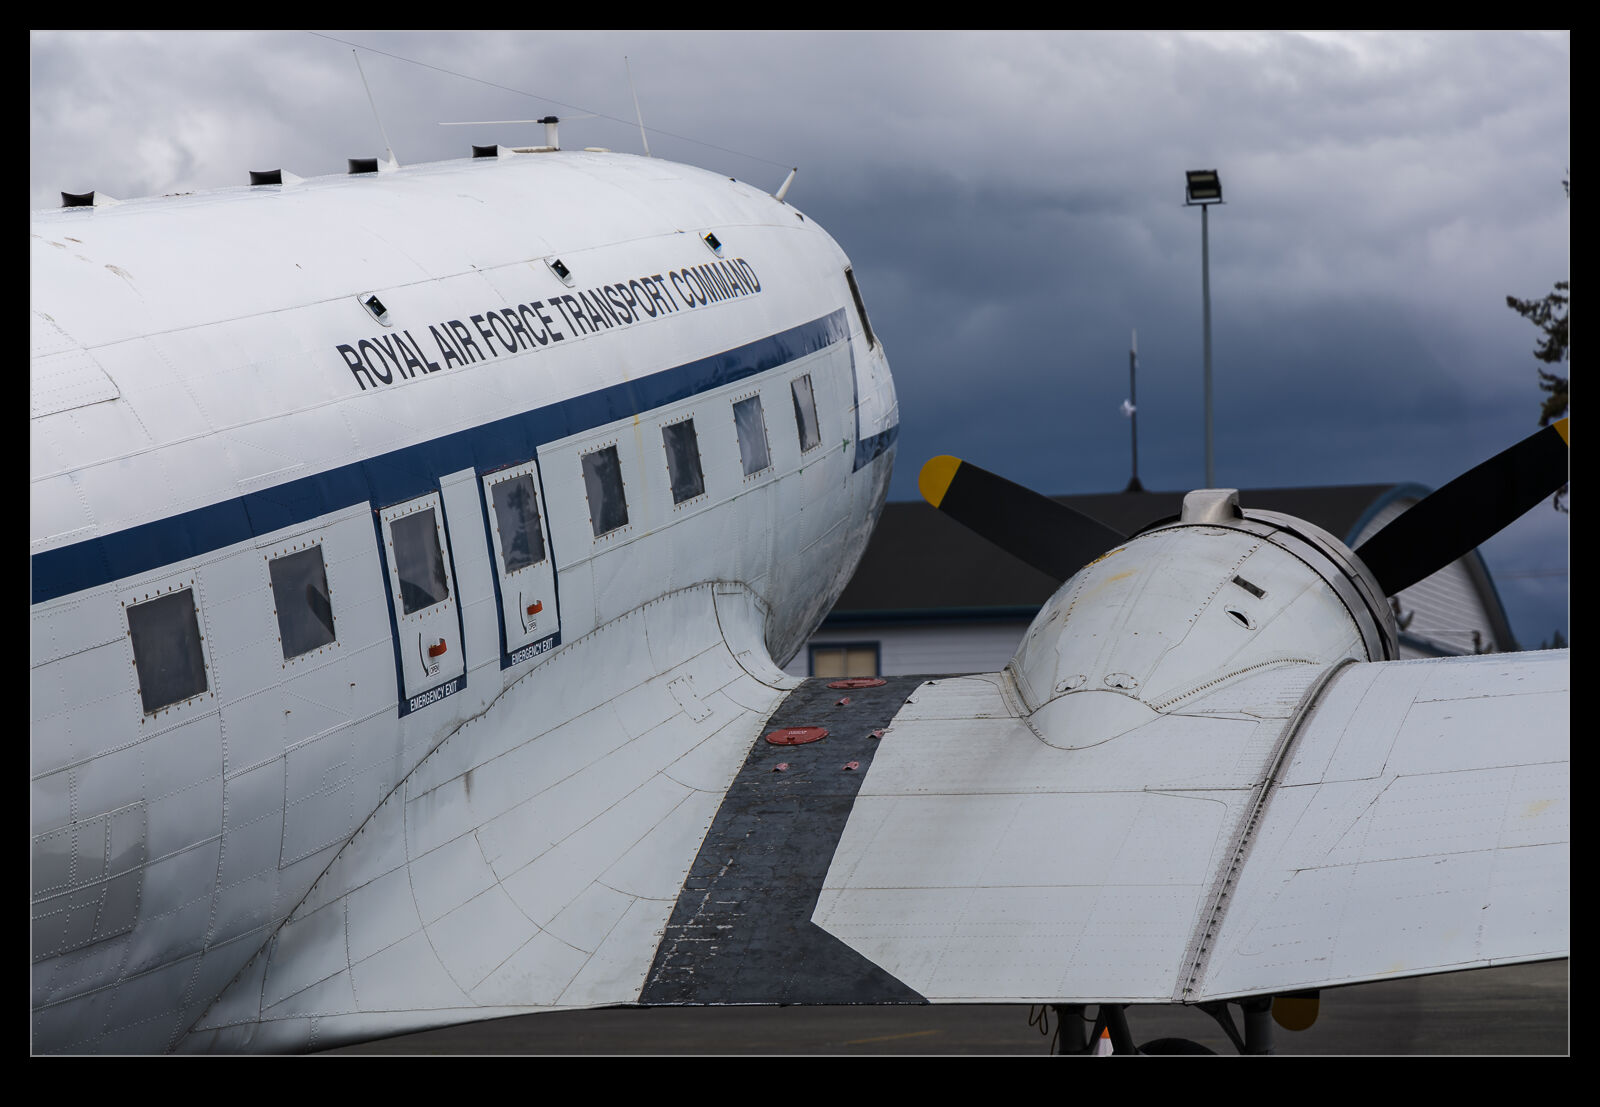
I heard that a DC-3 had arrived at Arlington.  It was a plane that had been with Air Atlantique in the UK for many years and was familiar to a friend of mine that had worked there a while back.  I am not sure if I had seen it in the UK or not but had definitely seen shots of it.  It came in during the week and was parked on the ramp at Arlington over the holiday weekend.  Unfortunately, the weather was not great.  However, with nothing much else to do, I figured I would head up and see it.

The rain was pouring down as I left home but it was actually drier and even with a hint of light up in Arlington when I arrived.  Even so, the conditions were not great.  However, the clouds, while plentiful, did seem to provide some interest to the sky.  Consequently, I went with HDR to try and make the best of the conditions.

I am not sure what the plans are for the plane and whether it will remain in its old RAF colors as a Dakota rather than a DC-3 or C-47.  We shall see.  Hopefully it stays in the area and I’ll get to see it flying.