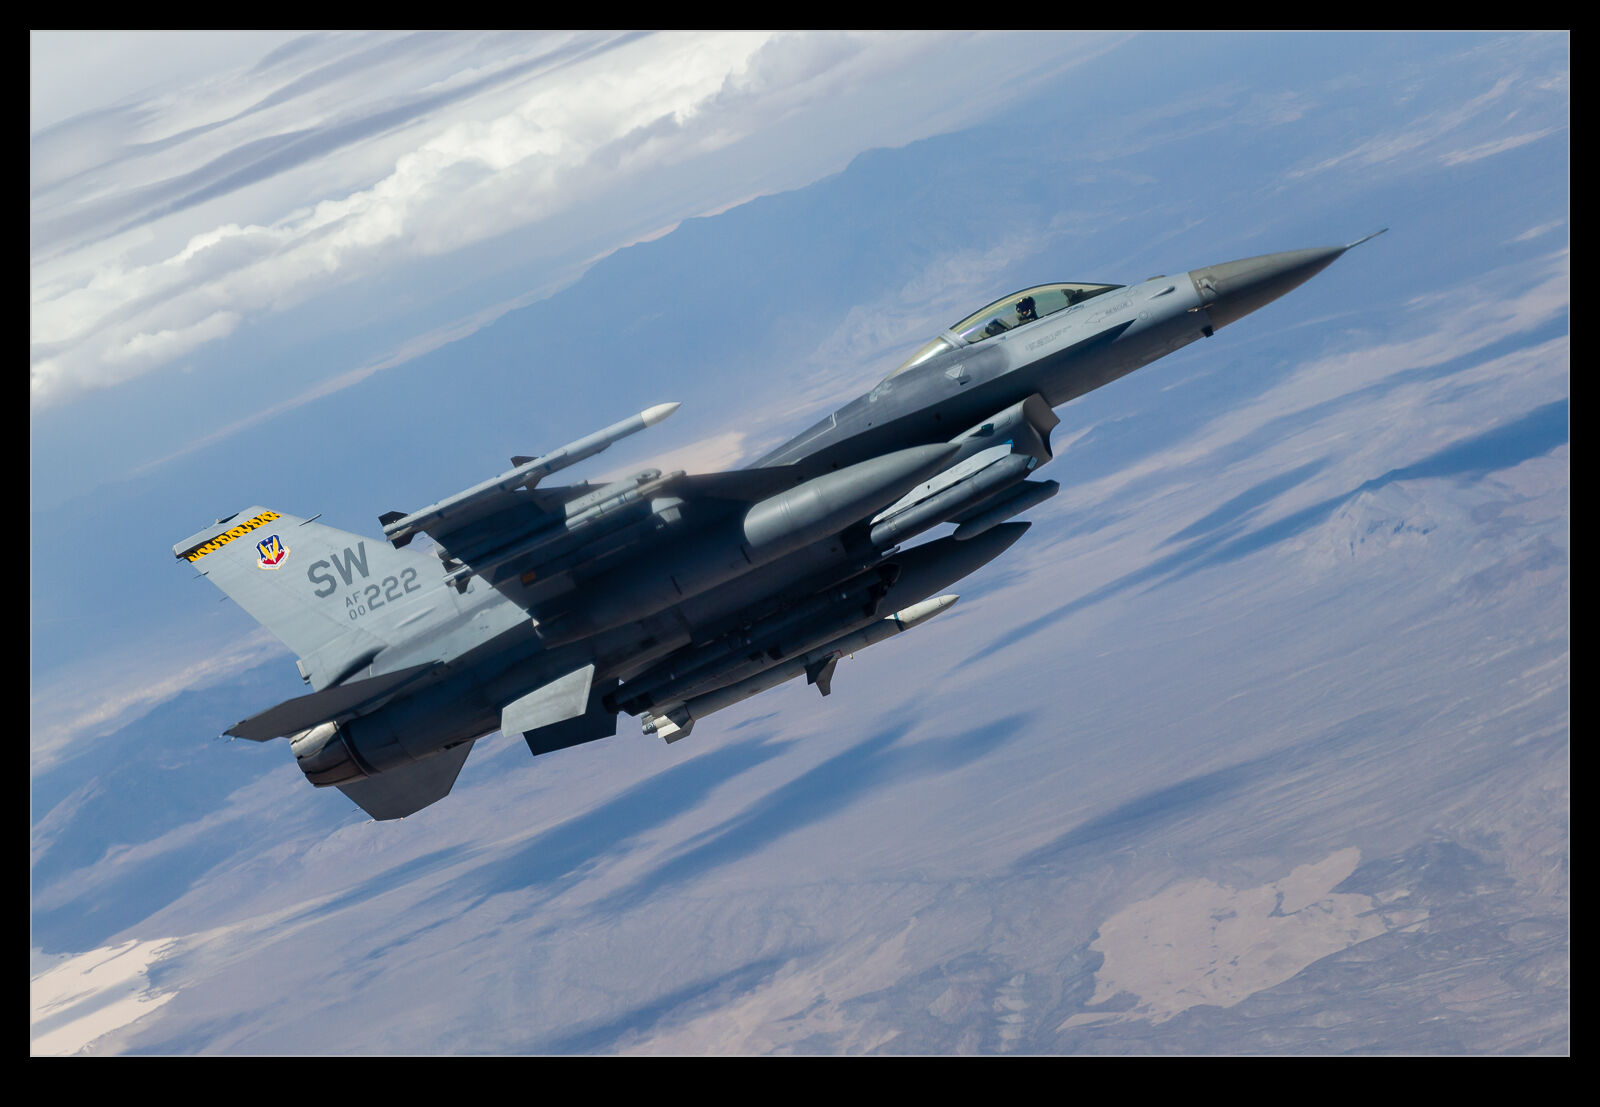
 I had the good fortune to be able to spend a day with 101 Sqn of the Royal Air Force when they were undertaking training missions in one of their primary roles of aerial refuelling. Based at RAF Brize Norton, the squadron operates the Airbus Voyager, the A330MRTT aircraft. The aircraft we were in was configured for two-point refuelling while some of the aircraft have a three-point config that allows tanking of heavy aircraft from the higher capacity centreline hose drum unit.
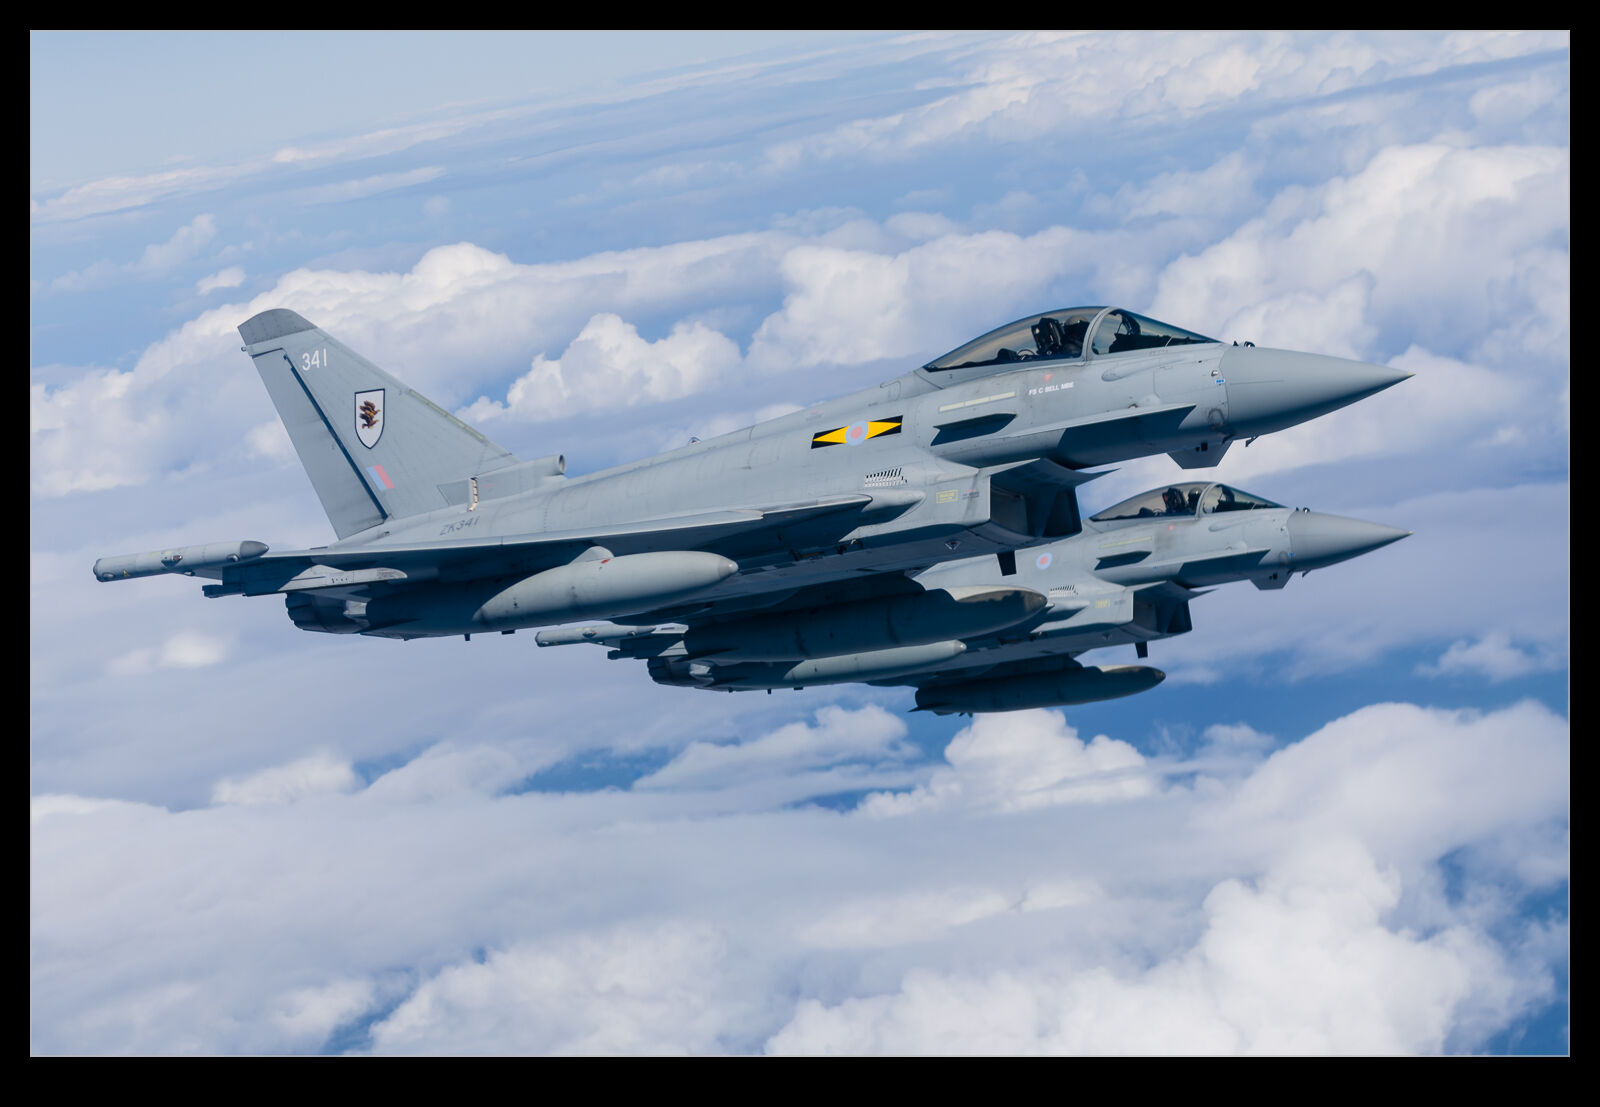
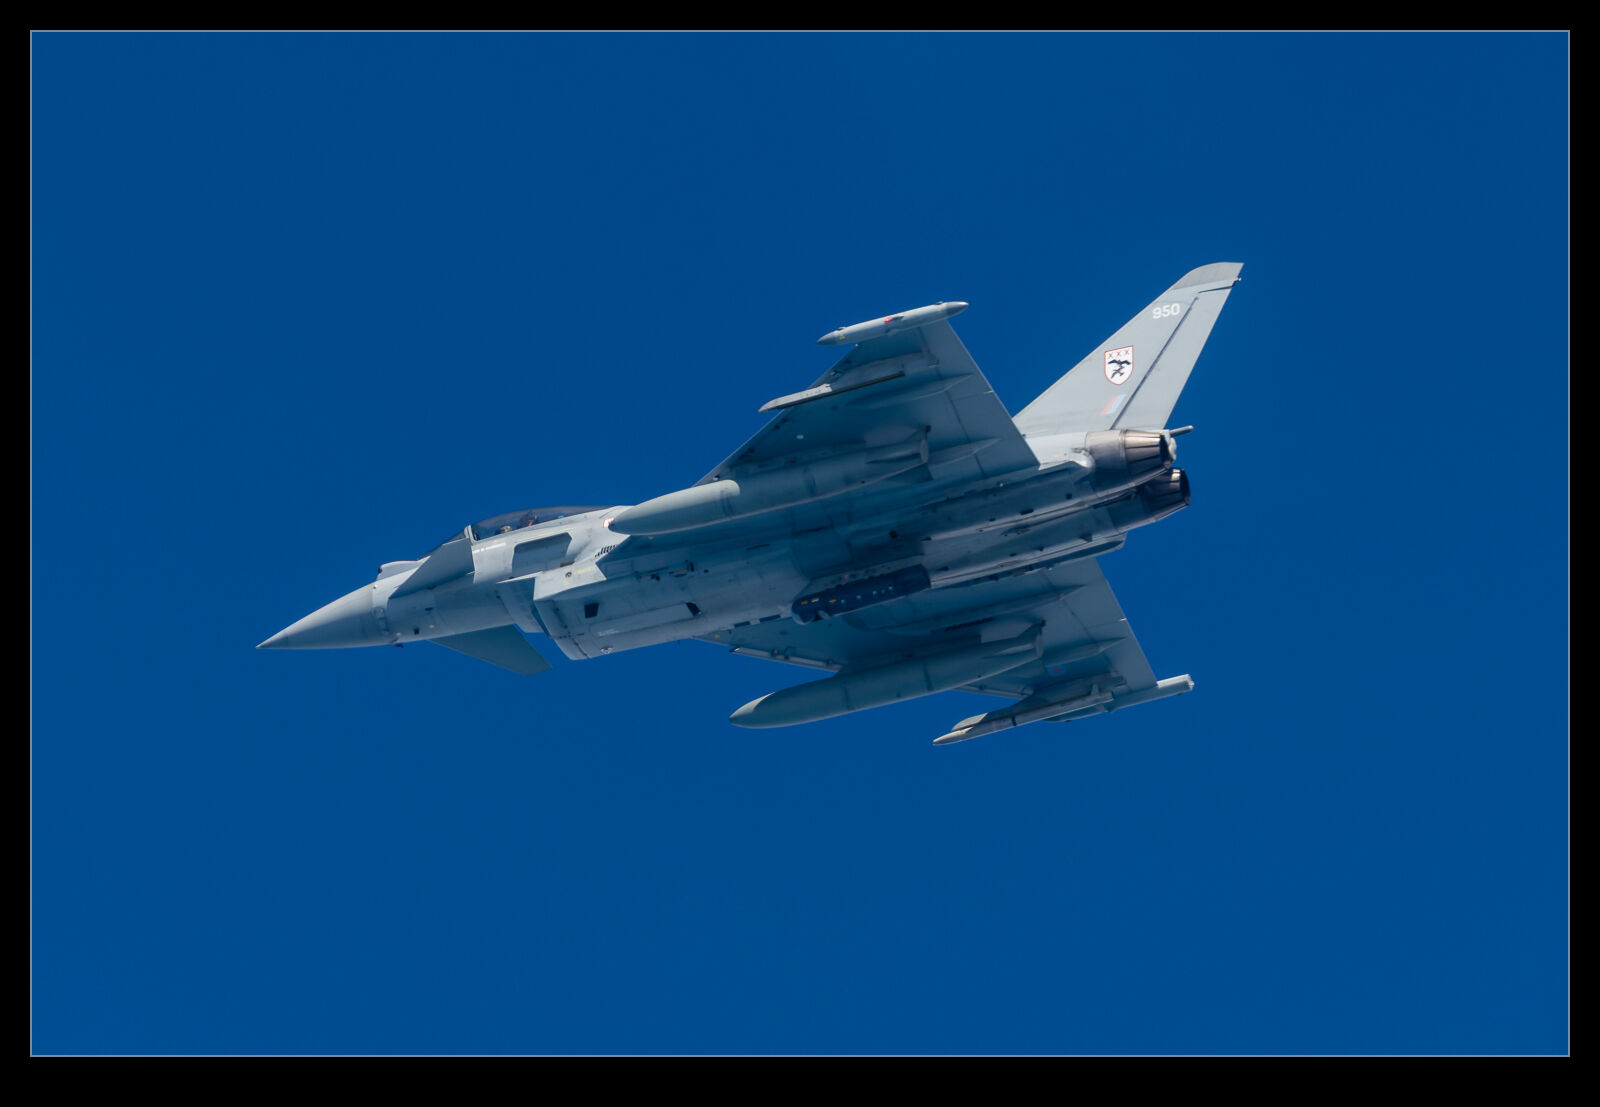
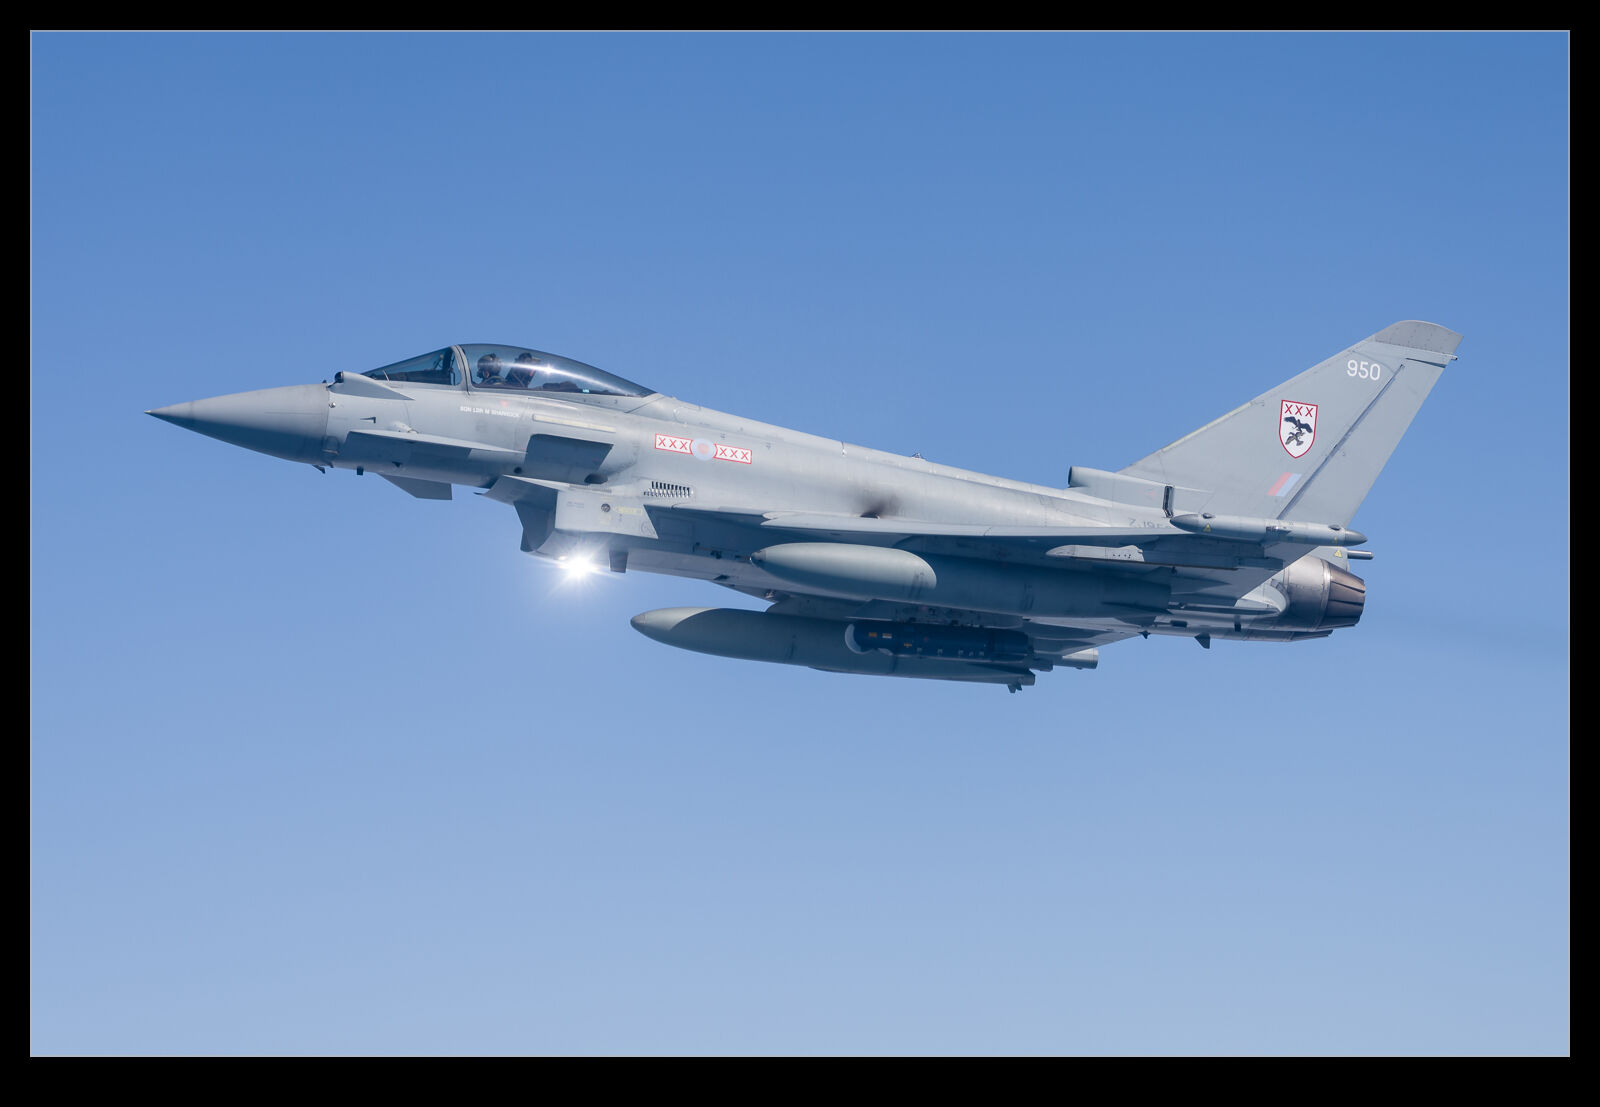
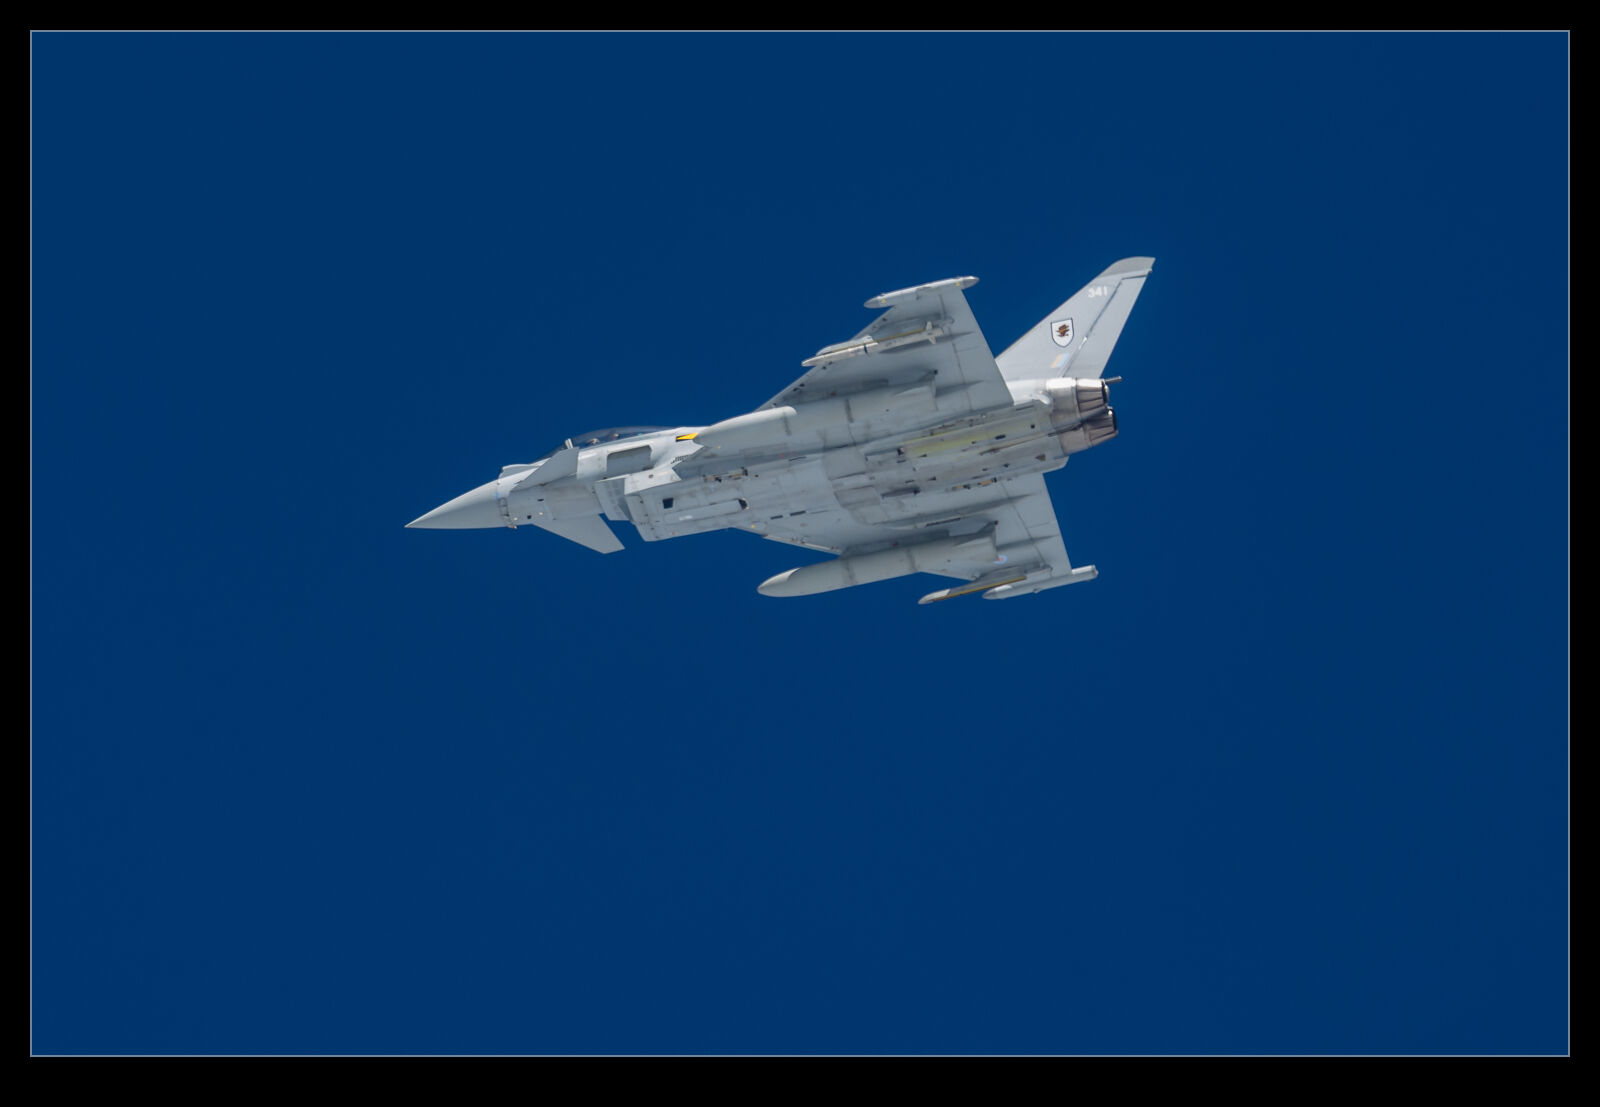
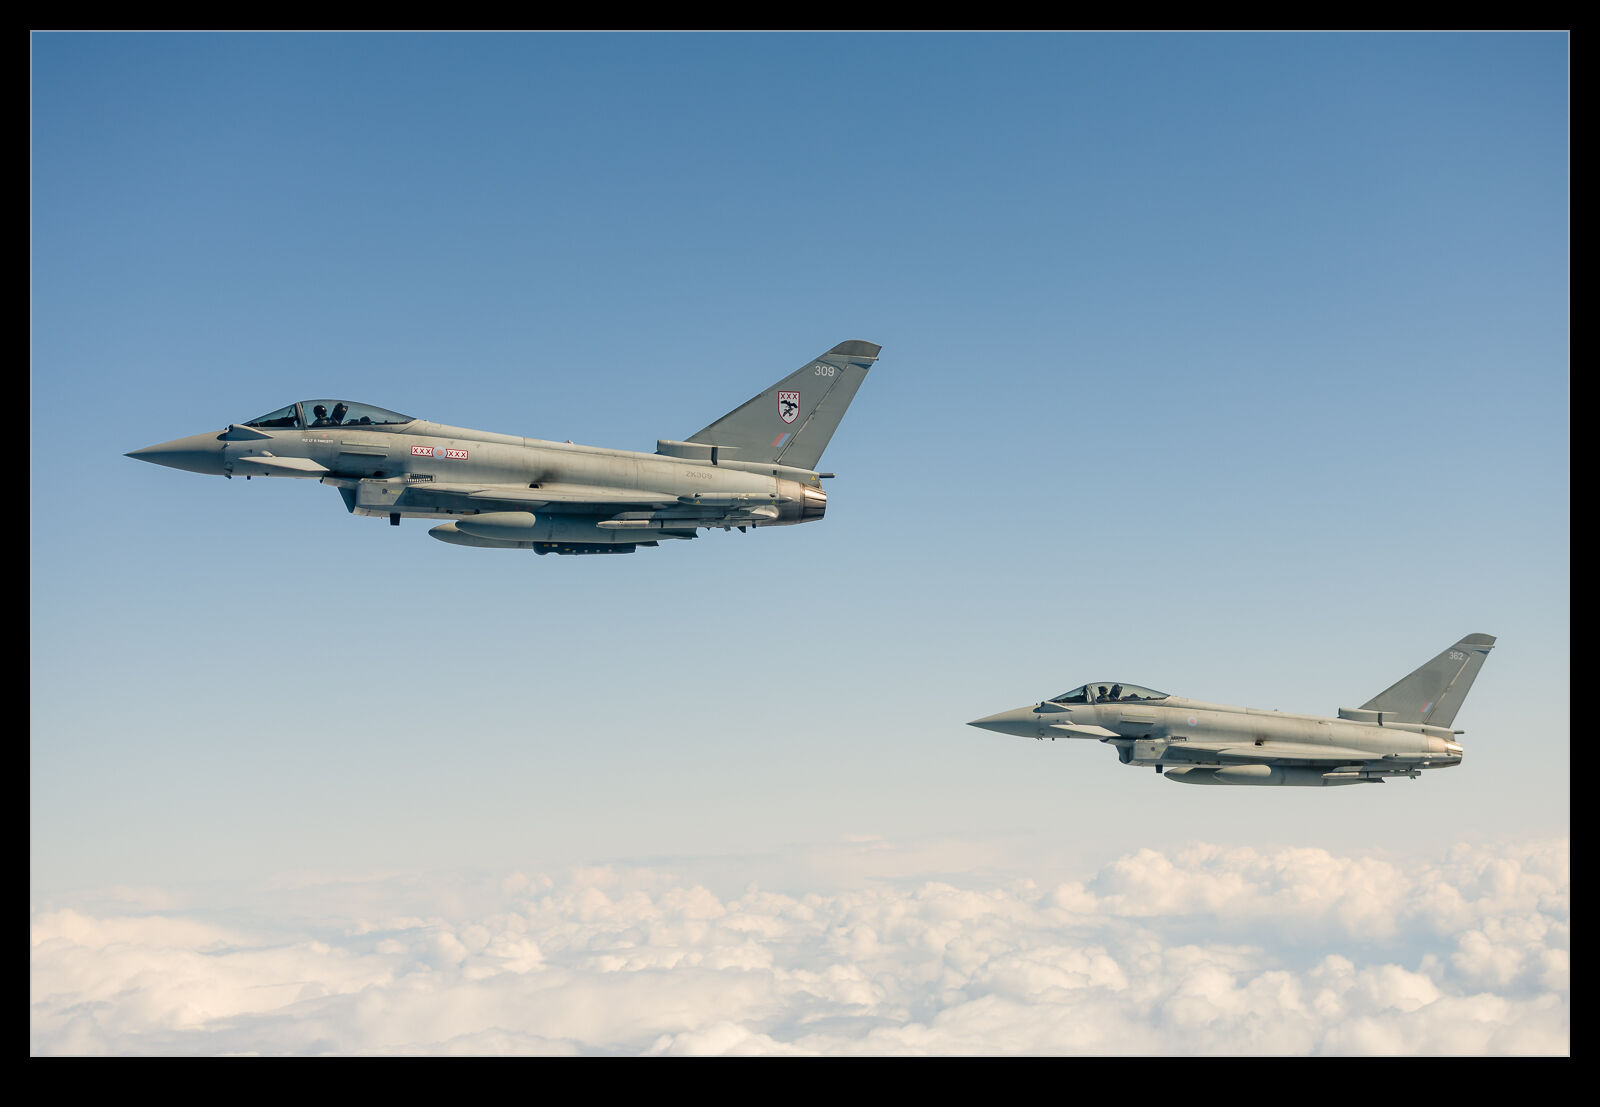
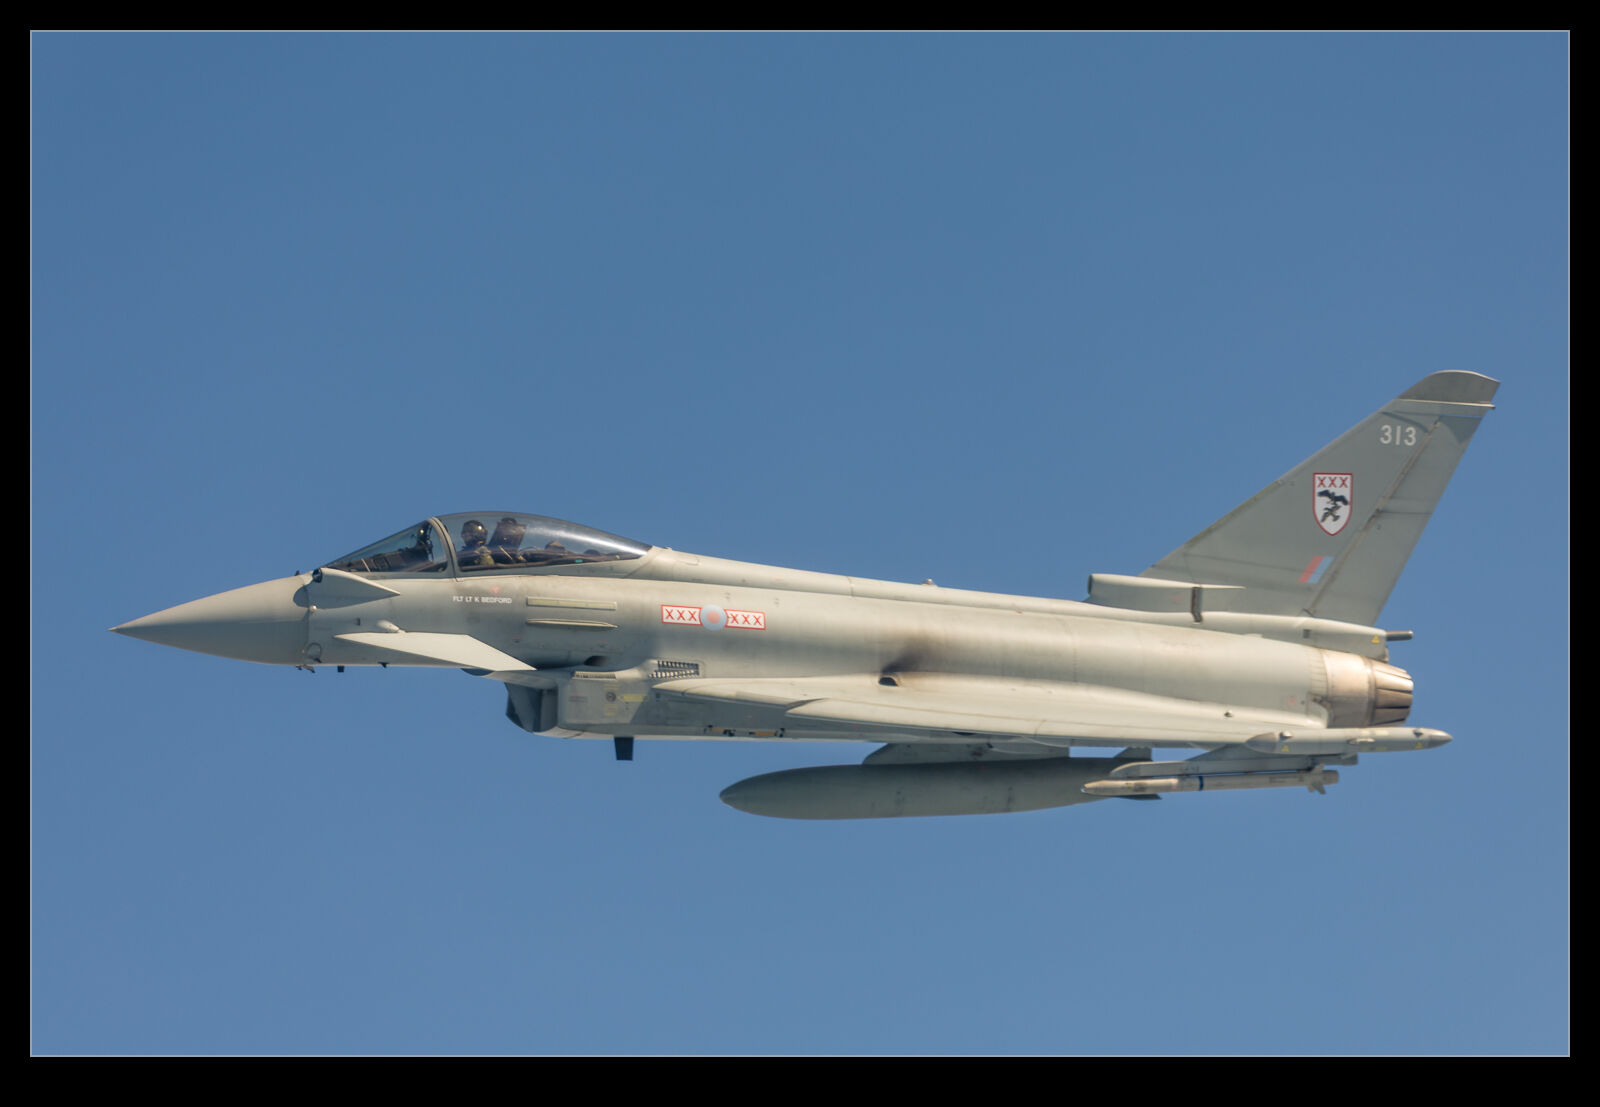
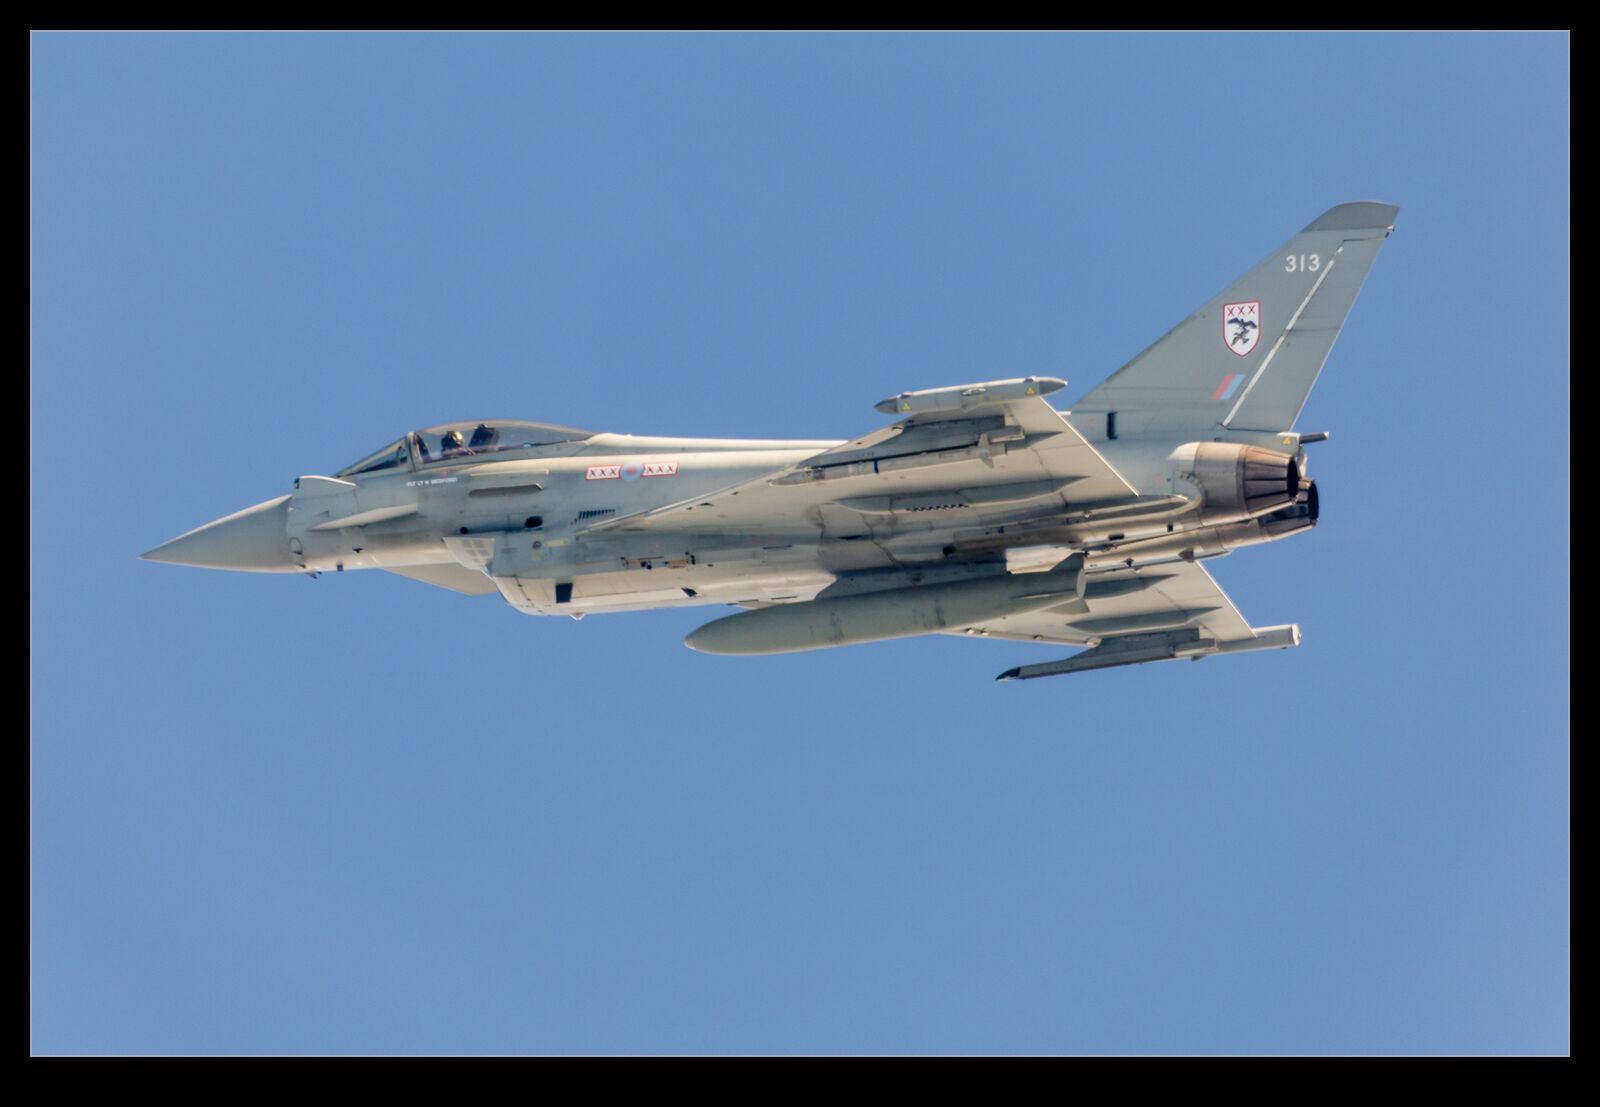
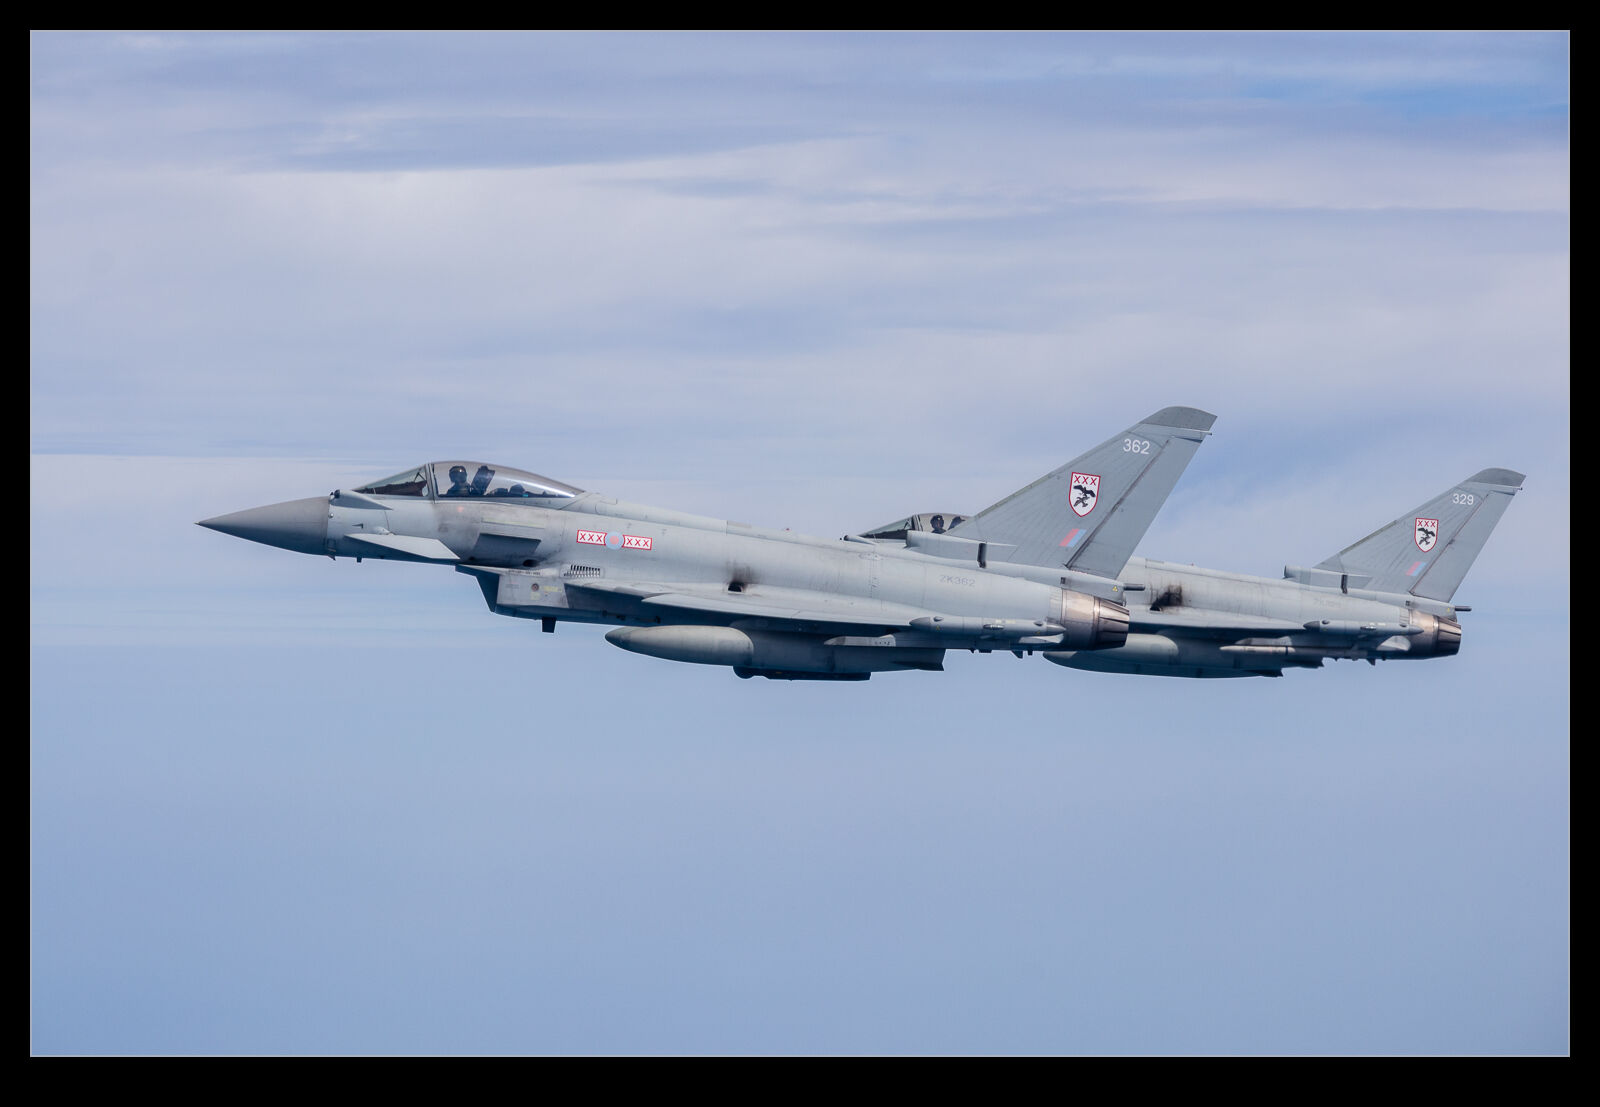
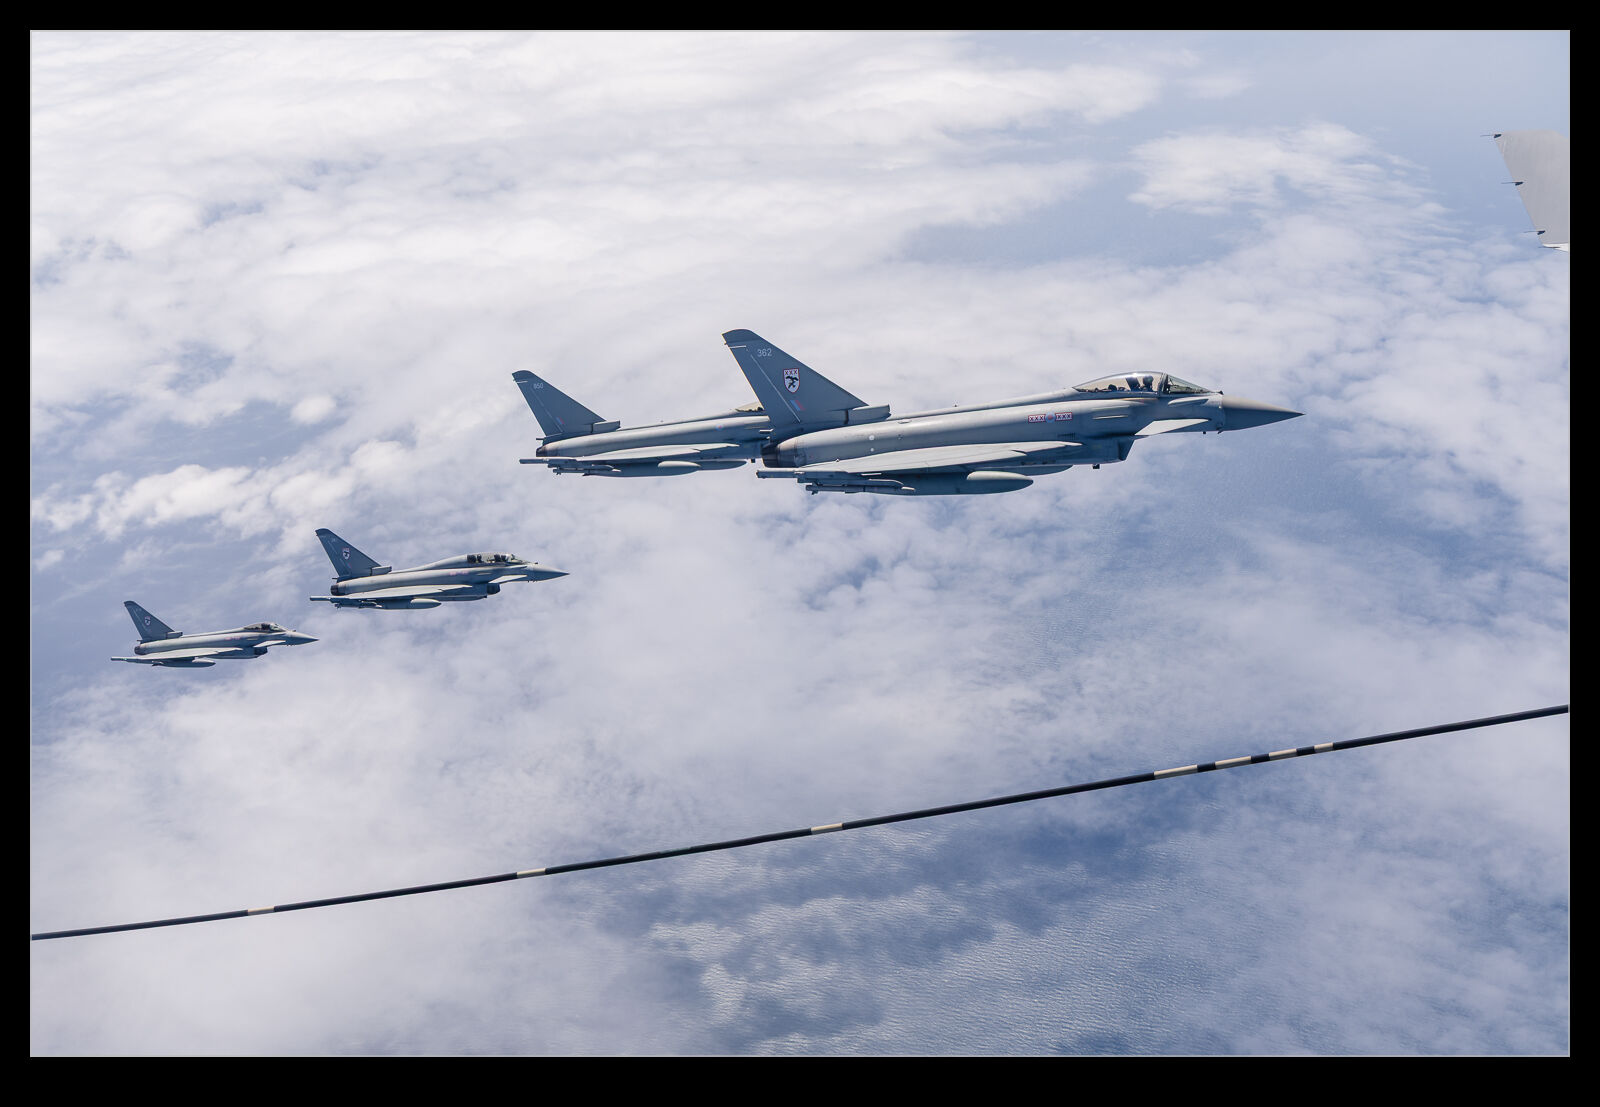 We took off from Brize and headed out over the North Sea. Our initial tracks were off the coast of East Anglia which made for a convenient place to pick up trade from the RAF bases there. The F-35s were deployed from Marham so there was less likelihood of one of those jets showing up, but we did expect Typhoons. It was too long after we were on station before the first customers showed up.
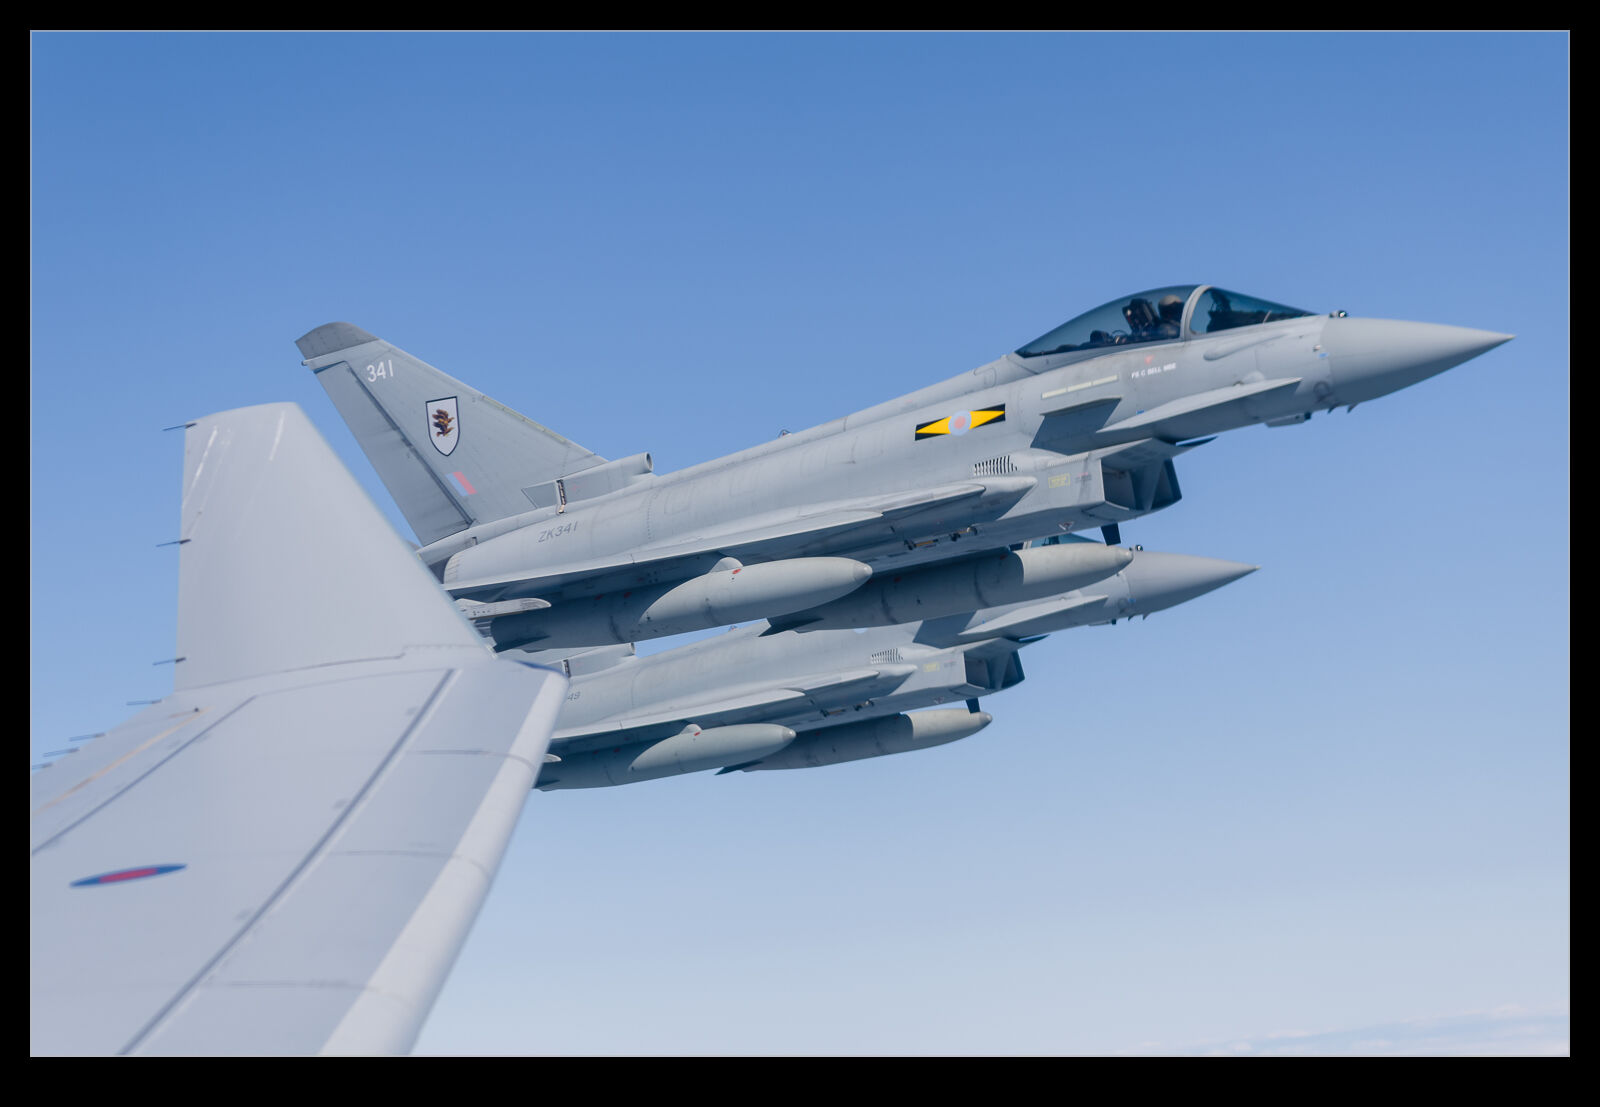
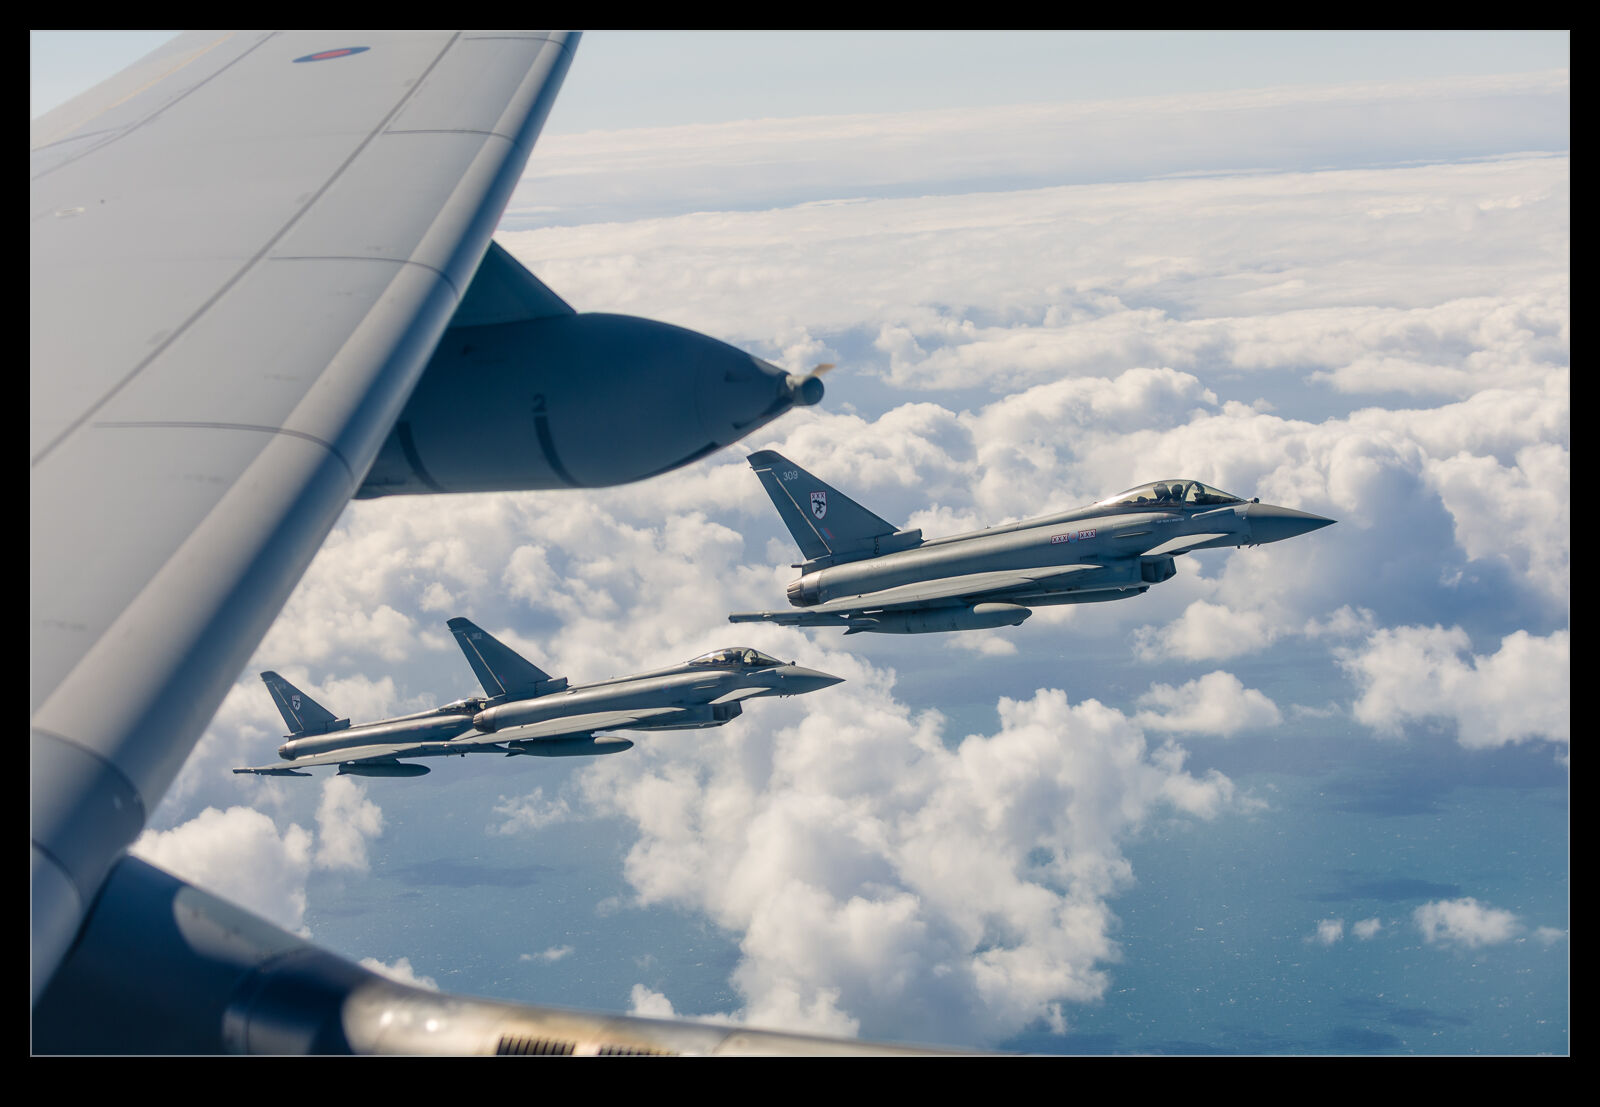
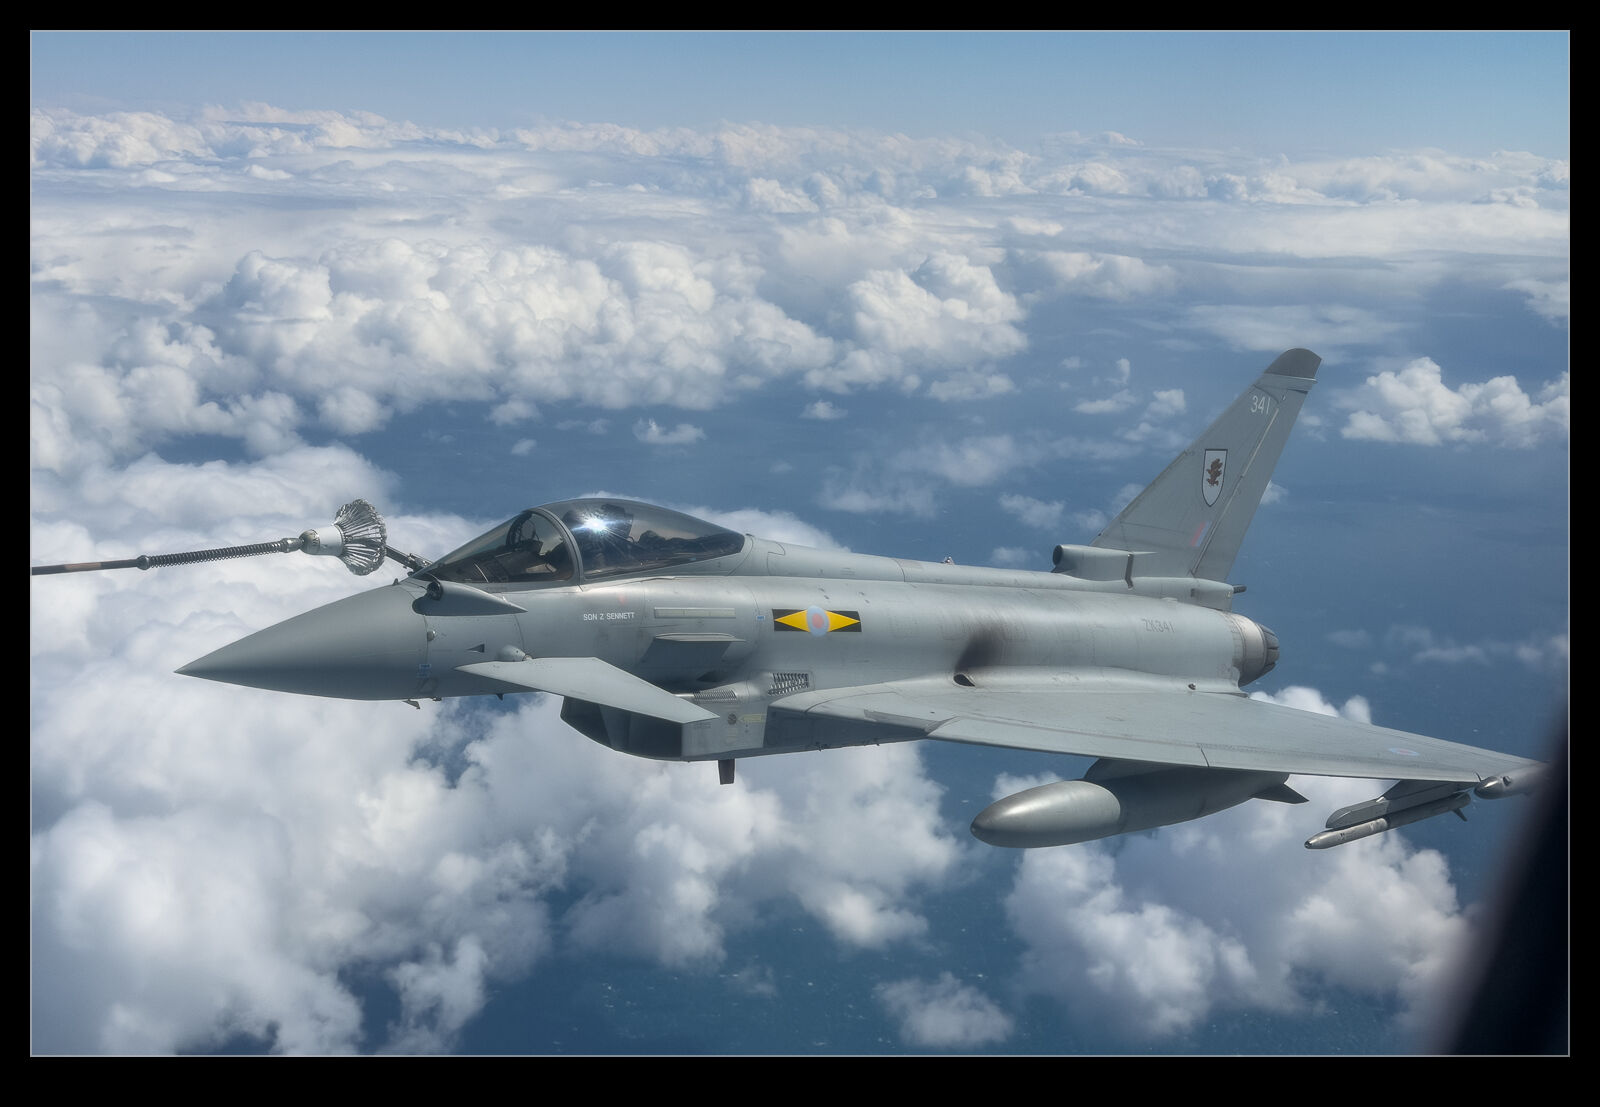
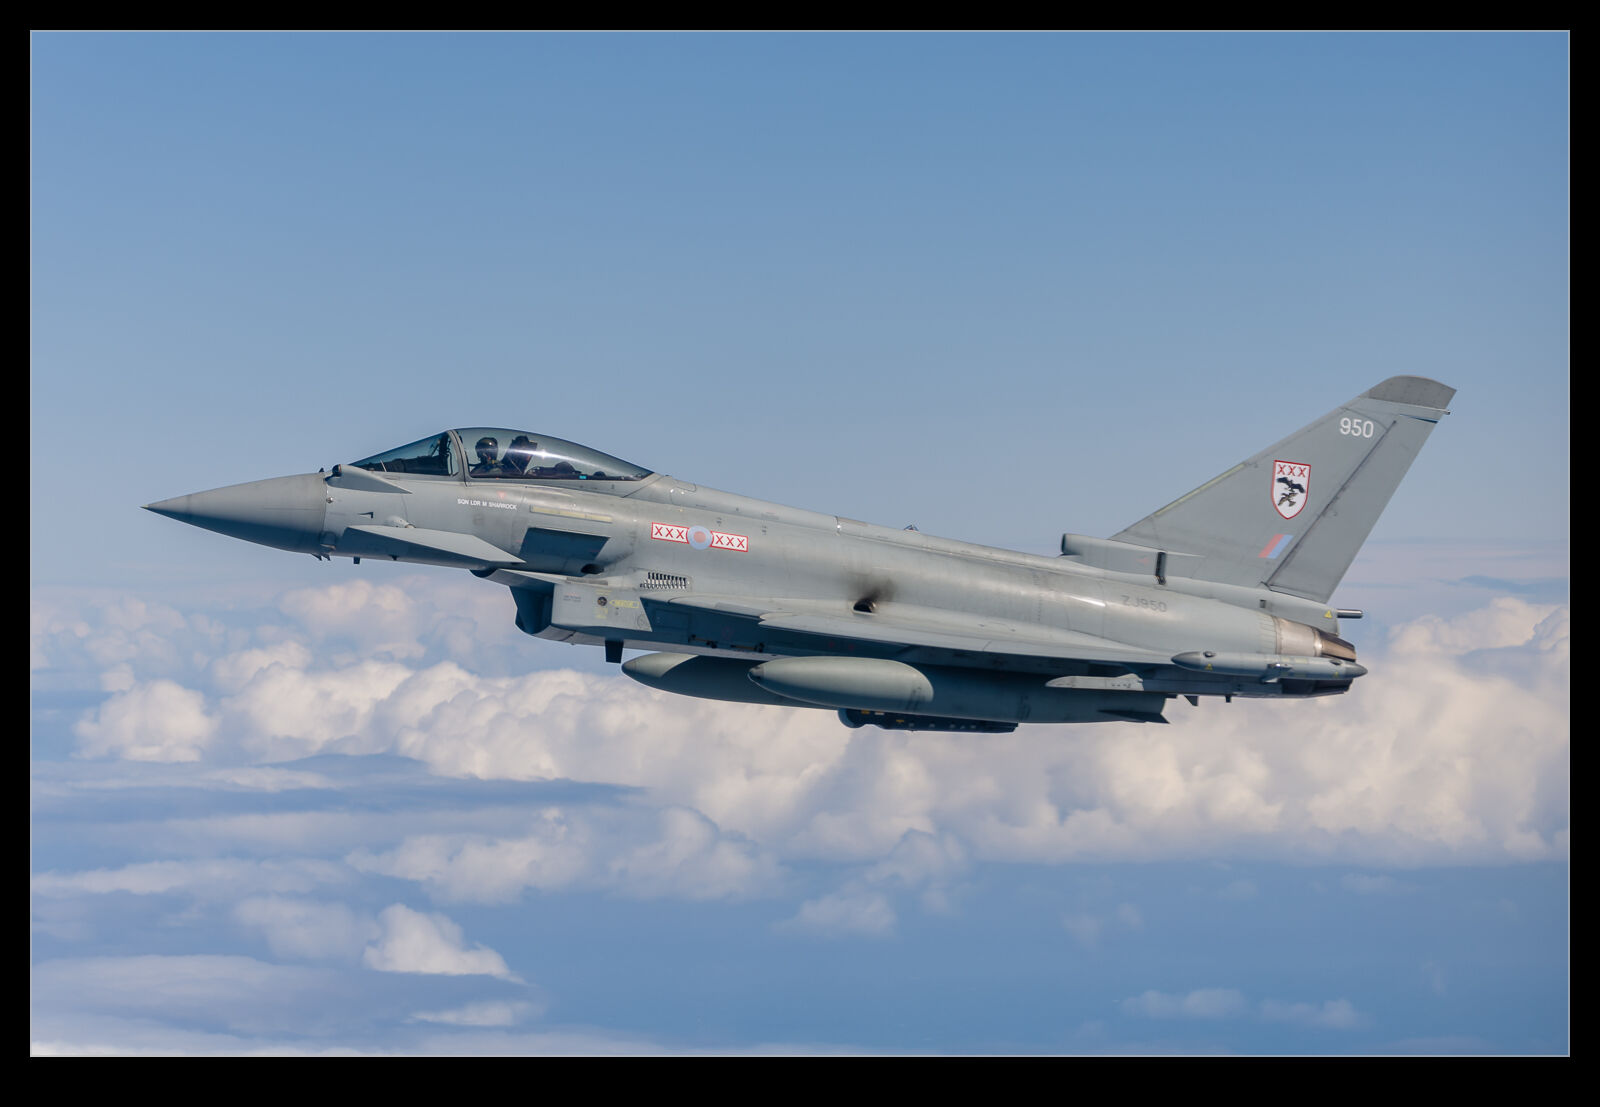
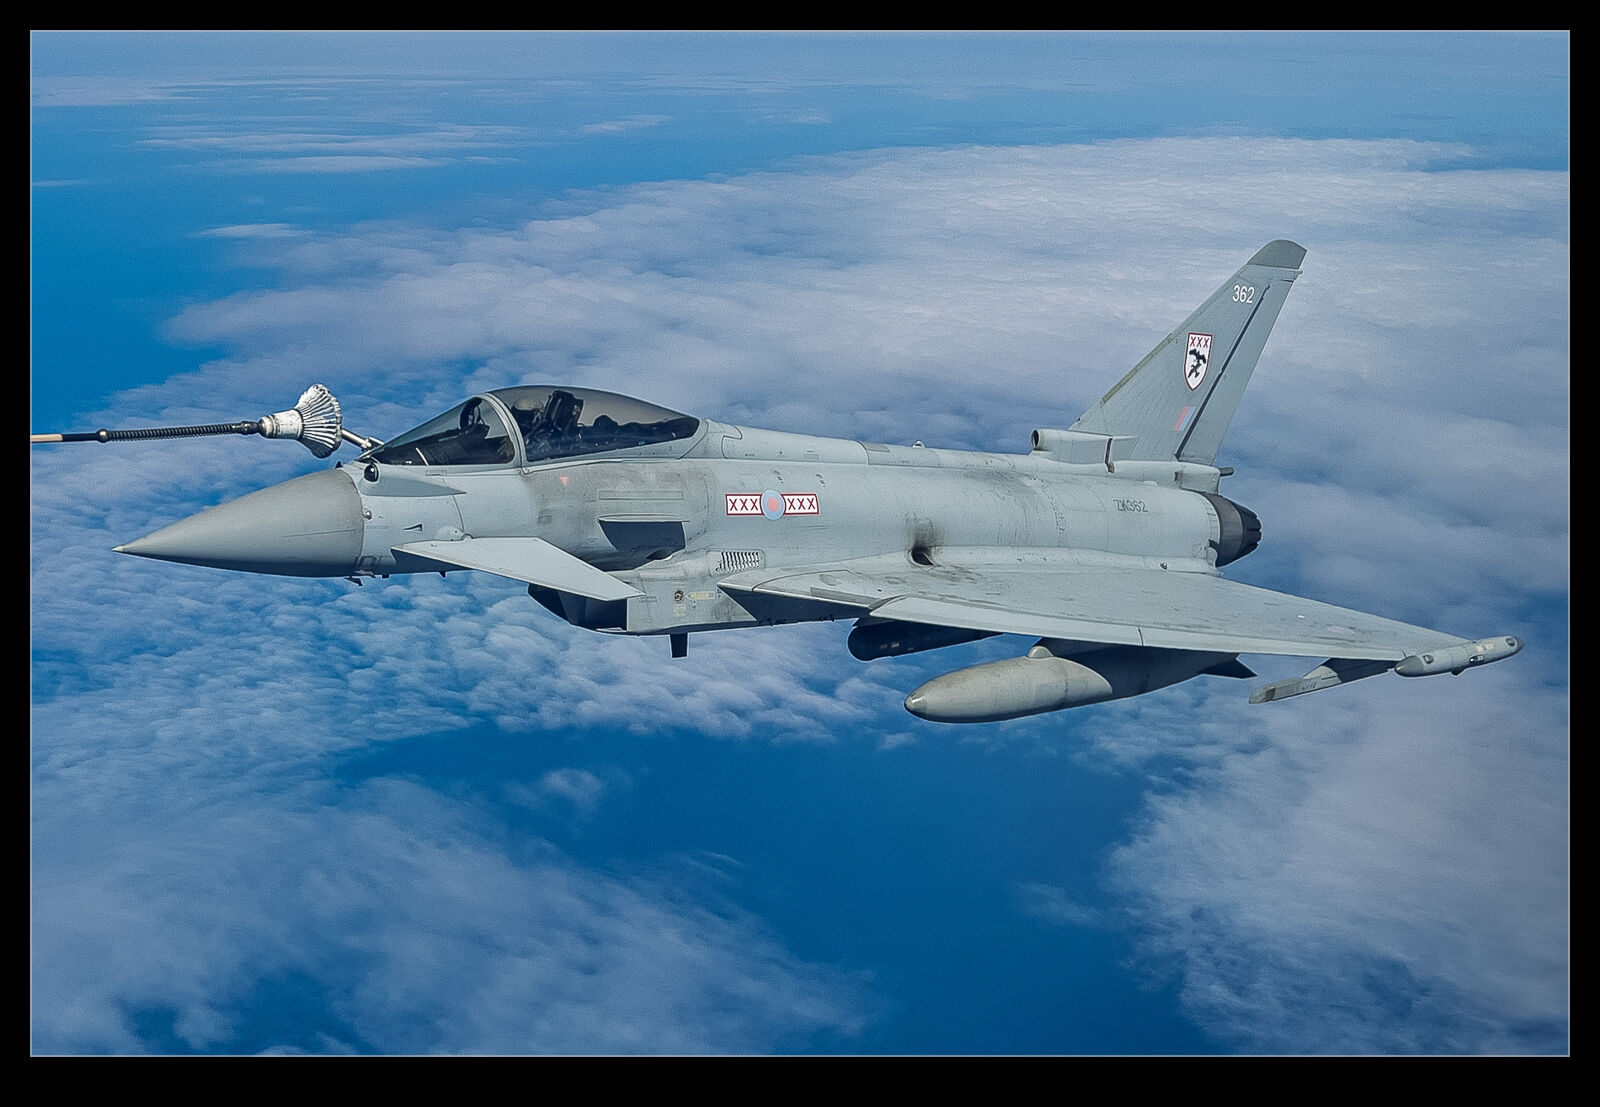
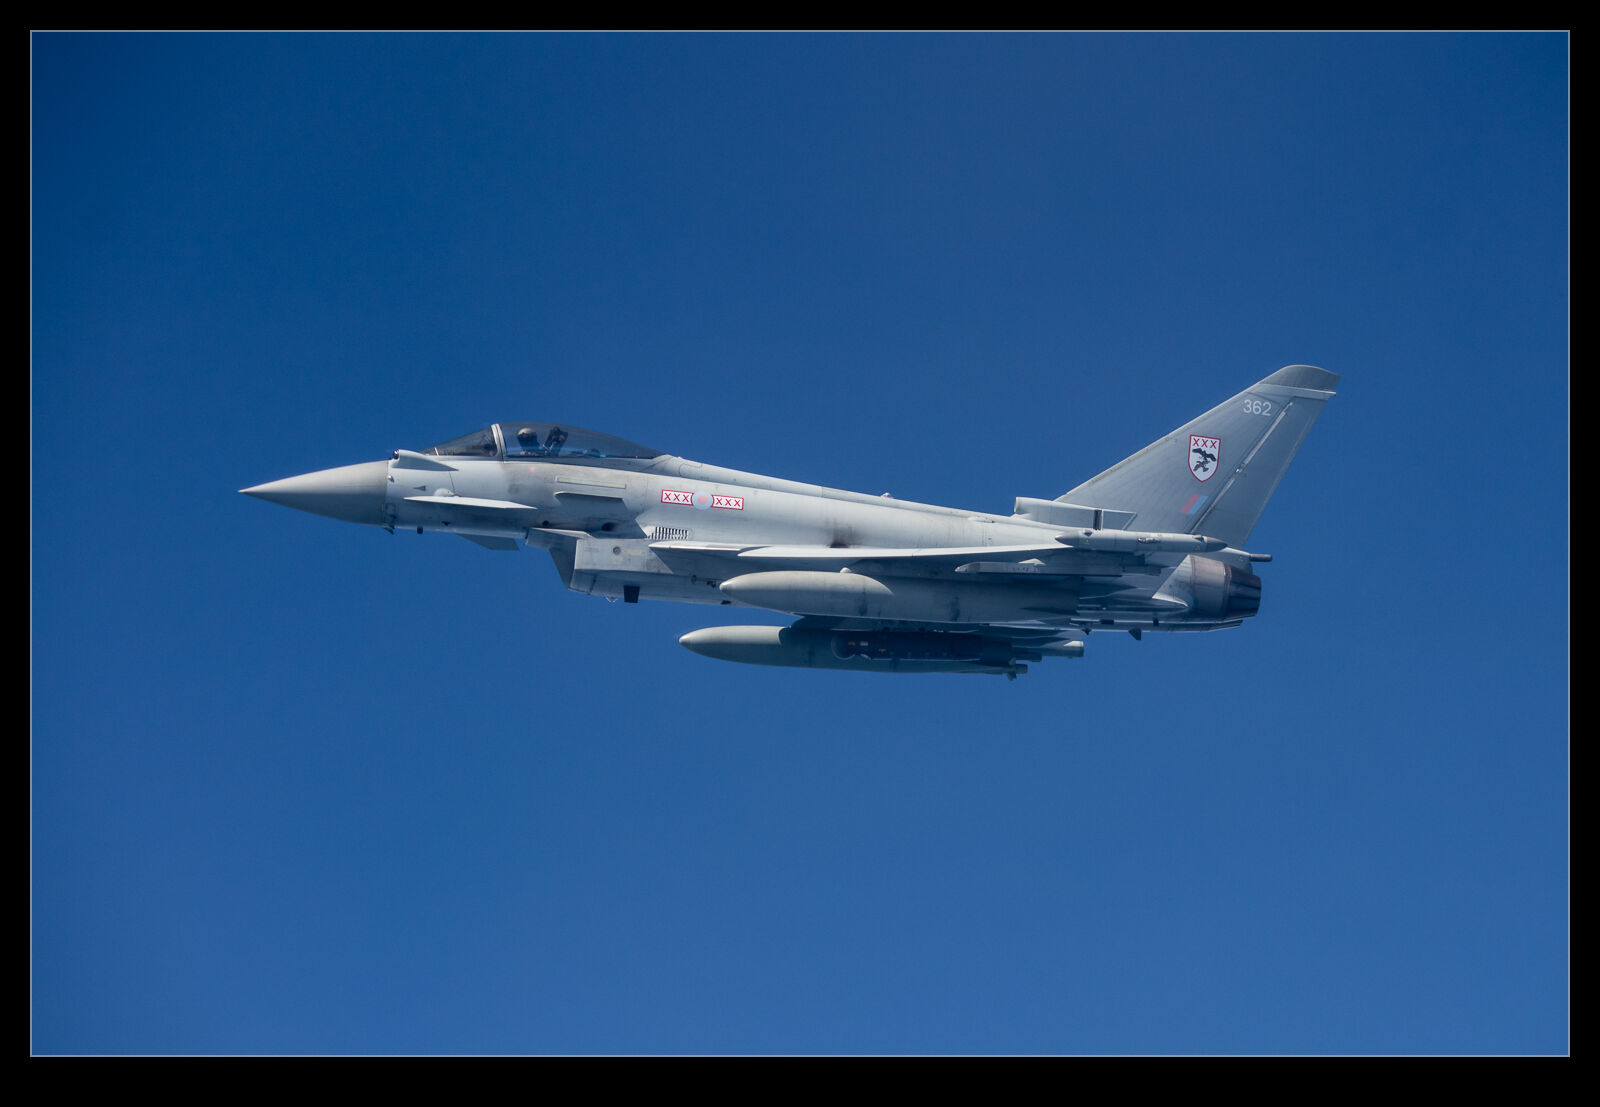 The jets appeared from the port side of the jet and picking them up early allowed you to see them sweeping in astern of the plane before they approached from astern. They would gather off the port wing extending the refuelling probe before being cleared into pre-contact positions on either wing. Then they would pull forward to make contact and take on fuel. Once they were done, they would gather off the starboard wing until the flight had all taken on fuel at which point they would accelerate away to continue with their flight. This departure might just be peeling away but it sometimes included a burst of power and a climb up away from our flight level with the noise even being noticeable inside our insulated cabin.
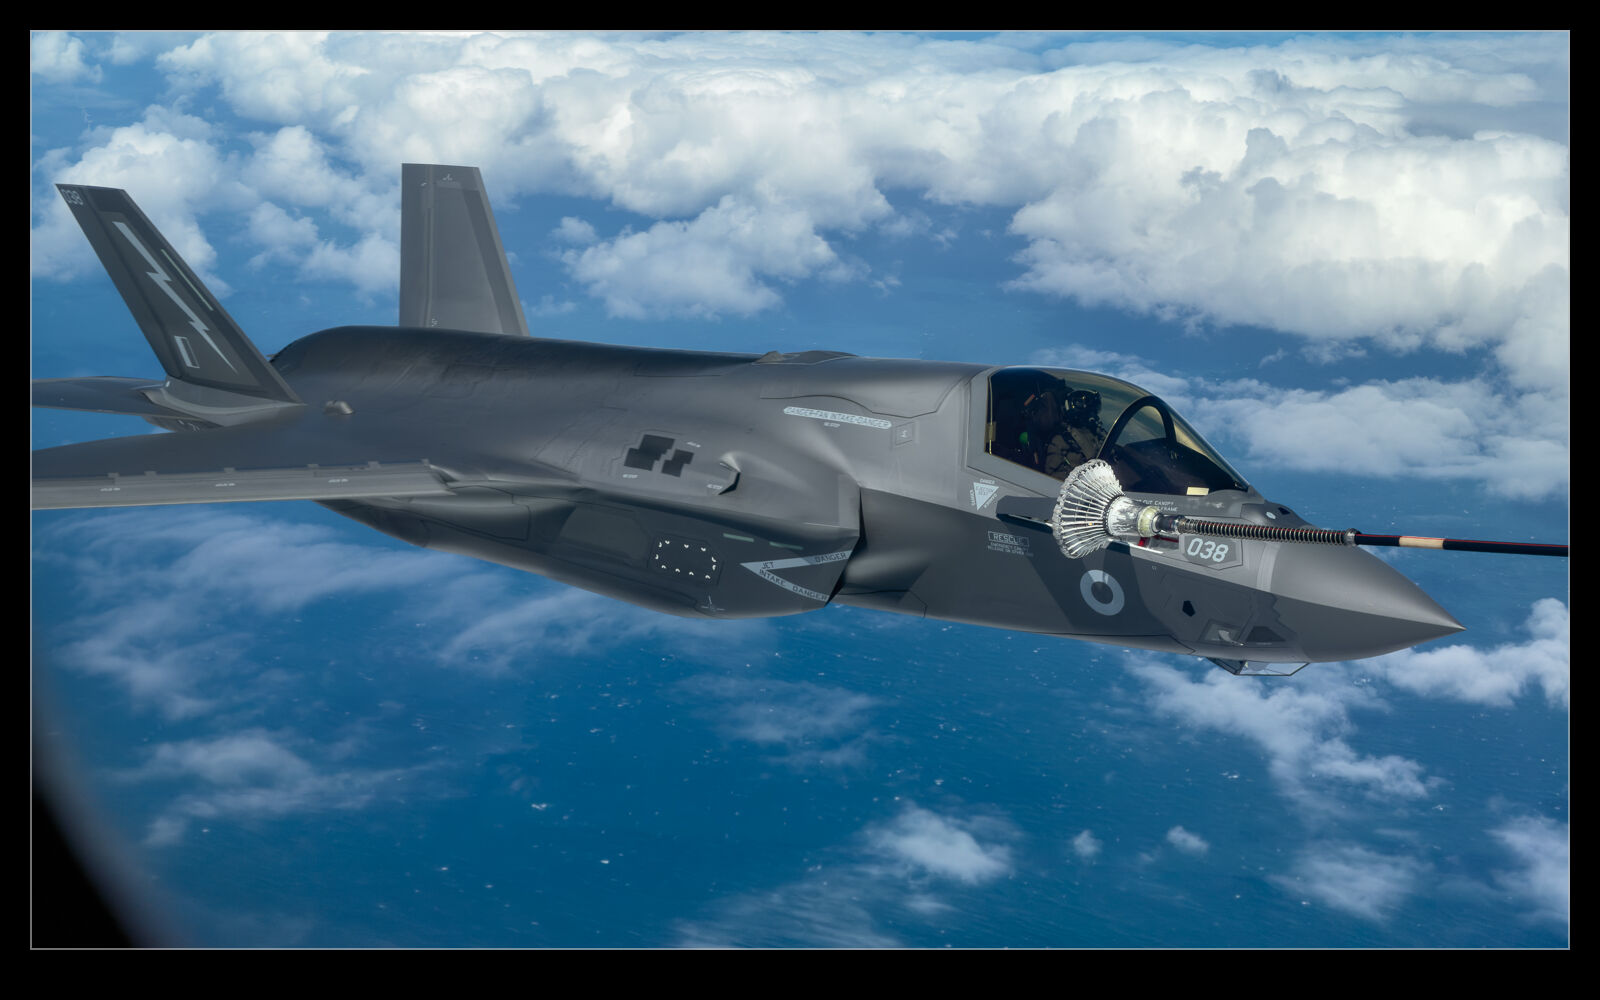
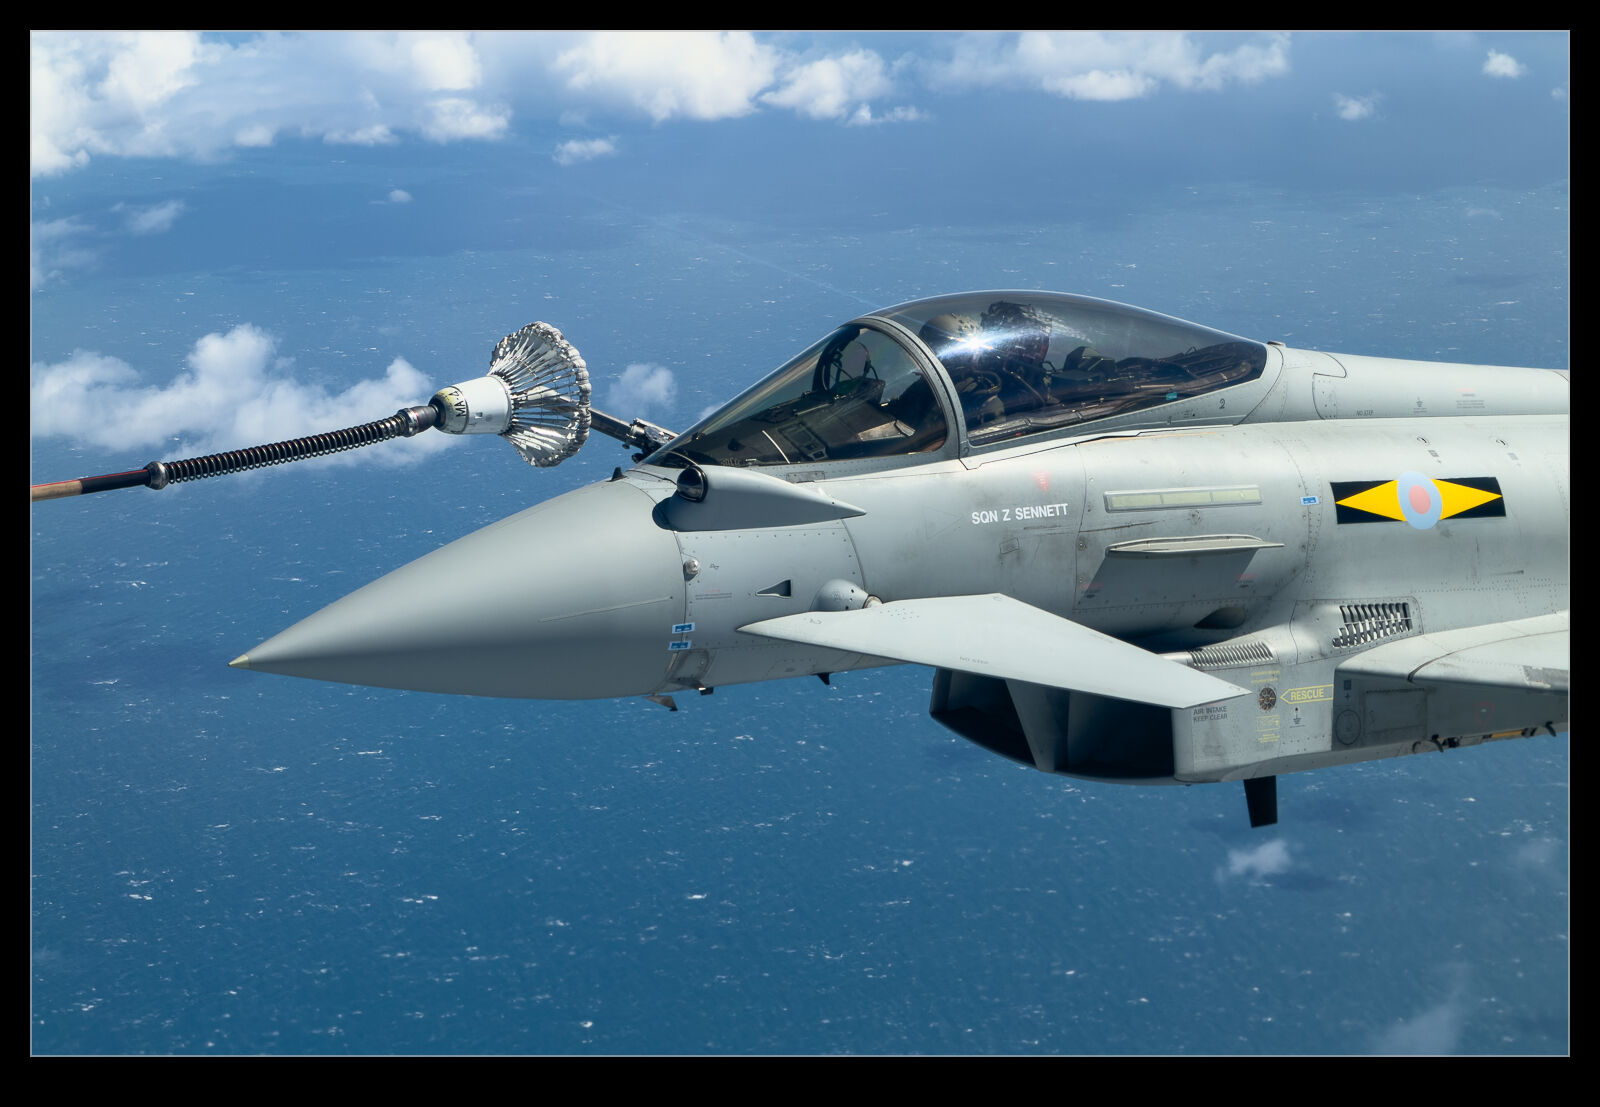
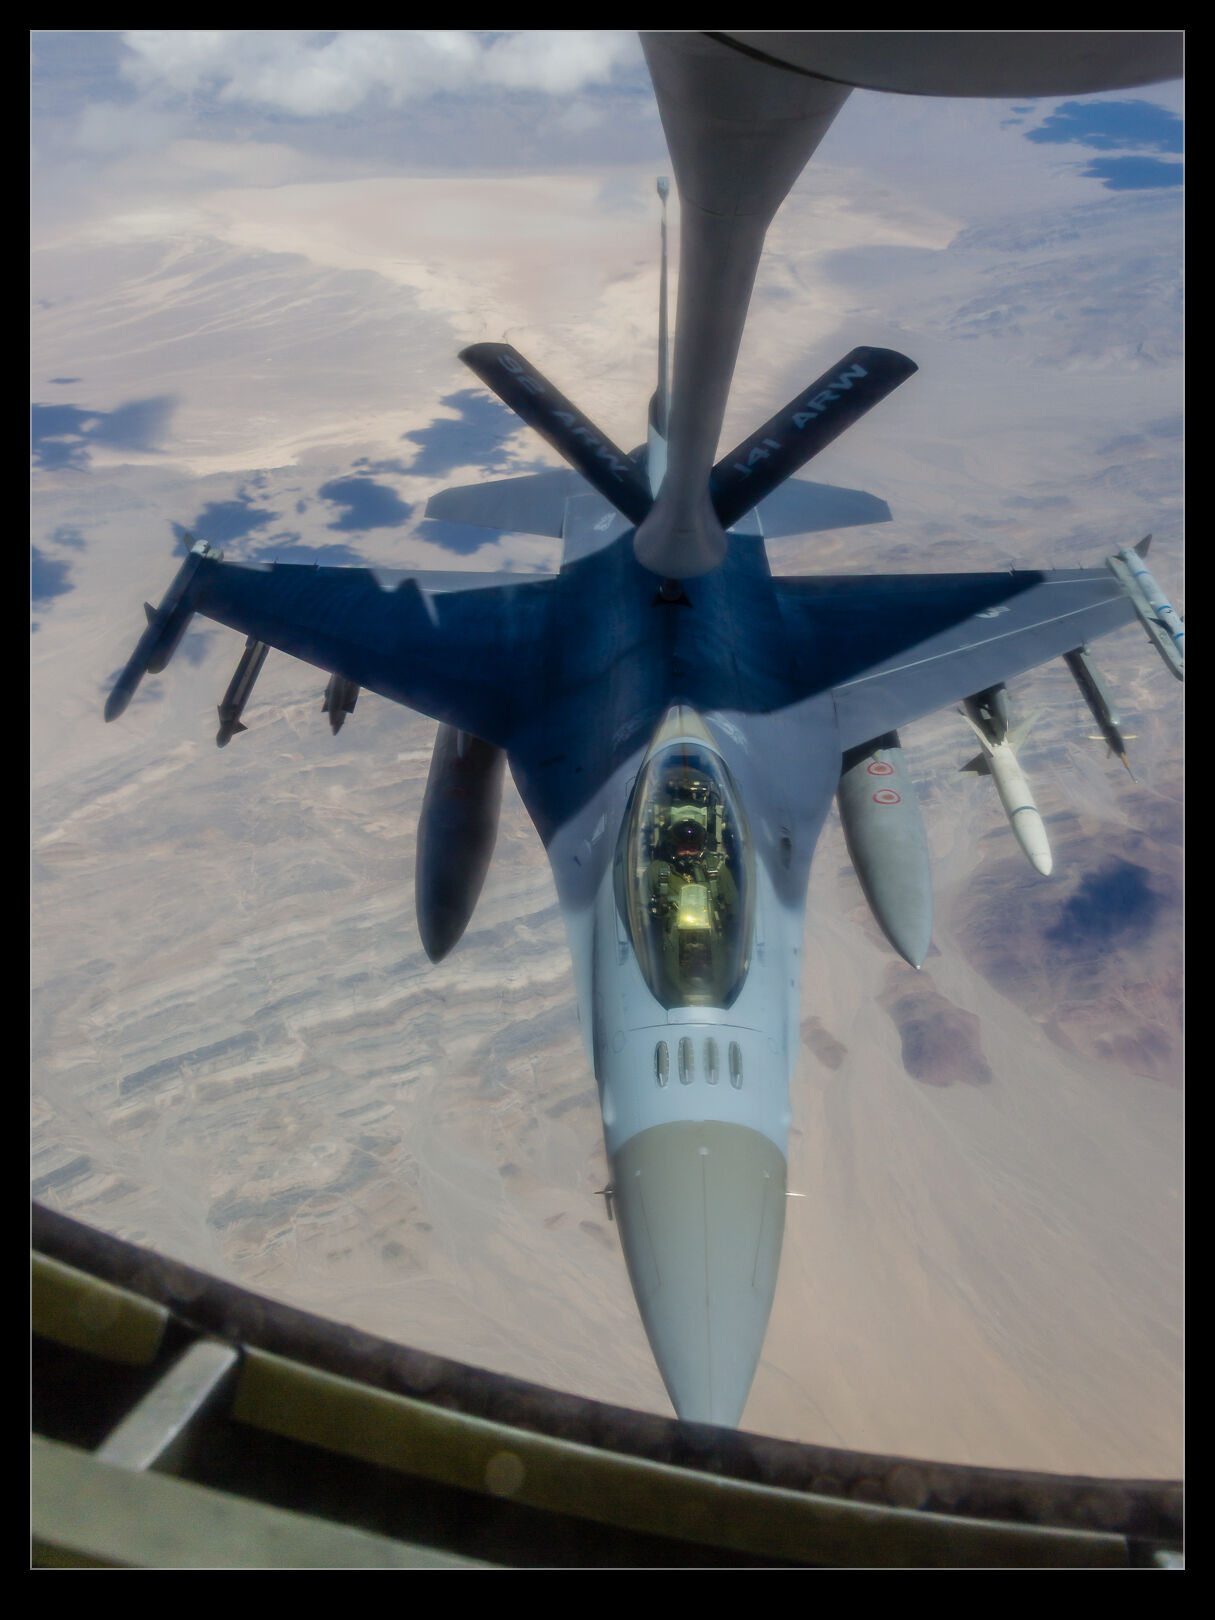
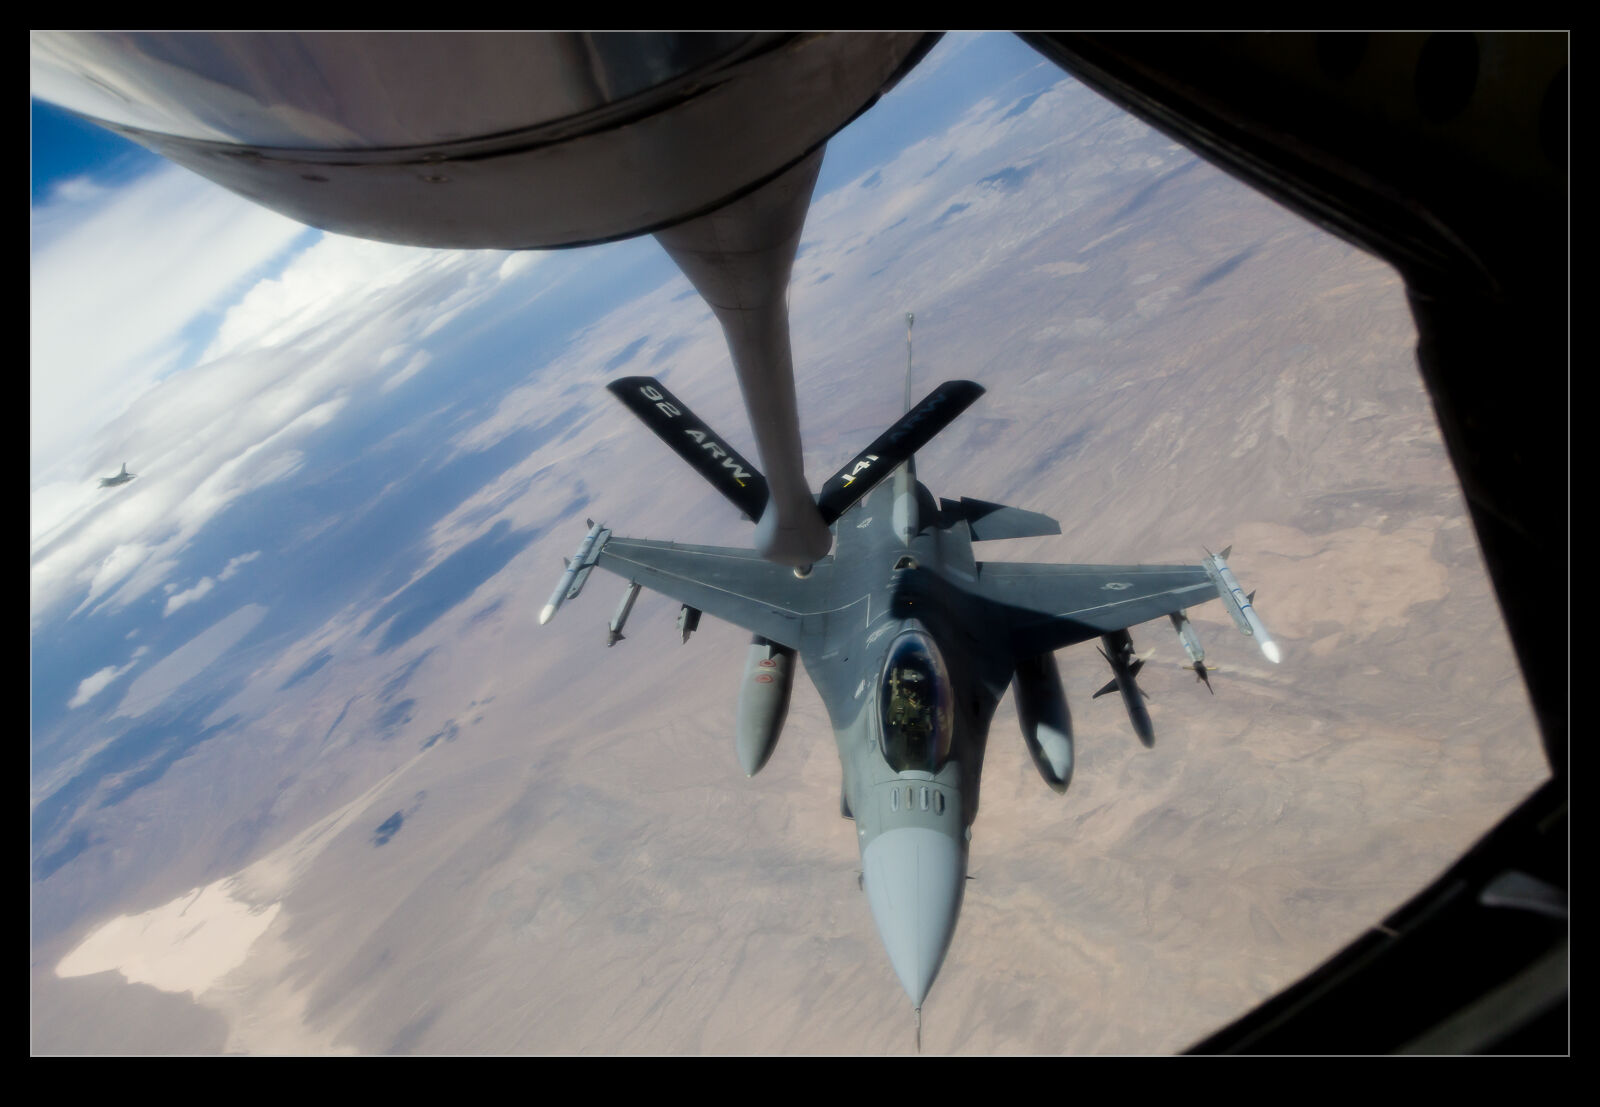
 There are very limited options when it comes to photographing the jets while they are plugged in. The pods are mounted outboard on the wings – I think in the location where the outboard engines would be on an A340 – but the length of the hose means that the drogue is quite a long way aft. This means that only the last few rows of the aircraft – it has a pretty standard seating config throughout most of the fuselage – actually have the ability to see the jets. I had been advised by a friend that the viewing was limited.
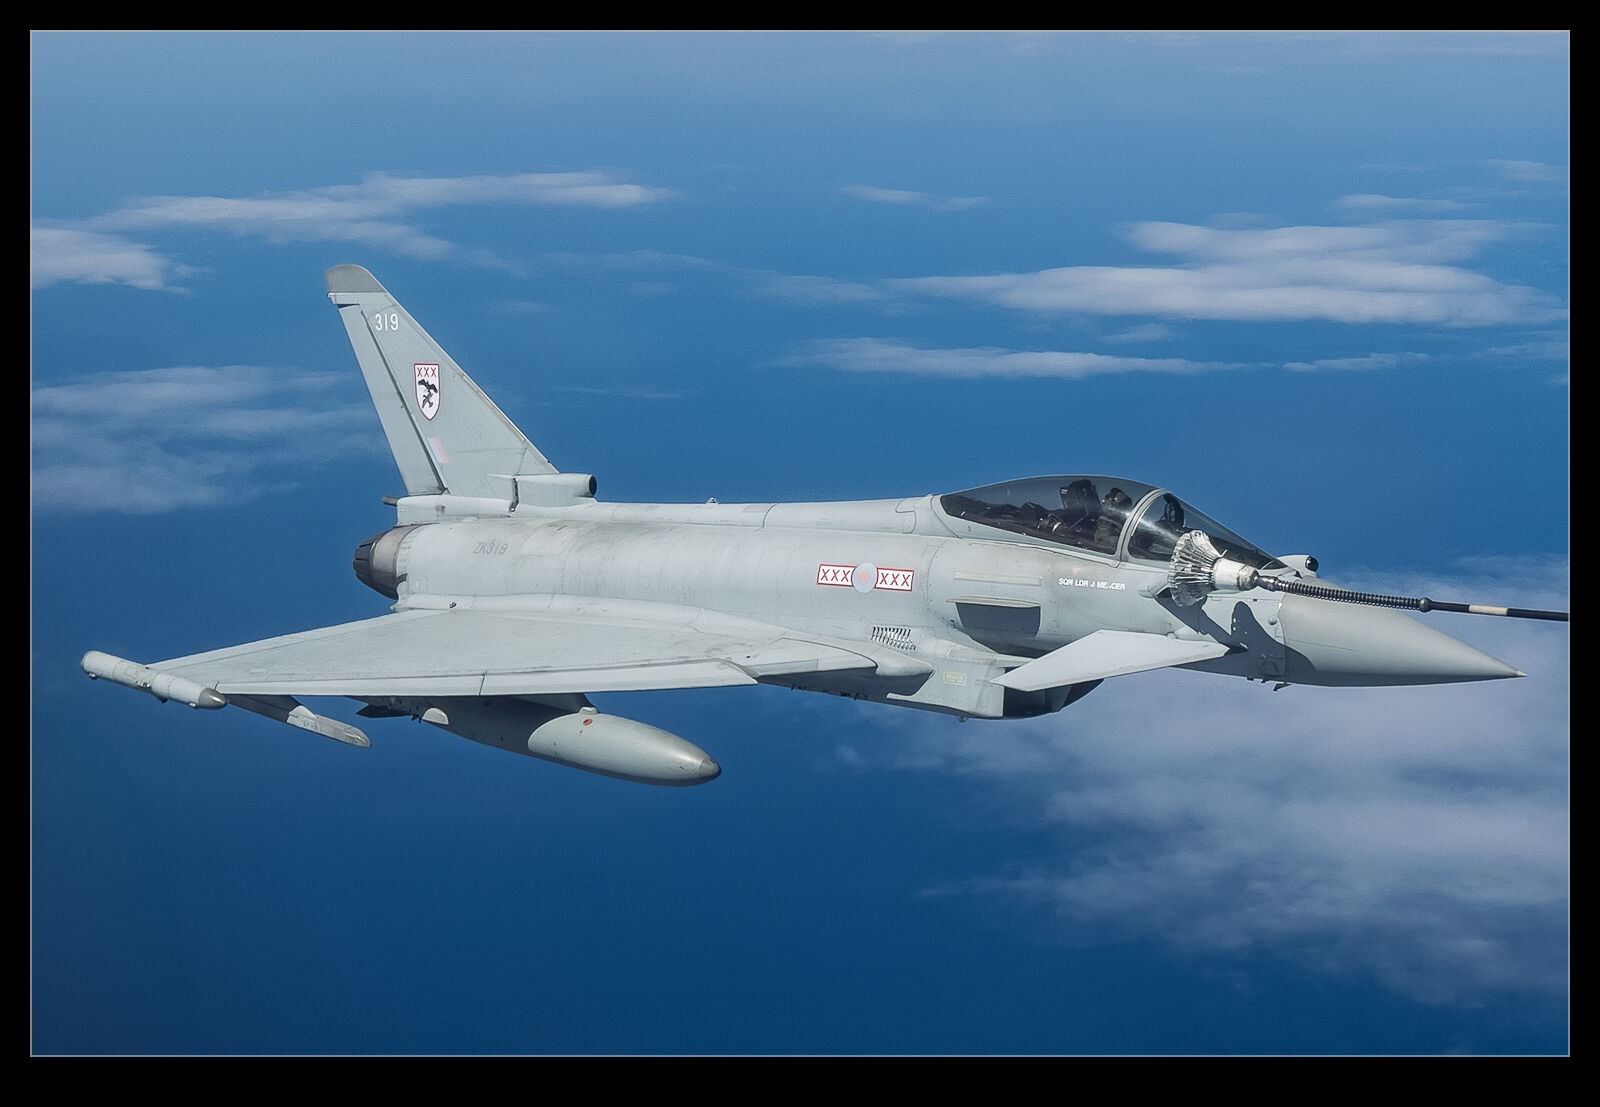 I had brought two cameras on the flight. My main camera was fitted with the 100-400 lens and my use for that was on aircraft off to either side. The other body I brought along was an older one I use less frequently these days and that is the M6 with a 55-200 lens. This ended up getting a lot of use. However, neither of them was suitable for use when the jets were refuelling. The angles looking back are tight and the interior panelling around the window apertures limits how you can point backwards. In this case, the phone was by far the best option. The small lens diameter combined with the ability to get it close to the window meant it was the best bet. Even then, it was limited in what it could see.
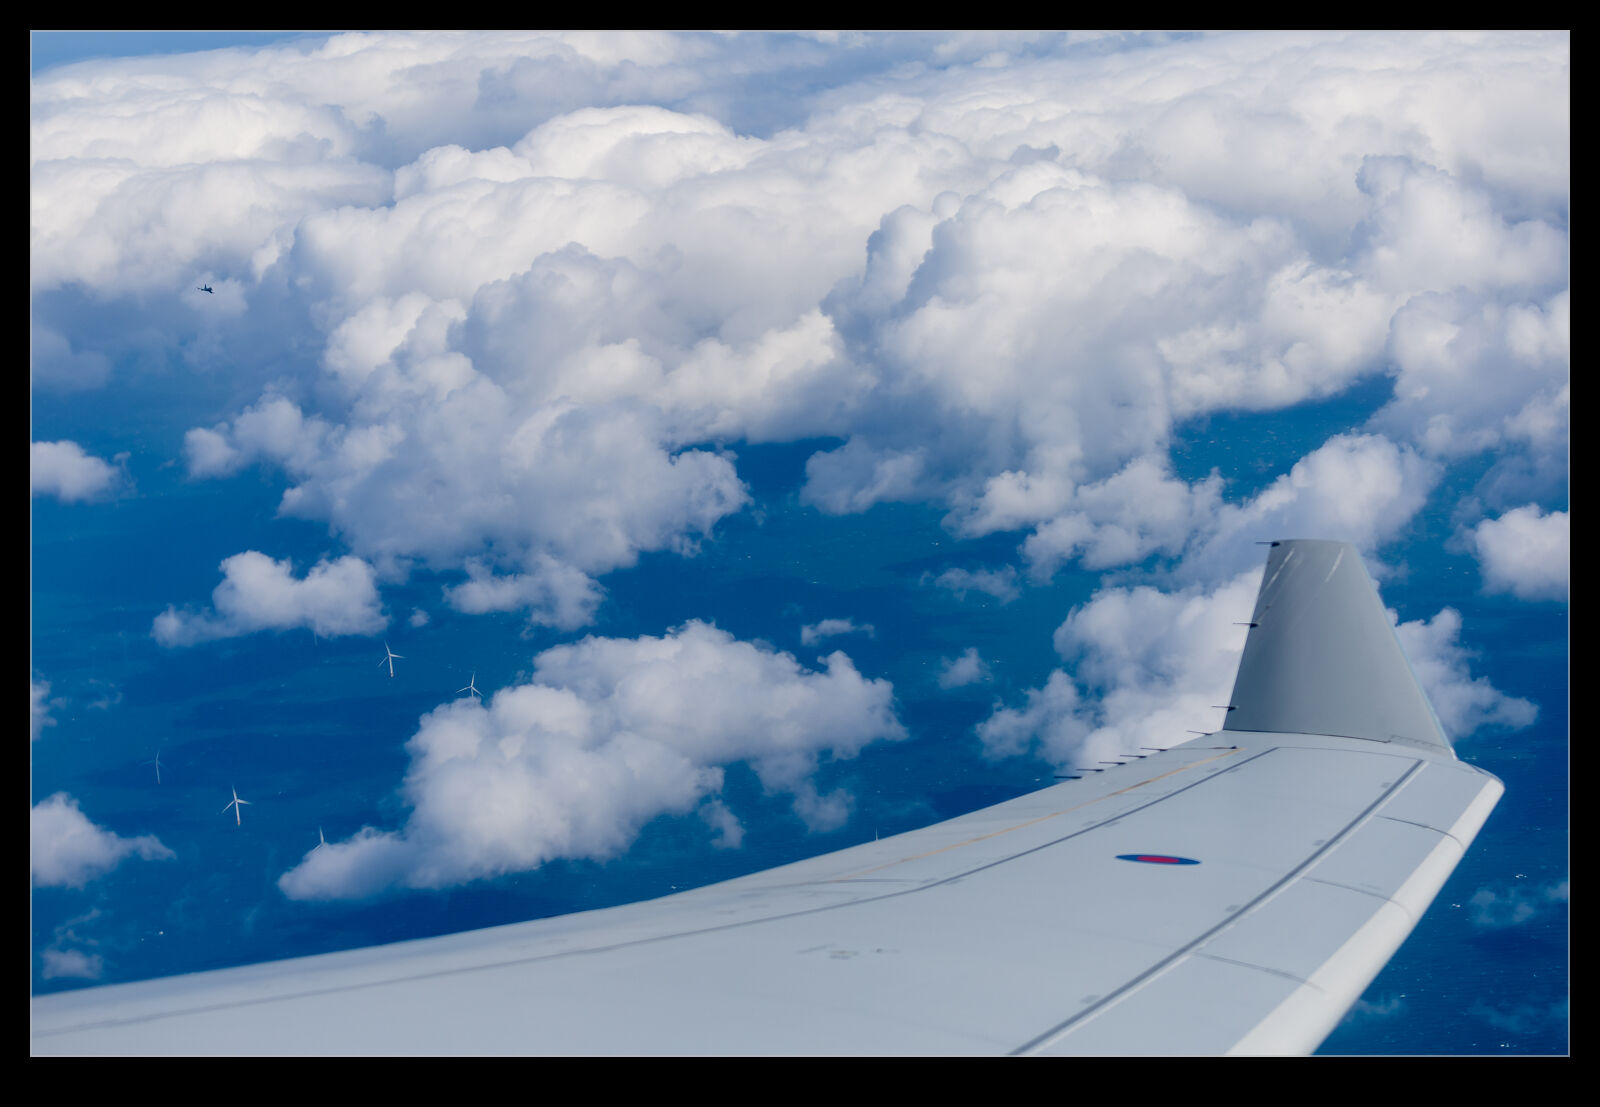
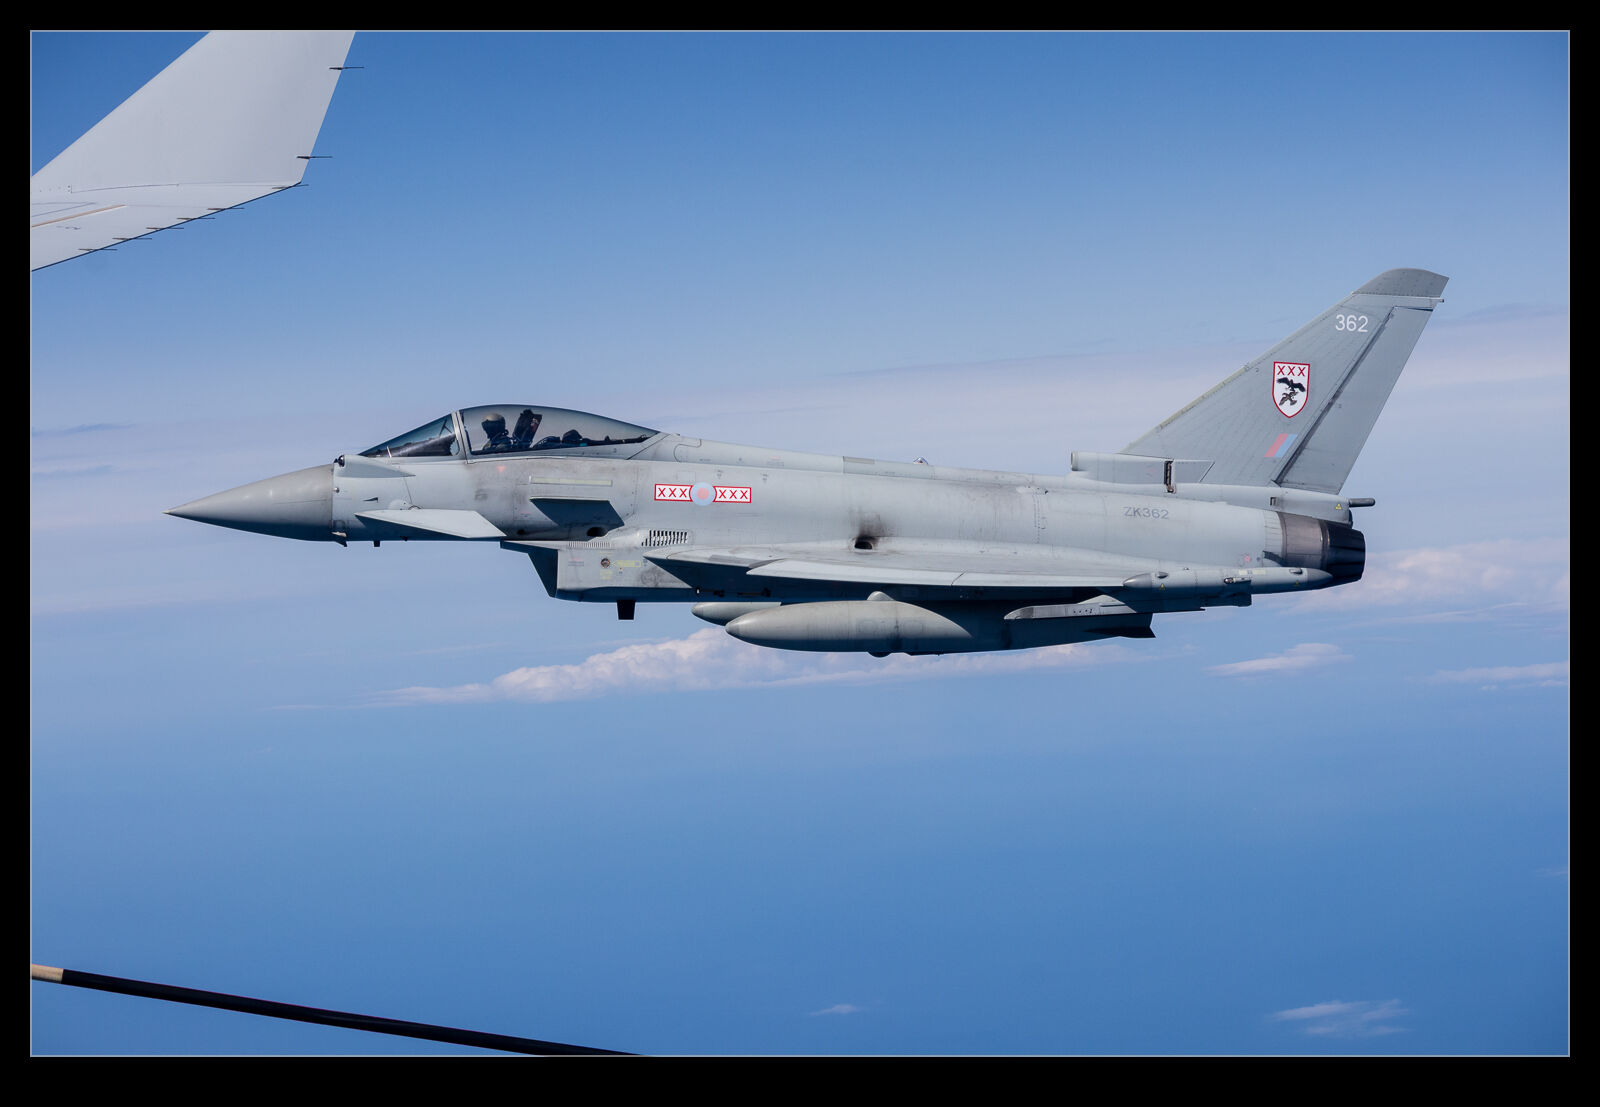 Later in the mission we headed up towards Scotland to pick up some local trade although, ironically, we ended up with jets from Coningsby which would probably have been fine in our original tracks. Overall, the mission last over 6 hours and we had a variety of periods when we had customers and then periods of waiting. It was definitely an interesting day out and certainly worth seeing. My thanks to the team at Brize for hosting us so well.
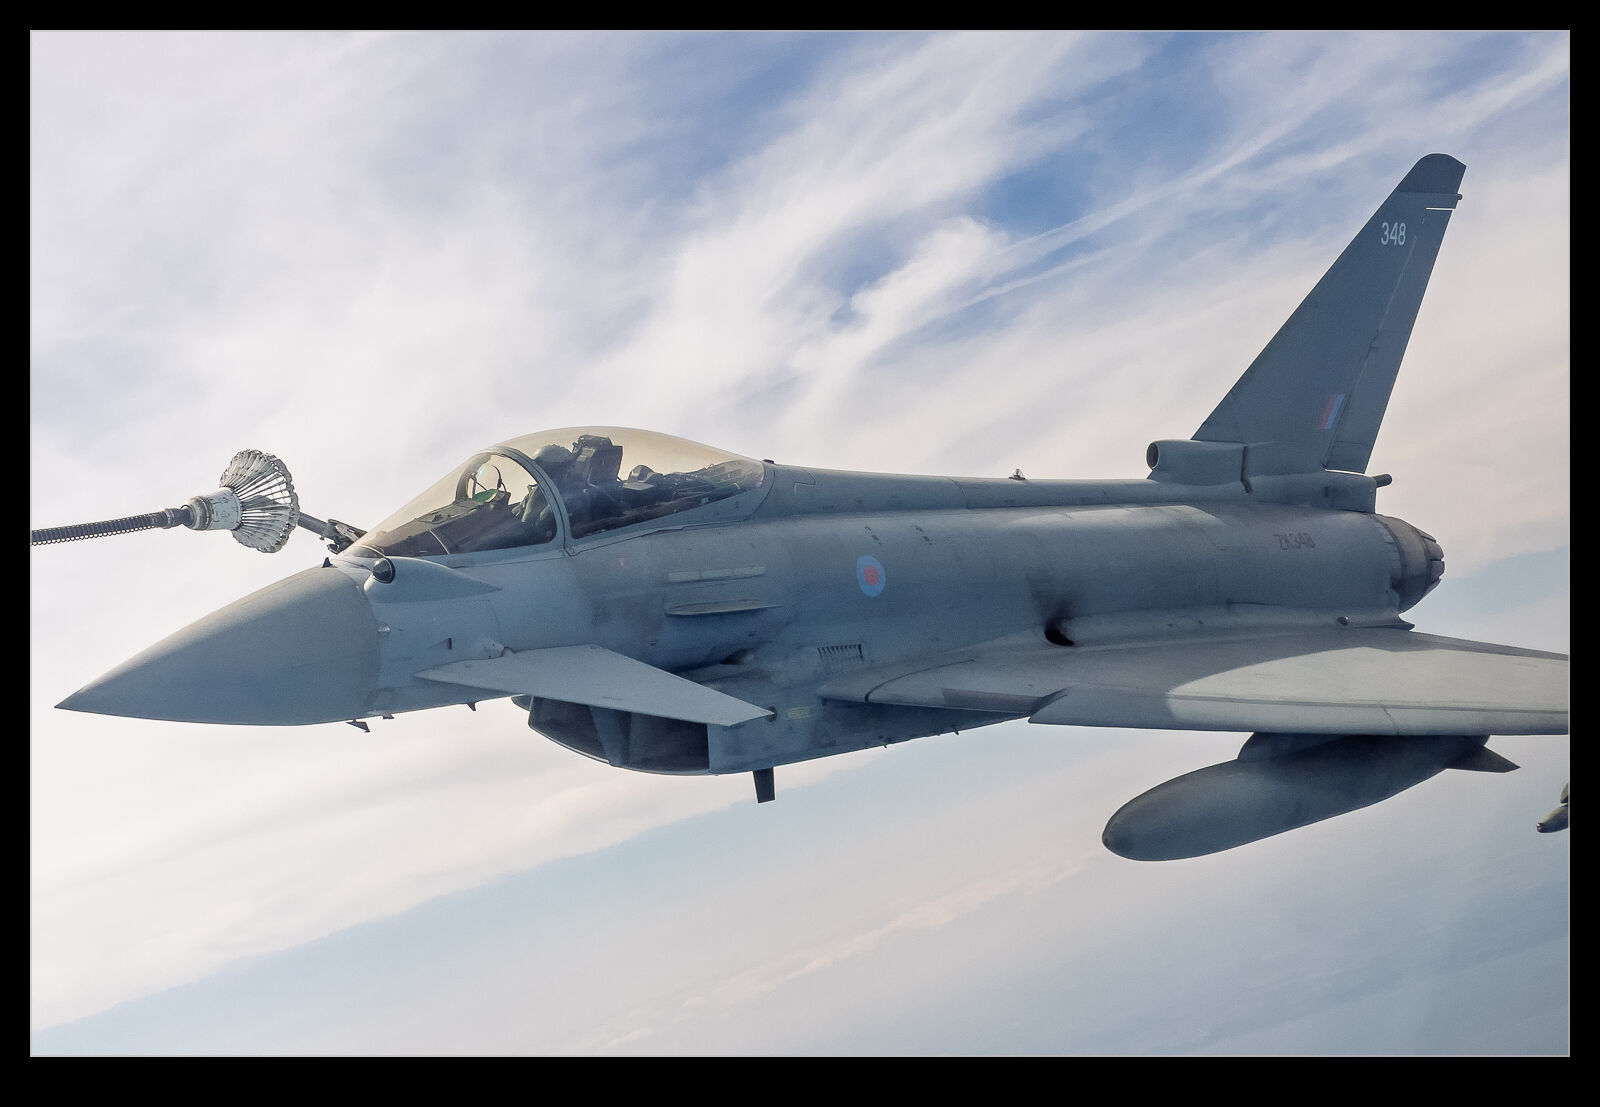
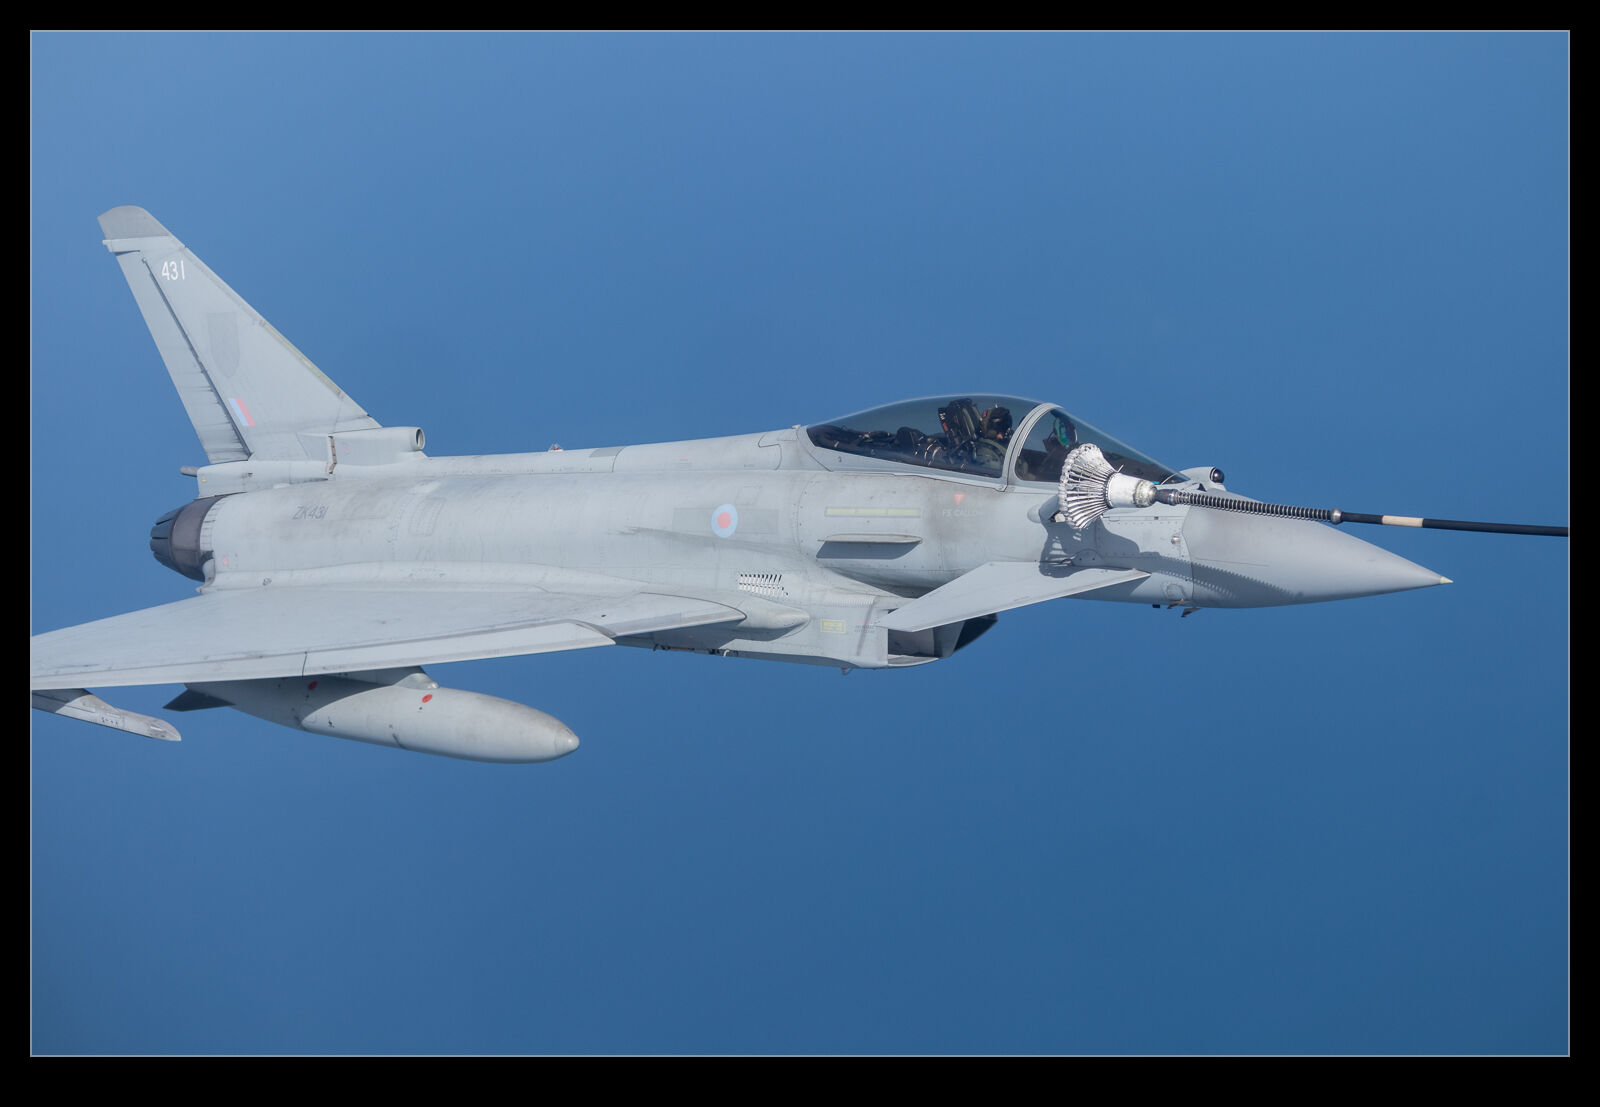
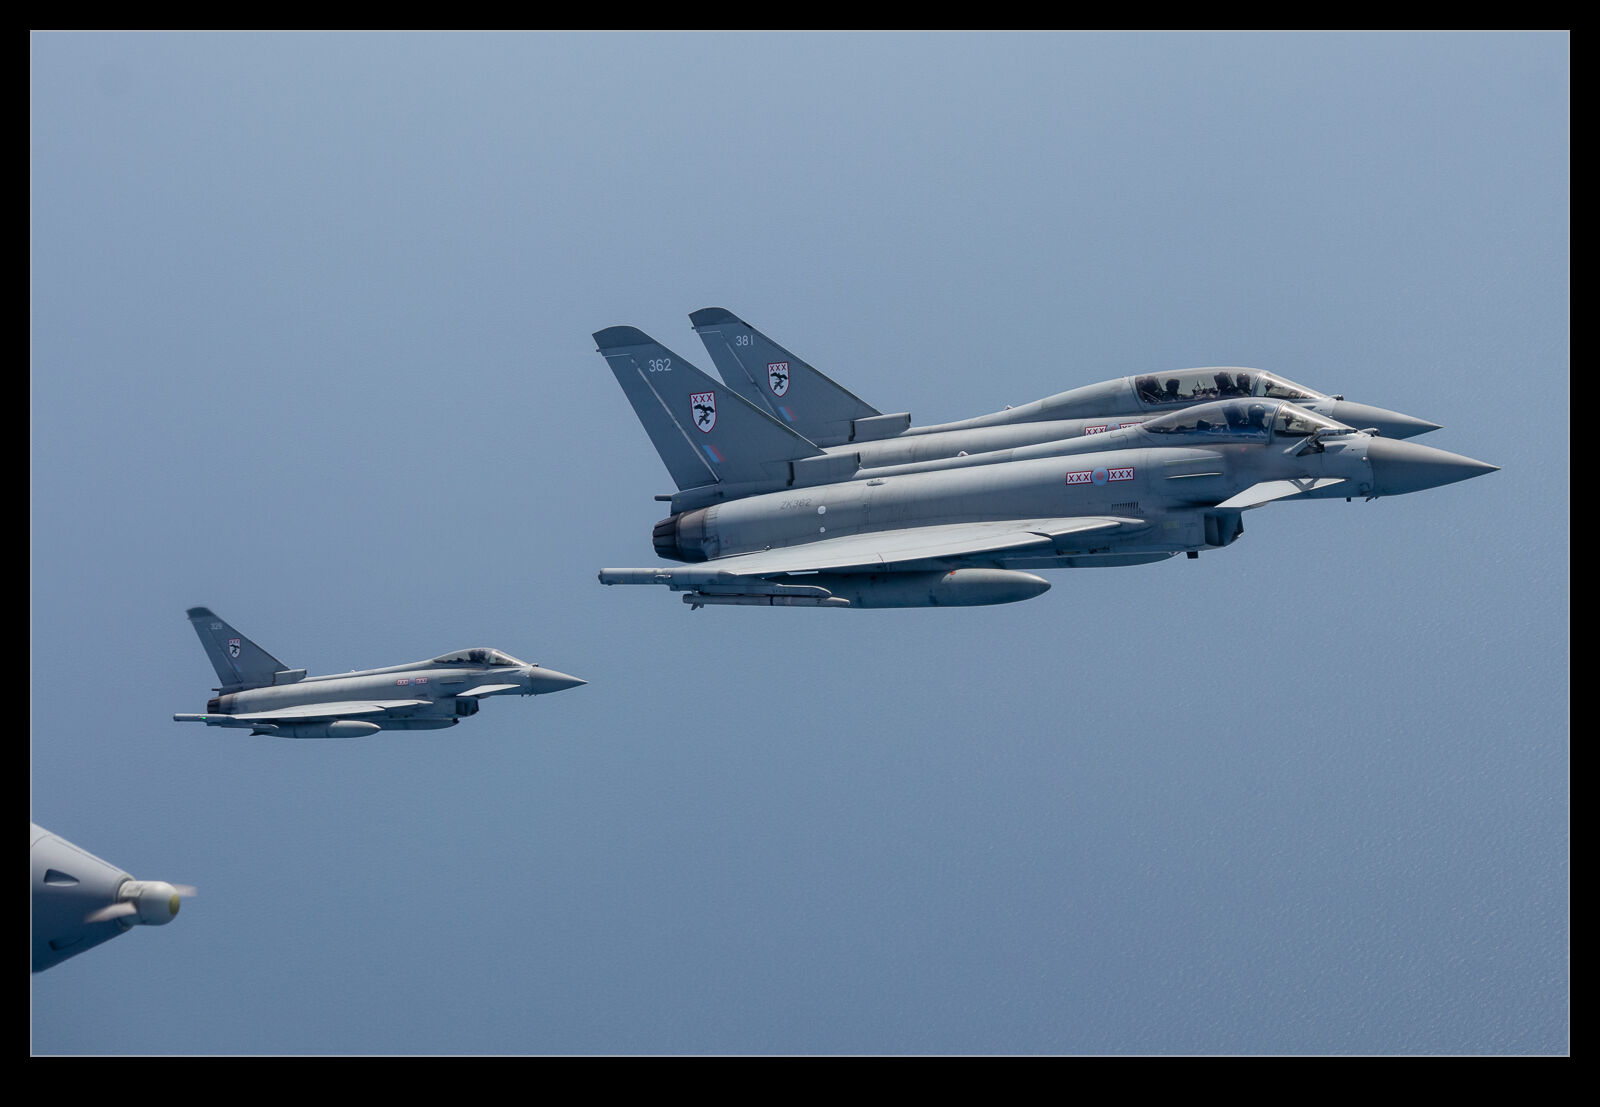
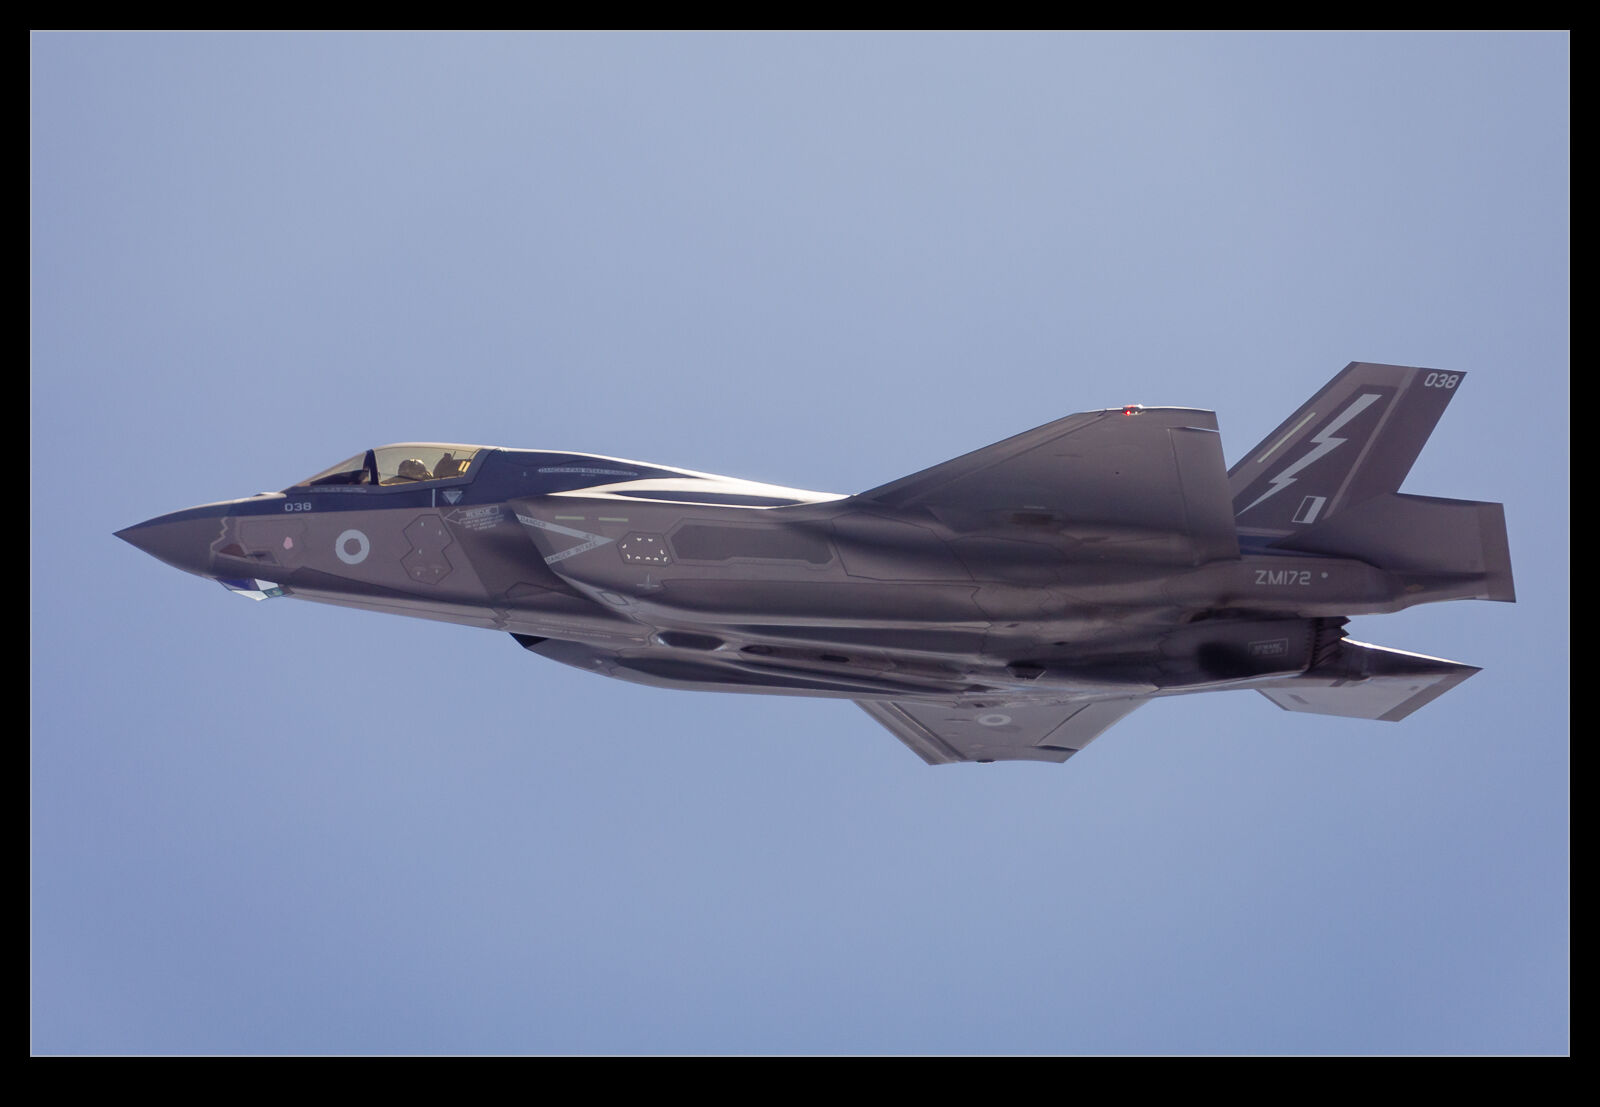
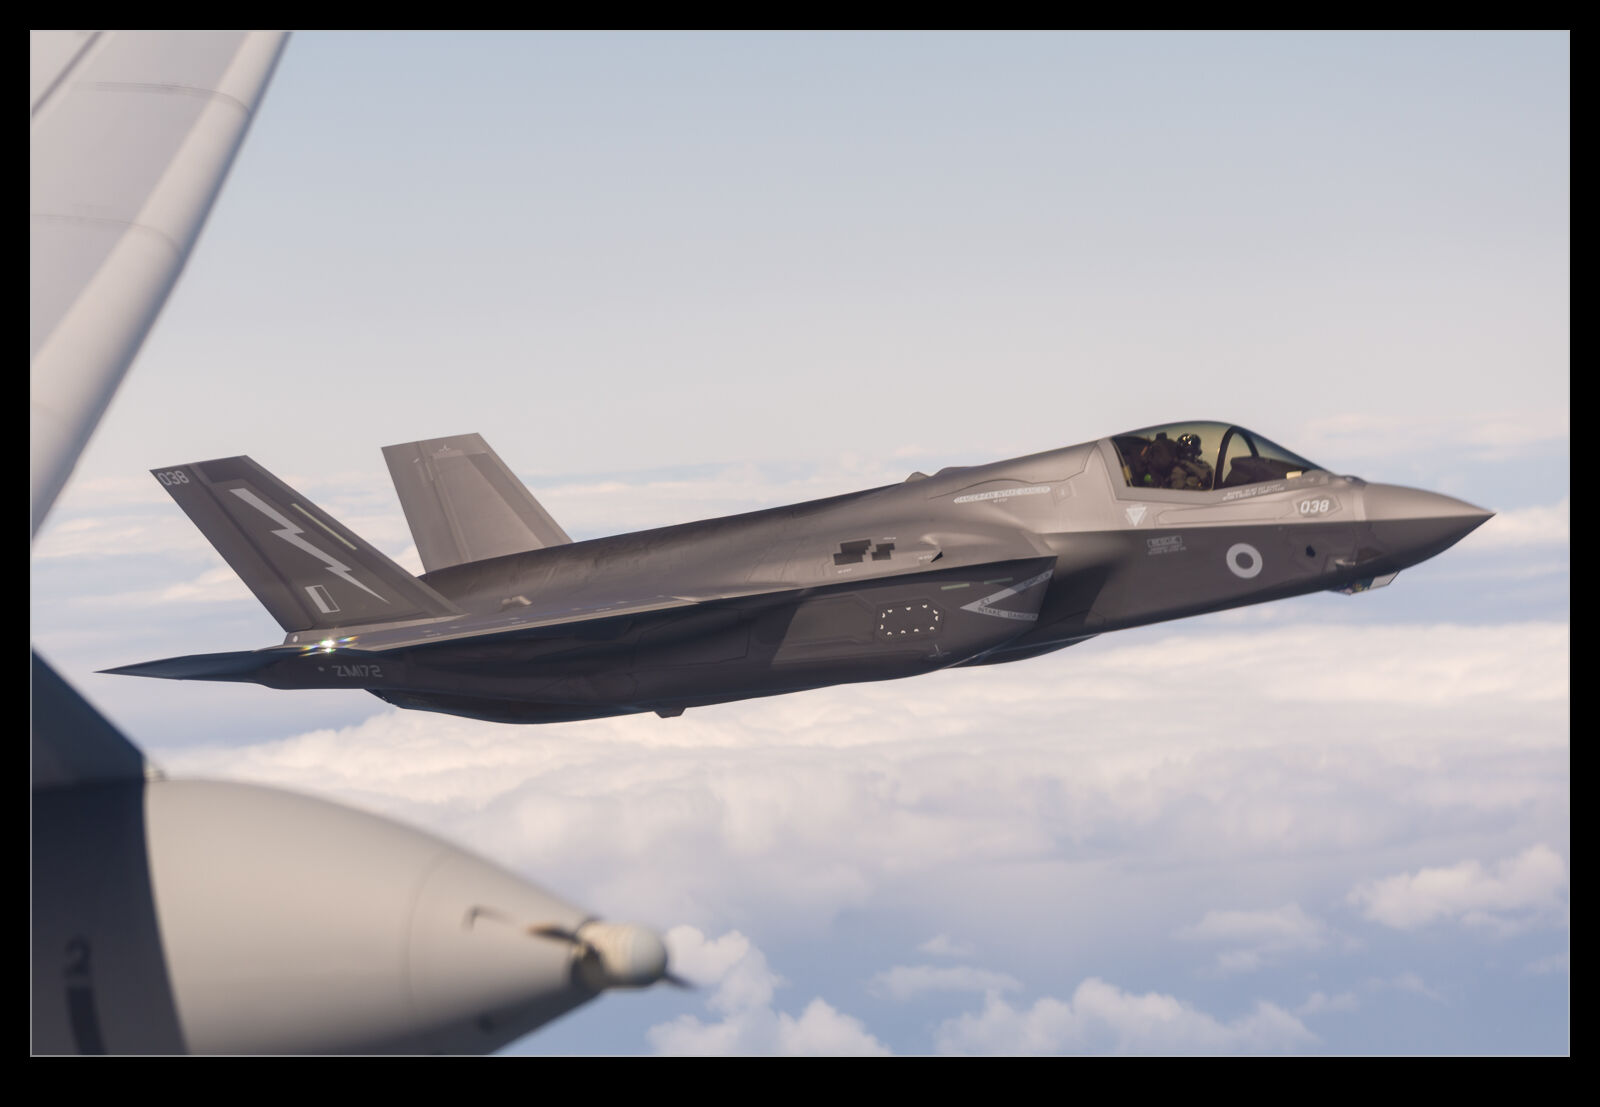
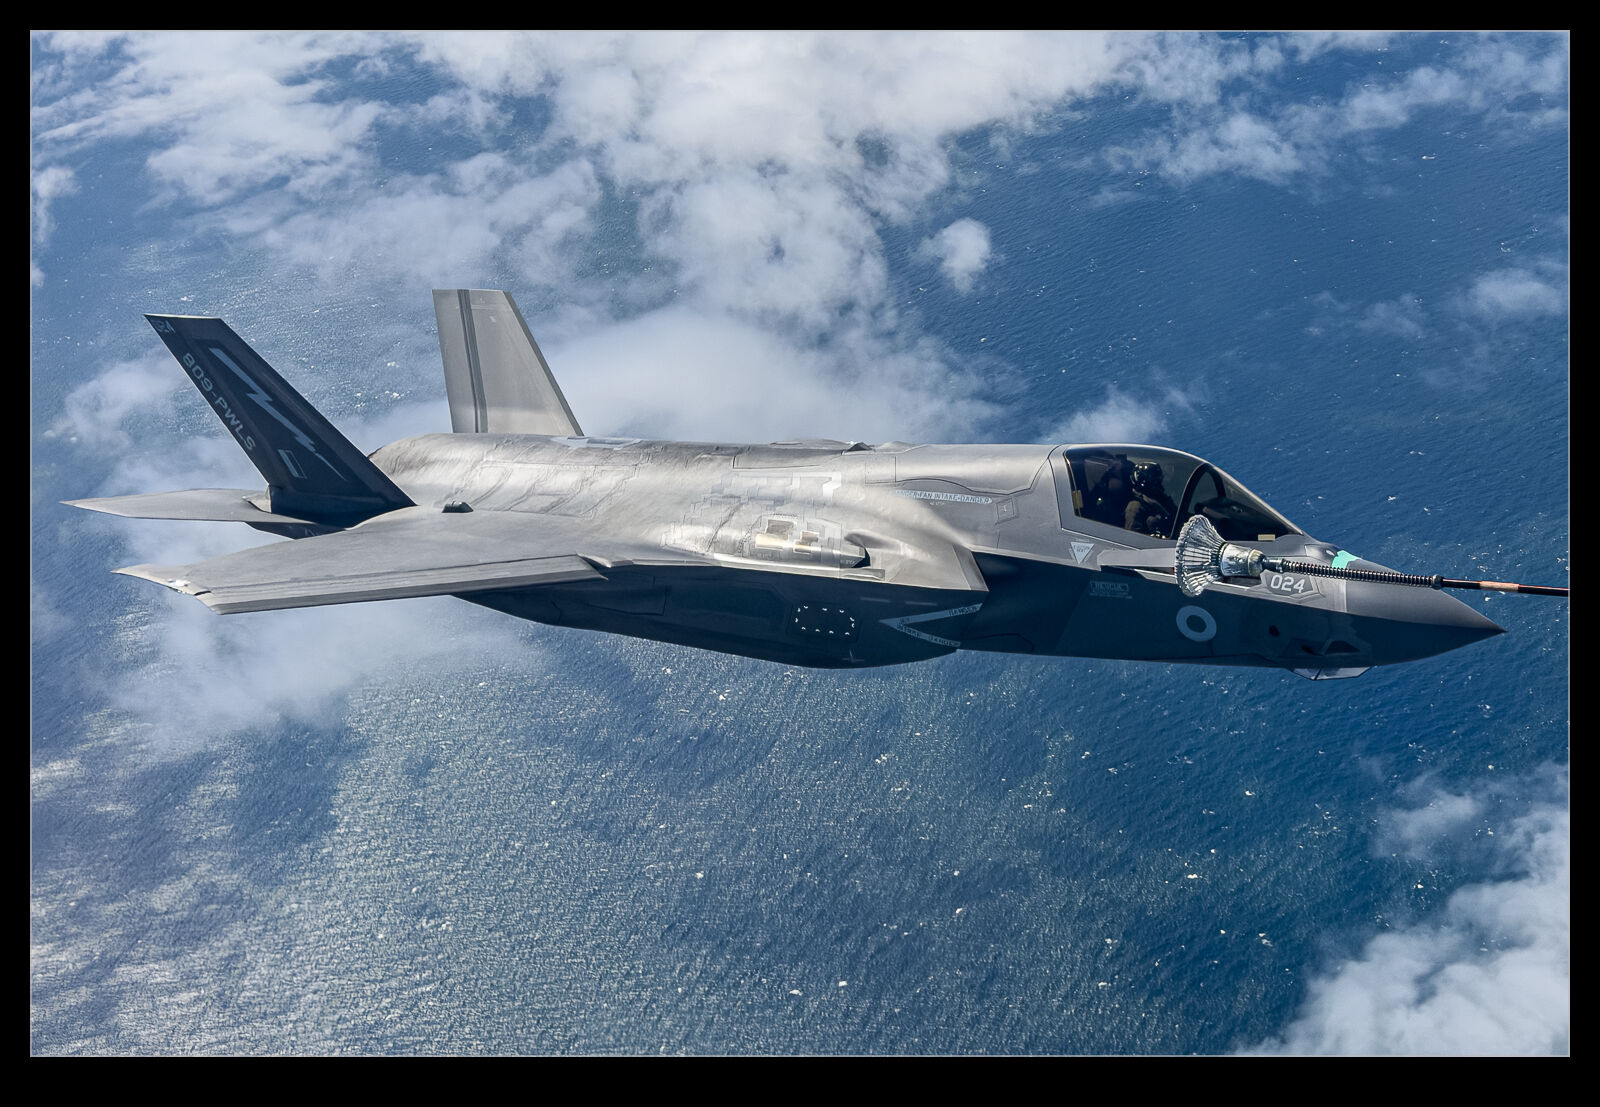 This tanker trip included something I hadn’t had on previous flights – F-35s. Not a lot of them but we did get some jets show up later in the sortie. The surface finish on the F-35 is interesting, and it does pick up the light in good ways when the angles are right. The joy of being up at 16,000’ is that the chances of good light are high.
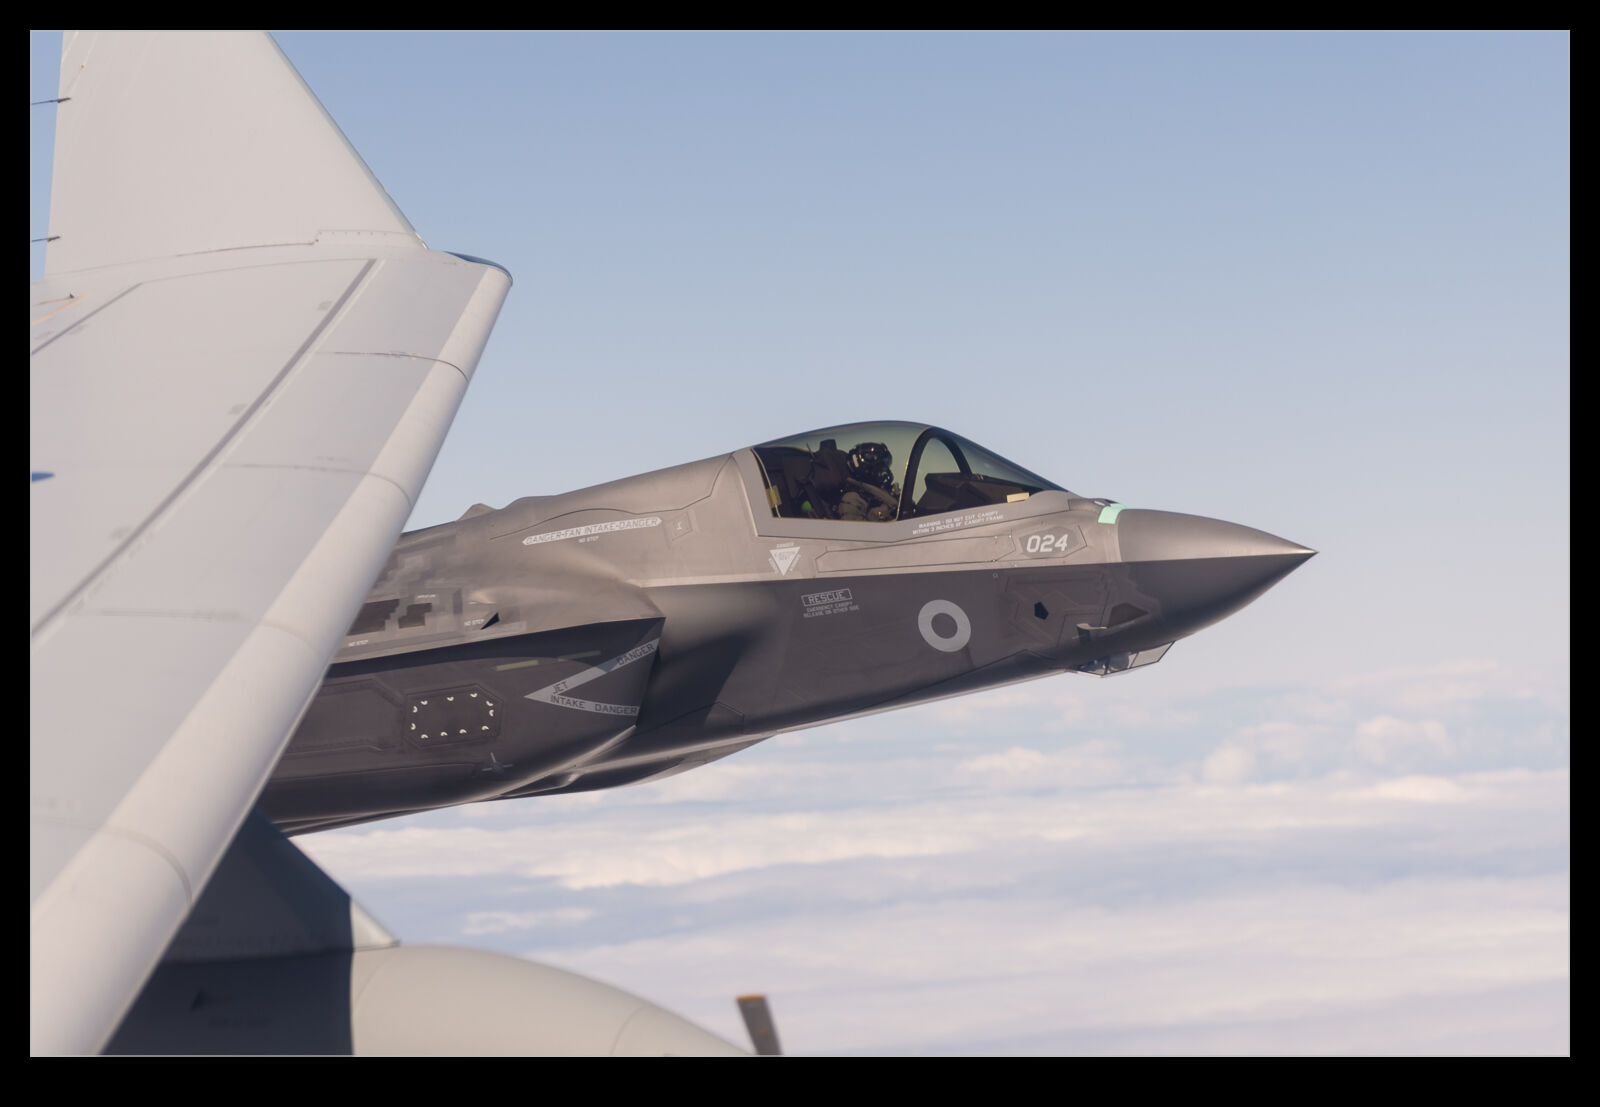 It is quite funny looking across at the pilot in the cockpit while they are plugged in. There I am staring at them while they are doing something reasonably intense. They have to decide whether to pretend we aren’t there and just look cool or are they going to give us a wave! Depends on your crew of course but I have had both.