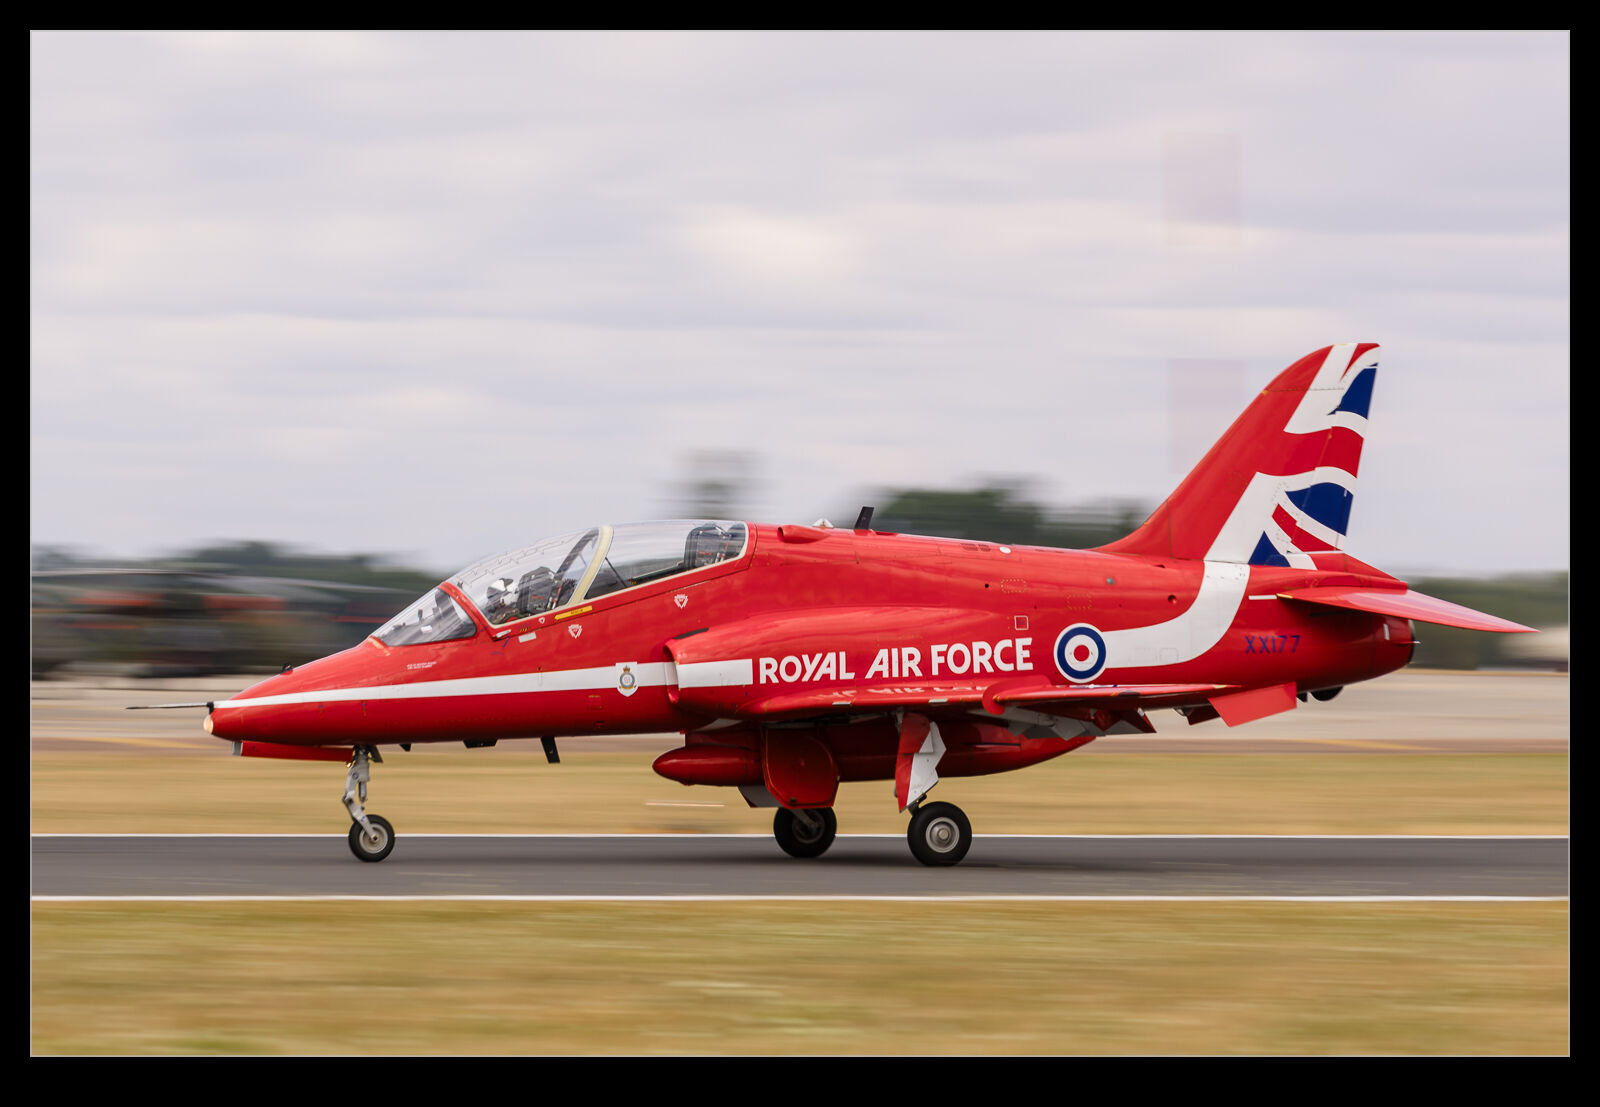
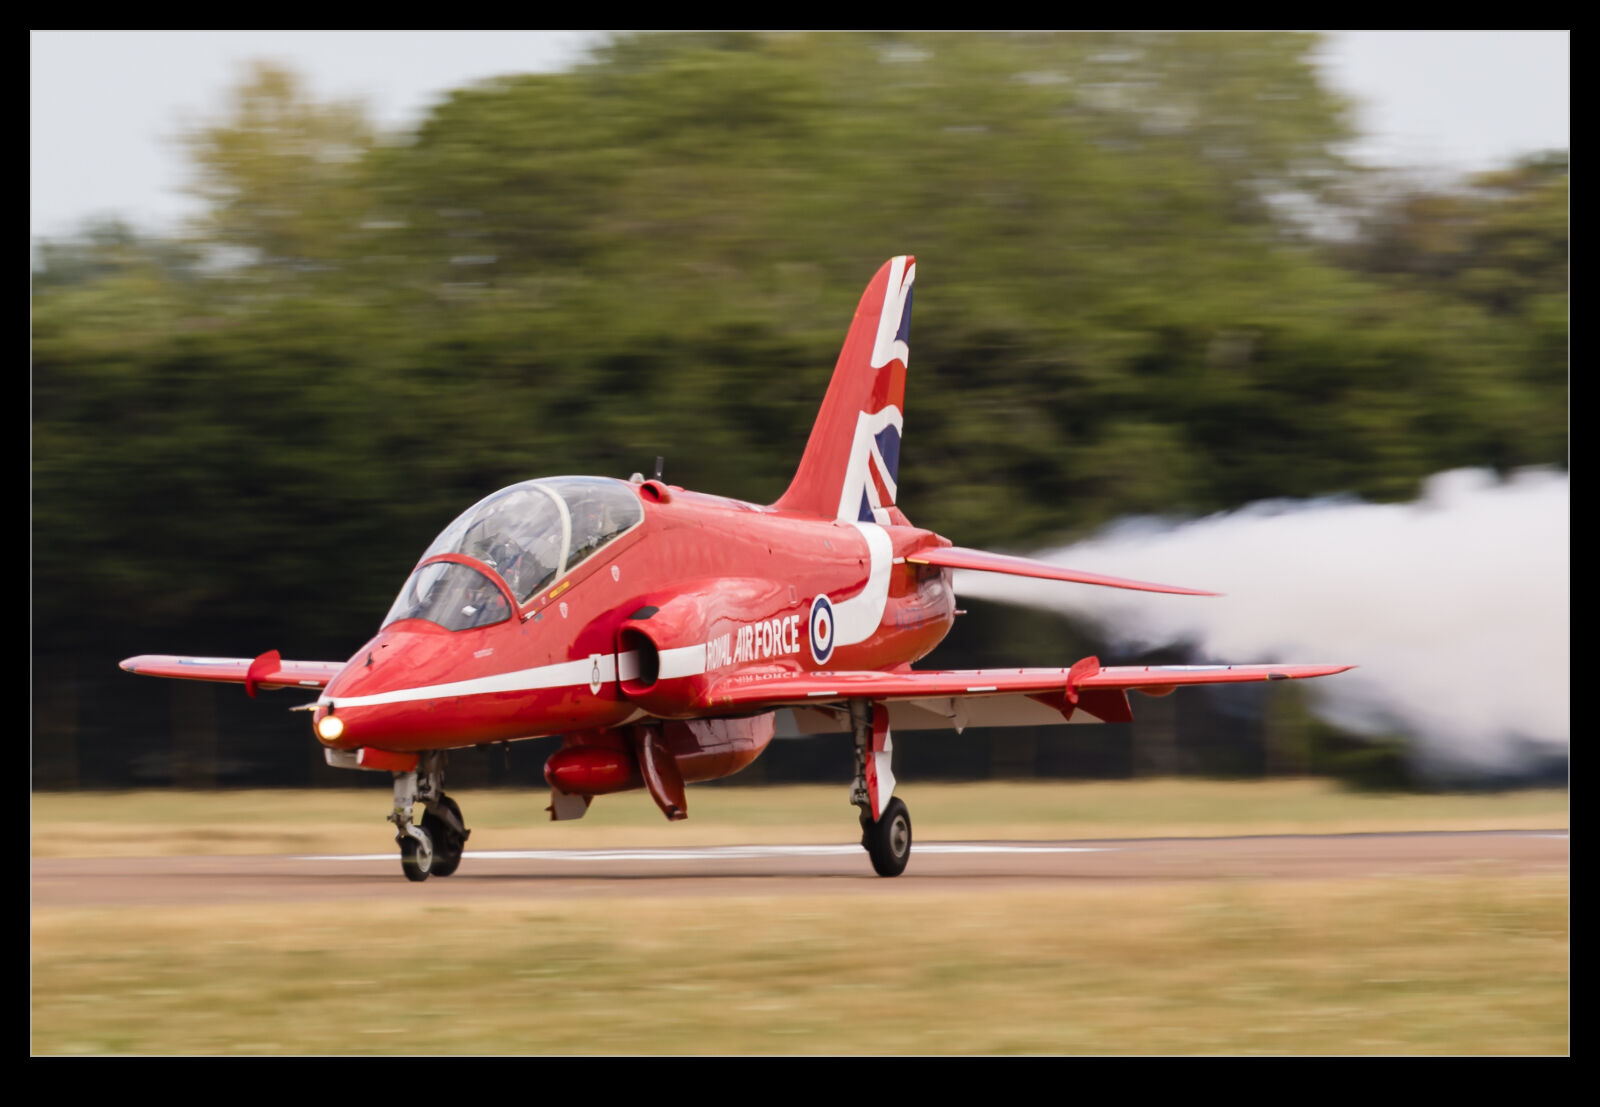
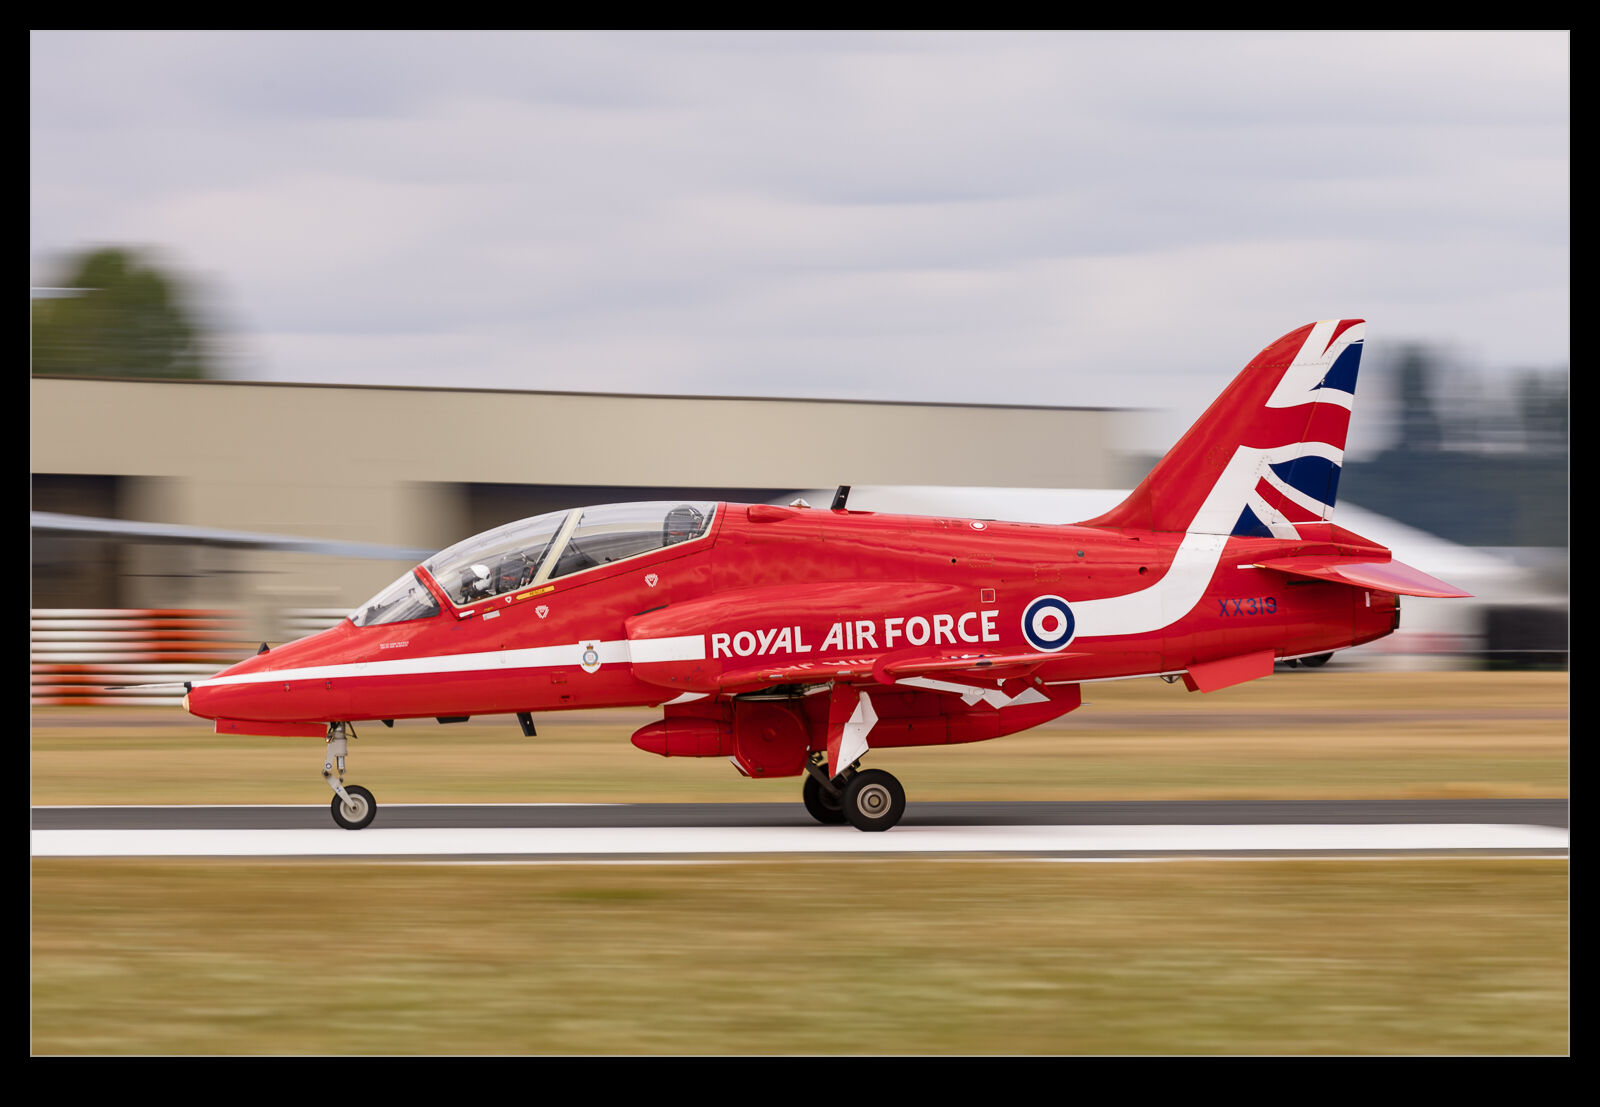
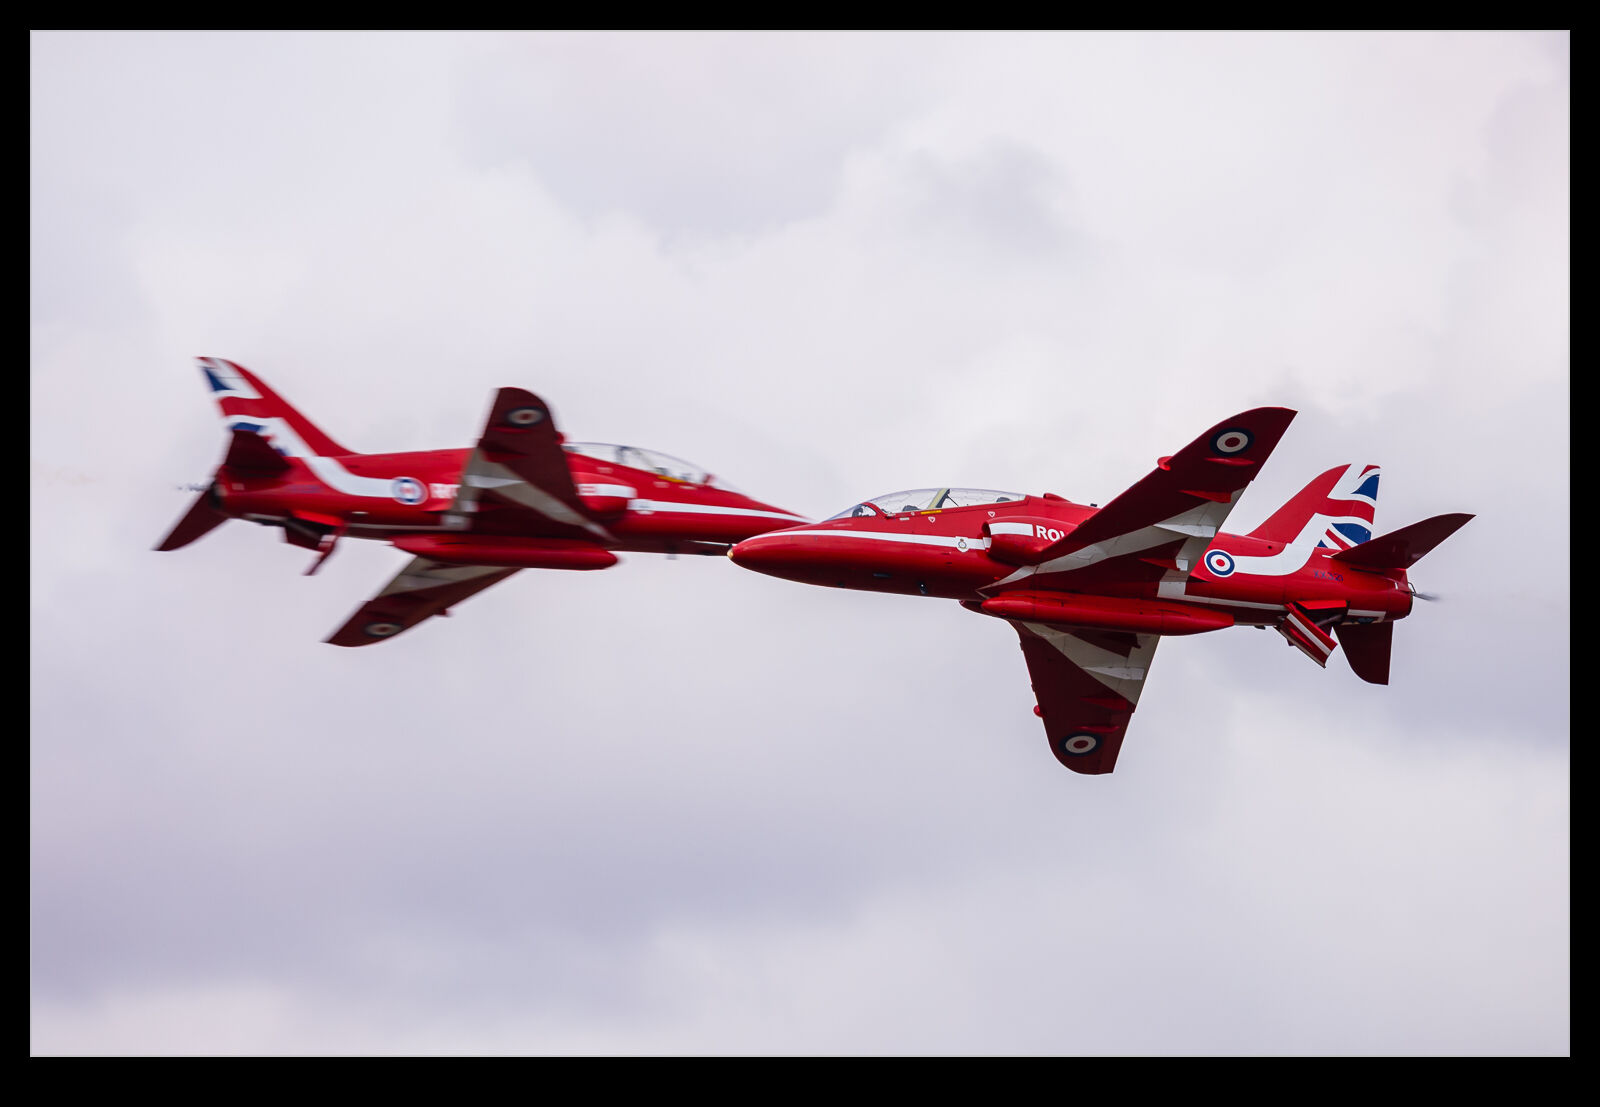
 A bit of a theme for me recently has been playing with the super fast frame rates on my camera. Last year I tried this out with the Blue Angels and posted on here about that. It worked well but they were rather distant. At RIAT, I decided to try again but with the Red Arrows this time. The syncro pair will make many crosses during the course of the show so I had a few opportunities.
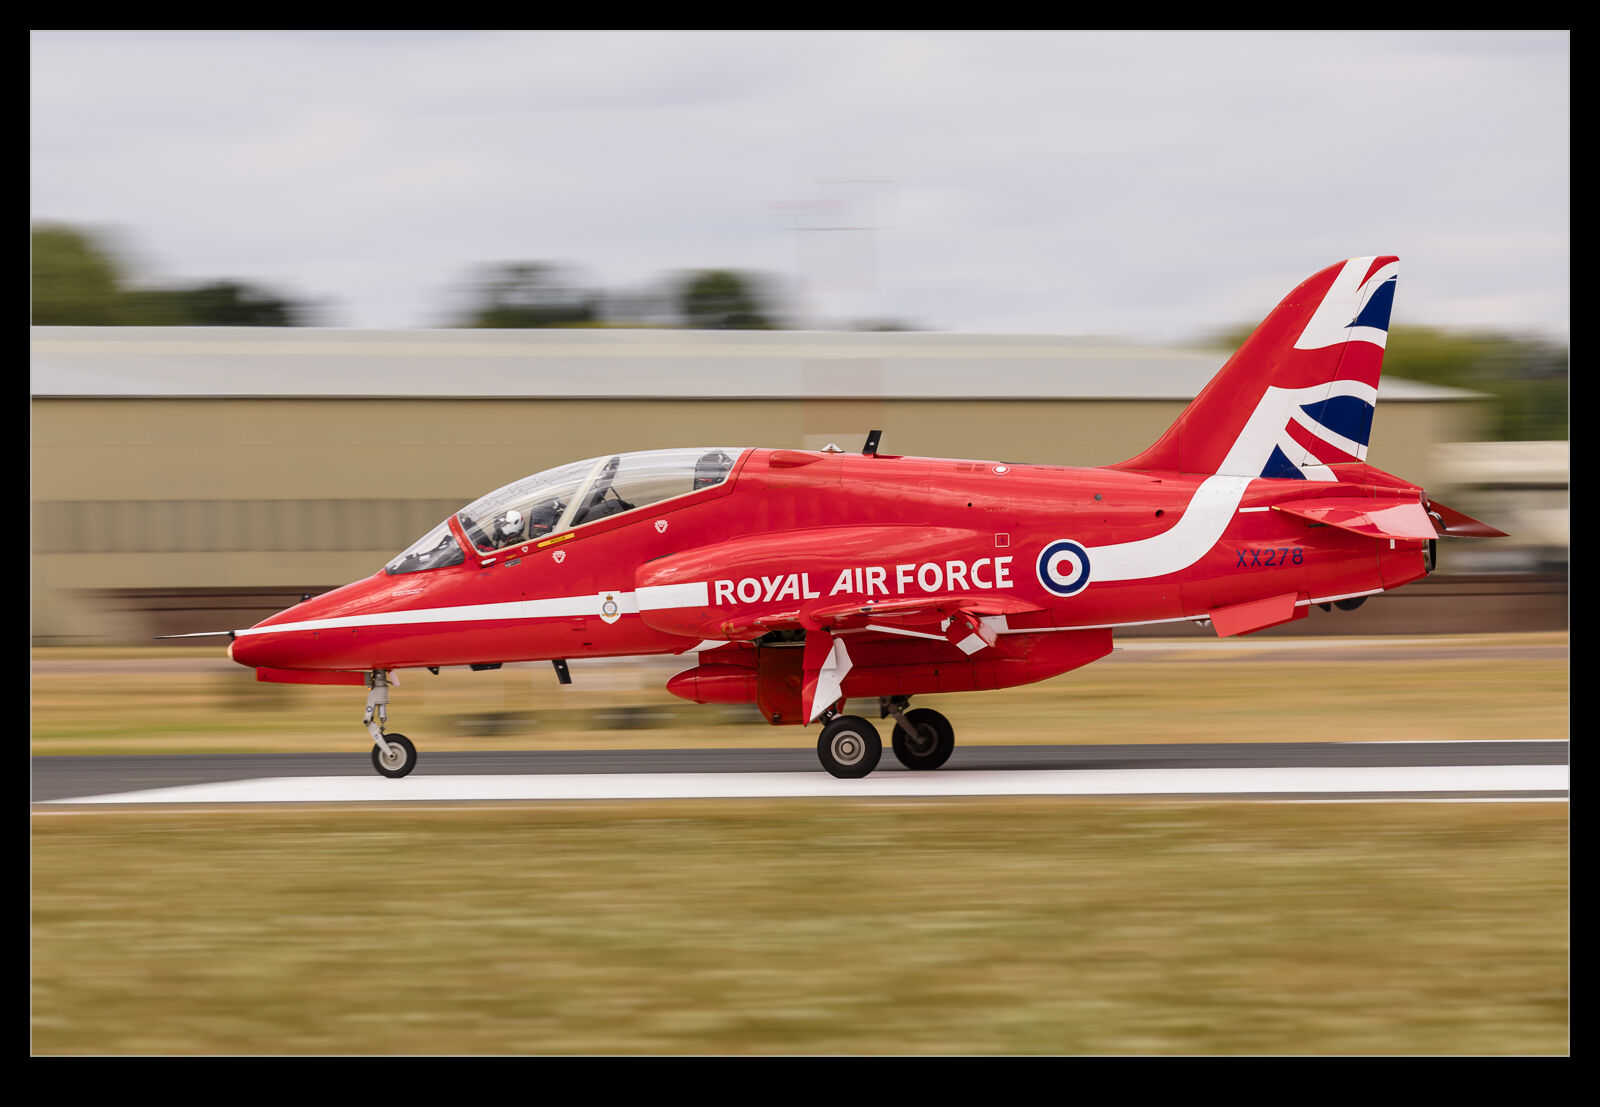
 First, let’s talk about what didn’t go so well. When you select this mode, it will fire off a bunch of shots – I set it to the maximum at 50 – and, when it has taken them, the camera will be effectively locked up until they finish writing. It doesn’t take long, and it shouldn’t matter because not much is happening for a while. However, if you are a dope and forget you have selected it and then take a shot of a plane coming around the turn towards you, you will get a lot of shots you didn’t intend and you may still be writing them when the cross actually happens. I am speculating, of course. No way I would make such a mistake.
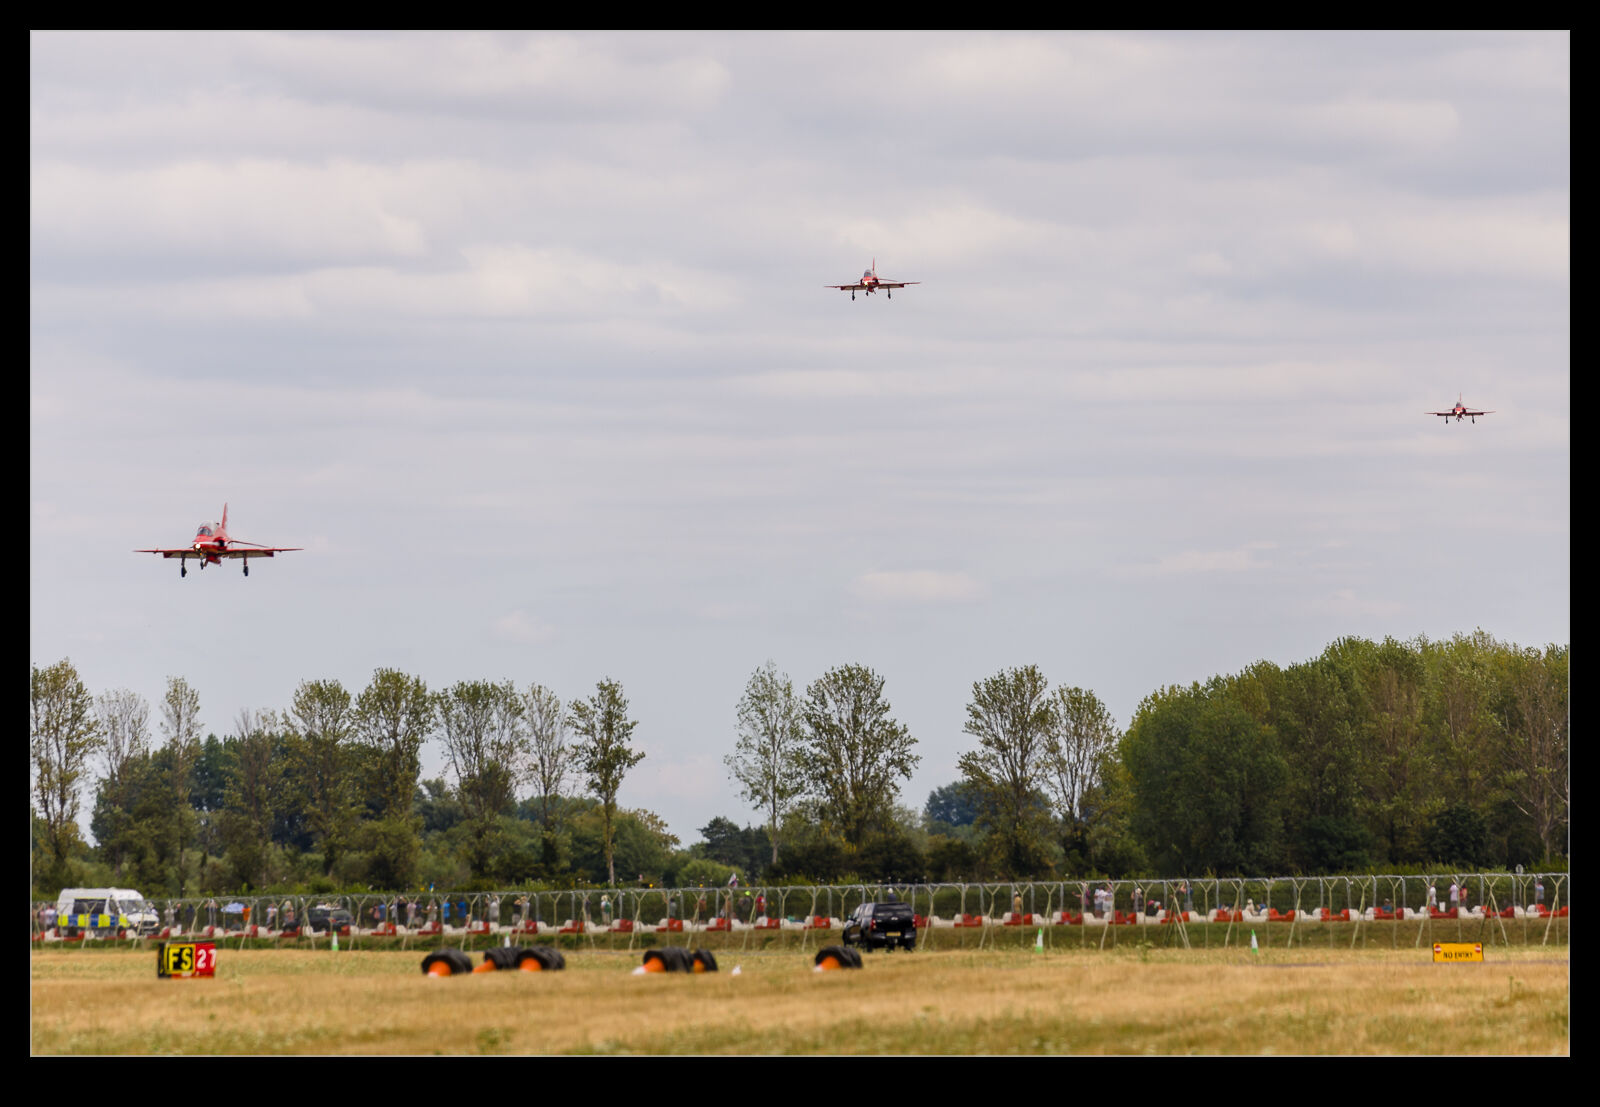
 The other issue I had was one of choosing focal length. On some crosses I zoomed out quite wide and the jets ended up being further away than expected and quite small in the frame although it gave me multiple framing options. This had been an over correction after having been too tight on a previous cross. Basic stuff but, at least with a bunch of crosses, I had more chances to sort things out.
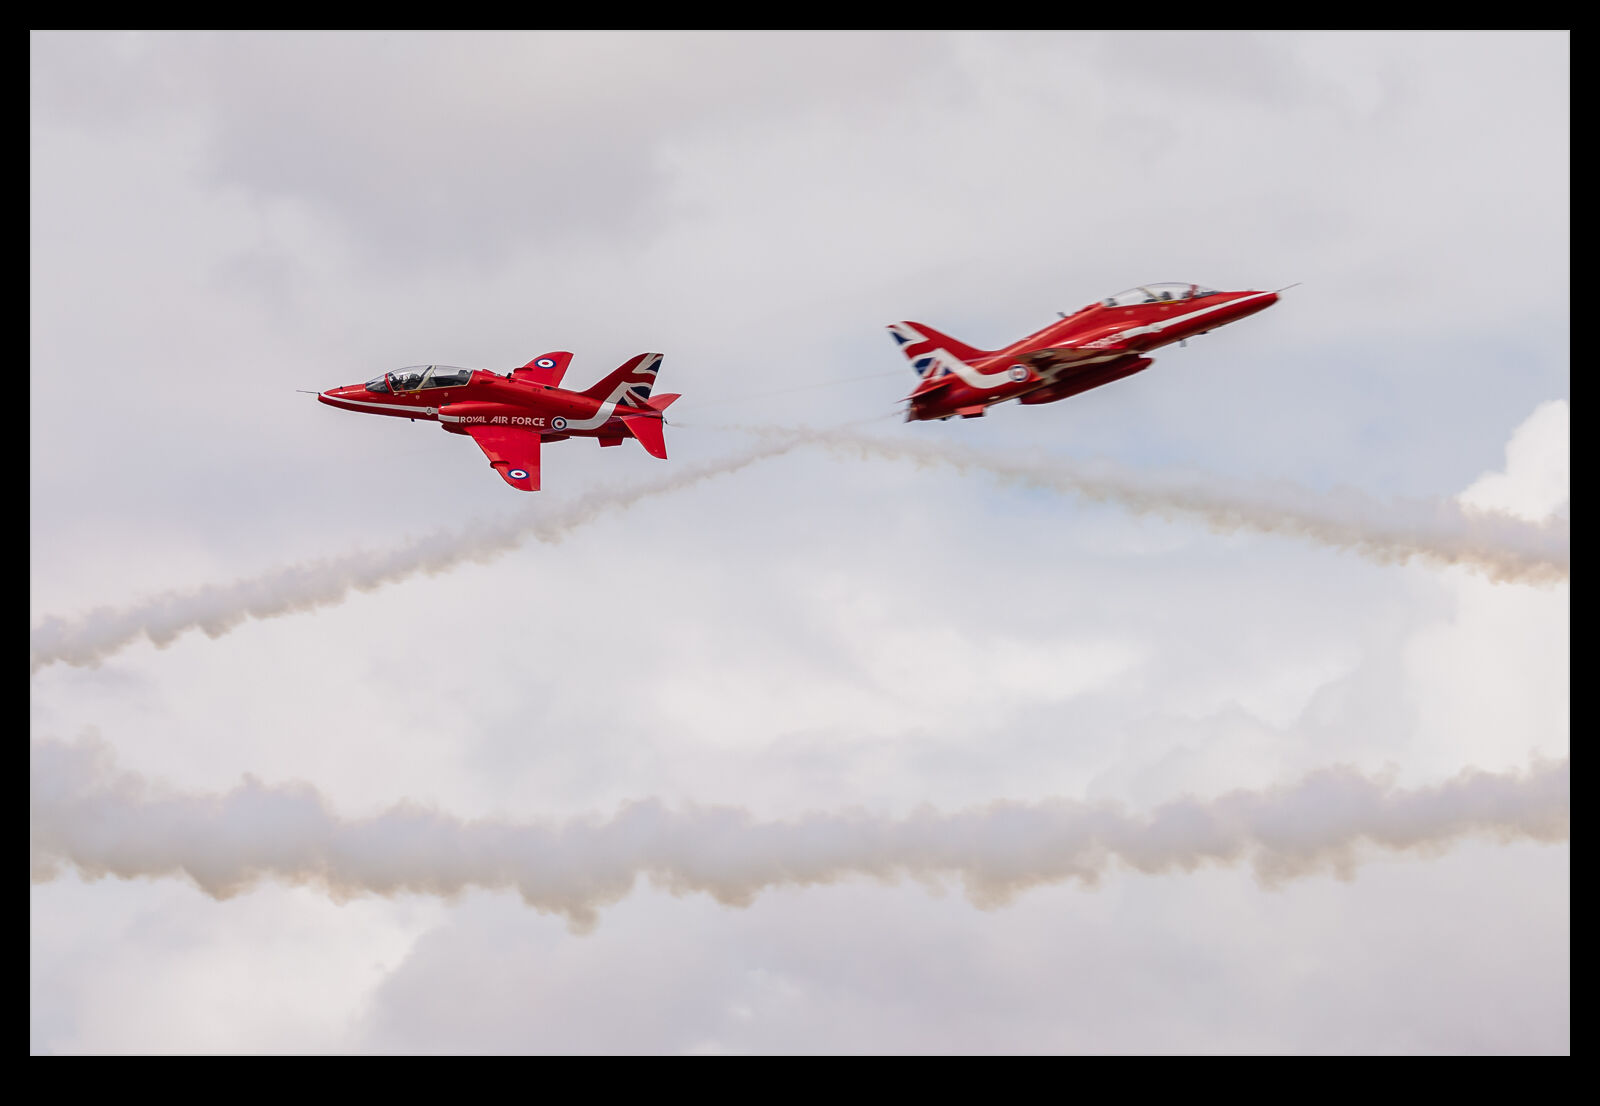
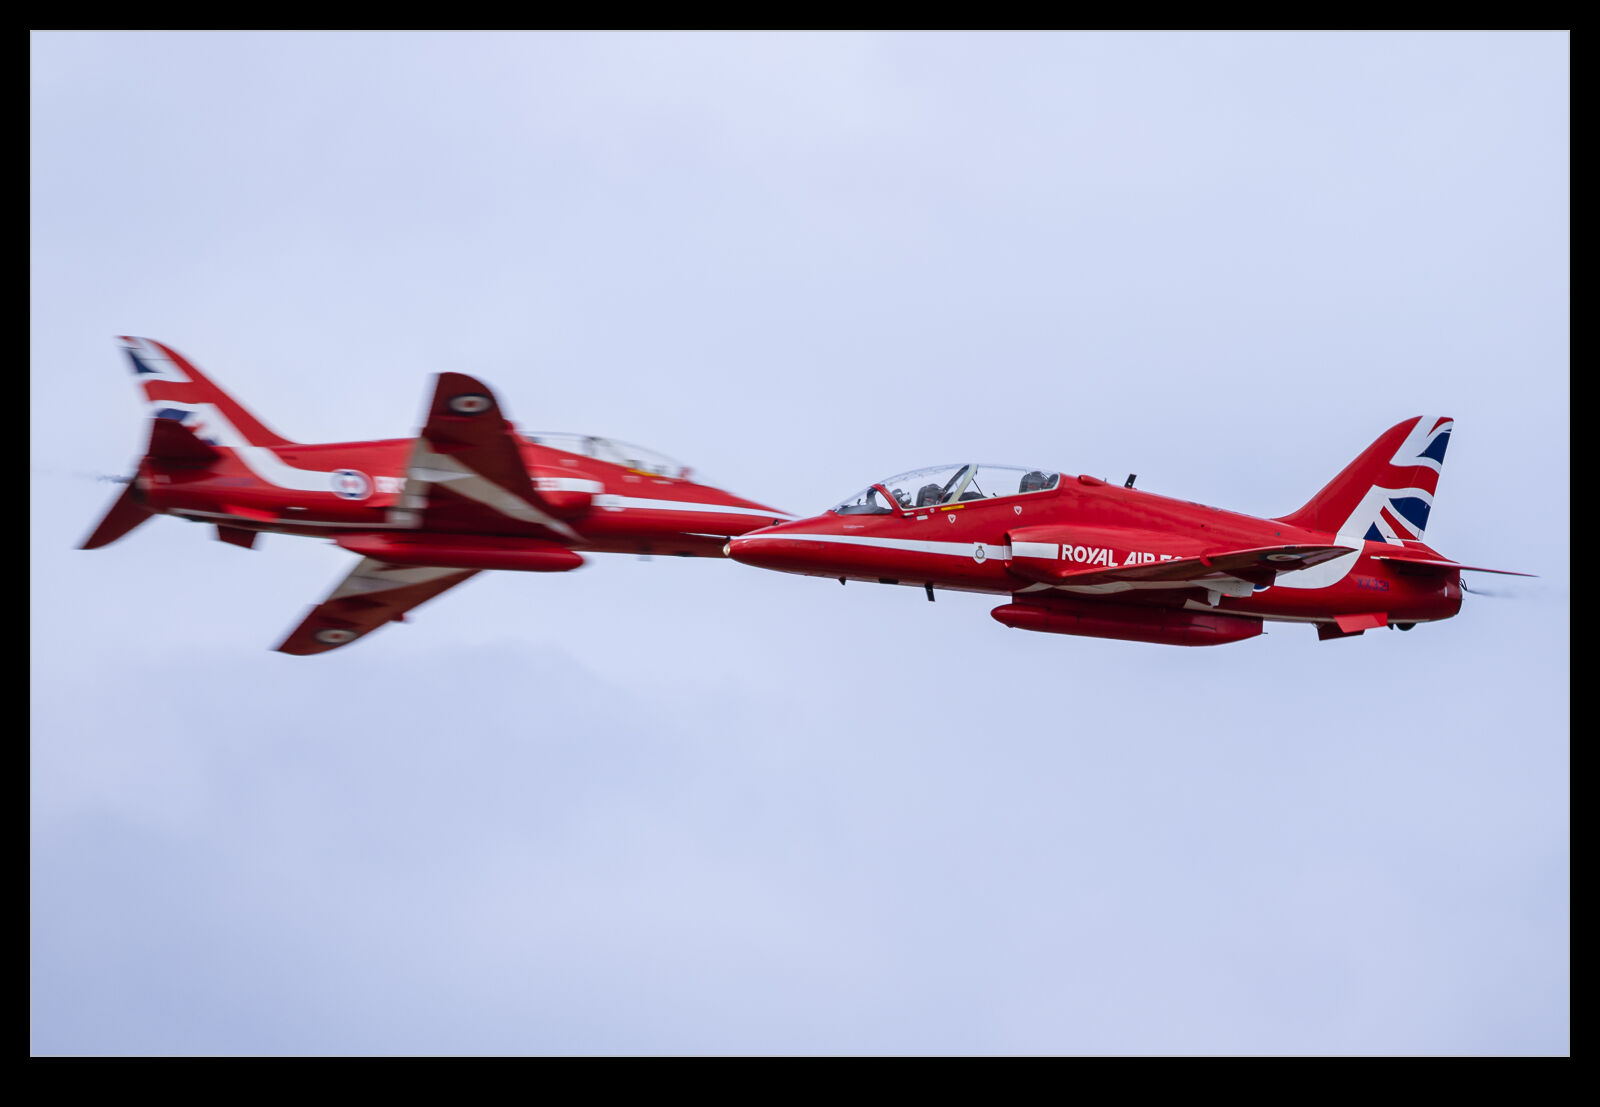
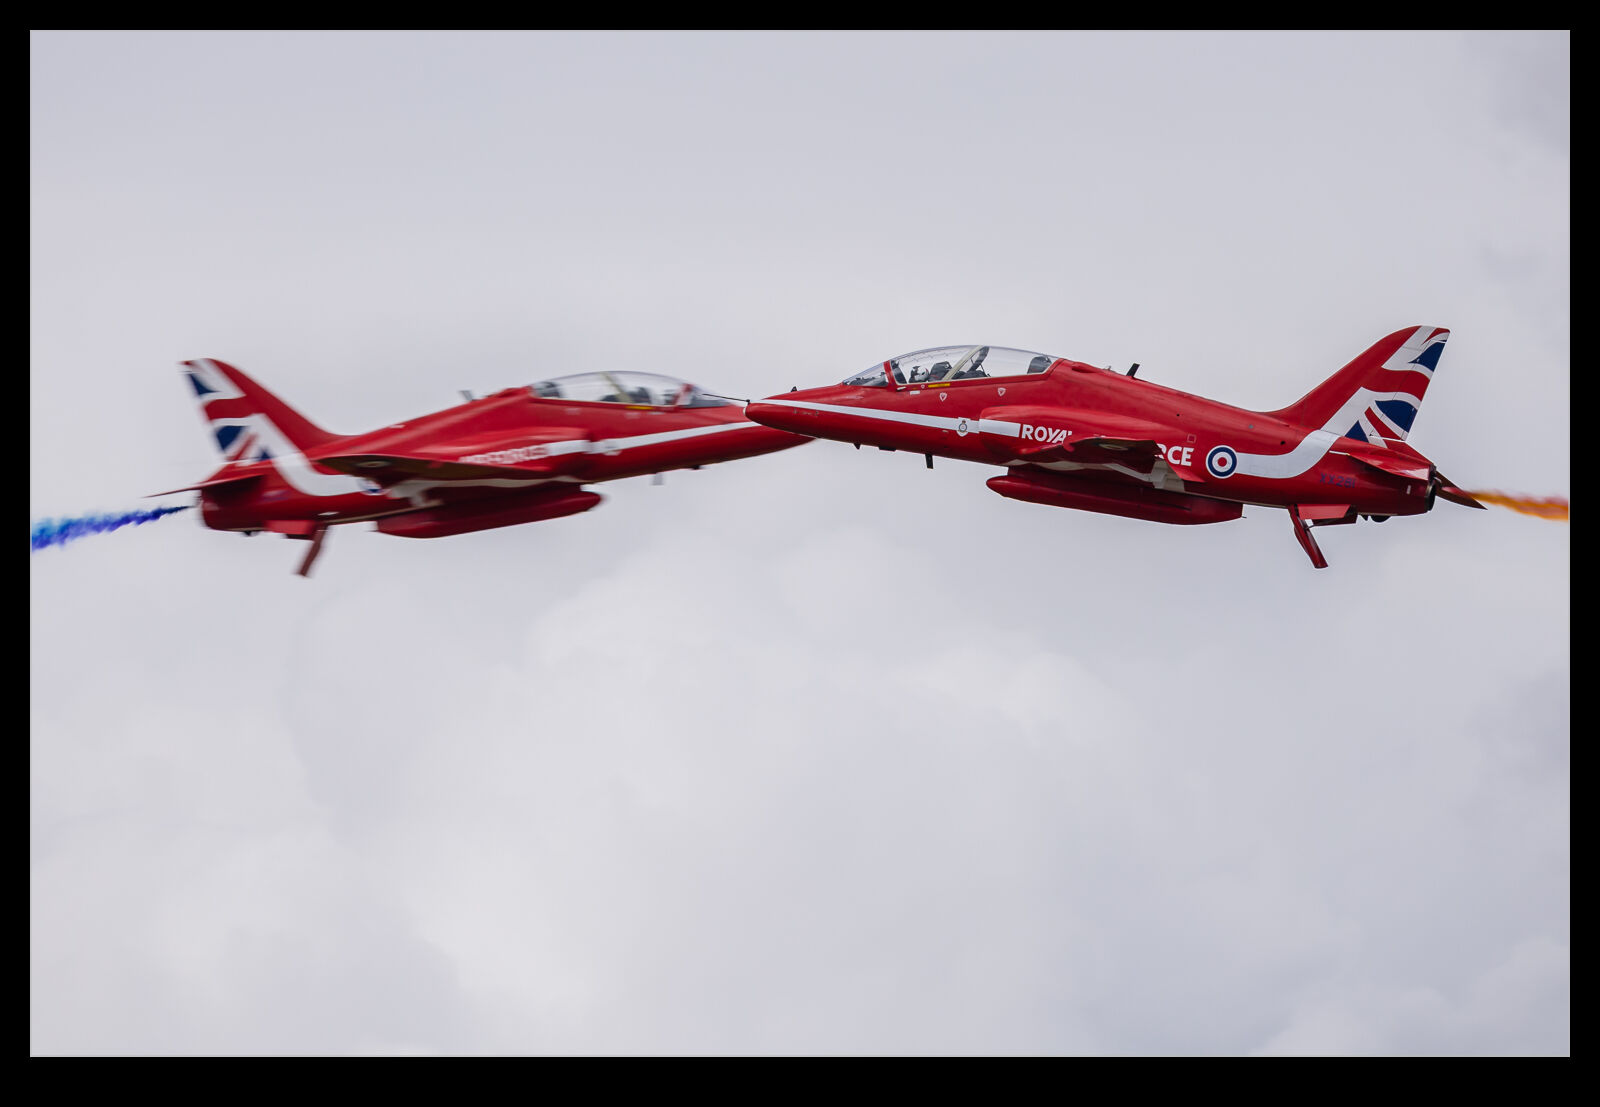
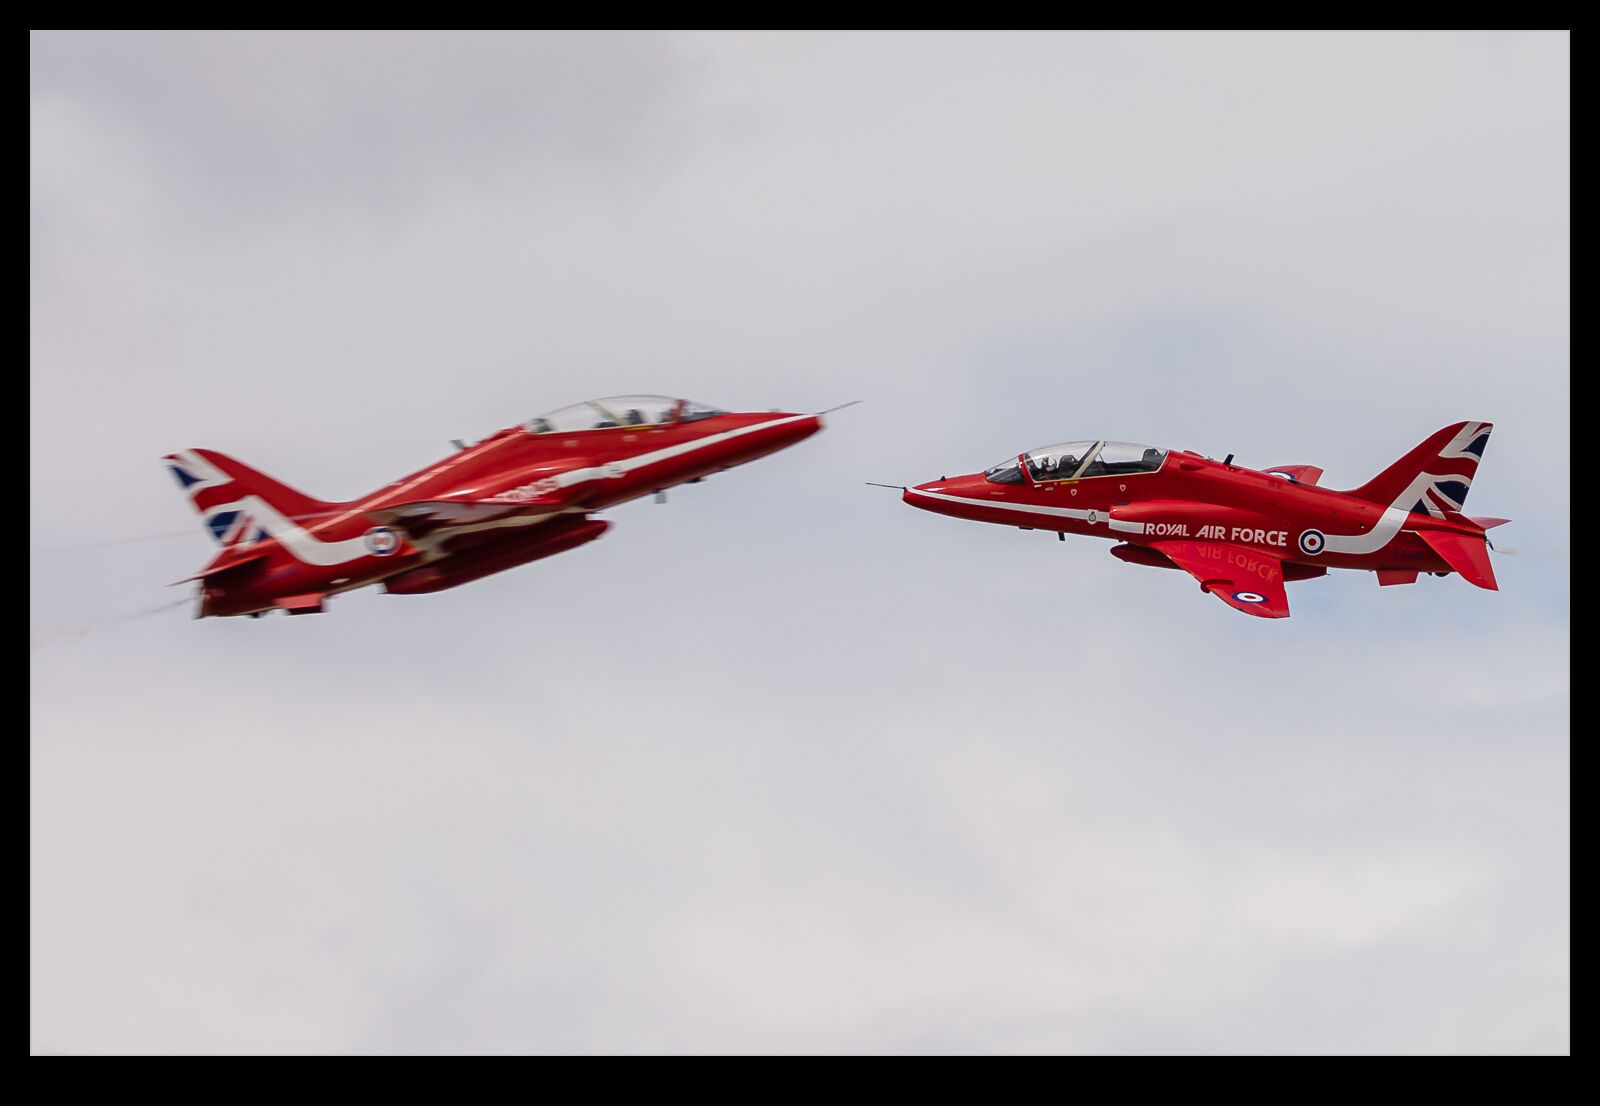 Then we come to the crux of it. Did I get stuff I liked? Absolutely. I was always tracking the plane coming from the right so my left eye could see enough of the opposite jet, so I did run the risk of having the background jet in focus, but it all worked out fine. The biggest issue is that you end up with a ton of shots to work through. Then again, that is my story of RIAT as a whole! I have included so of the stills here but also an animated GIF of a sequence so you can see how close the frames are to each other. Please forgive the crappy colour space of the GIF.
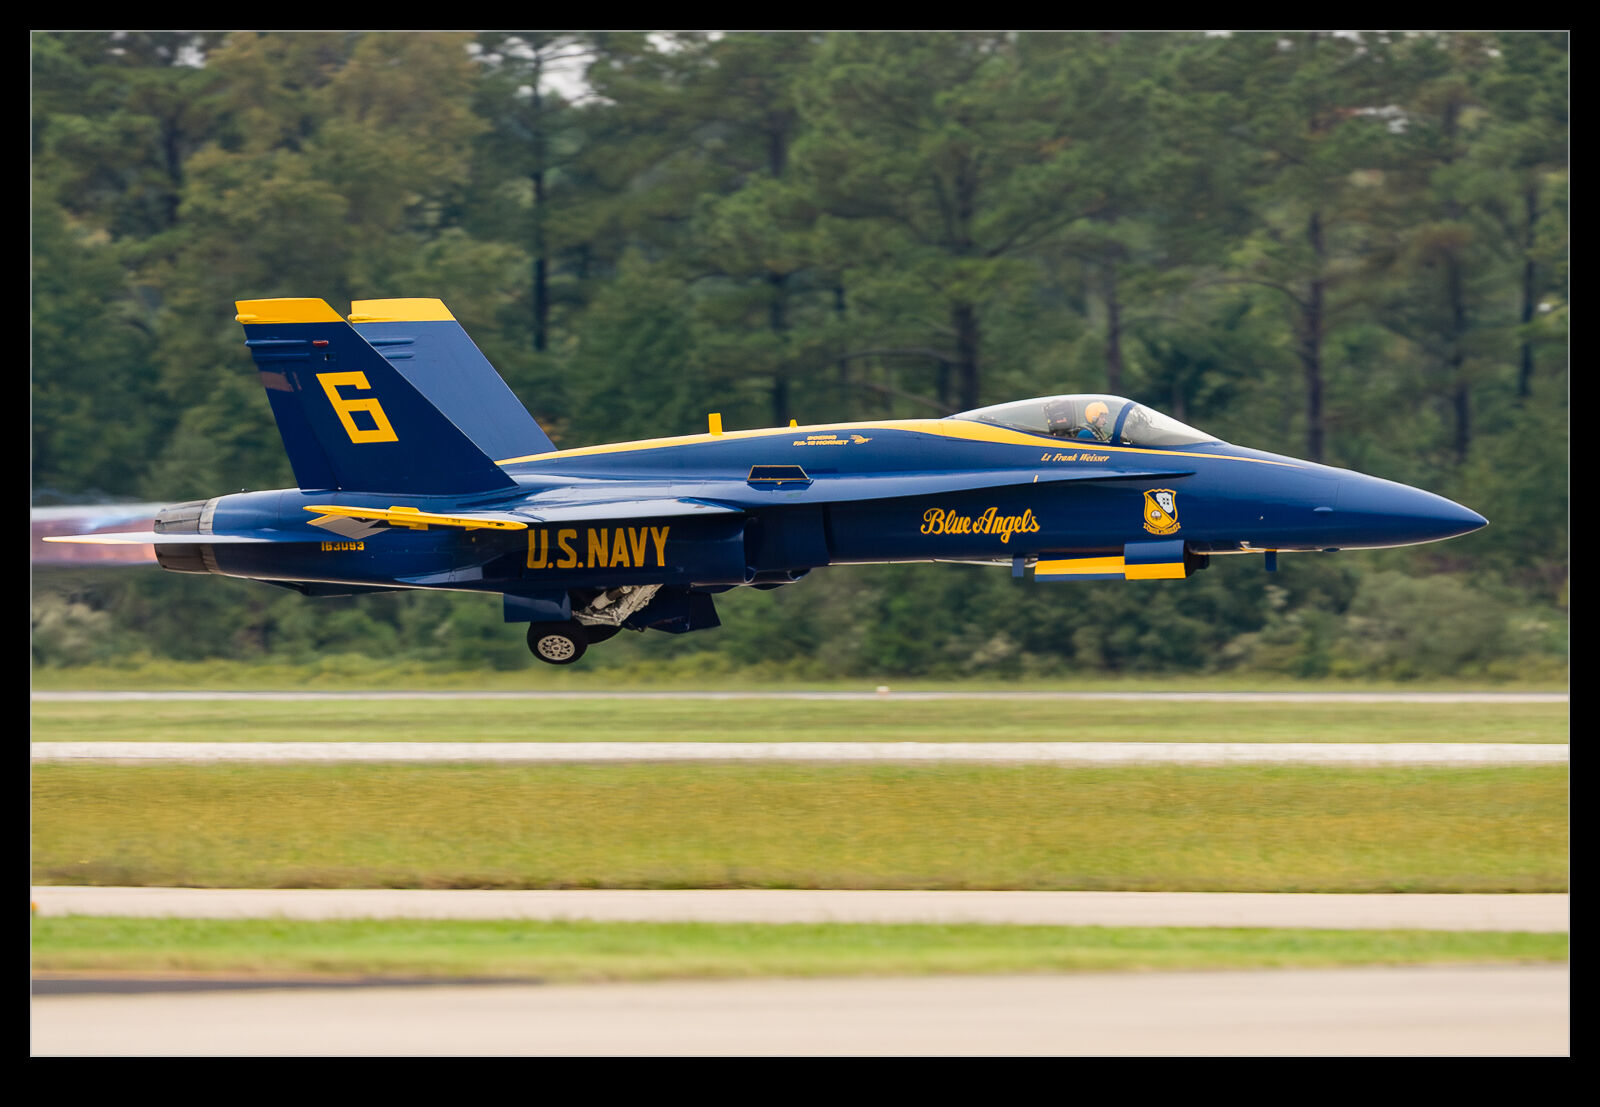 Periodically, when thinking about the latest processing tools that I have available, it takes me back to some older shots that would be interesting to rework. This shot of one of the Blue Angels jets was taken at NAS Oceana during one of their air shows. I was shooting with the 1D Mk IIN and at ISO 800. At the time, this was a really high ISO and resulted in a lot of noise in the images. (As an aside, I did find that printing did not show the noise at anything like the level that was apparent on screen.) Even without the denoise function, the latest raw convertor makes a decent job of the file but I figured I would use the denoise too. I think the file comes out really cleanly as a result. It also helps that, as an 8MP file, the processing is a lot quicker!