In an earlier post, I had shared some images of and A340-600 operated by European Cargo that I saw at Bournemouth. What I didn’t include in that post was any images close to the rotation point, despite me having been well positioned for that. When I say well positioned, I omit one key element which is that there was a fence between me and the plane, and I wasn’t able to photograph above the fence. Shooting through it was the only option.
I tried a couple of things to mitigate the issue with the fence. First, I was as close to it as possible to take the fence wires as far out of focus as possible. I was also shooting wide open – again to try and throw the wires out of focus. The last thing I tried was to go with a low shutter speed to smear the wires as I panned. With this combination, I was hopeful that I wouldn’t really have the wires in the shots. I was wrong.
 When I took a look at the shots, the fence was very obvious. I did start to wonder whether it would have been better to have the wires well defined as maybe that would be easier to remove. However, too late for that as the shots were done. Now to see if there was anything I could do to recover them to something usable (and by usable, I mean that might be shareable but nothing that was going to be a great publishable image).
I tried some of the healing tools in Lightroom to see if that would work. I was getting nowhere fast – possibly a sign of how little I understand the capabilities of the tools or maybe they are just not the right thing. Then I decided to try something else. Because of the way I had shot the image, none of the airframe was obscured. There was just the grey overlay from the fence. That made me think that it was more like a darker area of the shot. I decided to use the brush tool in the masking panel and draw some lines that were heavily feathered across the lines that the fence wire created. Having made a grid of these, I then bumped up the exposure for the mask.
The result was surprisingly effective. However, I then ended up with some overly bright areas at the edge of the mask. A rework of the mask to change the size and the feather amount and this time the result was pretty good. There were a few areas that were still a touch dark and I used a large, soft brush to address those parts. If you know what the original image looked like, you will probably spot the remnants of the work. If you had never known before, it’s possible that you might not notice how much work had been done on this.

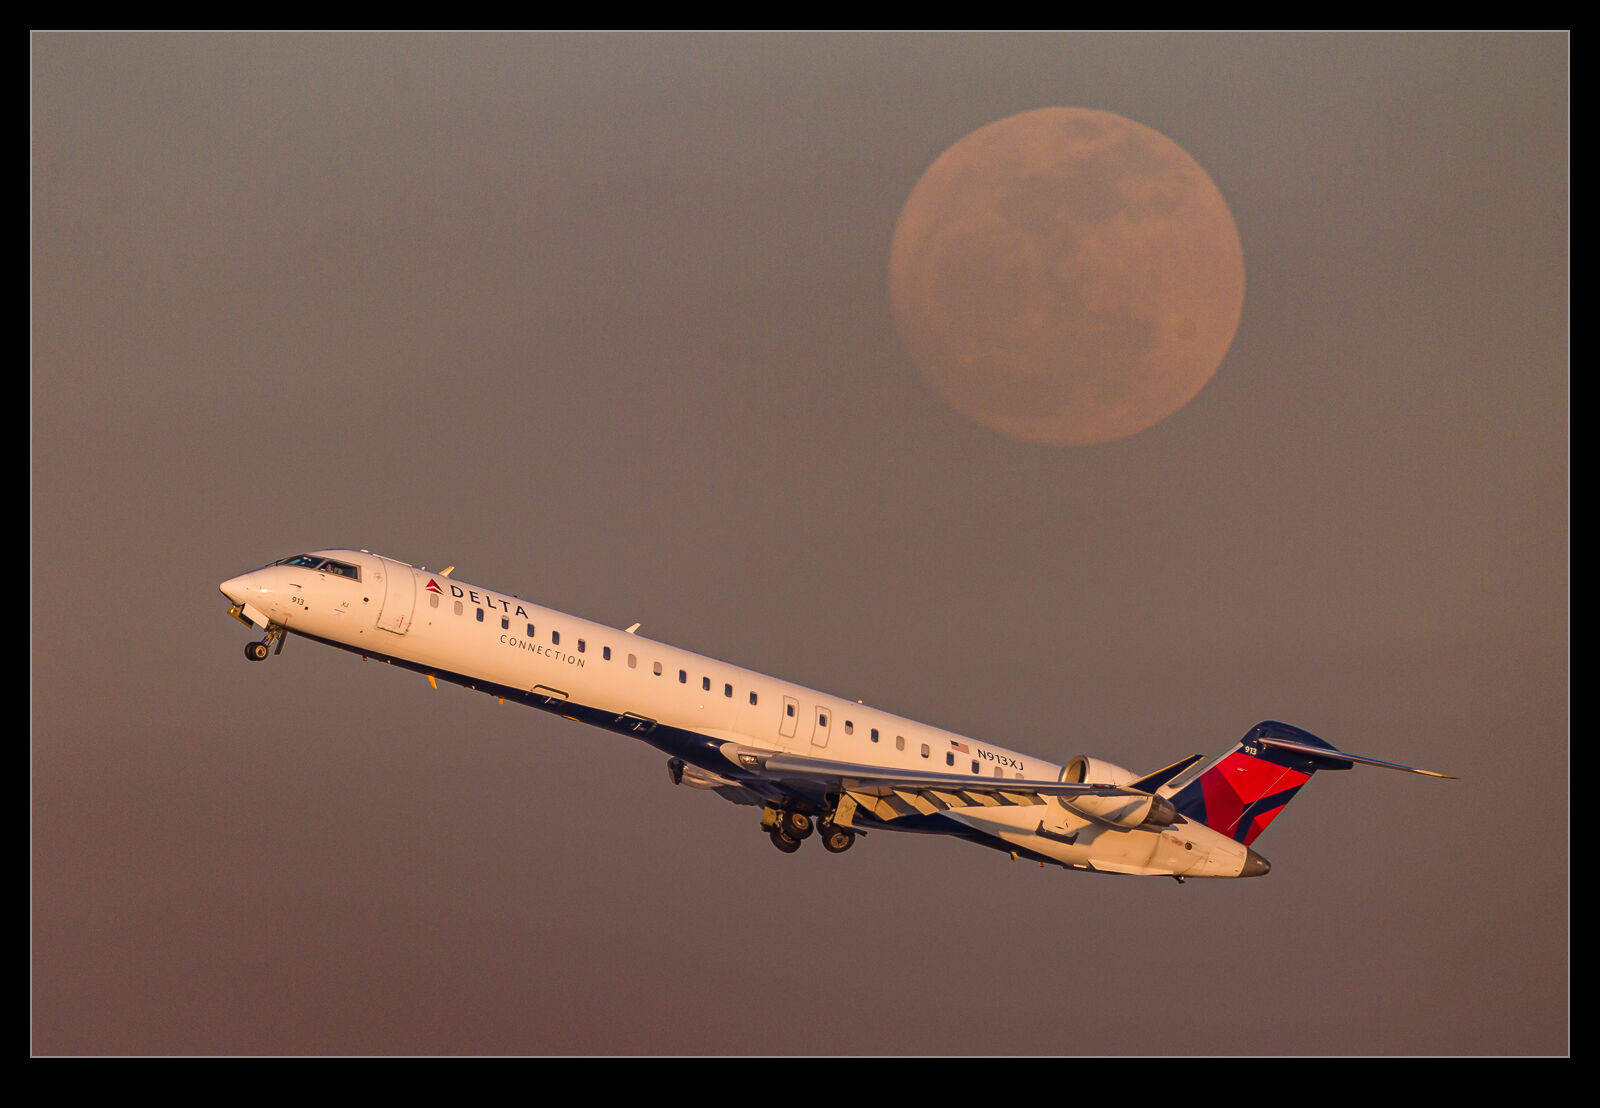
 I shared some shots from a brief visit I made to Feltham to get some airliner departures from Heathrow when they were on an easterly flow. Some of the planes turn to the south shortly after takeoff giving you a view that is not quite a topside but is close to it. When photographing them, you are naturally shooting them at an angle as they are climbing quite steeply. However, if you want to play around with the shot afterwards, you can change the impression of the shot quite a lot. Rotate the fuselage until it appears horizontal in the shot and now it looks a lot more like you are flying alongside the aircraft. This is cheaper than sorting out and air to air sortie! Here are a couple of before and after shots to show what I mean.