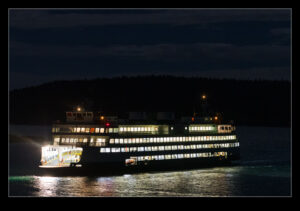
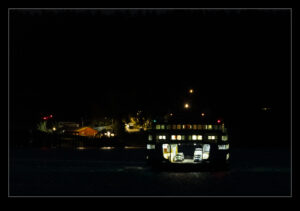
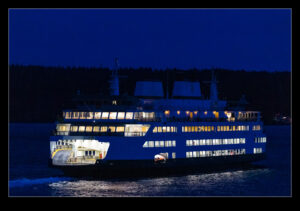
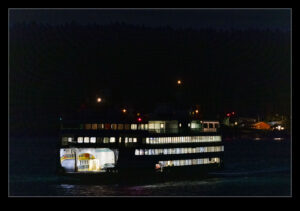
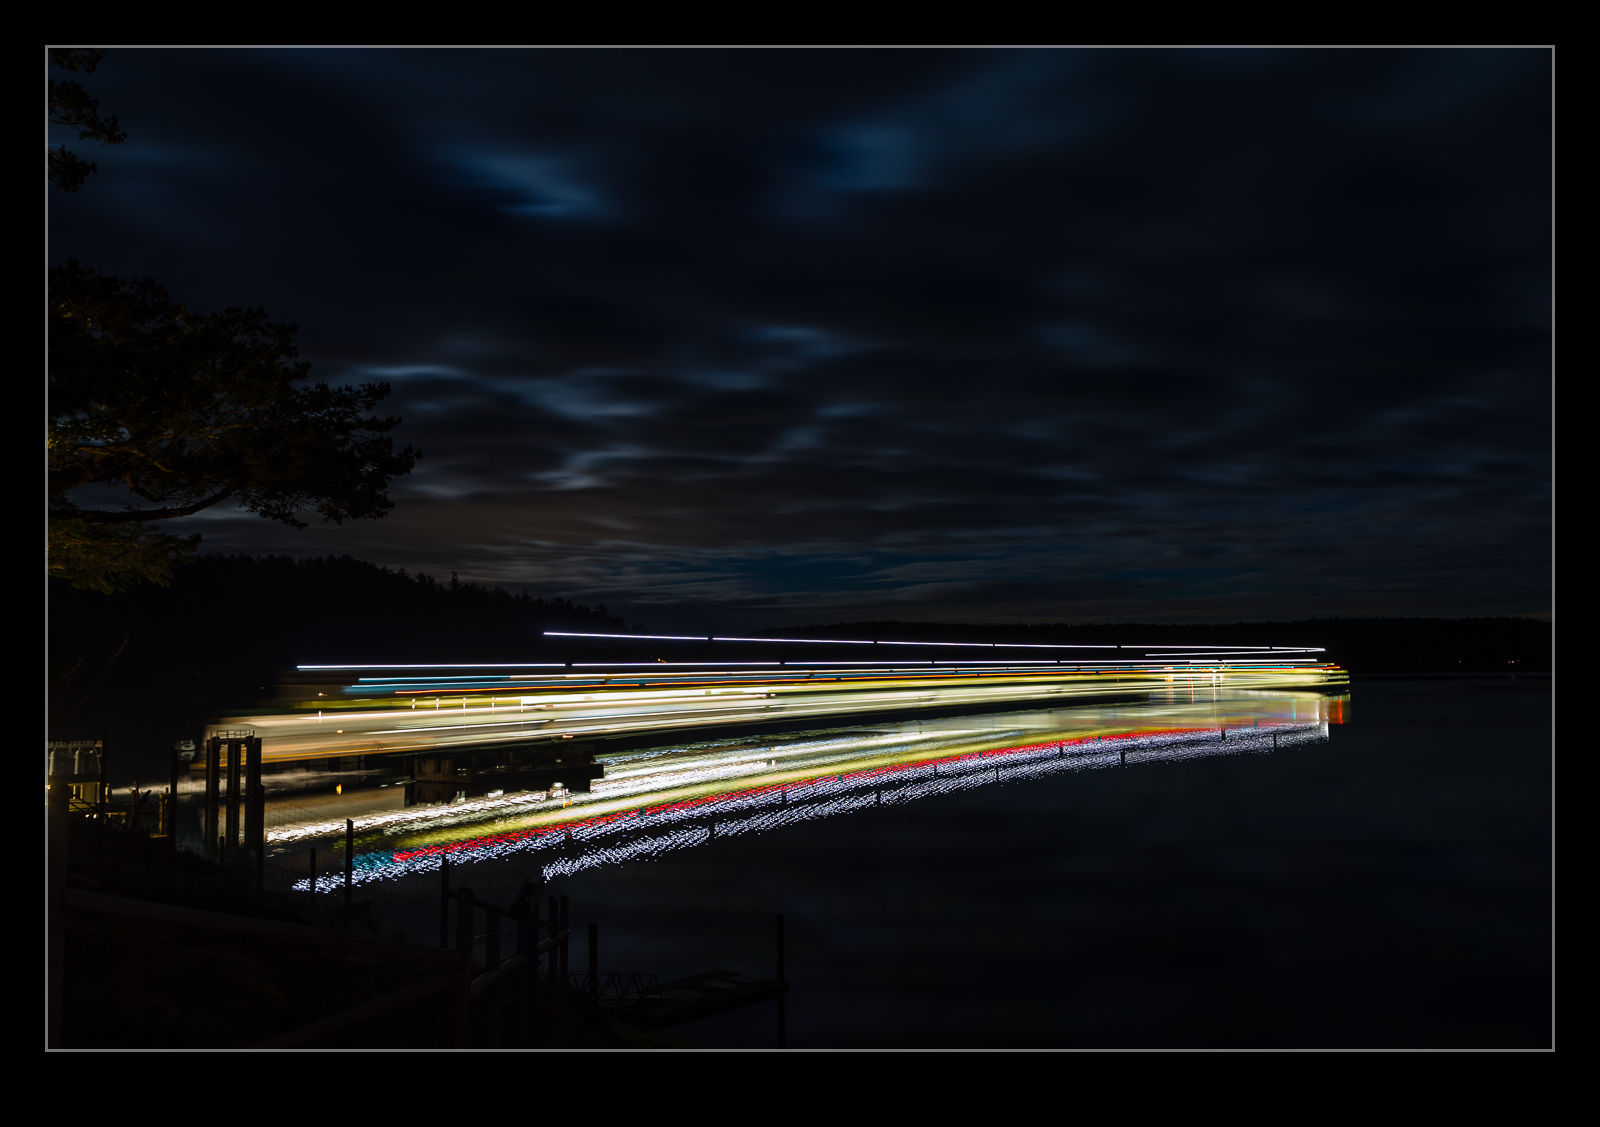
 With the ferries coming and going to the terminal at Orcas, I was able to have plenty of chances to take photos. I did get standard shots of the boats in low light conditions. They are not easy to shoot since they are constantly moving. No long exposures at low ISOs are possible so it is high ISO and the associated noise. However, I did decide to experiment with some long exposures and blending of shots. The boats make a curving approach to the terminal. I thought this might make a nice long exposure. It worked okay but the curve is a bit disguised by being too low down to really appreciate it. However, it was fun to try.
Tag Archives: processing
It Might Be Raining, But It Is A 727!
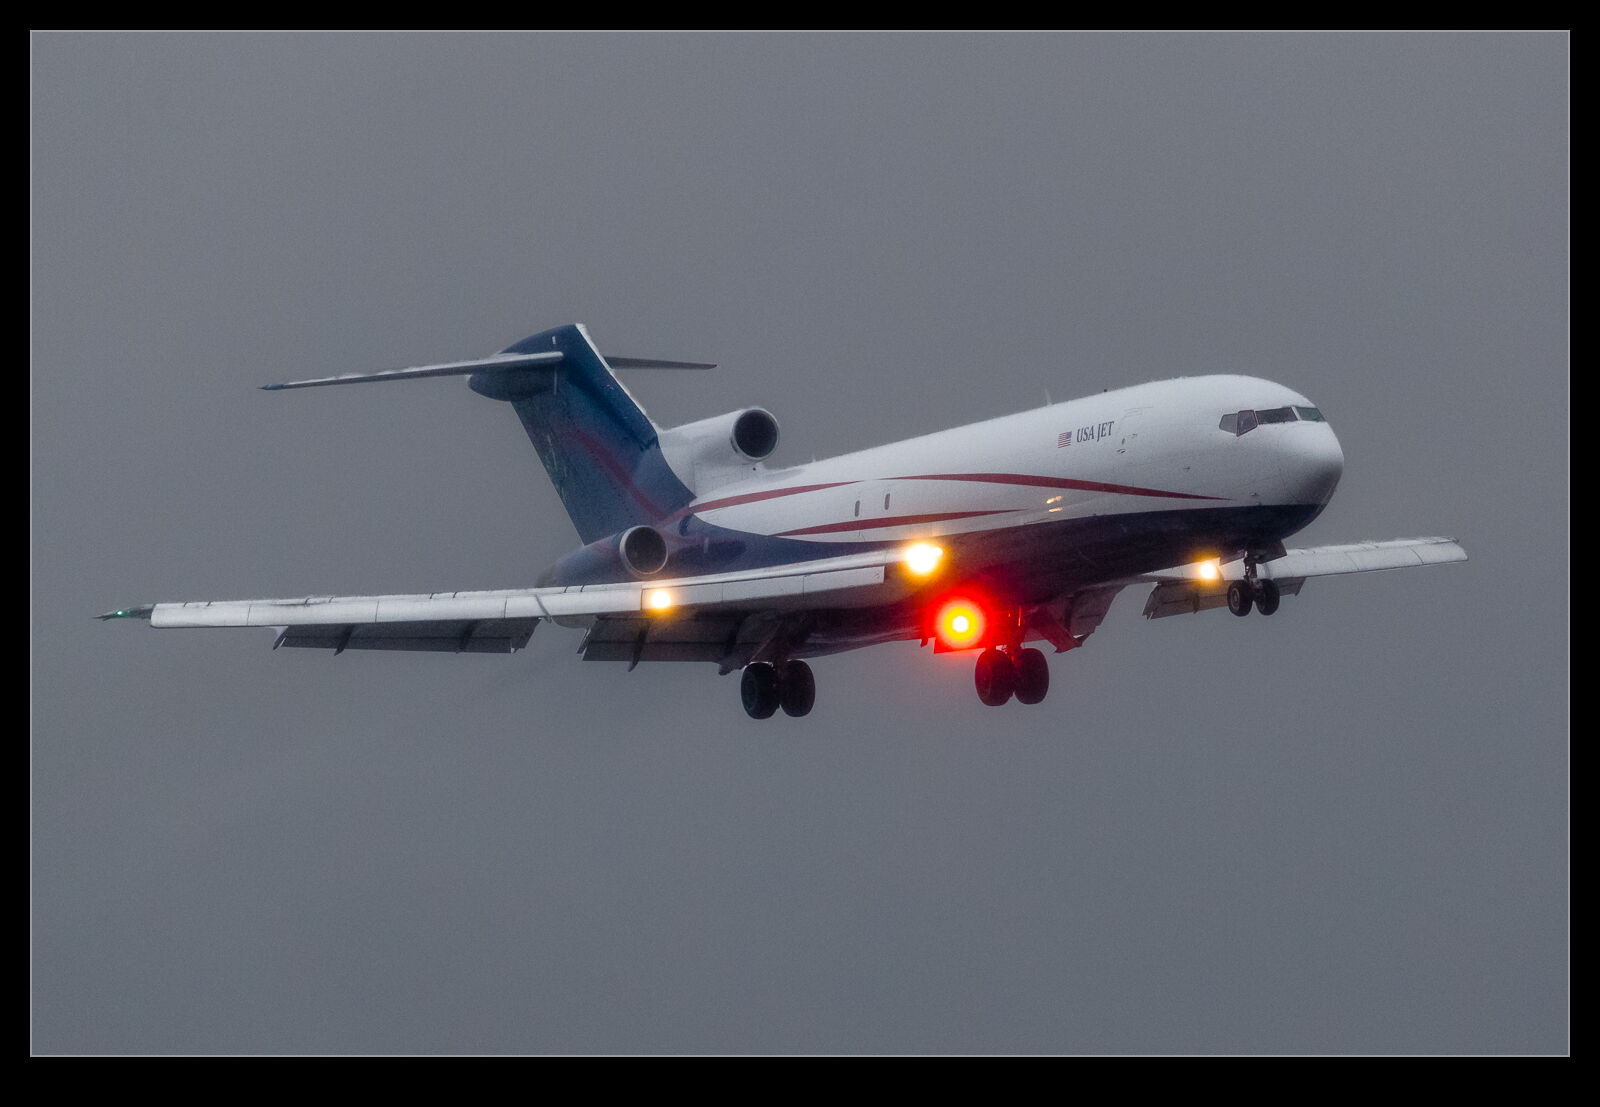 Winter in the PNW does not mean reliable conditions for photographing planes. If the weather is bad, you might decide it isn’t worth going out. If it is raining and threatening to rain harder, there is a strong possibility you would skip a shot opportunity. However, 727s are getting pretty rare these days so that seems worthy of a trip out.
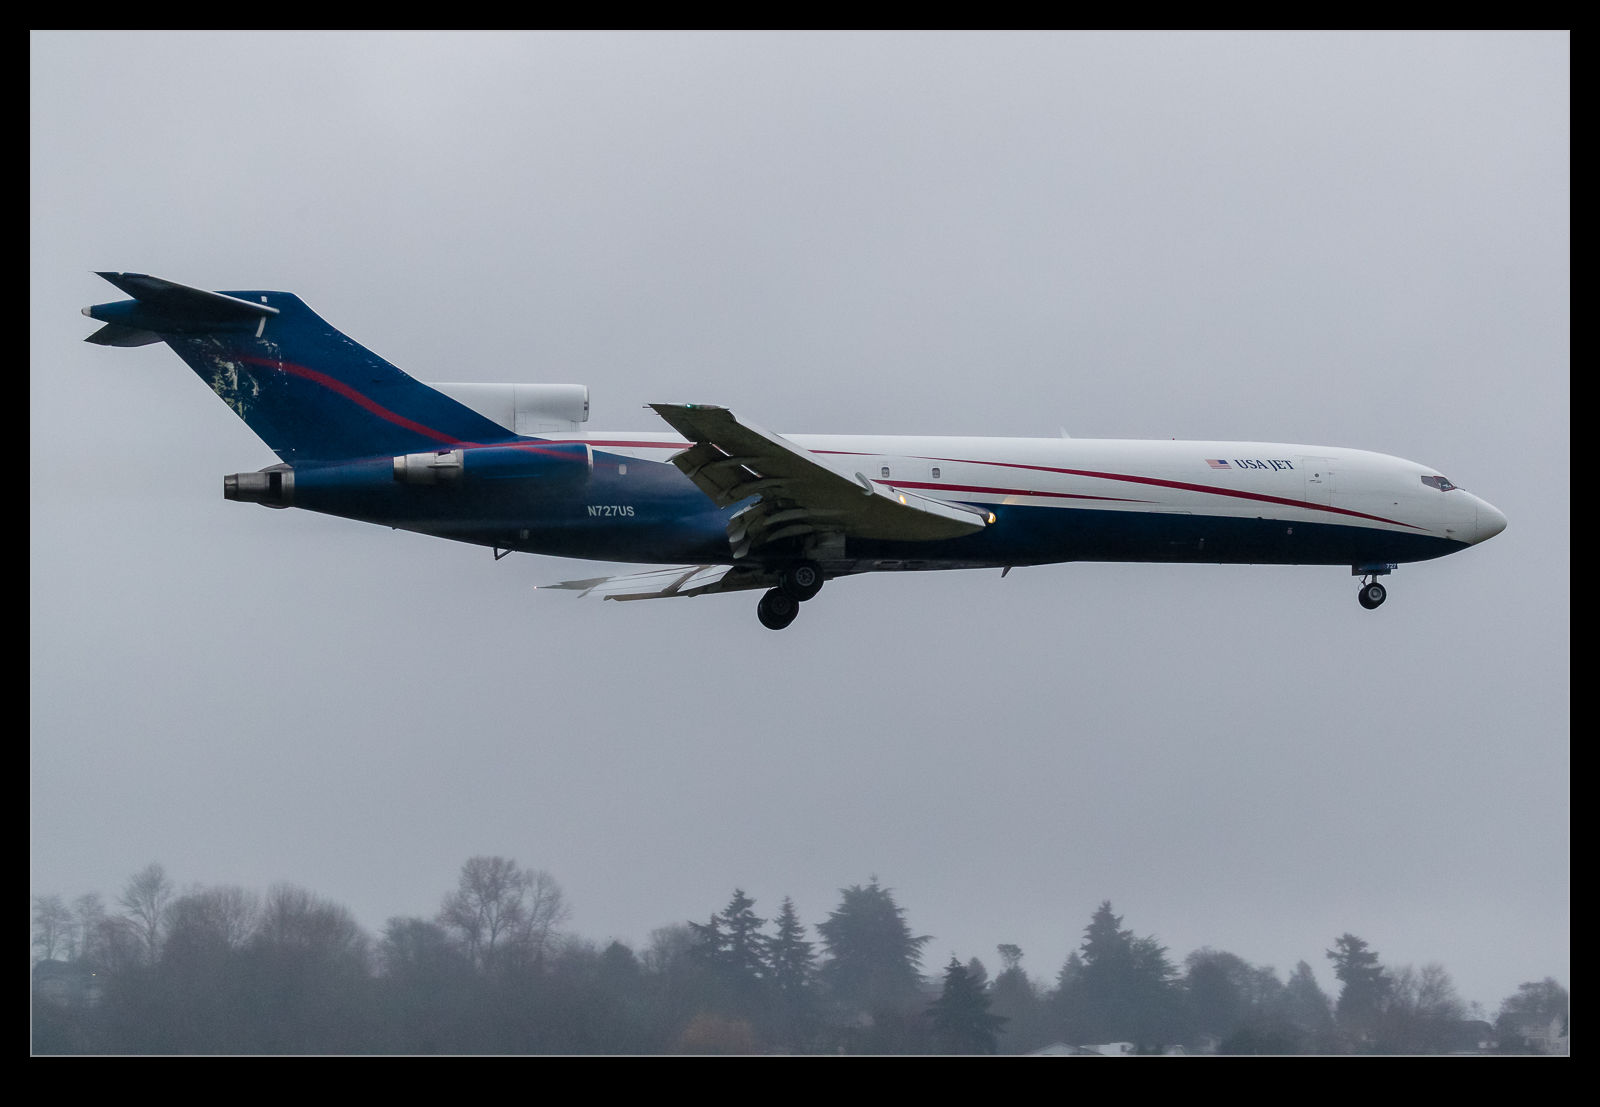 The weather was unpleasant when it made its approach but not as bad as it got a short while later. I went with my normal approach for shooting in really bad conditions by pushing the overexposure pretty high. I include a couple of edits. For the main image, I actually blended two different process versions in Photoshop to get the combination that most reflects how the shot looked through the view finder. The other edit is a straightforward Lightroom edit where the angle and the light suited it.
Focus Stacking and Backyard Arachnids
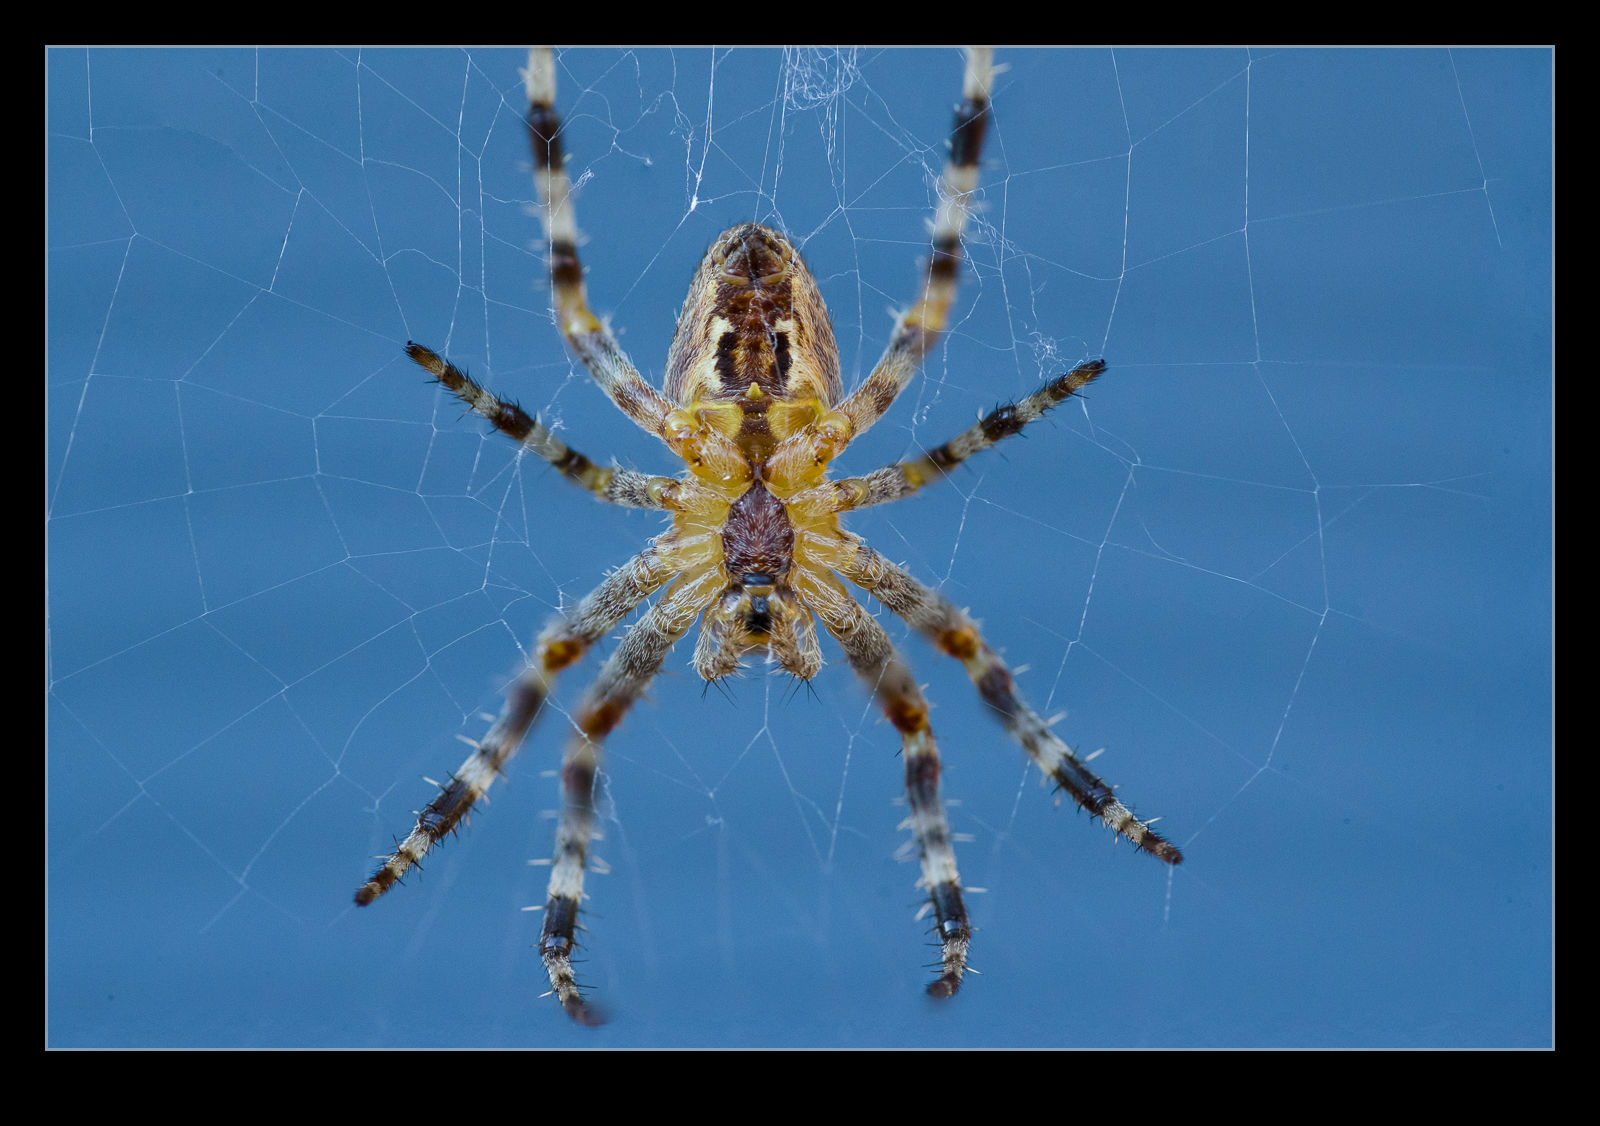 I’m sure a bunch of my relatives will look away for this post. Maybe they aren’t fans of focus stacking but it could be the spiders that put them off. My macro lens has been out a lot during the pandemic since it provides something to photograph close at home that is a bit different. In fact, I have got so used to having it available, when I am out with a normal lens and come across something small and interesting, I am a bit frustrated to realize I can’t get a close up shot.
 The problem with the lens is that it is not a very advanced one and the autofocus on it is pretty crap. When I am trying to hand hold the lens and something is moving and so am I, things get a little unpredictable. We had a few spider webs in the backyard with the owners sitting in the middle. The afternoon sun provided great illumination so I figured I should give it a go. I tend to go to manual focus and move to get the shot but with the breeze moving the web a lot, things are pretty tricky. This is what prompted me to try cheating.
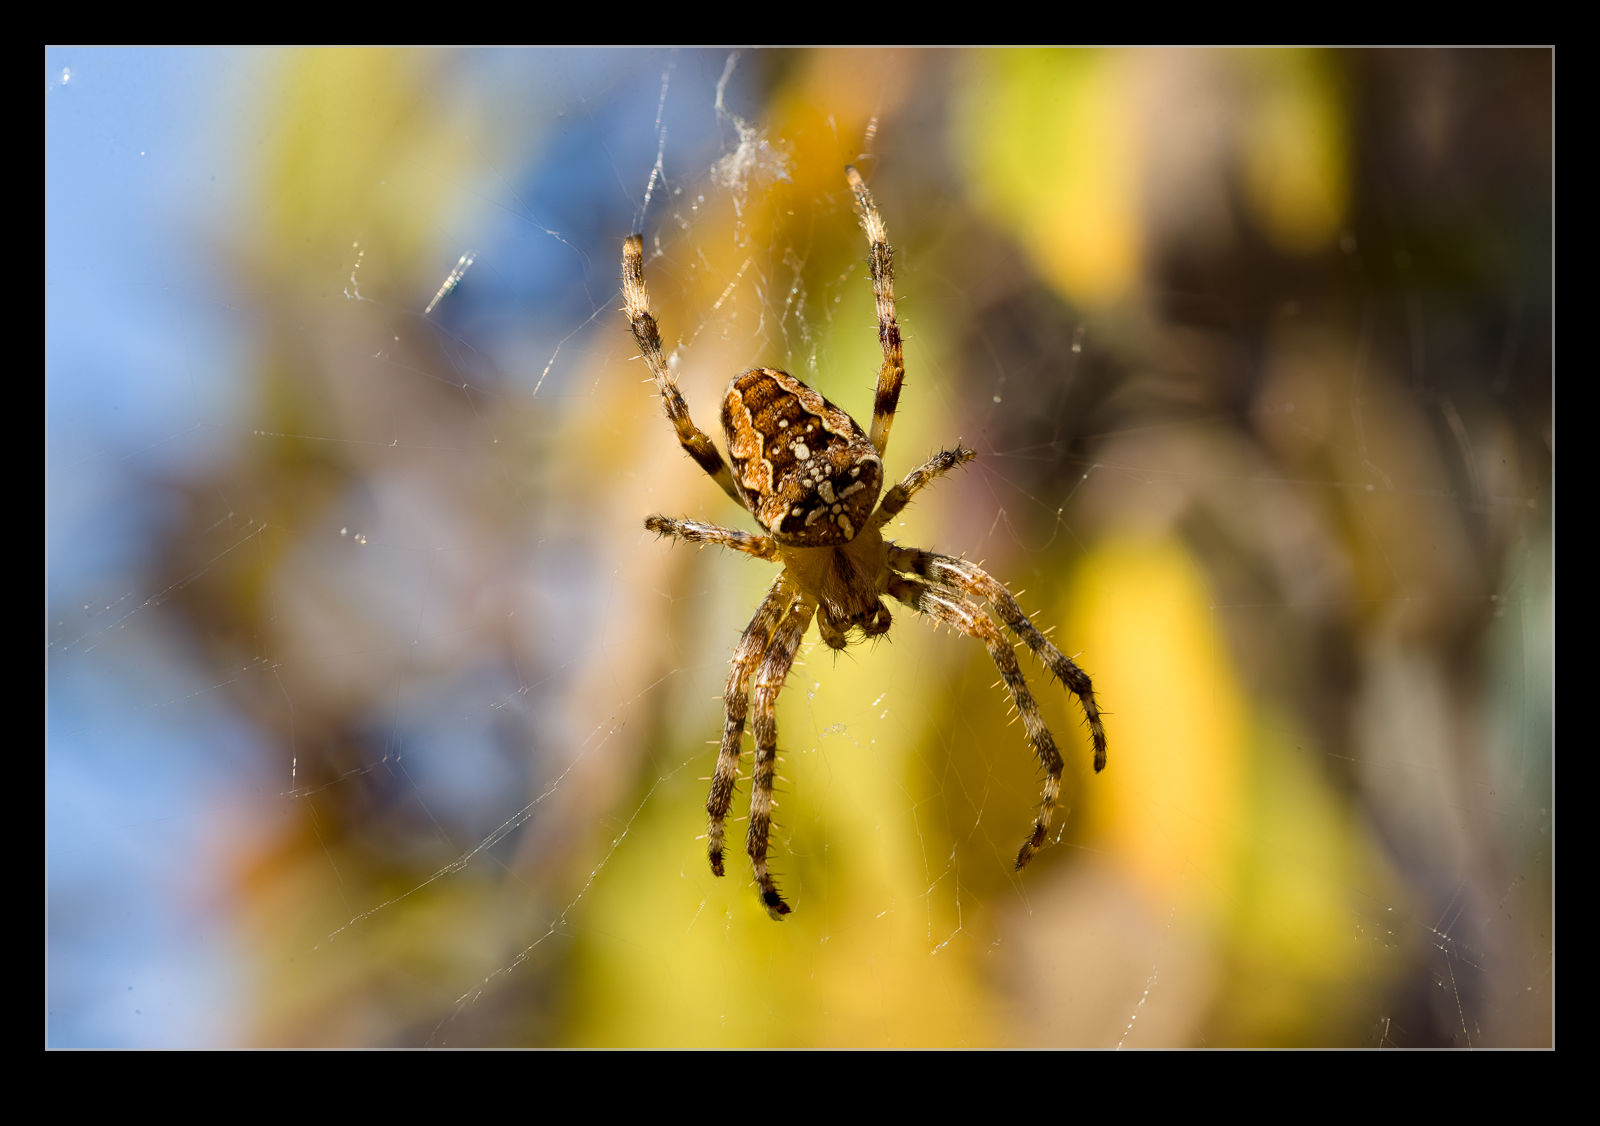 I figured that focus stacking does a good job of increasing the area in focus and it manages to align images and make use of what is already in focus. If I can be straight on to the spider and stay reasonably still and roughly at the right focus point, let the web move towards and away from me and fire a bunch of shots off hand held. Ignore the ones that have nothing in focus and then let Photoshop work on the remainder.
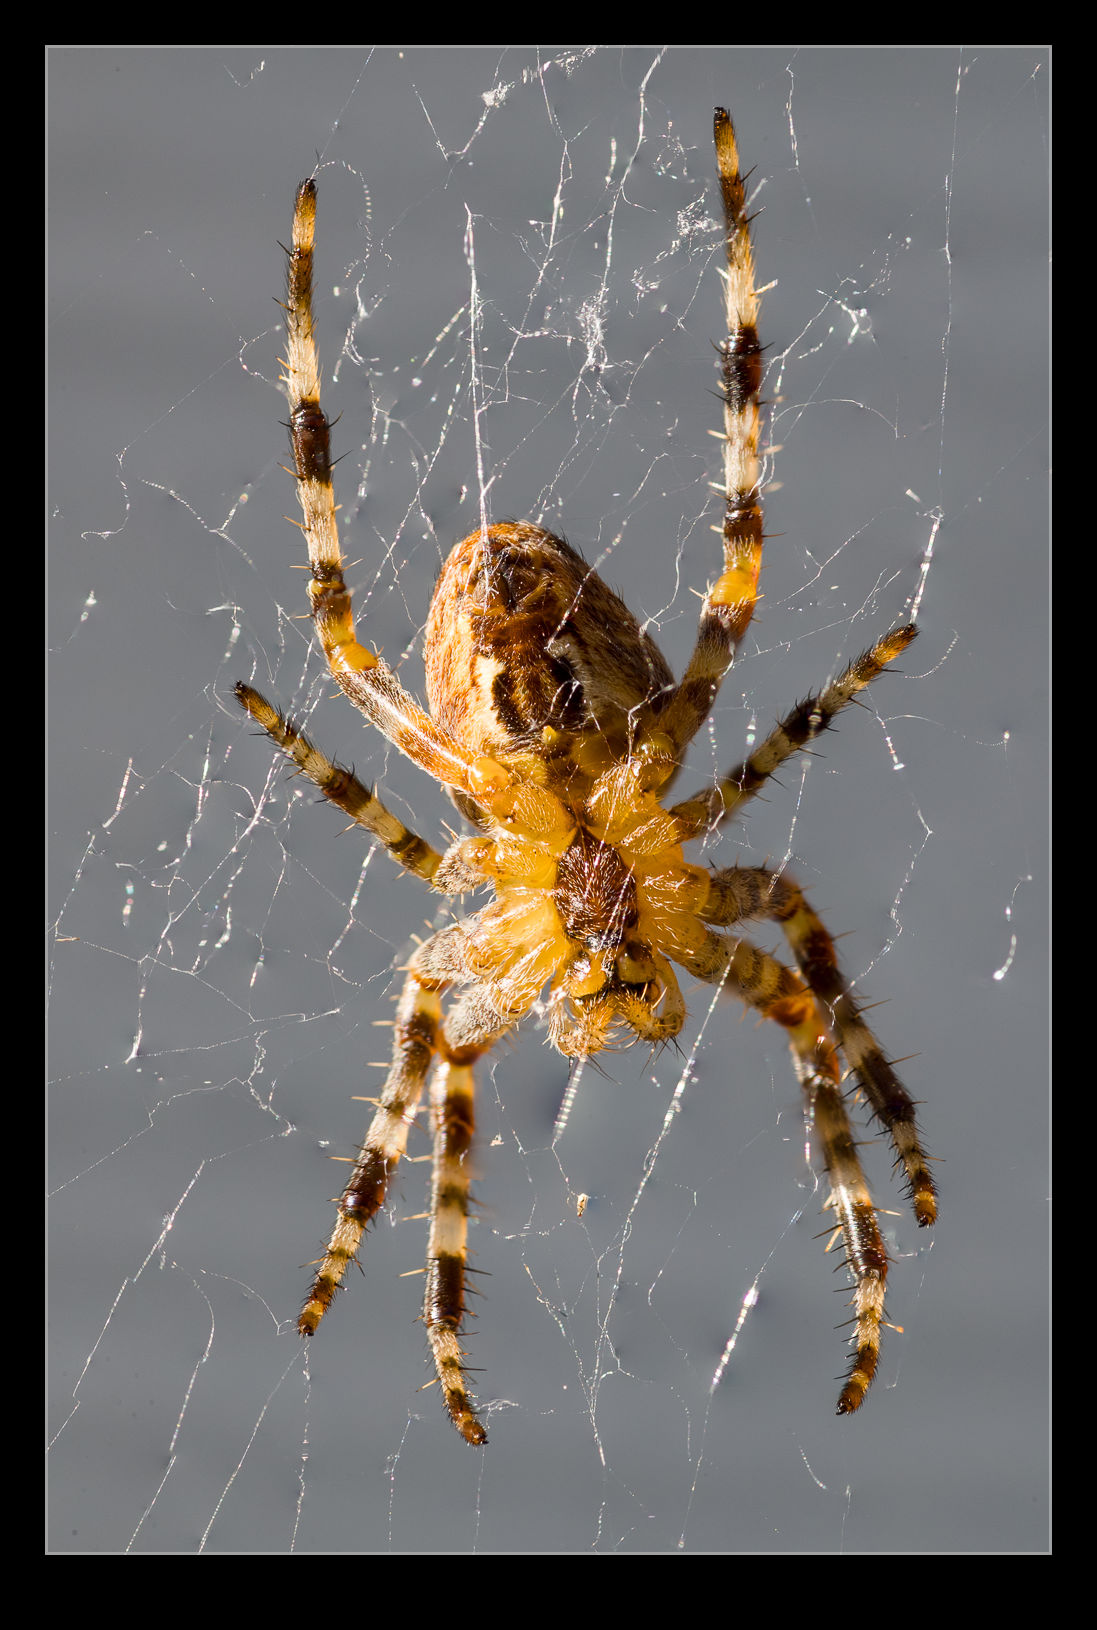 It isn’t a perfect solution and some weird things happen at the edges of the frame but the center works out pretty well and you can crop in a little to address the edges. I was quite pleased with the outcome to be honest. It is making the best of a few bad elements but it did do quite well. You don’t get to control what is in focus for each shot so getting a complete set to work with is unlikely but overall, not a bad experiment.
Experimenting With Avoiding Heat Haze

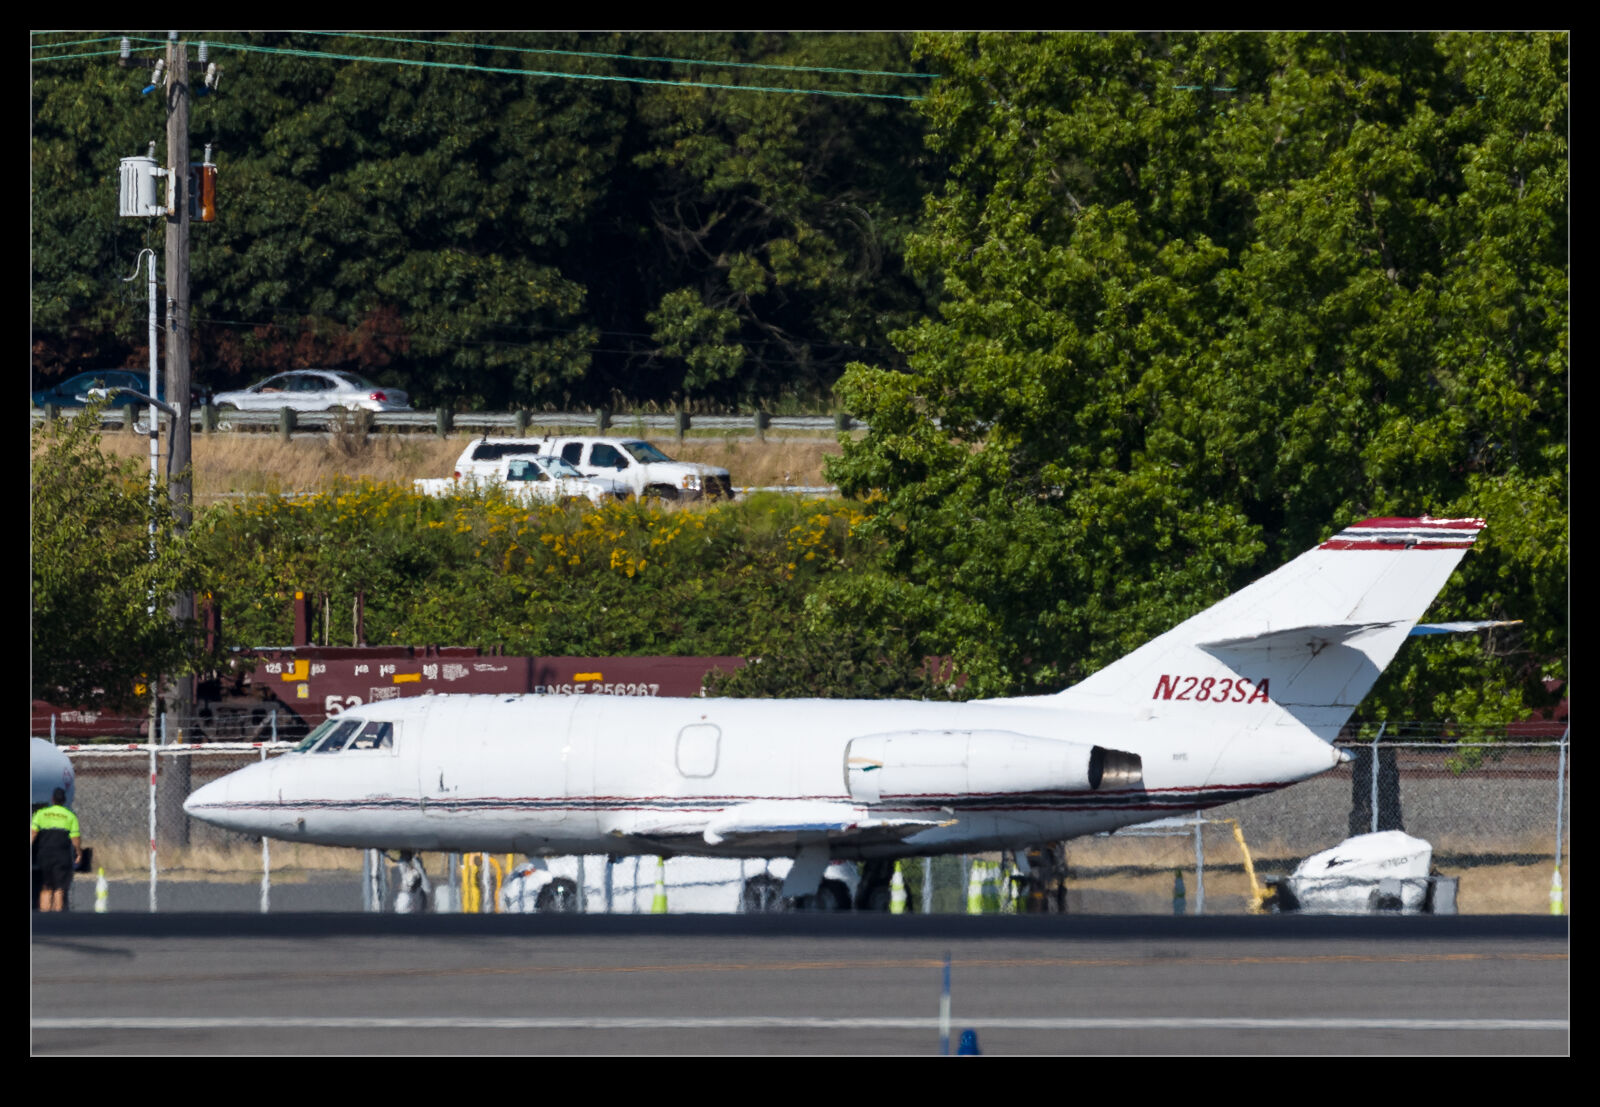 Summer weather means lots of sunny days but also means lots of heat haze. I was at Boeing Field one sunny afternoon and there were two jets parked across the field that I wanted shots of – one was an Illinois ANG KC-135R and the other was a Falcon 20. Looking through the viewfinder, both of the were shimmering in the heat haze that a warm and reasonably humid day brings. This is the downside of summer in the Pacific Northwest.
Not long before I had watched a video on YouTube about photographing Saturn through a telescope. The image of Saturn was all over the shop but they were using a software technique to take multiple images and build a more stable and sharper final image. It worked reasonably well and this got me thinking about how to do something similar. In the past I have used Photoshop to blend together multiple images to remove the moving elements of a shot like people or traffic. I wrote about it in this post.
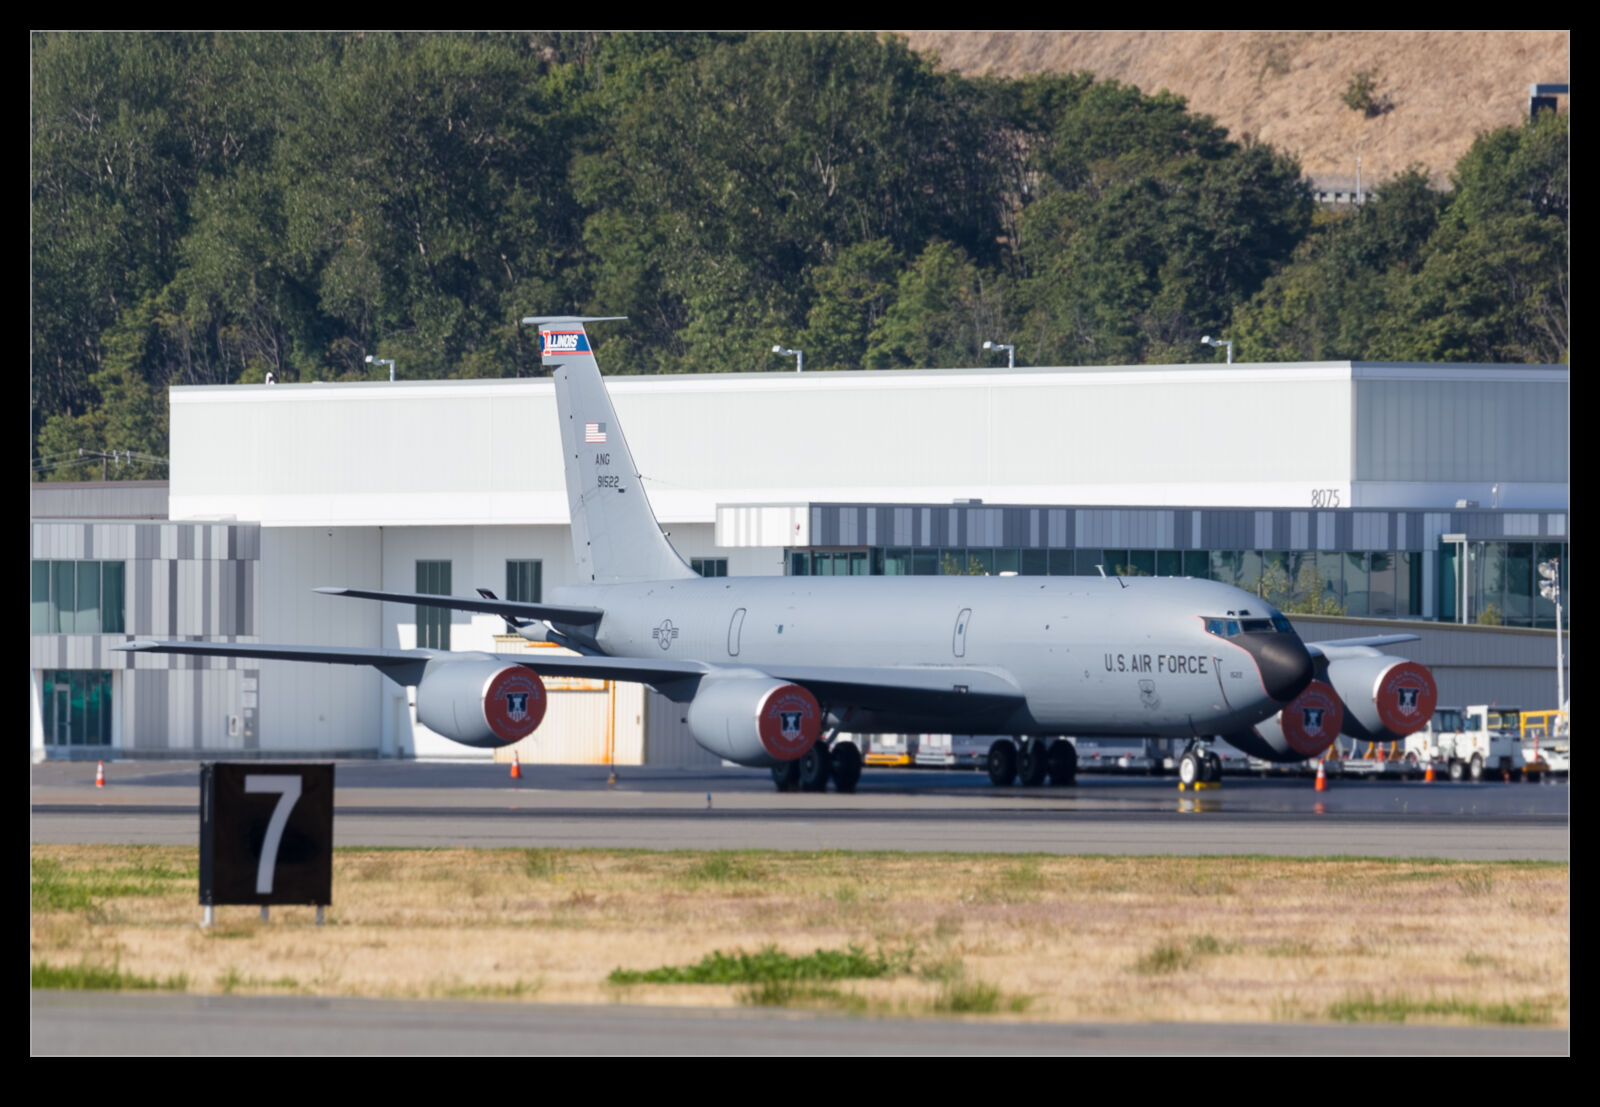
 I thought I would see if something similar could be done. I put the frame rate on to high and steadied myself before firing off a few seconds of shots. I wanted a lot of images to provide the best opportunity for the statistical analysis to find the right solution. Importing this in to Photoshop as layers and then auto aligning them allowed the analysis tool to do its thing. I don’t think the result is quite what I want and I may experiment with different analysis methods – median versus mean for example – to see which ones are most effective. However, there is clearly a smoothing out of the distortion and, if I needed to get a shot on a hazy day when there wouldn’t be another chance, I would definitely fall back on this approach to see whether it produced something more usable.
Variations in HDR Processing
While scanning through some images, one of the shots that showed up in my catalog was an HDR processing of some shots of a US Army Chinook. It had been processed with a plugin that I had previously experimented with. I thought it looked over vibrant but I was impressed with the way the dark interior of the helicopter had shown up while the outside was also well lit. I decided to have another go at processing the images.
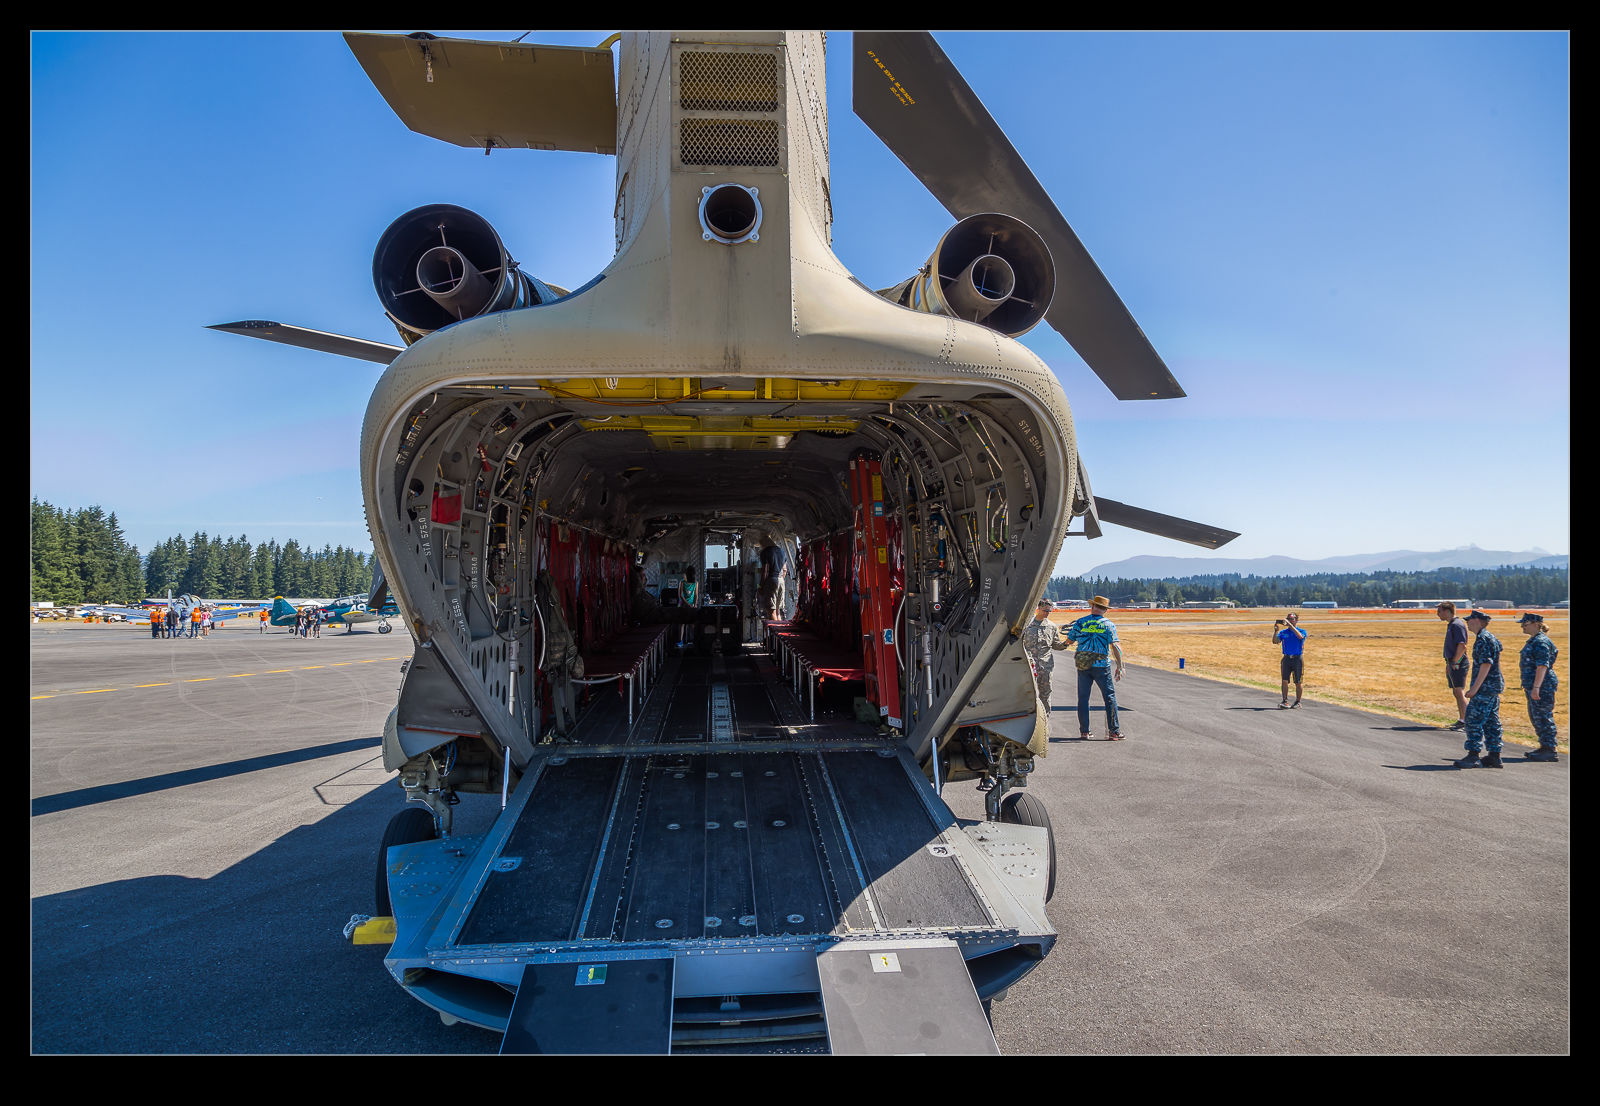
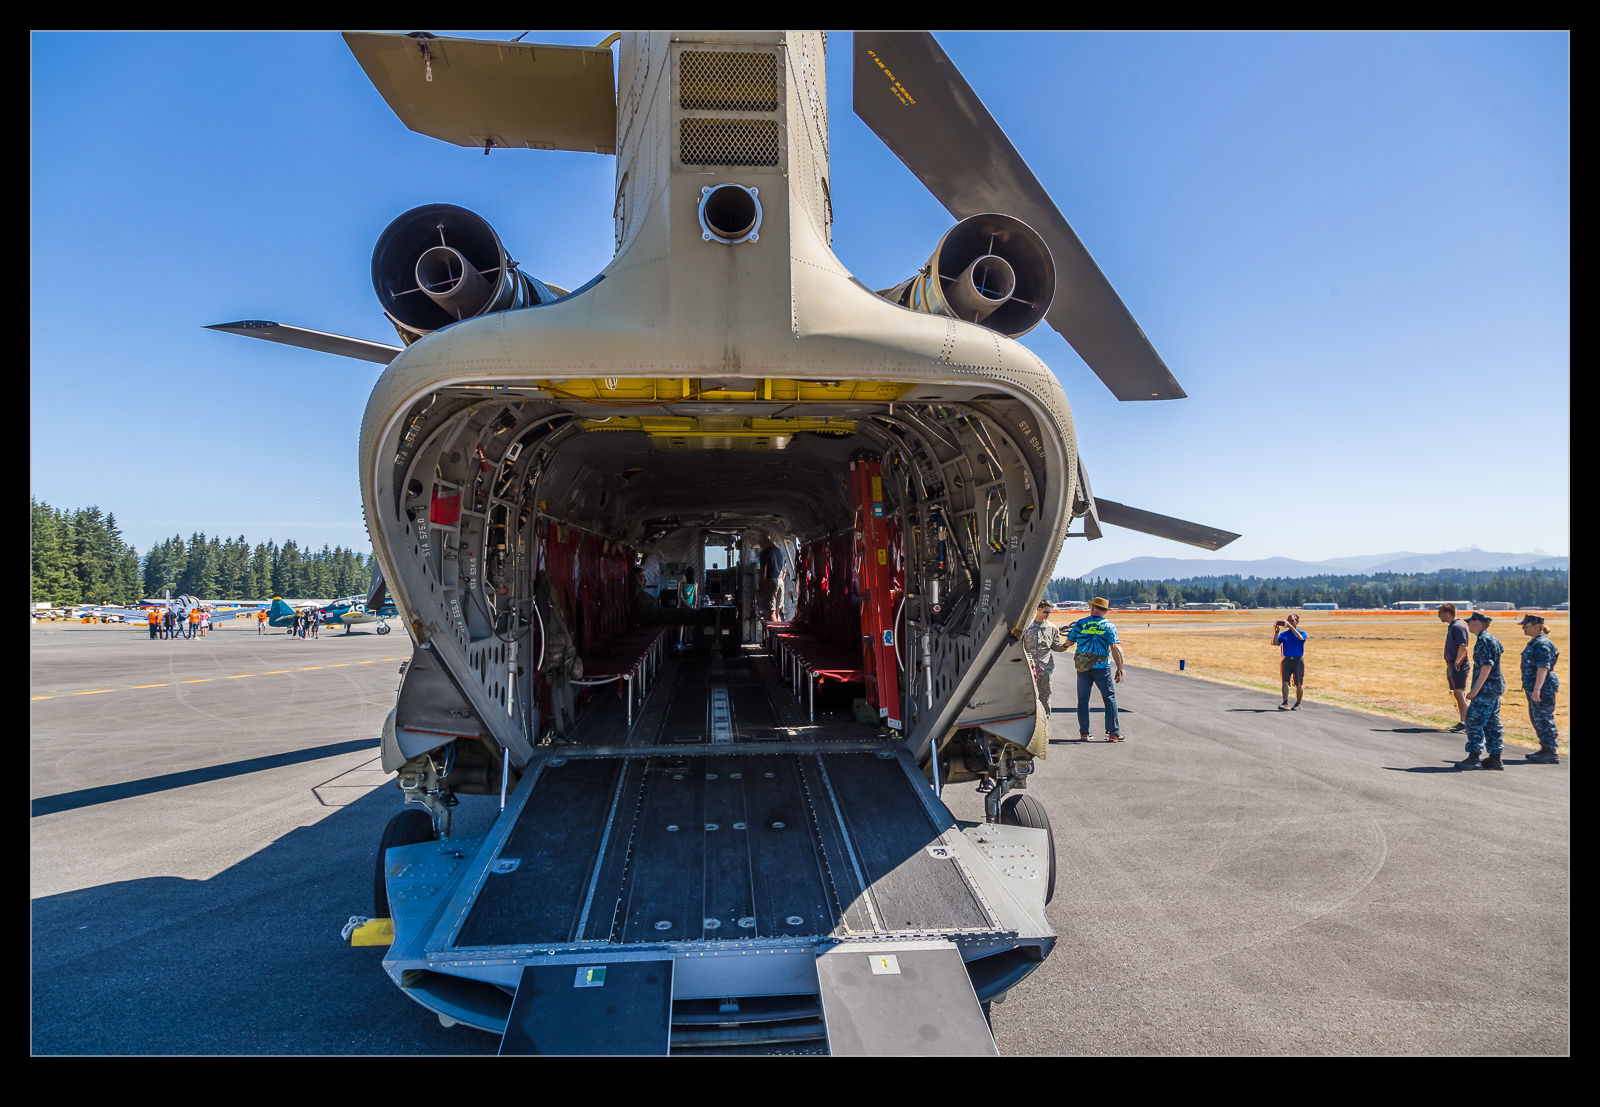 I used Lightroom initially to do the processing. It came out surprisingly well and looked not unlike the outcome from the plugin. However, there was some ghosting on people in the shot and there was a lot of chromatic aberration. I have noticed issues with Lightroom making a worse job of it than Photoshop so I decided to try HDR Pro in Photoshop as well and use Camera Raw for tone mapping. The outcome was very similar from an overall perspective. However, the ghosting was virtually eliminated and the aberration was not apparent either. It clearly is still a better bet than Lightroom.
Facial Symmetry
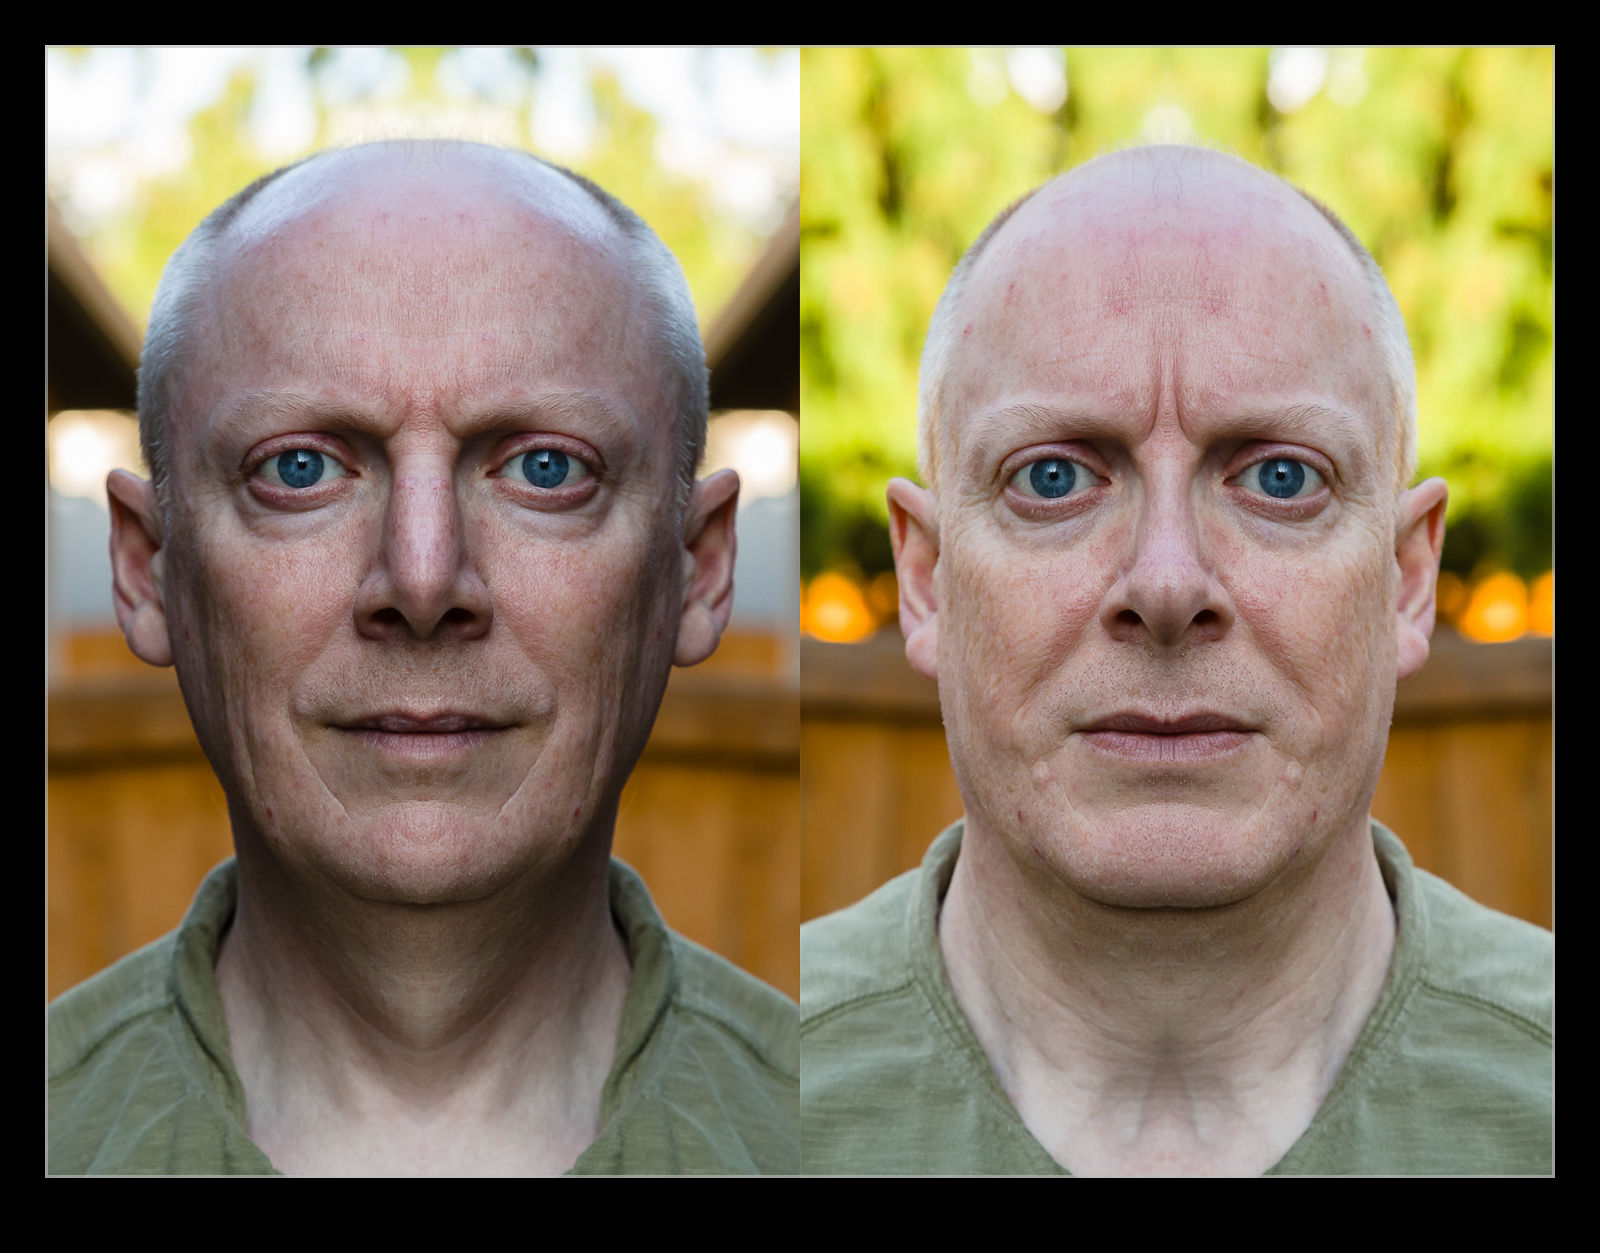 After four months of no hair cut, I finally managed to get some clippers and set about cleaning up my head. I won’t share the awful look that I had developed (and the current look might not be that great either) but I did have Nancy take some pictures before and after. While she was taking the after shots, I asked her to take a couple that were directly head on. I was interested in facial symmetry.
I had seen articles in the past about how some people have quite symmetric faces while others didn’t and I had been meaning to try this out for myself. I got a shot that was nice and head on so took it in to Photoshop. There I duplicated the layer and flipped it horizontally. Aligning it centrally was a bit of a choice because you can move it around a little and just widen or narrow the face. I got it to a place that seemed about right. The fact my face is asymmetric means that there isn’t an exact center to align against.
I then added a layer mask to two versions of the image to blank one side or the other out. The result is two versions of my face using either the left or the right side. The difference between them is quite stark. My jaw is slightly lopsided as is my nose and so one version has a far broader look to it while the other is a lot thinner. It’s like two different people.
Another Look at the Hoh Rain Forest
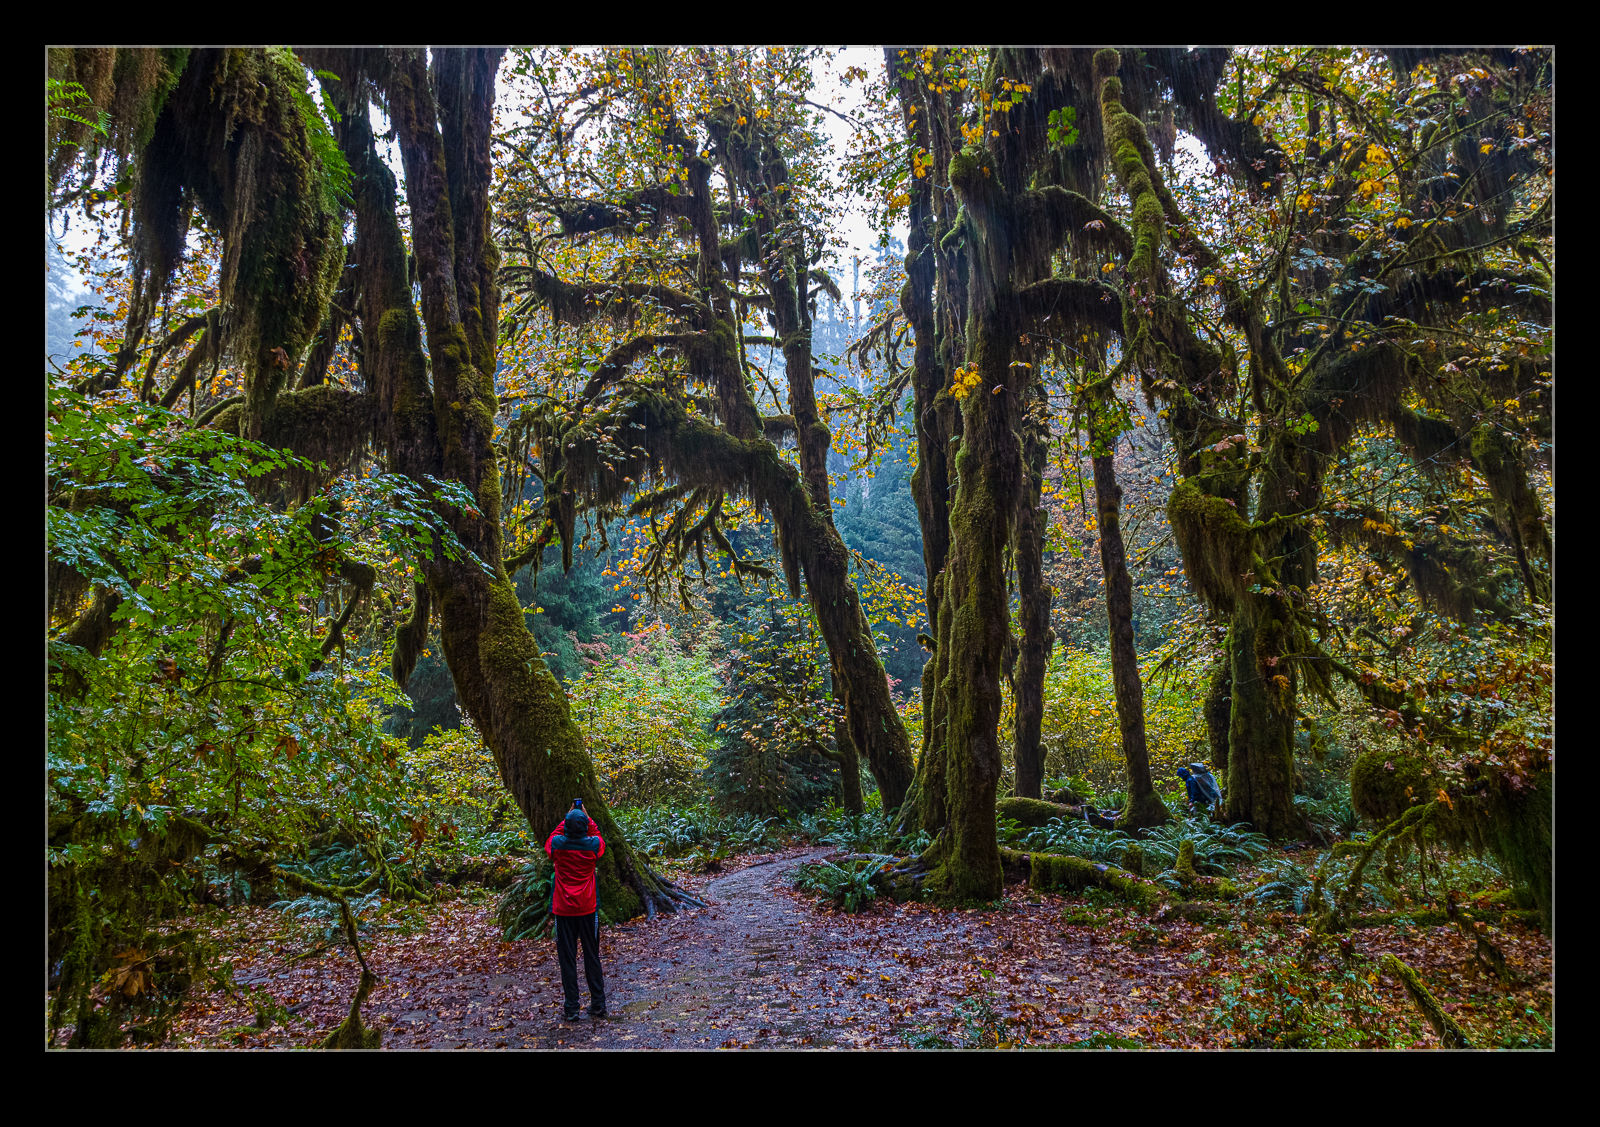
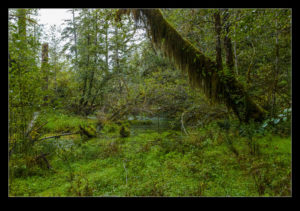
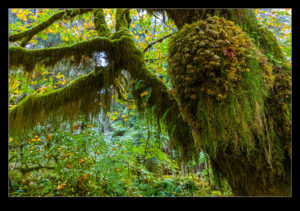
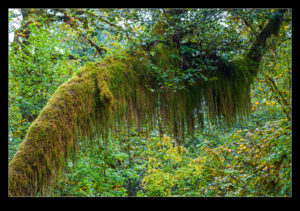
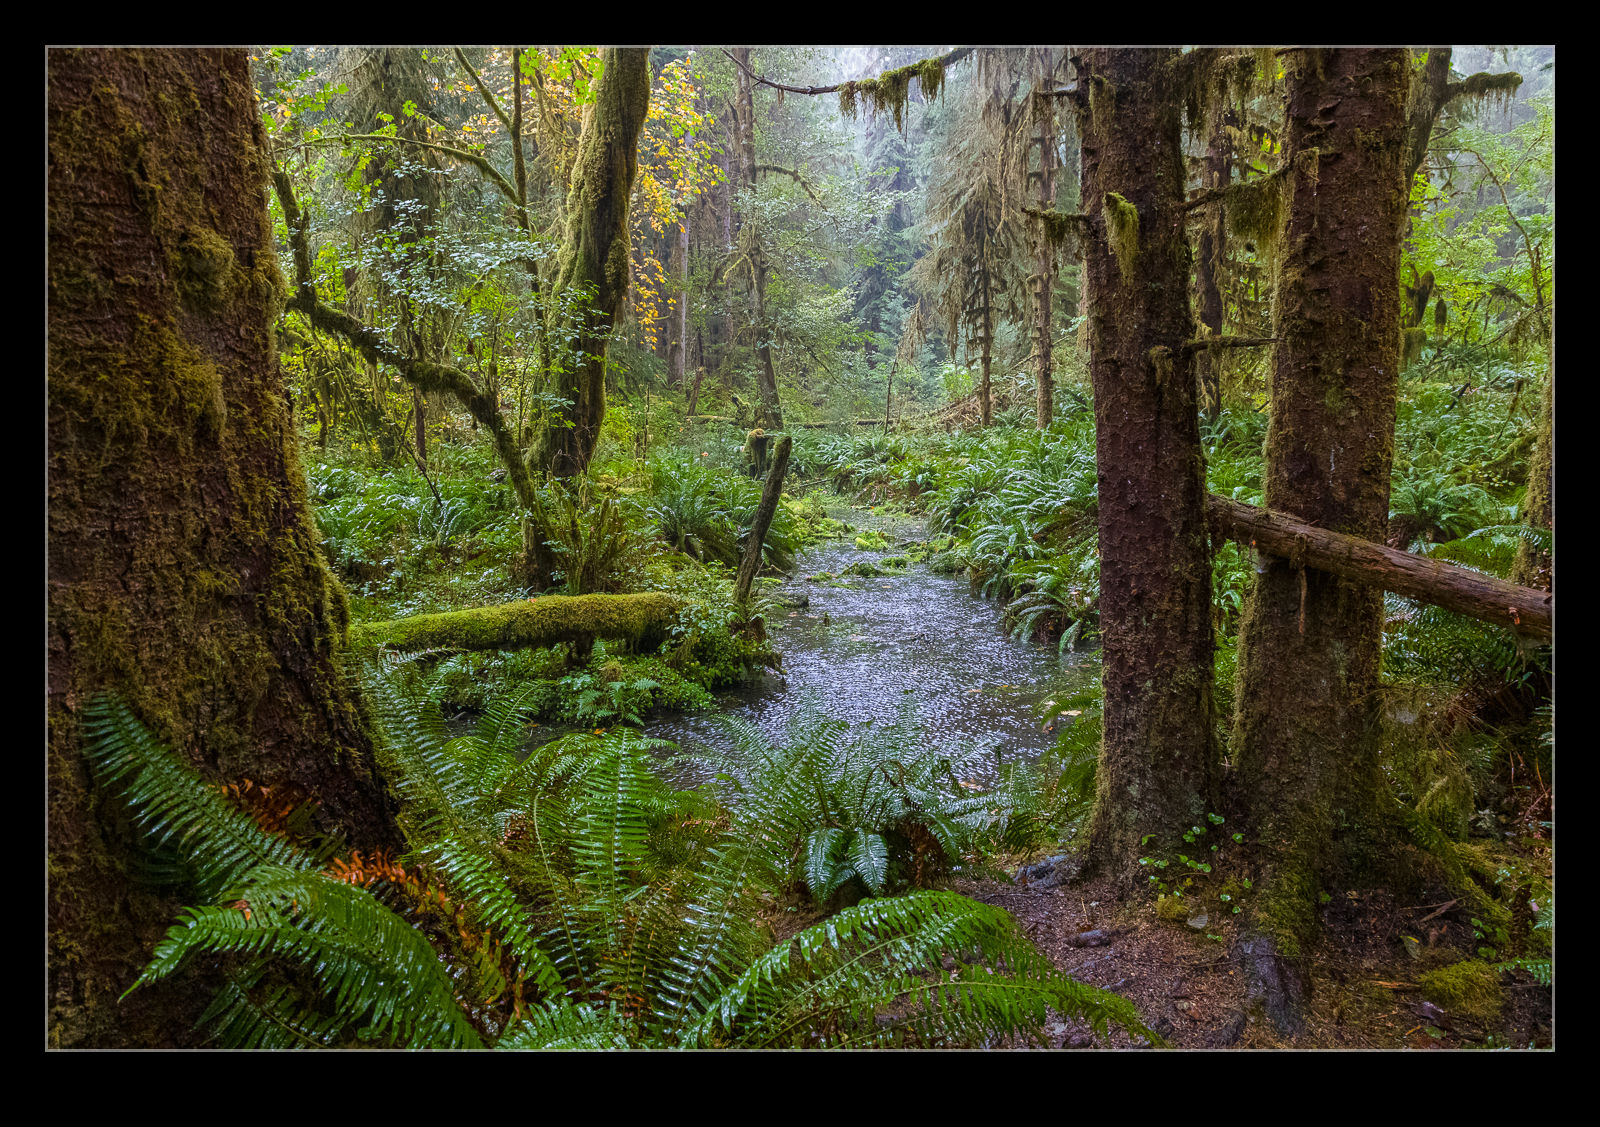 I was recently watching a video of a landscape photographer and he took a trip to the Hoh Rain Forest on the Olympic Peninsula in Washington. Nancy and I went there on a vacation a few years ago and I posted about it here. I decided to go back and look at some of the images from that visit and see what I liked. I had taken a bunch of photos in multiple locations on that trip and I found that I had not really given many of the shots any effort.
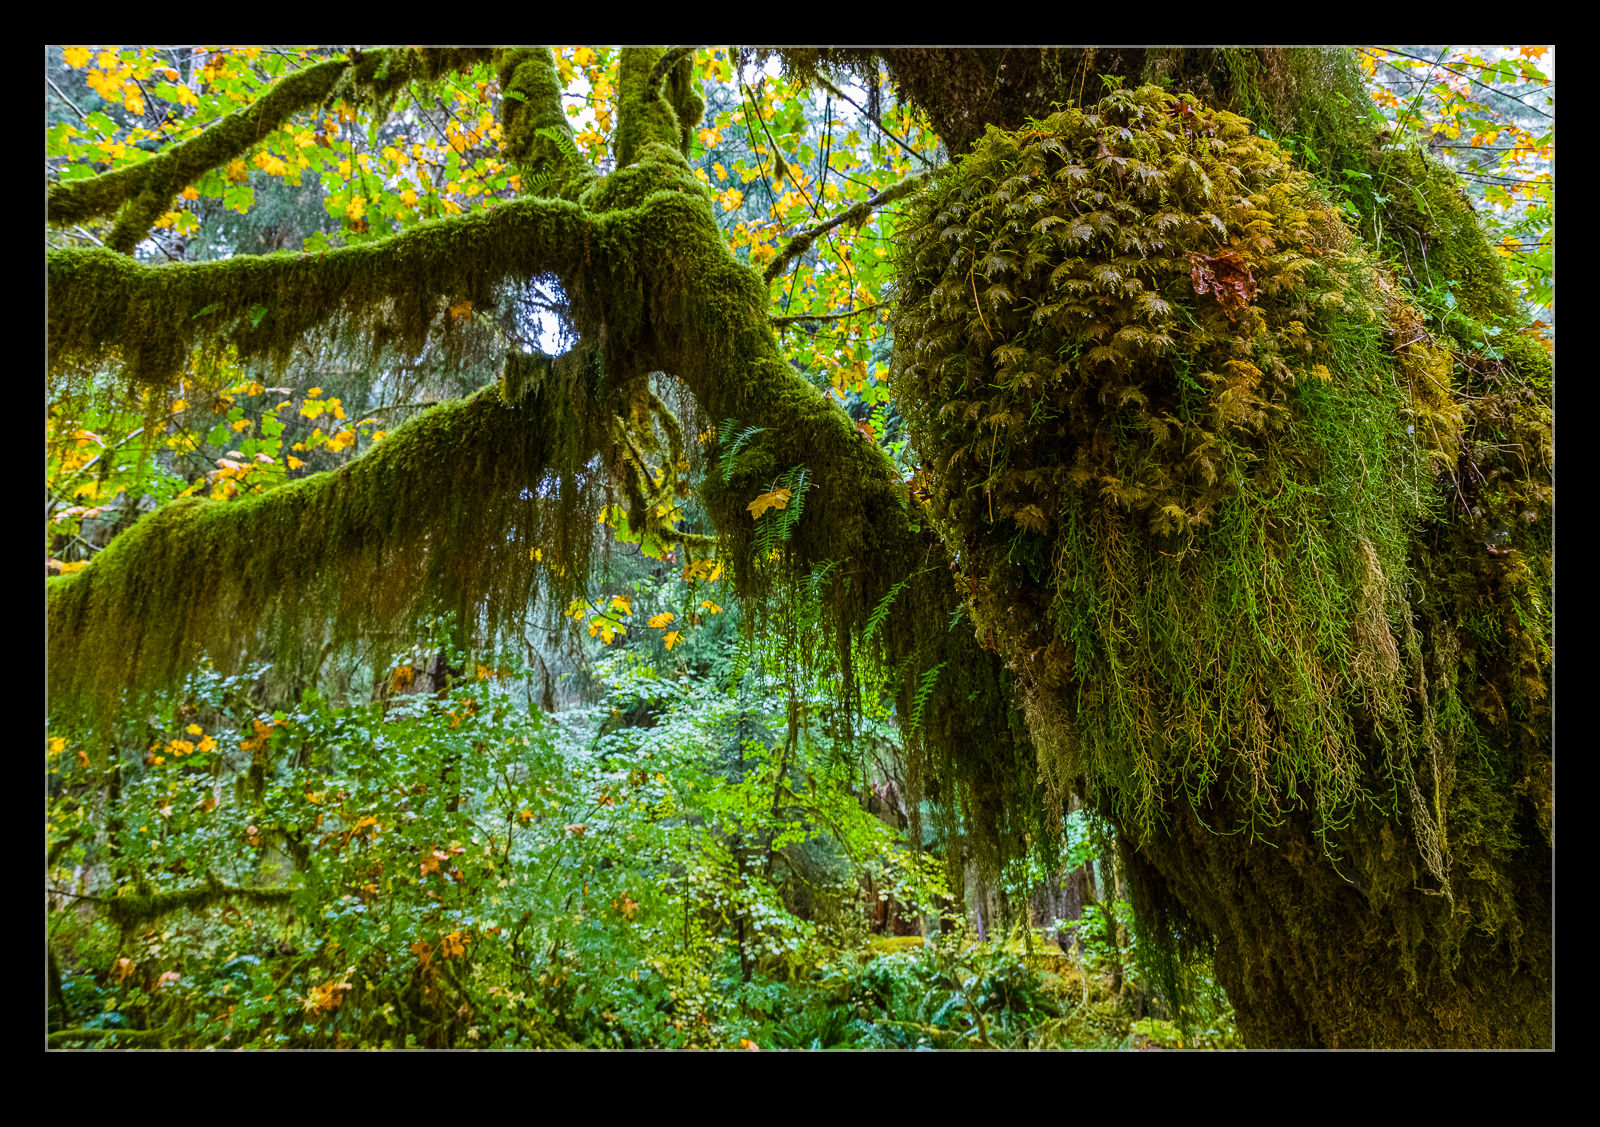 I decided to take a look at both those that I shared in the original post but also some “new” ones. I realized that a little effort made the images so much more interesting. The rain forest is so lush and there is so much green that it almost seems unnatural. I brought down the exposures a bit and did punch of the saturation a little. It does look a little overdone but I assure you it is actually a reflection of what the place is really like. I think digital cameras tend to tone down greens a bit and, when the place you are looking at is all green, this is a bit of a problem that needs to be addressed.
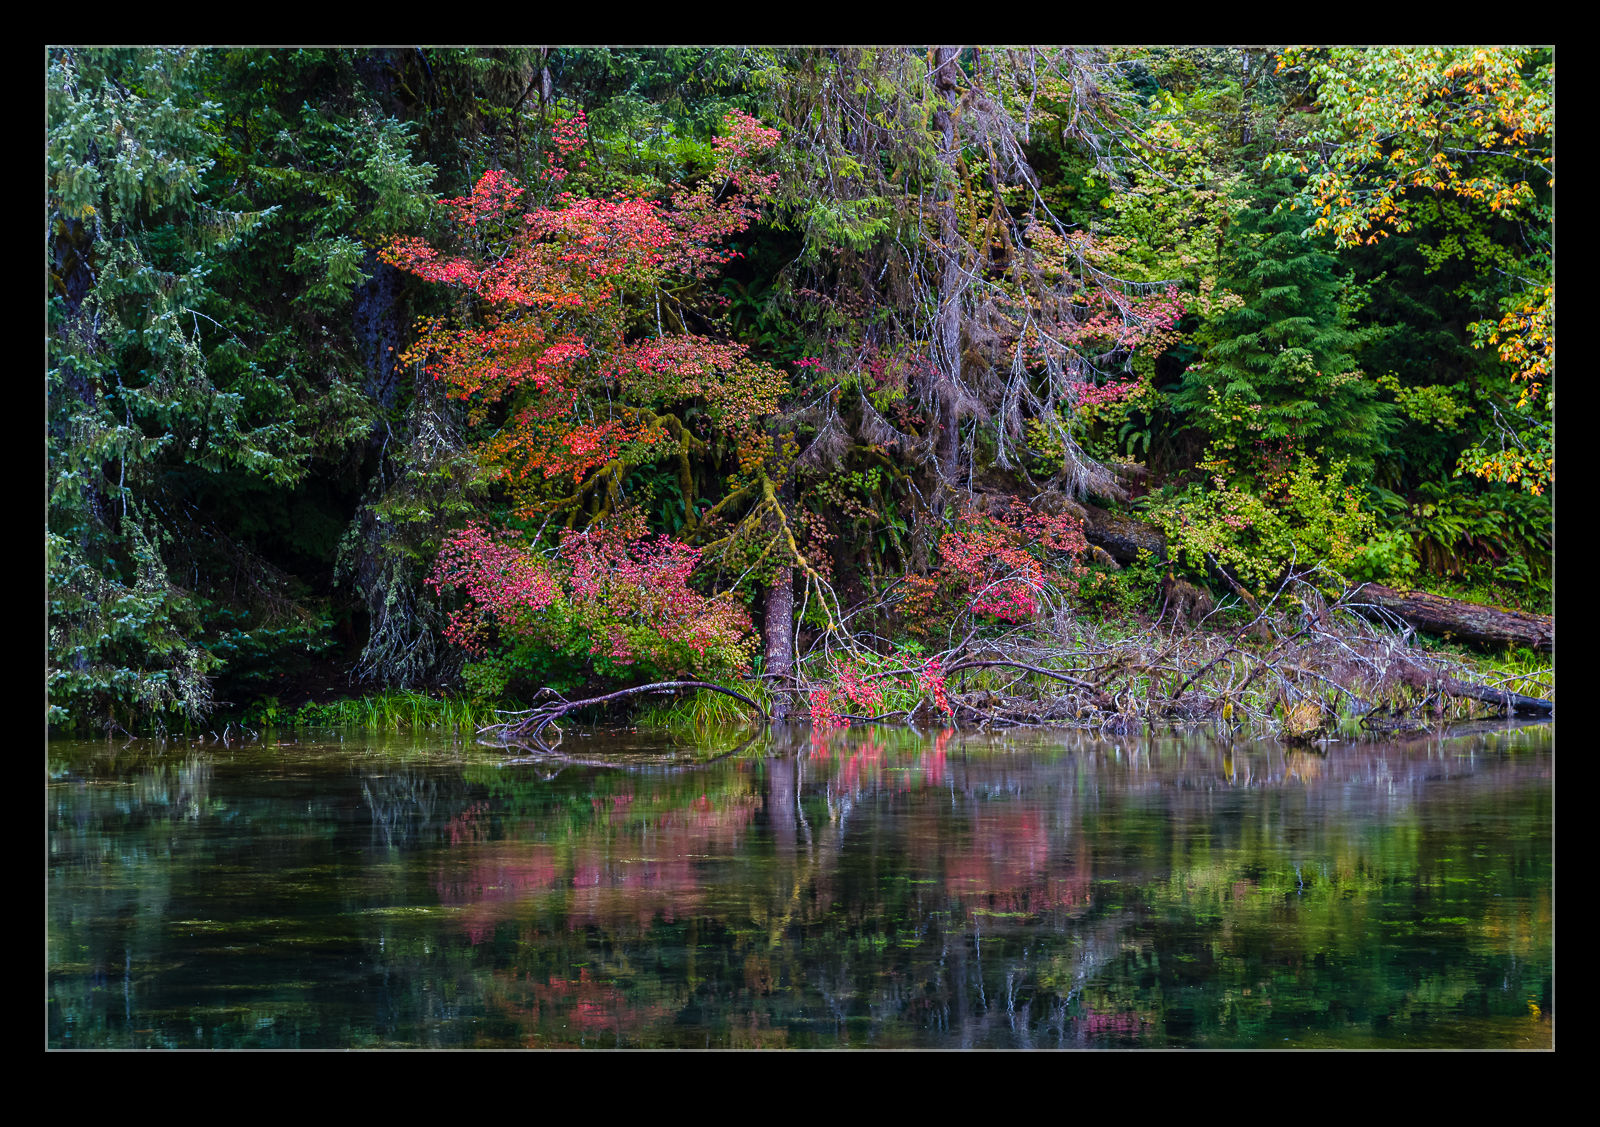 Oho is about four hours drive from where we are now. A bit of a trek for a day out but I think a trip over to that side of the peninsula is definitely something we should do again before too long. We can also check out the coastline over there which is really stunning.
Why Not Shoot an M-21 While I’m Here
 I was at the Museum of Flight for the IPMS exhibit but, while I was visiting, I figured it would be churlish not to take a picture of the M-21 that dominates the main hall. It is actually a bit difficult to photograph and there is a lot of contrast with the background and it is always busy so a bit cluttered. I knew it wasn’t going to be a great shot but decided to crop tighter on the airframe and shoot bracketed exposures and maybe go with an HDR process. It isn’t great but it came out better than I had expected.
Negative Lab Pro
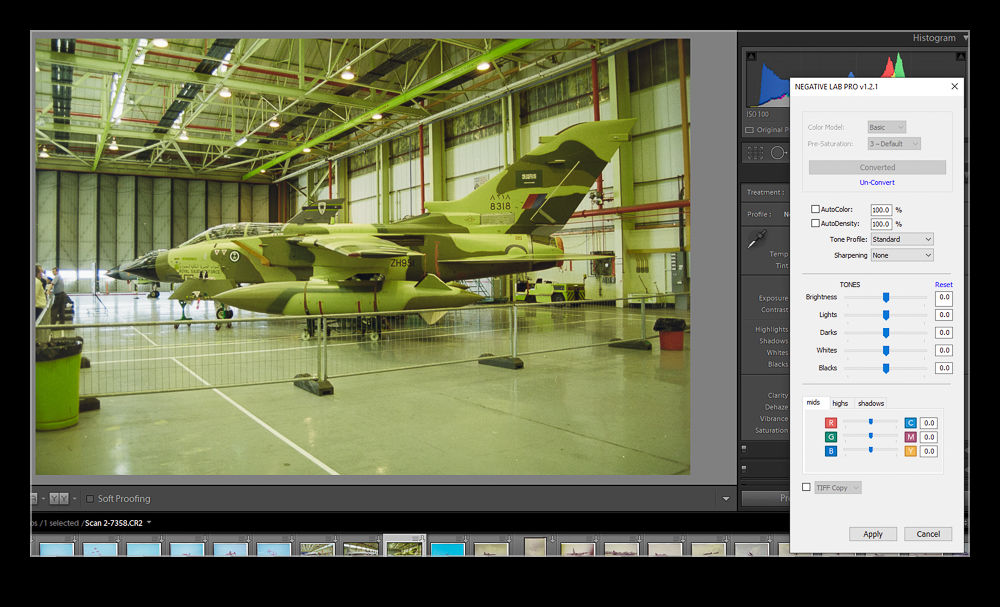
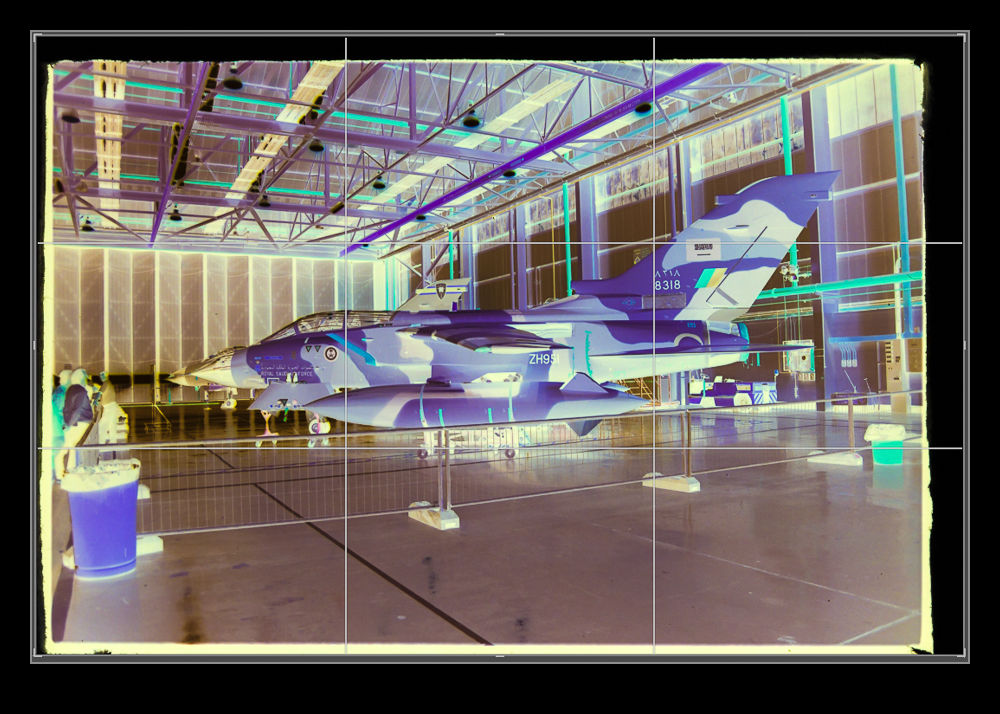 In previous posts I have described my efforts at scanning old negatives using a digital camera, macro lens and a light table. I have had mixed success with the process for converting the negatives into positives with some films responding better than others. I was okay with the output but thought things could be better. A YouTube video showed up on my page that was about scanning negatives with a digital camera and I decided to watch to see if they did anything different to me. The technique for shooting the negatives was similar enough but they introduced me to a Lightroom plugin called Negative Lab Pro.
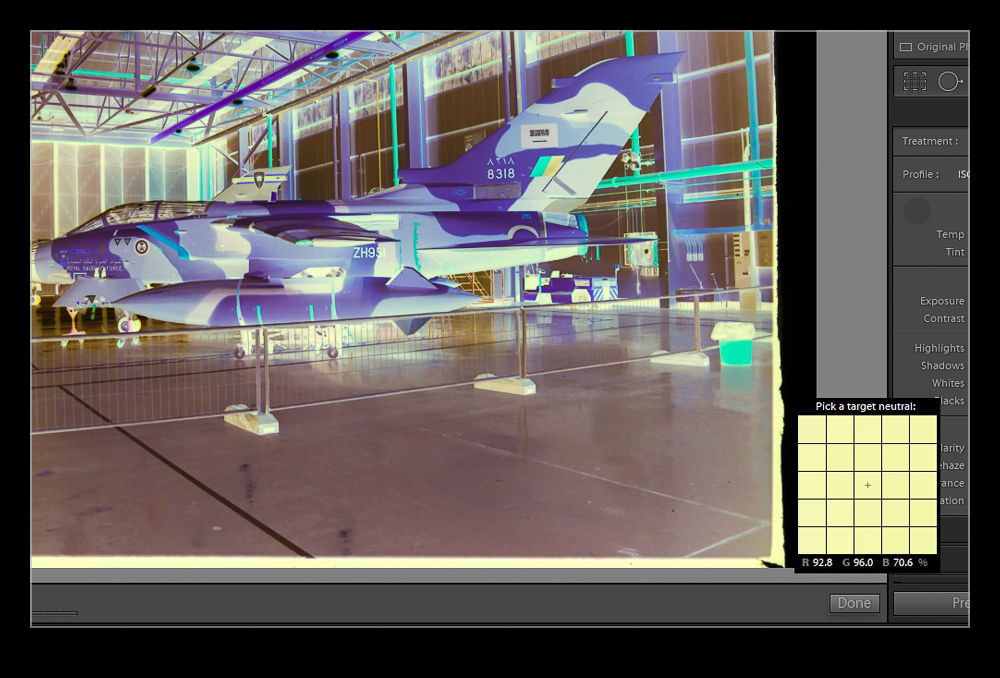 I downloaded a trial of the software and gave it a go. I was sufficiently impressed with the output that I stumped up the cash for the full version. It isn’t cheap but, given that I can now use it on several thousand images, I figured it was worth the investment. The plugin requires a small amount of effort. I revert the images back to a normal San without any of my previous edits and conversions. The first thing to do after that is to take a white balance reading from some of the visible edge of the film to neutralize any color shift. Then you crop in on the image. Apparently, it is important to avoid getting any unexposed edges in shot as this messes with the algorithm.
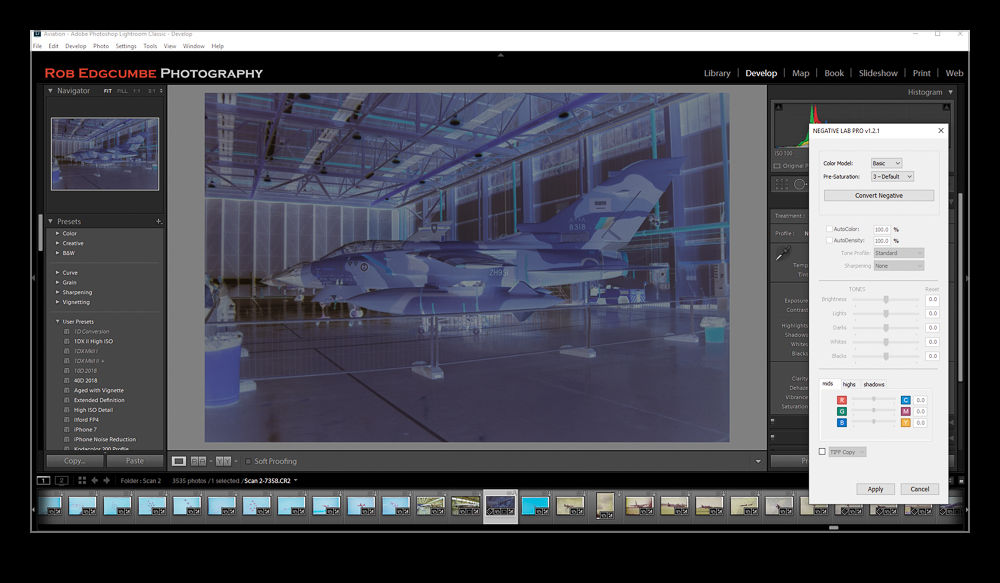 Then you open up the dialog box. It analyses the image and does a conversion. You then get some basic sliders to tweak the settings such as exposure and color balance. There are some auto setting check boxes but I haven’t found them to be too helpful so far. Then you click okay and the image is ready to do further editing in Lightroom. You can also do batch conversions of images if you want although I think it is probably better to focus on individual processing. I have been playing with this on a range of images so far and I like the results. My old negatives are not that great and this is not going to suddenly make them amazing but I am impressed how much more I can get out of some of the scans using this software.
Learning a Better Way to Blend in Photoshop
I occasionally use the Statistics function in Photoshop to blend multiple images in order to get rid of the distractions that I don’t want like people or vehicles. Up until now, this has been a real pain to do. I would identify the images in Lightroom but would have to open Photoshop, go into the Statistics function, use the browse function in there to select the images and then it would run everything in one go. This was not a convenient way to go and the output image then needed to be manually added to Lightroom which is not handy.
It turns out that there is a better way. This may have been in Photoshop all along and I never knew or it could have been a recent addition. Either way, it is there and I shall now use it for future projects. I have even created a Photoshop action to cover the process and assigned a function key so it will now do the heavy lifting without my intervention. It all starts out in Lightroom. Select all the images that will be used for the blend. Then use Edit>Open As Layers and a new document will open in Photoshop with all shots as layers.
If everything has been shot on a tripod, things will be properly aligned by default but I often do these things on the spur of the moment so they are hand held. Consequently, while my efforts to keep pointing in the same direction are not bad, the first task is to select all layers and Auto Align layers to tidy things up. Next, go into the Layer tab and, under Smart Object, convert to a Smart Object. This may take a little while.
Next step is to go back into Layers>Smart Objects>Stack Mode. This brings up the same options as you get through the Statistics function. Select Mean and send it on its way and you end up with a shot that, depending on the number of shots taken and the clear space in enough of them, results in a clear shot. Usually I find that I haven’t got enough shots of the right type to get everything to disappear so some ghostly elements may remain but they are certainly less distracting than the figures in the original shots. I have no idea what the other modes will achieve and the descriptions Adobe provides in their help files are so obscure as to be virtually useless. Instead I shall have to experiment with them to see what happens. Thankfully, now I have this new method, I can undo the last step easily to try each option which would not have been possible using the Statistics dialog. Another win!
