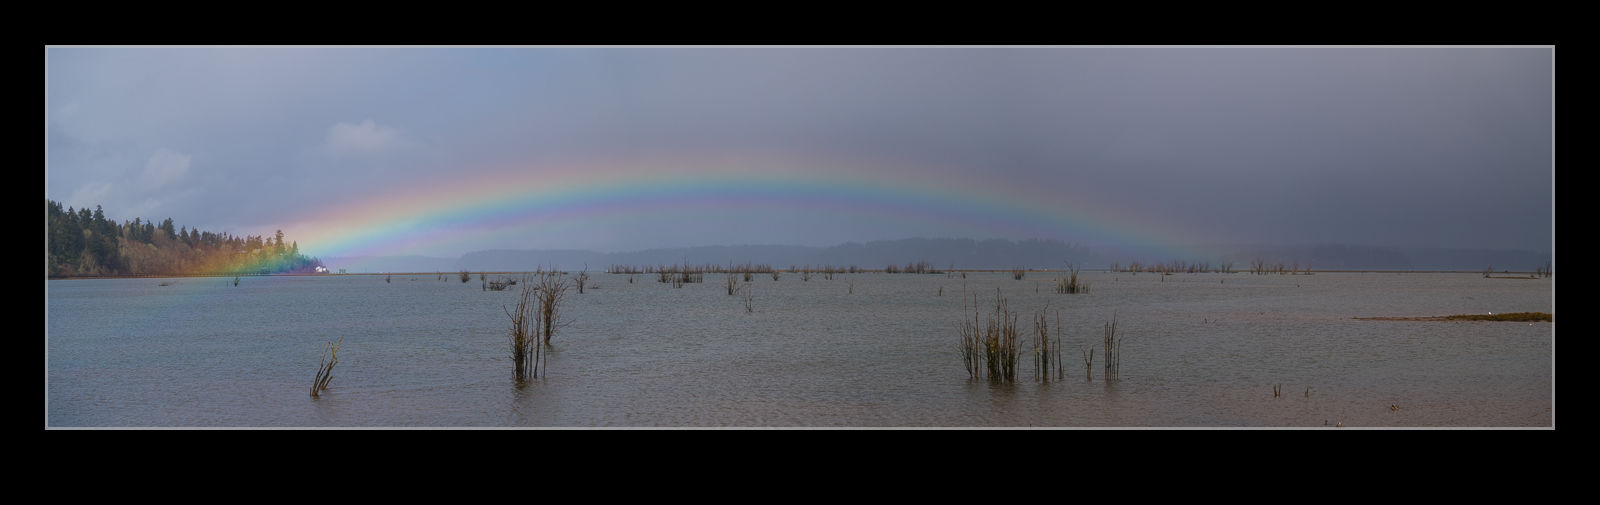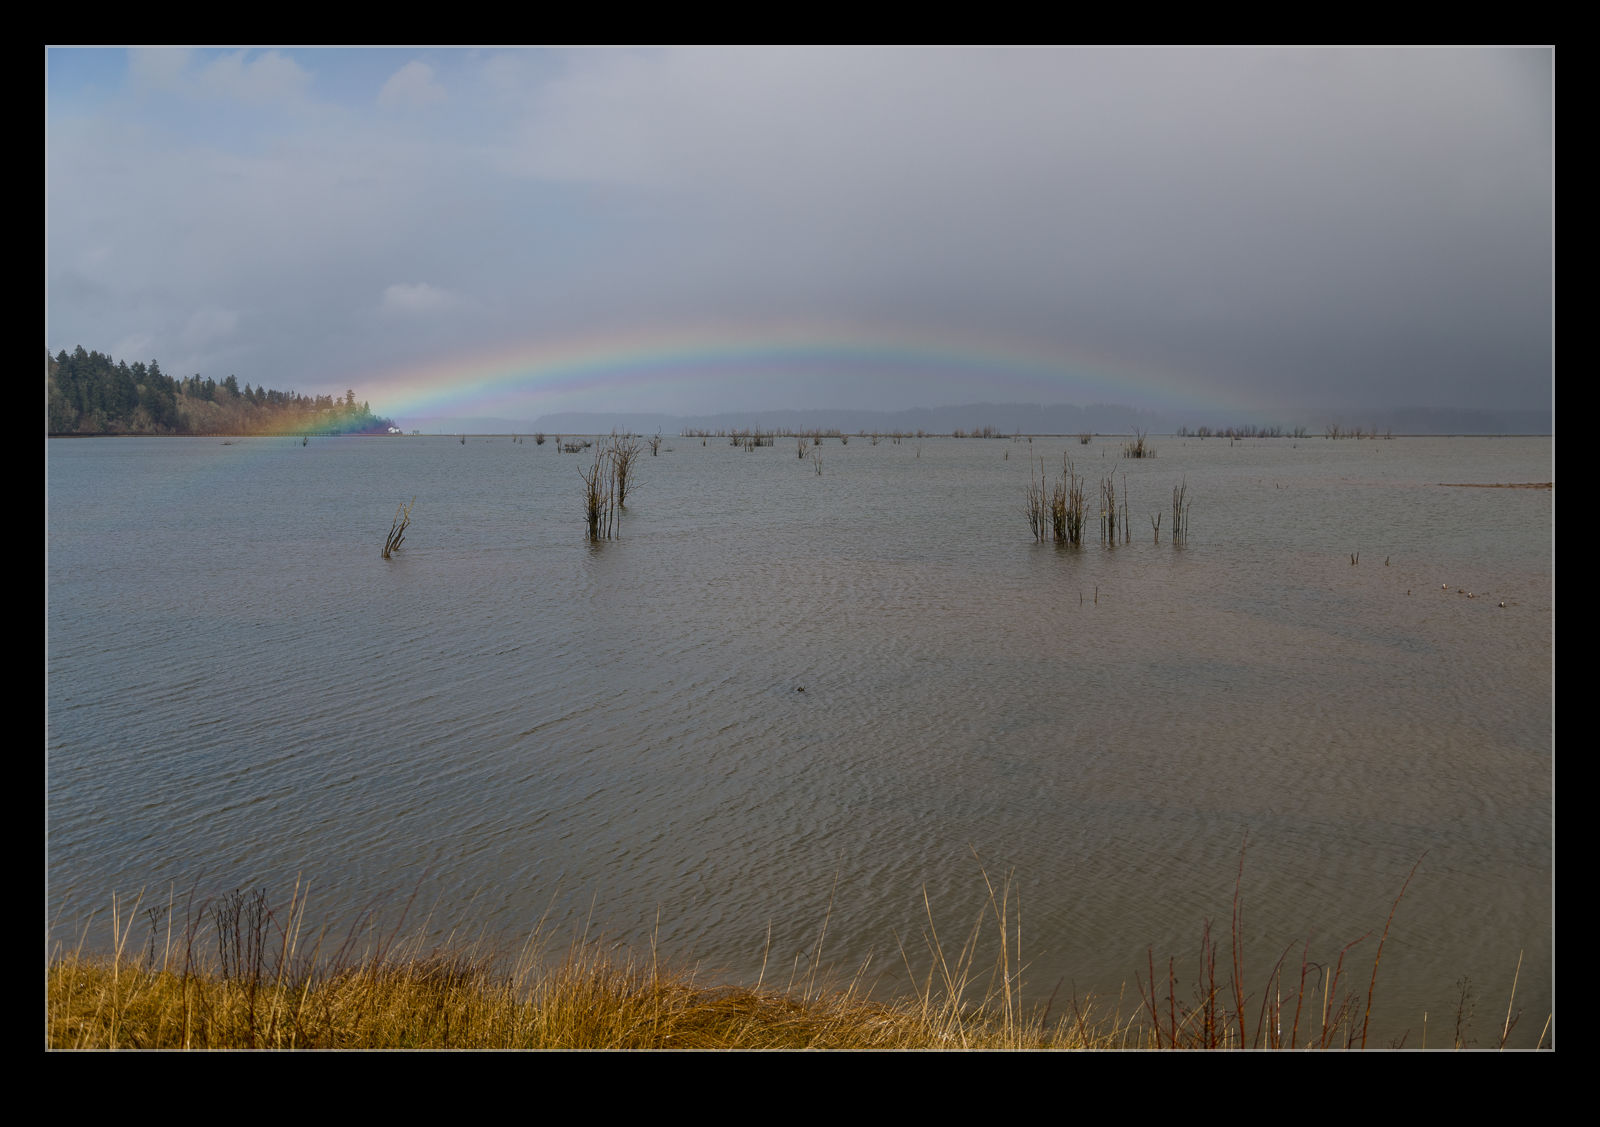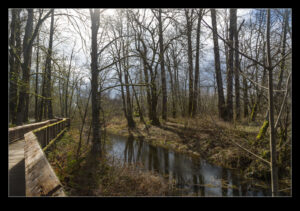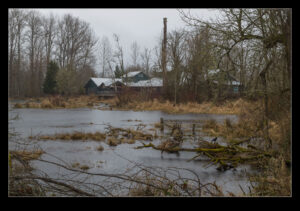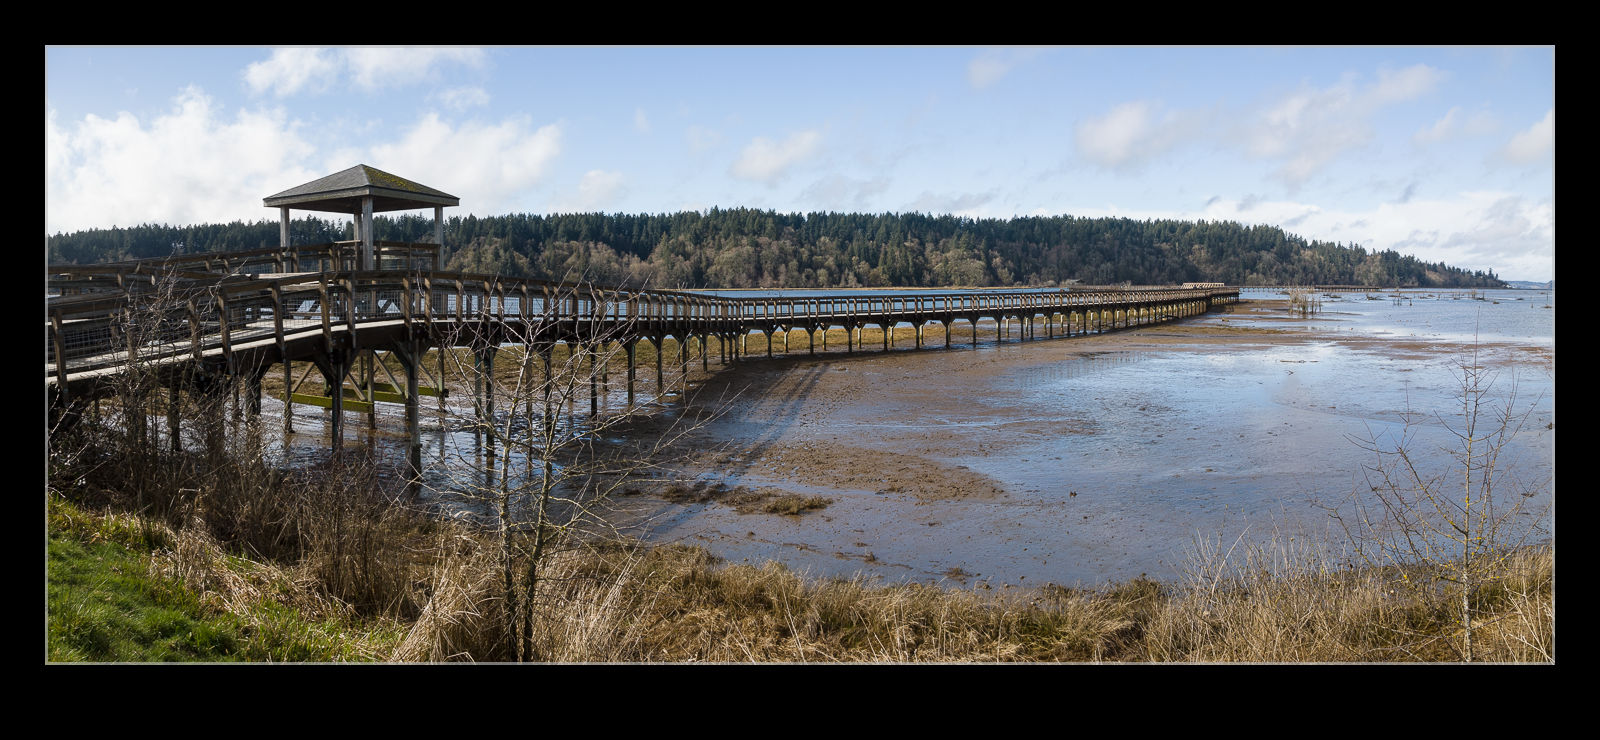
The weather may have been highly variable for my visit to Nisqually National Wildlife Refuge, this did have a side benefit. Lots of rain followed by sudden sun means a good chance of a rainbow. That is exactly what we got. The rainbow was very wide and flat which I assume is a function of the sun angle at this time of year. It looked pretty unusual and very cool so I figured I would share it here!
Tag Archives: photo
Three Black Hawks Bring In Some Passengers
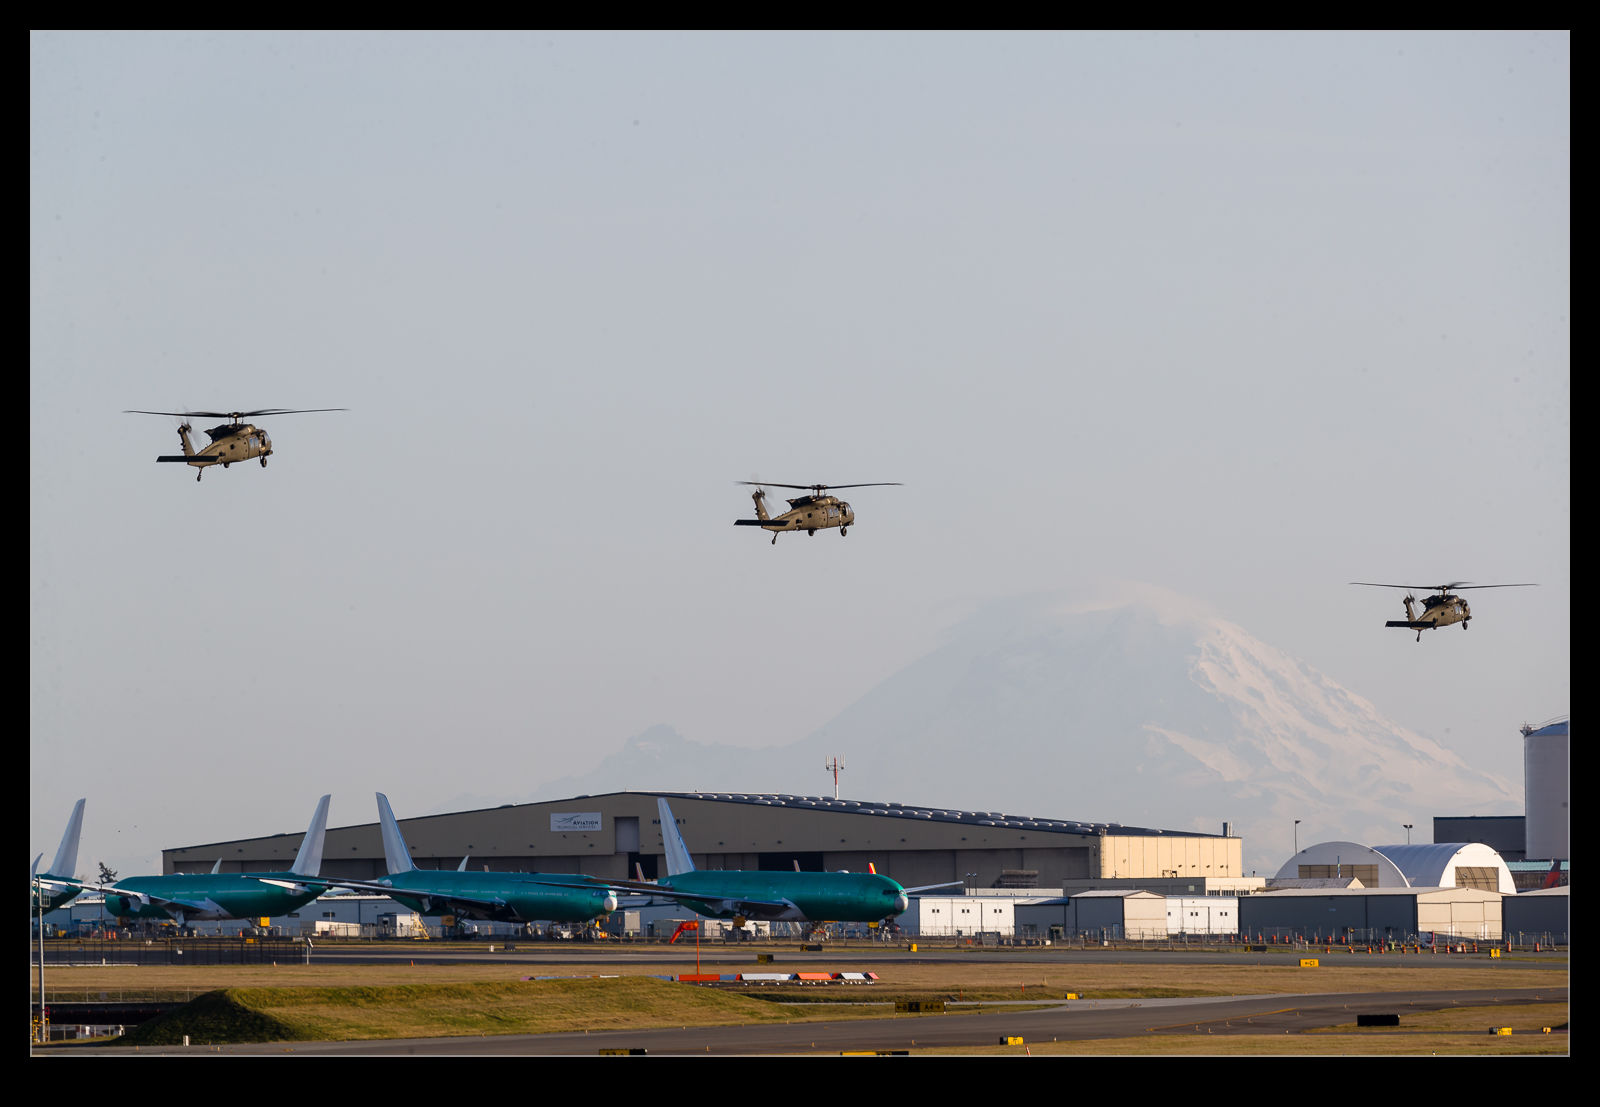
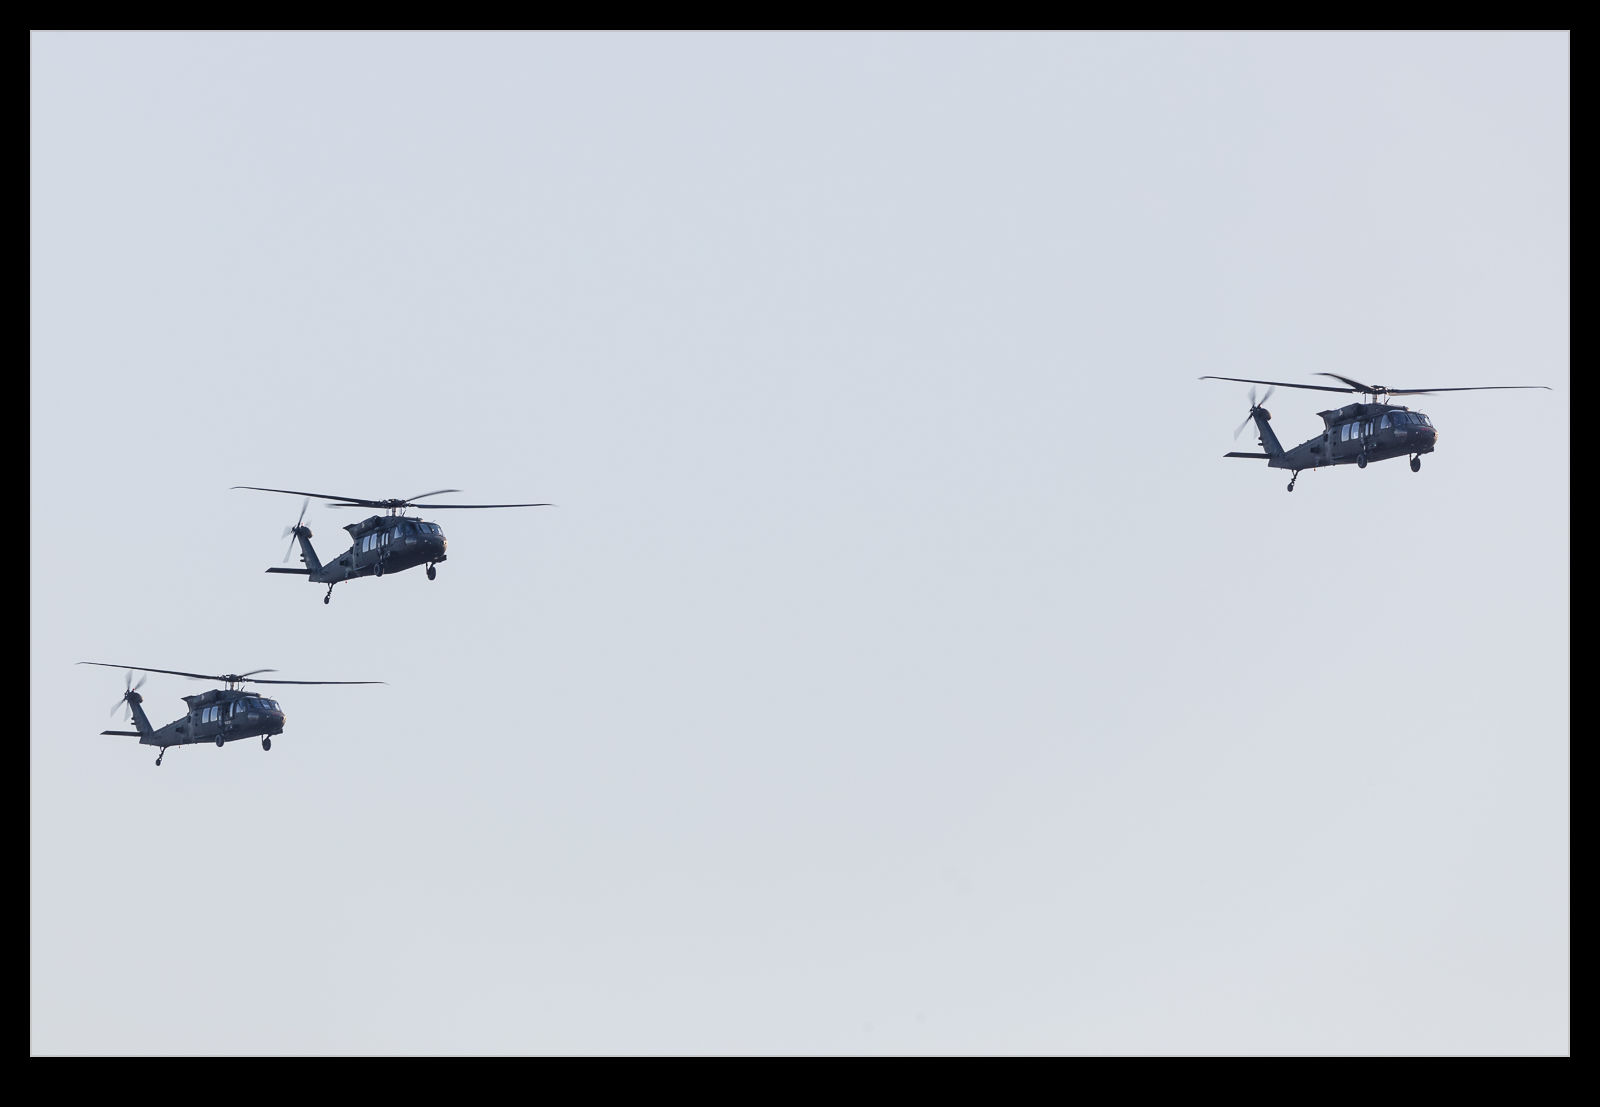
The evening departure of the C-32 was covered in this previous post. I hinted then about the arrival of some of the passengers. I’m not sure where they had been visiting but they returned Ina. Three ship of Black Hawks. Some of those who had been around earlier in the day had seen the departure and apparently it followed the same process.
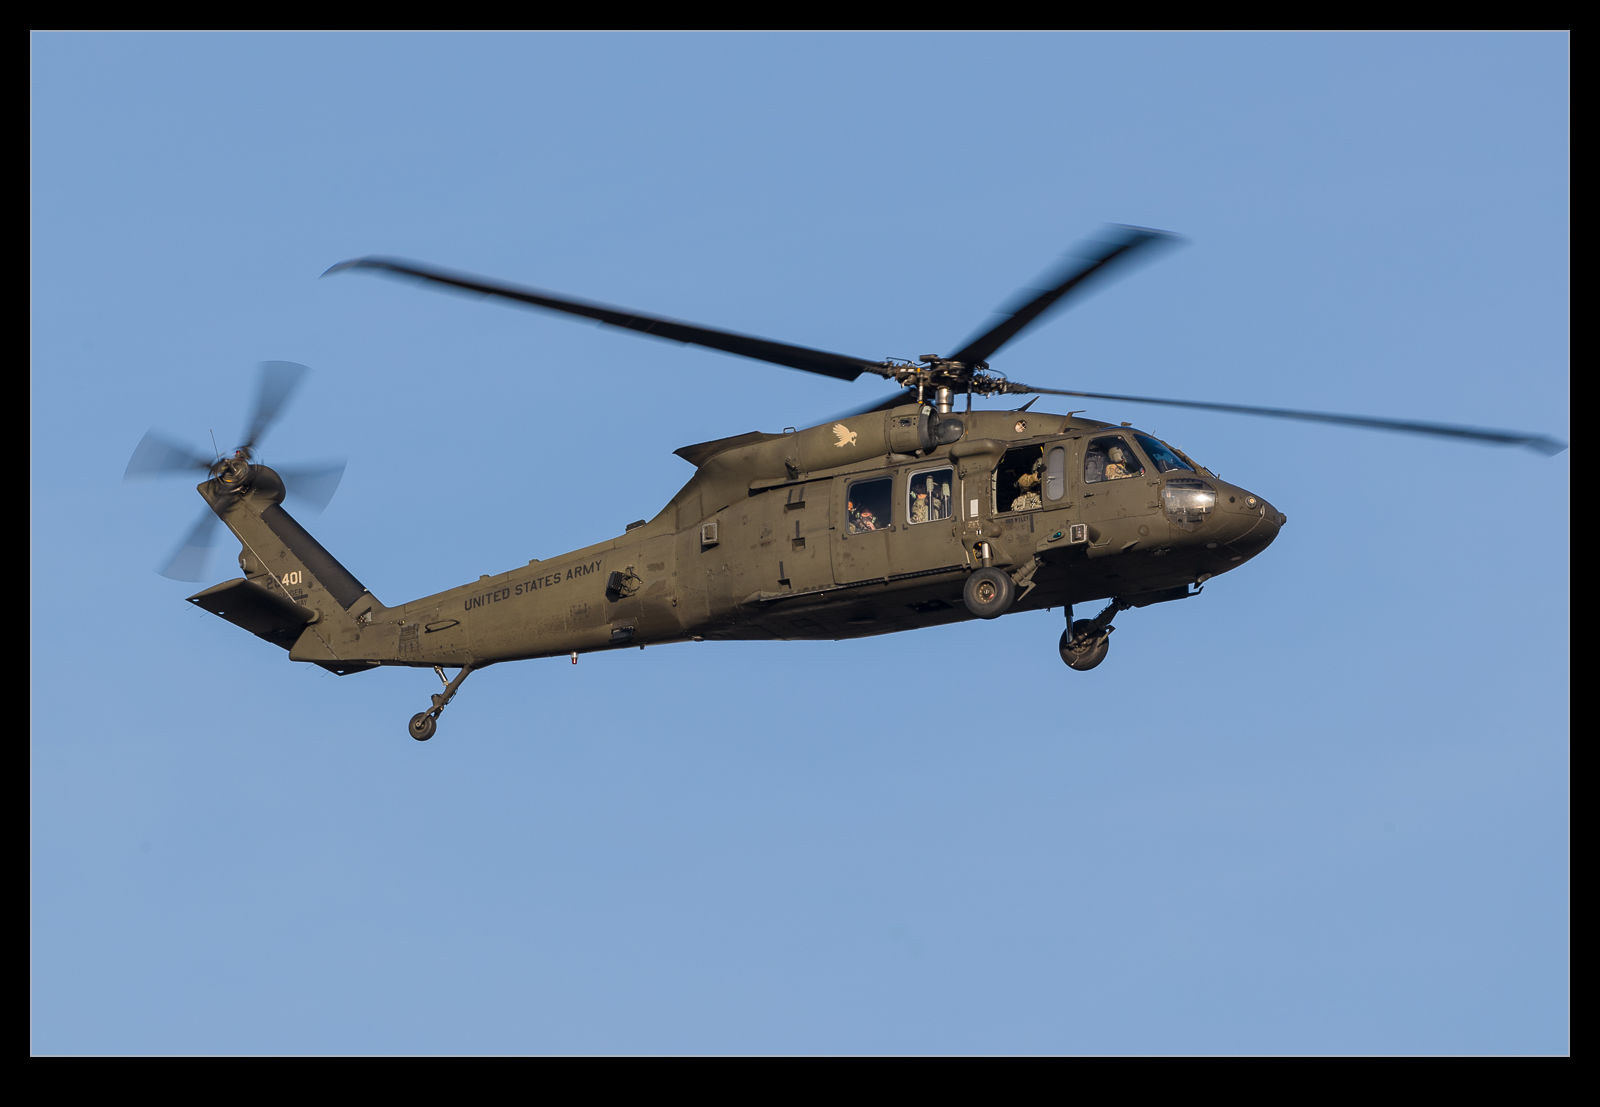
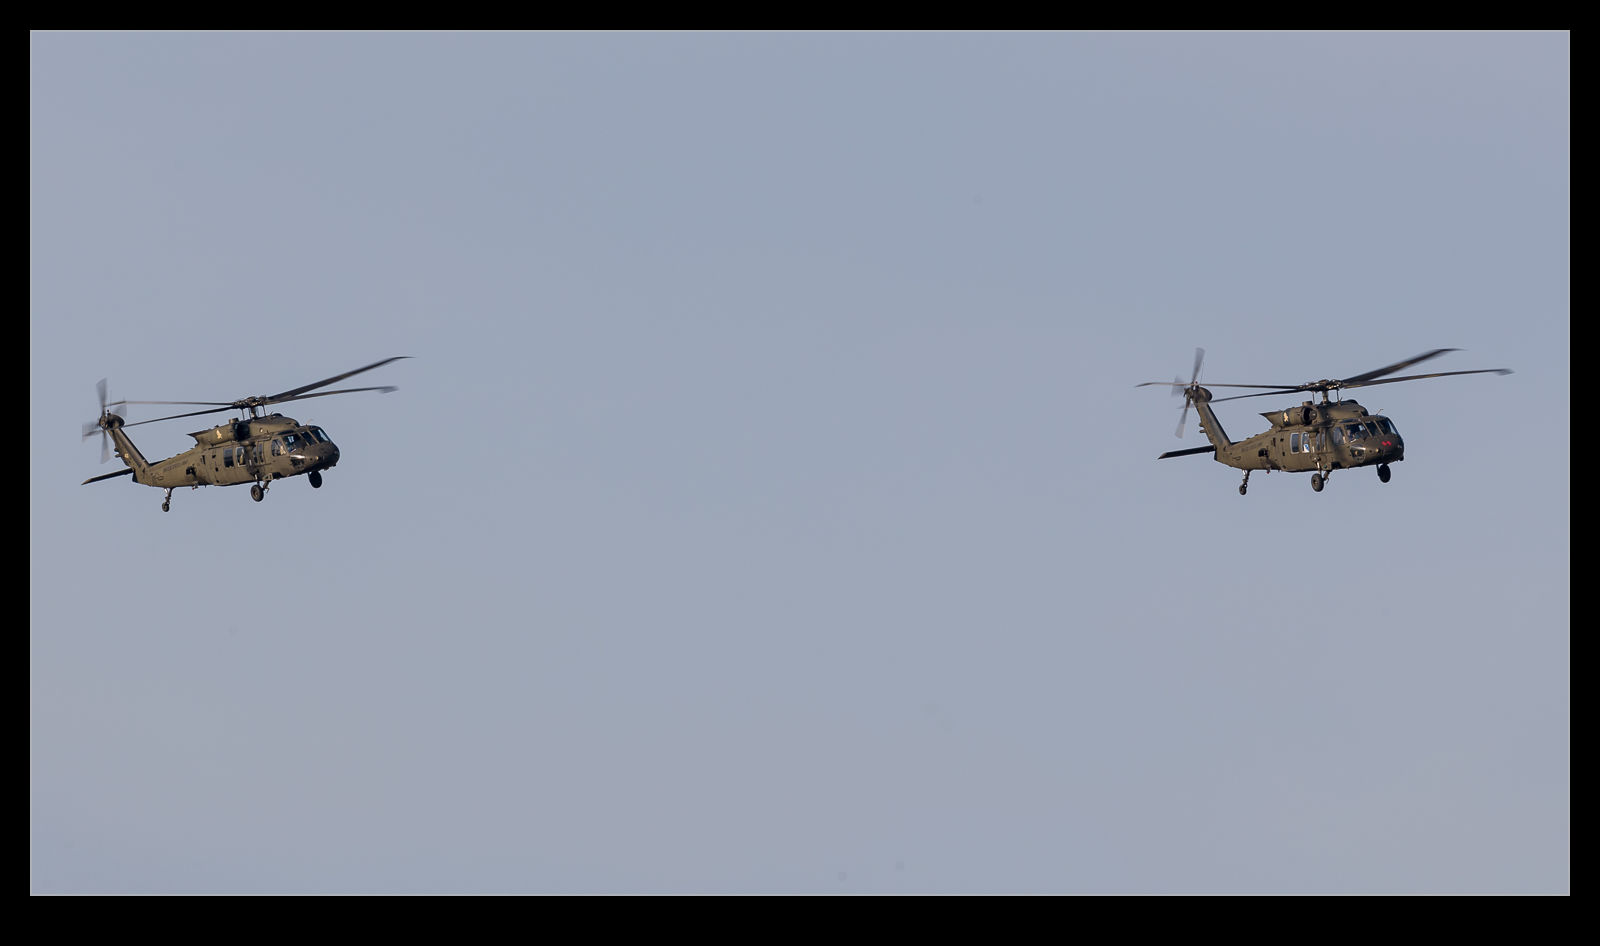
The three ship of Black Hawks flew downwind on the west side of the field having approached from the south. They then turned to final in a stream, descending to a lower level and flying the length of the runway prior to setting down near the fire station and close to the awaiting C-32. Since it was late in the day, the light on them was really nice once they were over the field (conversely, they were seriously backlit while downwind).
After dropping off their passengers, they pulled up and departed back to the south, presumably heading towards JBLM. I haven’t seen any UH-60s for a while so this was a nice change from the norm. It was also fun looking at the crew on board with the helmet and face masks as they looked back at us. Hopefully they didn’t mind being photographed too much!
HDR Processing on a Slide
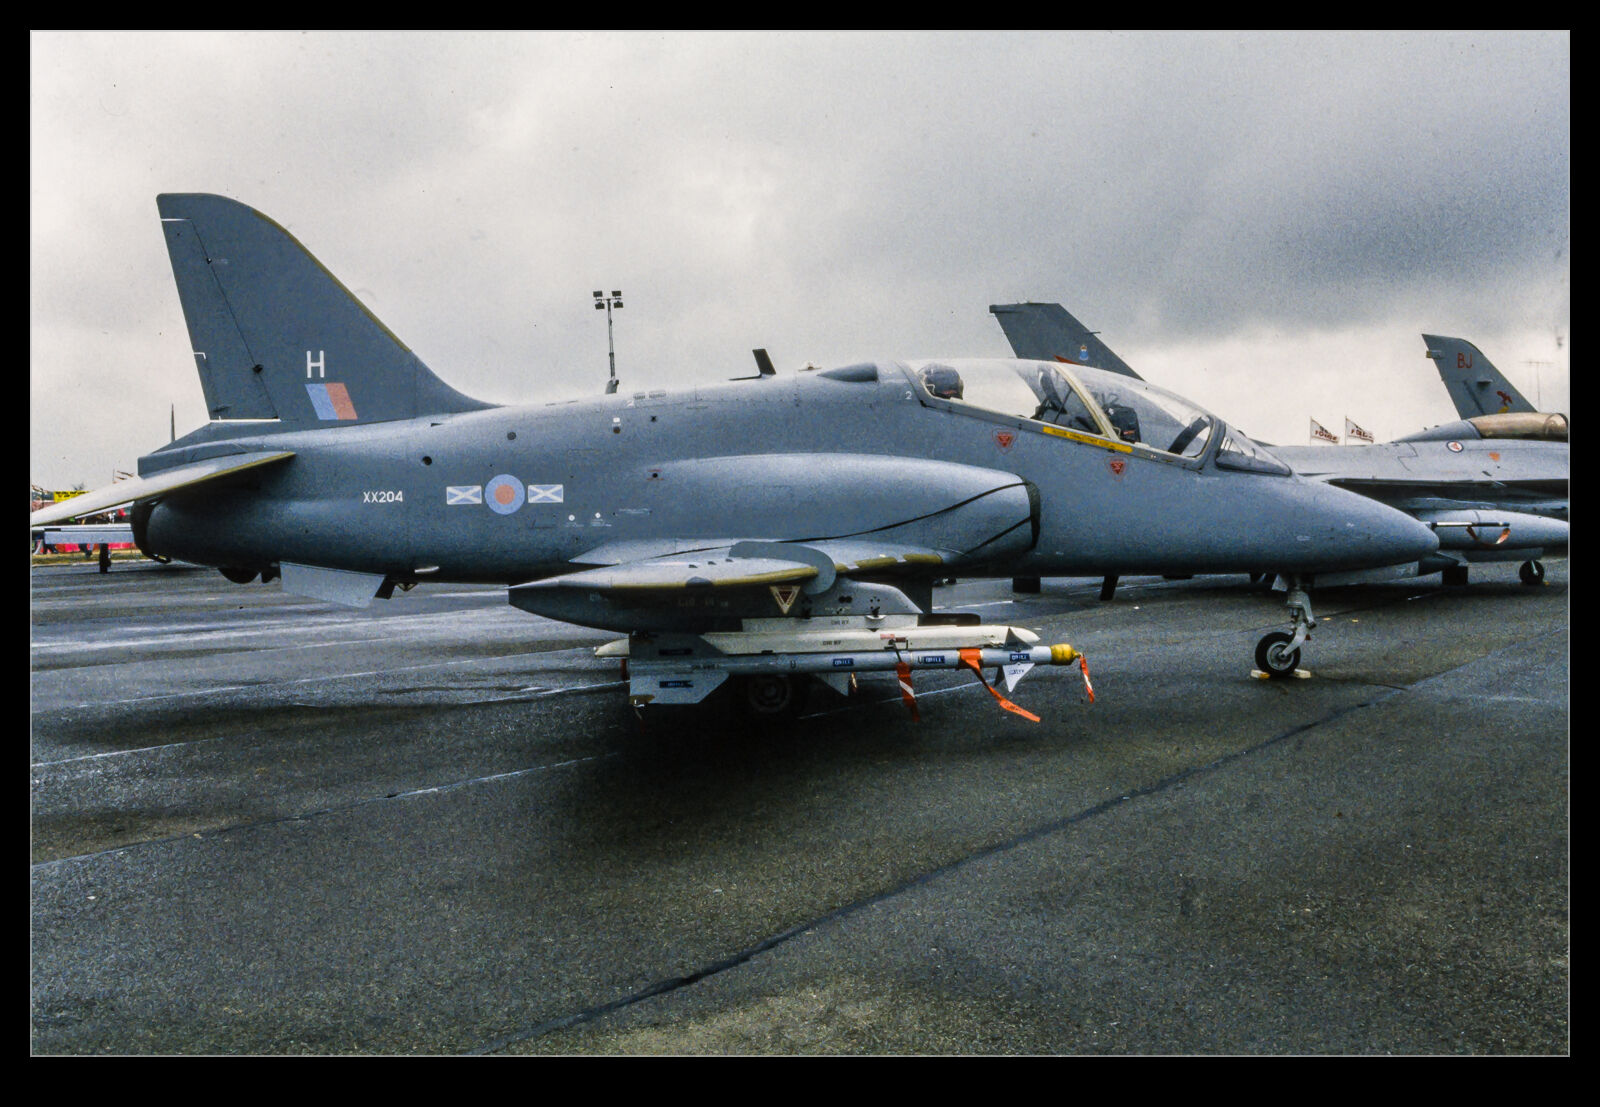
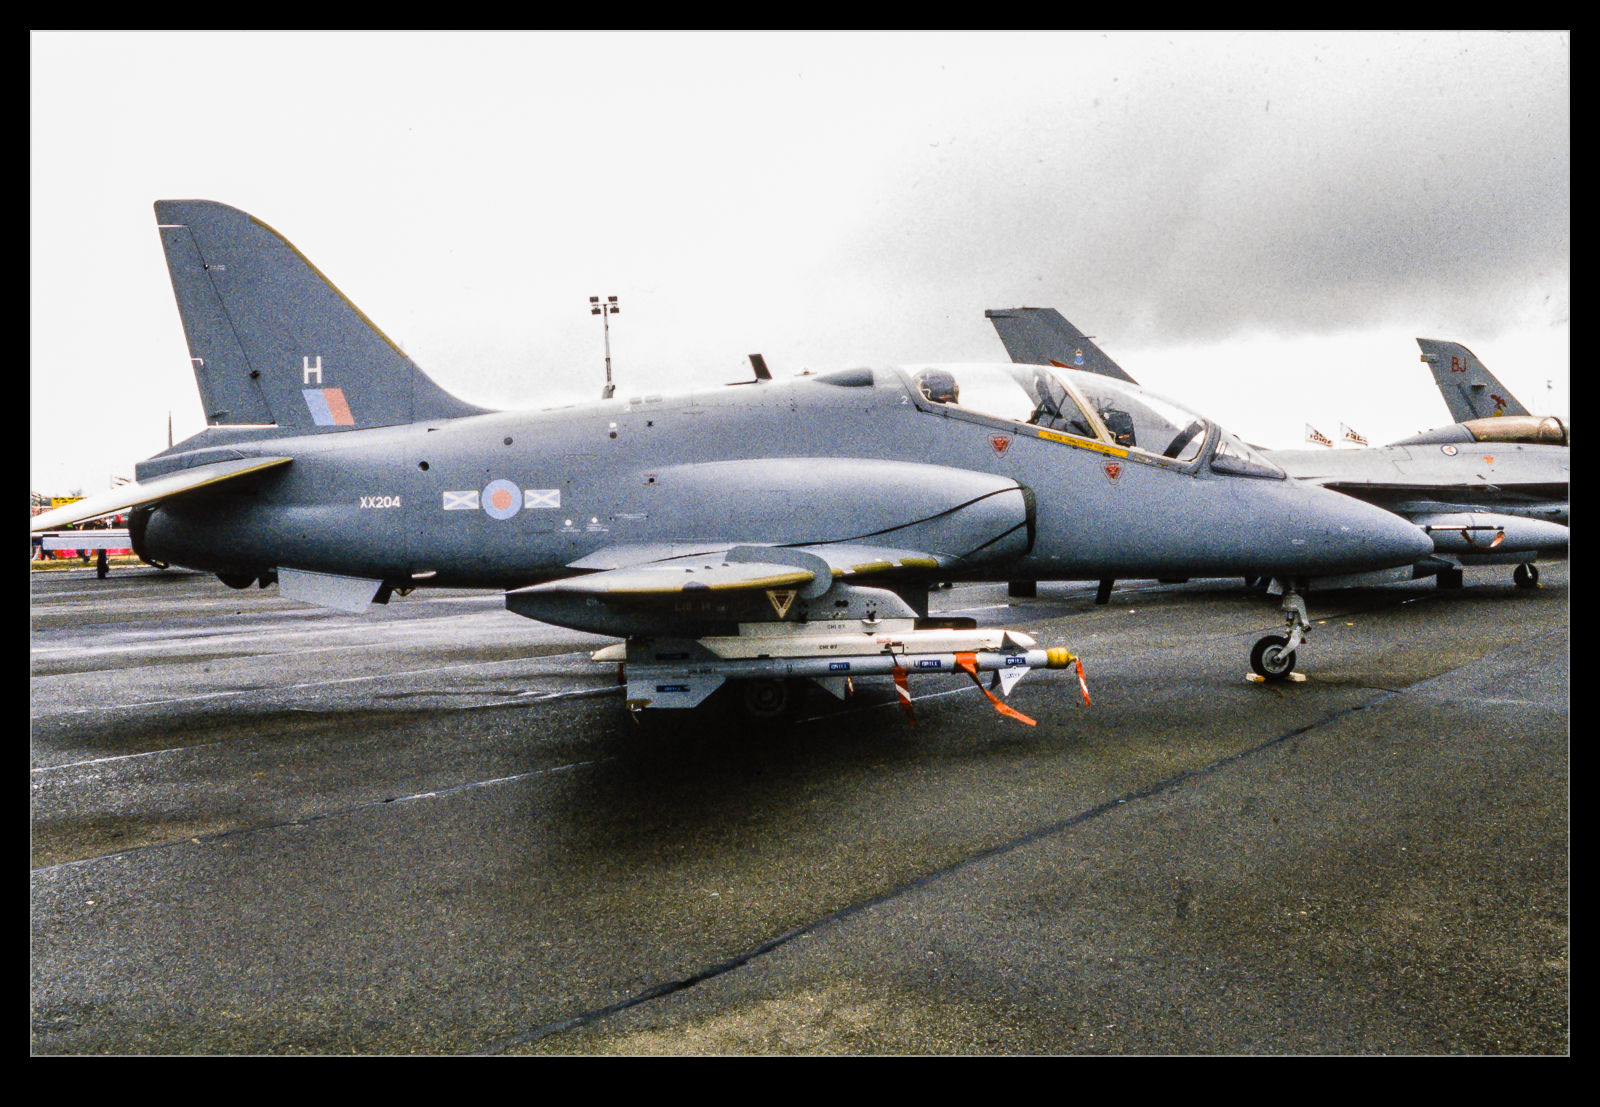
I decided to try a little experiment with my slide scanning. Having scanned a bunch of slides and negatives using a DSLR and macro lens set up, I had come across a few slides where the image just didn’t seem to work out very well. A big part of this is that the original slides were not very well exposed so I was starting from a less than ideal place. However, when editing the raw file, I found I wasn’t able to get a balance of exposures that I liked, despite slides supposedly having a very narrow dynamic range.
Since I could see some detail in the original slide, I figured an HDR approach might be of use. I took three shots of the slide with differing exposure – an inconvenient thing to do when tethered since the AEB function didn’t seem to work on the 40D in that mode – and then ran the HDR function in Lightroom on the three exposures. Despite the borders possibly confusing the algorithm, it seemed to do a pretty reasonable job of getting more of the image in a usable exposure range. This is not a great image and would not normally be making it to the blog but, as an example of getting something more out of a problem shot, I thought it might be of interest to someone.
Snowy Weekend in Woodinville
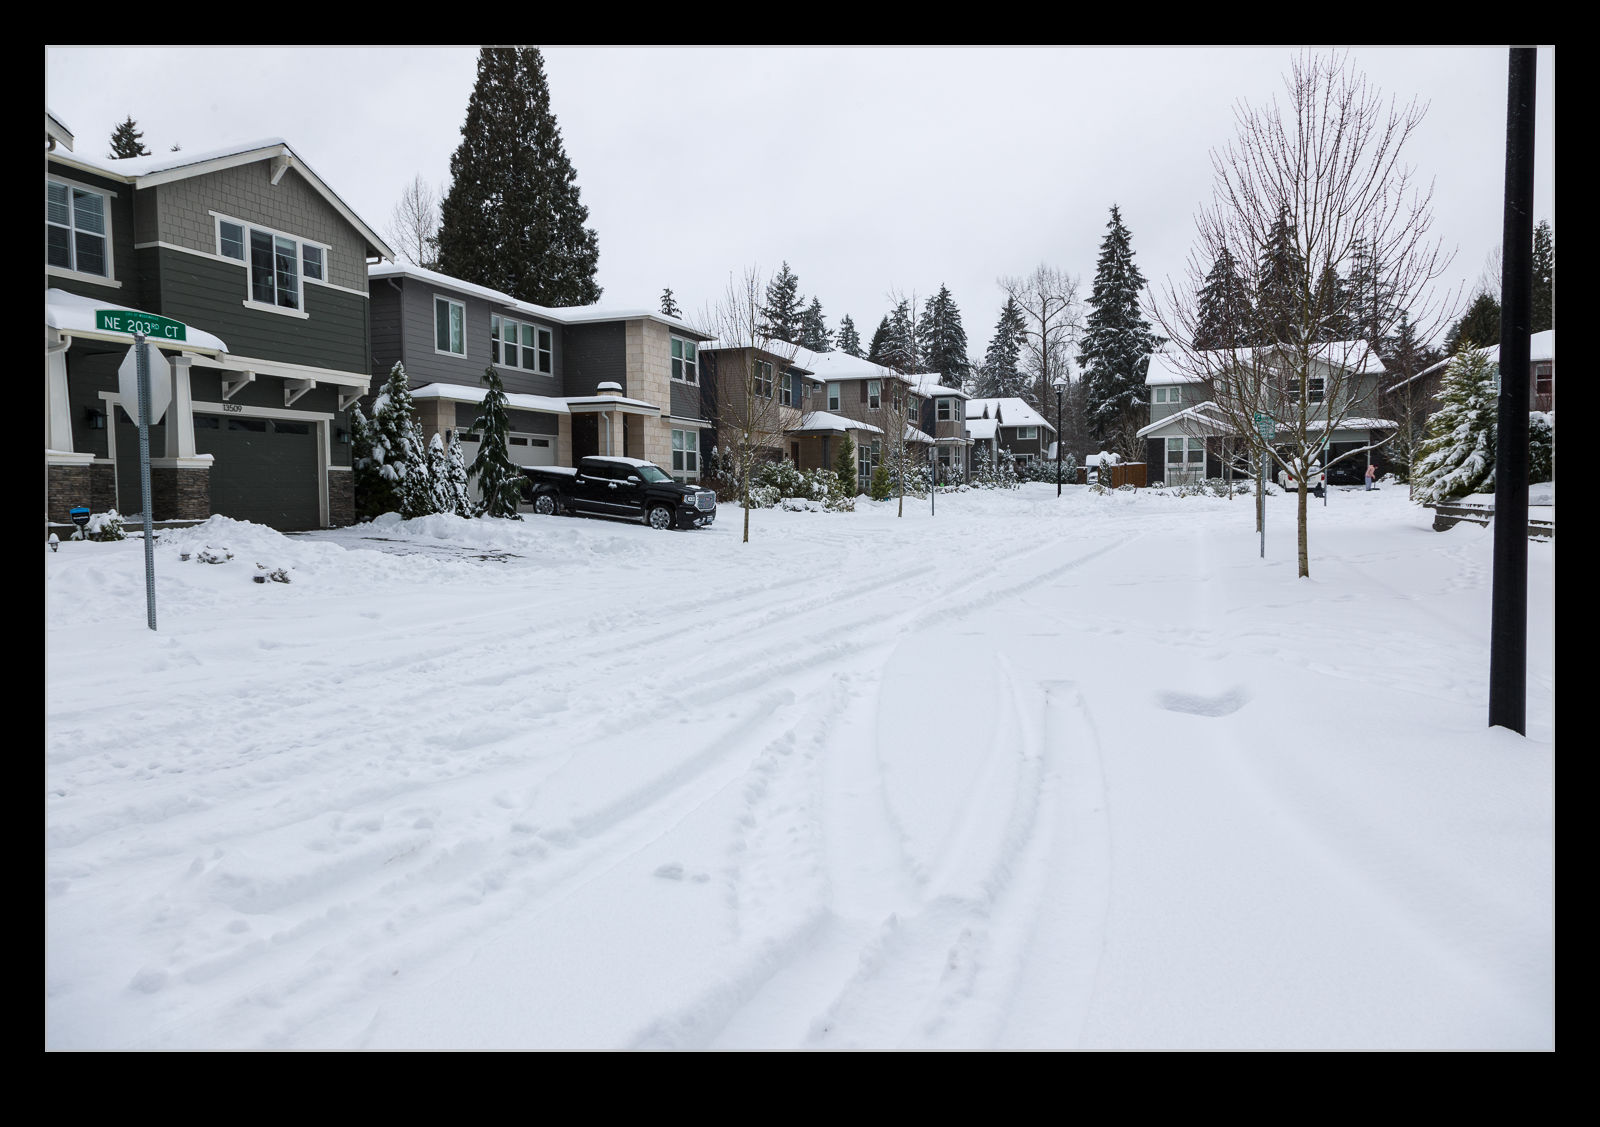
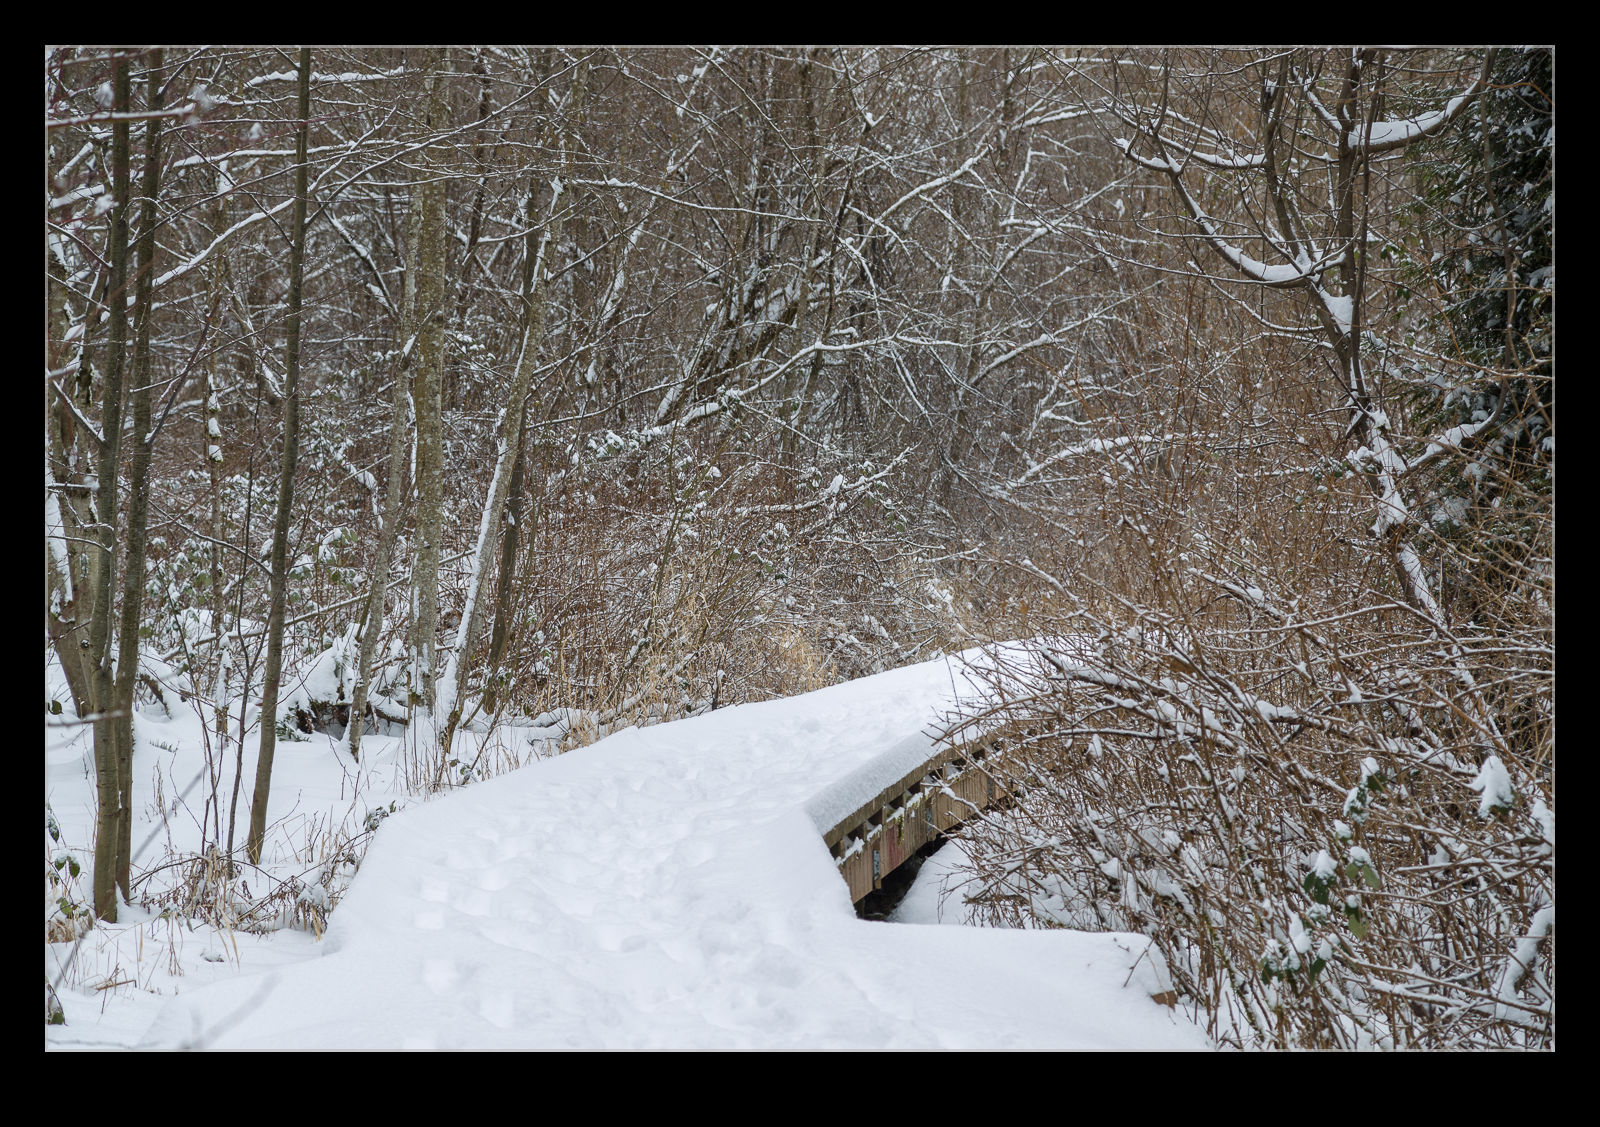
It seems like we get one big snow storm a year where we live. It might not last long (although it has once) but it can give us a decent dump of snow. This year was the same thing. We got about a foot of snow. The weather warmed up soon afterwards but for a couple of days, we had lots of snow. I took a walk around to see what it was like. Quite a slow walk given how deep the snow was in places. Here are some shots from that weekend. I also took some video while I was out so the video clip is below too. The best bit was the guy with the ATV pulling a bunch of people around on sleds! They looked like they were having a blast.
777X Low Approach at Paine
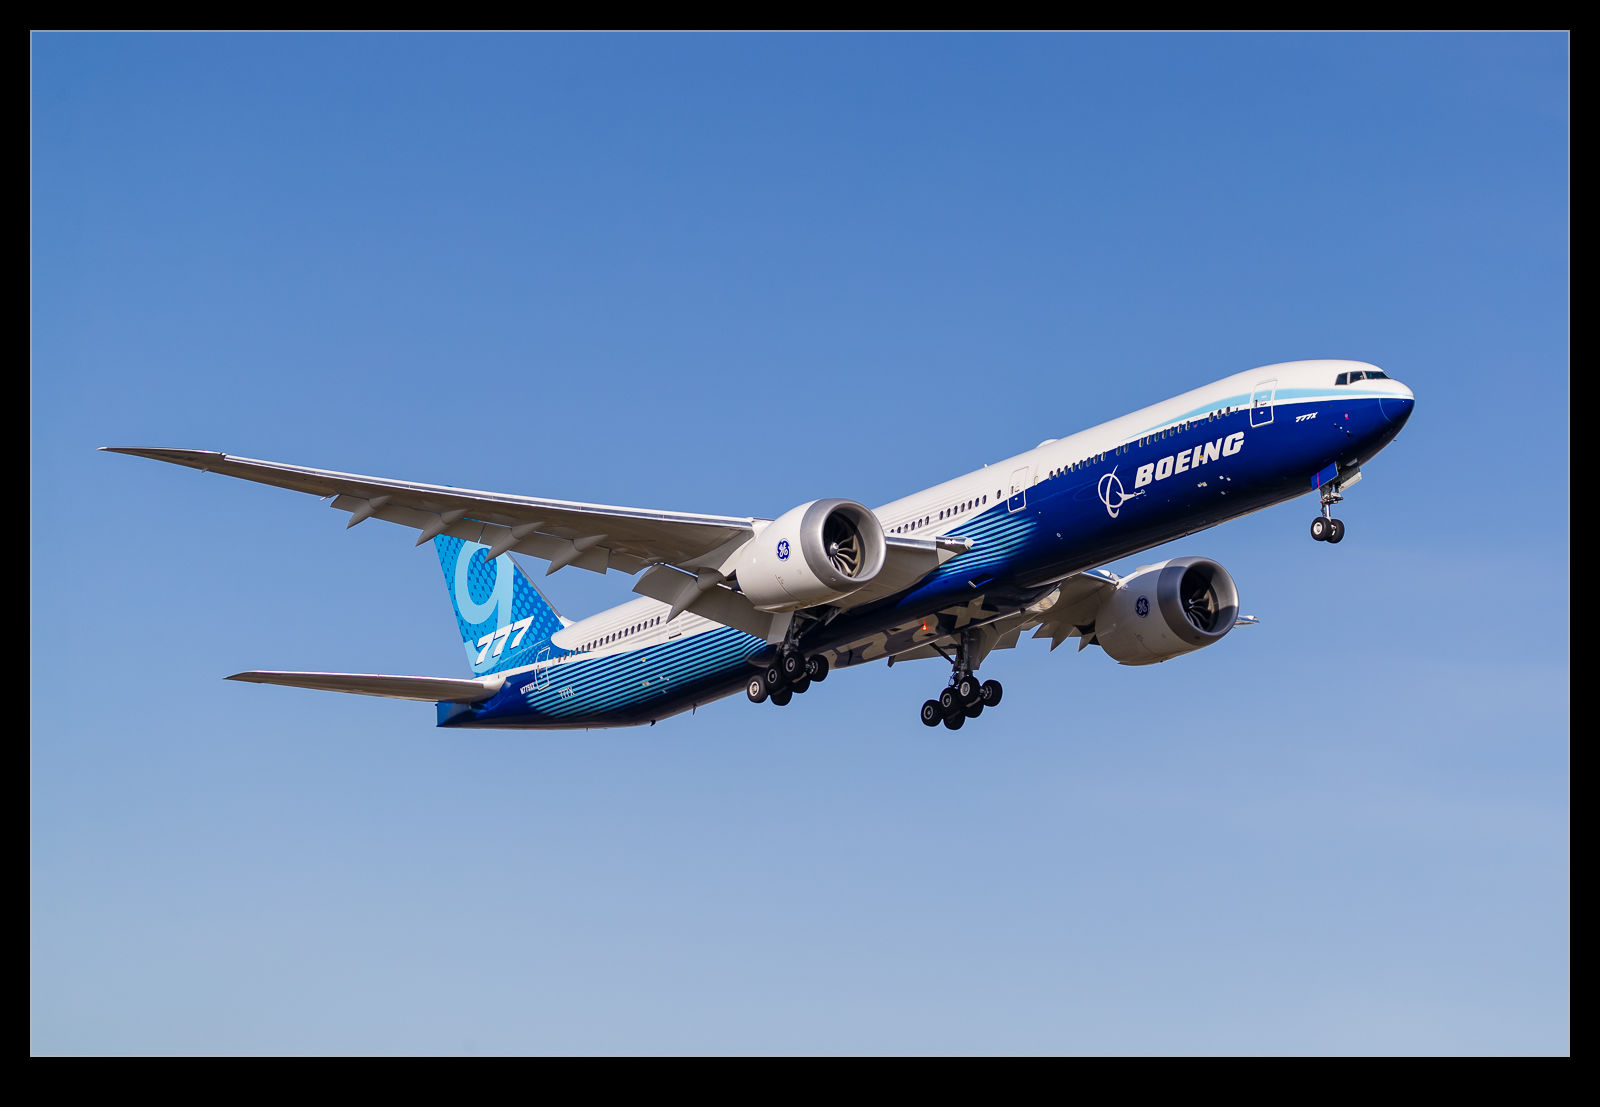
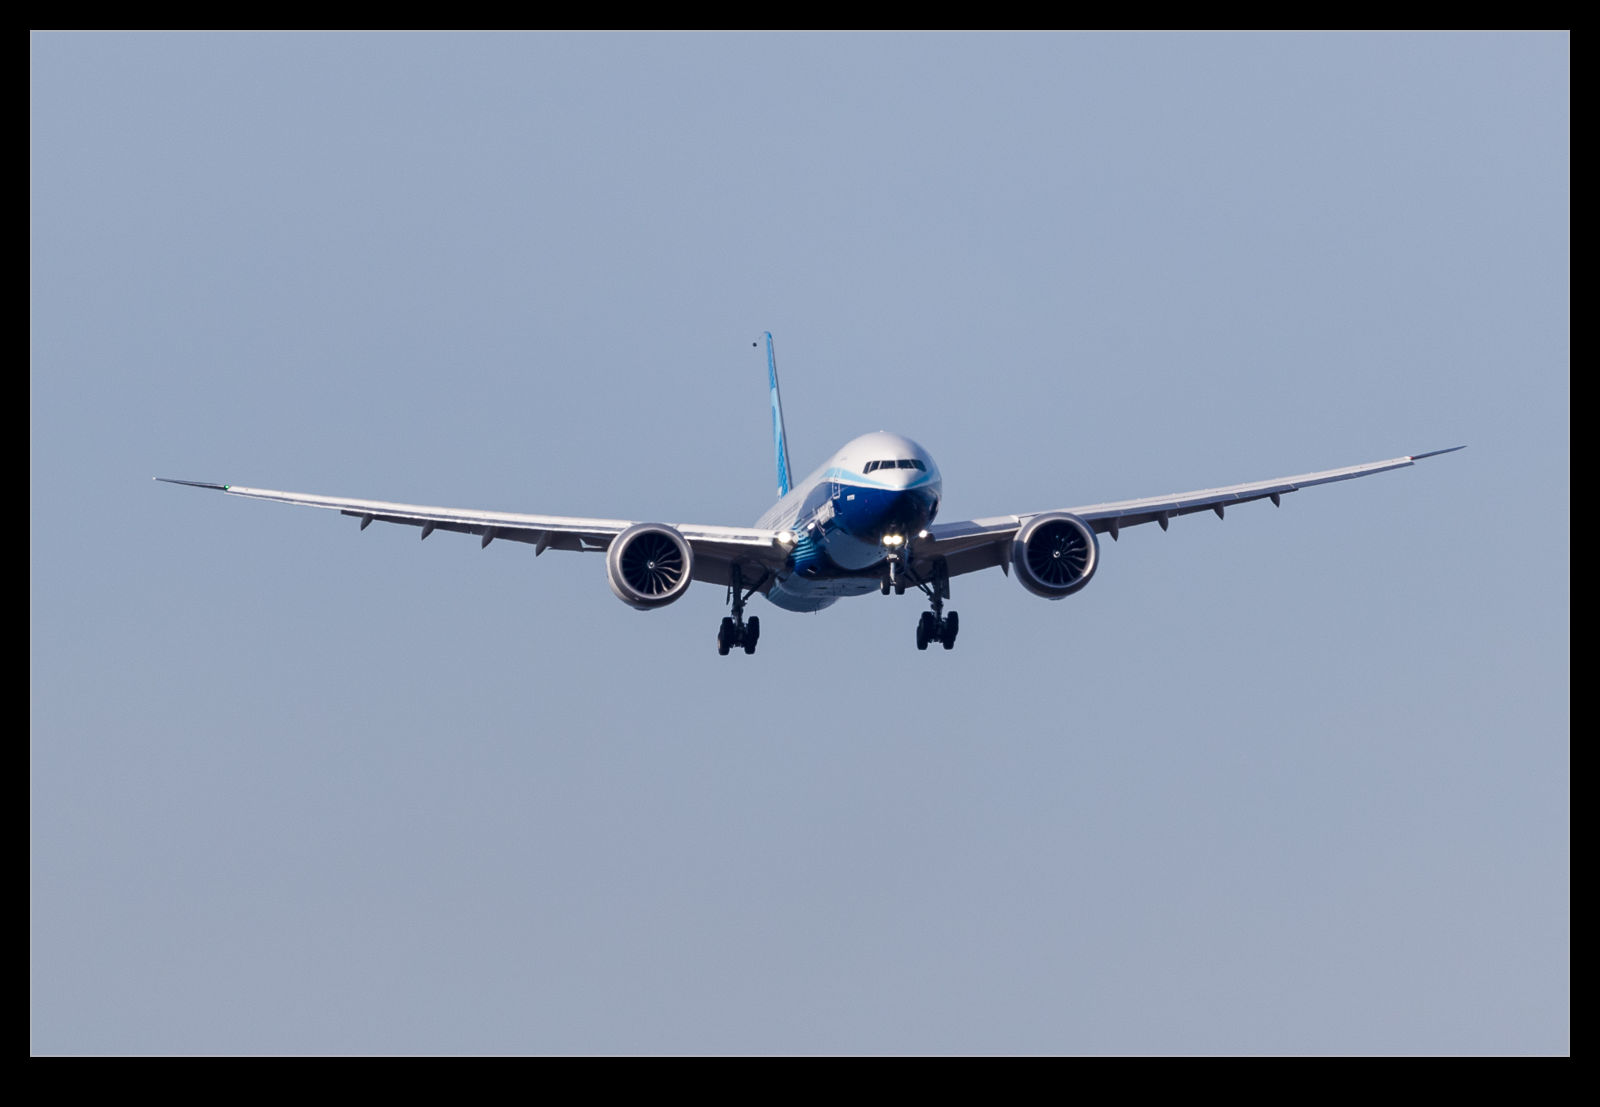
A nice bonus during my evening photographing at Paine Field was the visit of a 777X test airframe from Boeing Field. They often file to go to Paine for a low approach and maybe some pattern work before returning to Boeing Field but don’t always follow through – sometimes just heading back to BFI. This time, they did show up. A nice evening with smooth conditions and they flew down the approach before powering up and going around as they cross the airfield boundary. A few shots in nice light are always welcome.
Nisqually National Wildlife Refuge
Over the years I have driven down to Olympia on many occasions for both work and pleasure. As you go south of DuPont, you pass the Nisqually National Wildlife Refuge. Having gone past it on many occasions, I have often wondered what it is like. A photographer I met at Juanita Bay and who posts a lot of great wildlife photos on Instagram, posted a few pictures from Nisqually and that made me stop pondering a visit and actually get on with going there.
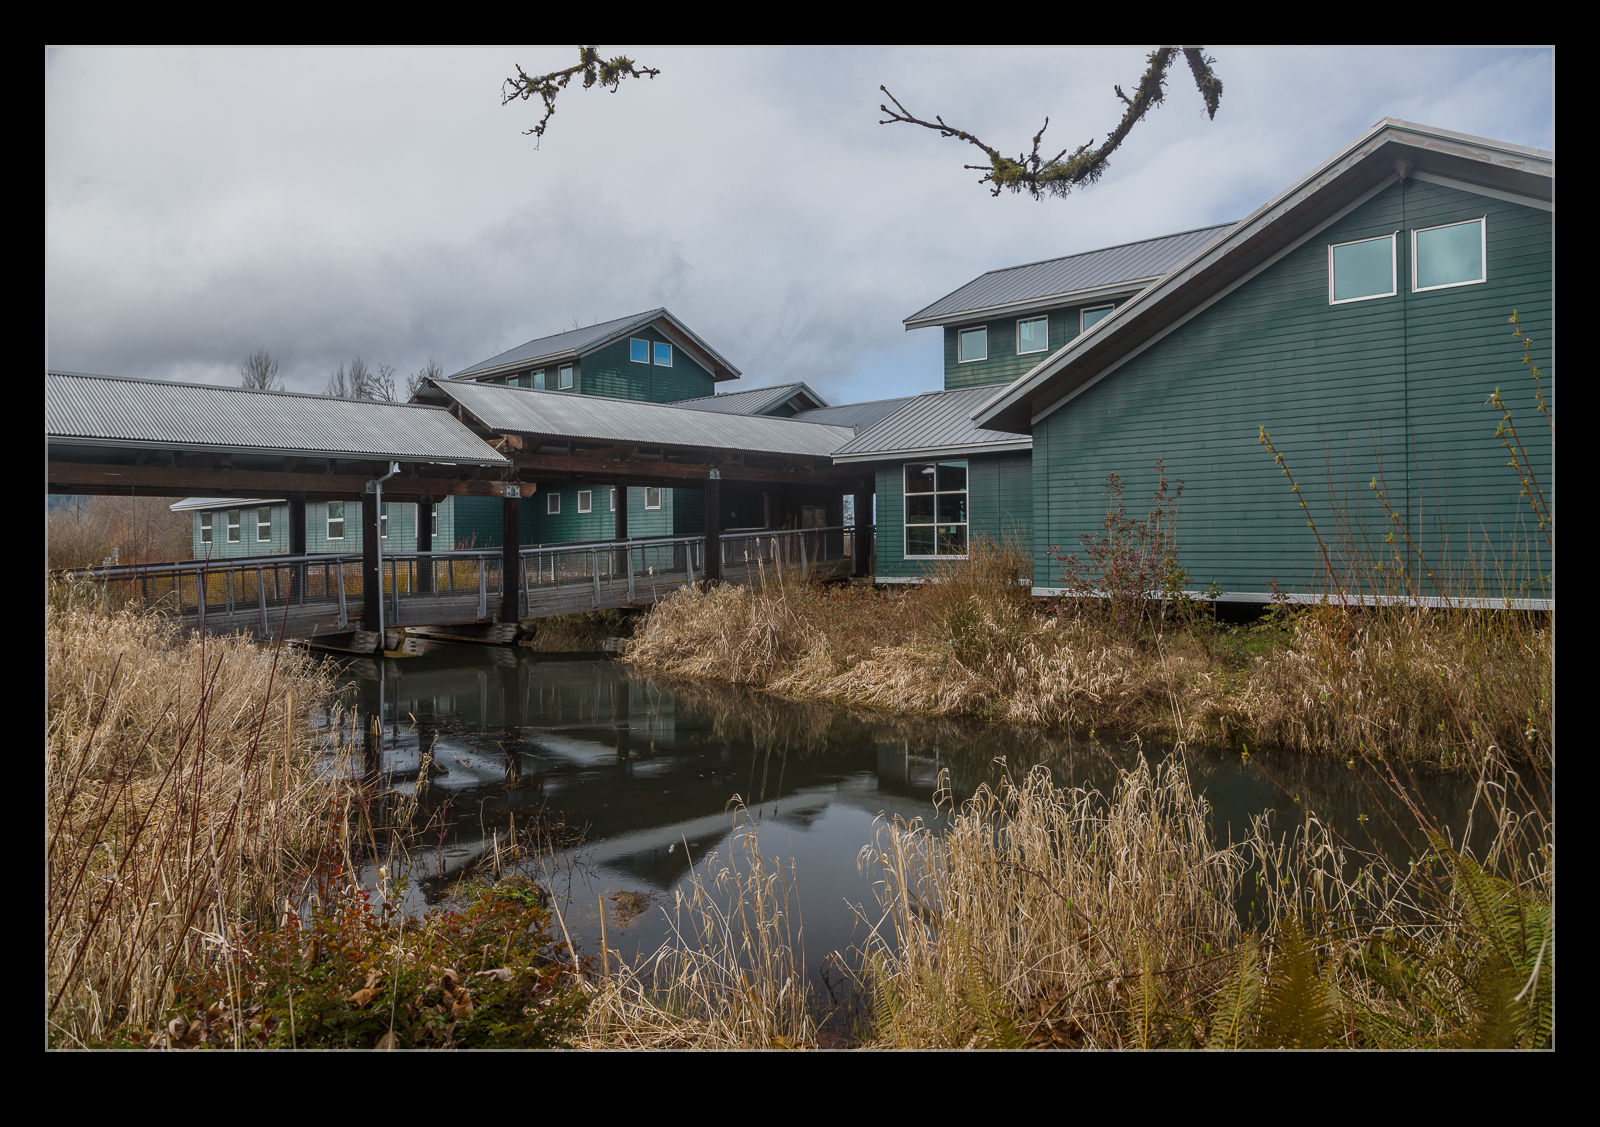
The website for the refuge mentions that the time of the tides is useful for visiting with high tide being a time that is popular. The Sunday that was coming had high tide at lunchtime so I figured I should go. The weather forecast was less promising with lots of rain but wildlife is not bothered by rain and so I thought I should go and just dress accordingly.
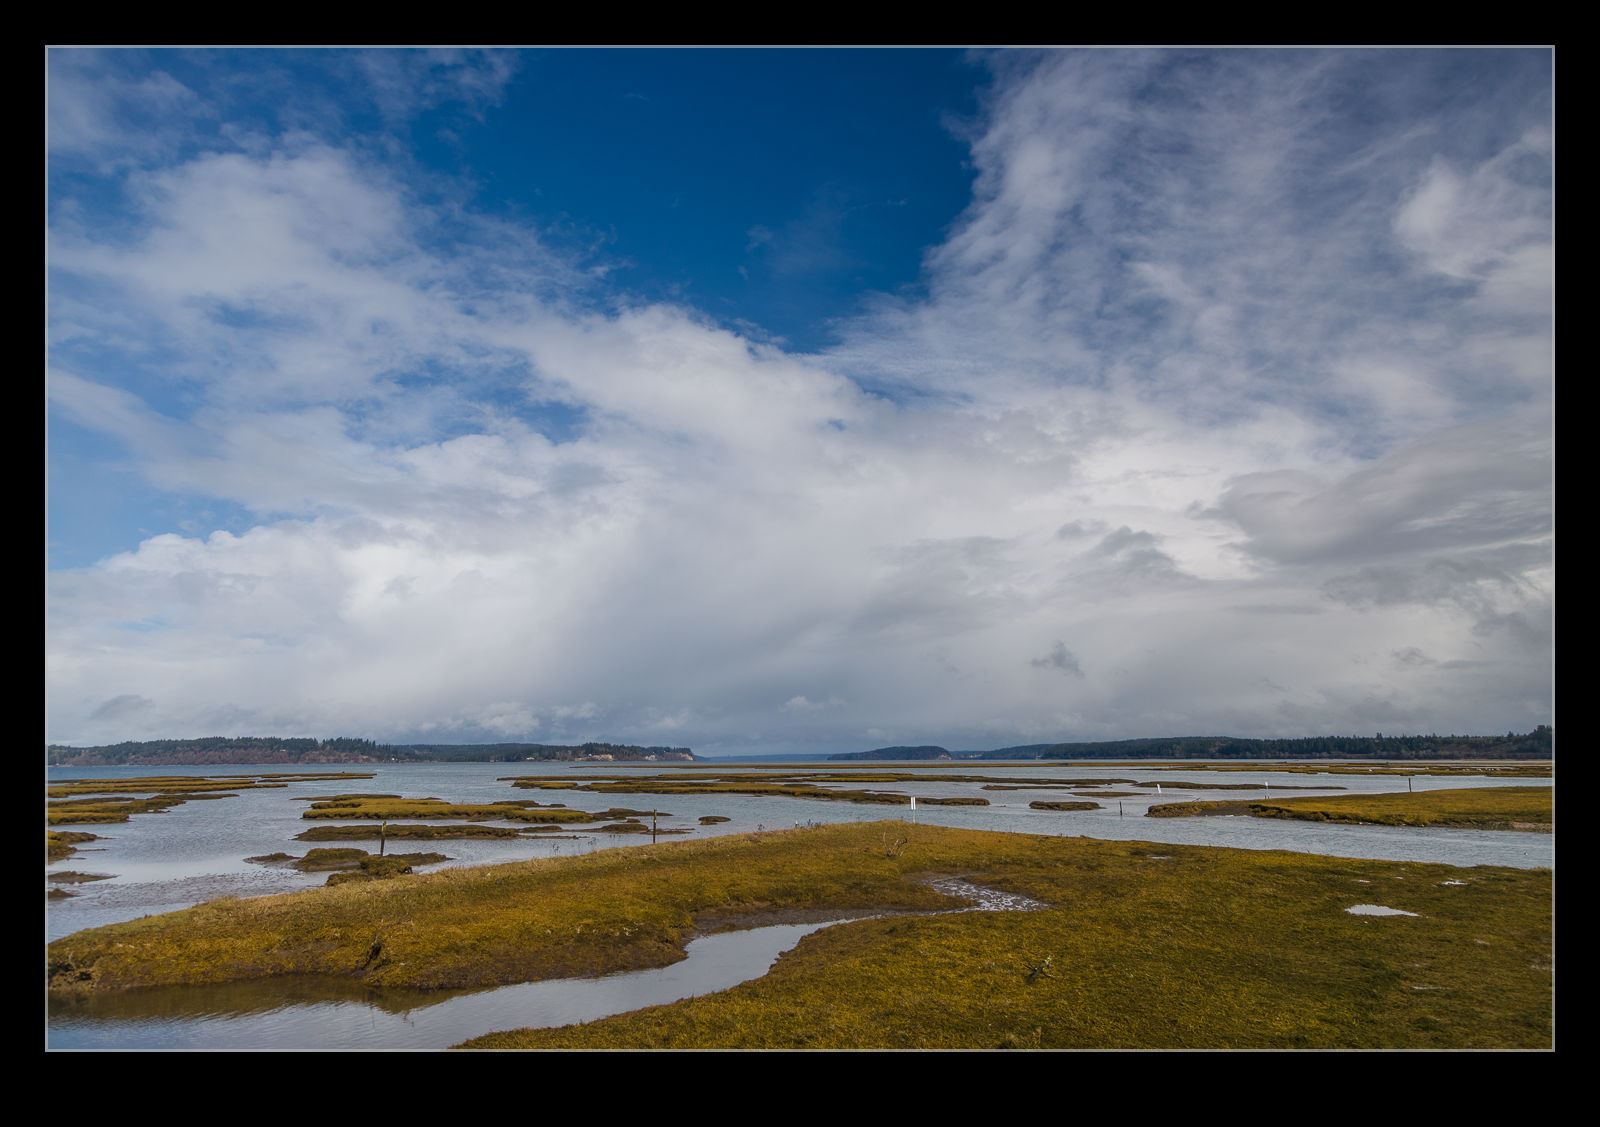
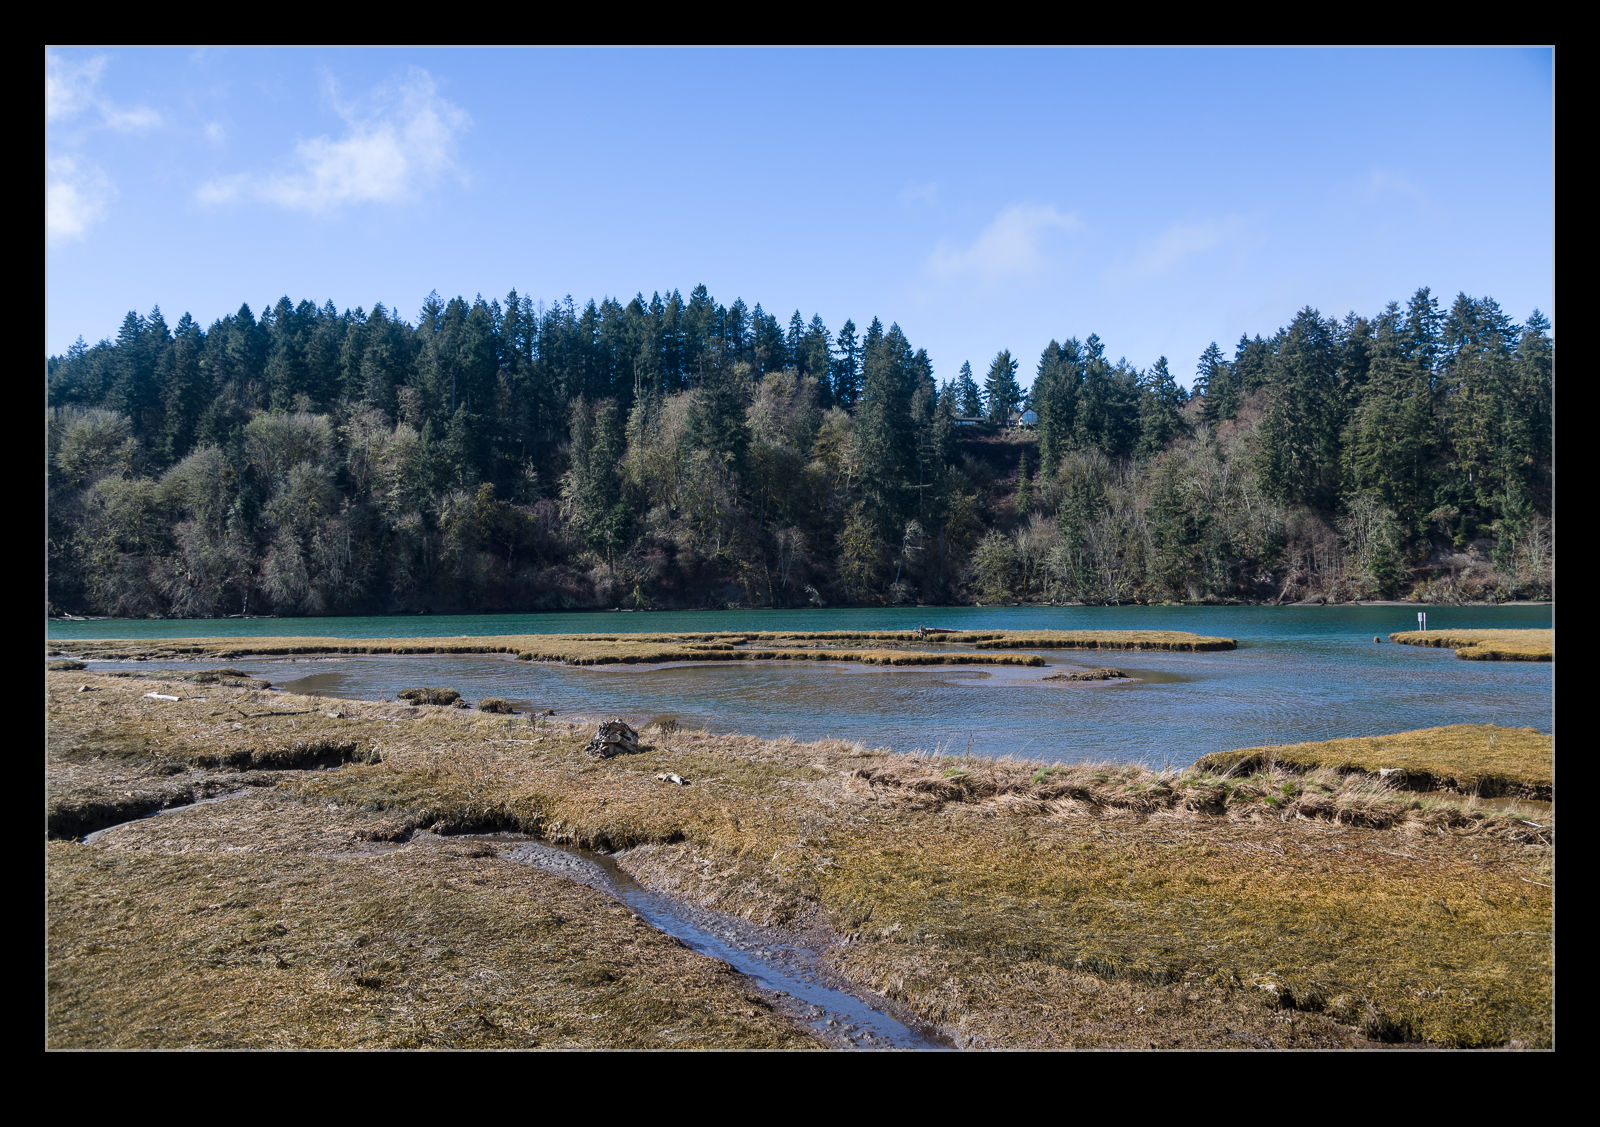
It certainly did rain. At times it was driving in with heavy squalls and I was glad to have put full waterproofs on. It also meant that I was pretty much alone since no other fool was out in such conditions. There are some short loop trails near the visitor center but then you can walk out on to the tidal flats. An elevated boardwalk has been constructed which actually goes out for about a mile and a half. I didn’t realize how long it was at first but, as it zigzags its way across the flats, you realize that there are many more zigs and zags to come and that you have a long way to go.
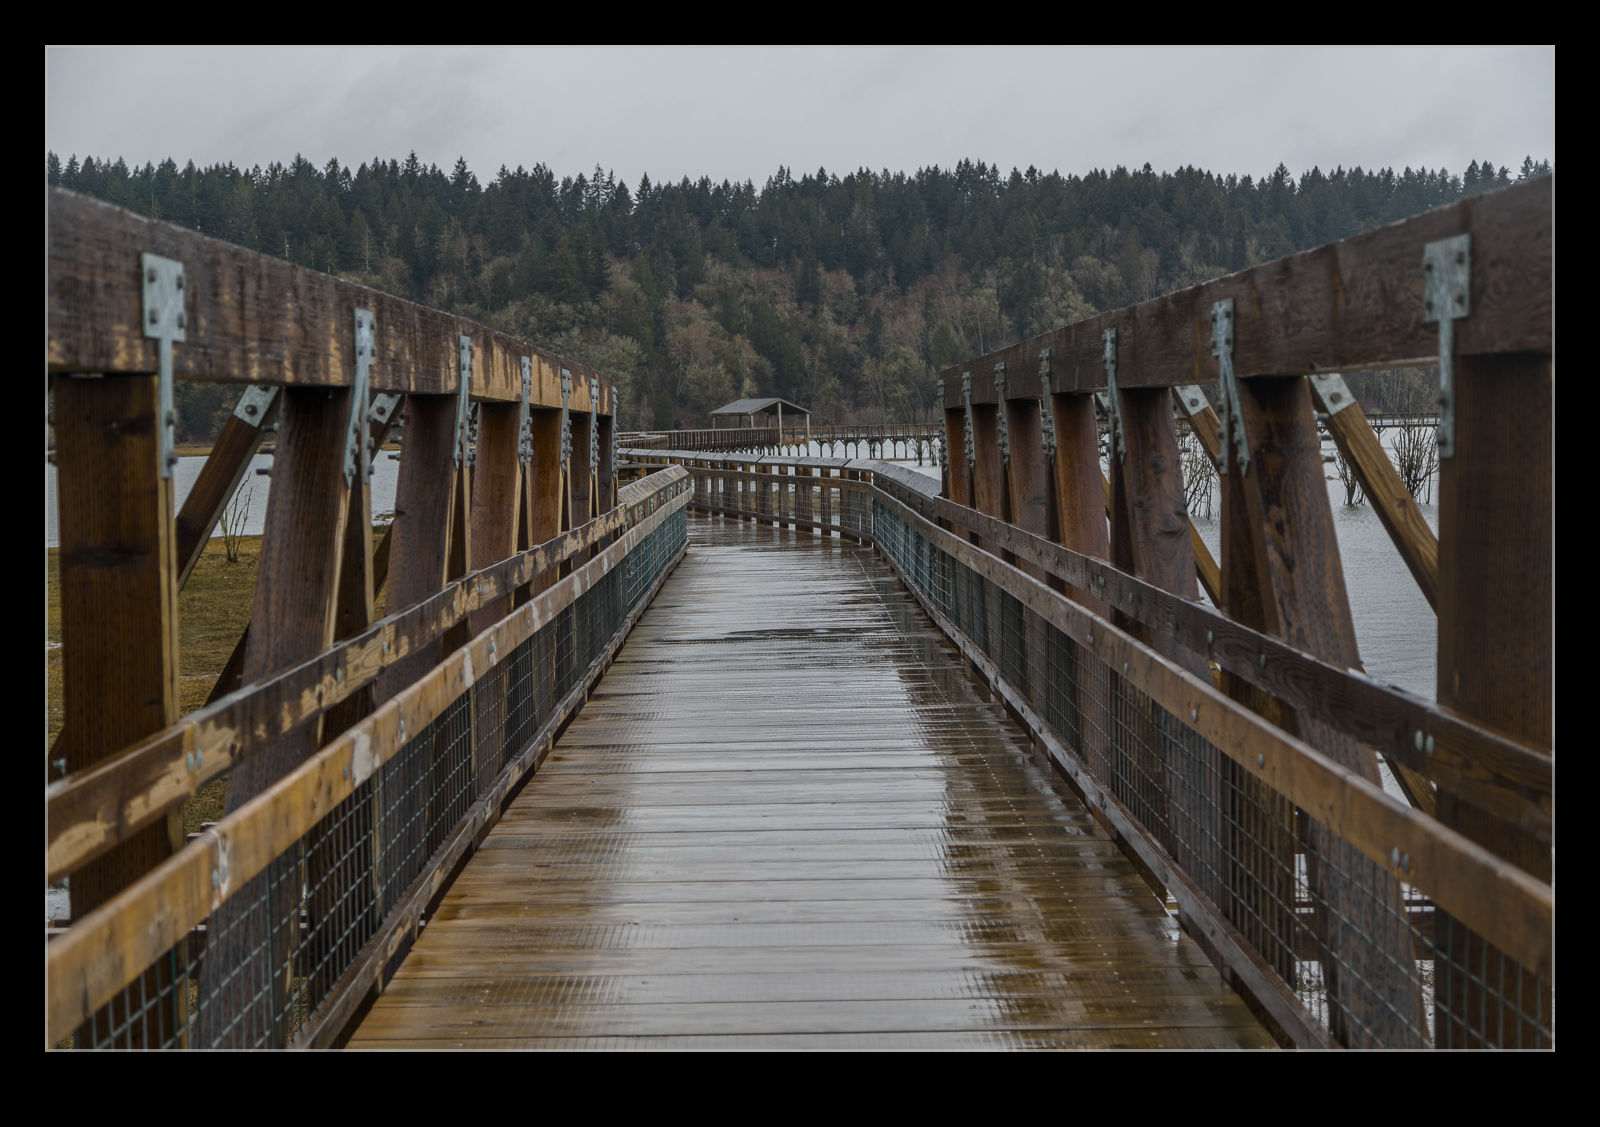
Since I had already made the effort to be there, why not continue on my way. The weather was changing a lot during this time. The rain got replaced with sun and clear skies before another squall moved in and it started chucking it down again. Ultimately, as I headed back, it cleared up again and then I found I was rather overdressed for the conditions and got quite warm.
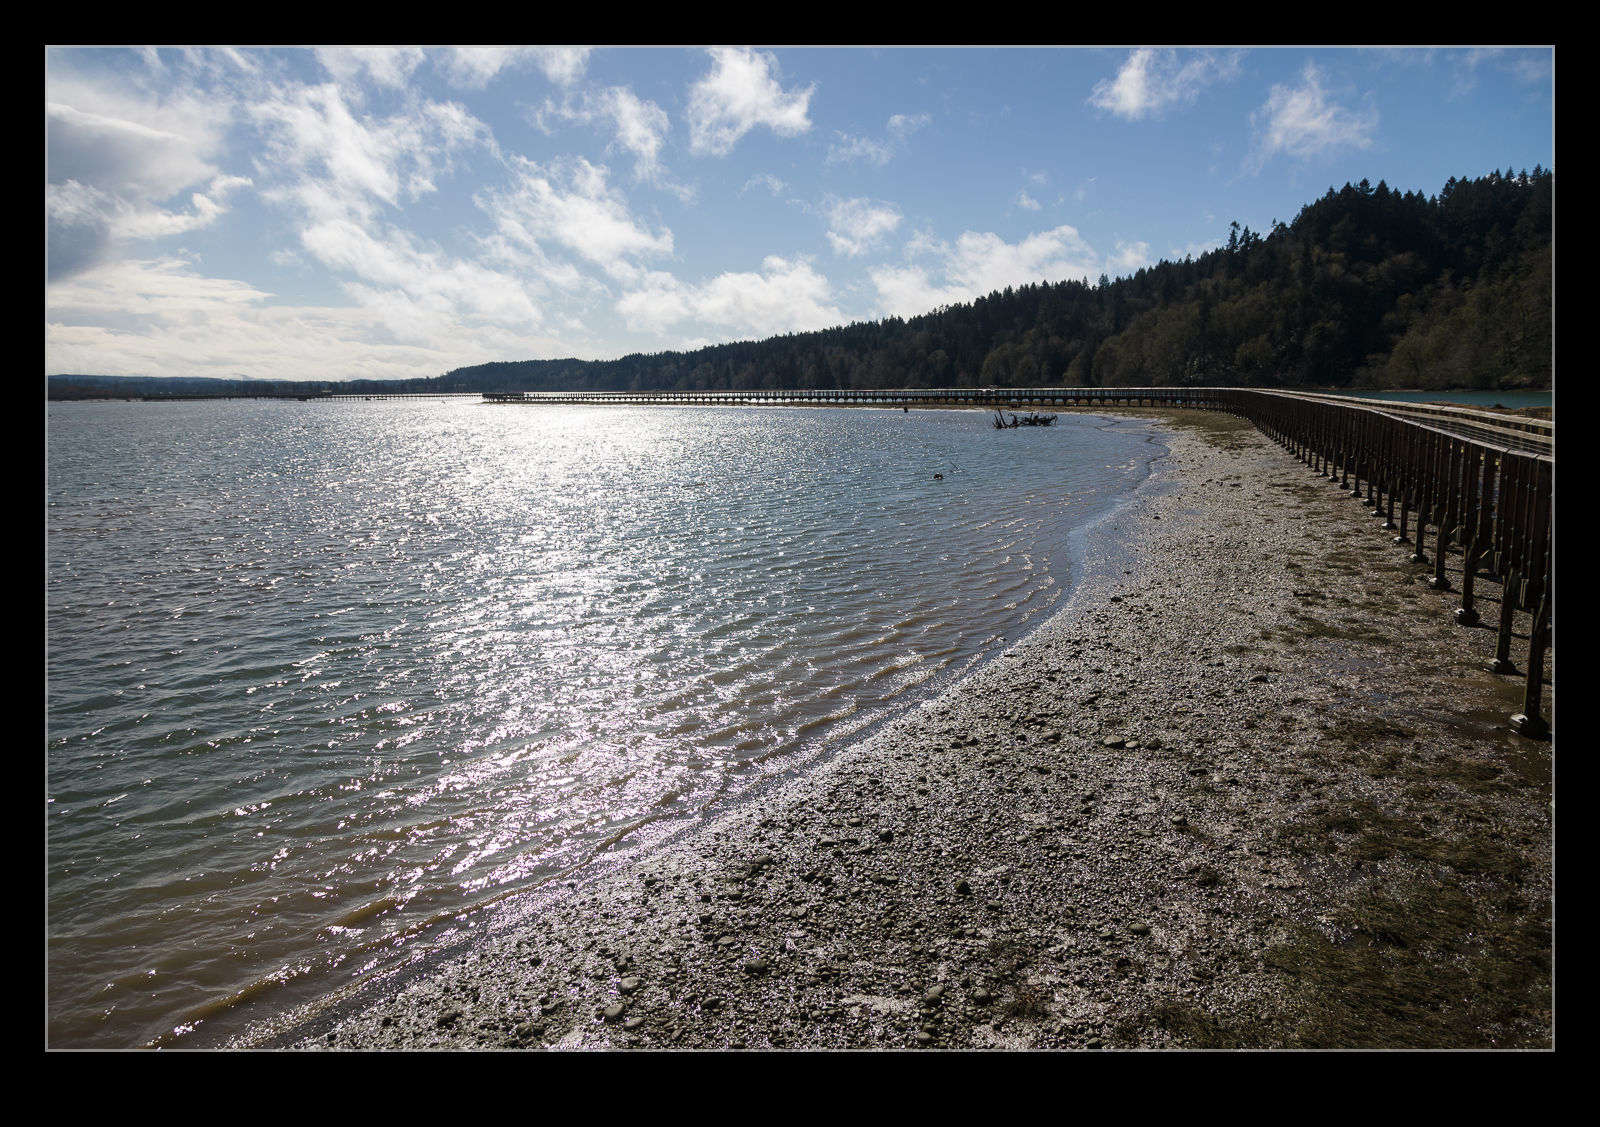
It was a pretty place to be and I will certainly head back again. Whether I choose to do so in pouring rain, we shall see…
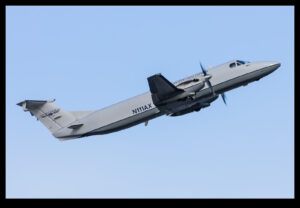
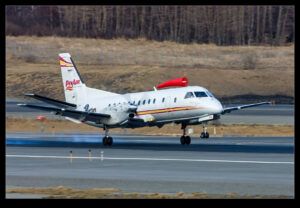
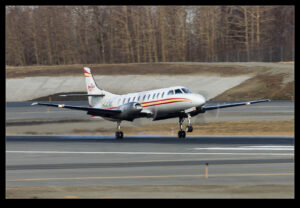
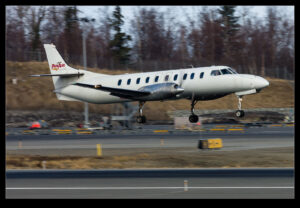
Anchorage Props
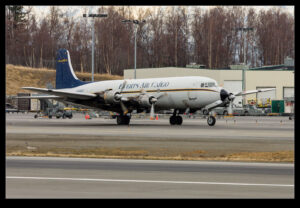
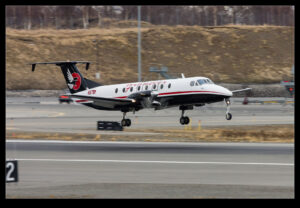
I put together a post about some interesting jet traffic at Anchorage from a visit I made long ago. While jet freighters are a big deal at Anchorage, the area is also known for its more unusual prop traffic. Some of these are vintage and others are types that have fallen out of favor elsewhere but continue to have a use in Alaska. Here are some shots of the various props I got to see while on that trip in the mid-2000s.
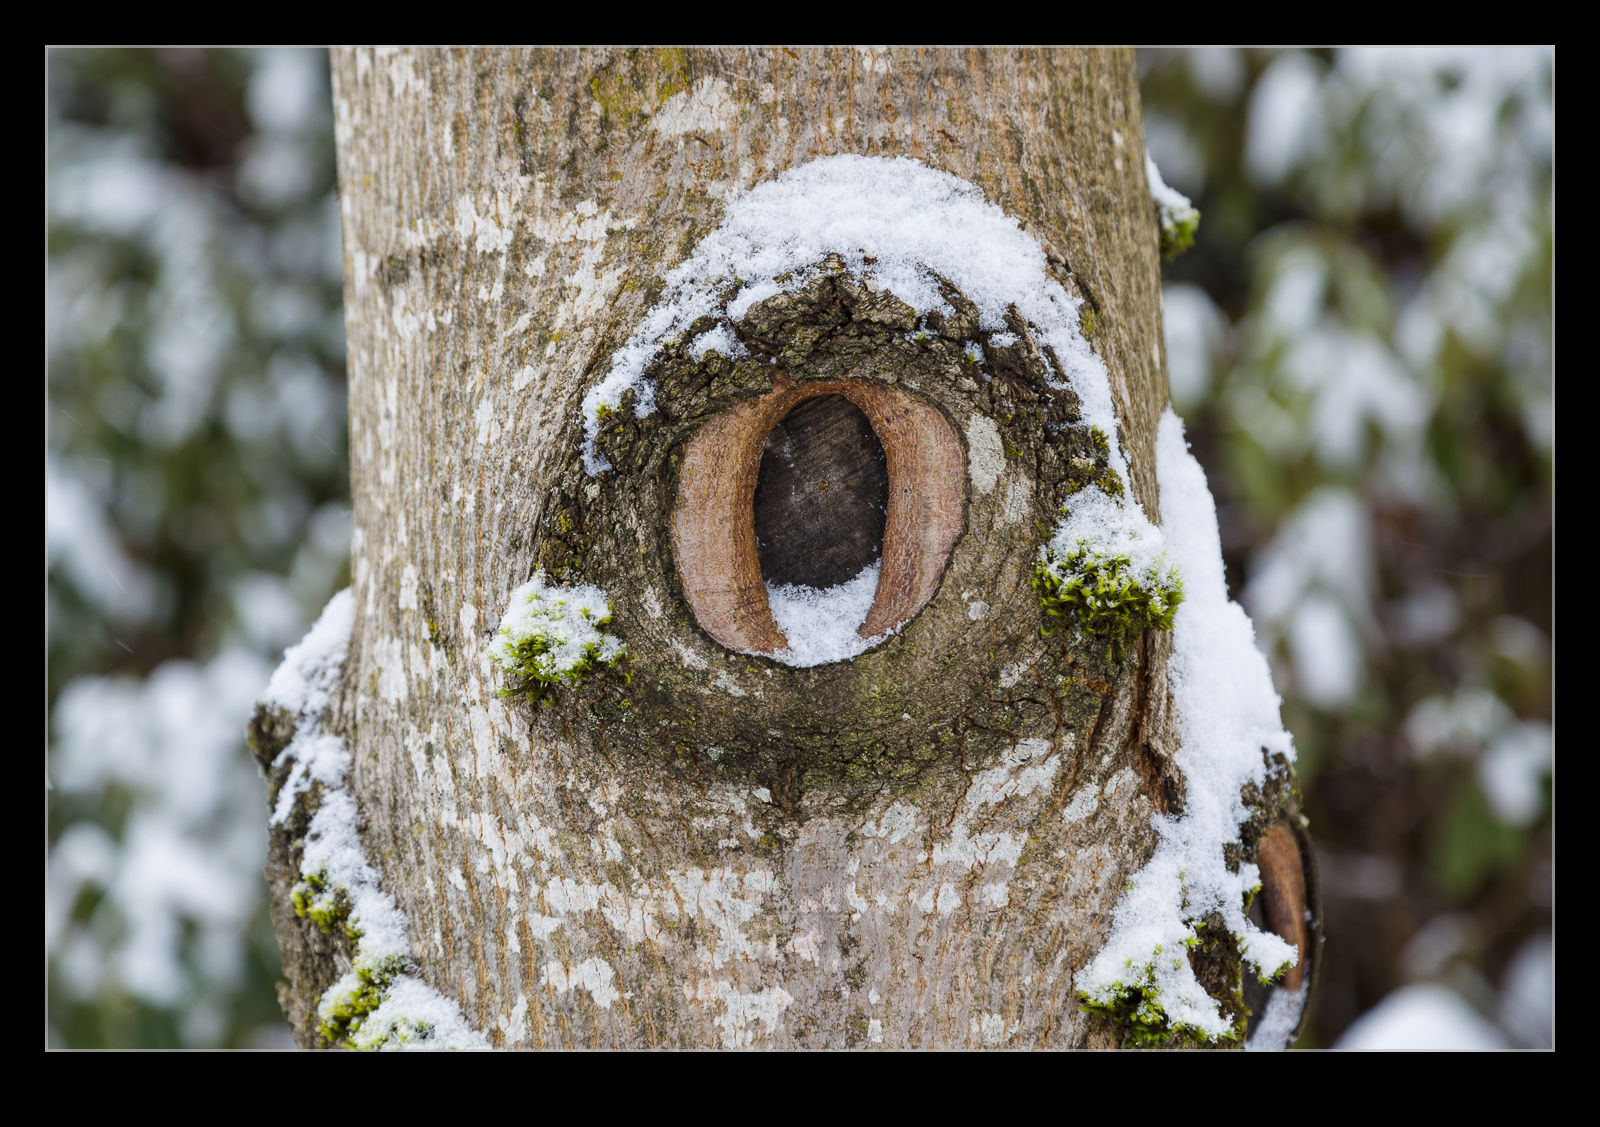
This Tree is Watching Me
Omni 767 Touchdown
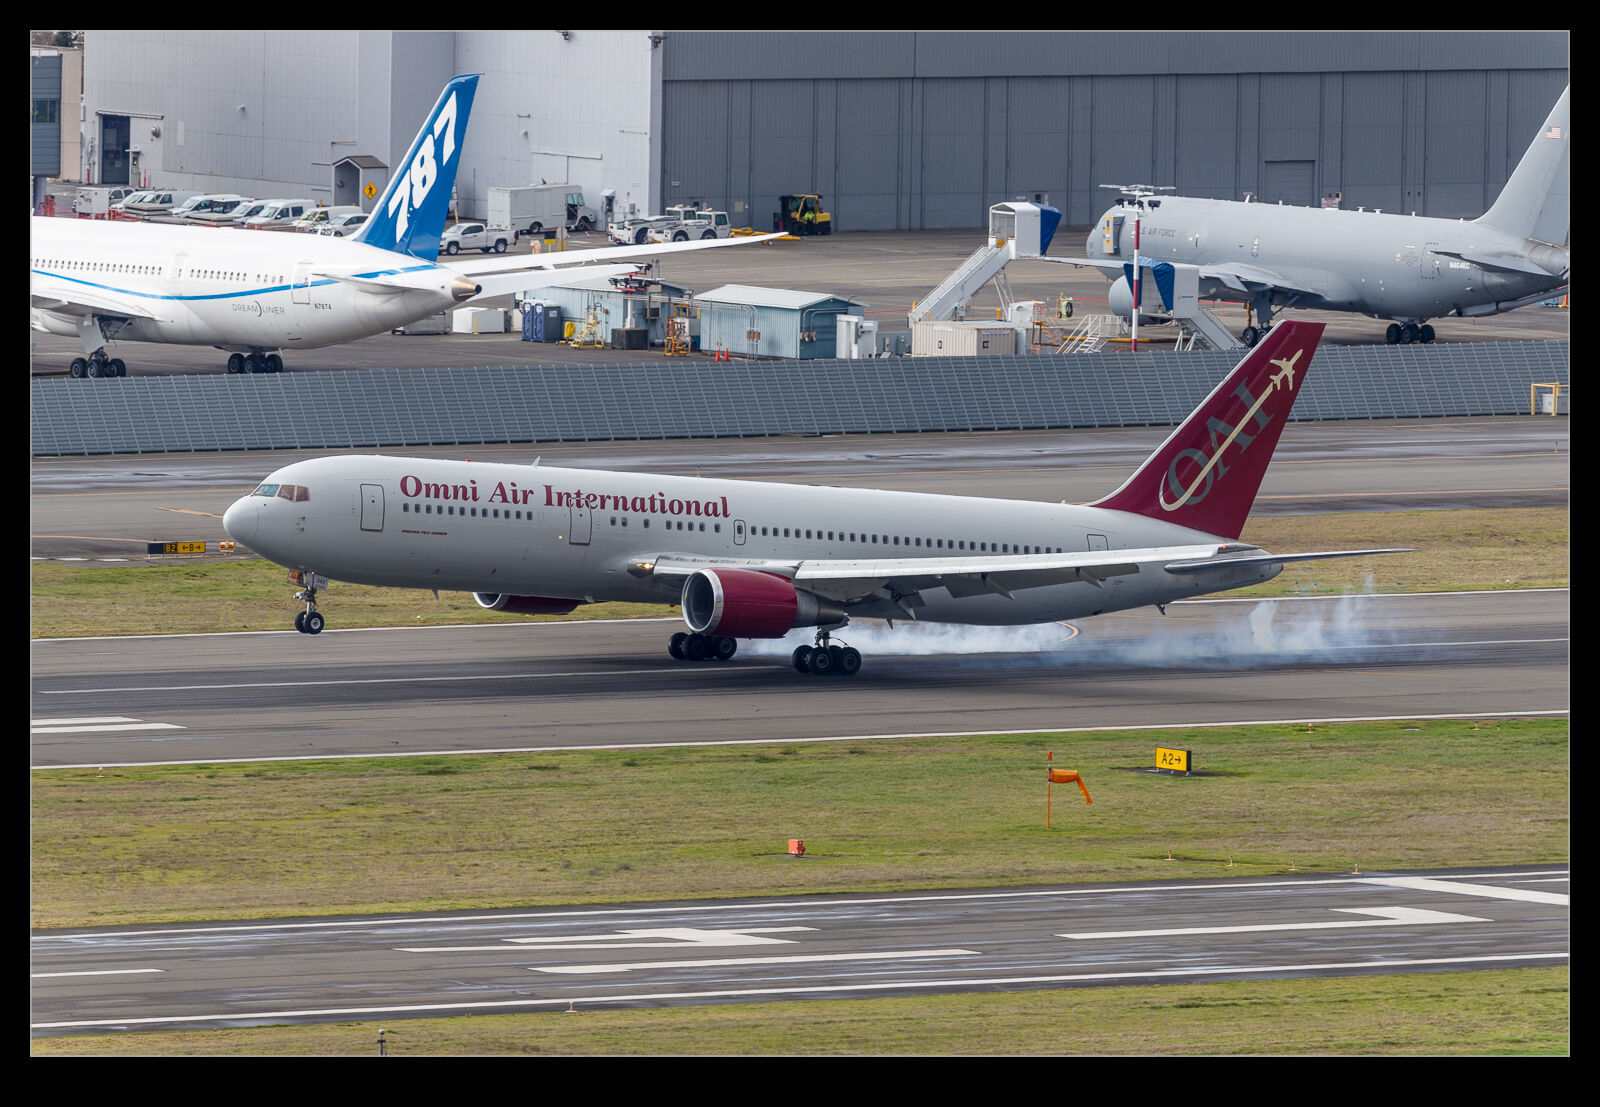
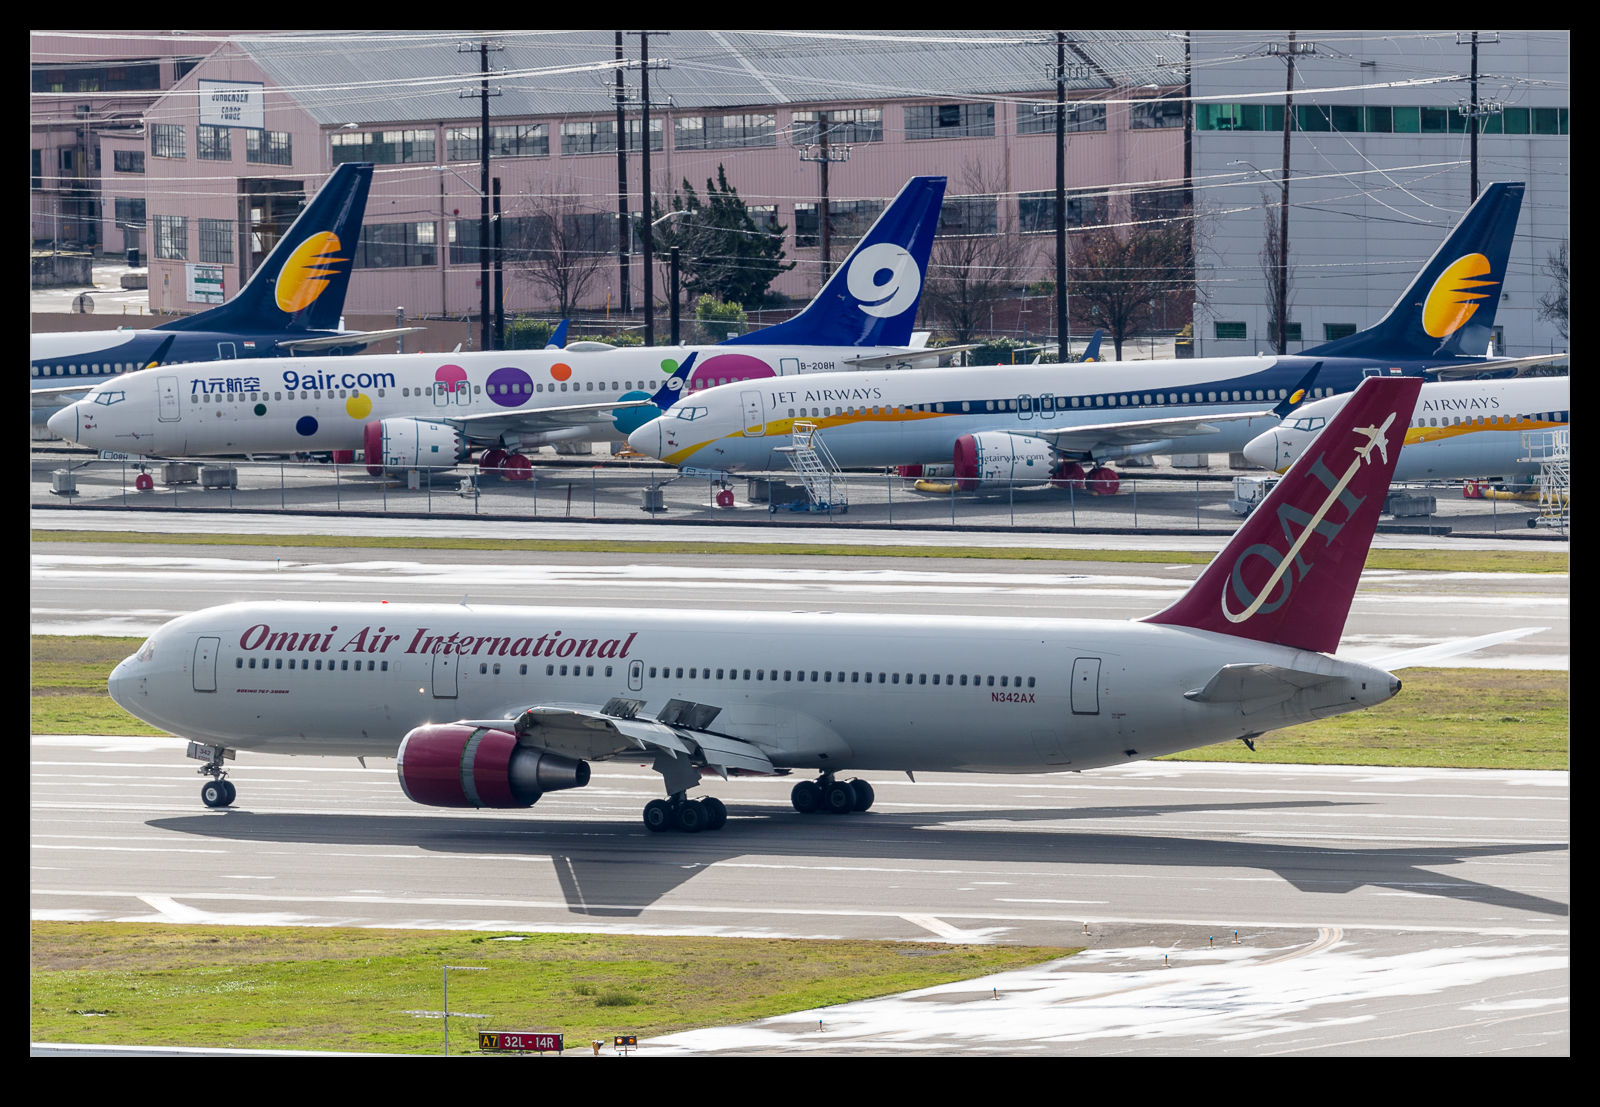
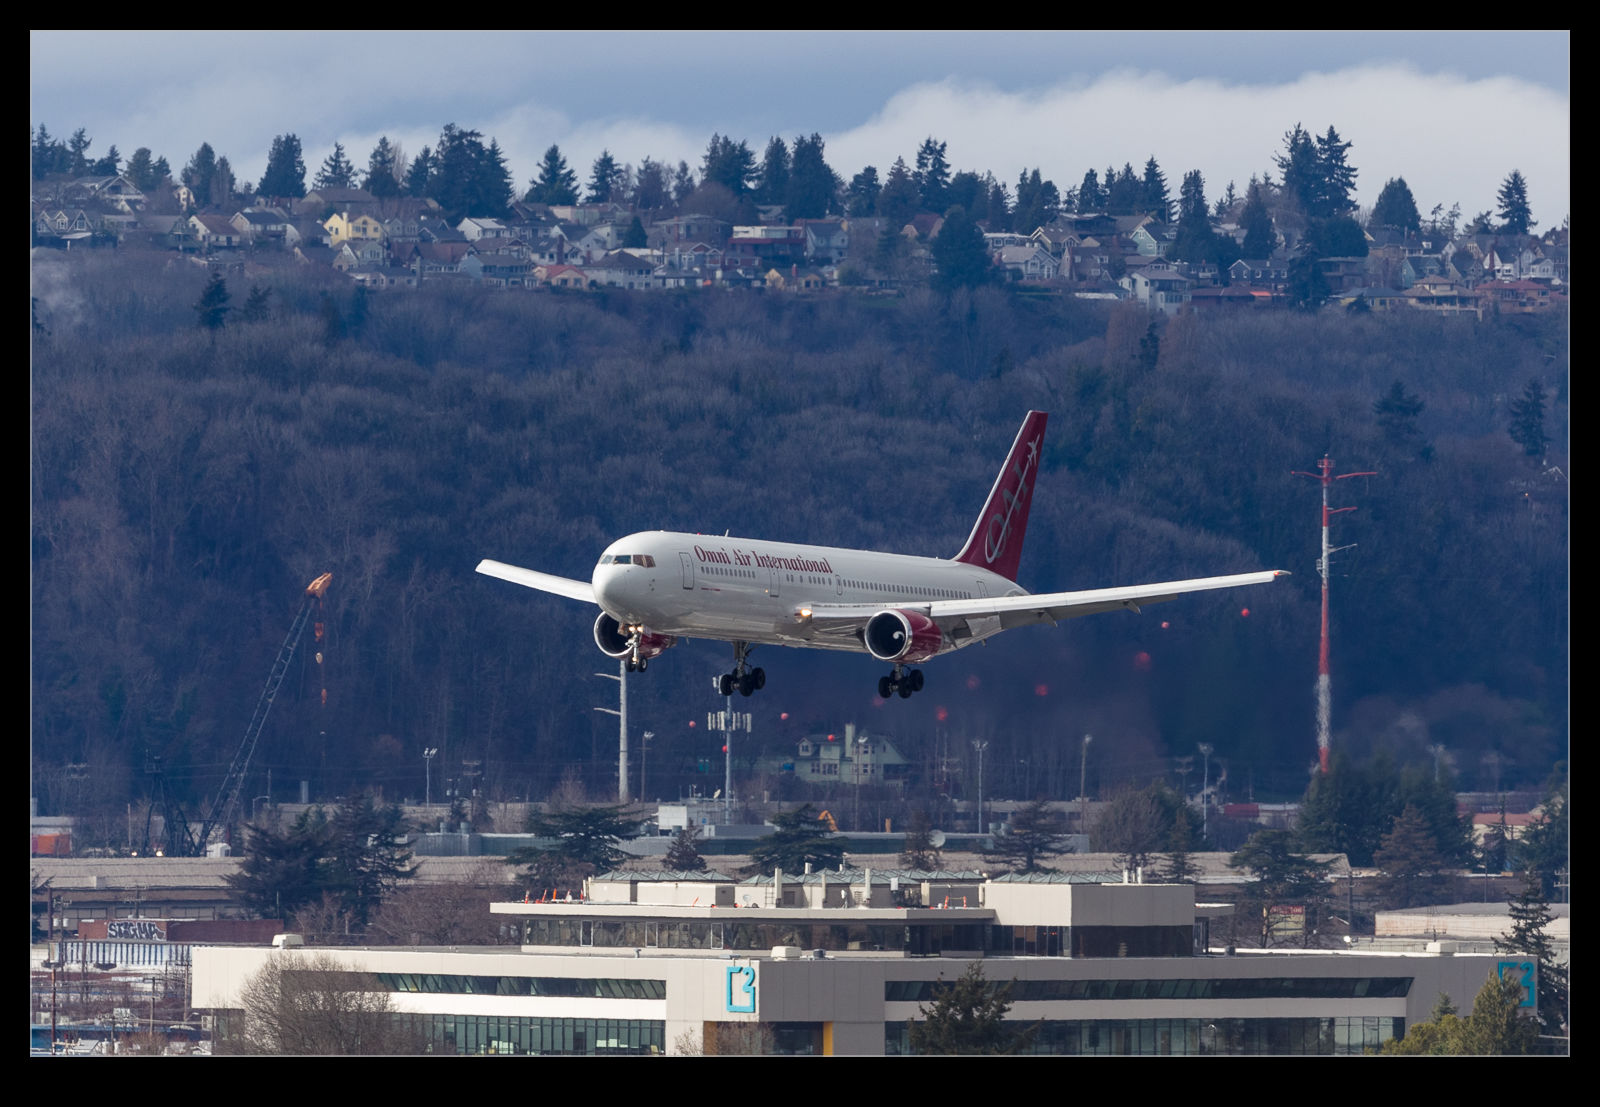
I’ve posted shots of Omni’s 767s on the ground and on the approach at Boeing Field as well as showing up at Paine Field. This is a variation on a theme I guess since this one was arriving at Boeing Field after a short flight from SeaTac. This time I was up on the hill so was able to see it touch down from an elevated position. It’s nice to get wide body activity when up on the hill since you are a bit far away and a bigger jet is a clearer subject to photograph.
Collagewall Installation
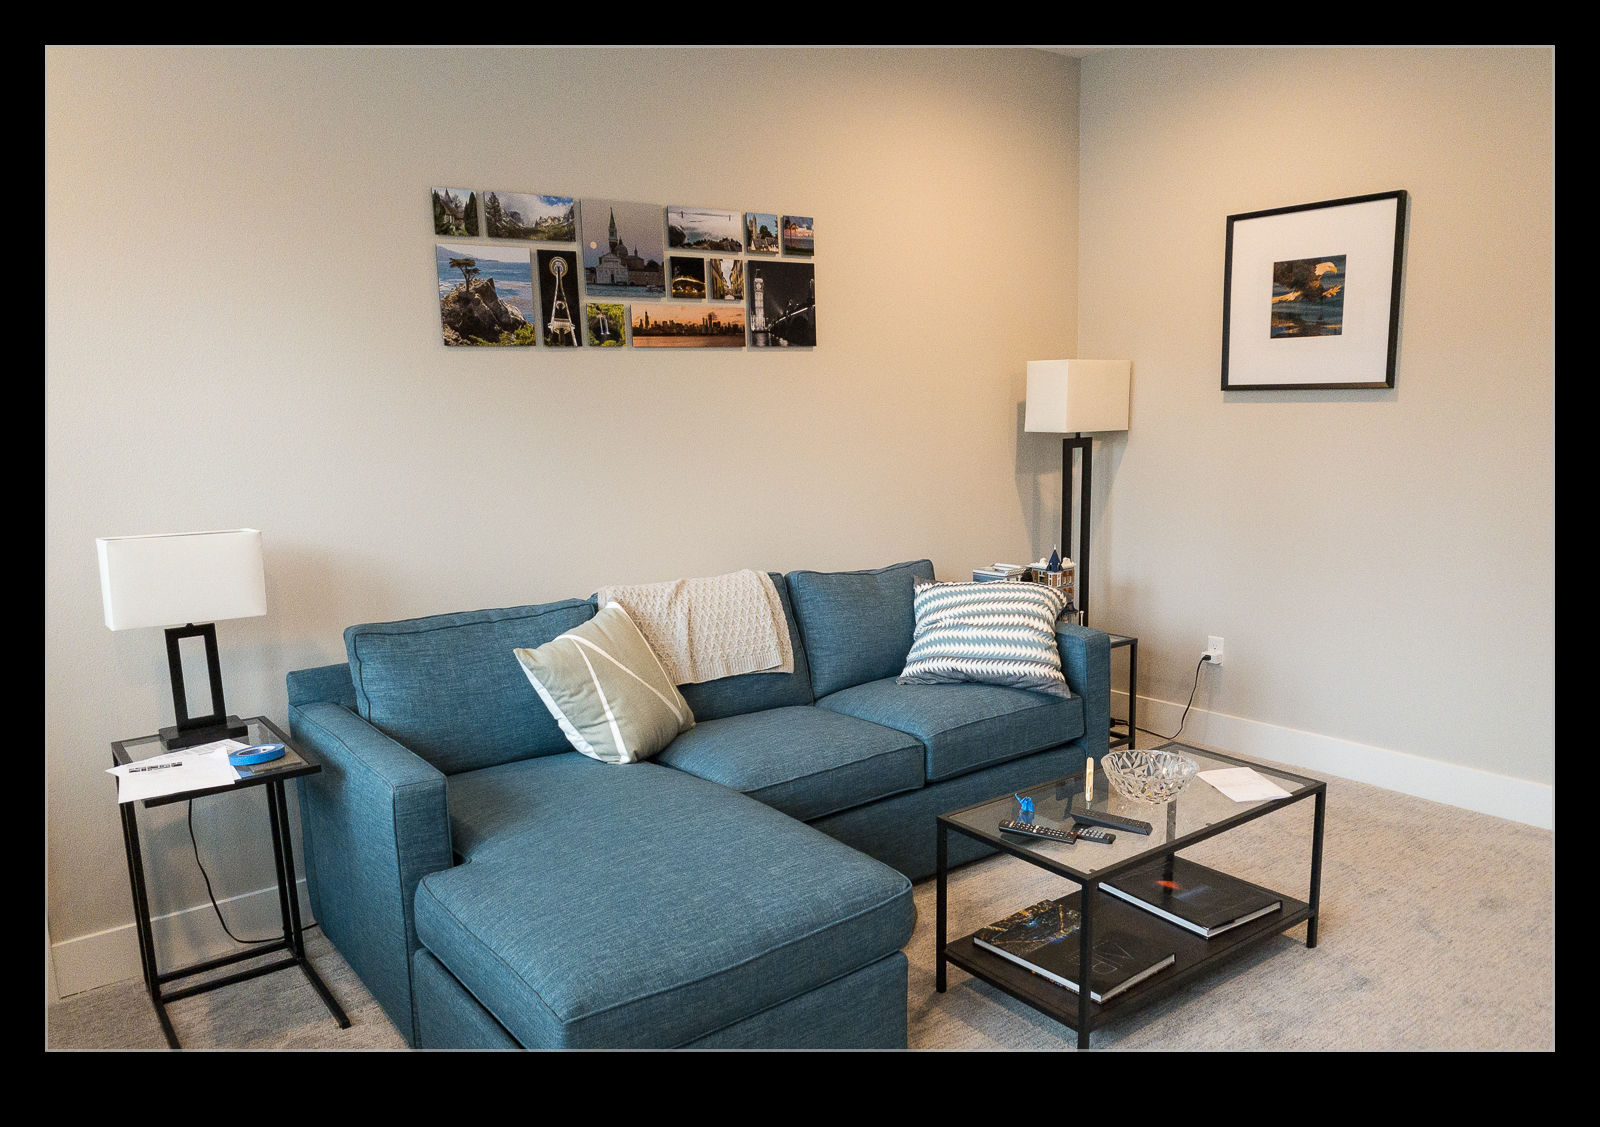
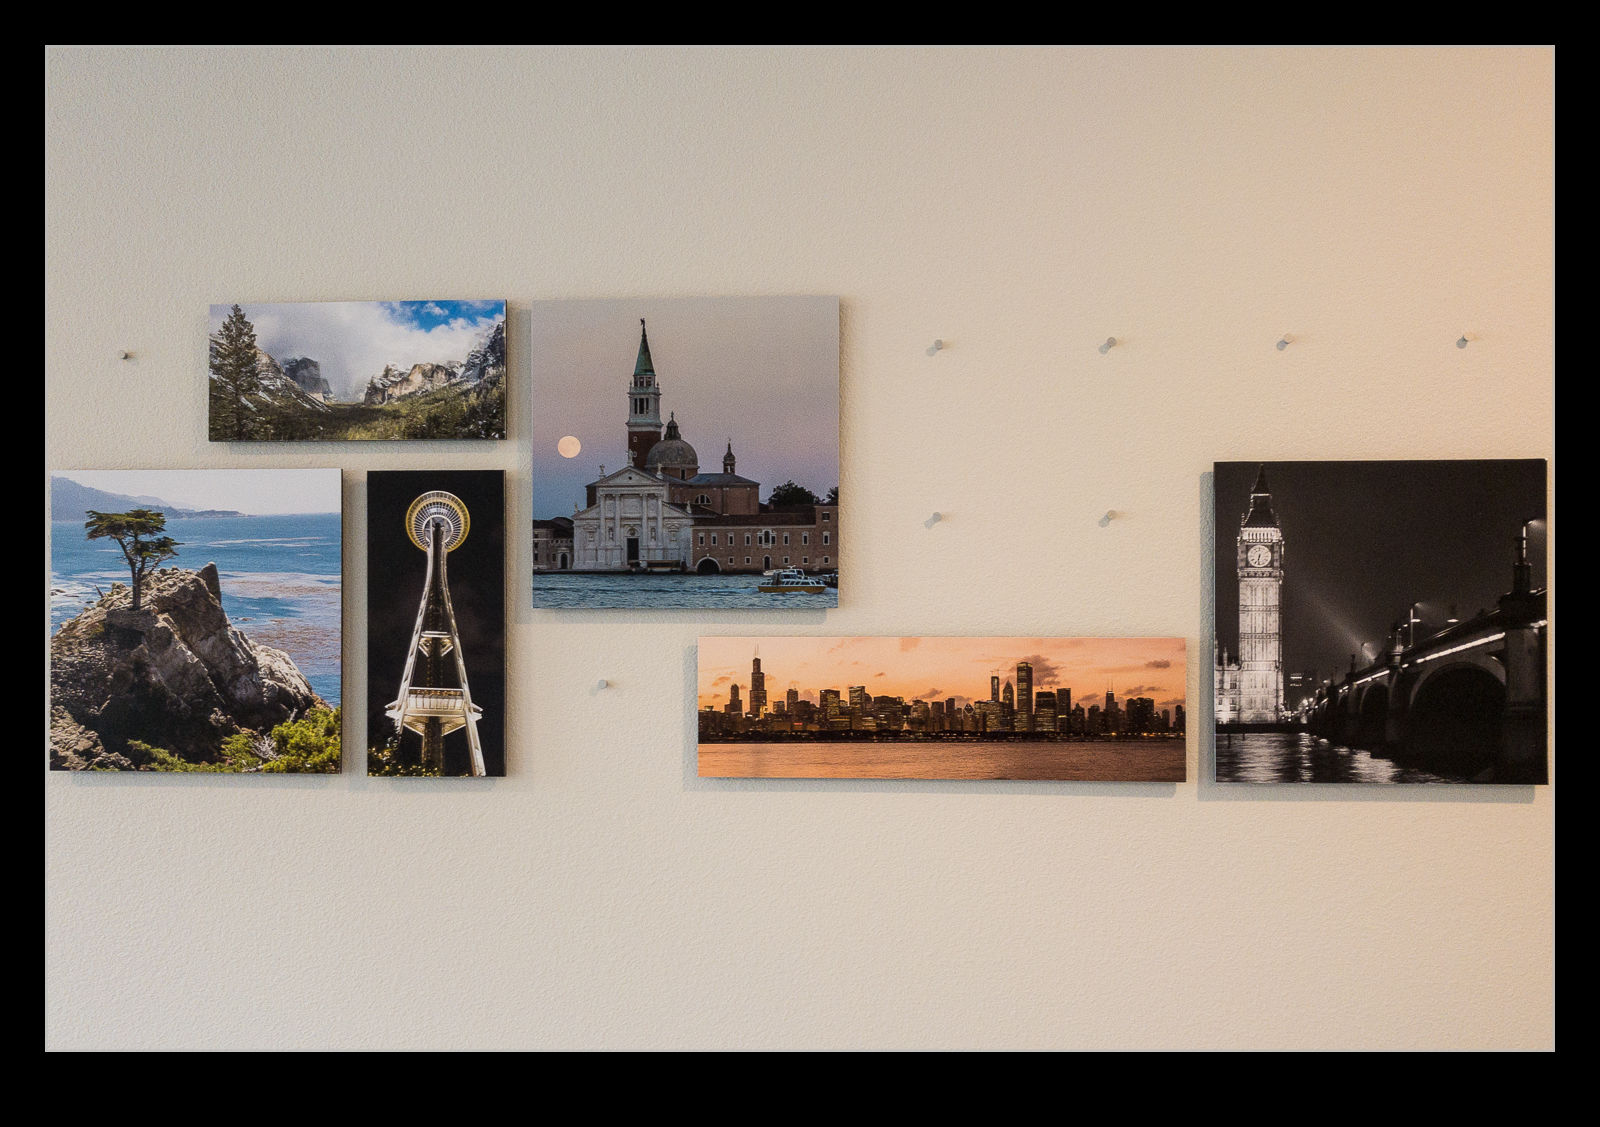
Nancy and I had been discussing what pictures to add to the walls in the house. We were trying to find something that was a nice layout and also could include images from a variety of places. We settled on the Collagewall from MPix. I have used MPix for a lot of photo printing requirements over the years so was happy to give this product a go.
They have a variety of configurations that you can choose from. They have varying dimensions and layouts and you can pick your images to fit different aspect ratios. The one we went with was 4.5’ across to fit a large wall space and it included some large and small square format images with a couple of panoramic shots and one vertical thin image. I did all of the selections and formatting in Lightroom and then just dragged and dropped them in to the configuration tool. It was very straightforward.
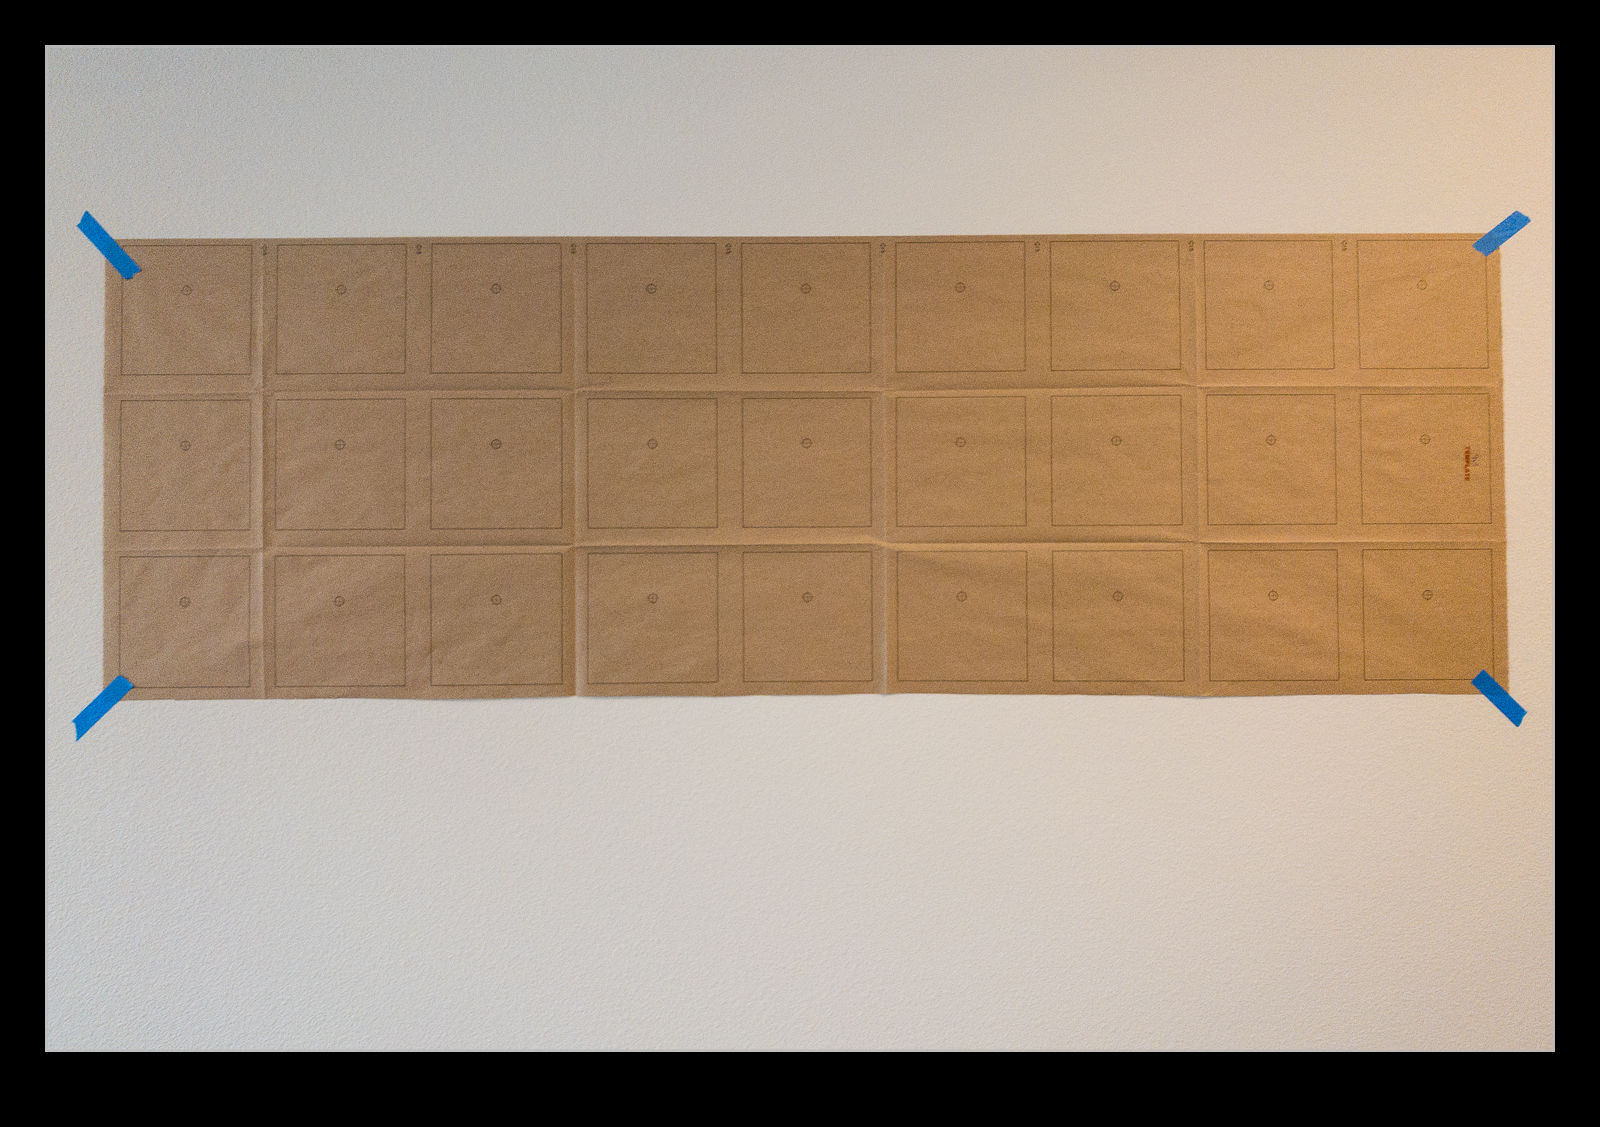
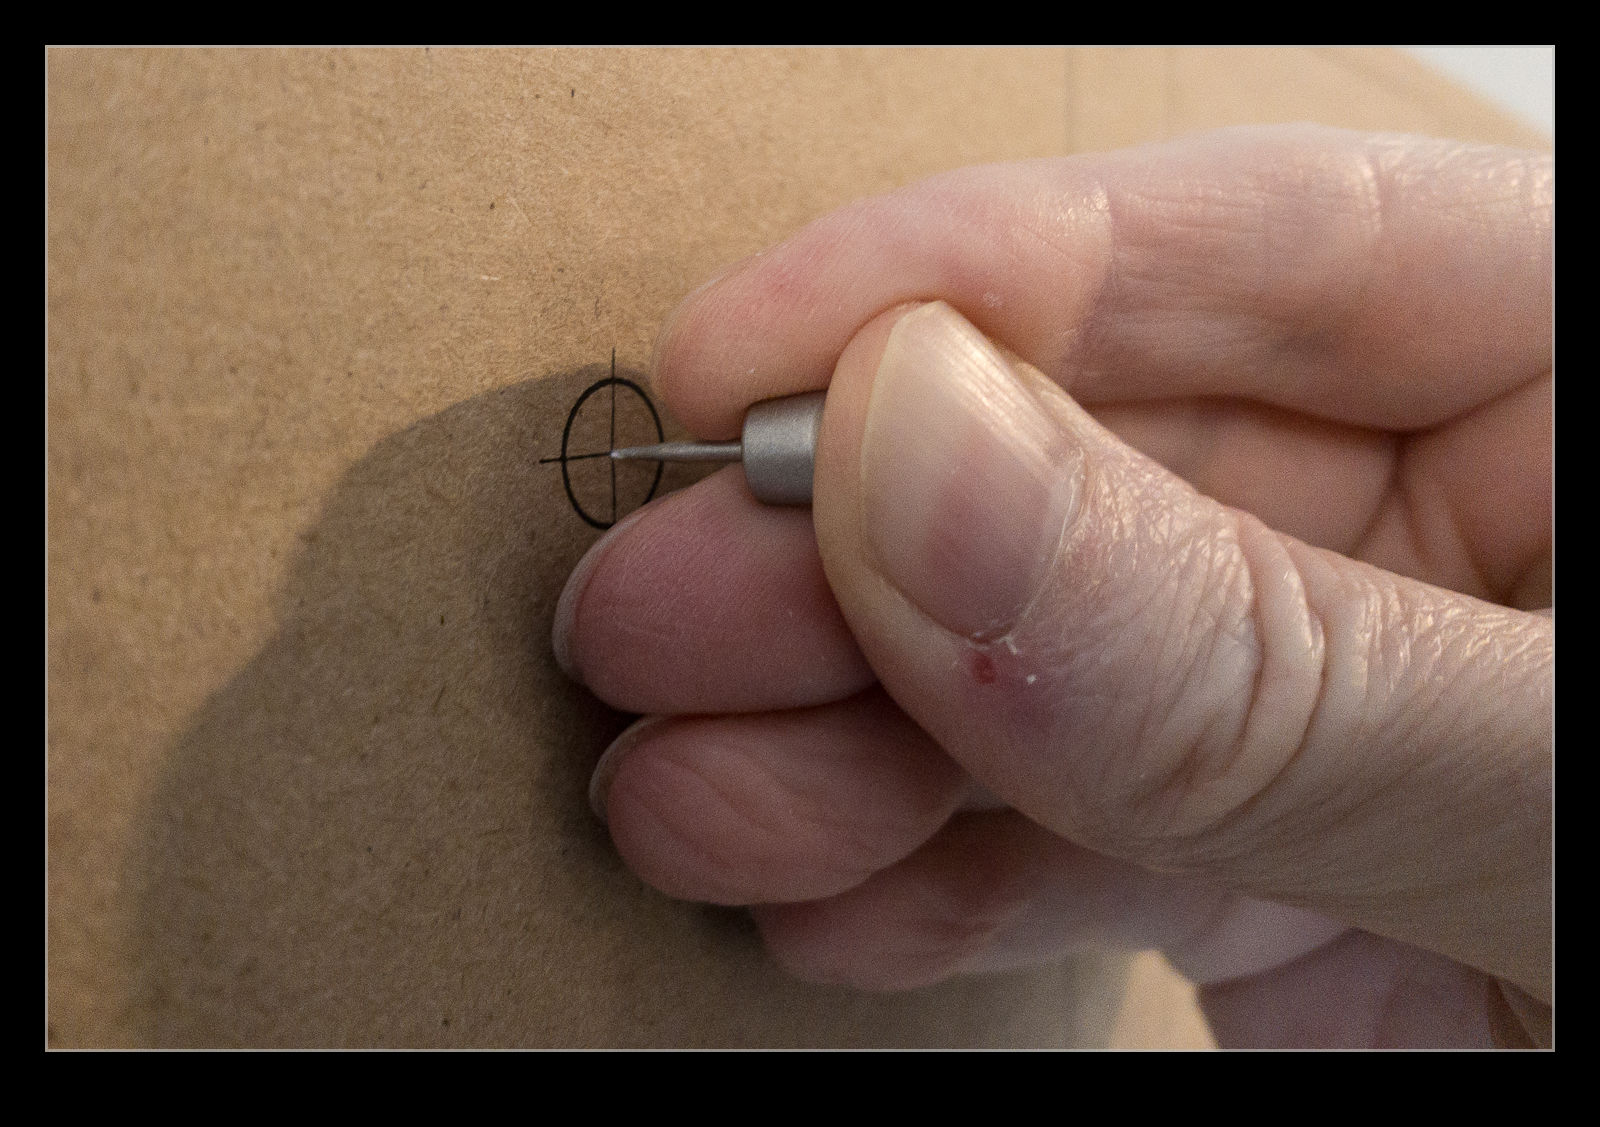
The whole things was printed and shipped quickly and would have been with us shortly thereafter had it not been for a winter storm that meant the package got to spend a week in Salt Lake City. However, it finally arrived and we could install it. There is a paper template provided to assist in putting it on the wall. You tape that in place checking for location and level before getting to work. A series of pins need to be inserted into the surface of the wall. Using the template, you can make an initial pin hole with one of the pins without pushing it all the way in. Then, when all locations have an initial mark, the template can be removed and saved for any future installation.
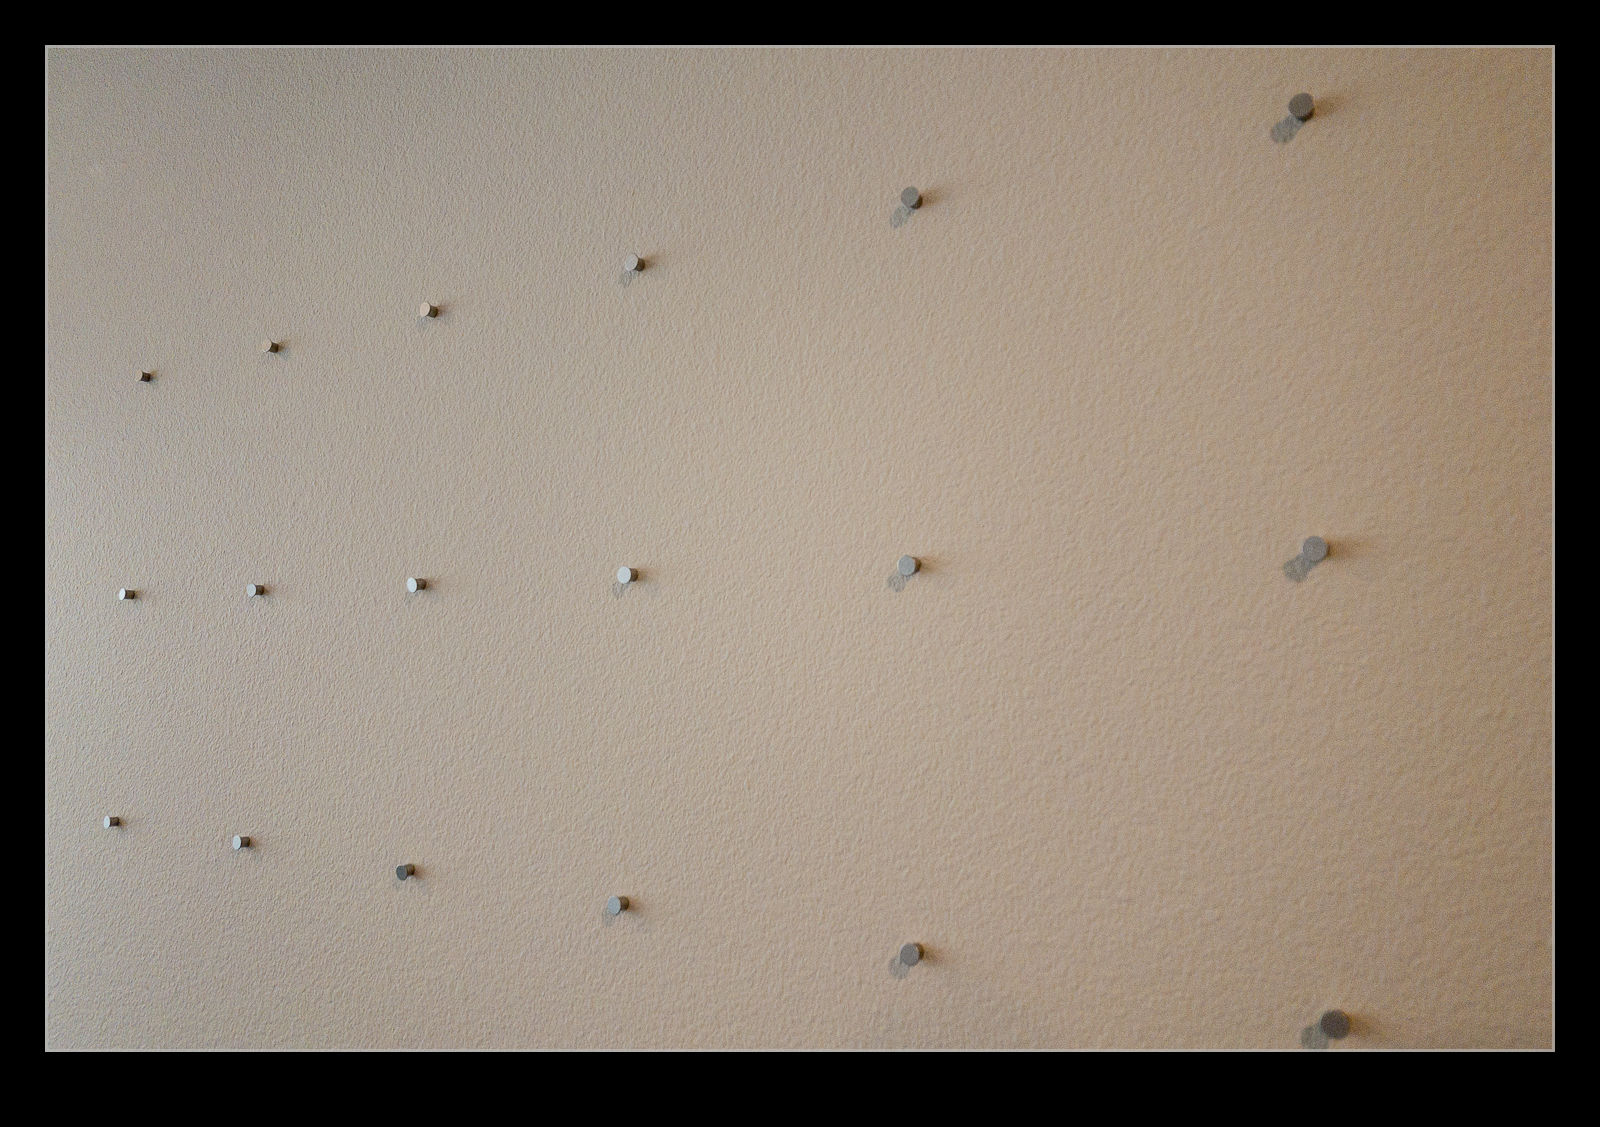
Then add the full set of pins by pushing them all the way in to the initial holes previously made. This results in a grid of pins covering the full area of the finished work. Slots on the back of the prints will then slide over the heads of the pins. For some of the small prints and the panos, adhesive foam pads are added to provide some stability. The larger prints are stabilized sufficiently by the pins. Then you slot everything in to place.
From start to finish, it was probably little more than half an hour to put it up. A significant portion of that was making sure the template was exactly where we wanted and properly leveled. Nancy pushed out each print while I was inserting the pins. Finishing it off was very simple. The nature of the installation means changing a print out for a replacement would be very easy and then include a folding element that can be inserted in the back to make each print stand on its own if required. I’m really happy with the way it has come out and might do a smaller installation for another location in the house. In truth, the longest part of this is choosing the right shots to include.