Tag Archives: hdr

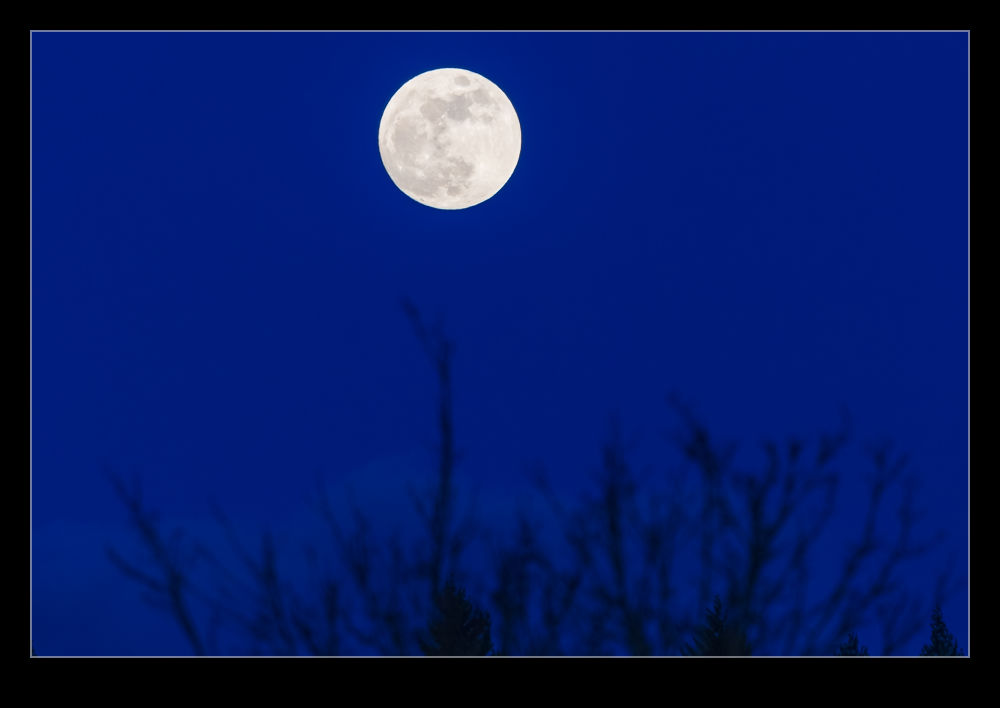
Supermoon Rising

The combination of the Super Moon, the blue moon and the lunar eclipse was something a lot of people were interested in.  Sadly, we were due to have a cloudy night so none of the excitement was going to be on show.  As the sun was setting at the beginning of the evening that this was all due to happen, I was walking out of the office at the same time the moon was rising.  At this point we still had a clear sky.  I hadn’t planned anything but I did have a camera to hand so grabbed a few shots for the hell of it.
I decided to try and bracket for an HDR shot.  The twilight meant there was something closer to an even exposure between the foreground and the background than you normally manage with a moon shot but it was still a wide range.  HDR gave a bit more to play with.  Then I headed home and the clouds rolled in.

Bridge at Hecata Head

Highway 101 passes Hecata Head and crosses a river before entering a tunnel through the cliffs.  The bridge is a pretty elegant structure.  Unfortunately, winter is not a good time to try and photograph it.  It is tucked in amongst the hills and the sun will only be on it when in the west and probably only in the middle of summer when it gets a lot further north.  I had to work with what we had in the shade.  Playing around with exposures and working with some HDR processing did allow me to bring a bit more punch to the shots which I felt represented more of what I actually saw while I was there.

Enfuse for HDR

I am a little late to discovering the Enfuse plugin for working with HDR images.  I started out many years ago using Photomatix.  At the time, it was the go to software for creating HDR images.  Then Adobe got a lot better with their HDR software within Photoshop and I started to use that.  Even more recently, Adobe built HDR processing in to Lightroom and I didn’t need to go to Photoshop at all.  The HDR software worked reasonably well so I stuck with it.  I sometimes felt that it didn’t do as good a job of using the full range of the exposures but it was okay.

I wasn’t entirely satisfied though so have kept an eye on other options.  Someone mentioned Enfuse to me so I decided to give it a go.  It is a plugin for Lightroom and, in the free download, you can try it out but with a limitation on the output image size of 500 pixels.  Obviously this isn’t useful for anything other than testing but that is the point.

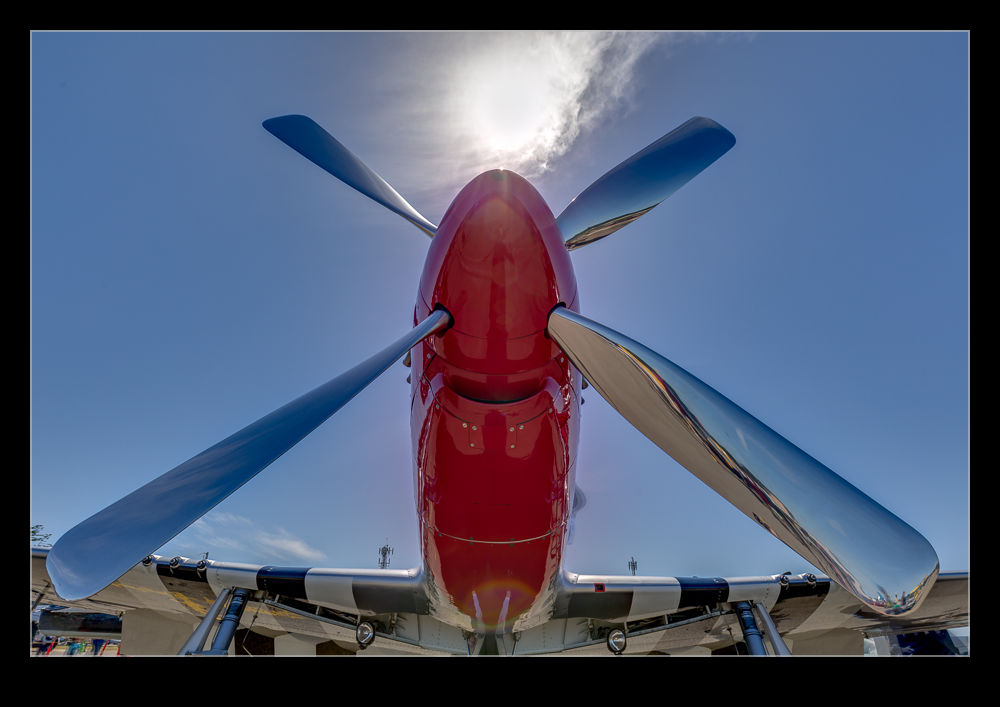
The first thing I tried it on was a shot I made at Half Moon Bay looking up at a P-51 Mustang prop and directly into the sun.  This is certainly as much of a range of exposures as you are likely to get.  The perfect thing for an HDR trial.  The results in the small scale file seemed pretty impressive so I decided to buy the package.  There is no fixed price.  You make a donation via PayPal and get a registration code.  I am impressed by the quality of some of the work people put out so I am happy to donate for what they do.  With the software activated, I reran the P-51 shots.  Below is the version I got from Lightroom’s own HDR and following it the version from Enfuse.

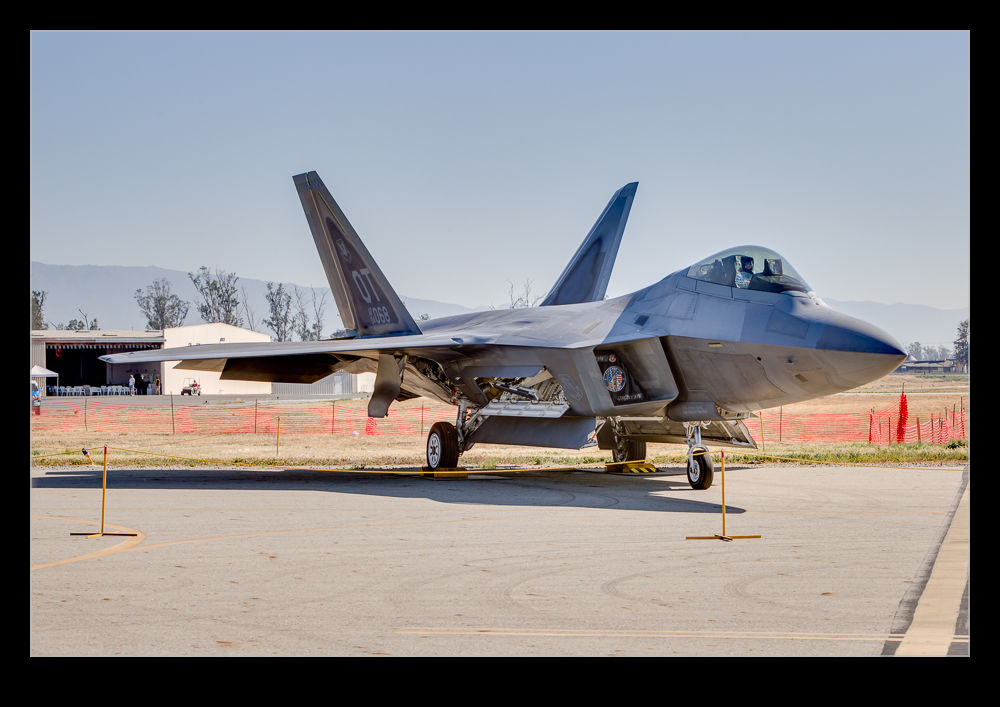
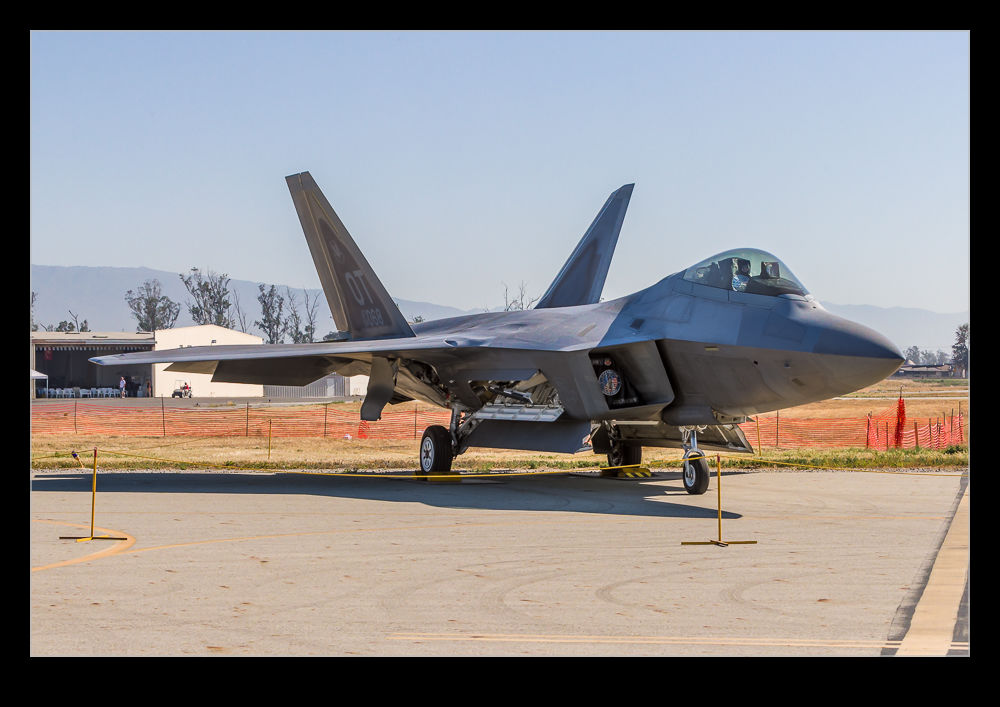
C59F8003enfuseHDR.jpg C59F8003-HDR.jpgI did have some issues initially.  Lightroom was not reimporting the image after it was created.  This turned out to be an issue with the way I named the file in the dialog and a tweak to that seemed to fix things.  Strangely, it had been fine on the trial so I have no idea why it became an issue but it is done.  I also played with a slightly less extreme case with an F-22 and, as above, the Lightroom version is first and the Enfuse version is second.  I was really pleased with the result on this one with a very natural look to things.  So far, I see Enfuse being a useful tool for my HDR going forward.

AU0E0447enfuseHDR.jpg AU0E0447-HDR.jpg

DC-7 Tanker

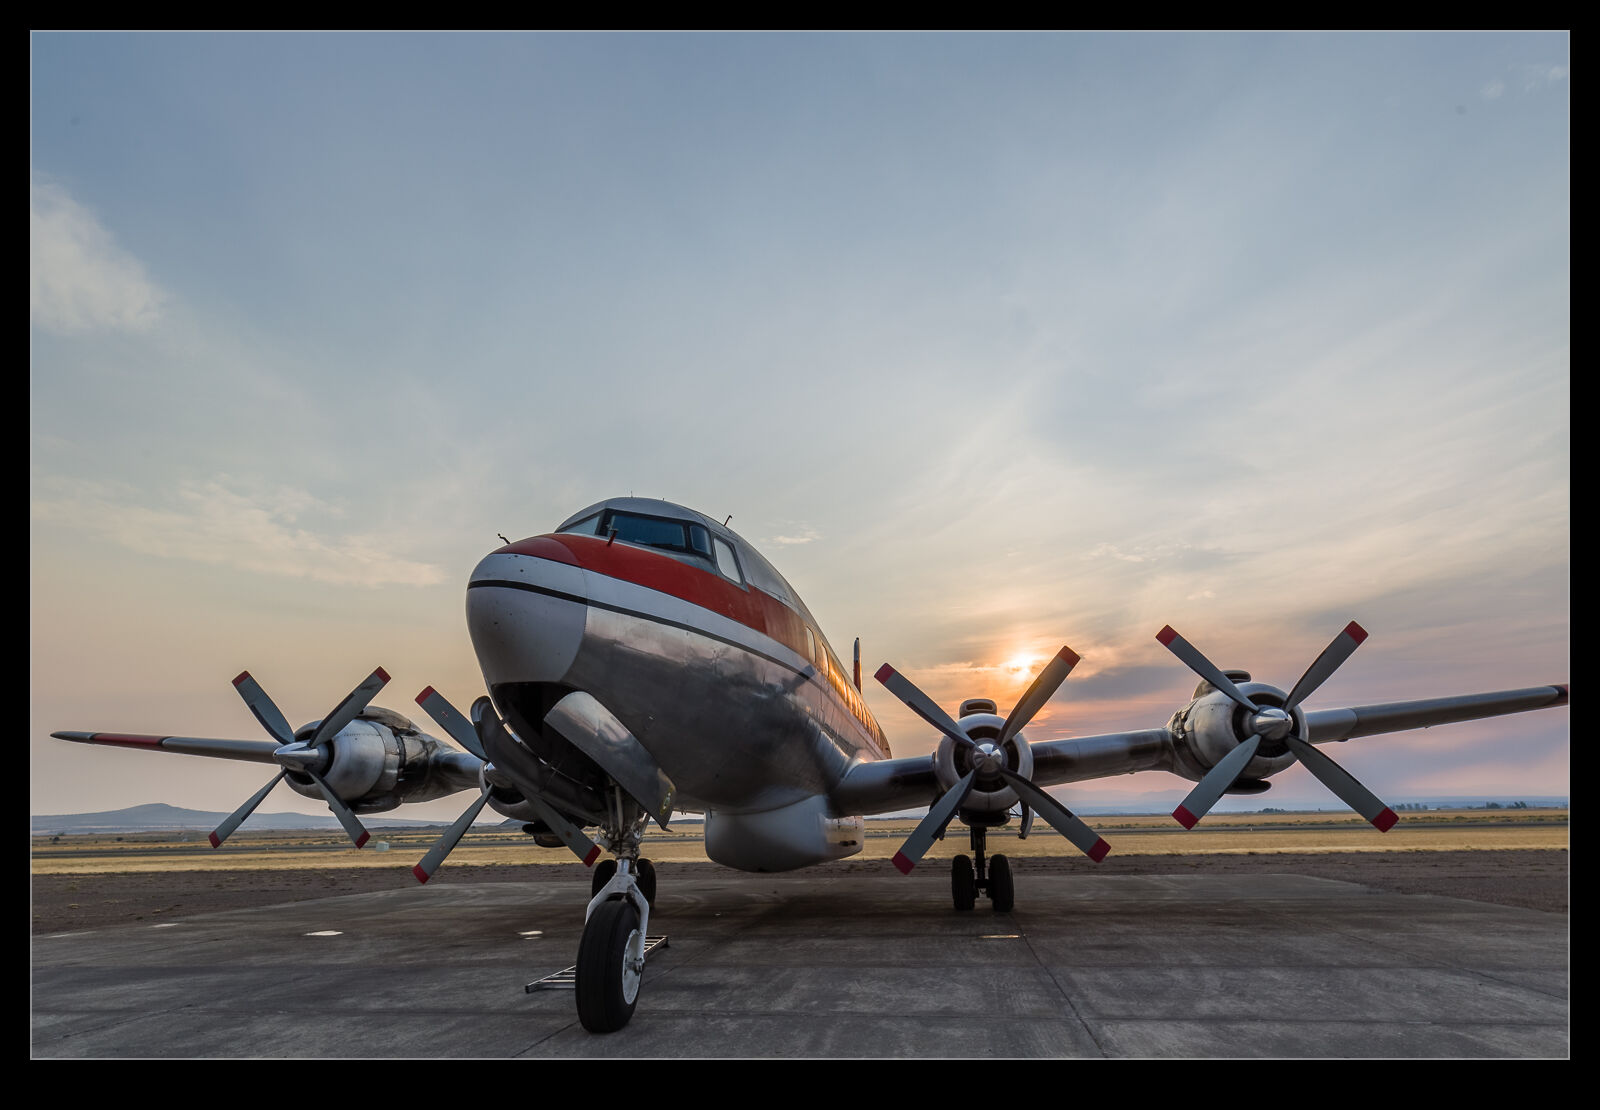
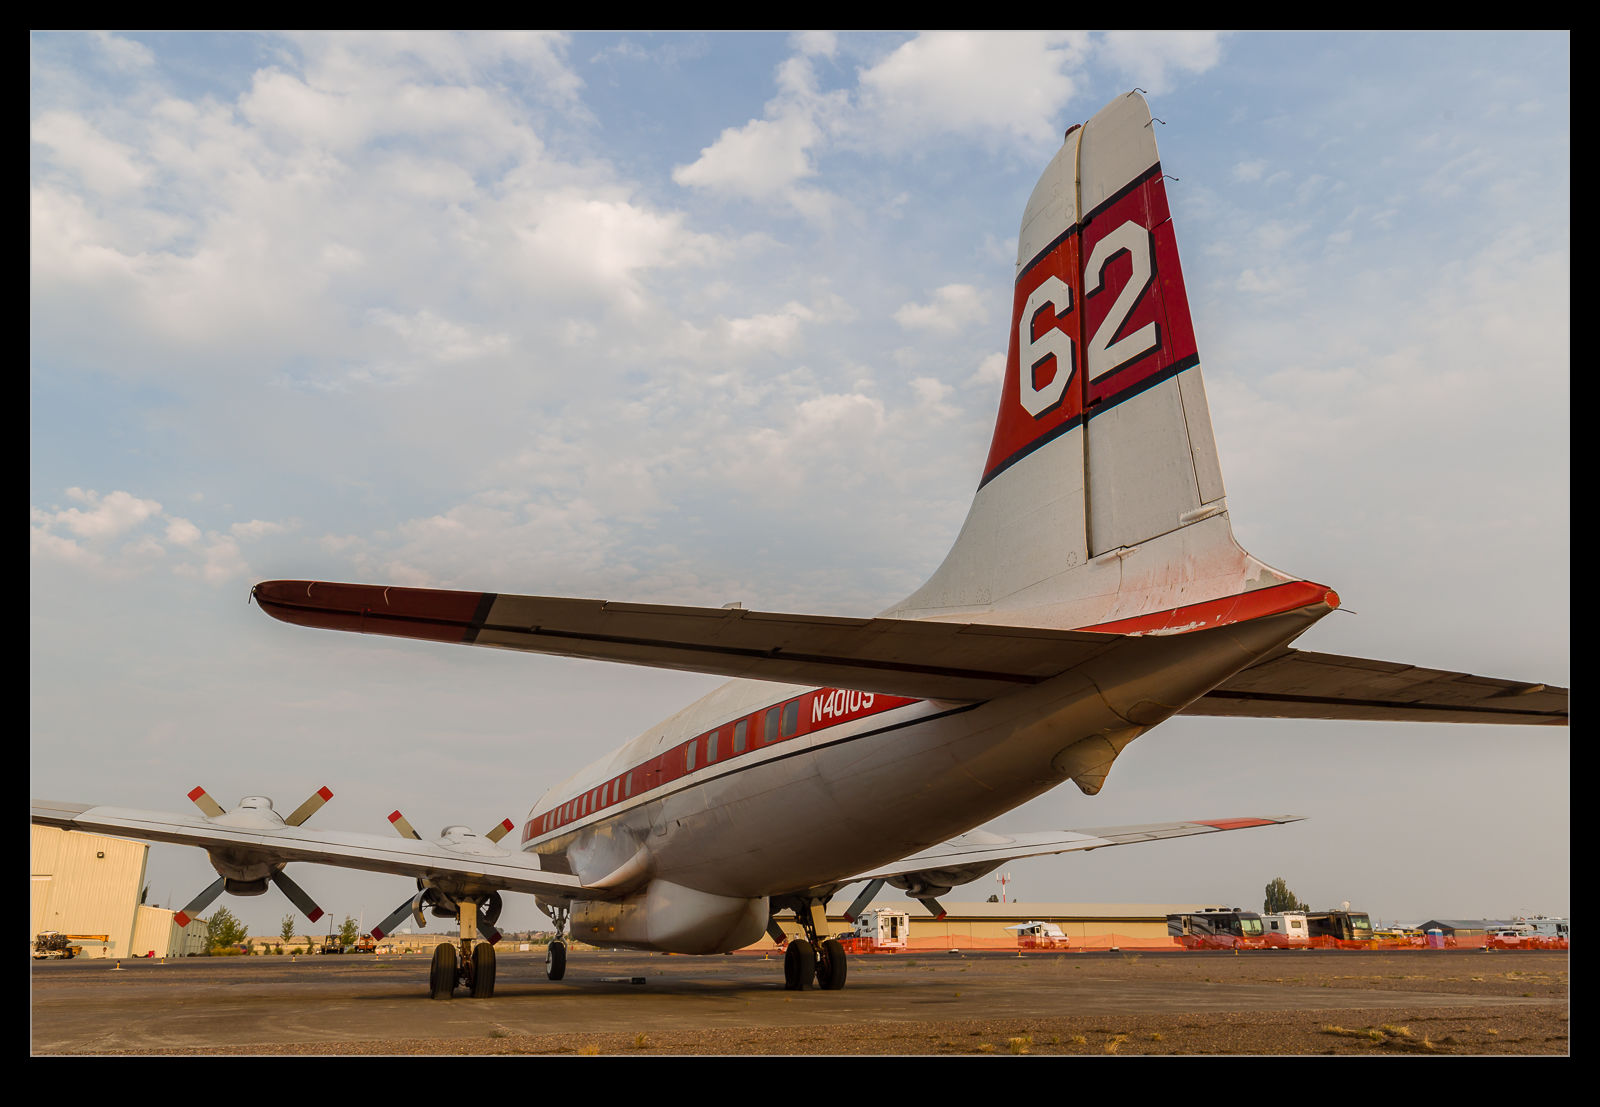
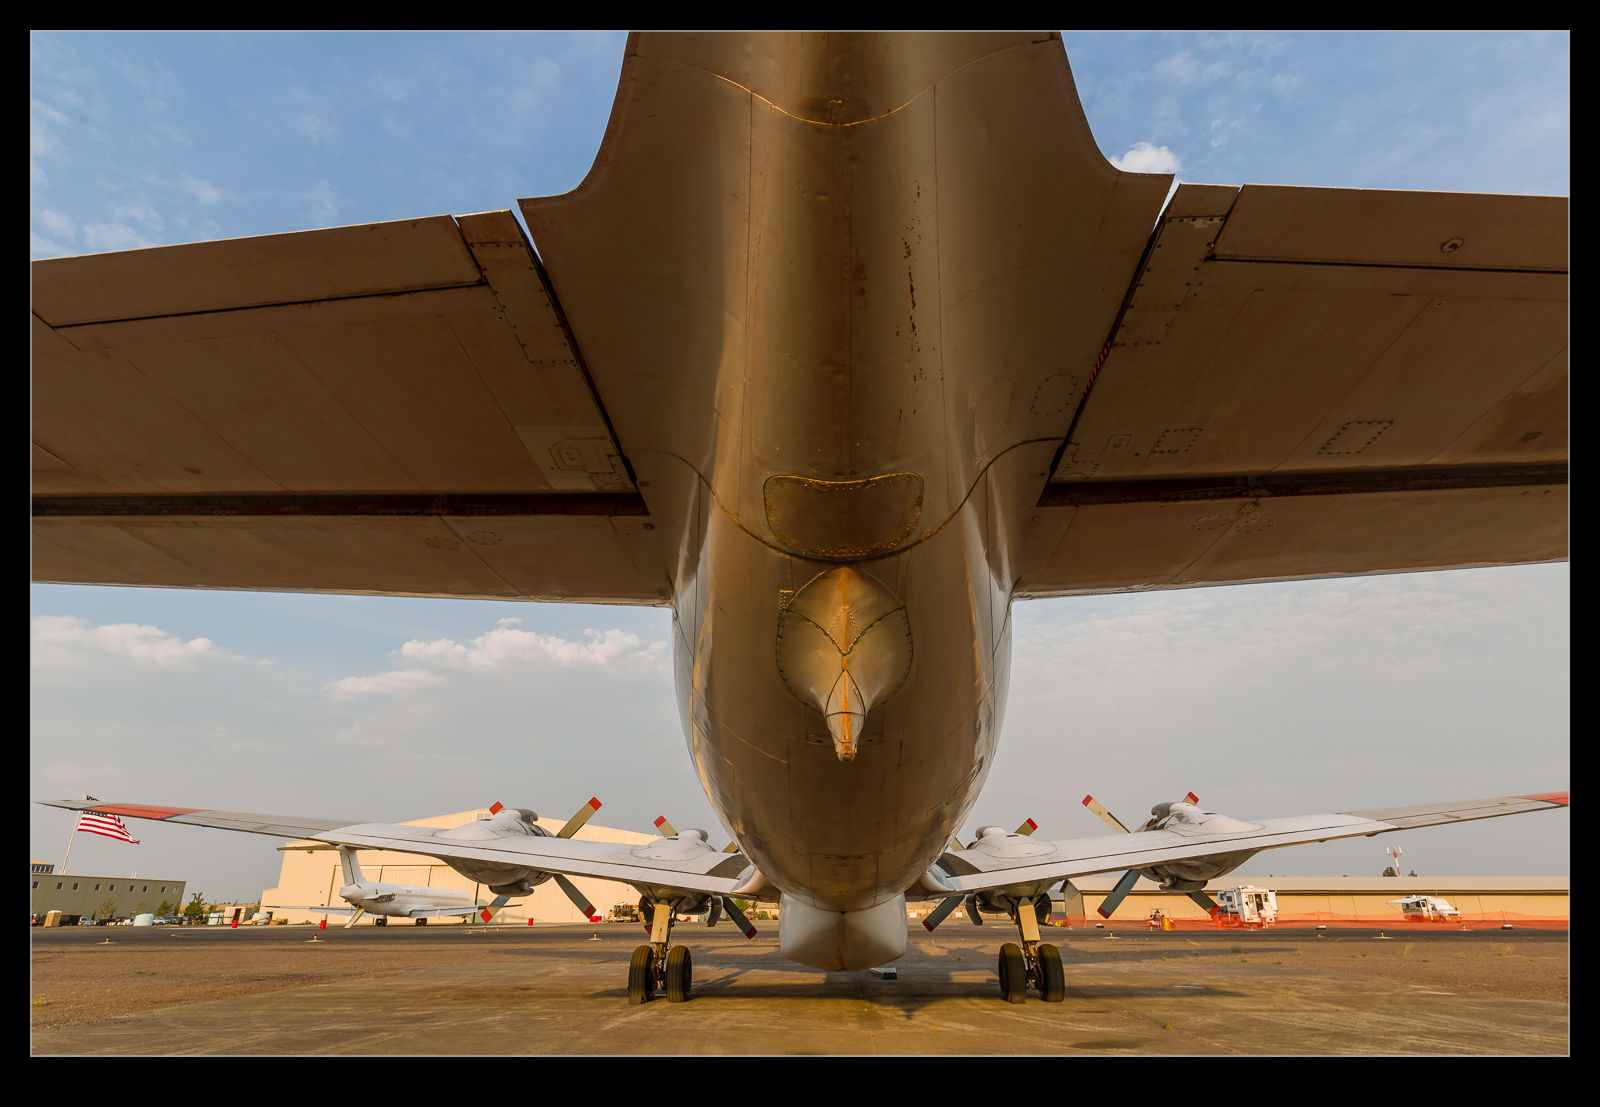
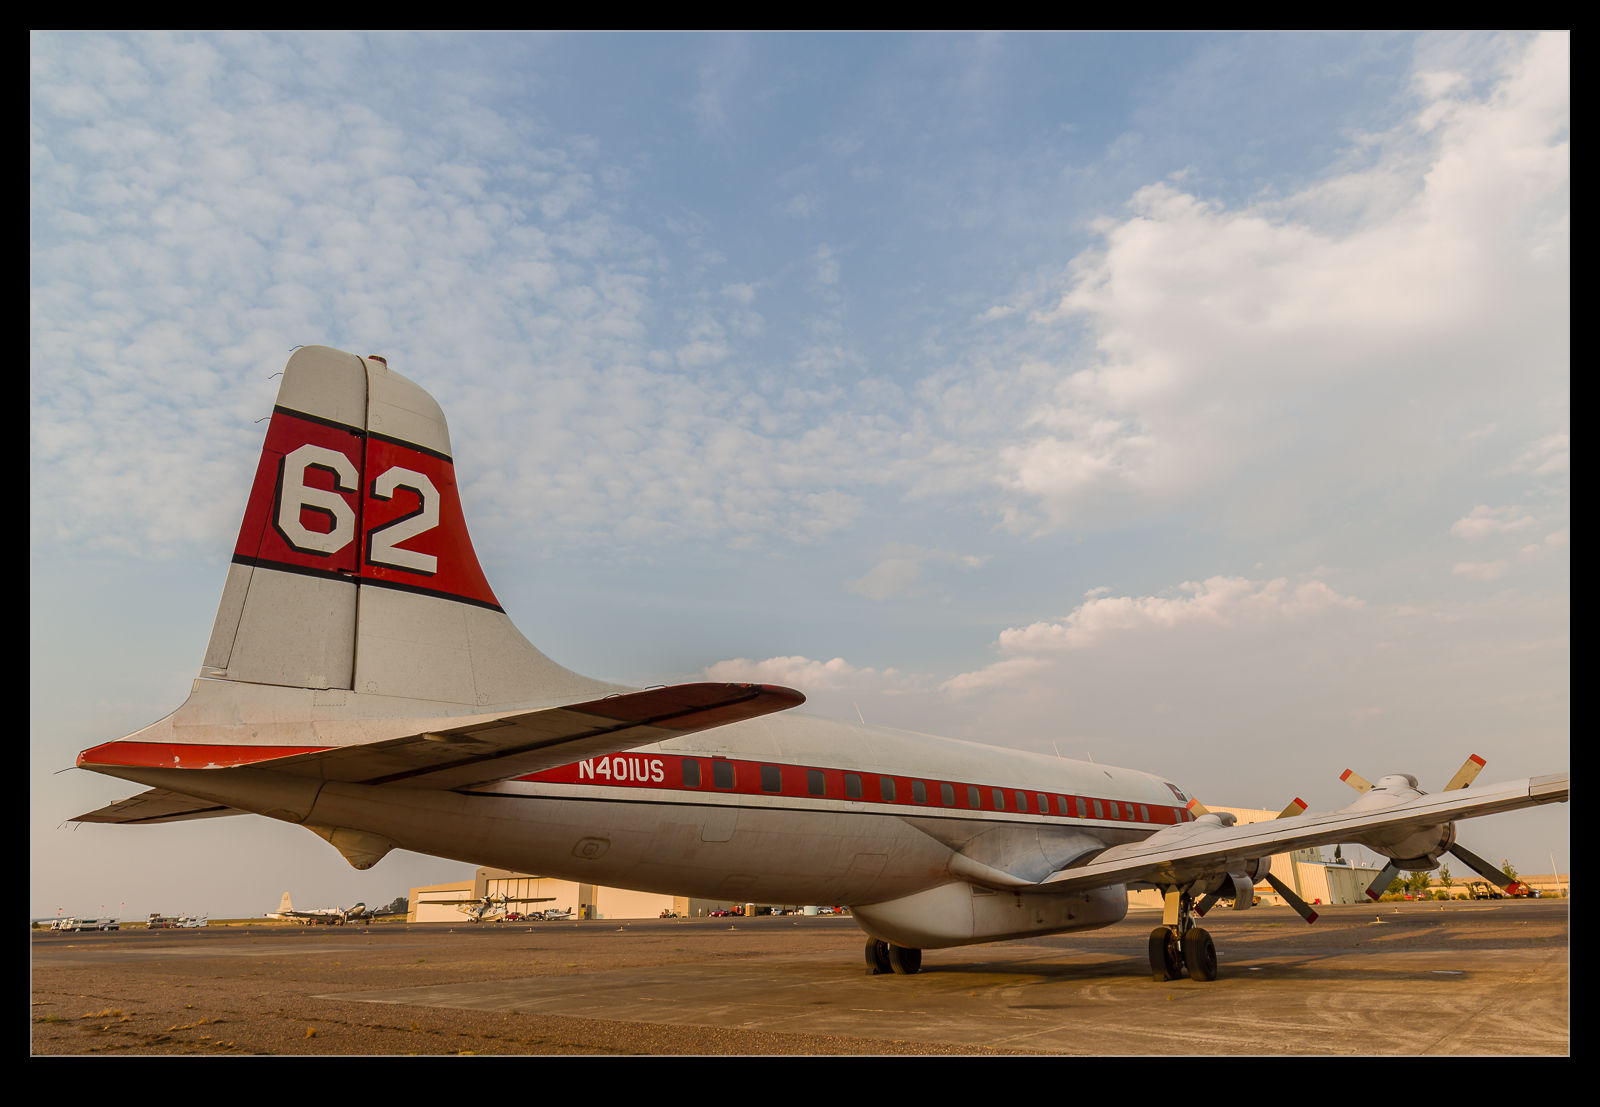
C59F8125-HDR.jpgI previously posted an item about the DC-7 tanker that was parked up on the Erickson ramp. Over the course of the few days we were there, this aircraft had a few visits from me. It’s positioning was not always ideal for what I wanted. The evening light was often great for photos but, sadly, the aircraft was almost exactly tail on to the setting sun. However, that did provide some silhouette options as well as playing with HDR to see if I could come up with something I liked.

C59F8084.jpgOne morning the sun came up as there was still some rain in the area. There was some good light on the nose for a while but the best option was the rainbow that formed in the background and was well aligned with the aircraft. I tried a variety of things over the days and some of those results are here. Of course, it would have been far more fun to see it in action!

C59F8087.jpgC59F8090.jpg

Clever Feature of Lightroom CC

This one is something that I can attribute to the Kelby media juggernaut. I did not discover this myself but, if you are a user of Lightroom CC and use either the HDR or the panorama functions, this could be of interest. One of my issues with them was that they took a while to bring up a preview. Once you had got this, the processing would work in the background.

It turns out, if you don’t need to tweak the settings and are happy with what you used previously, you can hold Shift and Ctrl and press either M for panorama or H for HDR and it will launch right into processing the whole thing in the background. You can set multiple versions off if you wish and they will all get to work out of sight while you do something else. While my feelings on the outcome of the processing are not universally great and I covered this in some previous posts, it does a reasonable job most of the time and this is an even better feature that is well concealed!

HDR Within Lightroom

The changes in Lightroom CC that included the Photomerge also included a change to the processing of HDR images. Again, the functionality has been brought within Lightroom rather than requiring the move out to Photoshop and the output file is again a DNG file. This means a smaller file than the 32 bit TIF that I was previously getting. A while back I wrote about some of the odd experiences I was having with moving these high bit depth files between Photoshop and Lightroom so a new workflow is of interest.

According to some of the publicity at the time of roll out, the new processing approach does not require as many images to work with. I have been shooting five images for HDR to date. They say that only a couple are necessary. I have tried carrying out the processing with five and with two and there doesn’t appear to be an obvious difference in the output. There is a benefit in the time taken to process the images though so this does appear to be a good improvement.

You can either let the output be automatically toned using the normal Lightroom processing functions or do it yourself. I let it have a go at first but have not liked the choices it made so have reverted to carrying out the toning myself. It is not a time consuming process so seems worthwhile to me. While I felt that Photomerge was not as capable as using Photoshop, in to case I think it is a better solution and this will be part of my workflow. Now to reset the camera to shoot fewer bracketed images!

HDR 32 Bit and Lightroom

This post is a plea for help. Anyone who is a regular user of Lightroom and Photoshop may be in a position to educate me a little. I use Photoshop to process my HDR shots. I start out in Lightroom, select the shots and use the Edit Photo>HDR Pro method to open them up in Photoshop. I then use the 32 bit version of the HDR Pro processor to create the file. I then take the Edit Using Adobe Camera Raw option for opening the file to undertake the final mapping. This works pretty well and I can usually get something I am happy with.

I then close the file and save it which automatically reimports the finished file back into Lightroom. This is when things go wrong. The view of the file in Lightroom doesn’t appear to make use of any of the edits I had done in ACR. The highlights are too bright and the shadows too dark. I can then use the Lightroom Develop settings to get something close to what I want but surely that should not be necessary. I might make further tweaks but shouldn’t it look the same when I close out of Photoshop.

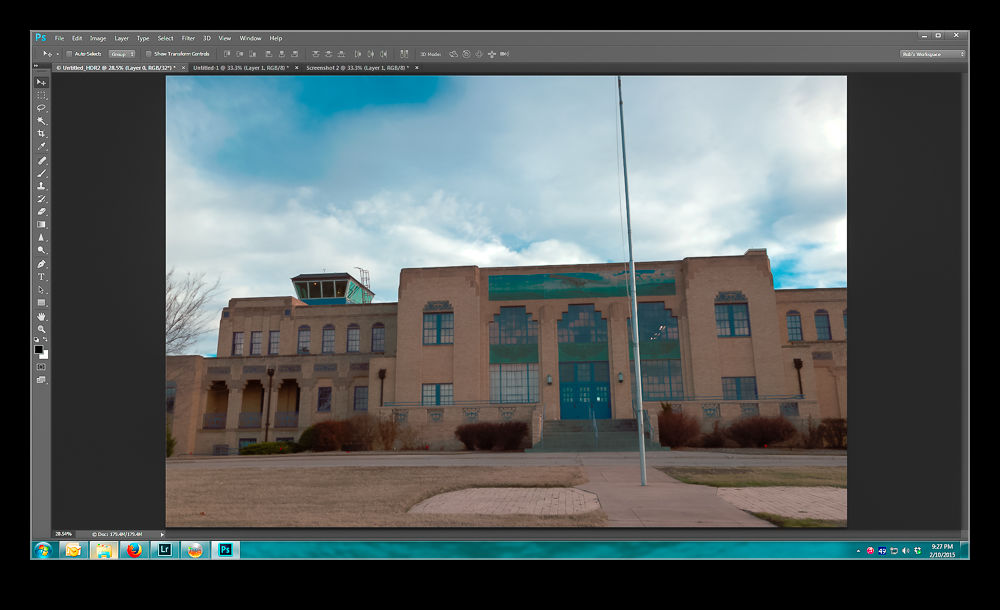
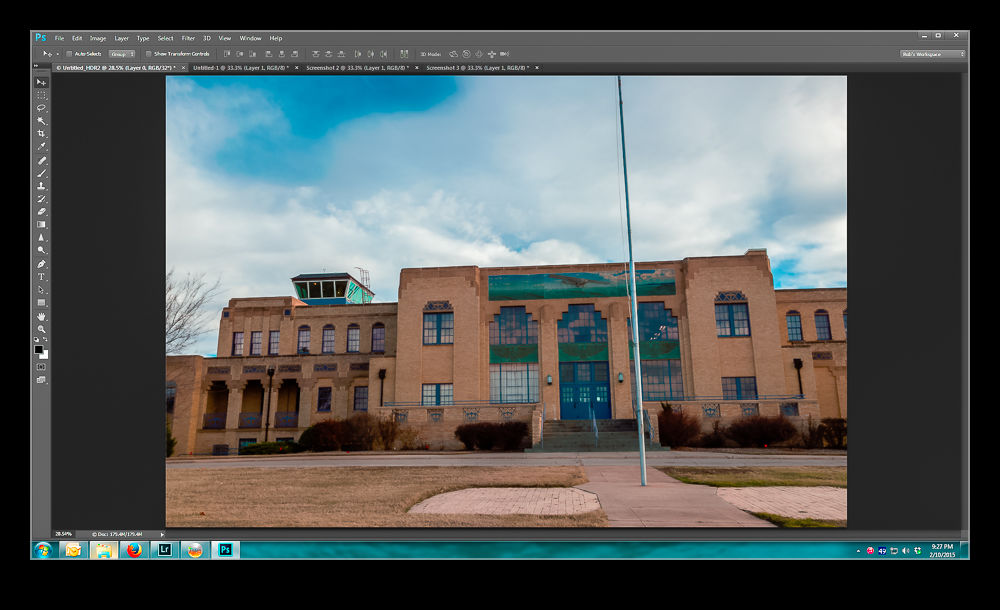
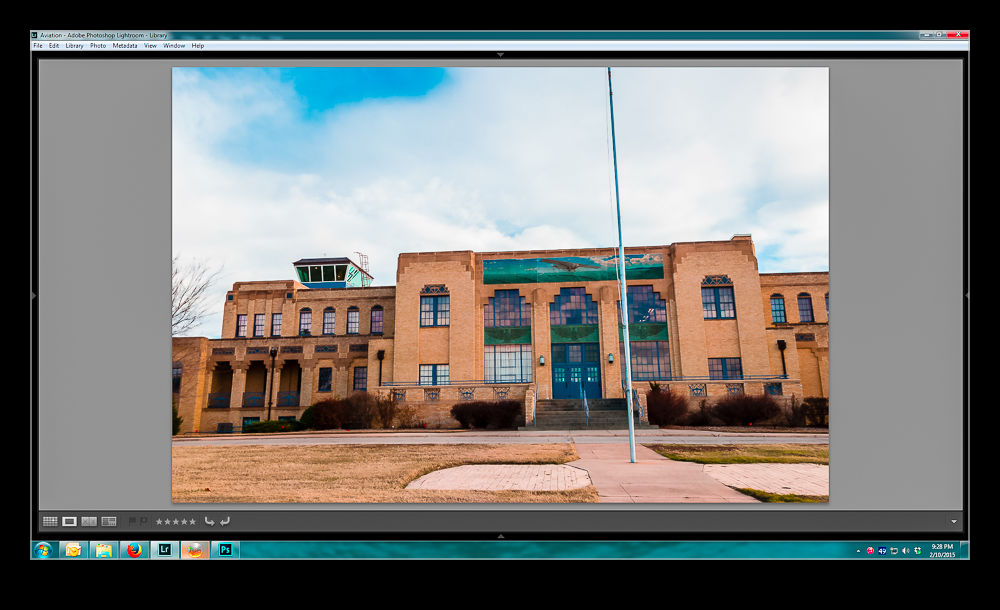
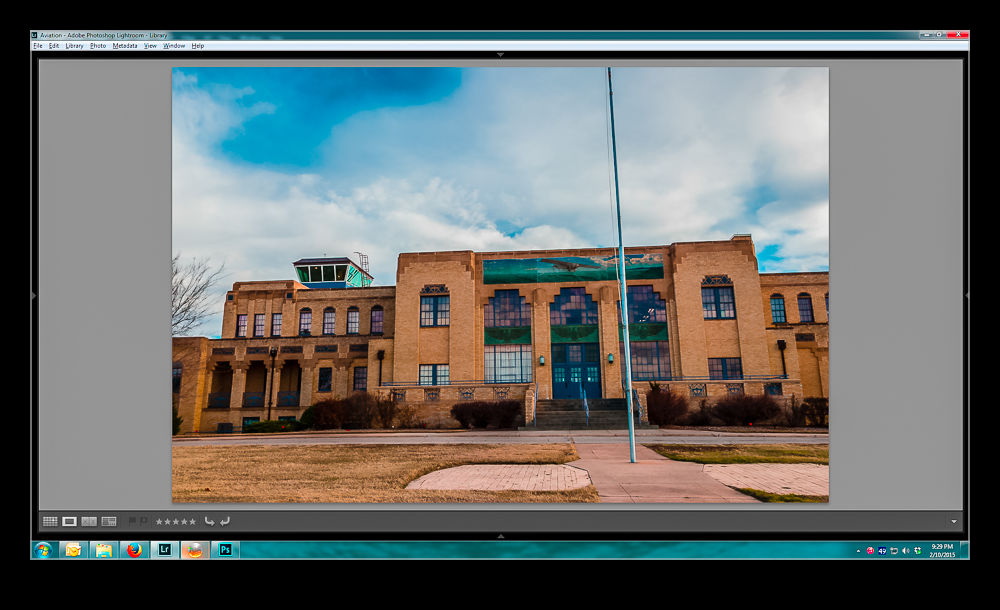
Below is a sequence of screen captures to show you the unprocessed shot in ACR, the finished version, what it looks like in Lightroom and then what I can tweak it to. Any suggestions are gratefully received.  (Note, I didn’t make this exactly match the two edited versions.  It is aimed to illustrate the disconnect and the recovery process.)

Original HDR merge pre tone mapping

wpid12810-Screenshot-3.jpg

HDR with ACR tone mapping appliedwpid12808-Screenshot-4.jpg

How the saved image appears when imported to Lightroomwpid12806-Screenshot-5.jpg

Using Lightroom to get back to something like I had in Photoshopwpid12804-Screenshot-6.jpg

HDR Pro Comparison

wpid12423-IMG_2448.jpgThe iPhone has an HDR function available in the camera’s software. However, it hasn’t impressed me in the past. My friend Hayman introduced me to an app called HDR Pro and I have used that as my default iPhone HDR app since. Recently, they introduced an updated version of the app called HDR Pro X. I decided to give it a go. I wanted to see what the images it produced were like, how the new controls worked and also to make a comparison with the output from HDR Pro.

wpid12425-IMG_2449.jpgThe top shot is from the new app.  The second one is the previous version.  The added control certainly seems to be beneficial and the blowing out of the higlihgts is far better controlled.  I am generally happy with the new version.  The controls could be more user friendly.  When you use Lightroom/Camera Raw all the time, anything less seems clunky!  See what you think of the results.

HDR for Snapshots

While you always want to produce great photographs, sometimes you are just getting snapshots to remind you of places that you have visited. This blog is full of such shots that will never go anywhere further. One of the shortcomings of those shots is that they are taken at a time of day that is not ideal.   If I am setting out on a photo trip, I can go at the time that suits the lighting. If we are visiting somewhere on our travels, I get the shots that are available at that time. That often means harsh lighting.

Here I have started to take a lesson from my friend Hayman. He was talking about using HDR to make something more interesting from an otherwise unflattering lighting situation. Consequently, I have been making a lot more use of HDR on my travels. While early processing techniques for HDR were focused more on the grungy style, the latest developments allow you to produce an image that is a lot more natural looking and is far closer to what you recall of the view when you were there.

When trying to provide a more interesting shot for sharing with someone who wasn’t there, this is a good option. The ability of raw processing to get a lot more out of a shot has certainly increased the potential of a single shot. However, as the contrast ratio gets larger, the limits of a single shot become apparent. An HDR image can cope with this situation a lot better.

I am now using the tone mapping in Adobe Camera Raw to work on the 32 bit file once Photoshop has created it.   Then, once it is back in Lightroom, I can use the same sliders to further work on it. (I am currently unsure about how well the edits in ACR show up in Lightroom as I seem to lose some of the effects but will figure that out in due course.). The resulting images are still a little less than real but part of the purpose is to show more of the shot than the light would naturally have given.

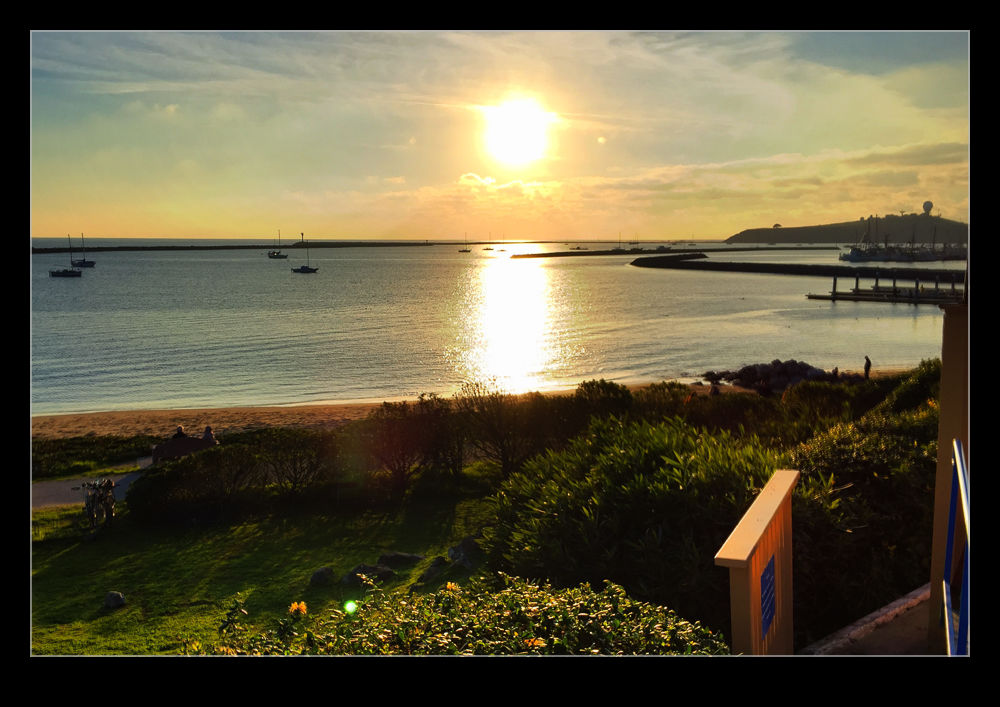
The examples below are a bit of a sample. One of the middle range image as it was without any significant work. Next comes an edit in Lightroom to bring out a lot of the shot. The last is the HDR effort. Hopefully it shows the various results possible for the same basic shot.  Interestingly, if the light is not totally harsh, the ability to get more out of a RAW file is not far short of what the HDR gives.  It has less flexibility and is more susceptible to halos but it is a close second.

HDR Panoramas

wpid10158-C59F8190-Edit-Edit.jpgAnother one of my processing technique posts today. For those of you interested in pictures of places, today will probably be one you pass on. You have been warned. This is about my first venture into the realm of HDR panoramas. I know at least one of you who knows exactly how to do this sort of thing and does it on a regular basis. You also will probably skip the rest of the post. However, you have some specialized tools for doing the job and I am playing with Lightroom and Photoshop so here is how it goes.

My initial thought having taken the shots was which order to carry out the processing. HDR first or pano first. I concluded that it had to be pano first. All of the pano exposures were consistent and would stitch properly while I wasn’t convinced that each of the pano frames would be consistent if I had done the HDR blending first. However, this left me with a second concern. Would the pano merge produce images that would align for the HDR merge. I use the pano tools built into Photoshop and, while I select the algorithm it uses, I did not have confidence that it would produce an identical alignment for each set of exposures. However, this was the route I tried.

Stitching the panos was straightforward enough. I created each of them from Lightroom and ended up with five panos with differing exposures. At this point I could have taken them directly to HDR Pro within Photoshop but, since I wanted everything to end up in the Lightroom catalog, I decided to save the files and go to HDR Pro from there.

Here I encountered my first hiccup. As expected, the panos produced were not identical. There were very close but not identical. HDR Pro only works on files that are the same dimensions. I imagine some more specialized HDR applications might be able to handle this but I was stuck with Photoshop. Since the panos were thousands of pixels across and only a few pixels different, I opened them back up in Photoshop and changed the canvas size to be identical in each case. HDR Pro is able to manage alignment of slightly misaligned shots anyway so I wanted worried about the positioning. Also, with such small changes in dimensions, I didn’t fear that I would have distortion.

With this change made, Photoshop went to work and created the HDR file. Amazingly, it worked just fine. I didn’t have any problems with the files being distorted relative to each other and it did a great job of blending them. All that was left was to crop everything in to clear up the empty corners from the pano creation (I didn’t get rid of those in the first instance since I was trying to keep the pano files identical in size and alignment) and then a few tweaks back in Lightroom had the job finished. I was pretty pleased with how it worked and, with the experience of this time, should be able to turn them around quite quickly next time.