This post is a plea for help. Anyone who is a regular user of Lightroom and Photoshop may be in a position to educate me a little. I use Photoshop to process my HDR shots. I start out in Lightroom, select the shots and use the Edit Photo>HDR Pro method to open them up in Photoshop. I then use the 32 bit version of the HDR Pro processor to create the file. I then take the Edit Using Adobe Camera Raw option for opening the file to undertake the final mapping. This works pretty well and I can usually get something I am happy with.
I then close the file and save it which automatically reimports the finished file back into Lightroom. This is when things go wrong. The view of the file in Lightroom doesn’t appear to make use of any of the edits I had done in ACR. The highlights are too bright and the shadows too dark. I can then use the Lightroom Develop settings to get something close to what I want but surely that should not be necessary. I might make further tweaks but shouldn’t it look the same when I close out of Photoshop.
Below is a sequence of screen captures to show you the unprocessed shot in ACR, the finished version, what it looks like in Lightroom and then what I can tweak it to. Any suggestions are gratefully received. (Note, I didn’t make this exactly match the two edited versions. It is aimed to illustrate the disconnect and the recovery process.)
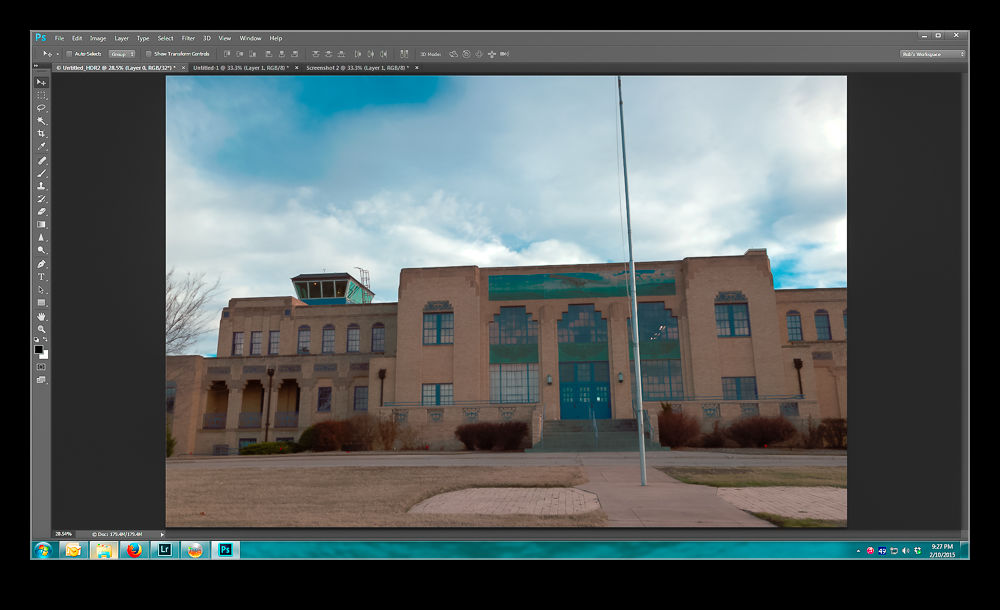
Original HDR merge pre tone mapping
HDR with ACR tone mapping applied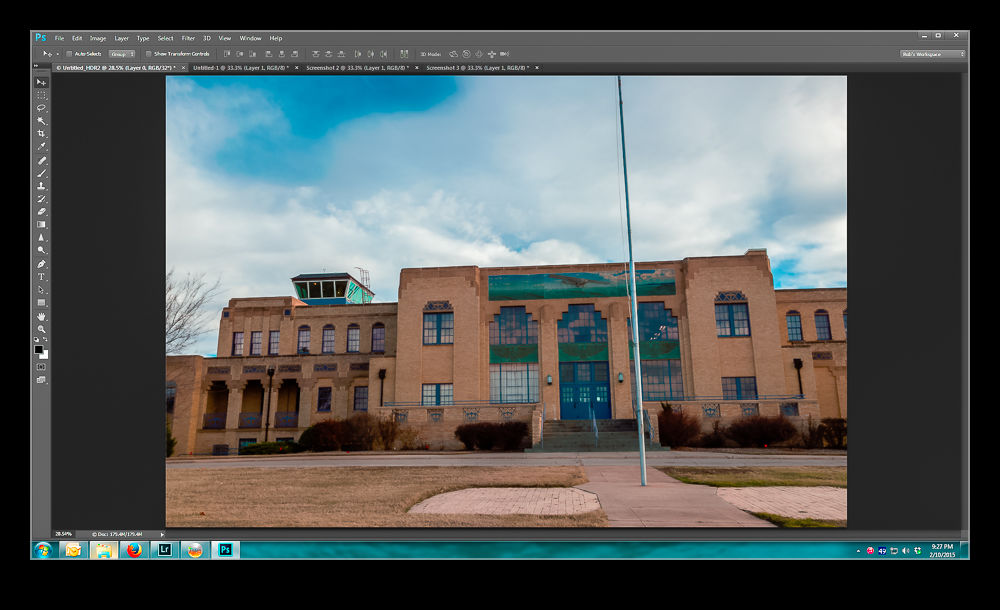
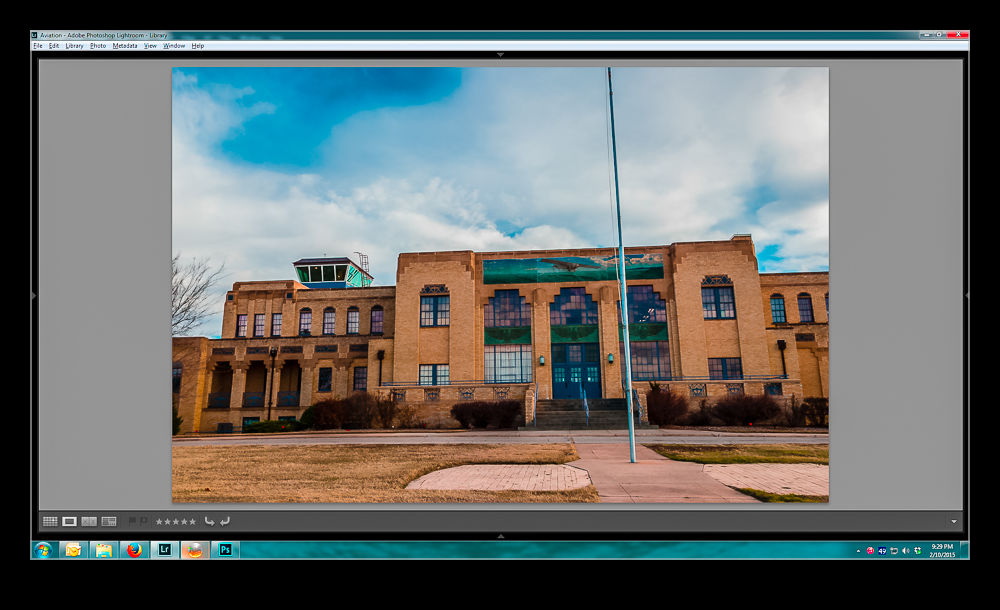
How the saved image appears when imported to Lightroom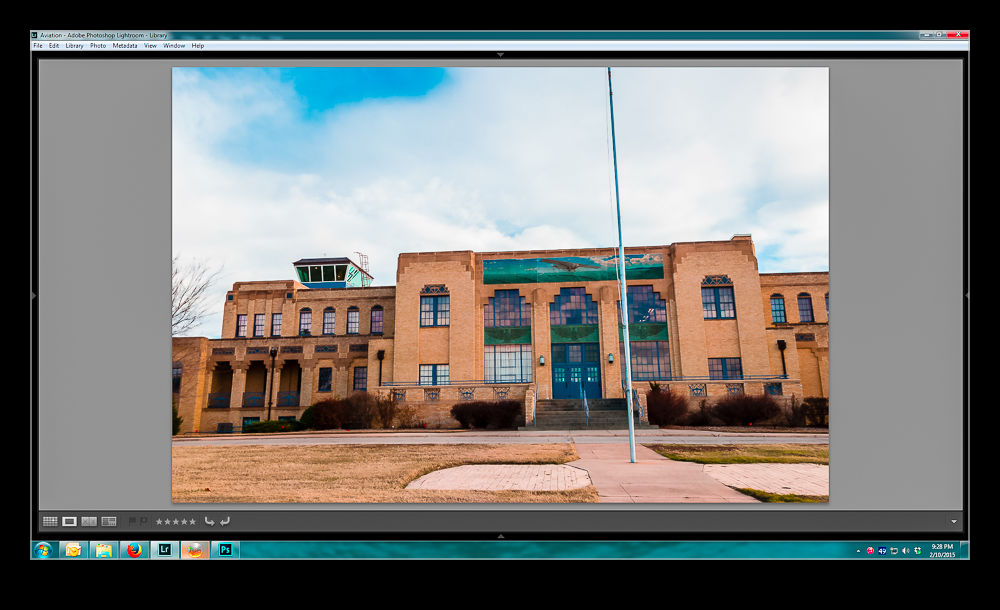
Using Lightroom to get back to something like I had in Photoshop