I am a little late to discovering the Enfuse plugin for working with HDR images. I started out many years ago using Photomatix. At the time, it was the go to software for creating HDR images. Then Adobe got a lot better with their HDR software within Photoshop and I started to use that. Even more recently, Adobe built HDR processing in to Lightroom and I didn’t need to go to Photoshop at all. The HDR software worked reasonably well so I stuck with it. I sometimes felt that it didn’t do as good a job of using the full range of the exposures but it was okay.
I wasn’t entirely satisfied though so have kept an eye on other options. Someone mentioned Enfuse to me so I decided to give it a go. It is a plugin for Lightroom and, in the free download, you can try it out but with a limitation on the output image size of 500 pixels. Obviously this isn’t useful for anything other than testing but that is the point.
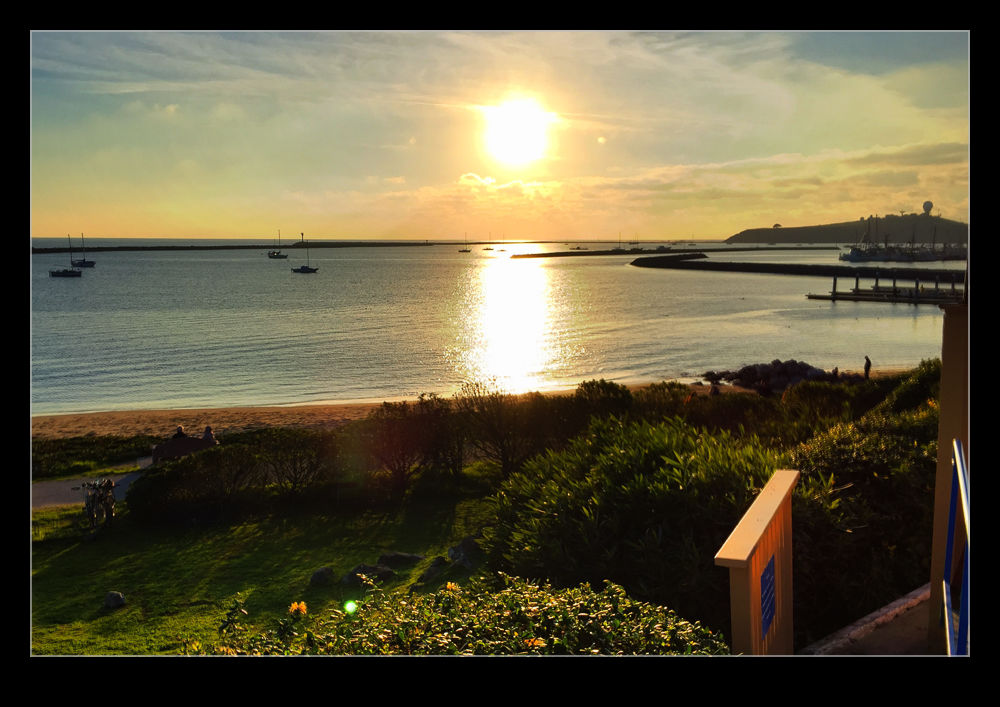
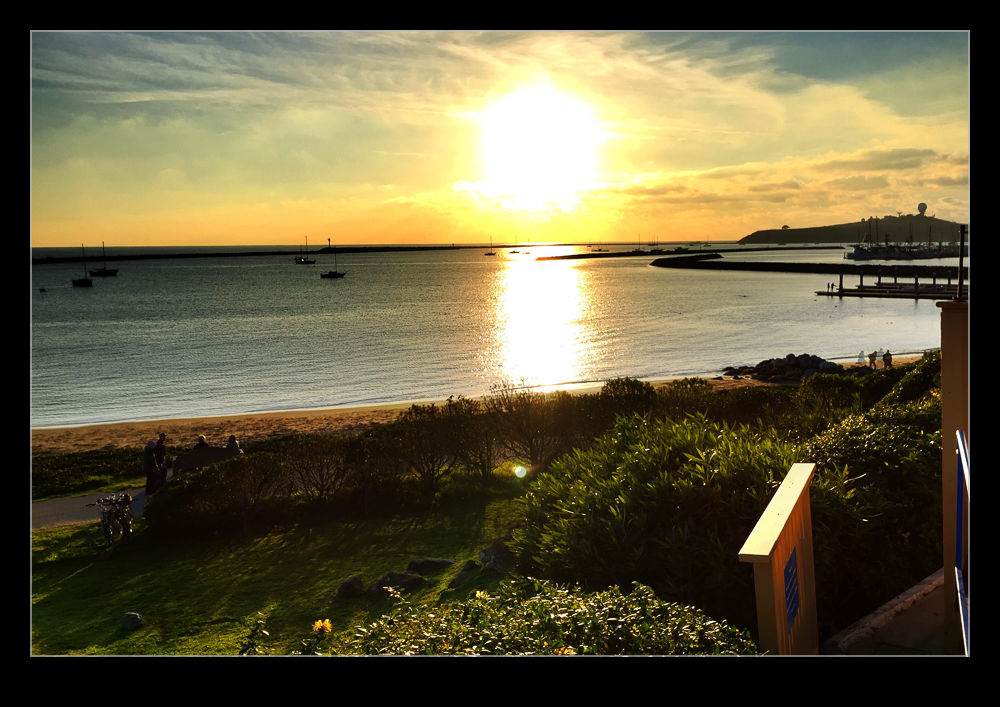
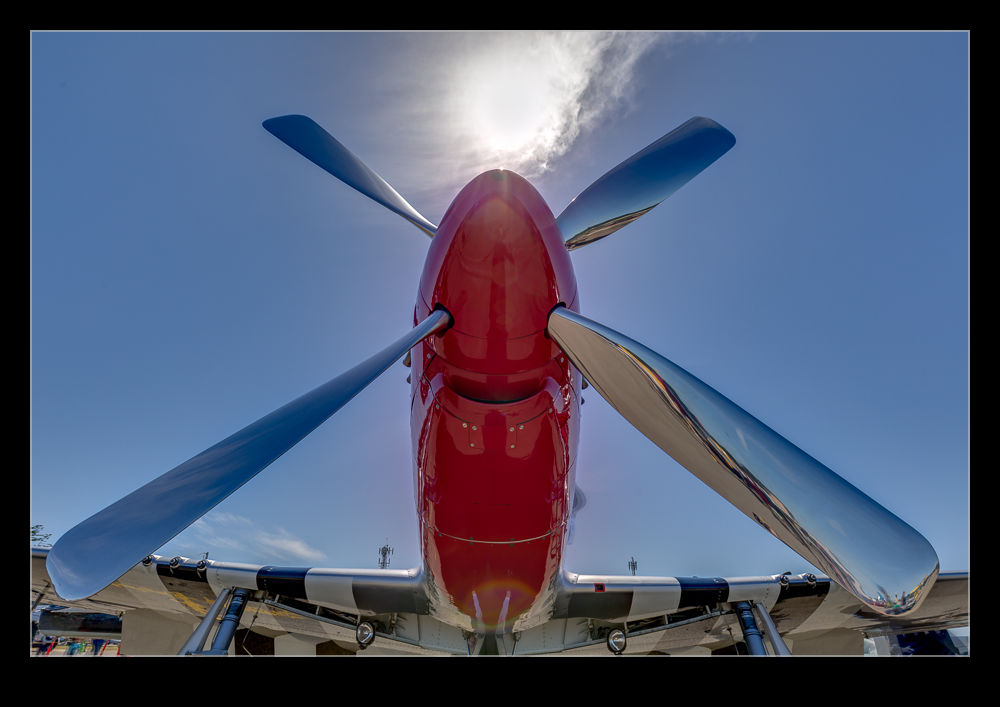
The first thing I tried it on was a shot I made at Half Moon Bay looking up at a P-51 Mustang prop and directly into the sun. This is certainly as much of a range of exposures as you are likely to get. The perfect thing for an HDR trial. The results in the small scale file seemed pretty impressive so I decided to buy the package. There is no fixed price. You make a donation via PayPal and get a registration code. I am impressed by the quality of some of the work people put out so I am happy to donate for what they do. With the software activated, I reran the P-51 shots. Below is the version I got from Lightroom’s own HDR and following it the version from Enfuse.
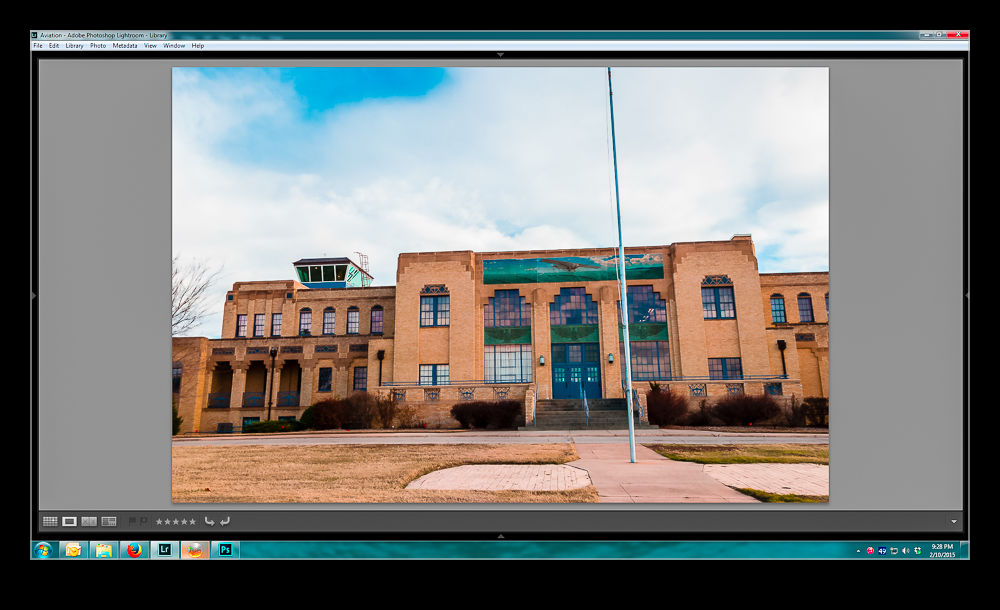
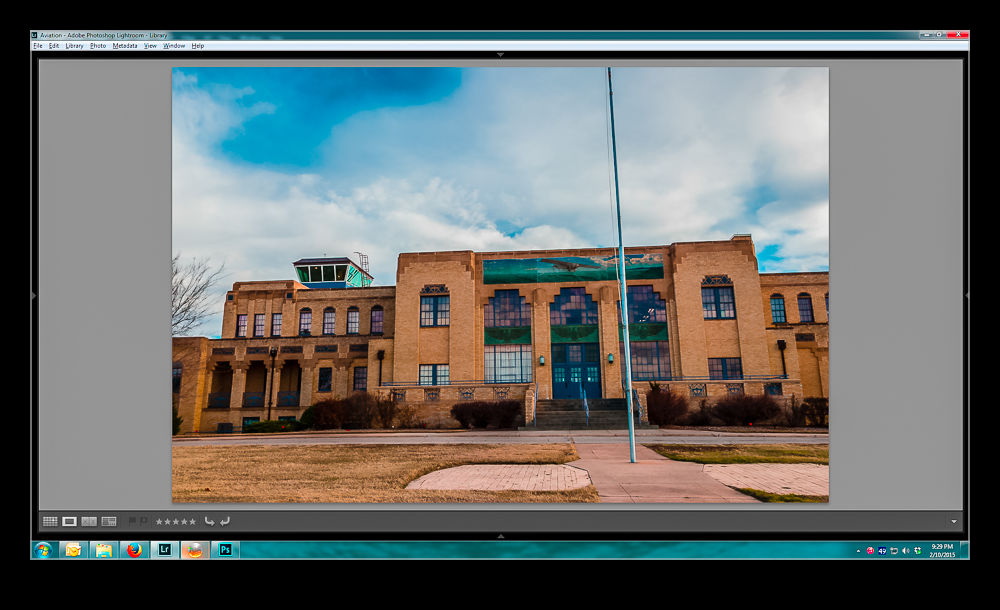
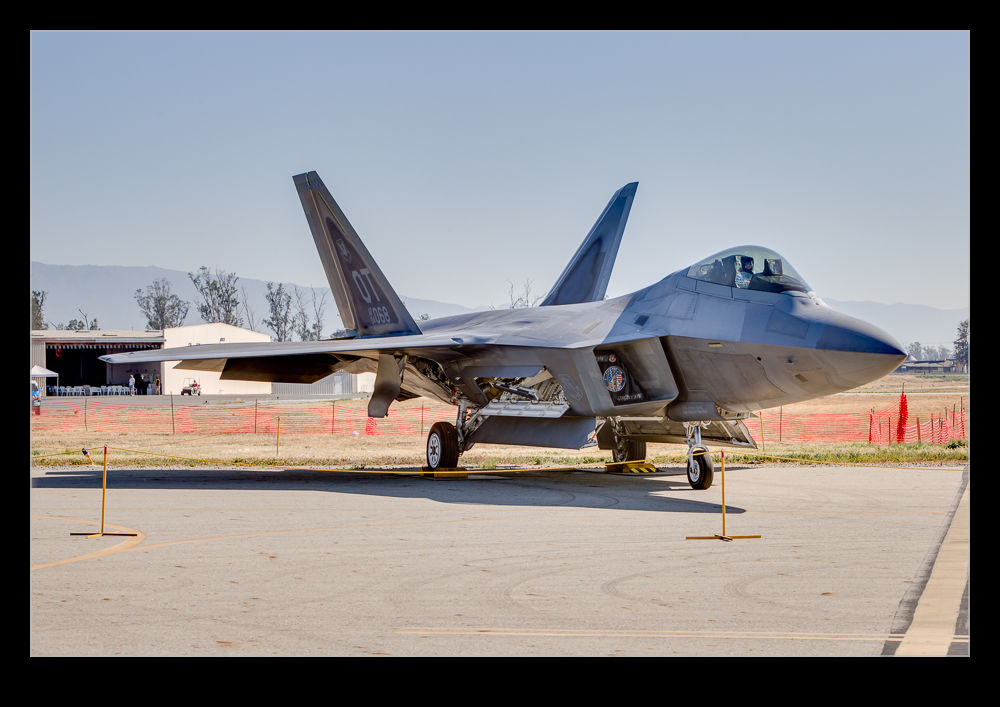
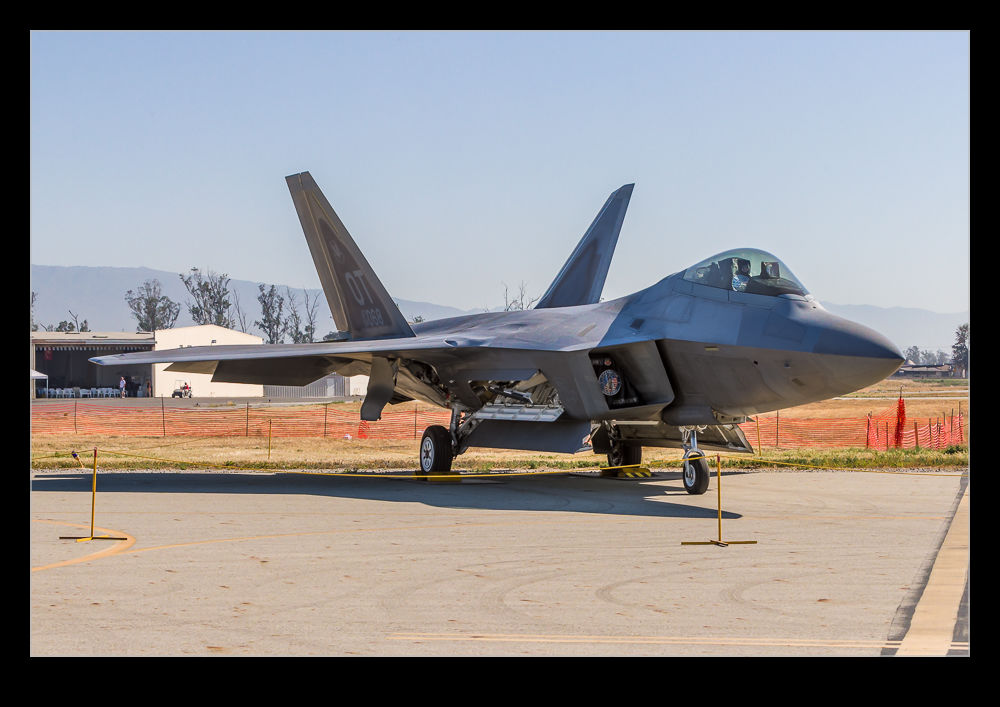
 I did have some issues initially. Lightroom was not reimporting the image after it was created. This turned out to be an issue with the way I named the file in the dialog and a tweak to that seemed to fix things. Strangely, it had been fine on the trial so I have no idea why it became an issue but it is done. I also played with a slightly less extreme case with an F-22 and, as above, the Lightroom version is first and the Enfuse version is second. I was really pleased with the result on this one with a very natural look to things. So far, I see Enfuse being a useful tool for my HDR going forward.
 I heard that a DC-3 had arrived at Arlington. It was a plane that had been with Air Atlantique in the UK for many years and was familiar to a friend of mine that had worked there a while back. I am not sure if I had seen it in the UK or not but had definitely seen shots of it. It came in during the week and was parked on the ramp at Arlington over the holiday weekend. Unfortunately, the weather was not great. However, with nothing much else to do, I figured I would head up and see it.
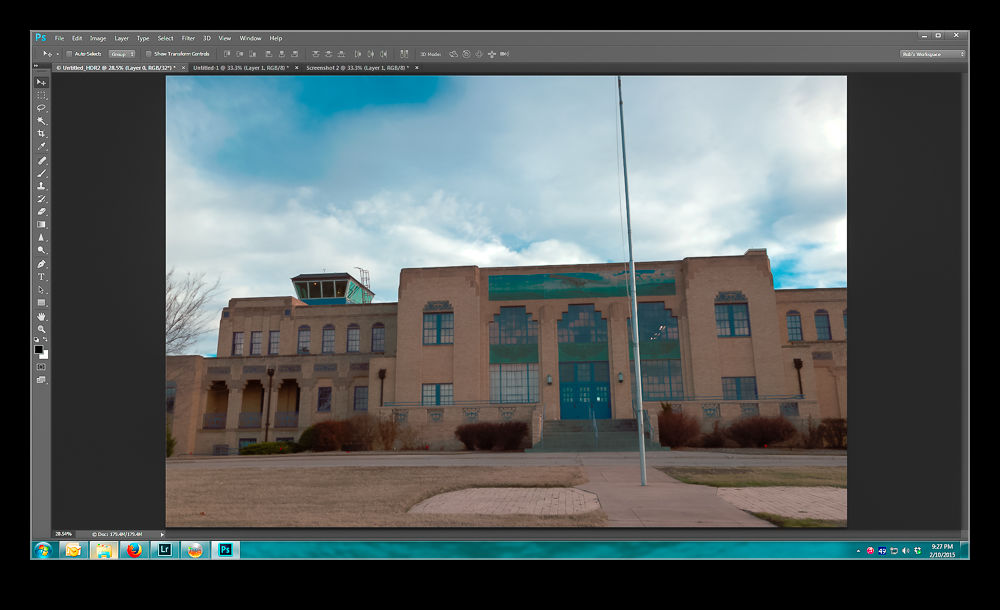
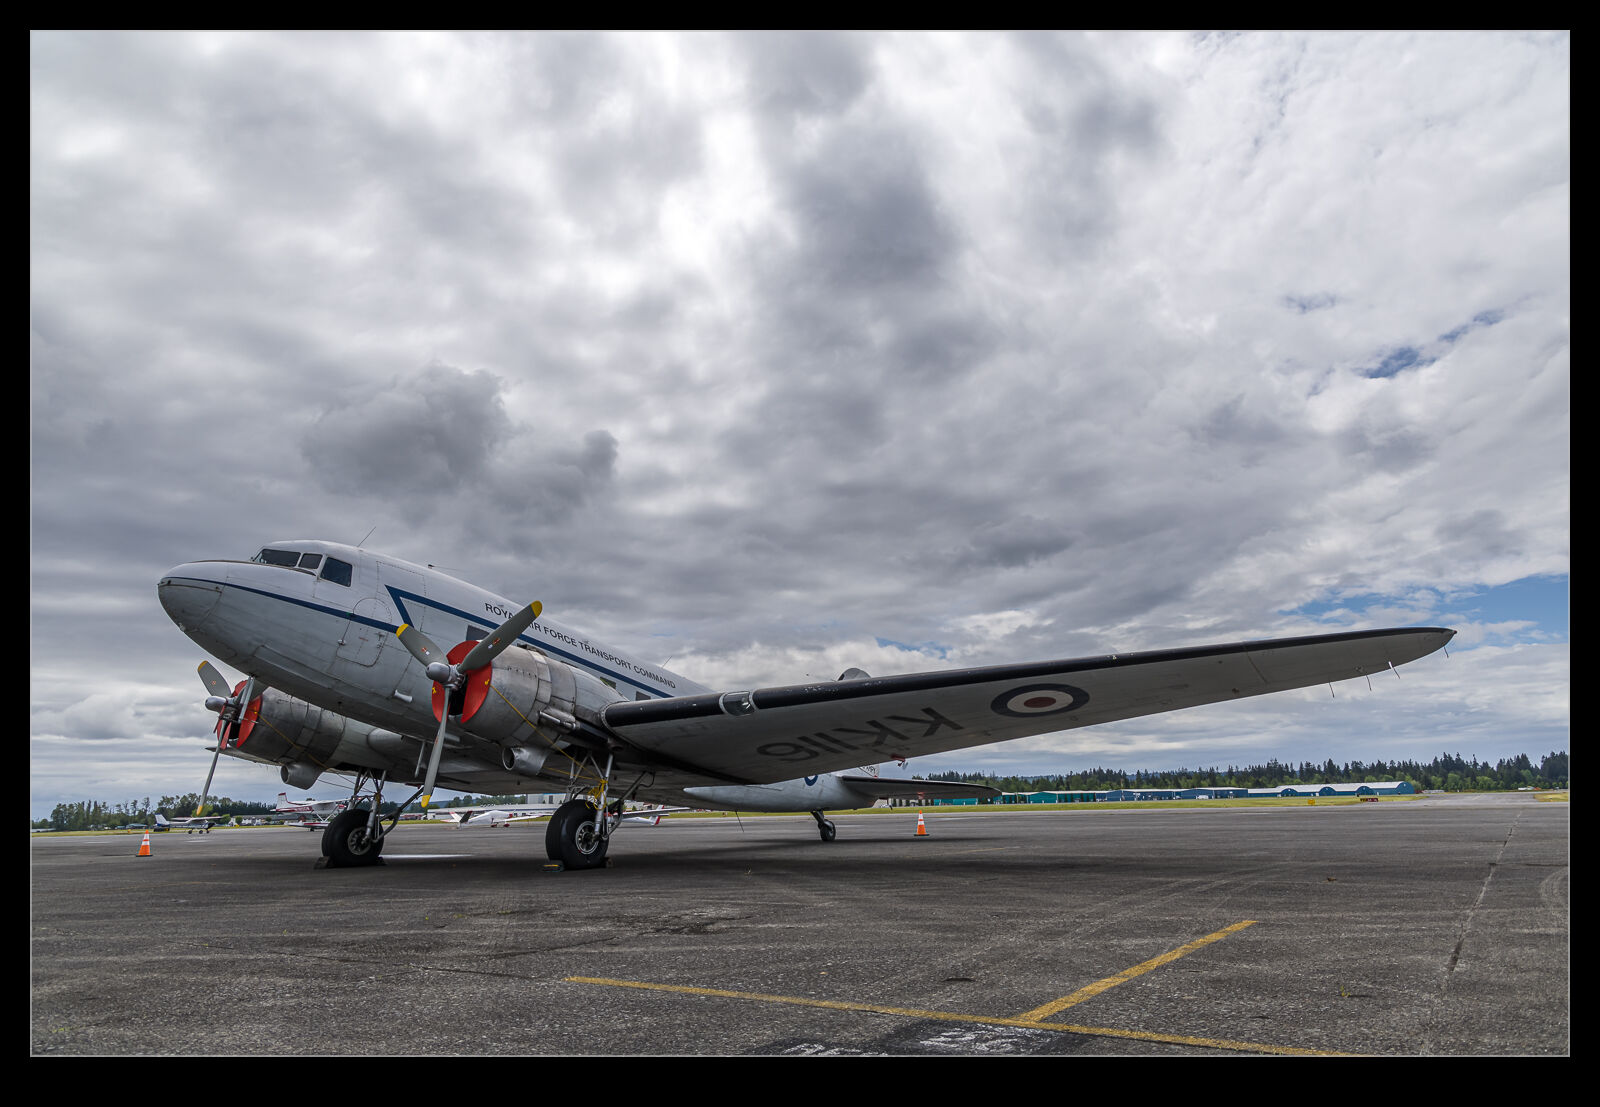
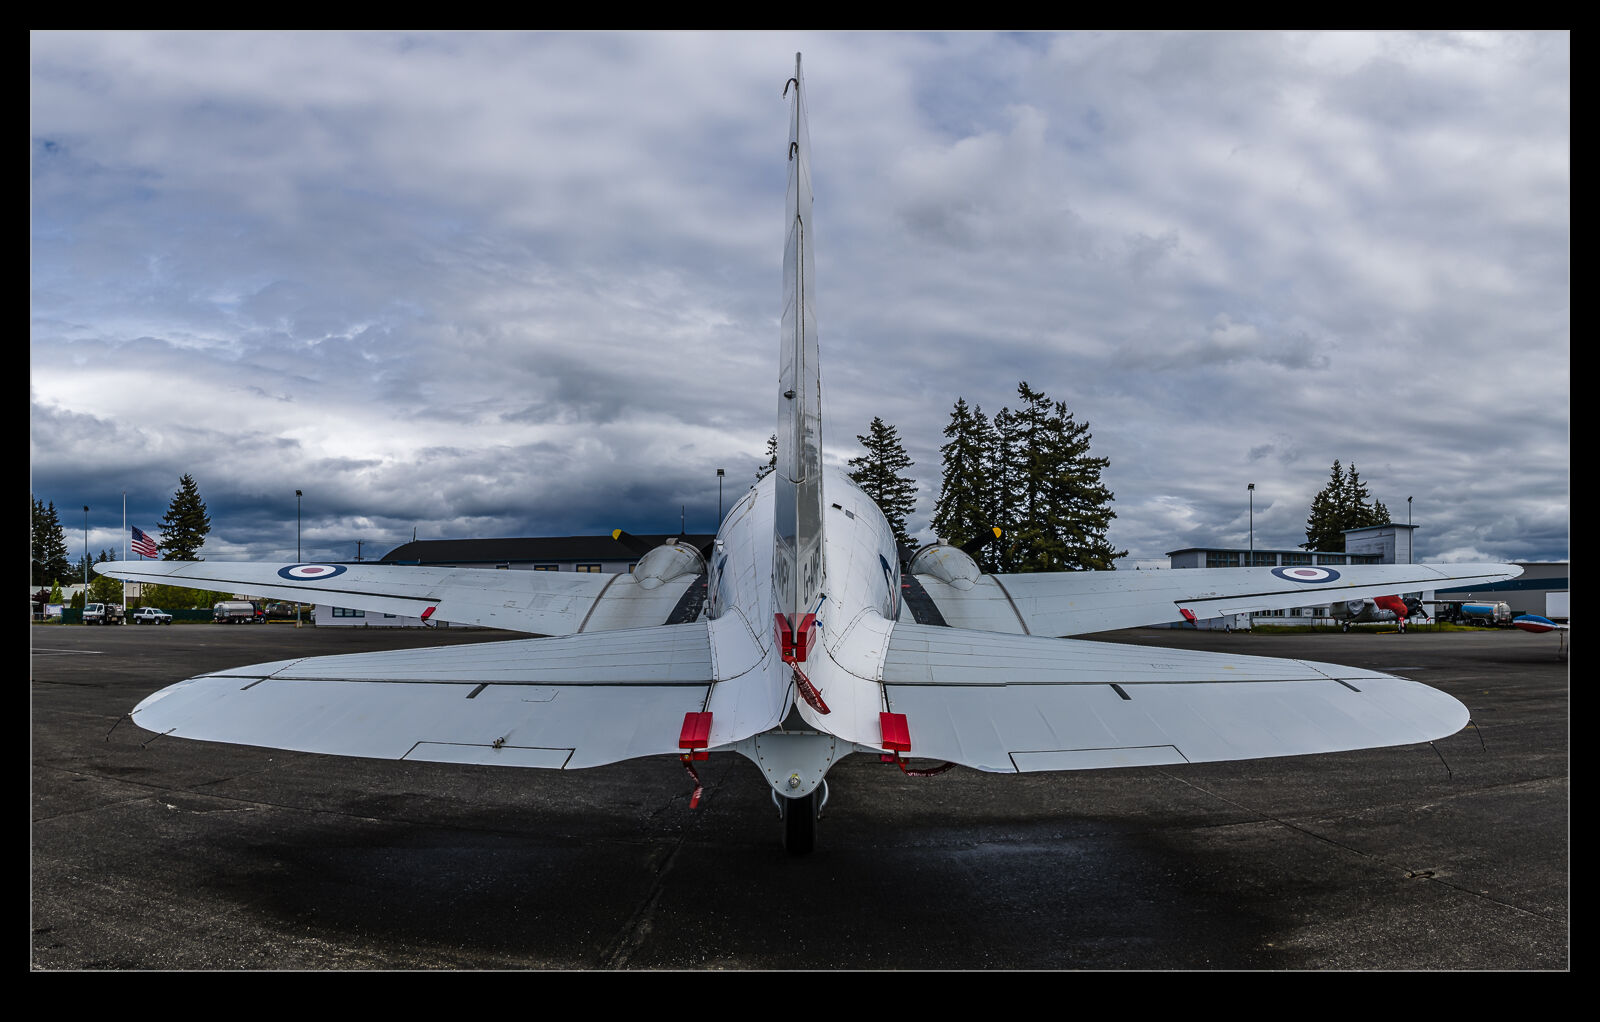 The rain was pouring down as I left home but it was actually drier and even with a hint of light up in Arlington when I arrived. Even so, the conditions were not great. However, the clouds, while plentiful, did seem to provide some interest to the sky. Consequently, I went with HDR to try and make the best of the conditions.
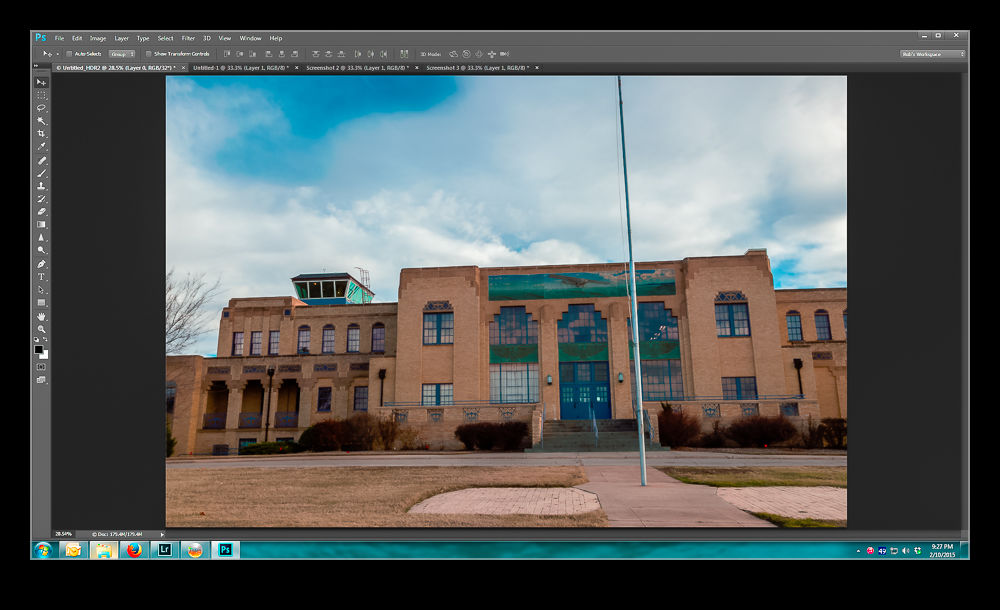
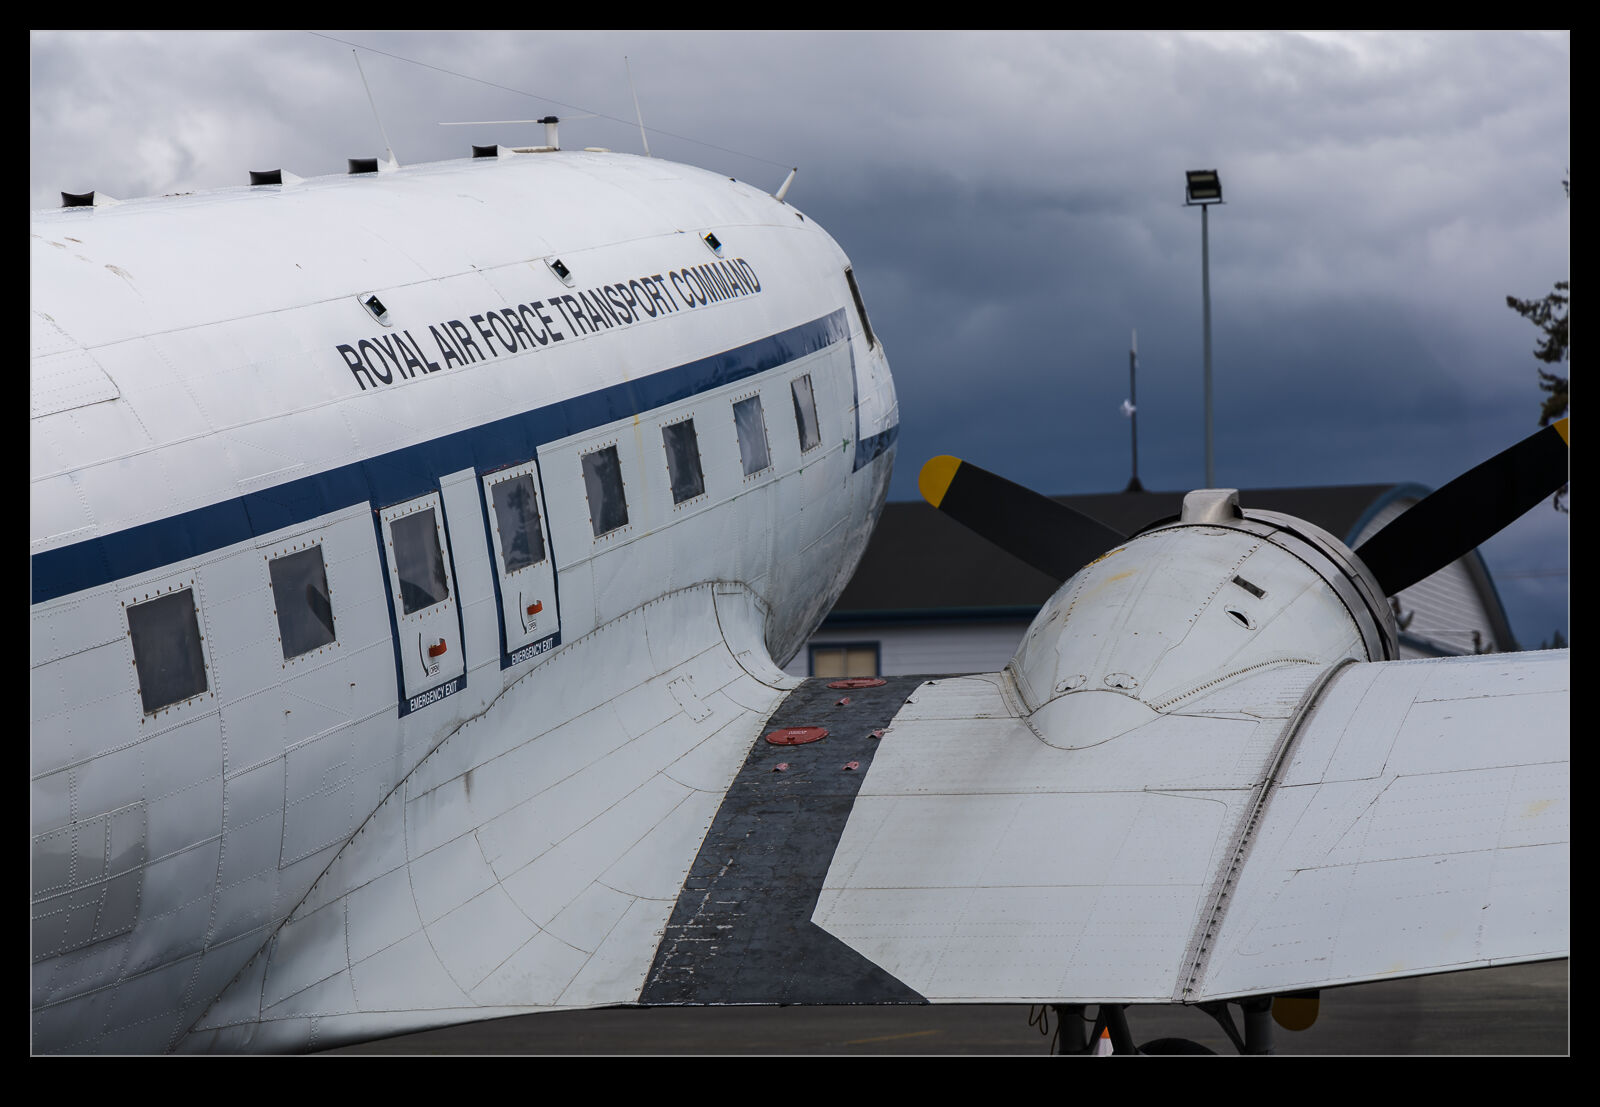 I am not sure what the plans are for the plane and whether it will remain in its old RAF colors as a Dakota rather than a DC-3 or C-47. We shall see. Hopefully it stays in the area and I’ll get to see it flying.