Tag Archives: exposure

HDR Processing on a Slide

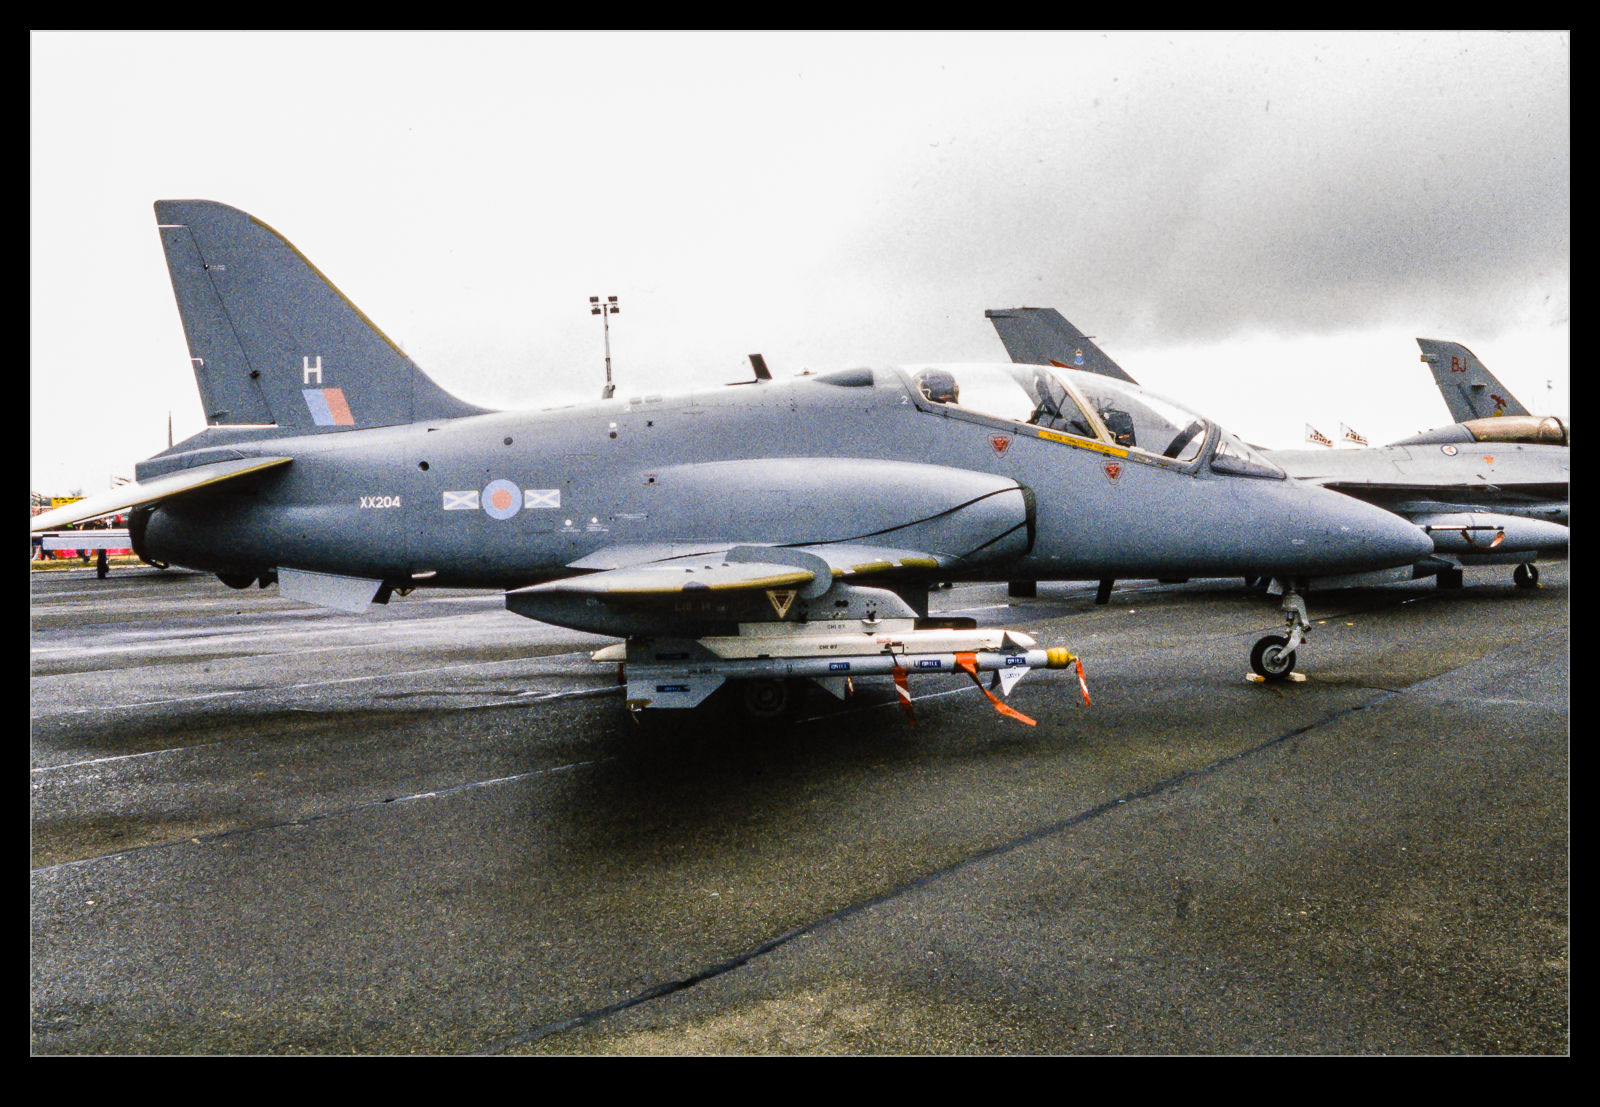
I decided to try a little experiment with my slide scanning.  Having scanned a bunch of slides and negatives using a DSLR and macro lens set up, I had come across a few slides where the image just didn’t seem to work out very well.  A big part of this is that the original slides were not very well exposed so I was starting from a less than ideal place.  However, when editing the raw file, I found I wasn’t able to get a balance of exposures that I liked, despite slides supposedly having a very narrow dynamic range.

Since I could see some detail in the original slide, I figured an HDR approach might be of use.  I took three shots of the slide with differing exposure – an inconvenient thing to do when tethered since the AEB function didn’t seem to work on the 40D in that mode – and then ran the HDR function in Lightroom on the three exposures.  Despite the borders possibly confusing the algorithm, it seemed to do a pretty reasonable job of getting more of the image in a usable exposure range.  This is not a great image and would not normally be making it to the blog but, as an example of getting something more out of a problem shot, I thought it might be of interest to someone.

Is HDR Necessary Anymore?

I was taking some shots for work recently where the sky had some nice cloud detail and the foreground was in a lot of shade.  Since the pictures were needed for a project, I was covering my bases and shot some brackets to allow me to do some processing in HDR later.  Some people hate HDR but I have always been looking to use it to get a shot that reflects more the human eye’s ability to deal with extremes of contrast.  With a wide range of light levels in a shot, HDR can give you a more usable image.

However, when I was processing the shots, I was struck by how I could use the middle exposure alone and, with some helpful adjustment of exposure, shadows and highlights, I was able to get much the same sort of result as the HDR image provided.  The raw files seem to have enough latitude for processing that going to the bother of taking and processing the HDR image hardly seemed worth it.  There are still situations where the range of exposure is so wide – outdoor sunlight and shady interiors – that it is still probably necessary to bracket and process later.  However, for a lot of the situations I used to use HDR for, there seems little point.  How many of you still shoot HDR?

Experimenting With Night Shots of Ferries

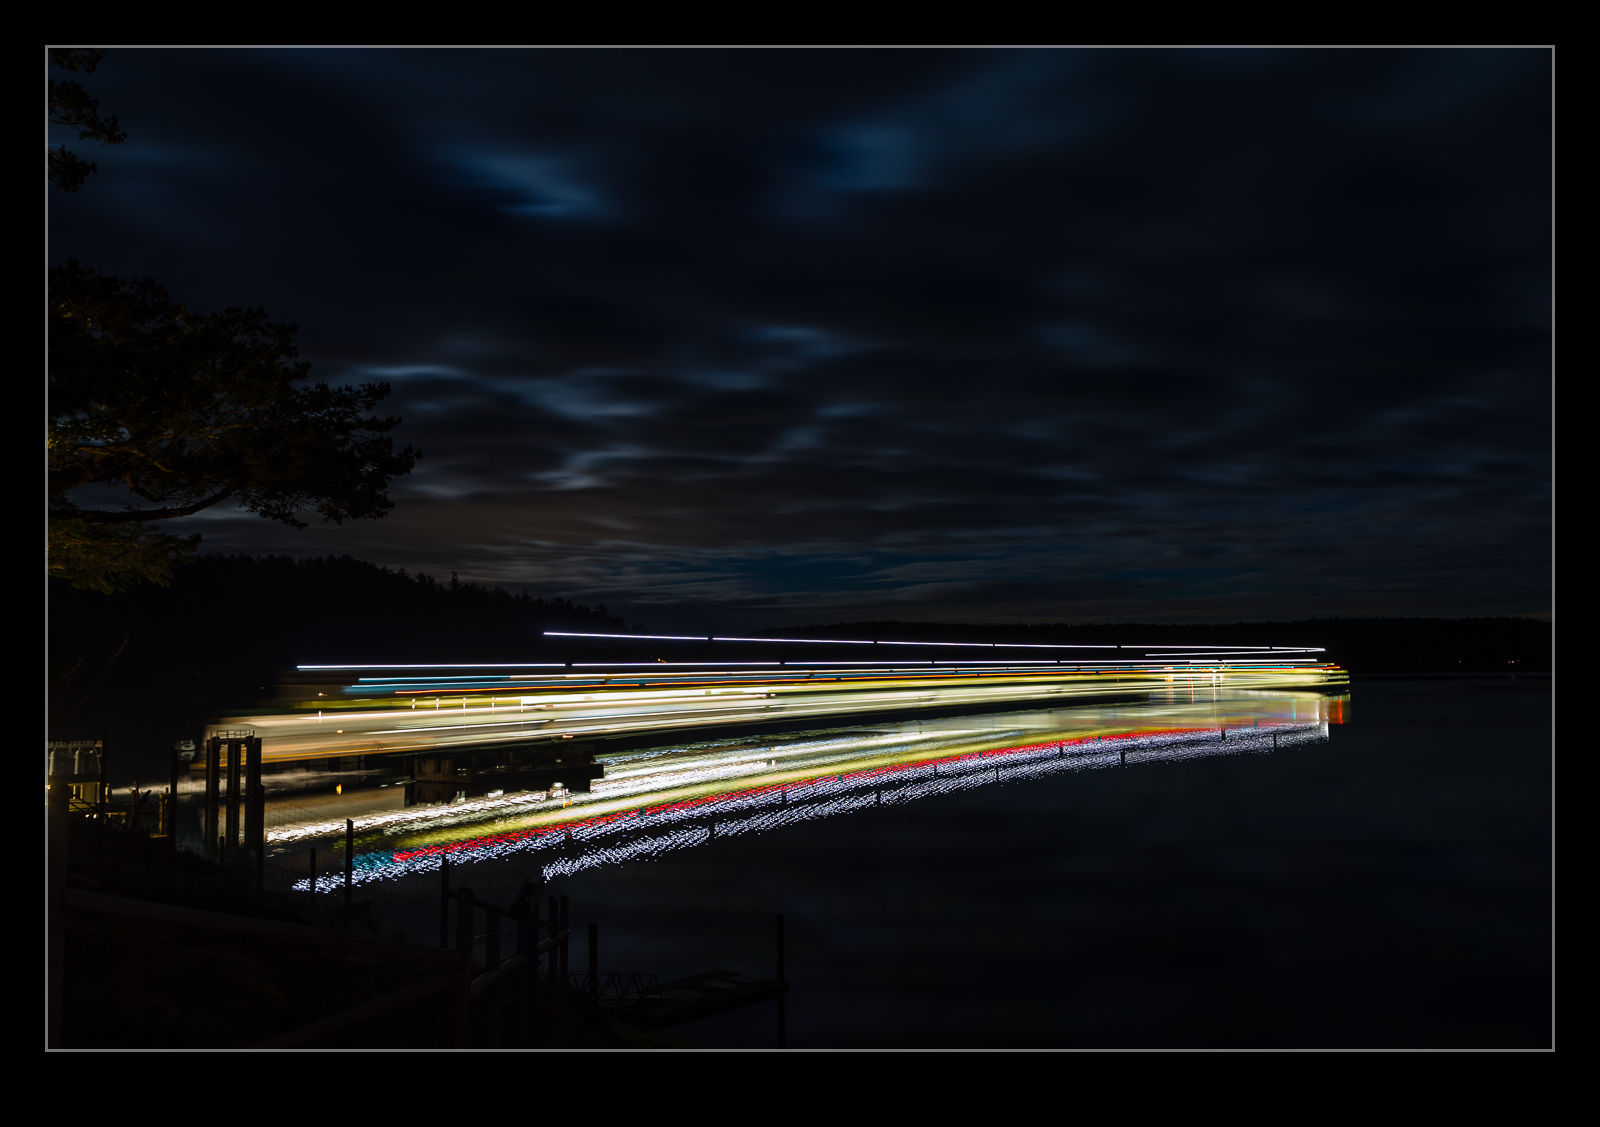
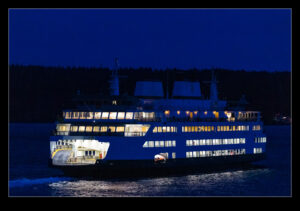
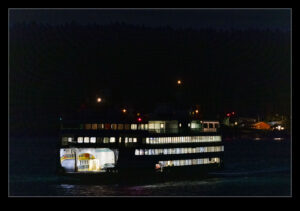
With the ferries coming and going to the terminal at Orcas, I was able to have plenty of chances to take photos.  I did get standard shots of the boats in low light conditions.  They are not easy to shoot since they are constantly moving.  No long exposures at low ISOs are possible so it is high ISO and the associated noise.  However, I did decide to experiment with some long exposures and blending of shots.  The boats make a curving approach to the terminal.  I thought this might make a nice long exposure.  It worked okay but the curve is a bit disguised by being too low down to really appreciate it.  However, it was fun to try.

Making Use of the Camera’s Features

One of the things that I was glad to get when I last changed camera bodies was the ability to have exposure compensation while shooting in manual mode.  You might wonder why this is a useful thing to have but I was shooting a couple of time recently when it was useful.  Sadly, the first time I didn’t think to use it.  The second I did though.  This is the result of shooting in dark conditions when the light levels are changing quite a bit.

The problem in the first case was that I was shooting in aperture priority mode.  The light was low, so I went to auto ISO to allow it to adjust.  The camera looks to get a shutter speed that is related to the focal length of the lens you are using.  I was shooting a landing aircraft and, when I was out at the full length of the zoom, it kept shutter reasonably high.  However, as the plane got closer and I zoomed out, the camera dropped the shutter speed down which meant the panning resulted in a lower keeper rate.  I should have foreseen this and I was annoyed with myself.

The next time, I thought through the issue a bit better.  A gray sky meant that I needed to have some positive exposure compensation.  I went to manual mode, set the shutter speed and aperture that I wanted but included the exposure compensation.  Then I set auto ISO.  Now I had the ISO adjusting to get the combination I wanted while including exposure comp.  On my old bodies, this was not possible.  The result was the exposure I wanted with ISO adjusting throughout the sequence.  When conditions are not great and changing quickly, this is an approach I can highly recommend.

It is Dark at Nellis During the Night Launch

On previous trips to Red Flag I have taken pictures of the departing B-1Bs as they fly overhead.  The burners are really impressive and definitely worth getting a shot of from below.  However, having done this a few times, I wanted to try something different.  The fighter get out of burner very quickly after they get airborne.  They are in mil power for ages before they get to you on the centerline.  I wanted to see what you could get from the side a lot closer in so Paul agreed to try something different.

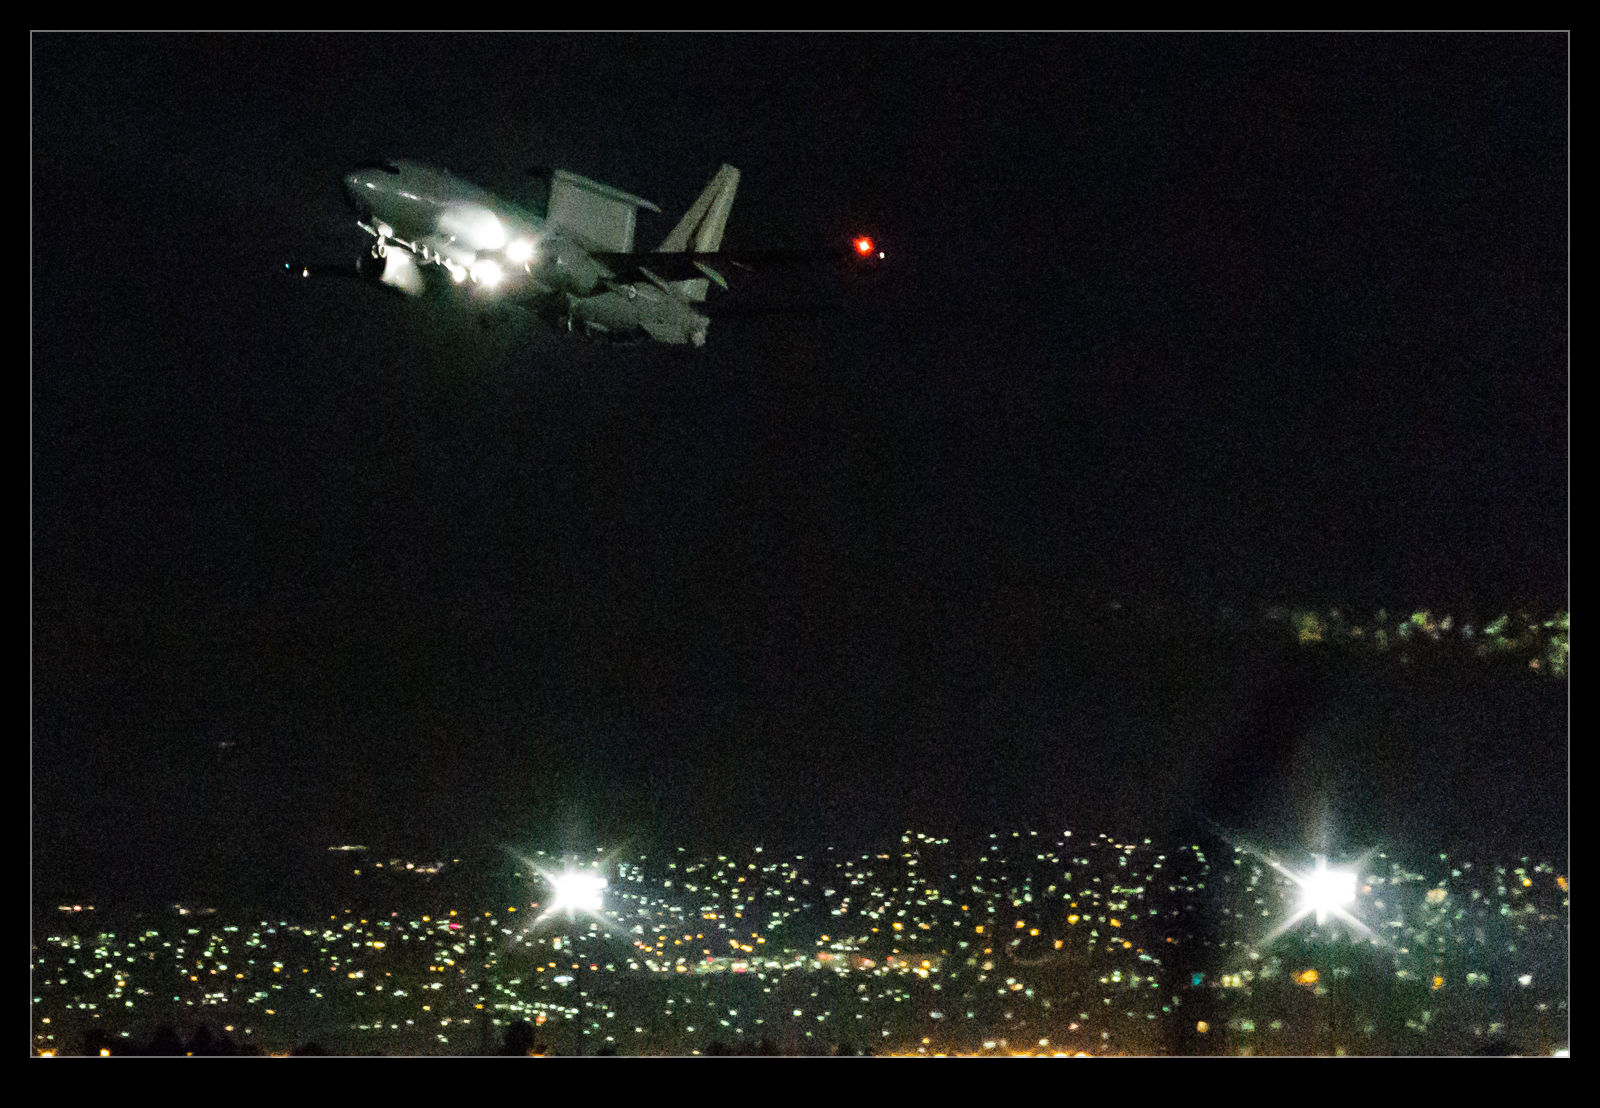
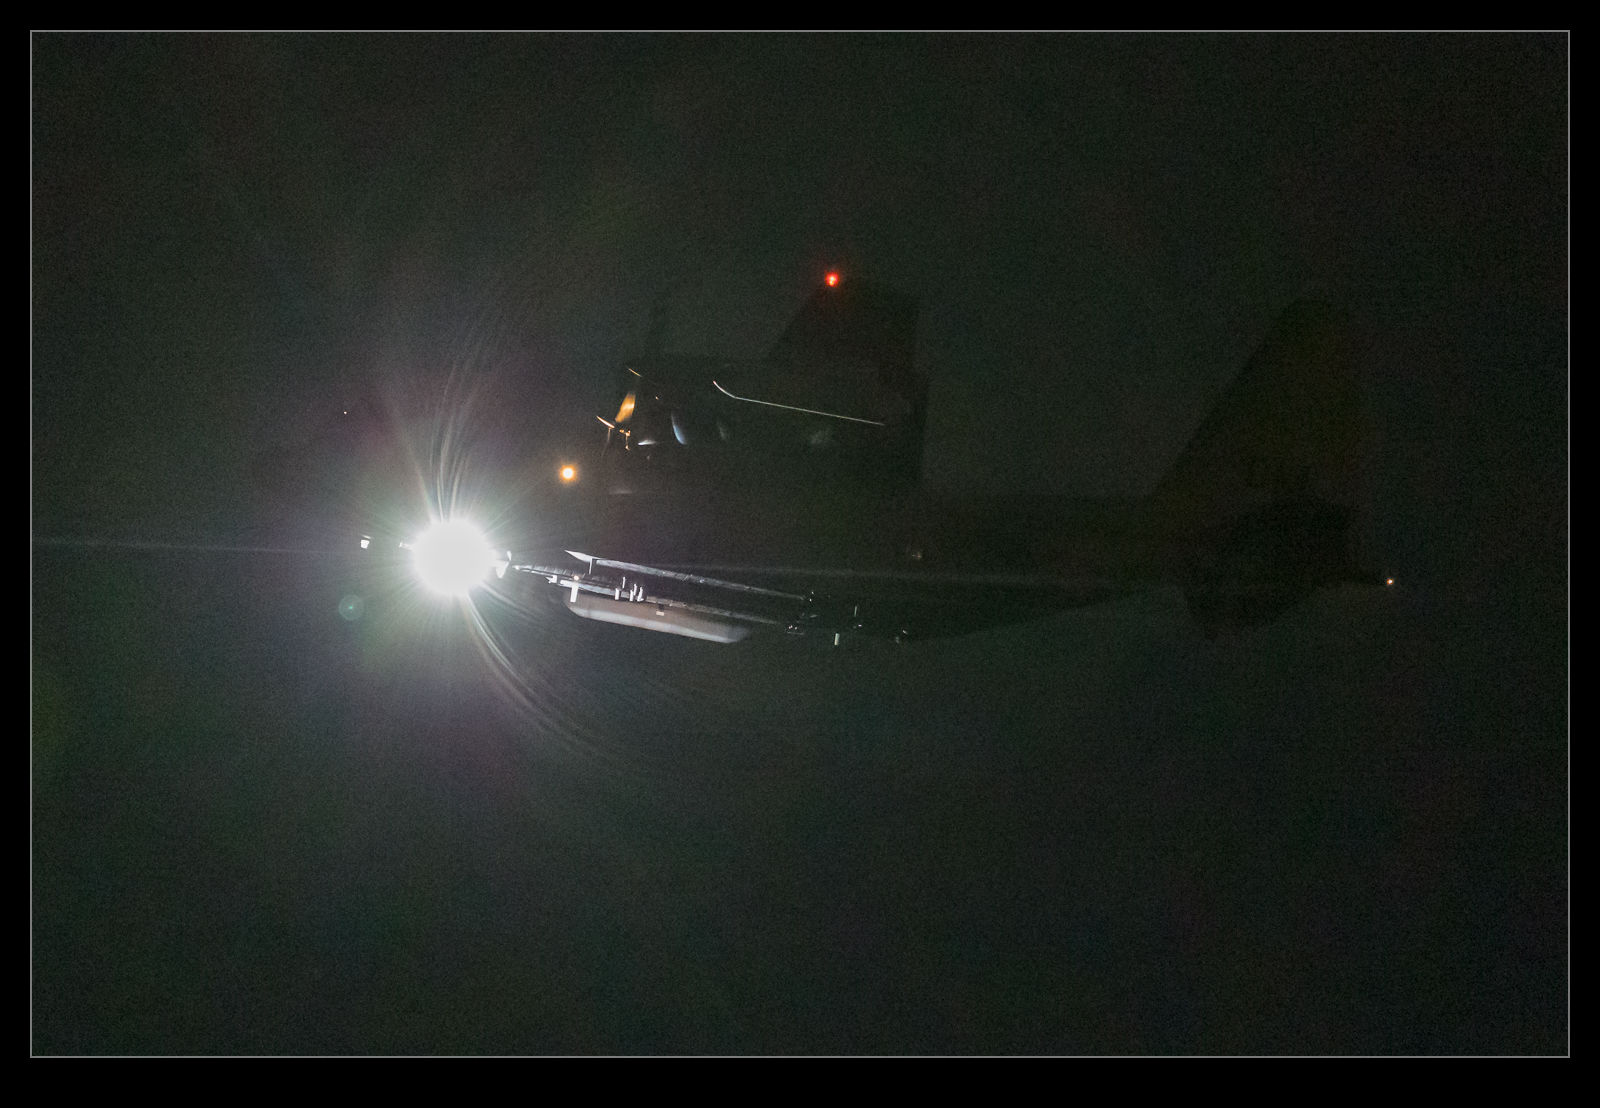
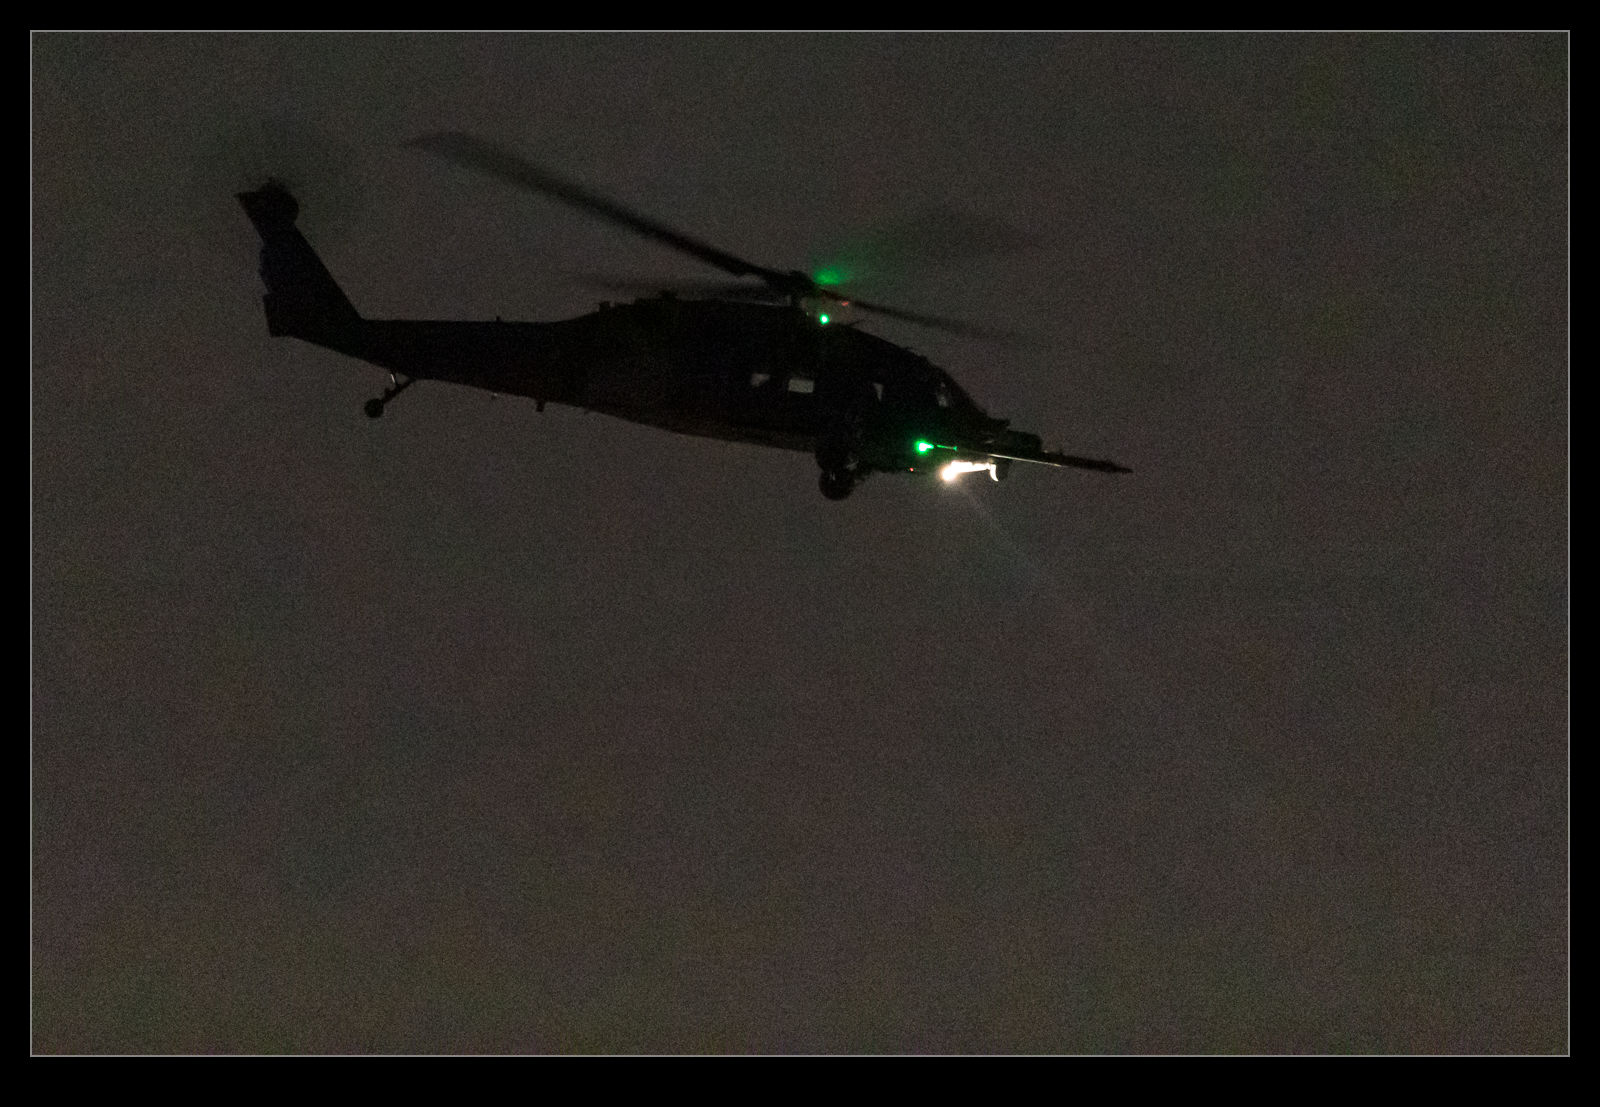
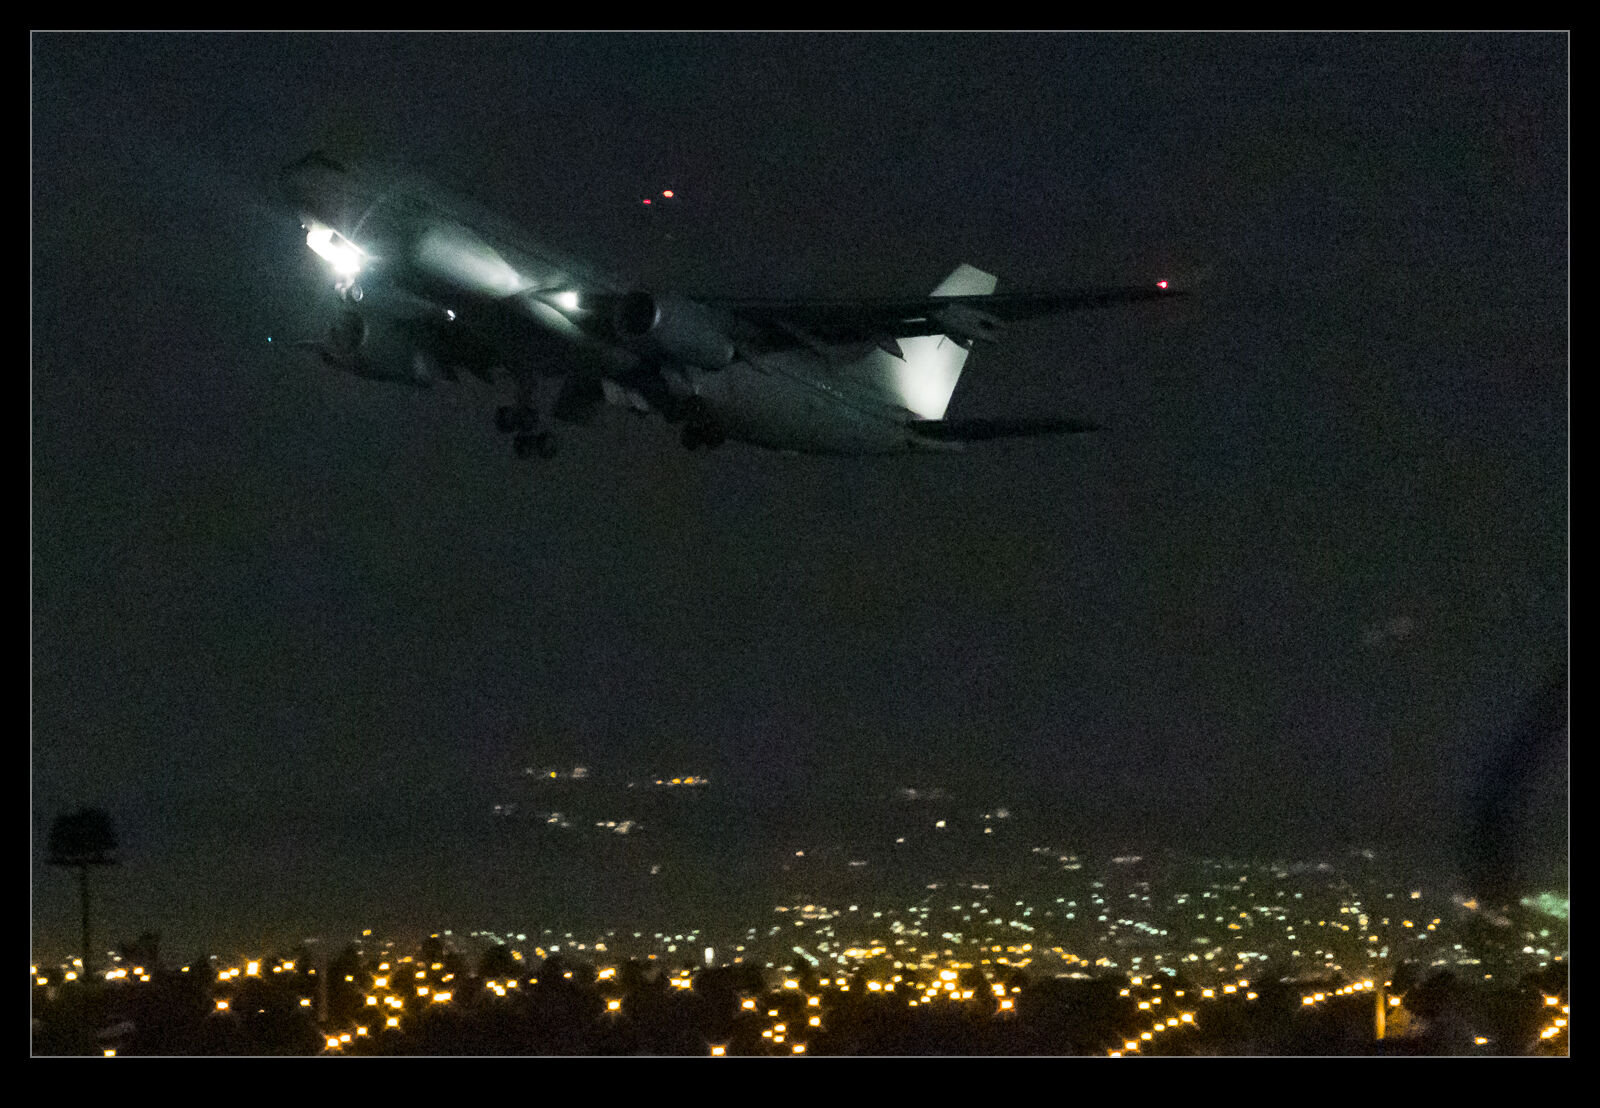
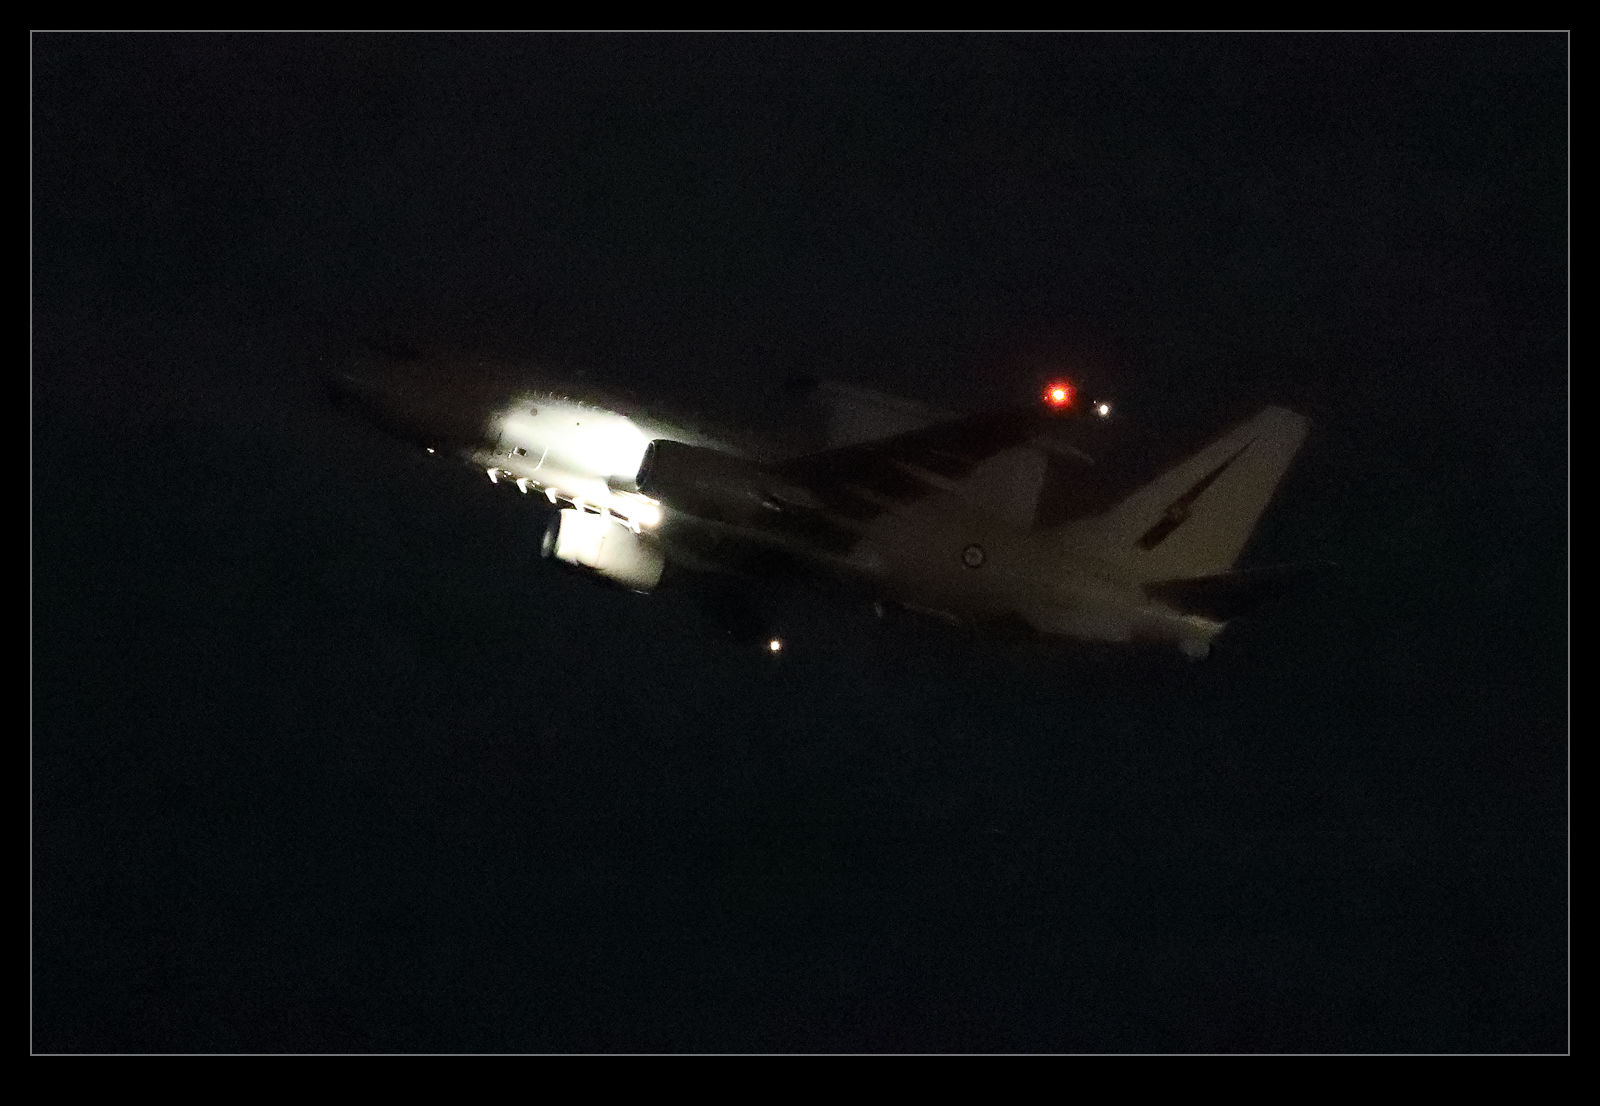
We ended up shooting a lot of side on stuff of departures for the night launch.  Unfortunately, we didn’t appreciate just how dark it is at Nellis at night.  We had a good moon so we were hopeful that there might be some residual light.  It turns out that this is not the case.  Even close in, the fighters are out of burner.  The tankers and the E-7 went out and I got some shots but they were a struggle, event making use of the best high ISO capabilities of the cameras.  The B-1s did show up okay but I still didn’t do as well as I thought I should have.

I learned a bit about the performance of the cameras.  I was shooting at super high ISO settings with the camera wide open.  However, as I review the shots, I realize the camera was behaving in a way that I had not anticipated.  I was shooting in aperture priority with some negative exposure compensation dialed in.  As I look through the shots I see that the camera would start out with a dark shot, gradually boost the exposure and then go dark again.  I would review the shots and see one that was looking good but know that the next would be dark.

When shooting in such limited light, the shutter speeds are very low and the number of lost shots is high.  Therefore, you can’t afford to have the exposure be bad.  I don’t know how many shots I lost since they may not have been sharp anyway but I cut down on my opportunities.  In future, I need to have all of the exposures be acceptable in order to maximize my opportunities.  Therefore, I think I shall have to go fully manual on everything for these shots.  Set ISO up high and then go to manual aperture and shutter speed.  I will still lose a lot of shots but at least I can focus on dealing with my handholding technique rather than worrying about how the camera is metering a dark night.  It’s not too reasonable to expect the camera to get that right every time.  It is a pretty extreme case!

Sunset Shooting at SFO

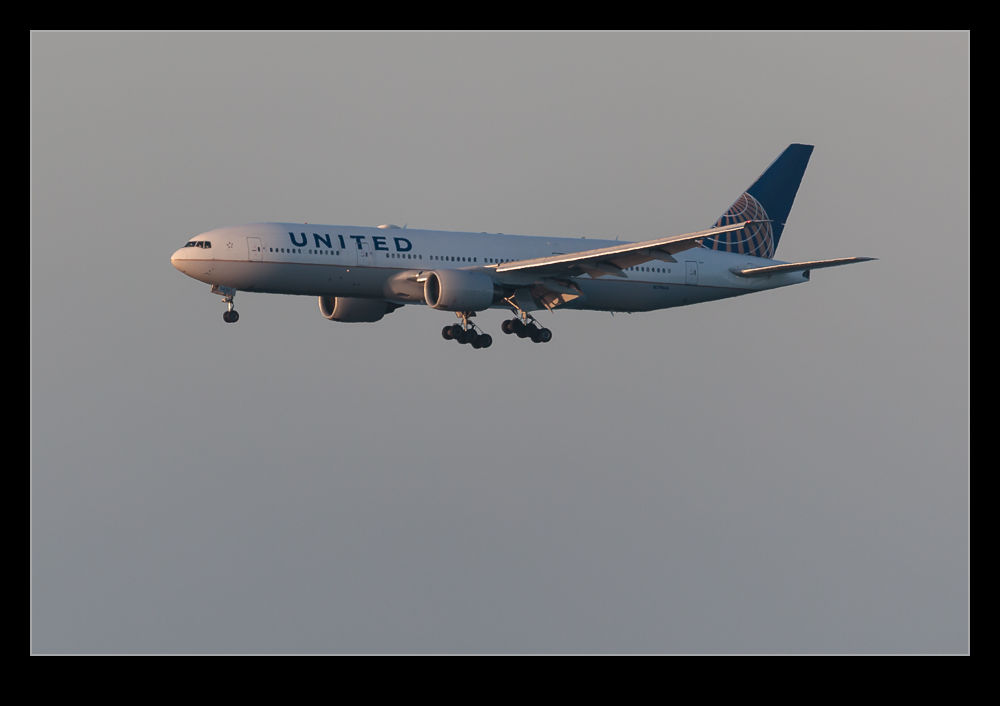
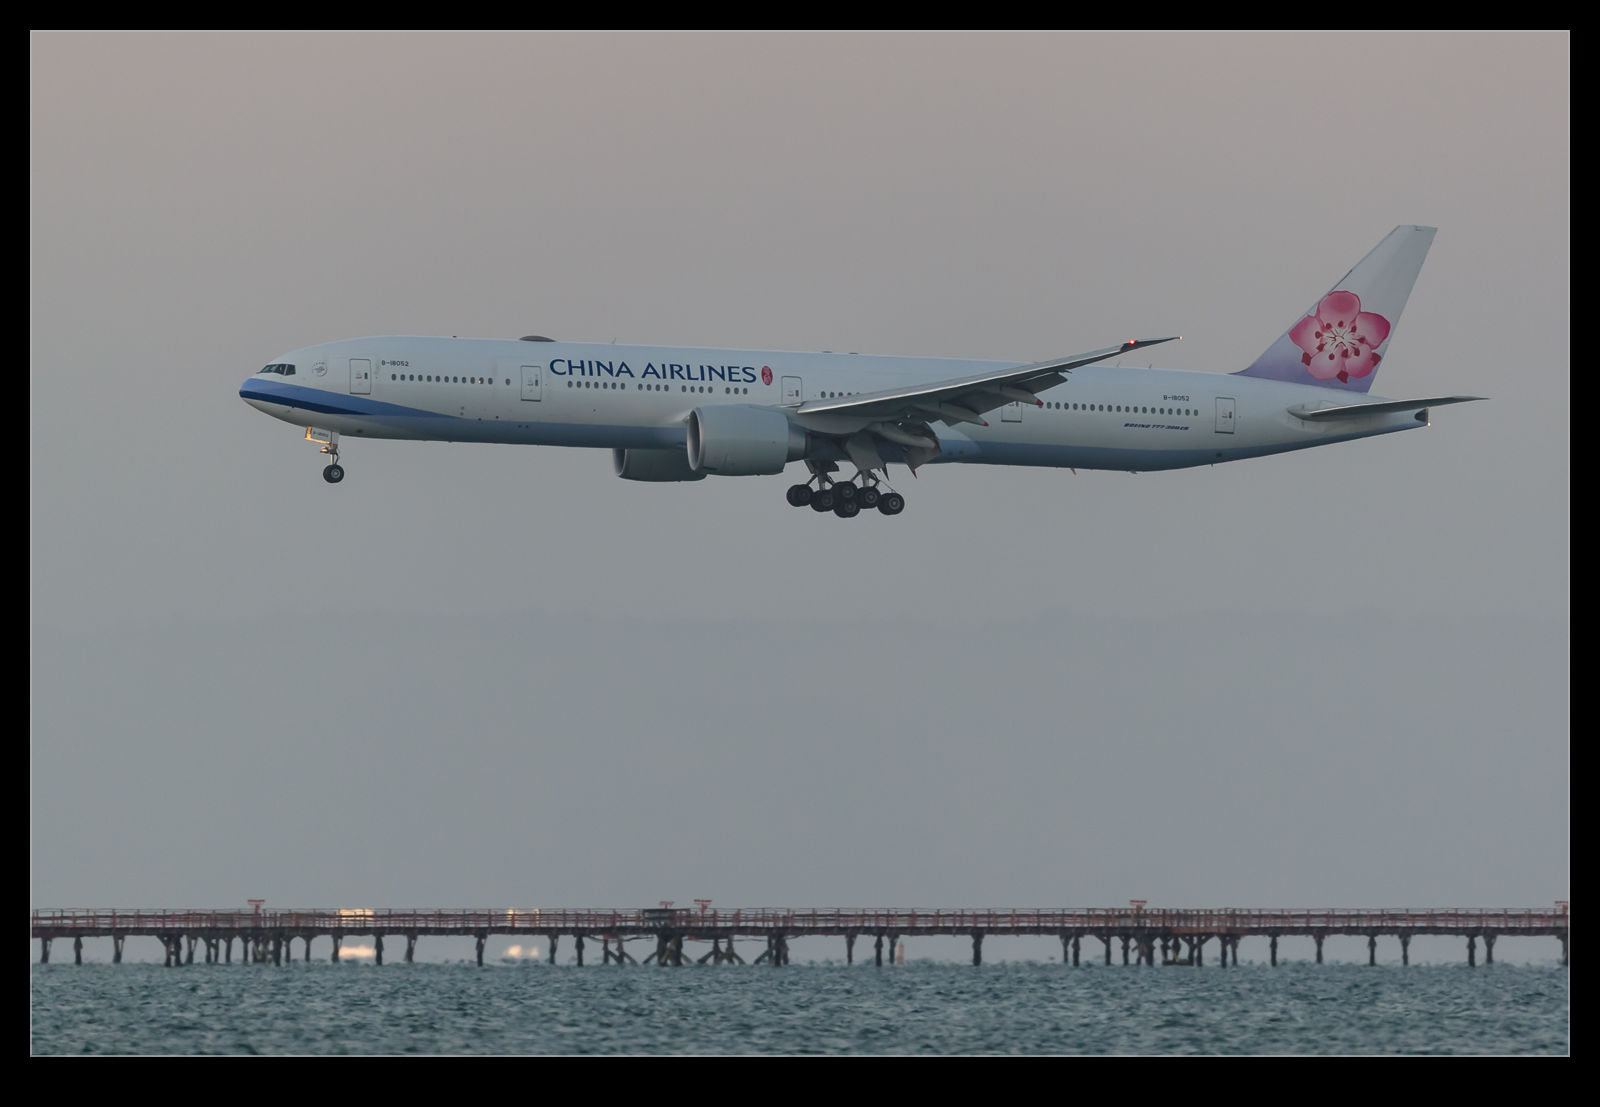
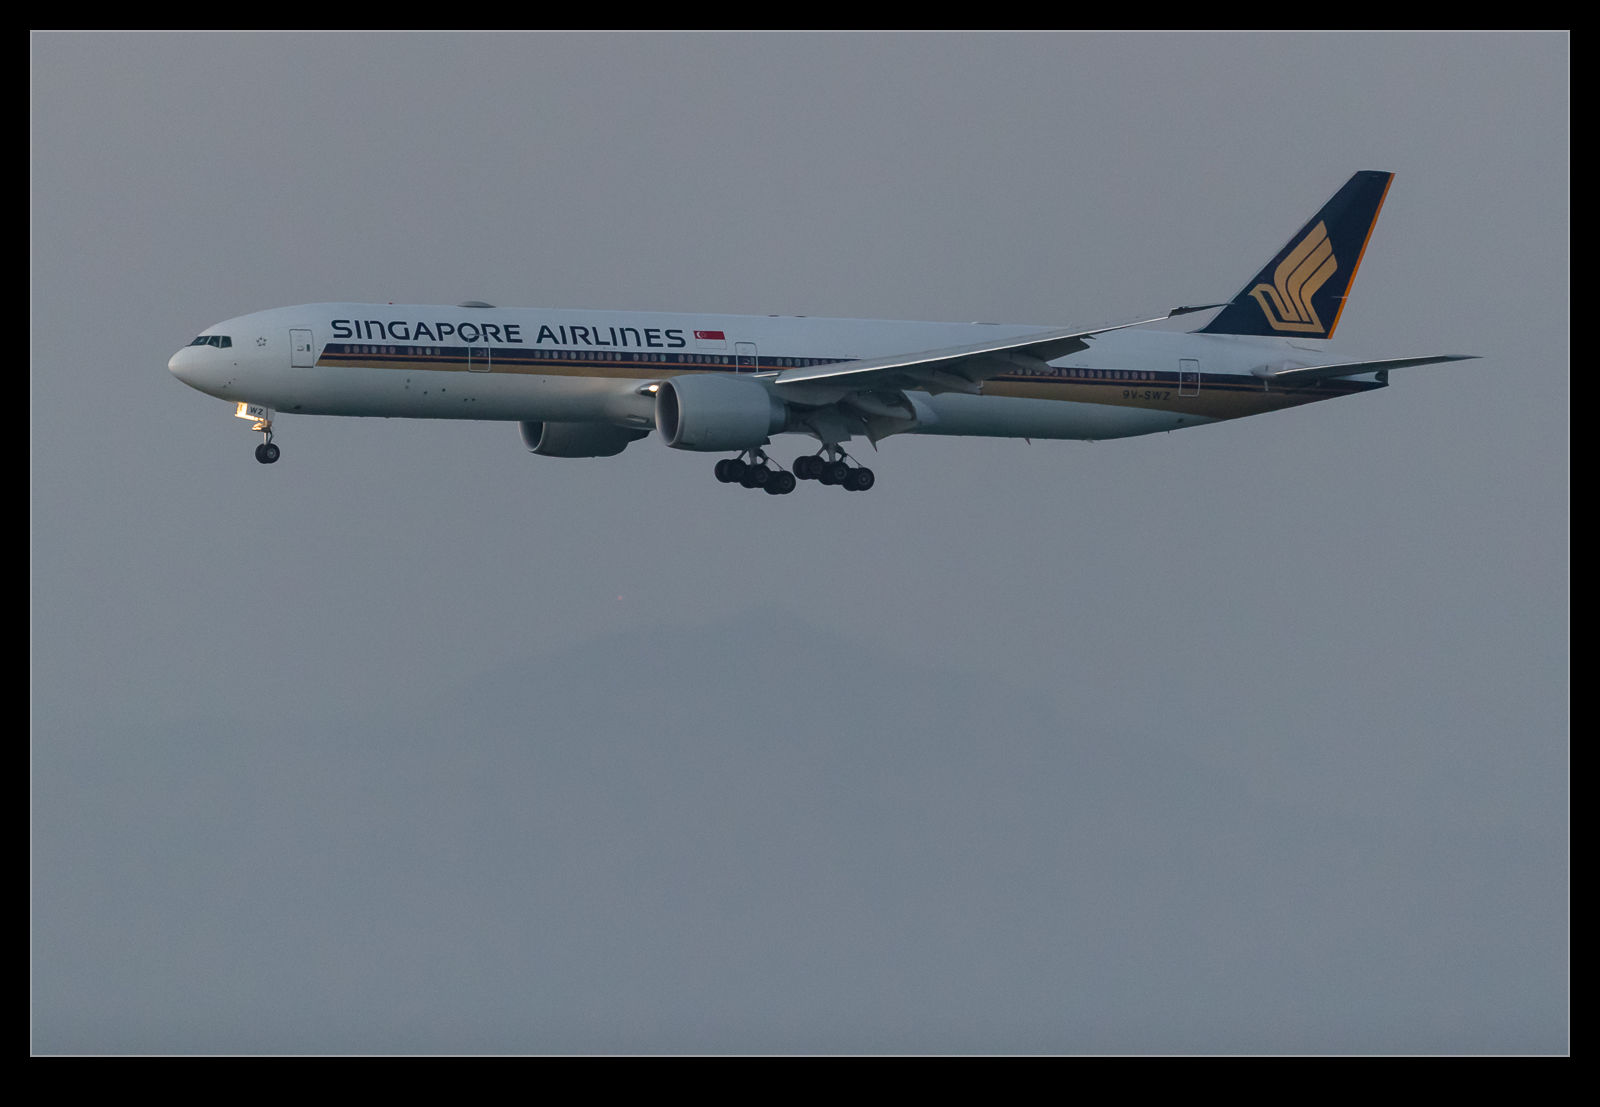
AE7I2058.jpgA holiday weekend combined with an early closure of the office meant I had a bit of time to experiment with some things I wanted to try on the new cameras.  Normally I don’t want to blow out a whole evening at a weekend but, with a bit of extra time, I decided to see what I could do with shooting aircraft in sunset and really low light conditions.  There will be some other posts that look a how the cameras do in very low light/night conditions.  However, to get there, I also got some sunset to play with.

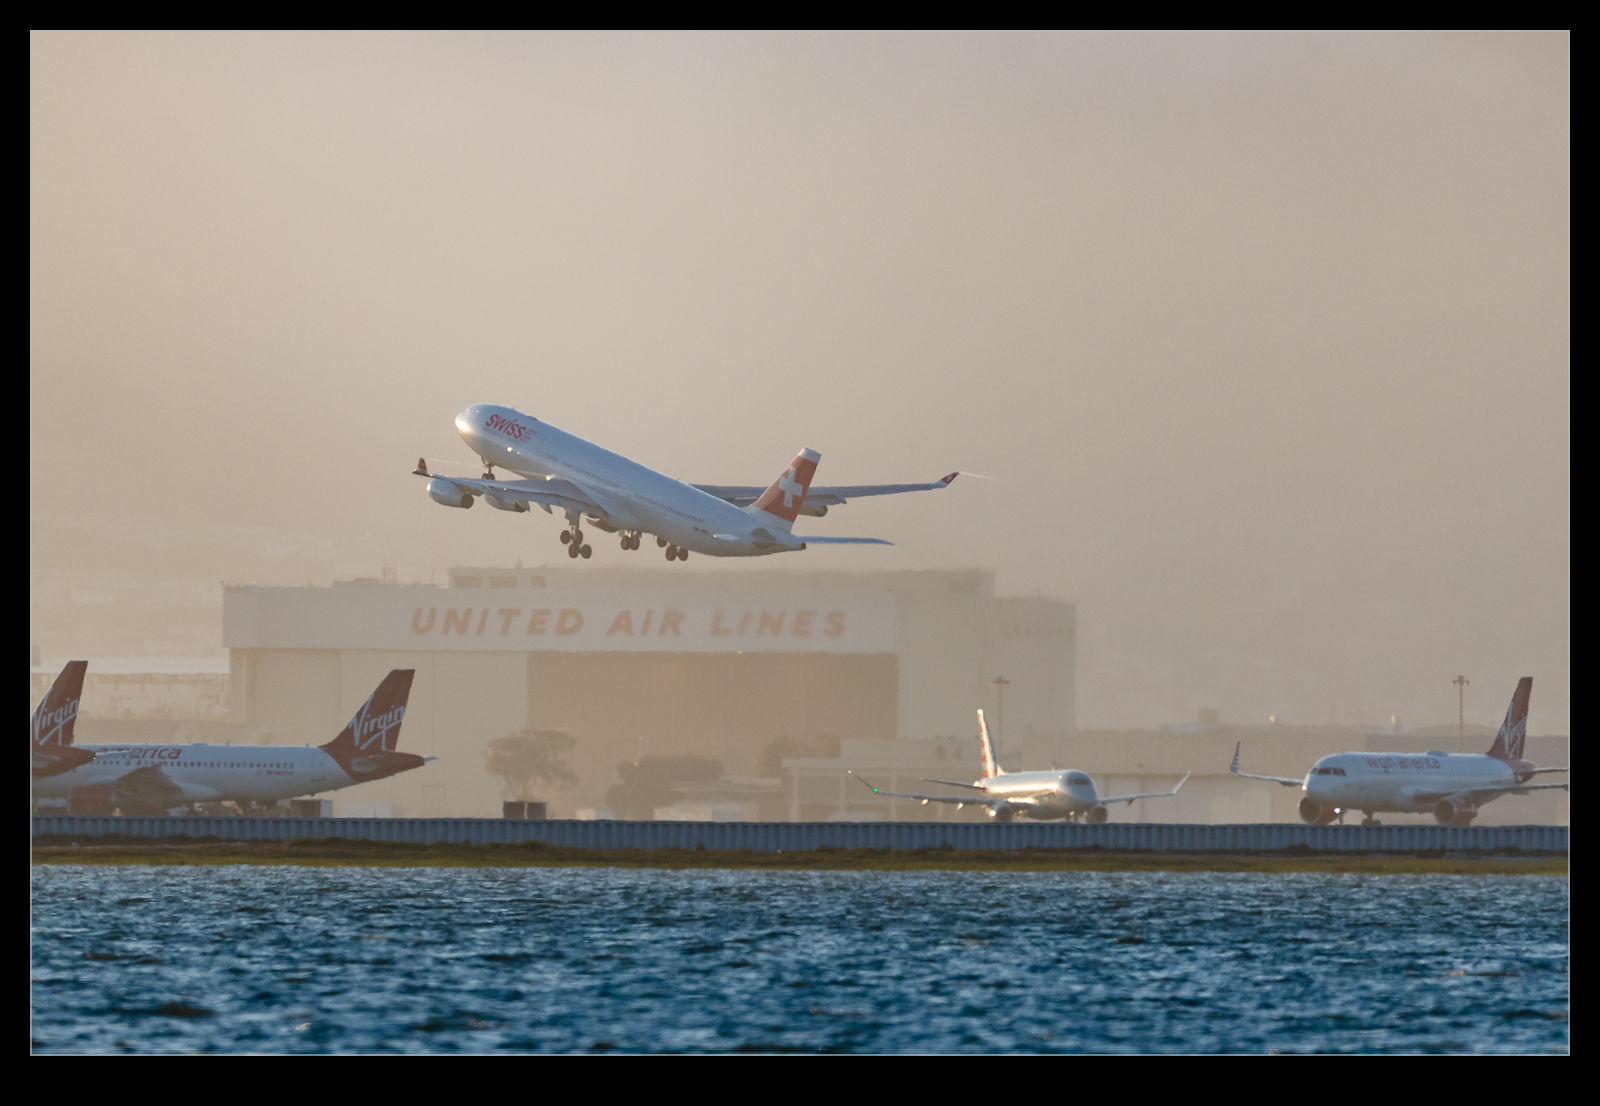
AE7I2071.jpgAt this time of year, sunset is not as good as it will be later.   The sun goes too far north late in the day so, instead of getting good light on the jets, you end up with some backlighting.  Even so, there are some good chances to get some more delicate light on the planes.  You do get a bit too much contrast as the remaining light is on the nose and the fuselage sides are pretty shady but you can get some reasonable results.

AE7I2189.jpgI was interested to see how the camera dealt with the light.  The use of exposure compensation becomes a bit variable in these conditions.  The light starts to get nicely balanced but then you can end up with more brightness in the background with less on the subject.  This can make things go a little dark.  I found myself playing with the settings quite a bit as I explored how the camera reacted.

AE7I2268.jpg

Variable Neutral Density Filter

Two of my shooting requirements have led me to the world of neutral density filters. Getting a low shutter speed on helicopters often results in very small apertures which can be a pain when it comes to sensor dust. Also, when I am shooting video I also want to be able to slow down the shutter speed. This can sometimes be hard to do and again shows up the sensor dust if it is there and dealing with it on video is a bit more effort.

Consequently, I decided to try out a variable neutral density filter. There are plenty on the market but I decided to go cheap! Why not? I never spend too much cash on photographic equipment!! This was from Amazon and was only about $40 so I wasn’t going to lose sleep if it turned out to be a bust. When the time came available, I decided to do some testing. I shot a clear sky with the filter set to varying levels of light reduction. I then imported these images into Lightroom to see how they looked. The answer was not good. In the mid range, things were actually reasonable. At the low and high ends, there was a significant variation in brightness across the image. This was not going to work.

I then decided to keep things simple. I already have a filter holding system for my old Cokin filters. I decided to buy a couple of neutral density filters for this. Then I can use either of them or both if the circumstances require. Not quite as flexible as a variable filter but pretty close and certainly more reliable without going to the expense of one of the top of the line variable models. We shall see how I get on.

Night Star Trails

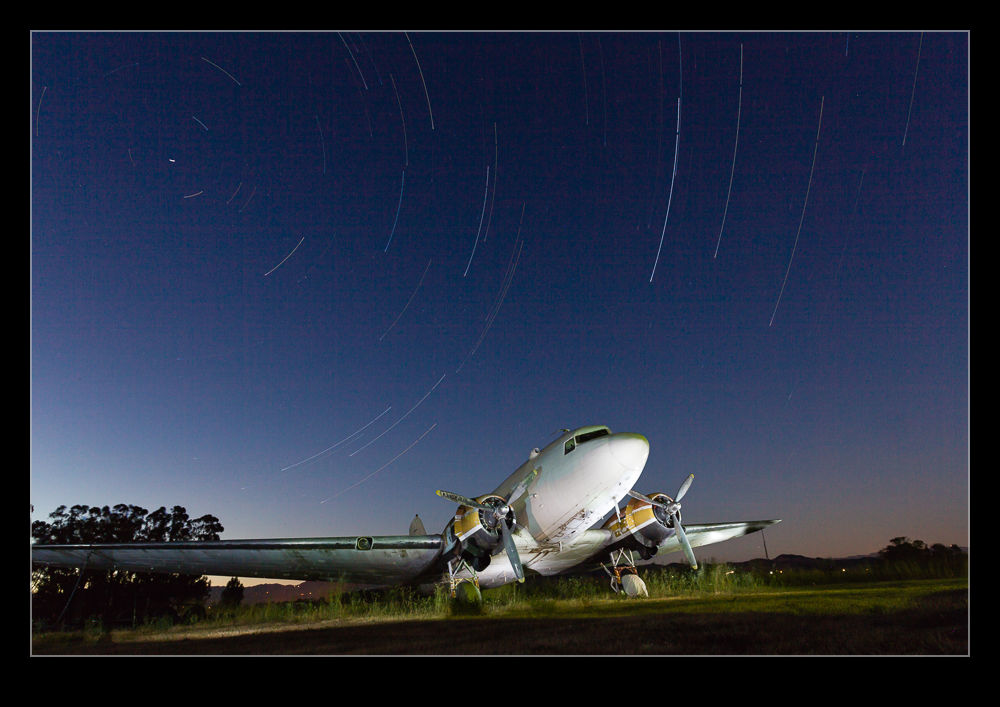
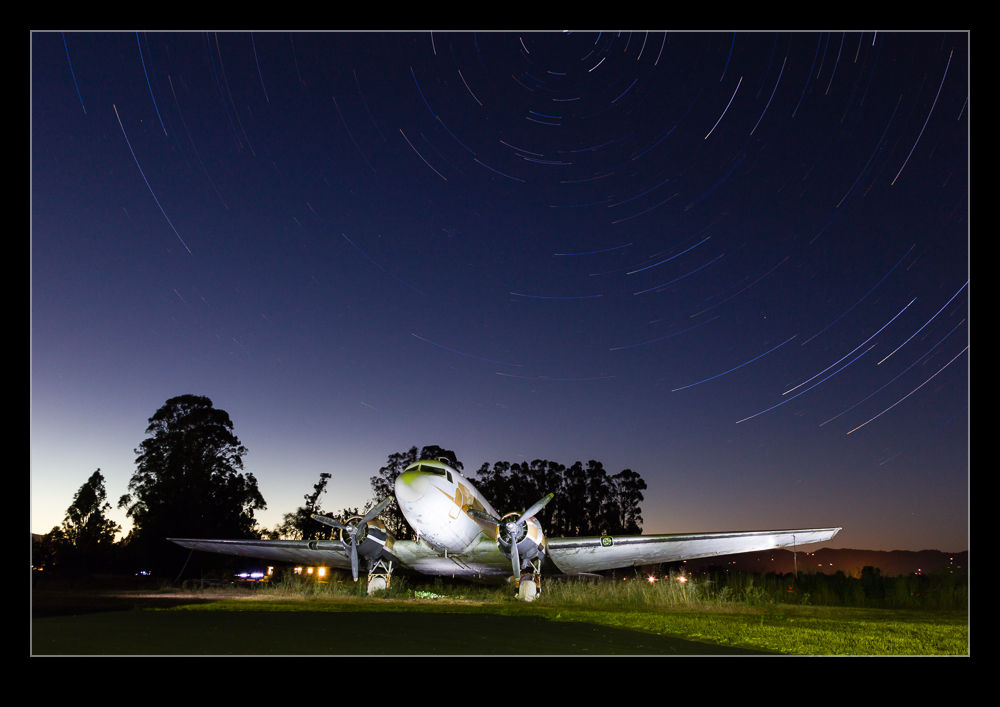
wpid10634-C59F2512.jpgMy buddy Paul was in town and we had a day of shooting and exploring planned. However, we wanted to have a go at star trails in the evening as well. Consequently, we set up at Schellville as the sun went down to shoot the trails around the Douglas DST parked on the field. I set up two cameras at different angles and with different lenses to try and maximize what I got. The sun was still going down when I started so the exposure was varying a bit more than I was prepared for but a little tweaking in post got things back together. We also did some light painting on the airframe in a couple of frames to make the scene pop a bit more.

wpid10636-AU0E9010.jpgThe biggest thing I learned during this was to start when it is darker and to take mosquito protection. I got badly bitten during the early part of the shoot and the bites reacted quite severely! Also, doing this in the winter so you don’t have to wait so late for it to get dark might also be a good plan. However, it went reasonably well and I have a few things I will know to do differently next time. I might also try a trail on one camera and a time lapse on the other.

Auto ISO

There is a function built in to my cameras that, until recently, I had never bothered to use.  It hadn’t been something that immediately grabbed my interest and so I had forgotten about it to some extent.  Therefore, when it could have been useful to me, I had not thought about how to make good use of it.  This is Automatic ISO.  This is an interesting idea when you start to think about it in more detail and one that might cause some to react in strange ways.

Many photographers will react poorly to the camera doing anything automatically.  They will say how they like to have control.  Then they will totally contradict themselves by telling you that they always shoot in aperture priority mode, totally ignoring the fact that the camera set the shutter speed for them in this mode “automatically”!  Therefore, for anyone reading (is anyone reading?) who jumps to the “I am against automatic anything” approach, why don’t you go and analyze exactly how your camera works and you use it.  If you are totally manual in everything you set, congratulations.  You obviously don’t need to read this anyway.

For anyone else who is a little more open-minded and who hasn’t played with this capability, let me explain why I tried it.  Plenty of times I have the camera in aperture priority in a situation where it is quite dark.  I know this is not clever of me but I often notice that the shutter speed is low because I can hear that it is!  In situations like this I might then tweak the ISO setting to try and bring things back into a range I am comfortable with.  My technique for this is rolling the dial a bit and seeing what I get.  Not clever analysis by any stretch.

Recently I was shooting a job in natural light (or lack thereof) that started long before the sun came up.  I knew I was going to be using some pretty high ISO settings to get useable shots and this is when the auto ISO function came to mind.  I went to manual mode, set the aperture and shutter speed I wanted and switched ISO to A.  Now, it worked out what was needed to get the exposure right.  As the light conditions improved, the ISO got dialed down but I didn’t have to do anything other than find what I wanted to shoot, compose and get on with it.  The only limitation I had was that I don’t know how (or even if) you can add exposure compensation in this situation.  Something for me to research – maybe even take the dreaded step of reading the manual!

The results were very satisfactory.  I got the images I wanted and didn’t have to constantly wonder about whether my ISO setting was right.  Obviously, this is not a solution for every situation but it does provide a good approach in some conditions.  Maybe you will have a time when it is worth a go to.
Experimenting with Multiple Exposures

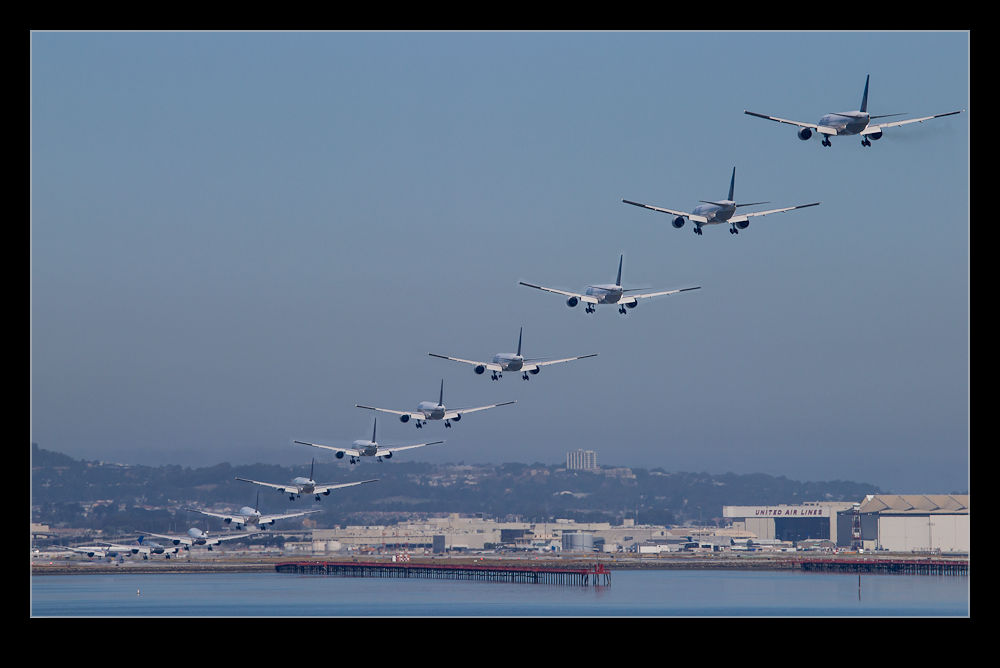
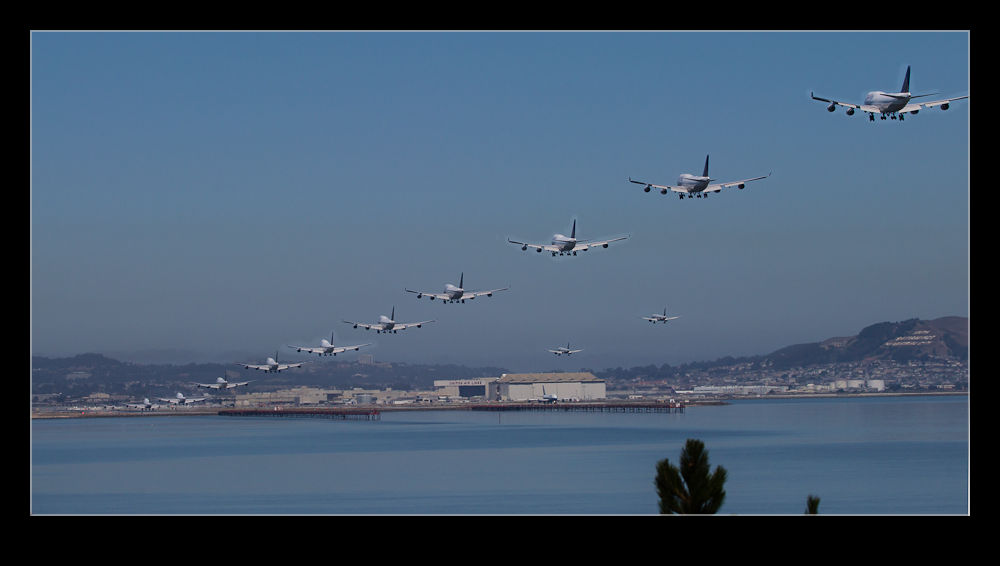
Right away I must admit that this is not my idea.  I know that is true of many photographic tools but I once saw someone do something just like this and I wanted to try it out myself.  The question was how to go about it.  I improvised a bit and trusted the camera to do what I wanted which it didn’t always do so I have learned some lessons already.

The idea is to take multiple exposures of aircraft on the approach and then combine them into one image in which the aircraft appear multiple times.  I would set myself up in a position and then take a sequence of shots as the aircraft moved through the frame.  My first mistake was that, because I was taking the same shot each time, I thought the exposure would not change.  Not true!  The camera will make some minor tweaks and this will make the whole thing less easy.  White balance may also vary but I shoot in raw so syncing that afterwards is no problem.

Since I was not using a tripod, the shots are not all perfectly aligned.  I took all the images in Lightroom and used the Open as Layers option to Photoshop.  Then I used the auto align layers option to get everything perfectly in place.  It is surprising just how much you move doing something like this!  I originally thought I could just set every layer above the base one to Difference blending mode and everything would pop right out.  However, that didn’t work as I had hoped.  The aircraft all had an odd color cast.

Instead, I put a layer mask on each upper layer and then painted in the aircraft one layer at a time.  This is more time consuming but it did the trick.  Of course, if the exposures are perfectly matched, you don’t have to paint too accurately.  if not, the sky color is different so a far more accurate painting on the layer mask is required.

This was a fun thing to experiment with.  SFO is a great spot since you can get parallel approaches in one direction and parallel departures on the cross runway.  This puts lots of aircraft in a single shot which makes it more interesting.  Another time, I will take the lessons from this time and try and get them a bit better.