 On previous trips to Red Flag I have taken pictures of the departing B-1Bs as they fly overhead. The burners are really impressive and definitely worth getting a shot of from below. However, having done this a few times, I wanted to try something different. The fighter get out of burner very quickly after they get airborne. They are in mil power for ages before they get to you on the centerline. I wanted to see what you could get from the side a lot closer in so Paul agreed to try something different.
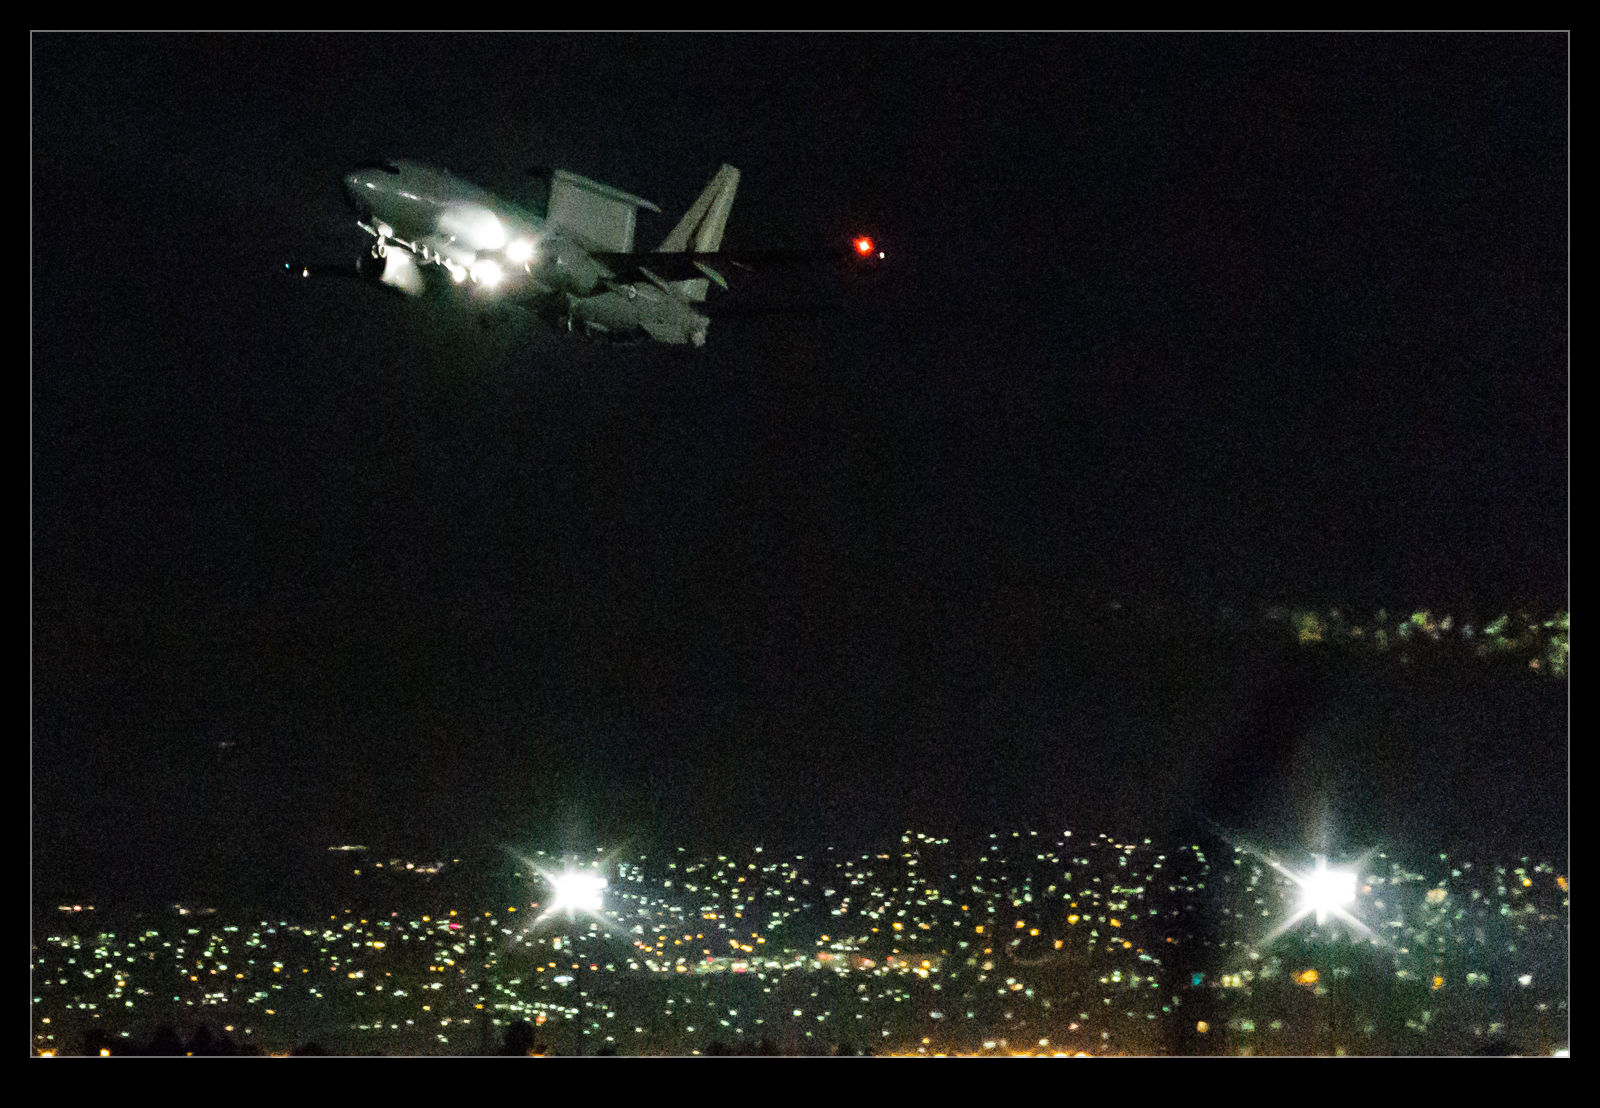
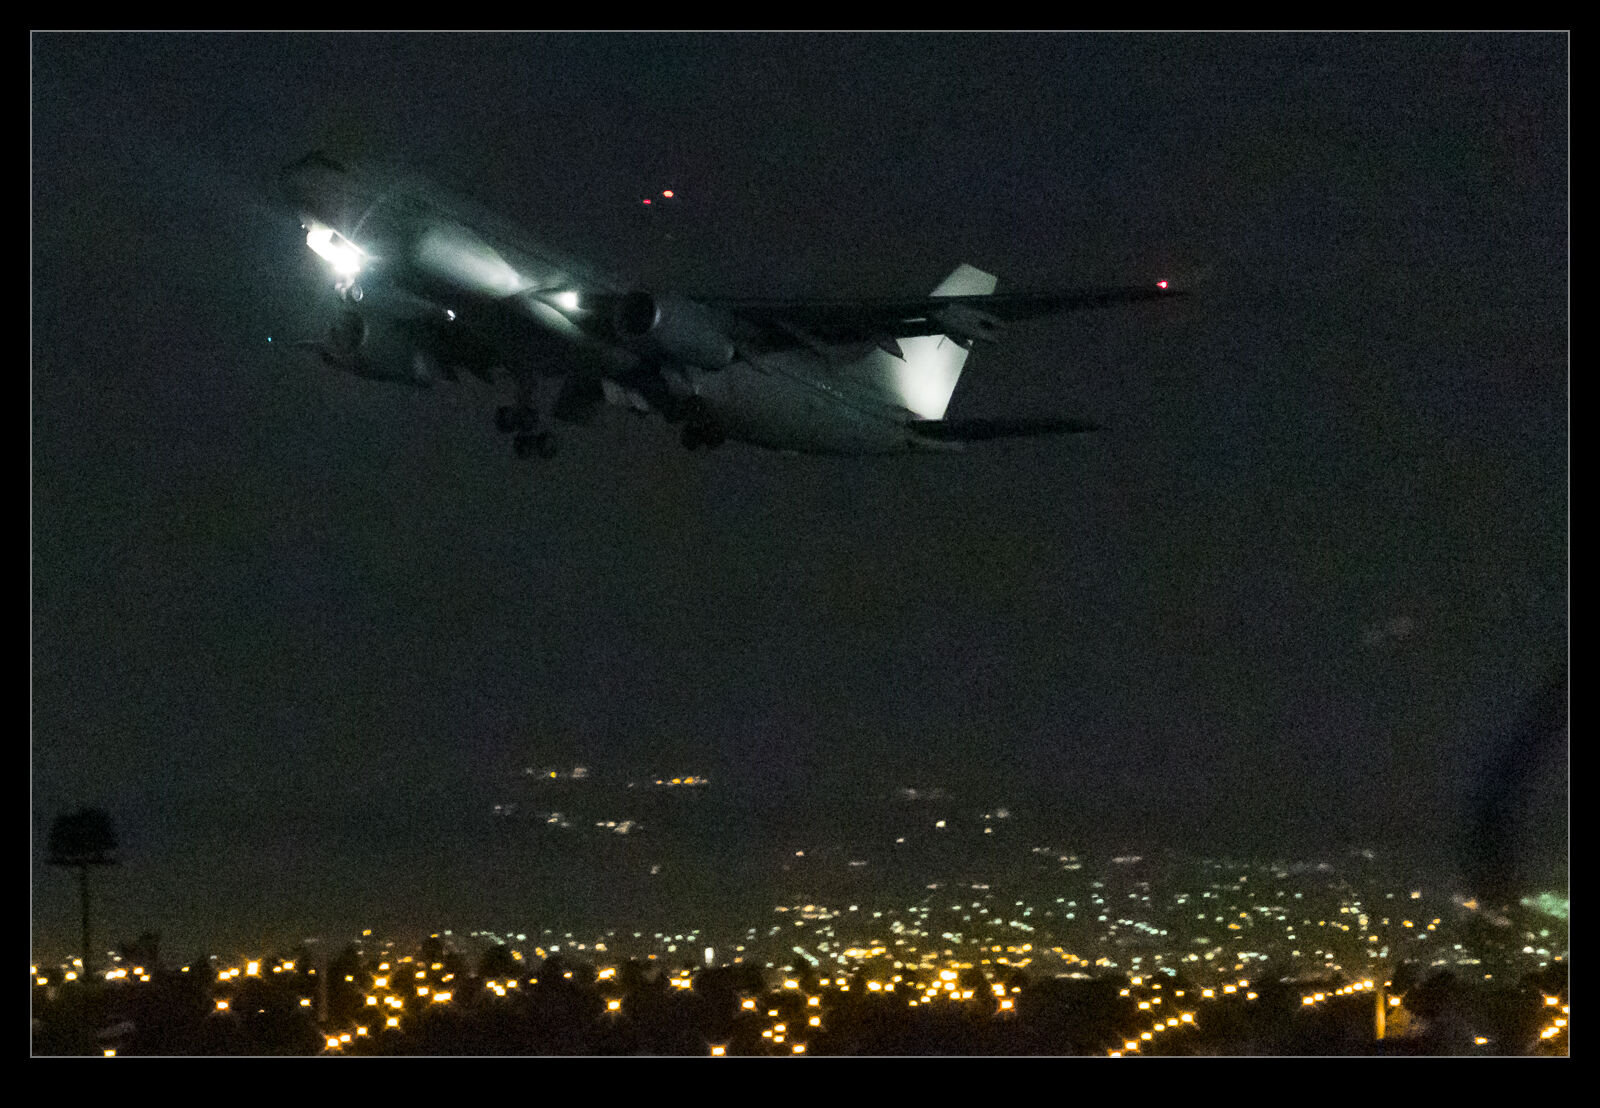
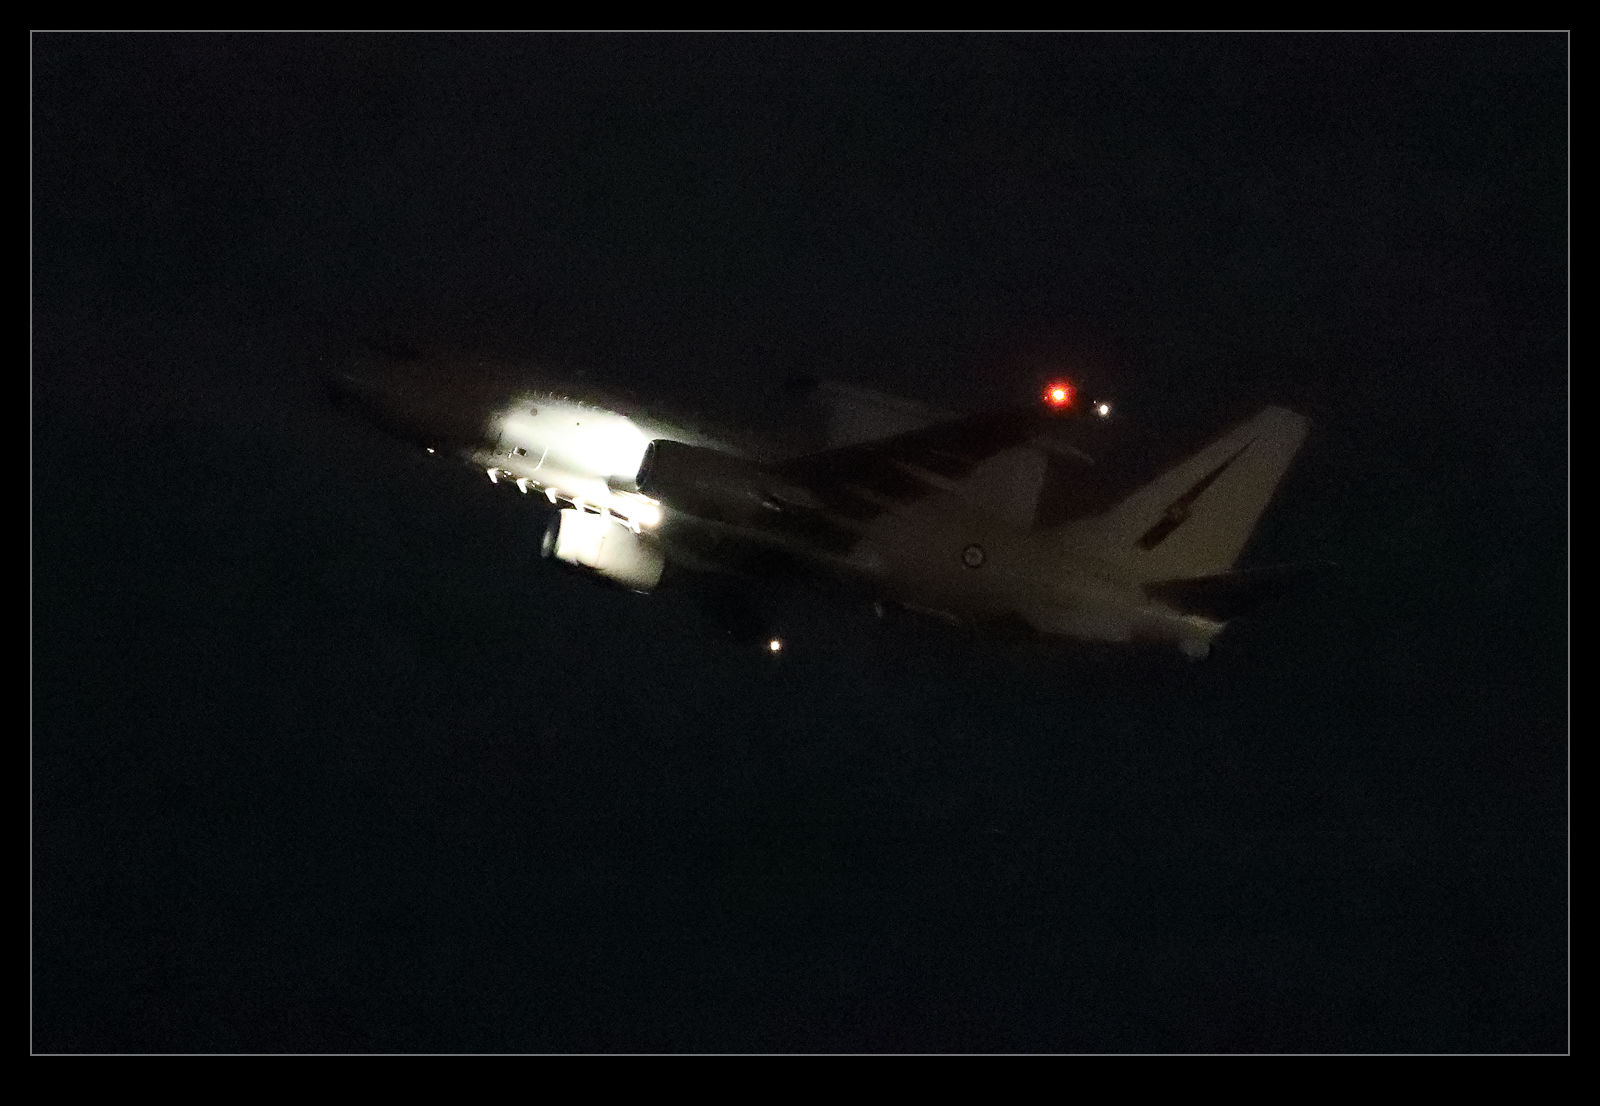
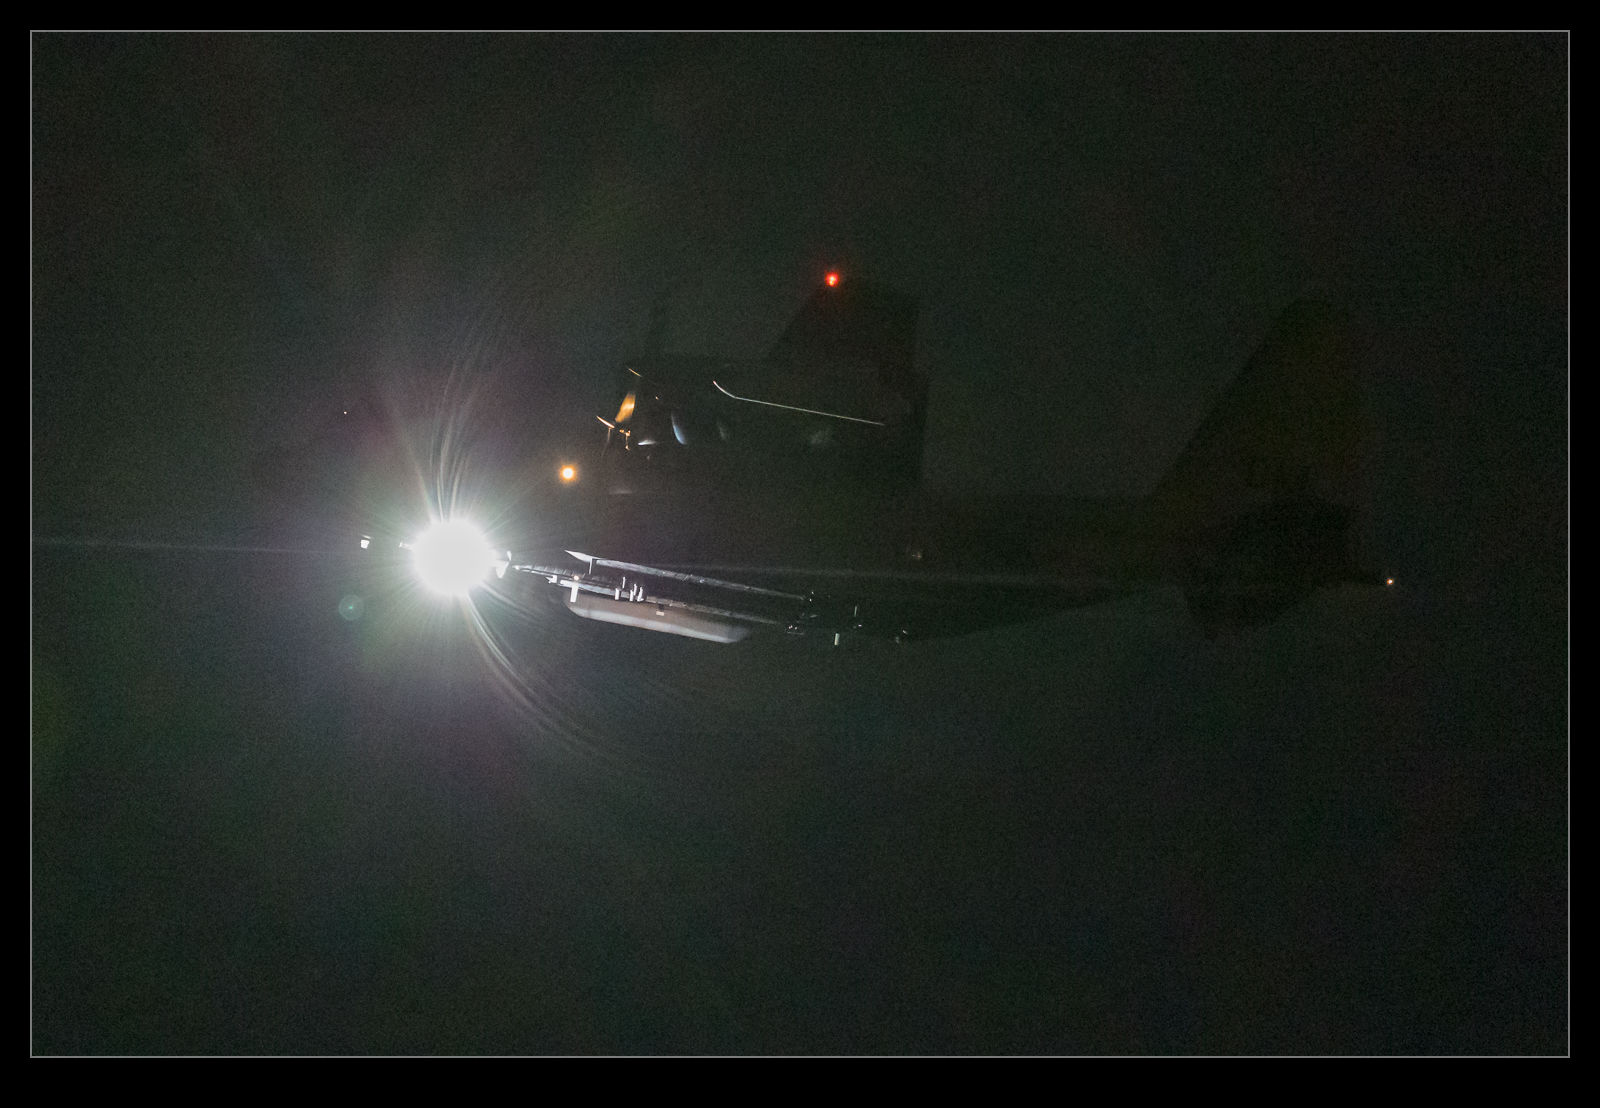 We ended up shooting a lot of side on stuff of departures for the night launch. Unfortunately, we didn’t appreciate just how dark it is at Nellis at night. We had a good moon so we were hopeful that there might be some residual light. It turns out that this is not the case. Even close in, the fighters are out of burner. The tankers and the E-7 went out and I got some shots but they were a struggle, event making use of the best high ISO capabilities of the cameras. The B-1s did show up okay but I still didn’t do as well as I thought I should have.
 I learned a bit about the performance of the cameras. I was shooting at super high ISO settings with the camera wide open. However, as I review the shots, I realize the camera was behaving in a way that I had not anticipated. I was shooting in aperture priority with some negative exposure compensation dialed in. As I look through the shots I see that the camera would start out with a dark shot, gradually boost the exposure and then go dark again. I would review the shots and see one that was looking good but know that the next would be dark.
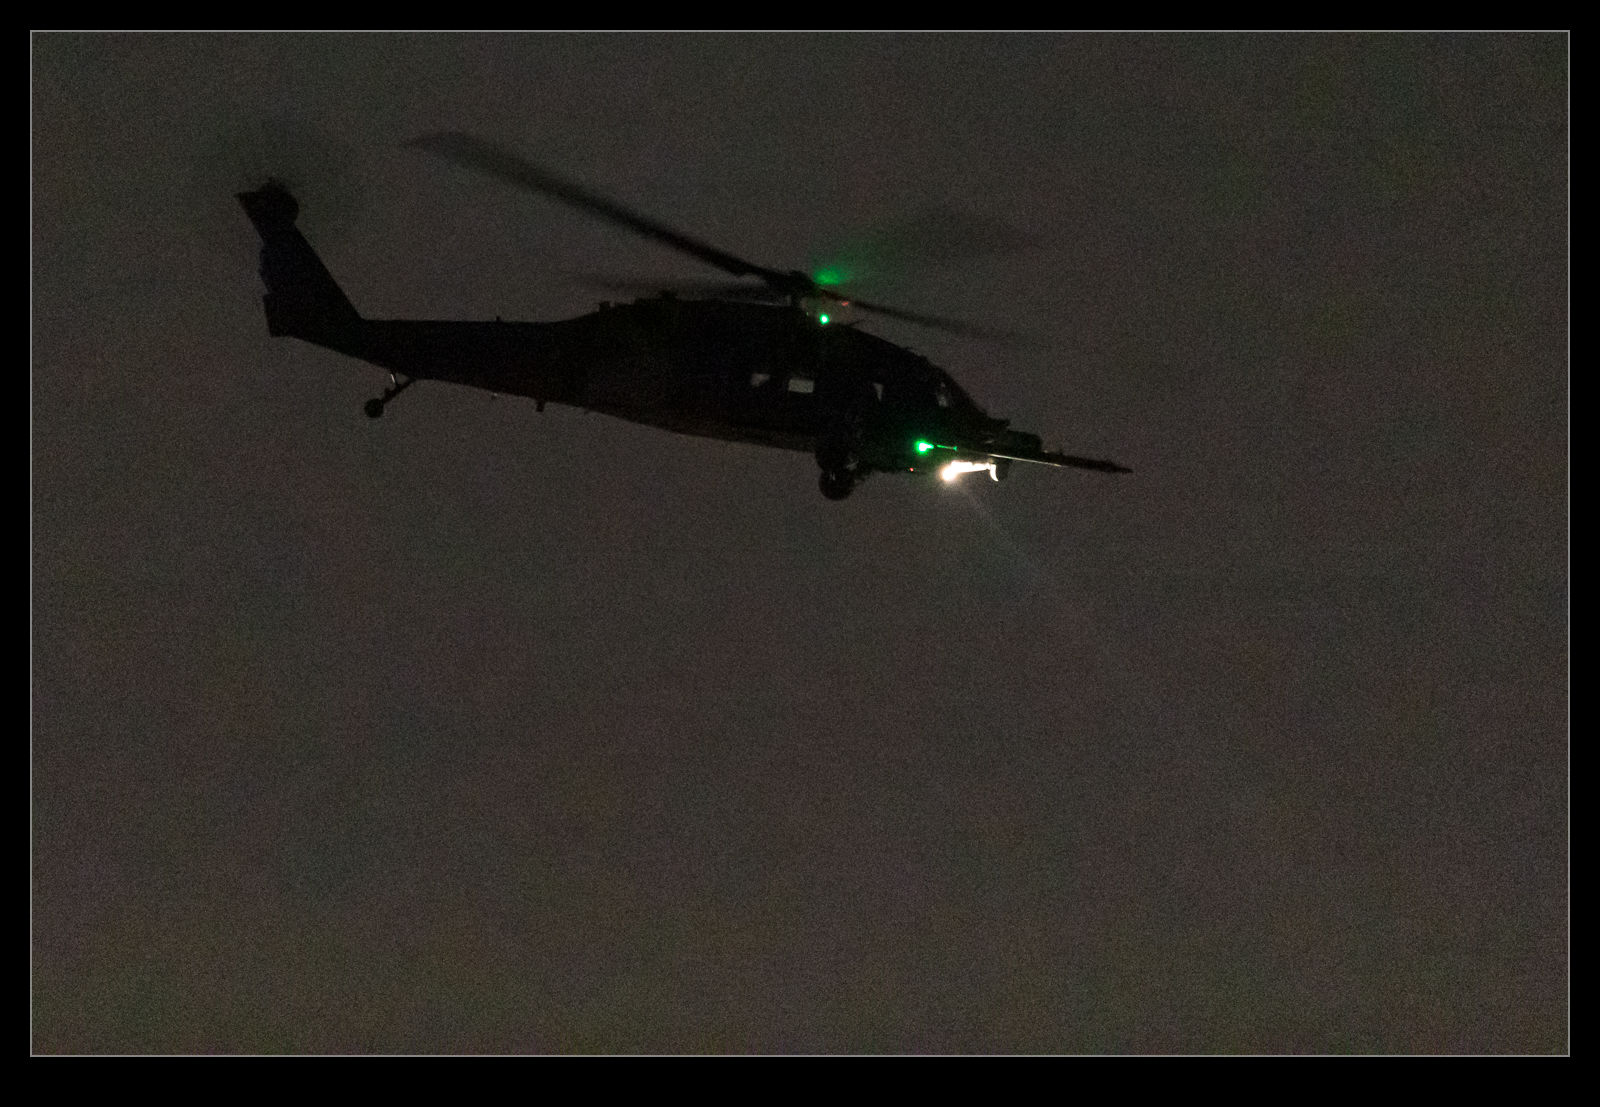 When shooting in such limited light, the shutter speeds are very low and the number of lost shots is high. Therefore, you can’t afford to have the exposure be bad. I don’t know how many shots I lost since they may not have been sharp anyway but I cut down on my opportunities. In future, I need to have all of the exposures be acceptable in order to maximize my opportunities. Therefore, I think I shall have to go fully manual on everything for these shots. Set ISO up high and then go to manual aperture and shutter speed. I will still lose a lot of shots but at least I can focus on dealing with my handholding technique rather than worrying about how the camera is metering a dark night. It’s not too reasonable to expect the camera to get that right every time. It is a pretty extreme case!
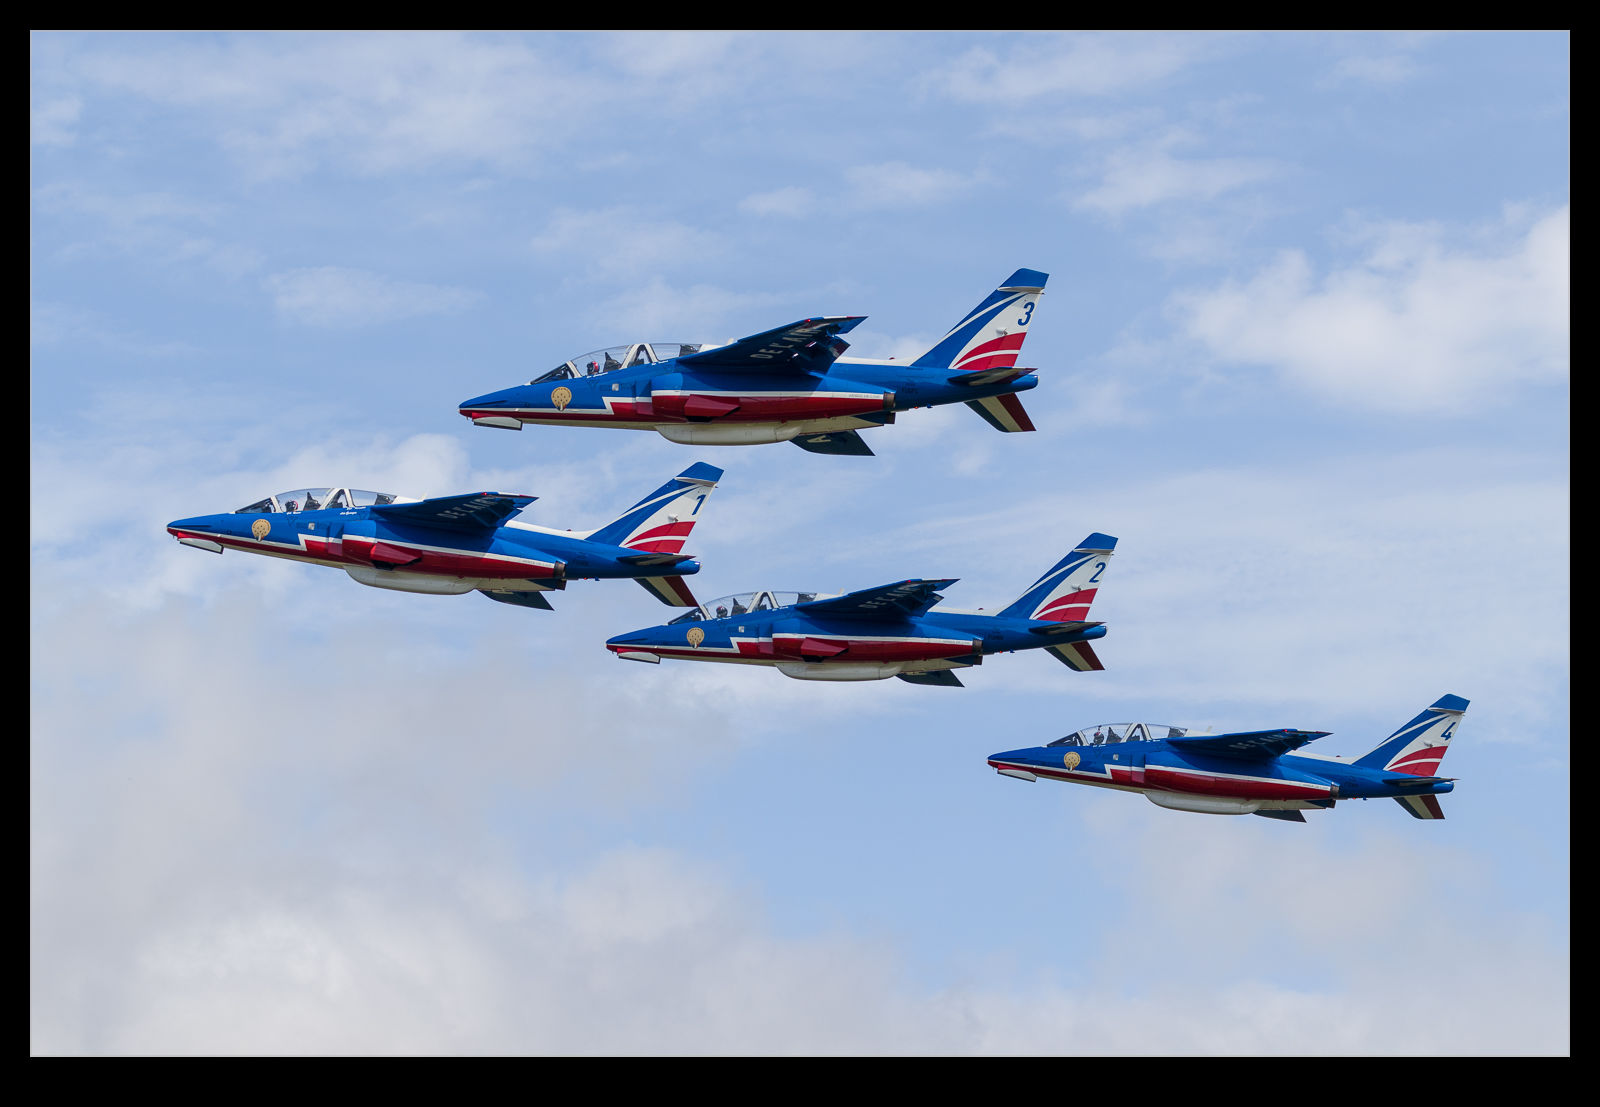 I was working through some RIAT photos of the Patrouille de France display. I had some tight shots of the first four jets as they took off and, as I looked closer at them, I was confused as to why two of the jets had a more nose high attitude than the other two. Since they are taking off on formation, I figured that they should look the same.
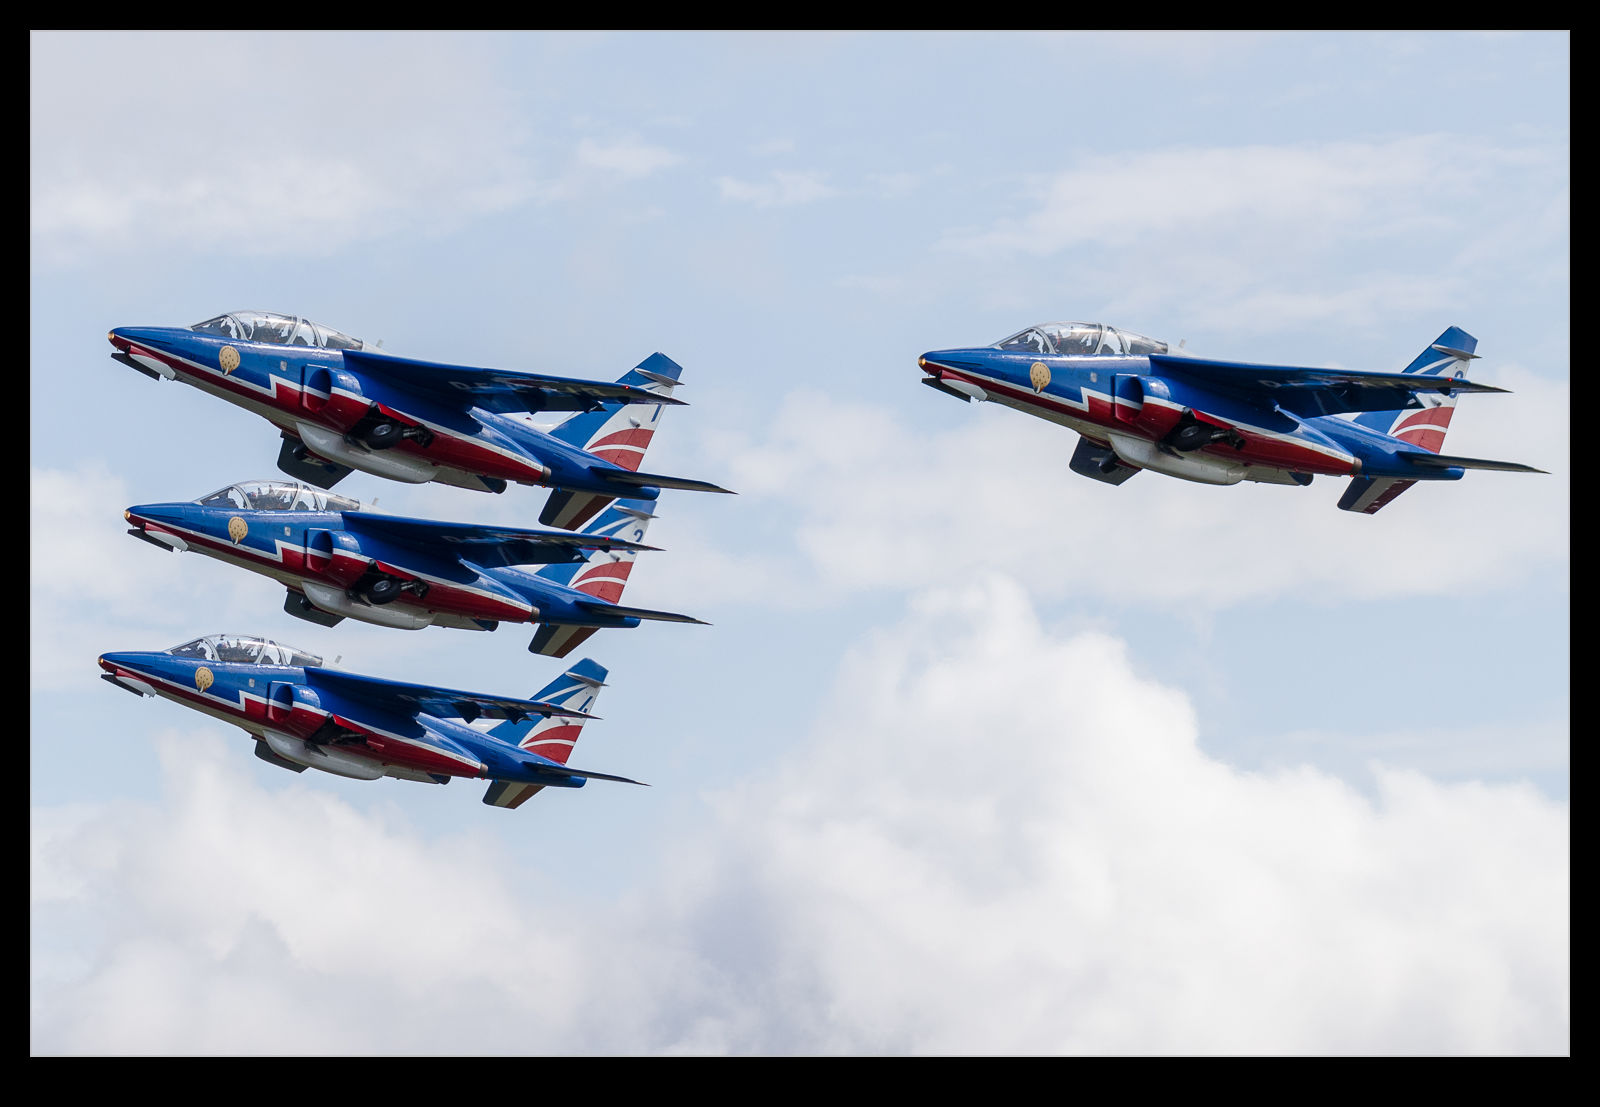 A closer look at the images and it seems that the flap settings of the jets vary. The nose high aircraft seem to have less flap – hence their need for a higher angle of attack – than the other two jets. I have been trying the think why they would adopt this approach. With all jets accelerating together and climbing together, I had imagined that they would all be in the same configuration. I wonder whether there is something to do with the outwash from the nearby jets that requires a different configuration but I haven’t come up with anything conclusive. I throw it out to the aero engineers that read this to propose your ideas as to why. If any of you know anyone in the PdF, feel free to ask them instead!