Tag Archives: speed

Ducks at Low Level

While walking along the Sammammish River Trail, a couple of Mallard Ducks flew by me at low level.  I pulled the camera up at short notice to get a shot.  No time to change the settings so this is what I got on the spur of the moment.  As it happens, the shutter speed did a nice job of blurring out the background and making them look super speedy.  I kind of like it!

The Conflict of Sharpness and Prop Vortices

Damp days can make for great prop vortices on takeoff.  However, I have been feeling less than satisfied with my results recently.  As I was going through some shots, I made a discovery that should probably have been something I worked out before.  I like to have a good amount of prop blur so drop the shutter speed down when I can.  I go with a high frame rate with the aim of getting a good sharp shot amongst the more blurry examples.

As I go through the shots, the sharp ones have okay prop vortices but not great.  Then I will come across some really nice vortices but the shot is otherwise not sharp.  It seems that, in panning with the plane to get a sharp shot, the trailing vortex gets blurred out.  If I am not panning well, the vortex can be the thing I have tracked better and it shows up well.  I have seen shots from others with the props almost frozen with a high shutter speed and the vortices easily seen.

Consequently, I am going to have to make a decision in future.  How much prop blur do I want versus the ability to see the vortices well.  A little trial and error will be involved.  At least it is fall/winter so the Pacific Northwest will probably provide me plenty of damp days on which to experiment!

Dropping the Shutter Speed in Bad Light

My cloudy Vancouver shoot also gave me the chance to play around with some lower shutter speeds.  I have done this for the turboprops before but this time I decided to play with some of the jets.  A really low shuttle speed can blur out the background and give a nice impression of movement but it is a problematic shot to make.  You don’t want to do it on something that you are keen to get in case you get nothing!  It is also something that results in very small apertures if there is much light which can make for a lot of dust spotting in post!  A cloudy evening is a good time to try and a bunch of boring regular jets are good targets for a trial!

Staring at an Escalator

I was waiting for some visitors at the airport.  At SeaTac, you stand at the top of the escalator waiting for people to come out from the shuttle station.  I was starting at the escalator for quite some time and decided to see just how slow a shot I could take with the cellphone.  Using ProShot, I have a lot of shutter speed control but the brightness does eventually overwhelm things a bit.  However, it was still possible to play with some interesting effects with the steps blurring out along with anyone standing on them!

Speed on the Lake

I have tried to find out what the rules are regarding how fast you can go on Lake Washington.  All I have found so far is what limits there are when you are close to shore.  Whether this means you can go as fast as you like while out in the open or not I don’t know.  We do see plenty of people getting some speed up when they are out on the water.  Whether it is speedboats of ski boats pulling someone behind them, they look nice and dramatic when they are up on the plane and moving.

Cormorant at Low Shutter Speed

An impromptu shot of a cormorant is a good thing as far as I am concerned.  Normally when I photograph birds, I am shooting wide open at as high a shutter speed as possible.  However, this time I was set up for shooting at a lower shutter speed when the cormorant came by.  Consequently, the success rate was down a bit.  I did still get some shots though and the motion blur gives more of a feel of speed, even if it is just the water blurring out.

Speeding Up Lightroom

YouTube is a fantastic way to lose track of time.  It may well have an abundance of crap but it also has lots of informative material.  More importantly, watch one thing and you get recommendations of other things, many of which are actually quite useful.  I was watching a video by Tony Northrup on building a computer for photo processing and he was talking about putting the Lightroom catalog on an SSD.  This got me thinking about something.

When I built my system, I installed an SSD to be the drive on which the OS is installed along with the applications.  I have traditional hard drives for the data storage.  One of these was set up with the Lightroom catalogs keeping them separate from the image files to make the response time better.  At the time of the build, a 250Gb SSD was affordable but not cheap so that was what I went with.  With everything installed, that doesn’t have enough space for the catalogs.

I never thought more about it until after this video.  I started thinking about some old SSDs I have and looked at whether the catalogs would fit on either of them.  It turns out that, with all of the preview files, the SSDs were not big enough.  However, I did then have a look at the price of a drive that would be large enough such as another 250Gb drive.  That would have plenty to spare to account for future needs.

While looking at these, I was also able to see 500Gb drives and they are only about $150.  I was unaware just how much the price had fallen.  Consequently, a spare drive bay now holds my Lightroom catalogs.  I only have a relatively small amount of experience with the new configuration but it is safe to say that things are positively zipping along compared to where they were before.  I was wondering whether the system might be in need up upgrade or replacement but this one change seems to have made things significantly better.  I will report further if I discover more but, if you have a similar configuration, this might be the upgrade that makes things noticeably better.

Sneak Pass

C59F5630.jpgI have seen a large number of displays by the Blue Angels over the years.  Their display is a good one generally (although the ground portion is a little time consuming in my opinion).  The sequence does not vary much from year to year but it works well enough so that is probably no big surprise.  One of the fun parts is the sneak passes.  The four ship head off in one direction to distract you and a solo jet streaks in from the left at low level and high speed.  This catches a lot of people by surprise.

C59F5638.jpgJust as everyone is getting over this, the other solo jet does something similar from crowd rear to make you all jump again.  The displays that are held over water provide an added option for the first sneak pass.  With no obstacles, the aircraft can end up very close to the water.  This makes things look even more impressive.  Also, the high speeds can result in some impressive vapor formations in the shock waves.

C59F5622.jpgThe Fleet Week display on the Friday had great weather conditions but, surprisingly for the Bay Area, the humidity levels were not terribly high.  Consequently, while the sneak pass had its usual surprise impact, it did not result in any vapor on the jet.  The upside of this was that the optical distortion caused by the shock waves was visible in some shots when a reasonable amount of background was included.  Not what I was aiming for but not a bad alternative.

Blur That Prop!

wpid7596-C59F7698.jpgAsk any aviation photographer about camera settings and they will quickly turn to shutter speed for prop aircraft.  The goal is a nicely blurred prop and no frozen blades.  This requires a slow shutter speed and this can have downsides.  If you are using a long lens, getting a sharp shot of a moving target with a low shutter speed can be tricky.  A bit of spray and pray with the shutter button can be required.  Interestingly, if you are closer to the aircraft and using a shorter focal length, things are not necessarily better.  When you are close in, the different parts of the airframe are actually moving at different speeds and angular rates to you so one part might be sharp when another isn’t.  Sometimes this looks okay but often it just looks crap.

I have become less focused on gaining the great blur for ground shots.  Air to air it is something a lot more worthwhile since the other plane is not moving relative to you – well, hopefully not that much.  Therefore, you can experiment going slower with hopefully some good results.  Similarly, when I am shooting helicopters close in and hovering, I will give it a go too.

wpid7594-C59F7690.jpgRecently, I was at the Waukegan show and I decided that, since what I was shooting was not something that I had to get (either I would have other chances or I wasn’t so bothered anyway), I would play with some really low speeds.  I ended up shooting at 1/80th of a second which, on a 500mm lens is a stretch.  Needless to say, you are not going to see the failures.  When I have played like this before, I have had times when not one of the shots was of any use.  However, this time I did get a few lucky results – yes, they were luck.  You can have great panning technique (which is not always true for me) but the math is not in your favor when doing this.  Therefore, I shall be happy with the results this time around.  I won’t be doing this all of the time but playing around is an important thing to do when you have the chance.  Just don’t do it when you really want to have a shot you can keep.

Web video sizing

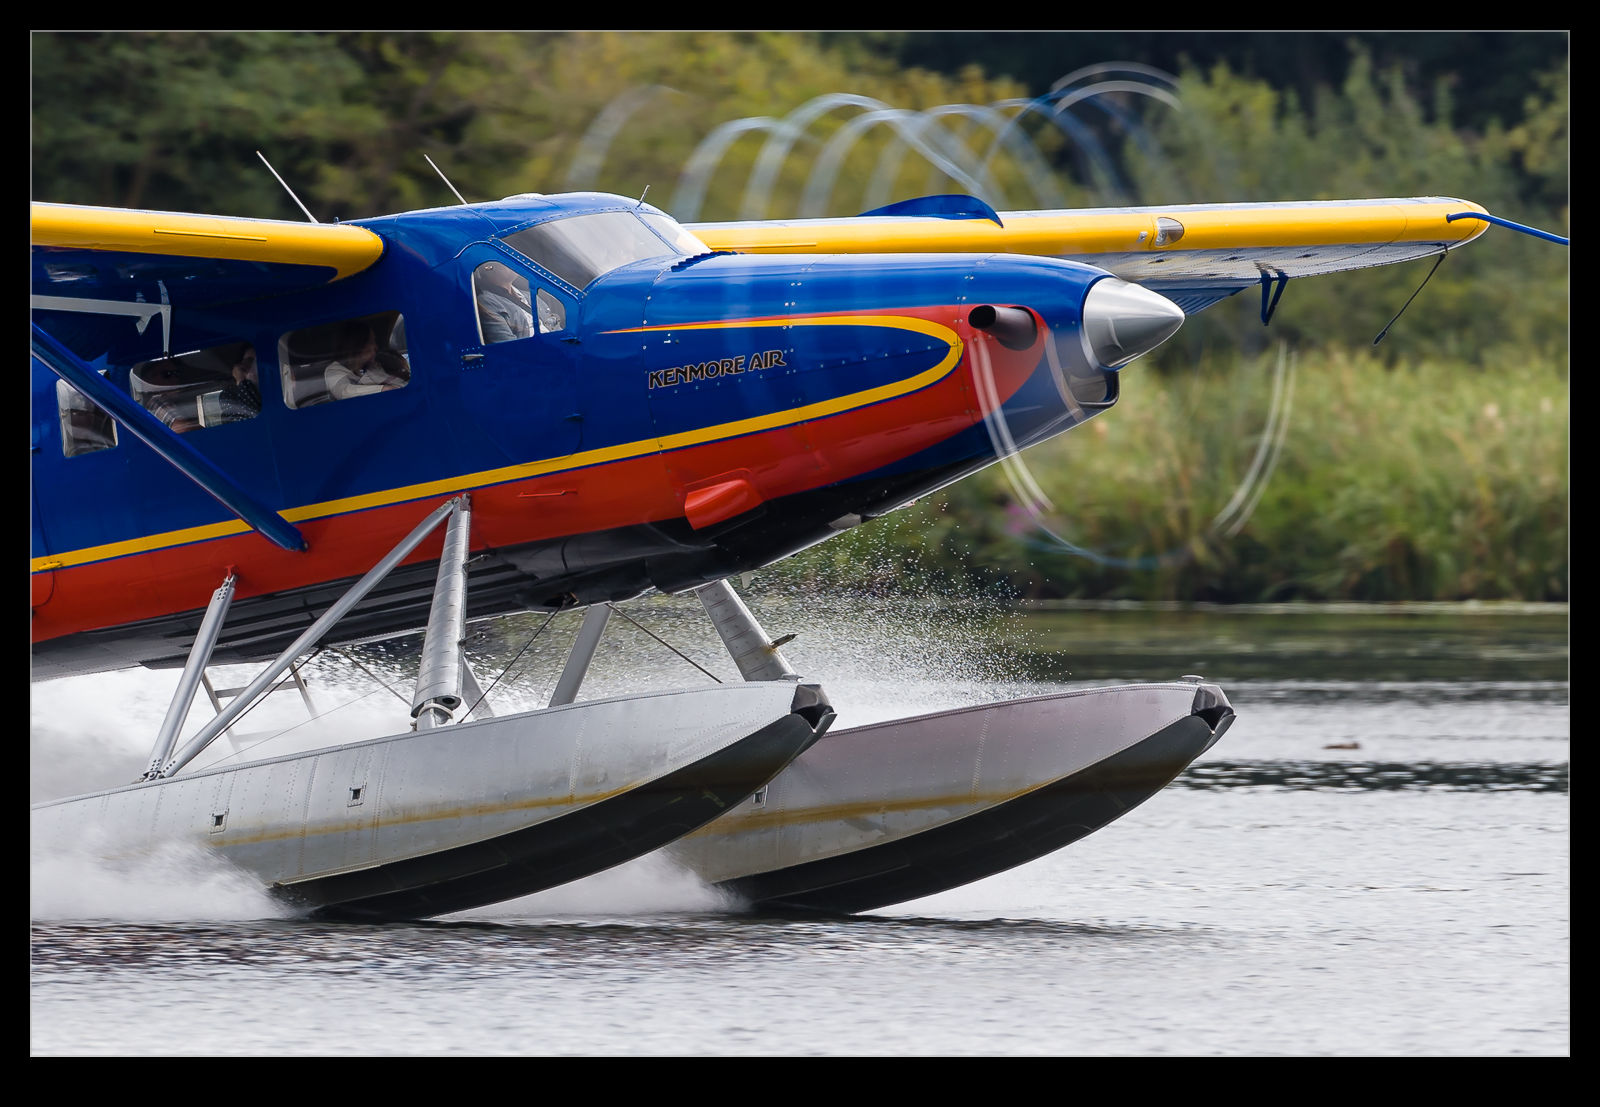
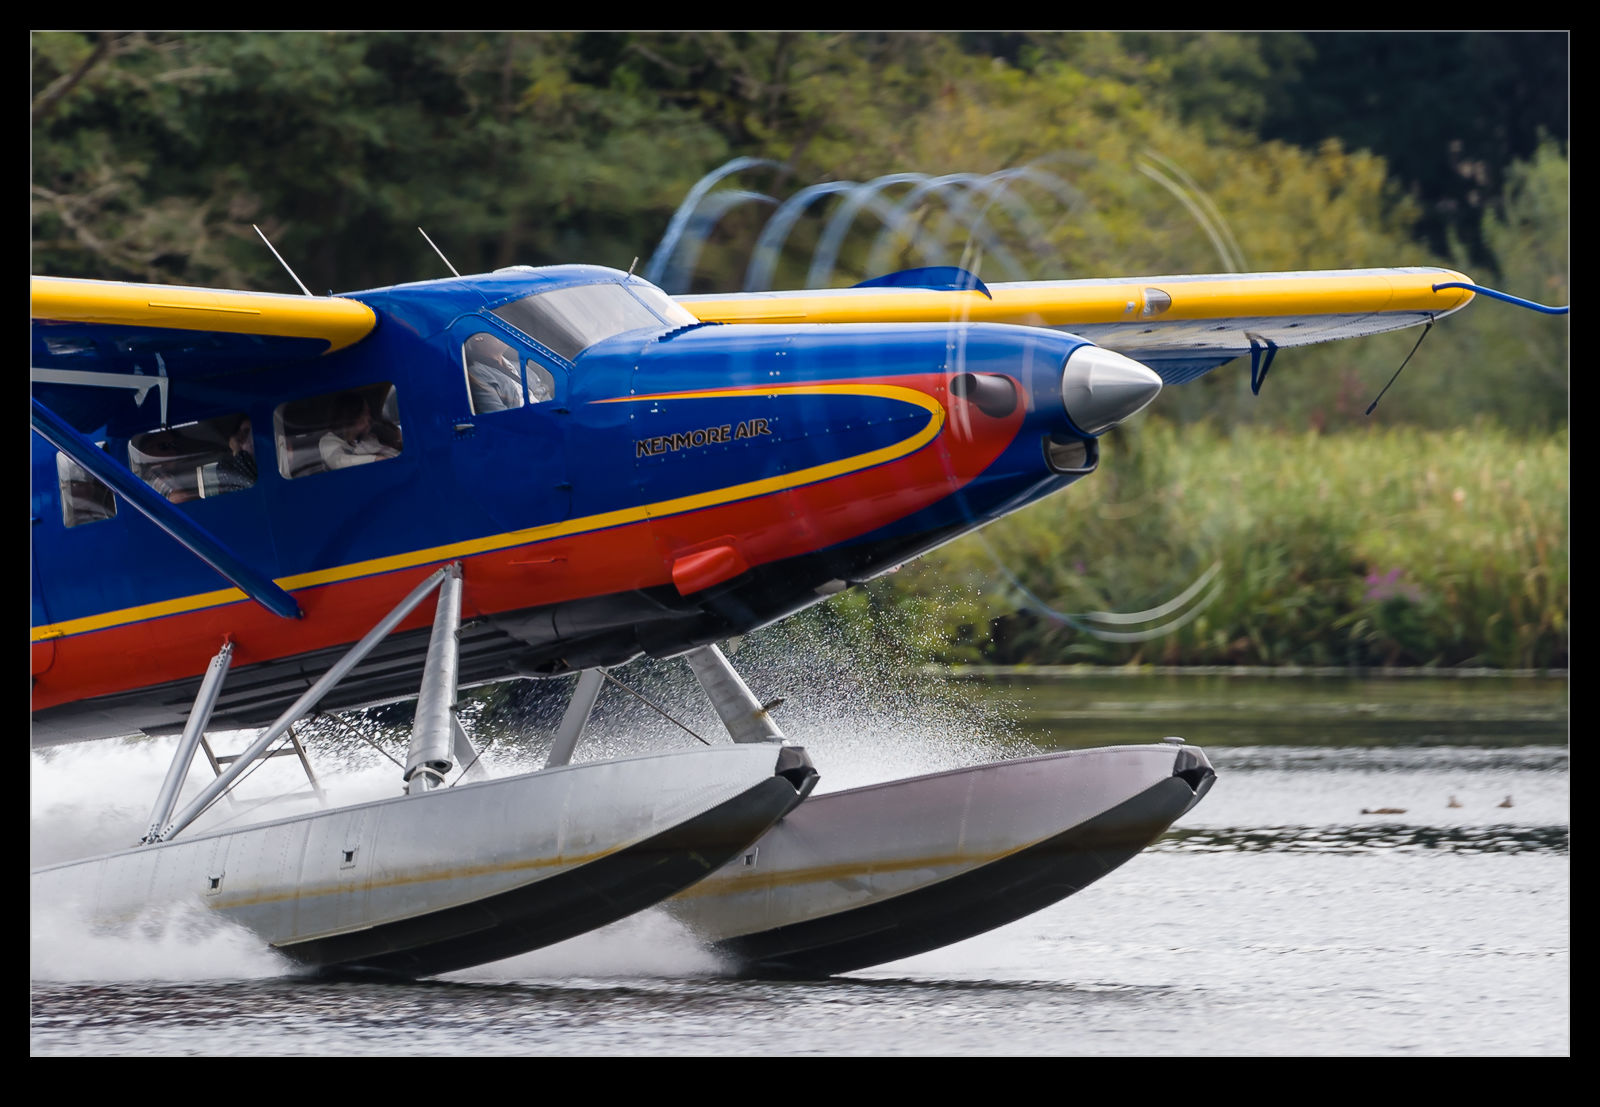
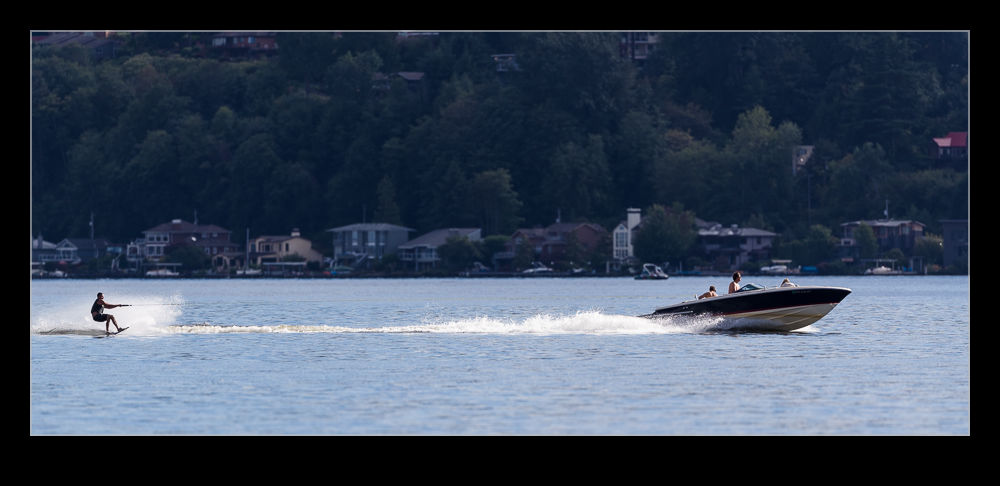
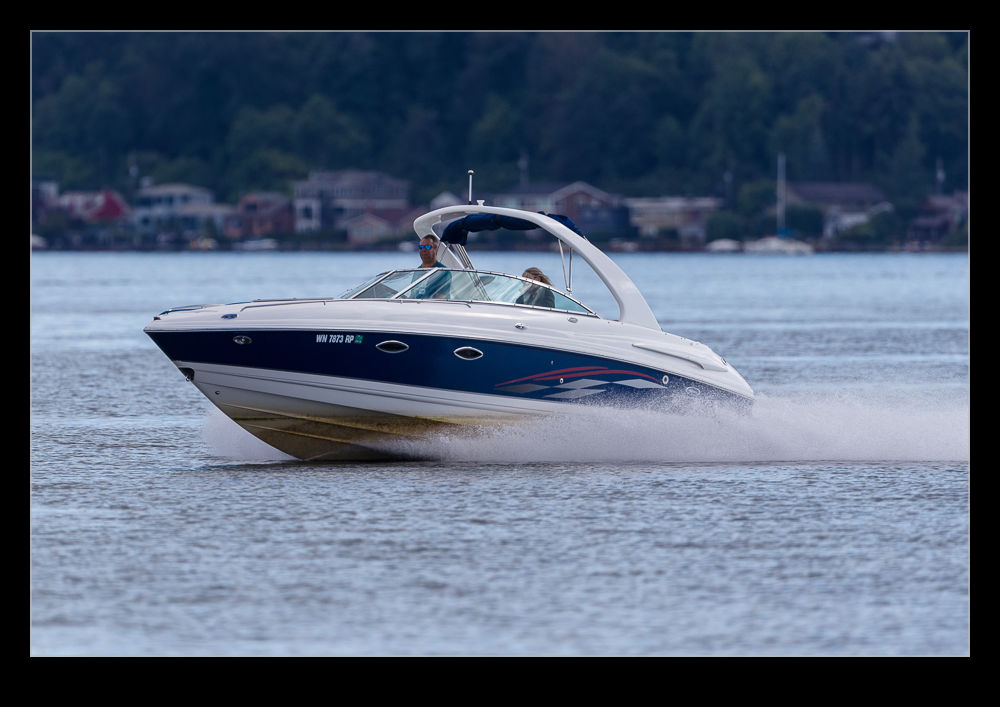
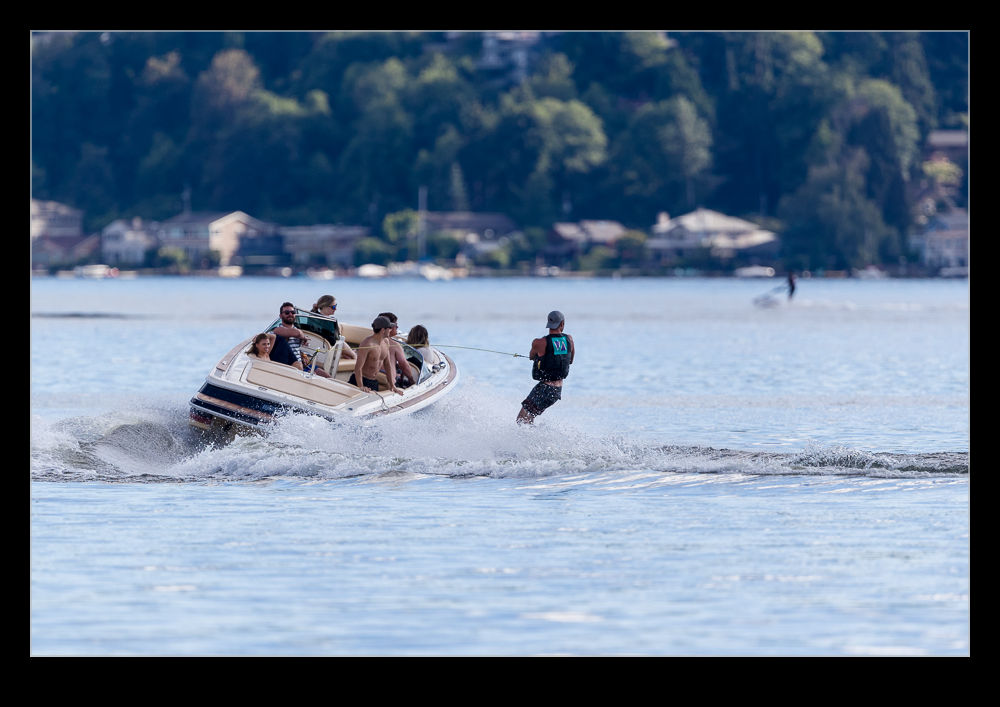
I have been getting more and more interested in video work in the last couple of years.  Shooting video at the same time as stills is a regular feature of any shoot I am now on.  I am even getting better at planning my shot requirements for the video in order to have some hope of putting together a relatively coherent piece later.  The recent ISAP symposium had some good information on that.  However, that is not the point of today’s piece.  Instead, I am thinking about video size.

I have a YouTube channel on which I upload my content.  As s shameless plus, if you want to check it out, go to http://www.youtube.com/user/EdgcumbePhoto and you can see the videos I have previously uploaded.  Subscribe if you want and it will let you know about all of the exciting new videos I upload!  Okay, we return from that commercial break and resume normal programming.  I shoot everything in HD and edit the footage for 1080p output.  This can result in some quite large files.  YouTube allows you to upload full 1080p so that is what I have been doing.

Unfortunately, our current internet connection is not helpful here.  While we have pretty decent download speeds, the upload speeds are very slow.  DSL was not designed for upload and consequently, the upload speeds have not kept pace with the download speeds and the needs of users generating more and more content.  A recent video I made was about eight minutes long.  The 1080p version of this was nearly 2Gb.  Uploading this took over a day!!!

Now, when I watch videos on YouTube, what resolution do I watch them at?  I certainly like HD footage but I only ever use 720p.  This is a combination of avoiding bandwidth issues as well as the size of my monitors.  There really is no need to be any larger.  I wonder whether this is normal.  I started looking at what is available on other videos I was watching and quite a few only go to 720p.  I thought a quick experiment was in order.  The eight minute video I mentioned before can easily be regenerated at 720p so I did that.  The file size came out to just over 300Mb.  That is a pretty dramatic reduction in file size and upload time.

I think I have been wasting time and bandwidth creating files too large for anyone to need.  I am going to stick with 720p for a while and see how things work out.  We might have access to a different net connection before too long and I might check out upload speeds then but, for now, this seems to be a far more sensible approach.
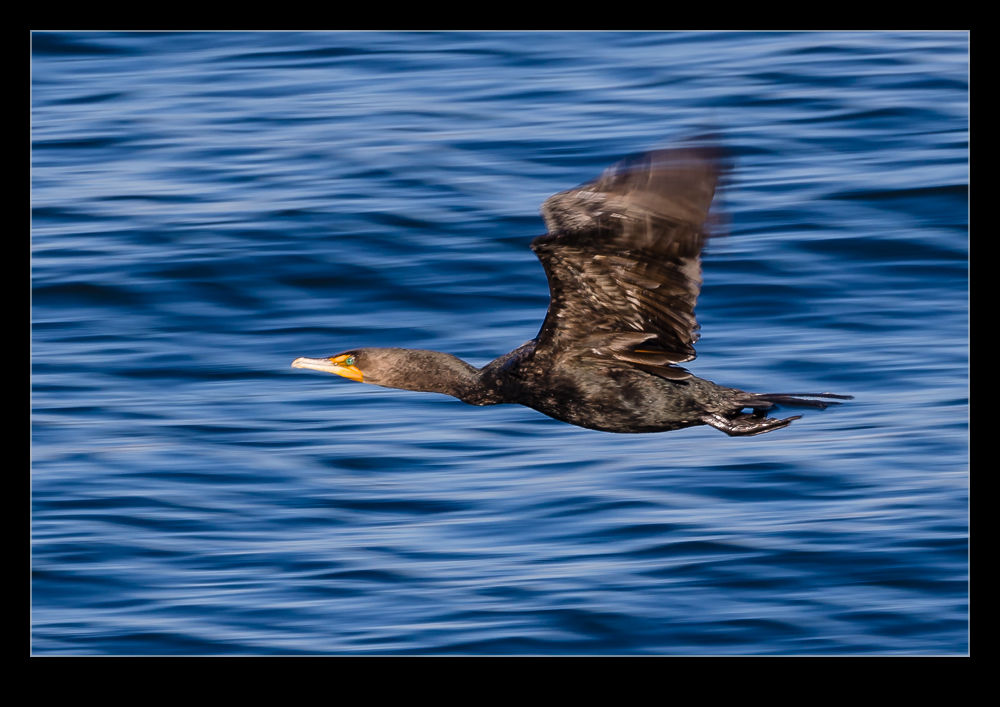
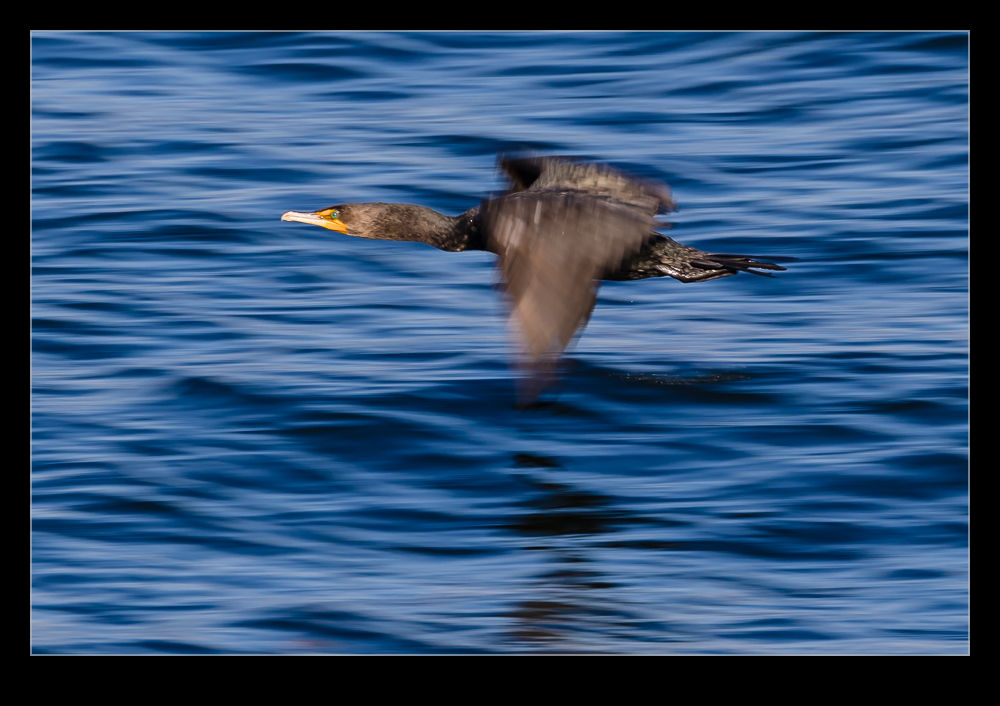