I have played with the Zoomify files a few times before. Then I found a way to get a Zoomify file output in HTML5 format rather than Flash. Since so many people are on mobile devices today and plenty of them don’t use Flash, having the new format was necessary to make the output usable widely. I didn’t like the idea of a new page opening up though. Taking people off your page can mean that they don’t come back. Fortunately, I found out how to embed this in an iFrame. Those of you that are web savvy will know all about this stuff but I didn’t. However, messing around with some page code and suddenly my stuff is embedded in the page above. Pretty cool. Feel free to zoom and pan around the Nellis flightline!
Tag Archives: panorama
Zoomify the SFO Departures
I was recently drawn back to something I had experimented with a long time ago but had since forgotten about. I was at SFO when the wind was strong enough to require all departures to operate from the 28s. This resulted in a long line of jets along the taxiway beside the runways as they waited their turn to take off. I shot a very wide panorama shot of them all lined up. It didn’t help that they weren’t bunched too tightly but, even if they had been, the pano that results is very wide and shallow.
There is nothing much you can do with this unless you have a long wall waiting for a mural (which I don’t). However, I still liked the shot. What to do with it? Then I remembered Zoomify. This is an output format embedded within Photoshop that creates a web page that you can zoom in and out of and pan around. It allows someone to explore a large image in more detail if they want to do so. Not quite on the scale of Gigapan images but still a neat tool when you need something slightly different.
Clever Feature of Lightroom CC
This one is something that I can attribute to the Kelby media juggernaut. I did not discover this myself but, if you are a user of Lightroom CC and use either the HDR or the panorama functions, this could be of interest. One of my issues with them was that they took a while to bring up a preview. Once you had got this, the processing would work in the background.
It turns out, if you don’t need to tweak the settings and are happy with what you used previously, you can hold Shift and Ctrl and press either M for panorama or H for HDR and it will launch right into processing the whole thing in the background. You can set multiple versions off if you wish and they will all get to work out of sight while you do something else. While my feelings on the outcome of the processing are not universally great and I covered this in some previous posts, it does a reasonable job most of the time and this is an even better feature that is well concealed!
Lightroom’s New Panorama Feature
Lightroom CC comes with a number of new features. High on the list is the new panorama feature. Previously, if you wanted to stitch a panorama, you would select the shots in Lightroom, make sure you had them synced up for any exposure edits and white balance corrections and then send them to Photoshop. Photoshop had a Photomerge function that you could use or you could open them as layers in a document and carry the merge out yourself with a bit more control. This was the approach I used and I wrote about the technique here a while back.
The new Photomerge in Lightroom CC is designed to do without Photoshop. It takes your original files and then makes a new DNG file which is the stitched panorama but, as a RAW format, it still allows you to edit the image using the normal editing tools. I had to give this a go so, how well does it work?
The answer is a mixed one. In many cases, it works just fine. It stitches together the shot nicely and you can go on your way. While the initial preview process takes up a little time, the processing of the final stitch is done in the background so you can get on with something else – something I find very handy. However, it does have some shortcomings.
First, it doesn’t always find the way to stitch the shots. I have had a couple of times when it couldn’t work out the alignment. When I tried the same shots in Photoshop, they worked just fine. Not sure why these didn’t work but the algorithms must have some limitations. Next, it doesn’t always deal well with curvy edges. I have had a couple of stitches that I tried where the aircraft fuselage, although a smooth curve, ended up with some kinks at the area where the stitch took place. Photoshop never caused me trouble with these either. Big panos also seem to make it unhappy with some very odd alignments being chosen (after a long time processing) so they may have to stay in Photoshop for now.
The last problem is cropping. You have the option to have the whole stitch or to have it crop in automatically (or you could crop manually afterwards). Cropping pulls you in to the shot more aggressively to get rid of any blank pixels. You can fix this by shooting a lot wider to have more to work with. However, having been used to being able to fill odd little gaps using Content-Aware Fill in Photoshop, not being able to do so in Lightroom is a limitation. I can, of course, open the file in Photoshop and do just that. However, if I do so, I might as well use Photoshop to do the merge in the first place.
Overall, it is pretty good. I suspect there will be some tweaks behind the scenes as CC gets updated progressively so I might not even know that Adobe have fixed some of the issues. The Fill issue will be more obvious though. I shall probably keep using it unless I feel the Photoshop is merited and it is a good addition but I hope they take it further so I don’t have to consider Photoshop in the future. We shall see because the new update of Photoshop is out and includes Content Aware Fill of the gaps in panos which might be enough to sway me back.
HDR Panoramas
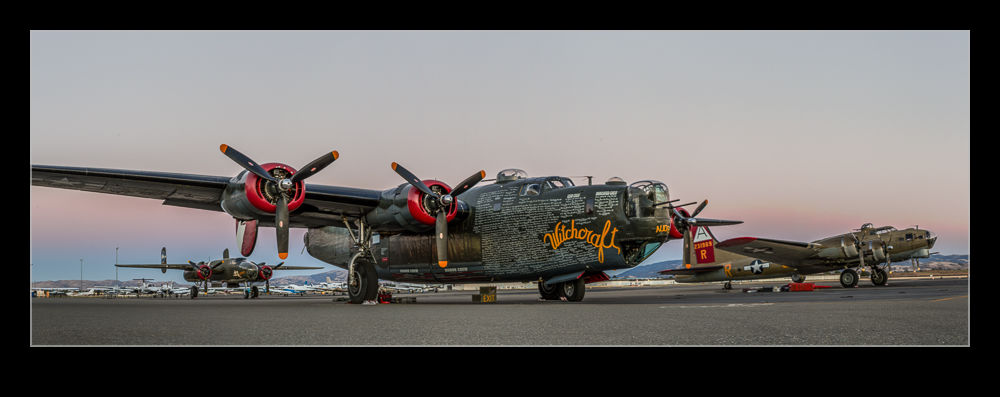 Another one of my processing technique posts today. For those of you interested in pictures of places, today will probably be one you pass on. You have been warned. This is about my first venture into the realm of HDR panoramas. I know at least one of you who knows exactly how to do this sort of thing and does it on a regular basis. You also will probably skip the rest of the post. However, you have some specialized tools for doing the job and I am playing with Lightroom and Photoshop so here is how it goes.
My initial thought having taken the shots was which order to carry out the processing. HDR first or pano first. I concluded that it had to be pano first. All of the pano exposures were consistent and would stitch properly while I wasn’t convinced that each of the pano frames would be consistent if I had done the HDR blending first. However, this left me with a second concern. Would the pano merge produce images that would align for the HDR merge. I use the pano tools built into Photoshop and, while I select the algorithm it uses, I did not have confidence that it would produce an identical alignment for each set of exposures. However, this was the route I tried.
Stitching the panos was straightforward enough. I created each of them from Lightroom and ended up with five panos with differing exposures. At this point I could have taken them directly to HDR Pro within Photoshop but, since I wanted everything to end up in the Lightroom catalog, I decided to save the files and go to HDR Pro from there.
Here I encountered my first hiccup. As expected, the panos produced were not identical. There were very close but not identical. HDR Pro only works on files that are the same dimensions. I imagine some more specialized HDR applications might be able to handle this but I was stuck with Photoshop. Since the panos were thousands of pixels across and only a few pixels different, I opened them back up in Photoshop and changed the canvas size to be identical in each case. HDR Pro is able to manage alignment of slightly misaligned shots anyway so I wanted worried about the positioning. Also, with such small changes in dimensions, I didn’t fear that I would have distortion.
With this change made, Photoshop went to work and created the HDR file. Amazingly, it worked just fine. I didn’t have any problems with the files being distorted relative to each other and it did a great job of blending them. All that was left was to crop everything in to clear up the empty corners from the pano creation (I didn’t get rid of those in the first instance since I was trying to keep the pano files identical in size and alignment) and then a few tweaks back in Lightroom had the job finished. I was pretty pleased with how it worked and, with the experience of this time, should be able to turn them around quite quickly next time.
Treasure Island
 There is a place in San Francisco that I have meant to visit many times but have never been to – until now of course. That place is Treasure Island. At the midpoint of the Bay Bridge, it provides a great view of the city. I nearly went there a while back. On a Saturday I was coming to the city to visit a friend and made an early start to be at Treasure Island for sunrise. Unfortunately someone was in a hurry that morning, wrote their car off ahead of me on the interstate and left a bumper in my lane which I hit at some speed. This delayed my arrival by a few hours while Hertz switched out the car for me.
That is a slight aside. I finally got there. This wasn’t a photo trip. Nancy and I were heading in to the city and I suddenly decided to make a quick detour. We weren’t there long. I did take a look at a great Art Deco building that has the look of an old terminal building but which was a Navy building I believe. The city now uses it and it was closed when we were there but it will be worth a second look.
 I did take some pictures. I was shooting into the sun so the look I was going for was more silhouette and highlight but we did have a good view of the sailing boats out at Alcatraz. This was part of a great sweeping view. Again, panorama jumped to mind. As with Twin Peaks, I can only show a small portion of it on screen but it was a nice lookout. Another location to be added to my list of places to visit at a more appropriate time of day.
Twin Peaks
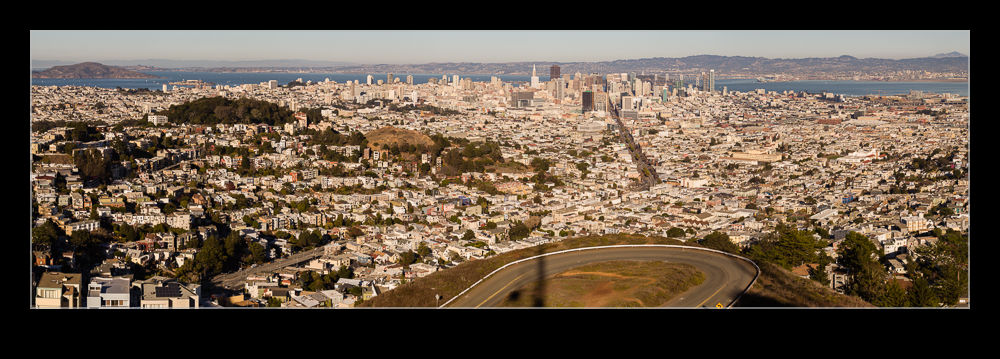 My niece spent some time with a friend of hers in San Francisco while she was staying with us. They went to Twin Peaks and Sara told me how cool the view was and that I should definitely go. I am an obedient guy so Nancy and I took a trip up there. Sara wasn’t wrong. Being at one of the highest points in the city does provide a great view and having a clear day made things even better. We weren’t alone enjoying this either. Indeed, it was quite fun seeing some of the footwear on women climbing up to the top of the hills!
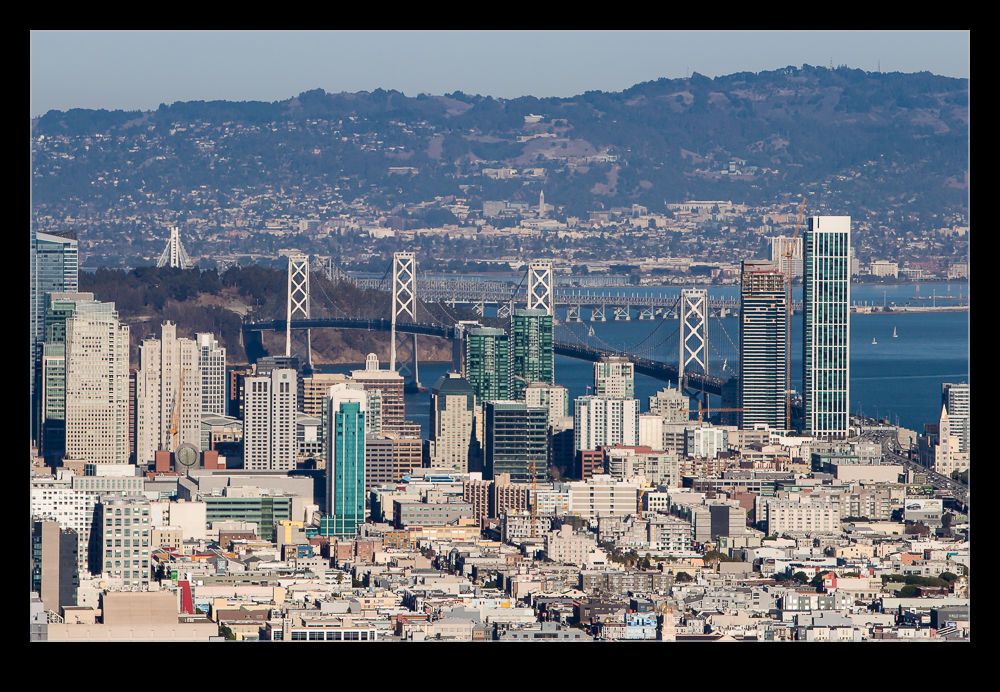
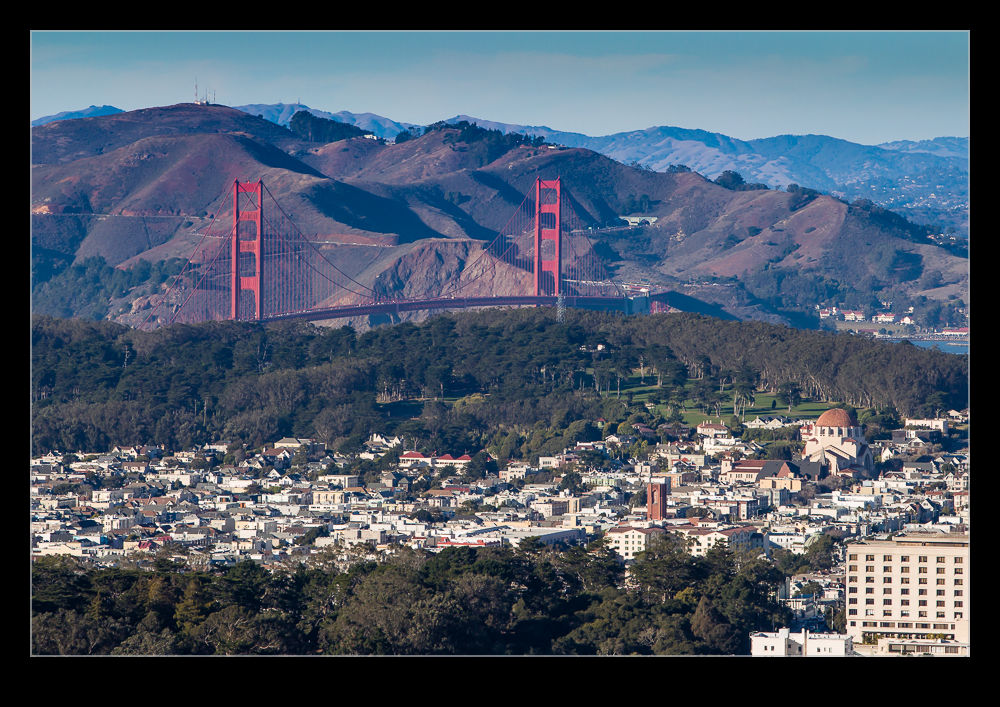
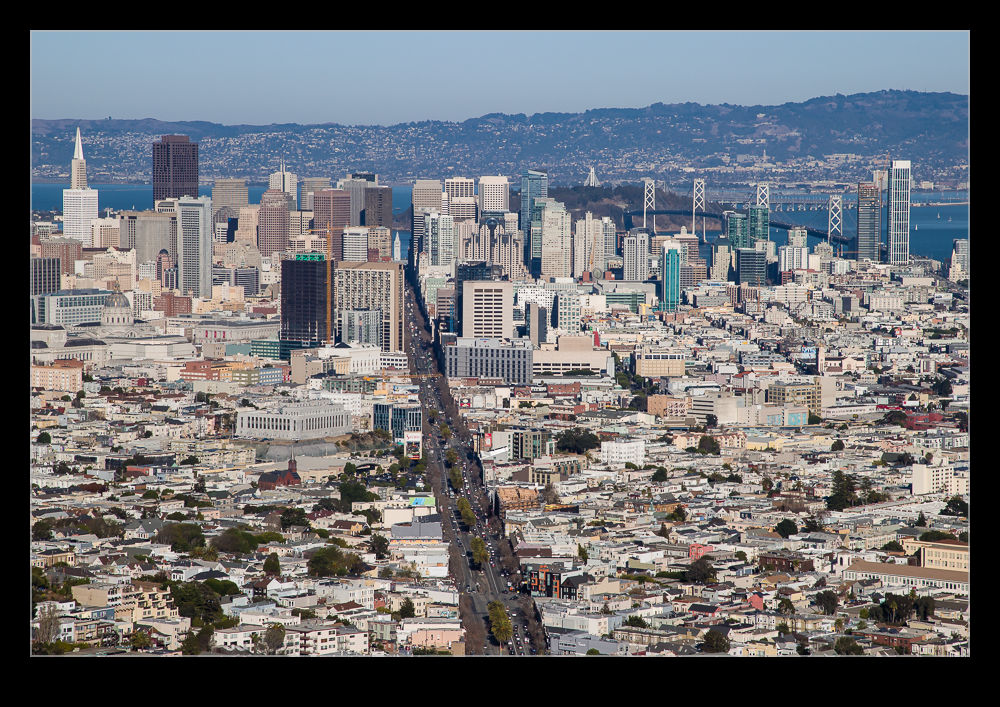 You have a view around to the Golden Gate in one direction all the way to Candlestick Park and beyond in the other. The downtown is ahead of you and the line that Market Street cuts through the city is readily apparent. The whole outlook is made for panoramas and I have had to cut them down to make them fit on screen. Early morning and sunset seem like times when a return visit will be in order so don’t be surprised when this location shows up again in future posts.
Fort Point
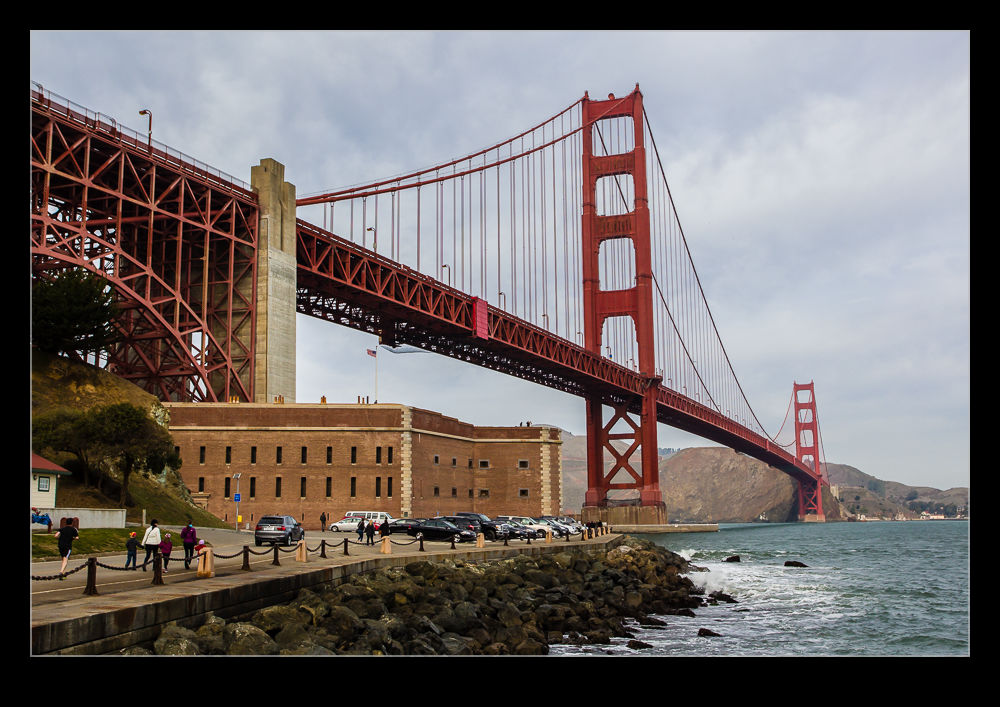 A great place in San Francisco to take people but one that seemingly is ignored by many tourists is Fort Point. Located at the mouth of Golden Gate, it is a fort designed to protect the bay entrance. Now it is right underneath one end of the Golden Gate Bridge so it provides a very different vantage point for bridge viewing.
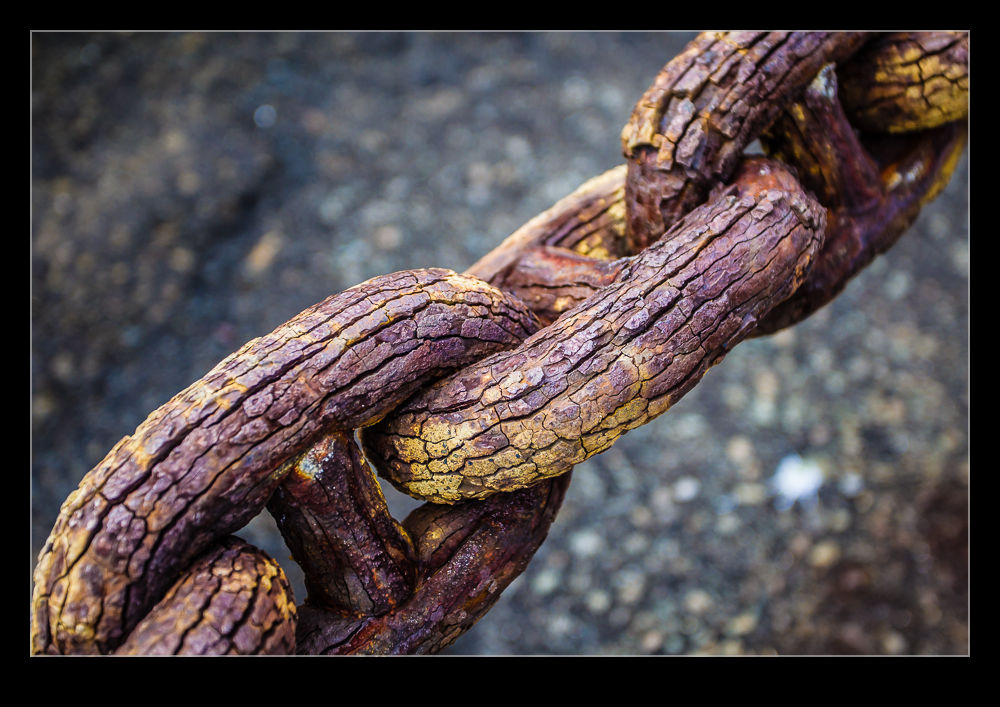 I forget how interesting a place it can be. We took our visitors there so that they could get the unusual view of the bridge but we ended up spending a lot more time there since the place is very interesting in itself. Why do I not remember that?
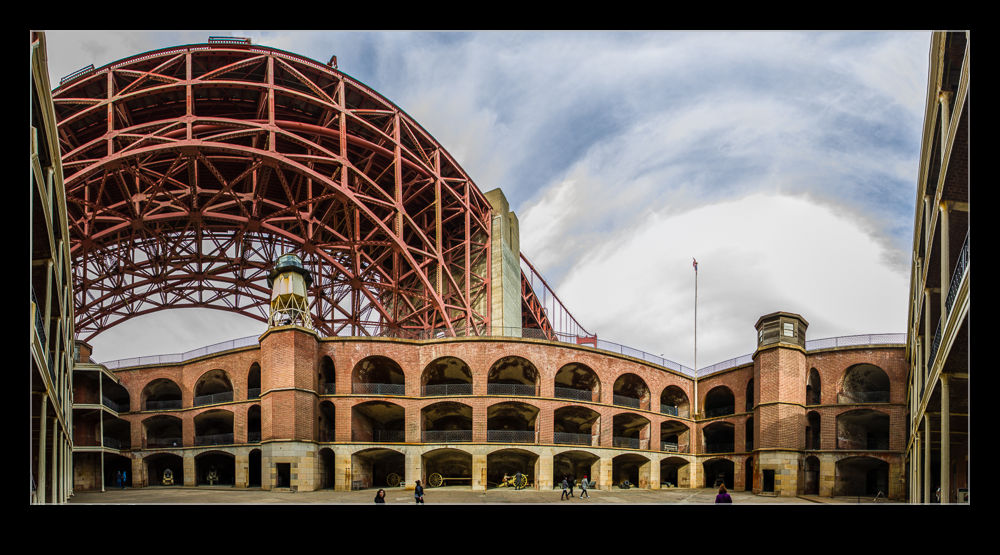 The fort structure is very cool and it has a number of exhibits including old cannons, rooms configured as they were when it was in use and displays on the building of the bridge above it. The upper levels provide a great view of the entrance to the bay as well as the bridge and he bay itself. Being so close to the bridge gives you a chance to play with some angles that provide a more distorted view of things which can be quite fun.
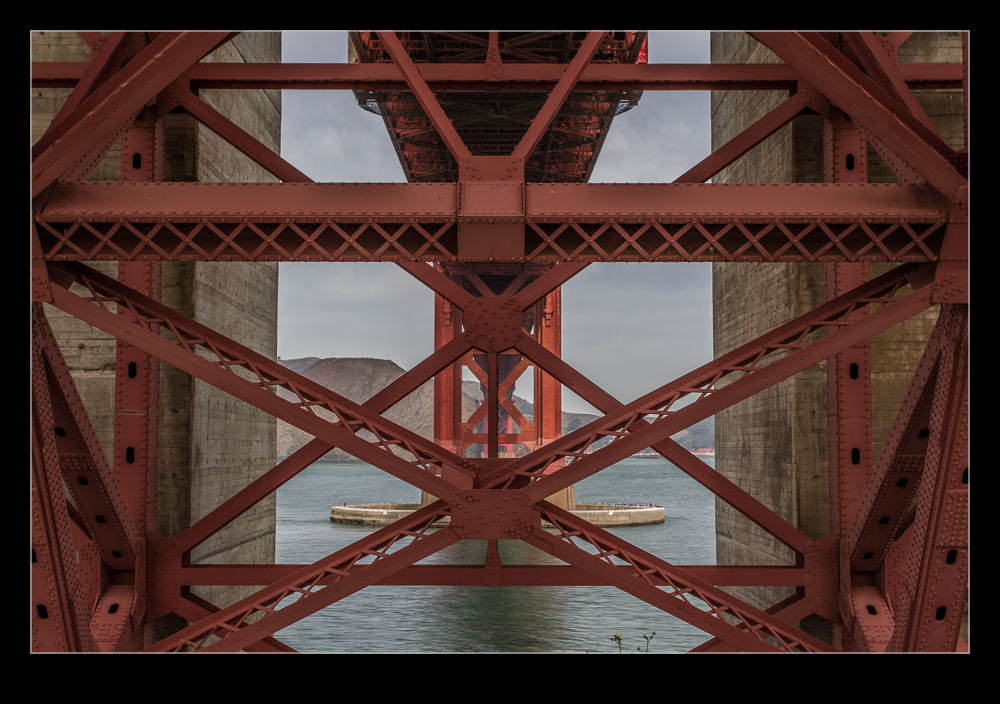 Also, you are under some of the ironwork which has great colors and textures. A little HDR can help here to cover the well shaded structures as well as the views beyond that are in full light. Whether you want to see the context or go a little abstract, you can find something to play with. Meanwhile, some panorama options are there to be played with given the shape of the fort and the bridge beyond.
Changing My Approach to Panoramas
Ever since Adobe got their act together with the Photomerge function in Photoshop, it has been my default for creating panoramas. Previous versions were a little unreliable but they cracked it a few versions back and I have not changed my approach since. However, a recent bit of YouTube exploring has changed that again. Russell Brown had a series of videos on making panoramas from aerial shots and, while I was watching them because they were aerials, the stuff he came up with on stitching panos was actually more useful to me.
Instead of using Photomerge, he uses the same functionality of Photoshop but in individual steps. The technique involves opening all of the shots as layers in a single file (something you can do straight from Lightroom which maintains the re-import linkage that I like about Photomerge). Then you select all layers and use Edit>Auto Align Layers. This gives you the same options as Photomerge. Apparently, according to Russell, if you have a series of shots where you have rotated position but are looking horizontally, Spherical works best. If you are looking up or down, use Circular.
The result can be quite distorted if you use Circular but it will all get better soon. If you aren’t happy, you can undo the step which is a lot easier than starting from scratch which is what you would have to do in Photomerge. Once the alignment is done, Edit>Auto Blend Layers while take care of the rest of the stitching and blend everything together nicely. It defaults to a Panorama blending option.
With the blend done, flatten the layers and open Filters>Adaptive Wide Angle. This will default to a panorama setting and, if you have the distorted output from the Circular settings, now you will suddenly see everything come back to what it should be. You can tweak this filter to get verticals and horizontals aligned as you wish and then you end up with a good pano output. Some cropping and filling of blank areas with Content-Aware fill and the job is done. I shall be taking this approach for all my panos from now on. If you don’t use this approach already, you might want to give it a try.
Also, you can go to the original source on this and check out Russell’s videos on YouTube.
SF City Hall
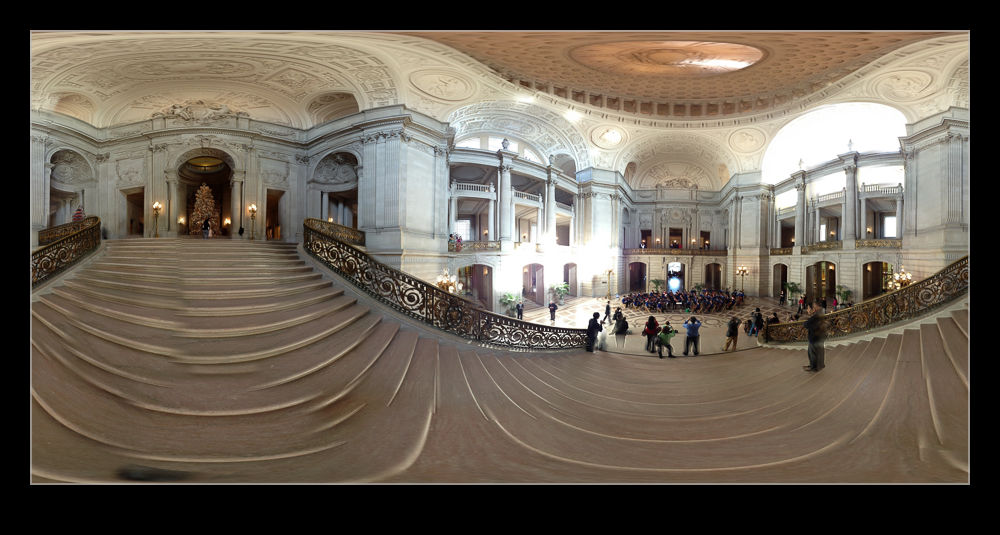 A meeting in the heart of San Francisco meant a bunch of our team were meeting downtown. A few of us got there a little head of the meeting and, with a couple of minutes available, I wanted to check out the City Hall building since it was only a couple of blocks away. As an old City, San Francisco has some classic architecture and this is no exception. For some reason, despite the numerous times I have been to the city, I have never been to City Hall before.
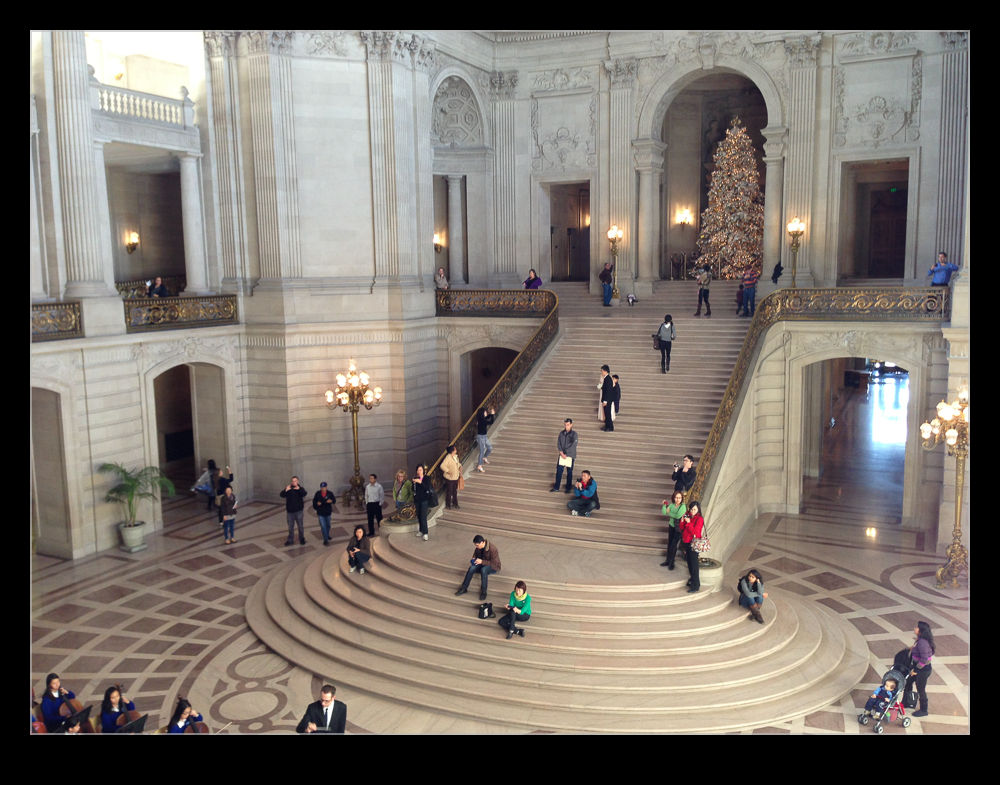 A group of school kids were playing some orchestral music in the main hall and plenty of family members were there. I wandered around taking a look. Since I didn’t have my normal cameras, the phone had to serve duty. Fortunately, that also allowed me to try another one of the 360 panoramas. I suspect I shall be carrying another camera with me when I am next in the area.
