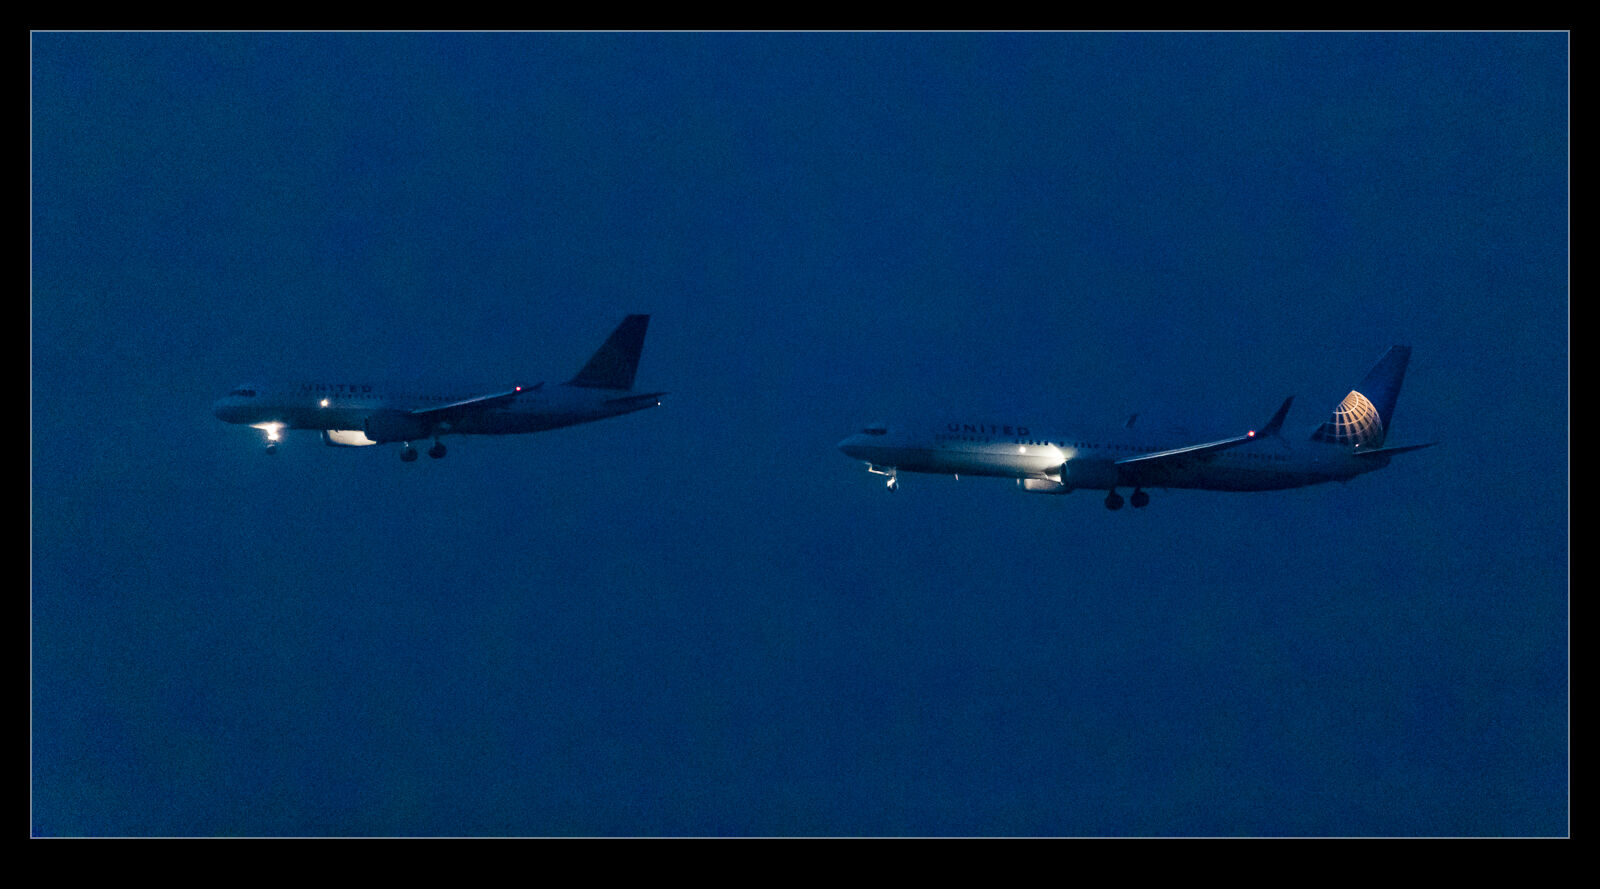
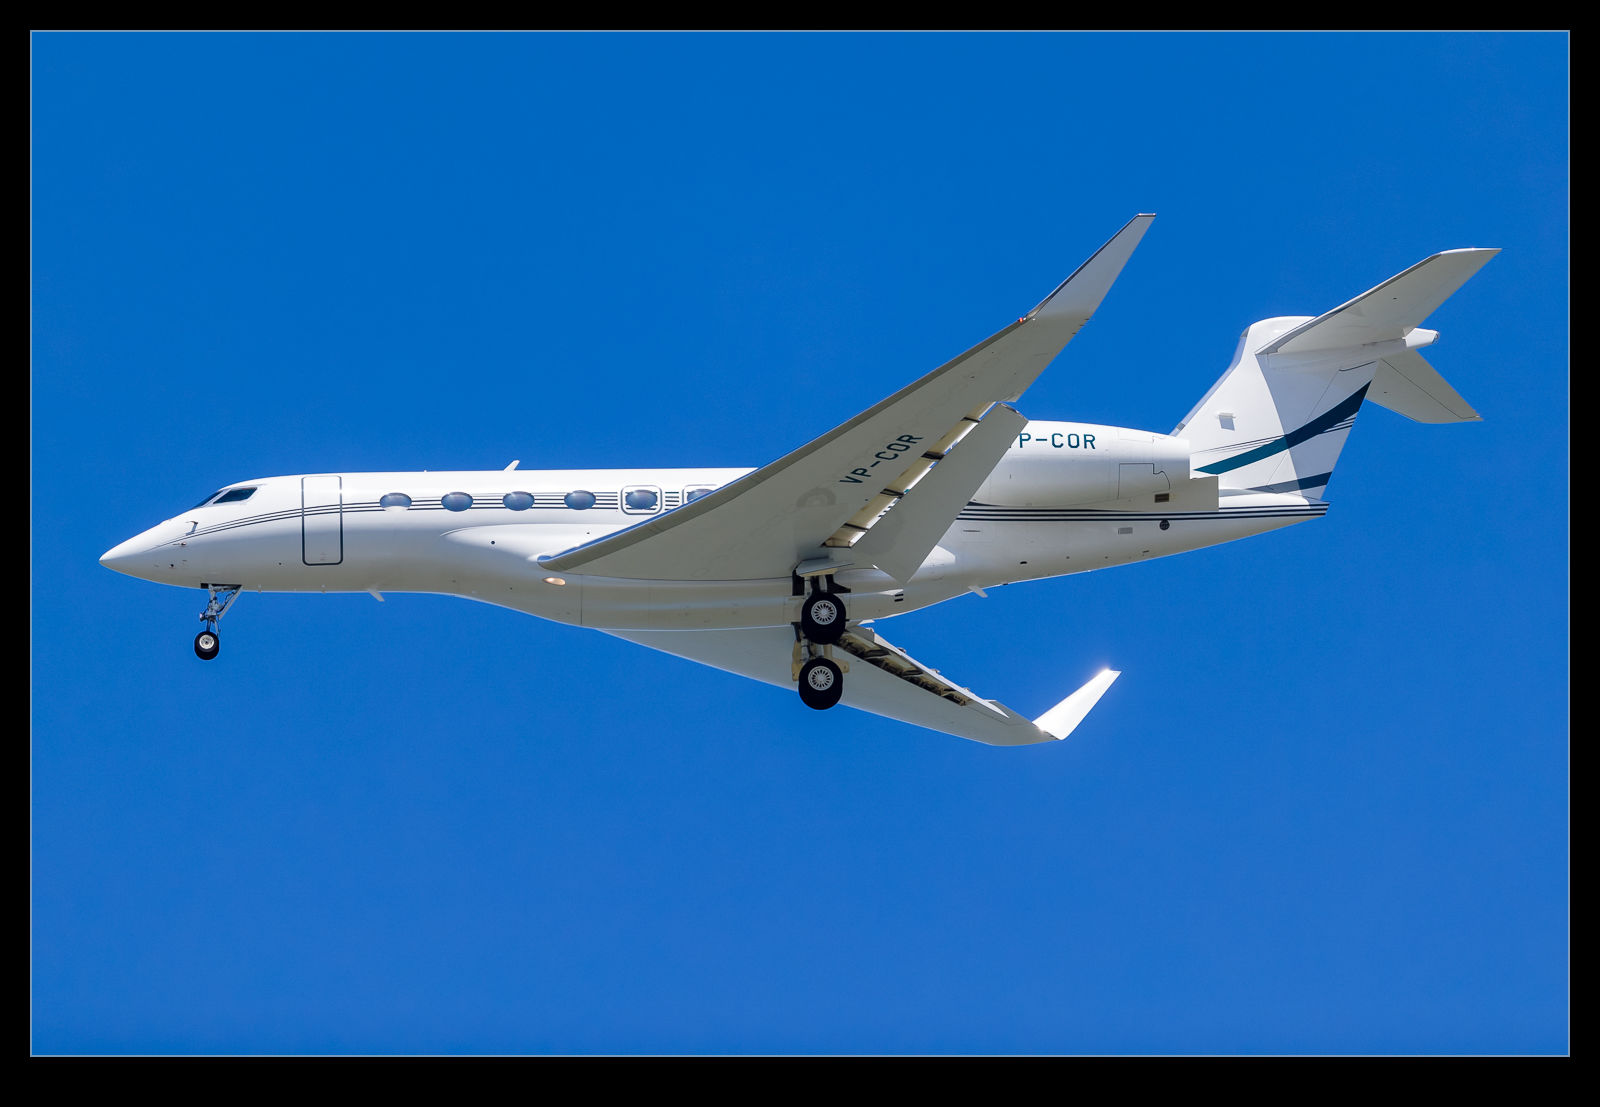
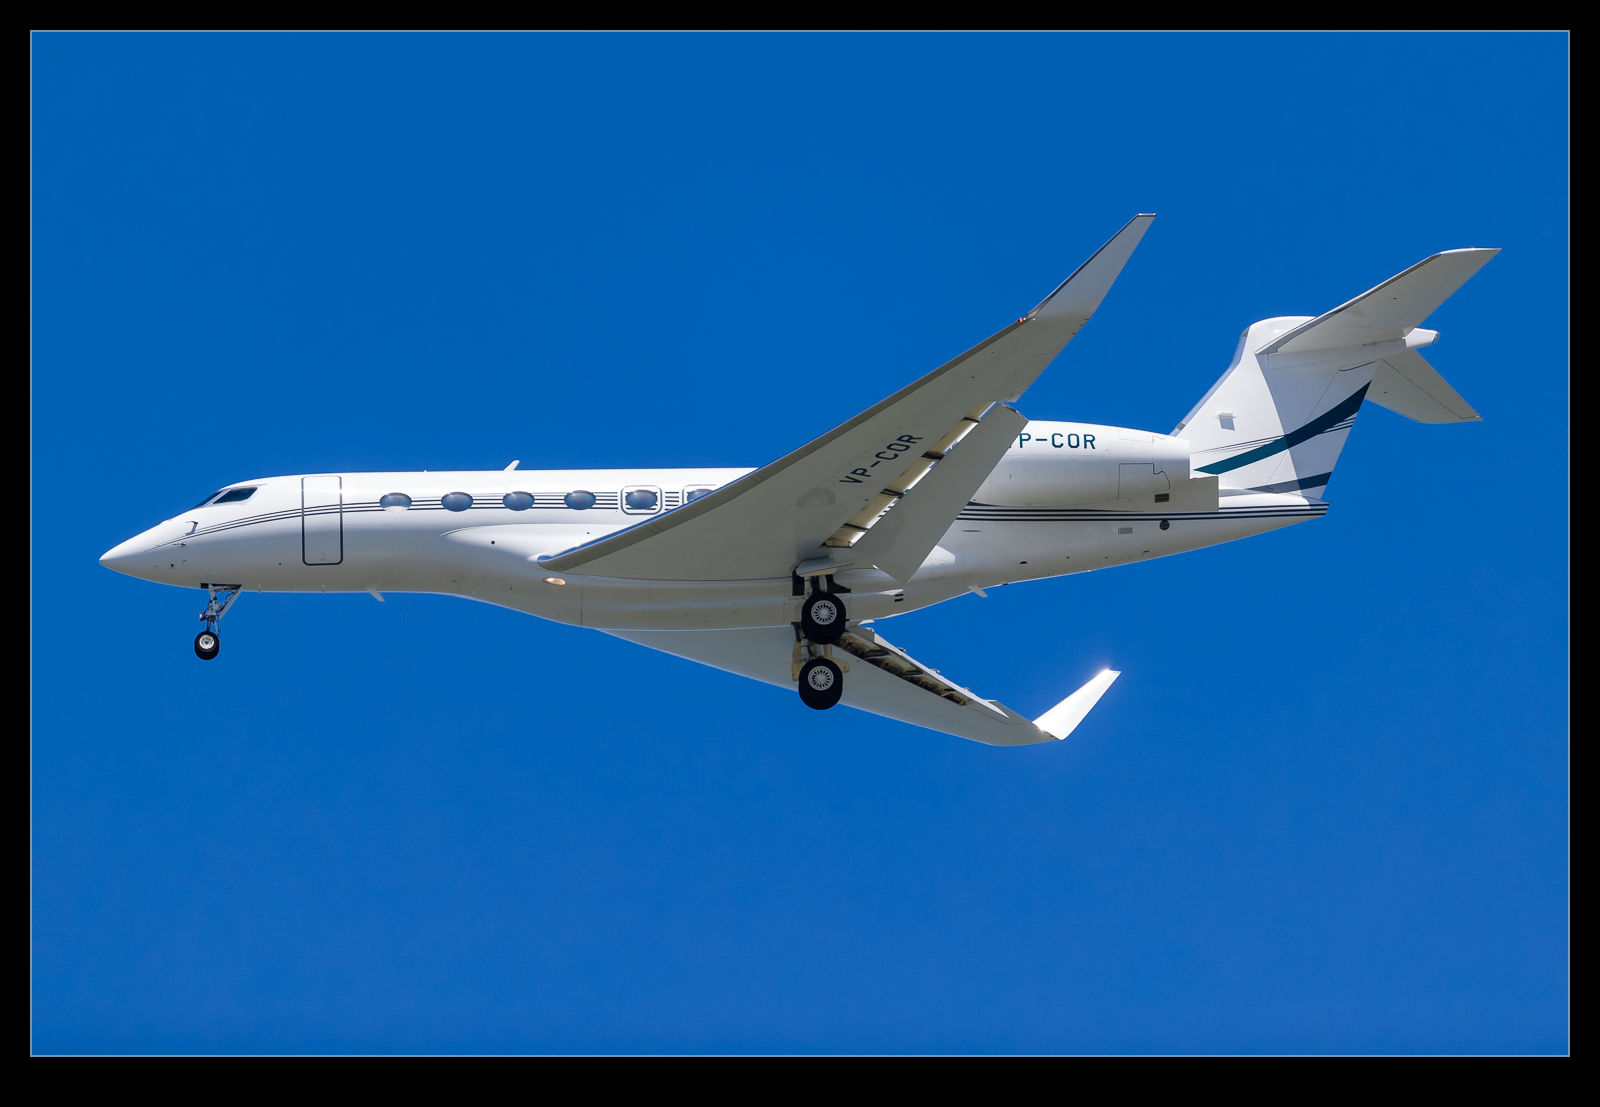
 As I posted a while ago, I have been experimenting with stitching shots from my phone. Since I am shooting in raw on the phone, I have some latitude to play with the shots in post that wasn’t there before. This time, though, I thought about it a bit more and put the camera into manual mode to fix the exposure. This should make the stitching and blending easier than when it changed between shots (although, to give the Lightroom team credit, it did a pretty good job anyway). I allowed plenty of overlap and the merge seemed to go pretty well. Since it outputs a dng file, you still have the chance to edit more aggressively than would be possible with a jpeg. Meanwhile, you get a higher resolution shot than with the internal pano mode. This may be my go to method from now on.
Category Archives: equipment
Creating Lens Profiles for Adobe Software
UPDATE: It turns out, the upload process for the profile sends to an address that doesn’t work. While I try to fix this, if you want the profiles to use, you can download them by clicking here.
Within Adobe processing software, there is lens correction functionality built in to the Lightroom Develop module (or Adobe Camera Raw in Photoshop) that compensates for distortion and vignetting in the lens the image was taken with. Adobe has created a large number of lens profiles but they never created one for the Canon 500mm in its initial version. Adobe also has an online tool for sharing profiles but this does not include one for this lens either. The 600mm had a profile and it was supposedly close so I had been using that for a while. Recently, though, I was shooting with the 1.4x teleconverter fitted and this introduced some new effects which required some manual tweaking to offset.
I still wasn’t happy with the result so I decided it was time to bite the bullet and create some profiles from scratch. Adobe has a tool for creating a lens profile. It involves printing out some grid targets which you then shoot a number of times to cover the whole of the frame. It then calculates the profile. I was shooting at both 500mm and 700mm so I needed a few targets. To make a complete profile it is a good idea to shoot at a variety of focusing distances and with a range of apertures. The tool comes with many targets. Some I could print at home but some of the larger ones I got printed at FedEx and mounted on foam core to make them more rigid. Then it was time to shoot a bunch of very boring shots.
The software is not the most intuitive I have ever worked with but it eventually was clear what I had to do. (Why do some manual writers seem like they have never used the process they are writing about?) I found out how to run the analysis for different charts and distances separately and append the data to the profile as I go. I did need to quit the program periodically because it would run out of memory which seems like an odd bug these days. After much processing and some dropped frames as a result of poor shooting on my part (even on the tripod I got some blur occasionally with very slow shutter speeds) it got a profile out. The proof of the pudding is in the eating of course (that is what the actual phrase is for those of you that never get past the pudding part) so I tried the profile out on some recent shots. It works! I was rather delighted. I may shoot a few more samples in good conditions to finish things off but this was a rather happy outcome. Once I have tweaked the profiles sufficiently, I shall upload them to Adobe and anyone can use them.
Shooting RAW on the Phone
The update to iOS 10 brought with it the possibility to shoot in RAW on the iPhone. For some reason Apple didn’t bother to incorporate this feature in the base phone app but they did make it available to other camera app developers. Camera+ is one that I use a bit so I figured I would start shooting in RAW via that. Obviously RAW means larger files but, since I download my files to the desktop frequently and tend to clear out the phone, this wasn’t a concern.
First thing I found out was that other apps could see the shots. I had taken a few shots and wanted to upload to Facebook and it turned out there wasn’t a problem doing so. However, the main benefit was anticipated to post processing back on the desktop. With the SLR shots (is there any point to saying DSLR these days?), it is possible to recover a lot from the highlights and shadows. Would the same be possible with the phone? Sort of. You can get a bit more in these areas than would be the case with the JPEG when things are quickly lost. However, the sensor data is still not anywhere close to being as adaptable as it is for an SLR. You get more flexibility to pull the sky back but it is still pretty limited.
Is it worth using? Definitely. While it might not be the post processing experience you will be used to with SLR files, it is certainly better than the JPEGs provide. The increase in file size is hardly an issue these days so I will using it from now on. The camera app doesn’t have the pan and time lapse stuff so easily to hand so the phone’s base app will still get used but, aside from that, it will be my choice. My main gripe now is that they have a random file naming protocol that is a little difficult to get used to. Small problems, eh?
Backup Strategy for the Blog Has Changed
Since I first started the blog using WordPress, I have been looking for something sensible for backing up the blog data. I can use FileZilla to copy off everything on the blog periodically but that is a process that requires me to do something on a regular basis and it isn’t very convenient. I had set up a plugin that was supposed to back up everything to a Dropbox account but I was never successful in getting too much of it to actually backup properly. It always seemed to be stalled. Consequently, I was concerned that I was vulnerable to a data loss. Given how much effort goes into the backup strategy for my photos and documents, having the blog relatively unprotected didn’t seem to make much sense.
Then I came across an alternative approach. This uses a plugin called UpdraftPlus. I read a detailed article online about how to use this plugin to back up to a Google Drive account. Since I already have one of those that doesn’t currently get used for anything else, I was interested. The base account I have comes with 15 GB of storage so that seemed like plenty to cover what I needed. The full article on how to set everything up is at https://premium.wpmudev.org/blog/how-to-backup-your-wordpress-site-to-google-drive/ if you want to check it out. It is not the simplest process and the interface appears to have been tweaked since it was written but I got to where I needed to be and have everything setup now. It backs up on a daily basis so I now have a couple of previous backups at any one time should they be needed. If you are wondering about backup strategies yourself, maybe this will be a useful approach to consider.
Sound for the Videos
While I have experimented with video a fair bit over time, one thing I haven’t done is put together a video with a presenter in it. My mum was recently staying and she had an idea for something she wanted to do that involved her doing a presentation on video that could be shared at a later date. My own experience and some information I had seen online made me think that the key to getting a good result was not going to be the video but was instead the sound. The microphone on the camera is of okay quality but it picks up the sound of everything around it. The voice is isolated and any video online that does not take a careful approach to audio is very obvious and sounds decidedly amateurish.
The ideal solution would be to have lav mikes, the small mike you see attached to the clothing of TV presenters. These are actually pretty accessible and cheap but I didn’t have the time to sort something out. However, a surprisingly good alternative was readily to hand. I have an app on my phone for sound recording which I use when interviewing people for articles. Instead of using the plugin microphone, I used the headphone/microphone cable. By running it inside the clothing and just leaving the microphone up near my mum’s throat, we were able to make a very good sound recording. The closeness of the mike to her mouth meant the sound was very localized and clear so the background noise was lost. The room we used did not have bad echoes either so the audio ended up being pretty clear.
Then it was just a case of having a conspicuous clap on the audio track and the video file to allow me to synch the sound and audio together and we were off to the races. I shot everything with two cameras – one head on and one from the side – with the idea of cutting between them. However, when I did the first edit, the side camera didn’t seem to fit with the style of presenting to camera. I imagine it works better for an interview style piece. I reverted to the head on shot with some images cut in periodically to illustrate the piece. Overall, it worked pretty well. We did a number of takes and mum got progressively more relaxed in each one. I had thought I might cut the best bits together but the final take was really good so I didn’t need to do so. I hope her audience likes the result.
Polarizer Comparison
When I changed bodies, I had to update some of my accessories too. My old filter system was fine on a cropped body but with full frame, the filter holder encroached on the corners for the wide angle lenses. I took the opportunity to change my polarizer set up. I used to use a polarizer on my Cokin holder. This was a bit inconvenient when I was using lens hoods. Instead, I decided to get a screw in polarizer. Since most of my lenses have the same filter size, this gives me more flexibility.
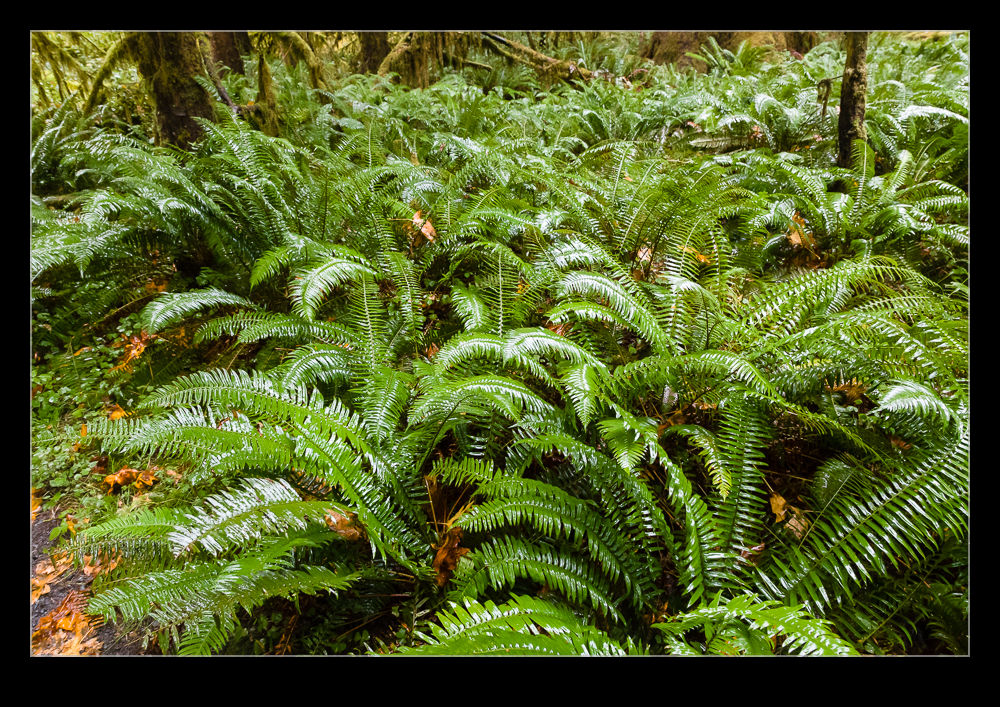
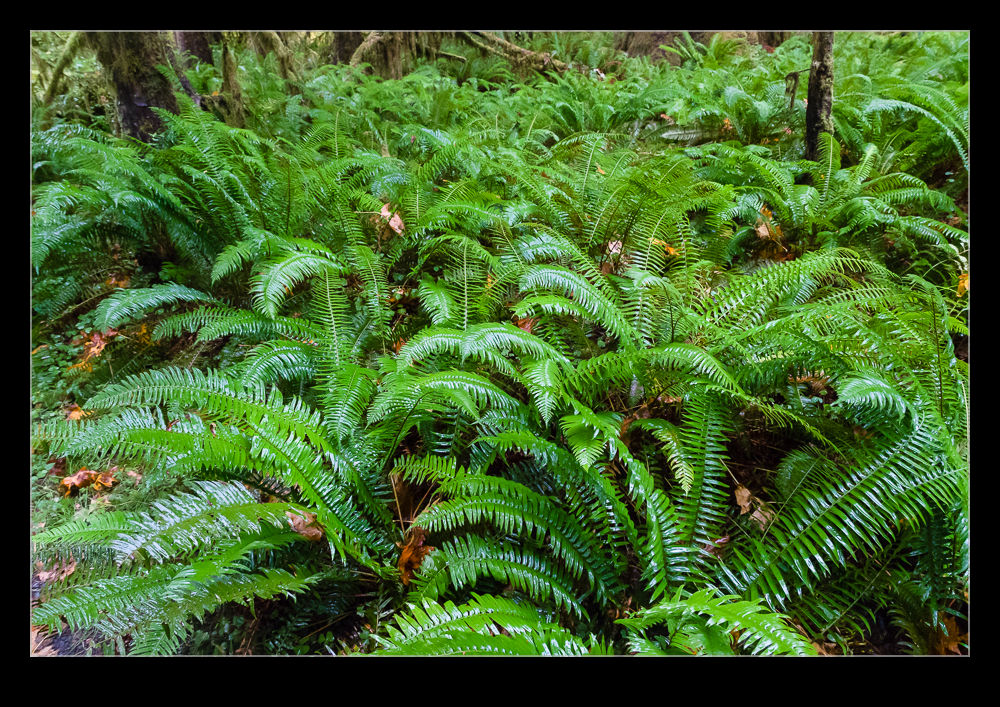 I took the polarizer with me on vacation. One place where I made good use of it was in the rain forest. While it was pretty dark in the heavy forest cover, there was moisture everywhere and this meant a lot of reflections and glare. Consequently, I went with the polarizer most of the time. While I was there, though, I decided to do some experimentation by repeating some shots without the polarizer to see how much of a difference it made. You can see the with and without shots here and judge for yourself what a difference it makes.
Enfuse for HDR
I am a little late to discovering the Enfuse plugin for working with HDR images. I started out many years ago using Photomatix. At the time, it was the go to software for creating HDR images. Then Adobe got a lot better with their HDR software within Photoshop and I started to use that. Even more recently, Adobe built HDR processing in to Lightroom and I didn’t need to go to Photoshop at all. The HDR software worked reasonably well so I stuck with it. I sometimes felt that it didn’t do as good a job of using the full range of the exposures but it was okay.
I wasn’t entirely satisfied though so have kept an eye on other options. Someone mentioned Enfuse to me so I decided to give it a go. It is a plugin for Lightroom and, in the free download, you can try it out but with a limitation on the output image size of 500 pixels. Obviously this isn’t useful for anything other than testing but that is the point.
The first thing I tried it on was a shot I made at Half Moon Bay looking up at a P-51 Mustang prop and directly into the sun. This is certainly as much of a range of exposures as you are likely to get. The perfect thing for an HDR trial. The results in the small scale file seemed pretty impressive so I decided to buy the package. There is no fixed price. You make a donation via PayPal and get a registration code. I am impressed by the quality of some of the work people put out so I am happy to donate for what they do. With the software activated, I reran the P-51 shots. Below is the version I got from Lightroom’s own HDR and following it the version from Enfuse.
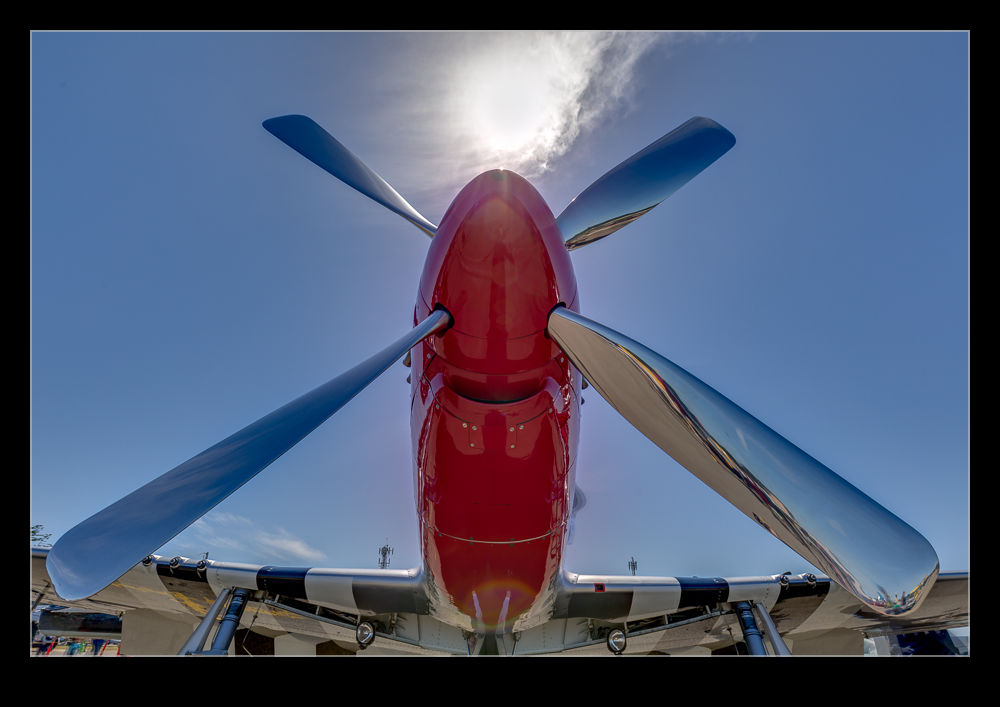
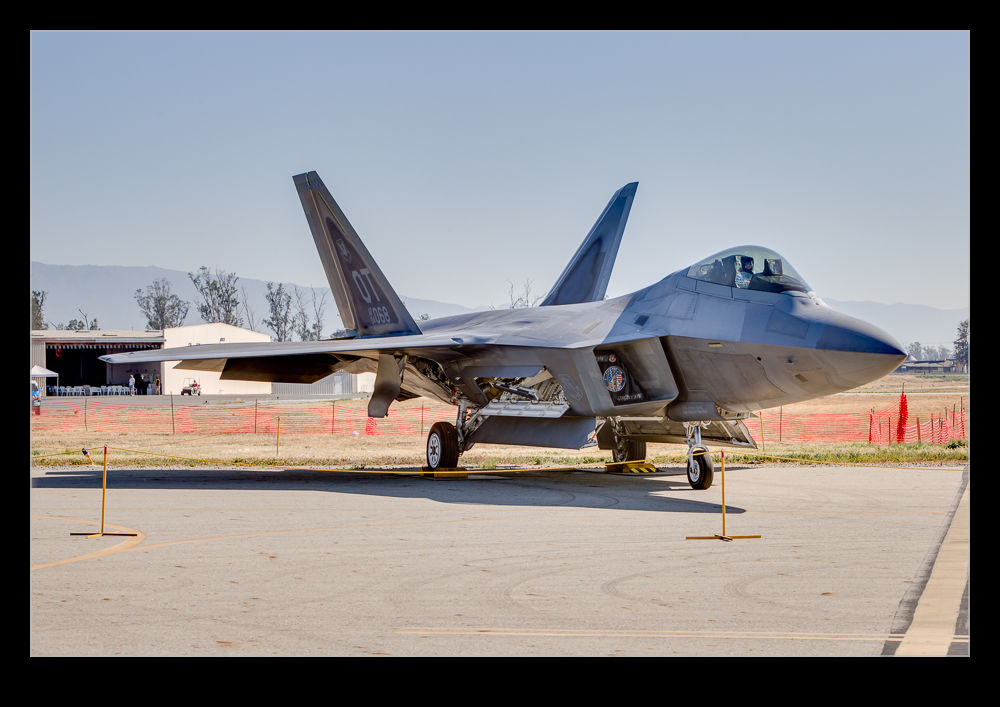
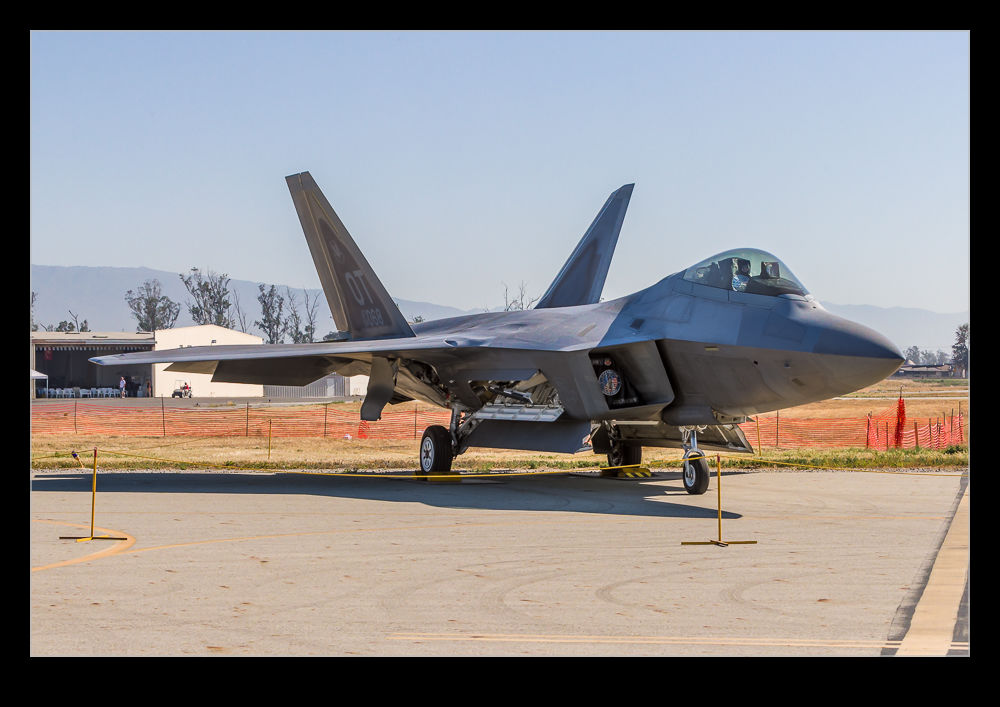
 I did have some issues initially. Lightroom was not reimporting the image after it was created. This turned out to be an issue with the way I named the file in the dialog and a tweak to that seemed to fix things. Strangely, it had been fine on the trial so I have no idea why it became an issue but it is done. I also played with a slightly less extreme case with an F-22 and, as above, the Lightroom version is first and the Enfuse version is second. I was really pleased with the result on this one with a very natural look to things. So far, I see Enfuse being a useful tool for my HDR going forward.
How Low Can You Go?
The high ISO capabilities of modern cameras are a constant source of discussion whenever a new camera comes out. It was quite funny to see everyone get so excited about the multi-million ISO range on the Nikon D5 when it was announced, only to see that the high ranges were nothing more than moose with a bit of an image overlaid on them. Not a big surprise but still funny to see how much everyone was going nuts about it before the reality set in.
Consequently, I was interested to see what the new bodies I bought were really capable of. I have already posted a little about some of the shots I took as the light faded at SFO. I was shooting with a tripod and a gimbal mount to make things easier but I was also working within the ISO range of the camera. I went with auto ISO and exposure compensation while shooting in aperture priory and wide open to get what I could. However, I really wanted to see what was possible so I changed to manual mode, exposure compensation and auto ISO to see what could be done. Auto ISO is not going to use the extended ranges of ISO.
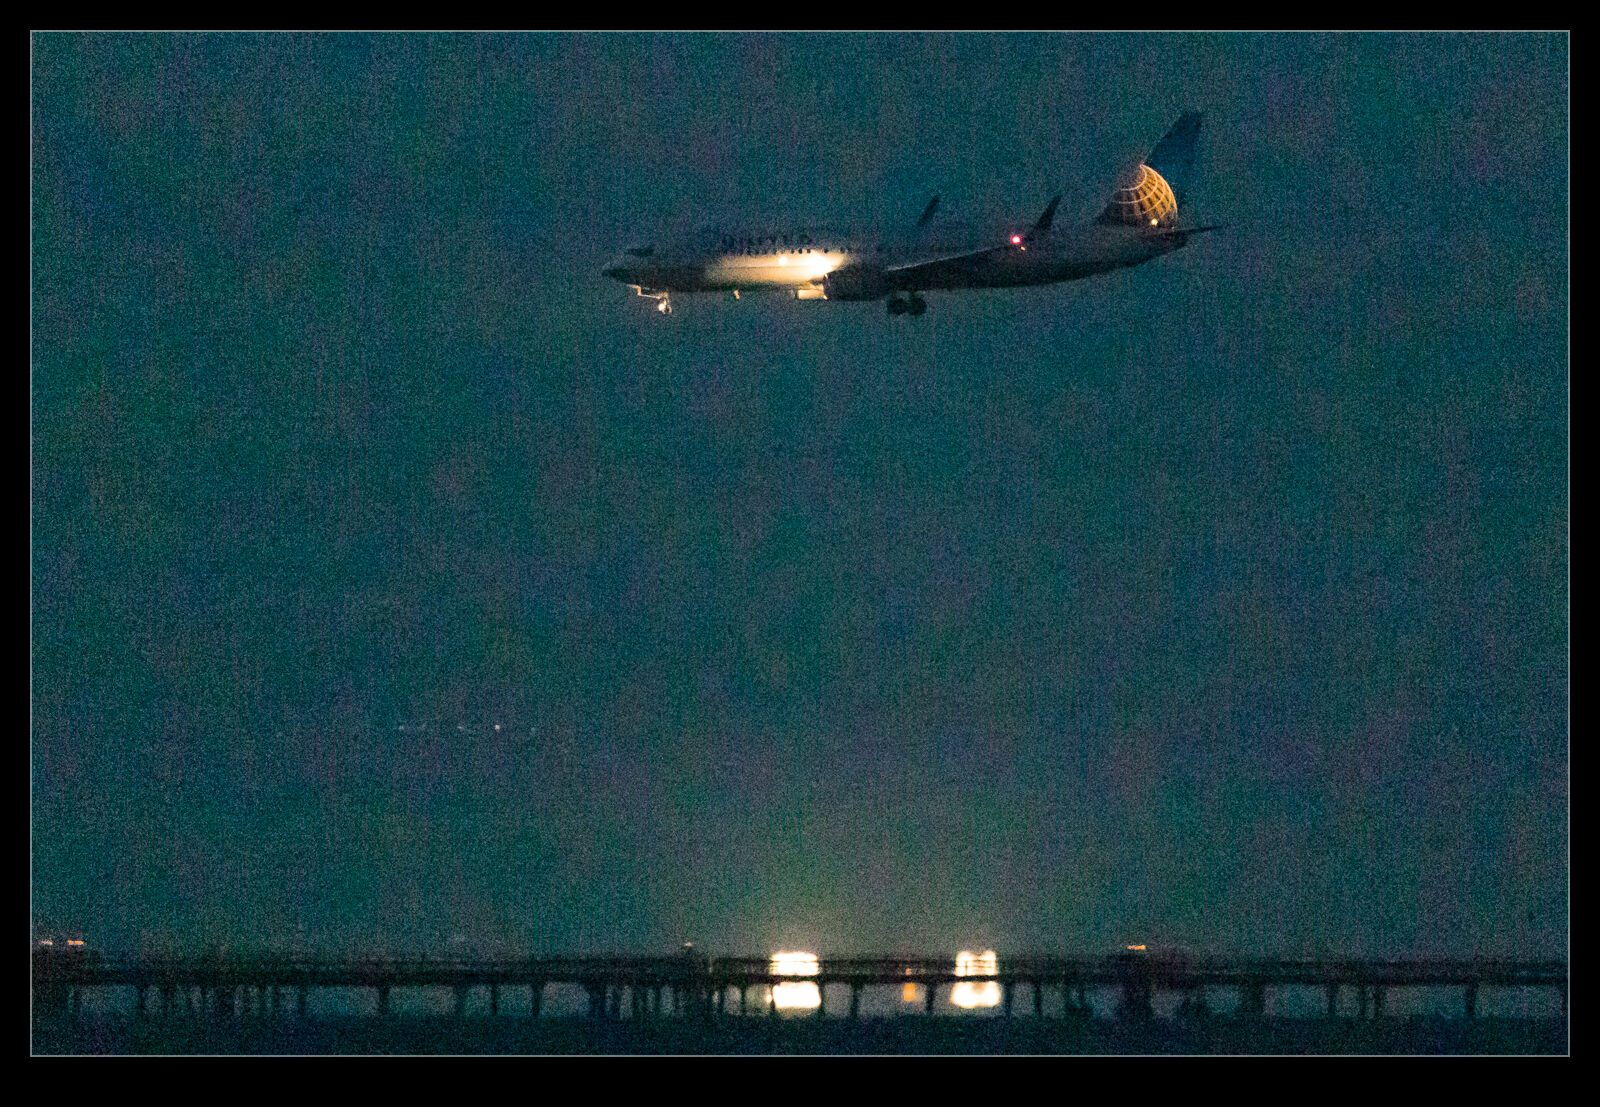
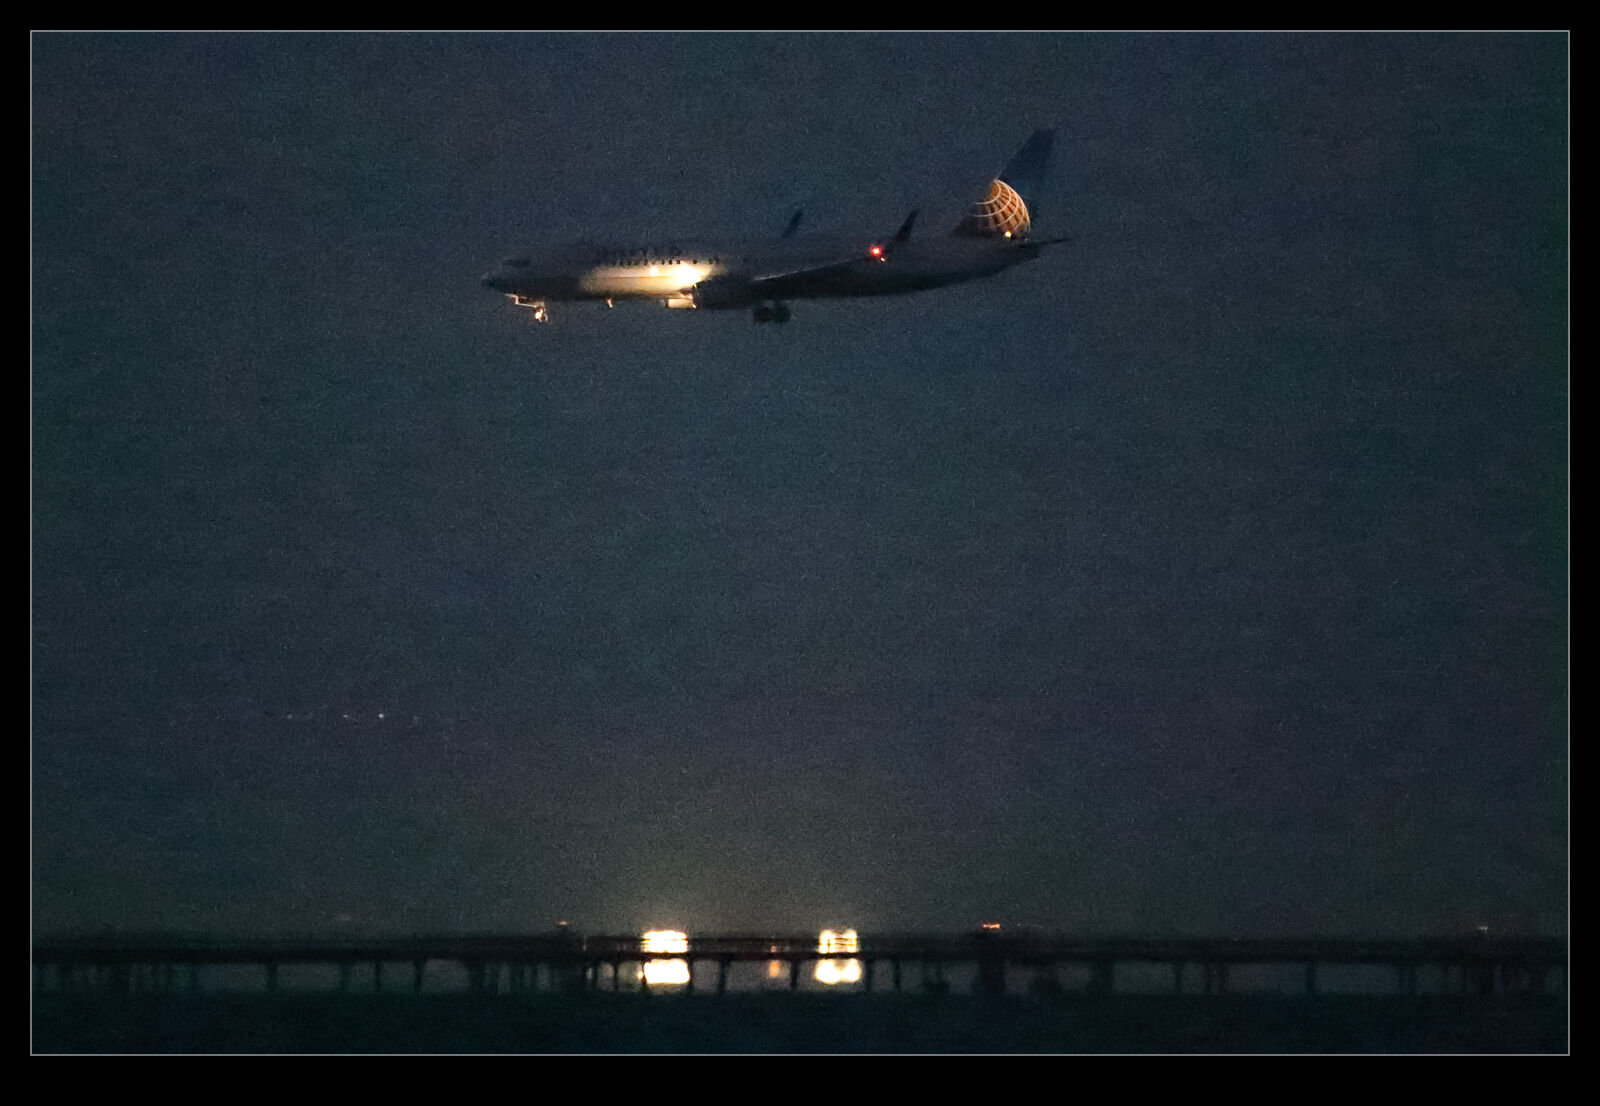 I don’t know about the Nikon cameras but the Canon cameras tend to have three extended range ISO settings at the high end. There is the highest ISO setting that it recognizes and then there are H1, H2 and H3. They don’t name them with the actual ISO settings but you know what they are based on what you see on the camera. The manufacturer does not label them as normal ISO settings because they do not stand behind them as a capability. There is a good reason for that. They are just like the highest Nikon settings. Useful if you have no option but not very good otherwise.
The same was true with my older bodies. They had a very high ISO range that was not great but it would do in a pinch. At the Albuquerque Balloon Fiesta I shot an Aero Commander in the pitch black that flew over and I saw stuff in the shot I couldn’t see with the naked eye. This is with a camera that is ancient by modern standards. I expected a bit more with the latest generation. Certainly, there is more to be achieved with what we have now. However, post processing becomes a part of the story.
My first experience with these shots was in Lightroom. The shots did not look good at all. However, there was a clue in all of this. The first view in Lightroom is based on the JPEG that is baked into the raw file. It looked okay until it was rendering by Adobe at which point it looked a lot worse. This piqued my interest. Sure enough, at the extended ISO ranges, the shots looked pretty awful. Lots of purple backgrounds. These were not going to be any good. However, the initial preview had looked good., is this a case of Lightroom not being able to render the shots well? I figured I should try going to the source.
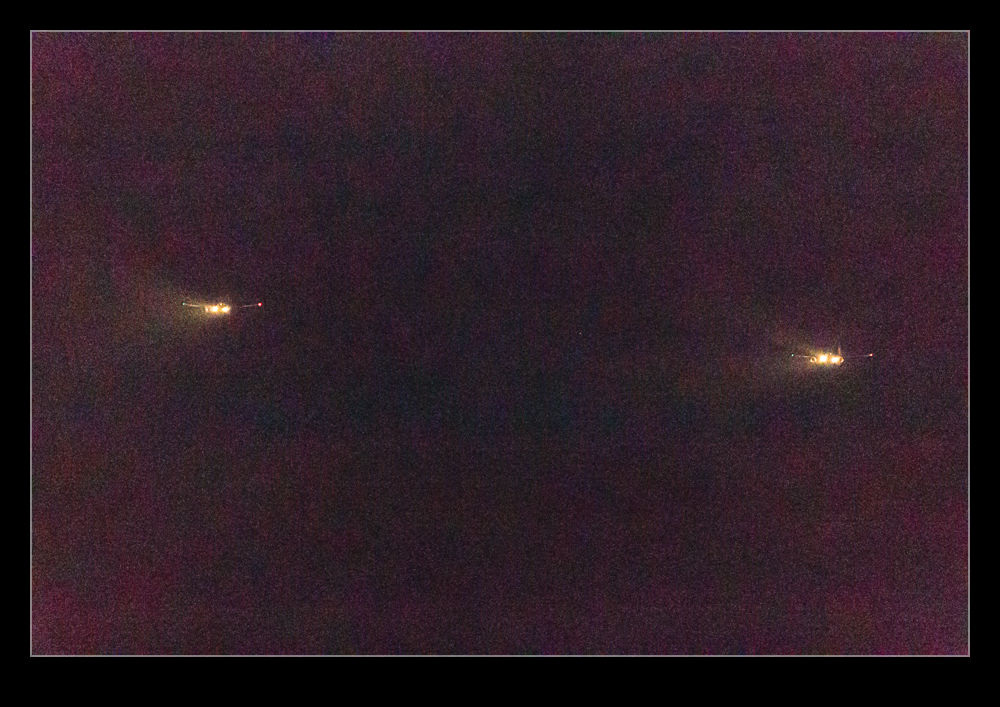
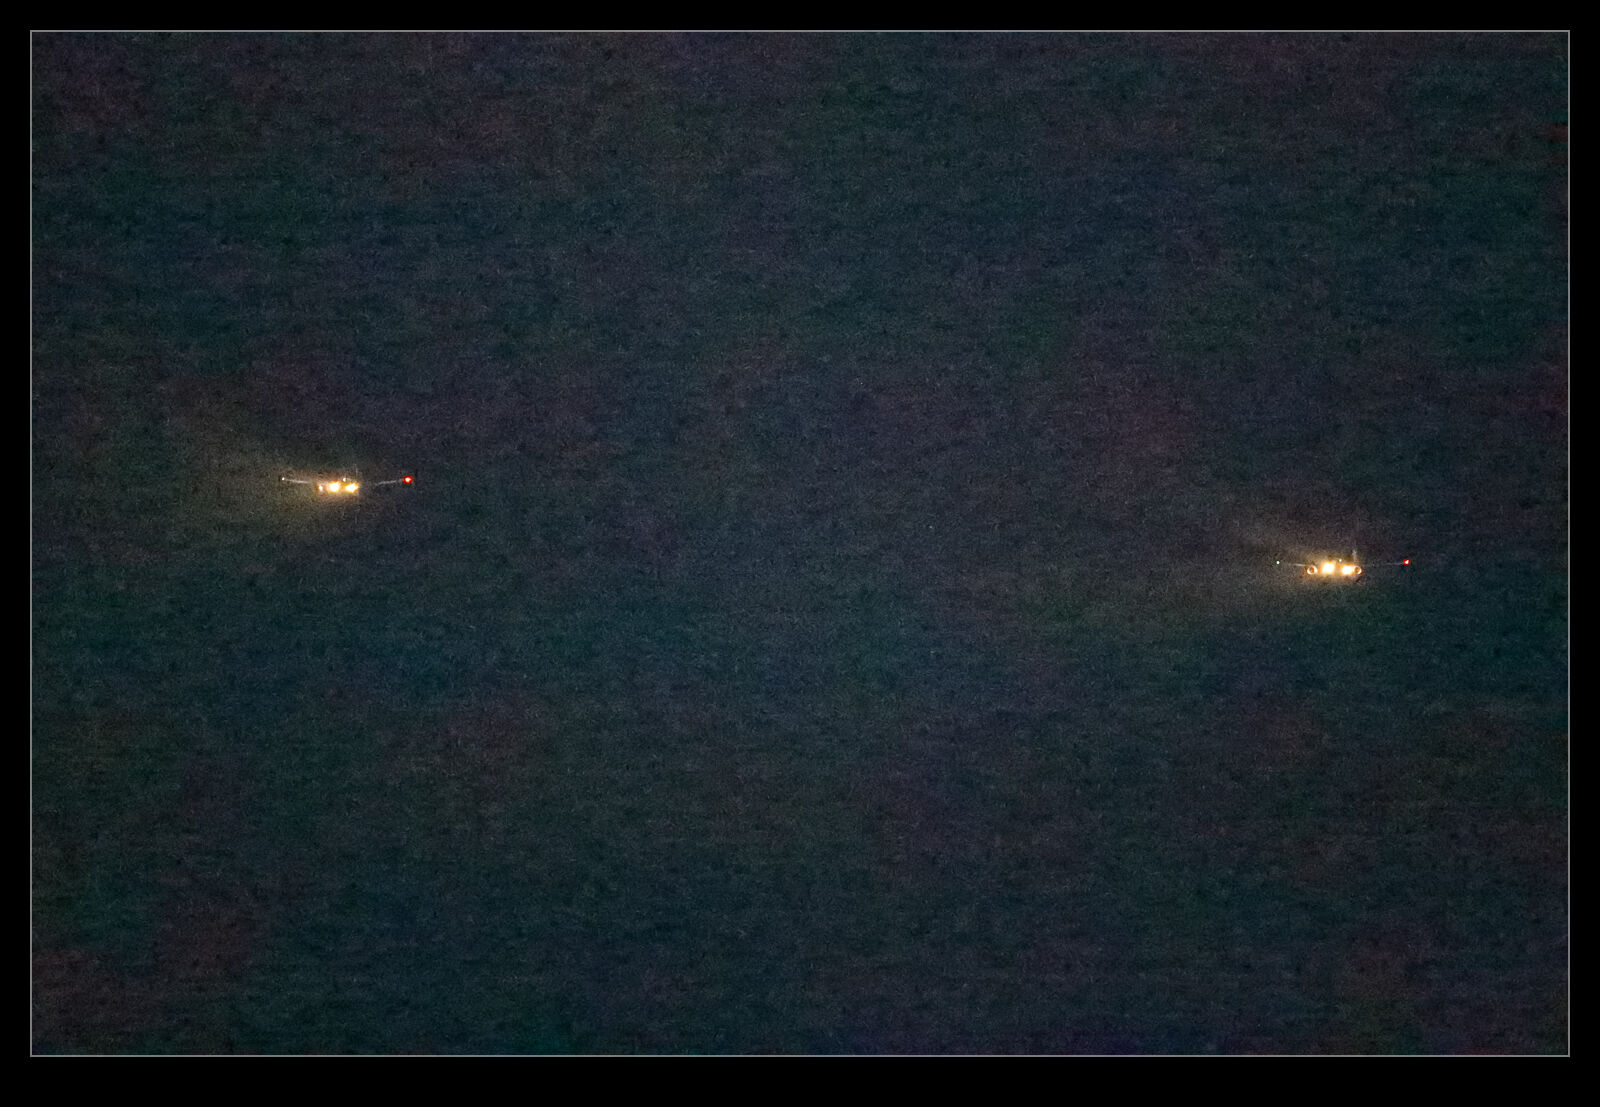 At various ISAP symposiums, the Canon guys have talked about how their software is the one that you should use since only Canon know how to decode their shots properly. They have the recipe for the secret sauce. Since Digital Photo Professional (DPP), Canon’s own software for decoding raw files, is so terrible to use, I never bother with it. The raw processing in Lightroom (and ACR since they are the same) is so much easier to use normally and works really well. DPP is just awful in comparison. However, we are now dealing with the extremes of capabilities of the camera. The embedded previews seemed better so maybe it is possible that DPP will be able to do a better job.
You can now be the judge. Here are some pairs of shots. They are the same shot in each case. The first is processed in Adobe Lightroom and the second is processed in DPP. I think it is clear that DPP is better able to work with the raw files when it comes to extreme ISO settings. The shots certainly have a more normal look to them. The Lightroom shots look really messed up by comparison. It doesn’t mean I will be using the extended ISO ranges on a regular basis. Jumping to DPP for processing is not helpful on a regular basis. However, if the need arises, I know that I can push the camera a lot further and use DPP to get something that is okay if not great. This could be handy at some point.
After Dark! Testing the Low Light
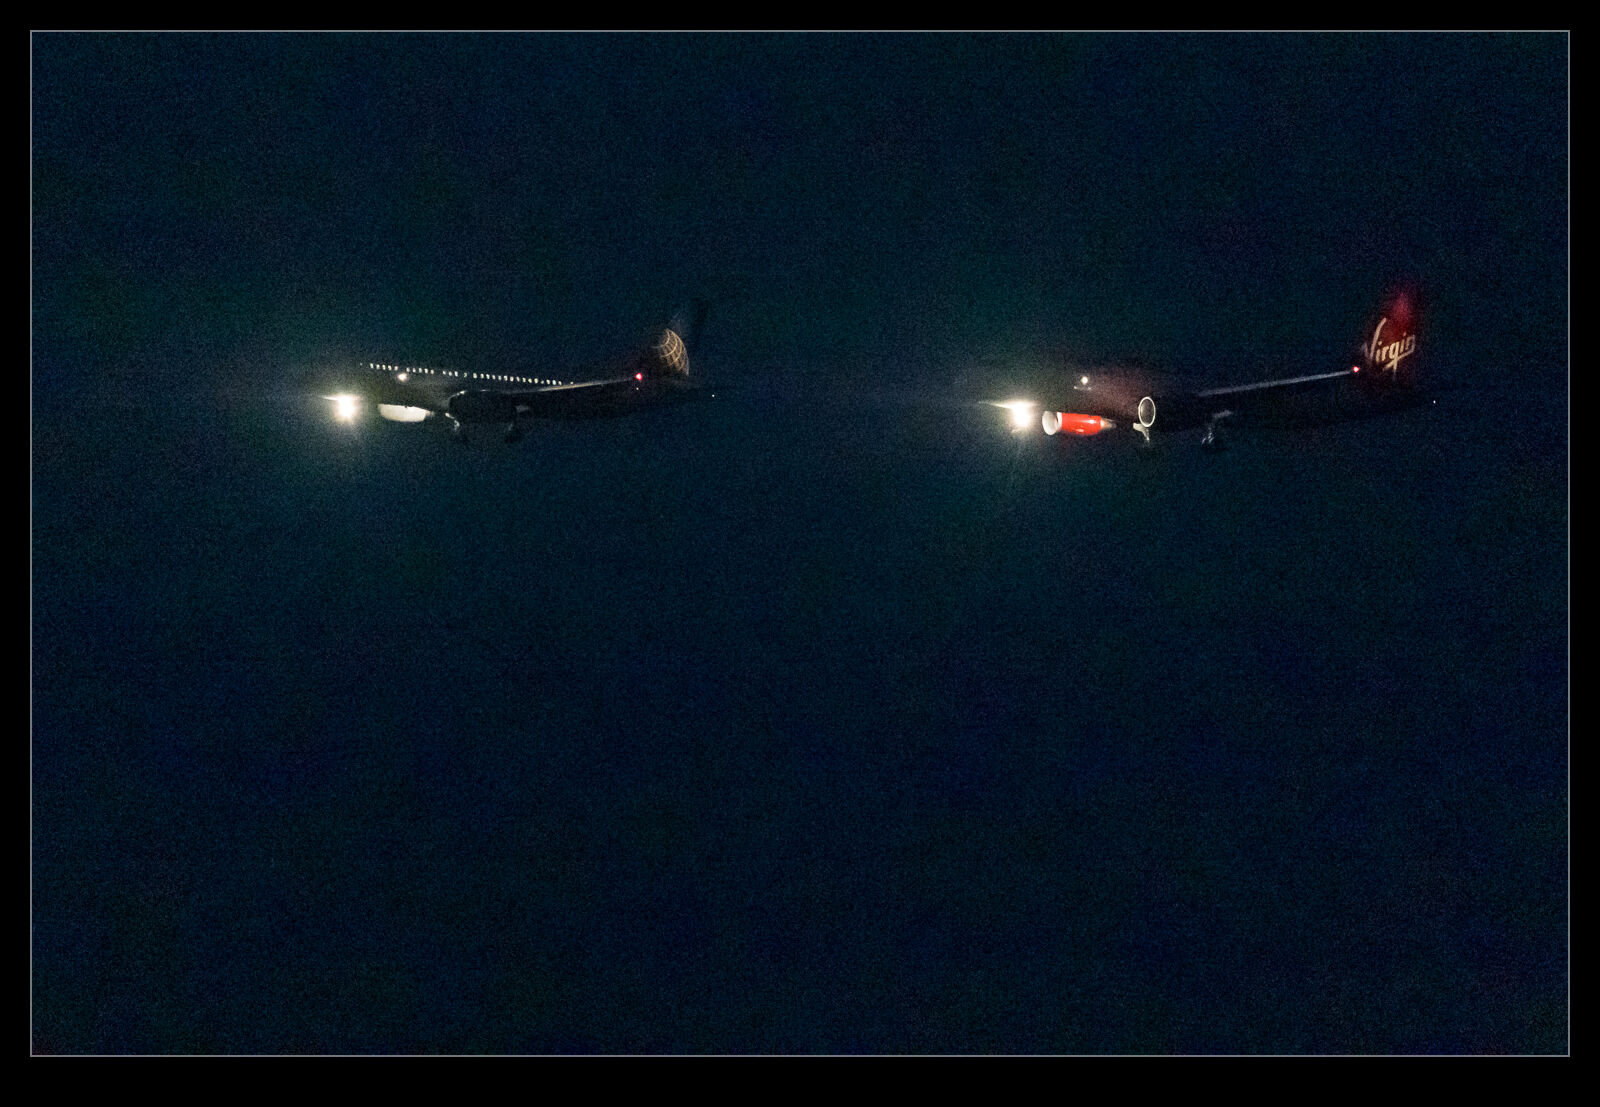
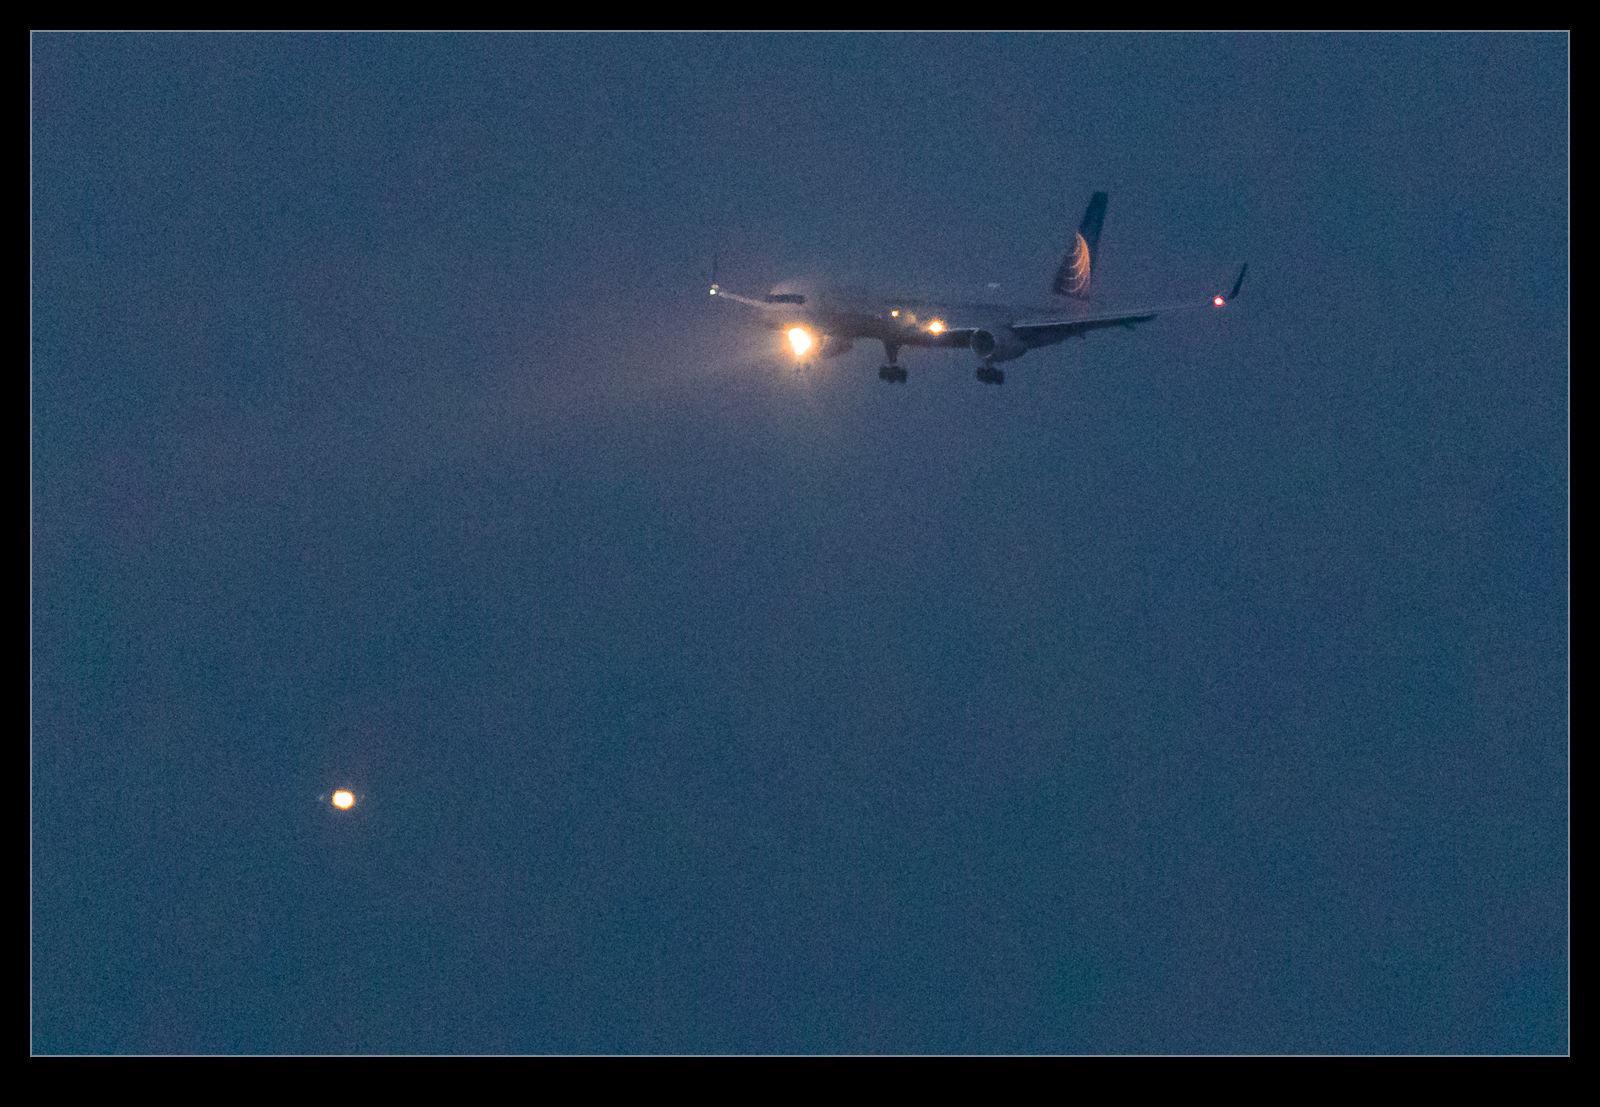
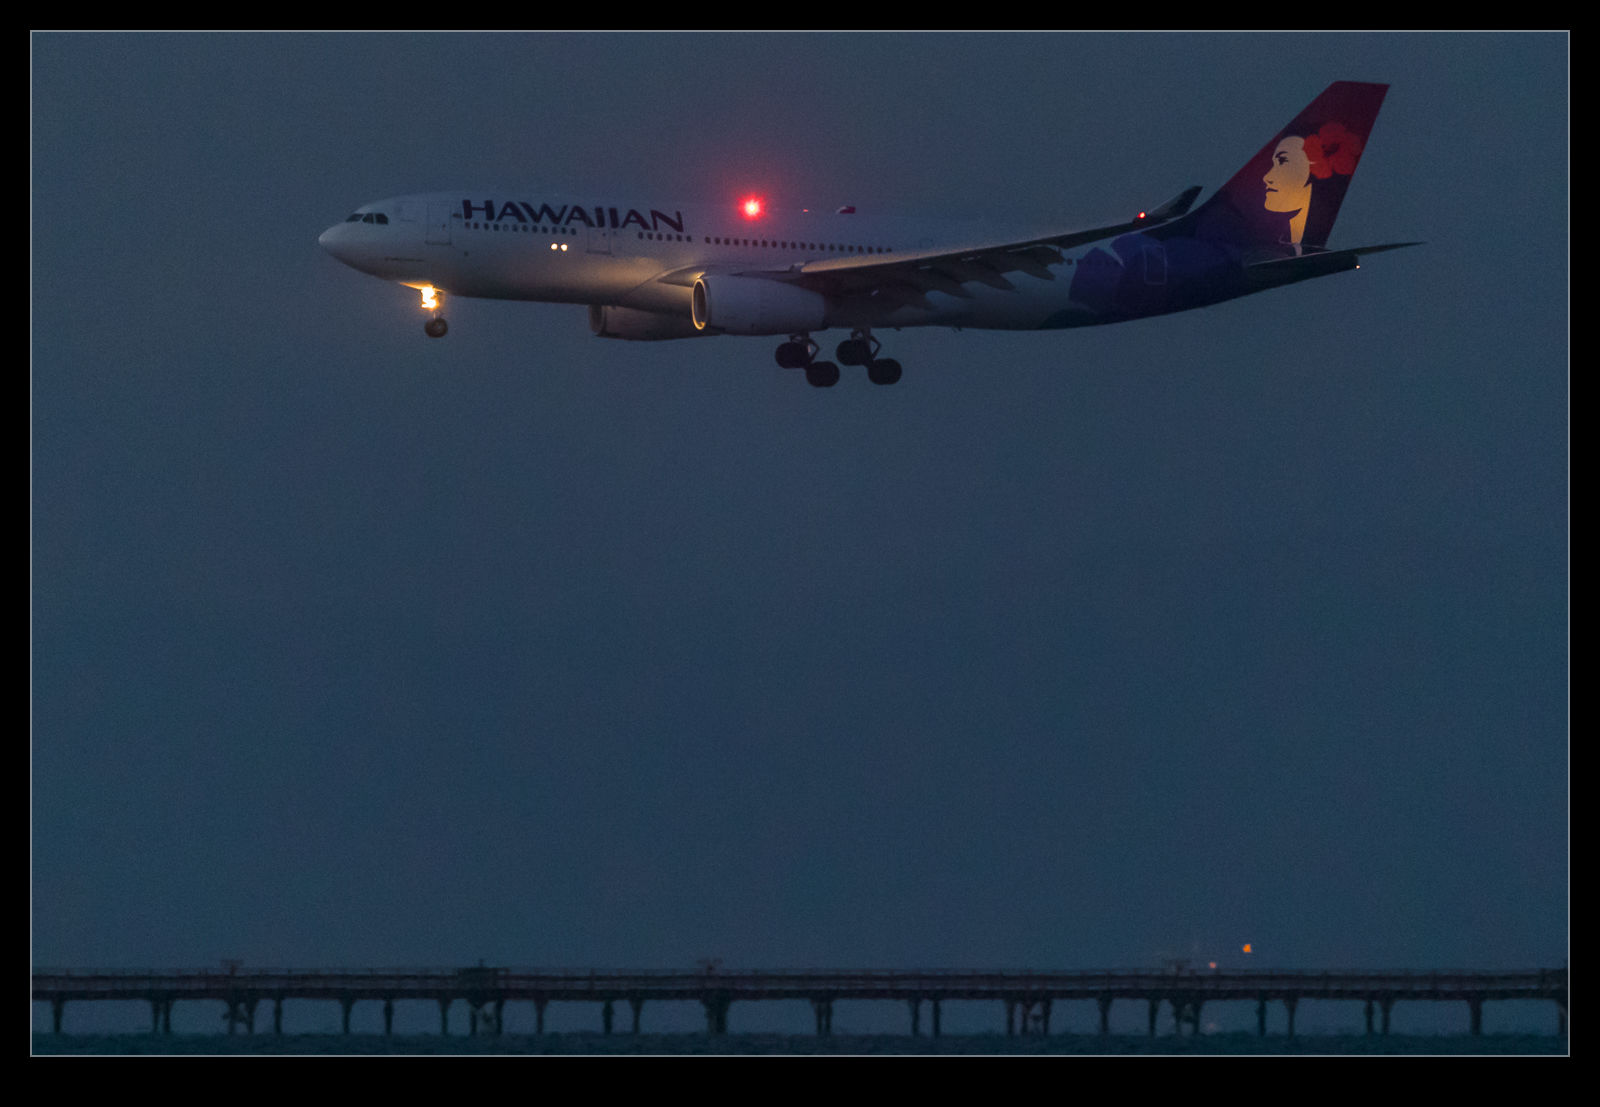 The real goal of my shoot after sunset was to see what is possible with the cameras. An awful lot is written these days about the incredible low light capabilities of the latest cameras. I am rather suspicious of some of the claims that are made so I was interested to see what could be done. I have seen reviews in which people describe shooting with ISO settings and claiming they are absolutely clean – no noise! I am imagining that there is a little bit of over enthusiasm in these claims. No one wants to write a review that says nothing much has changed for fear that they won’t get to review the next camera.
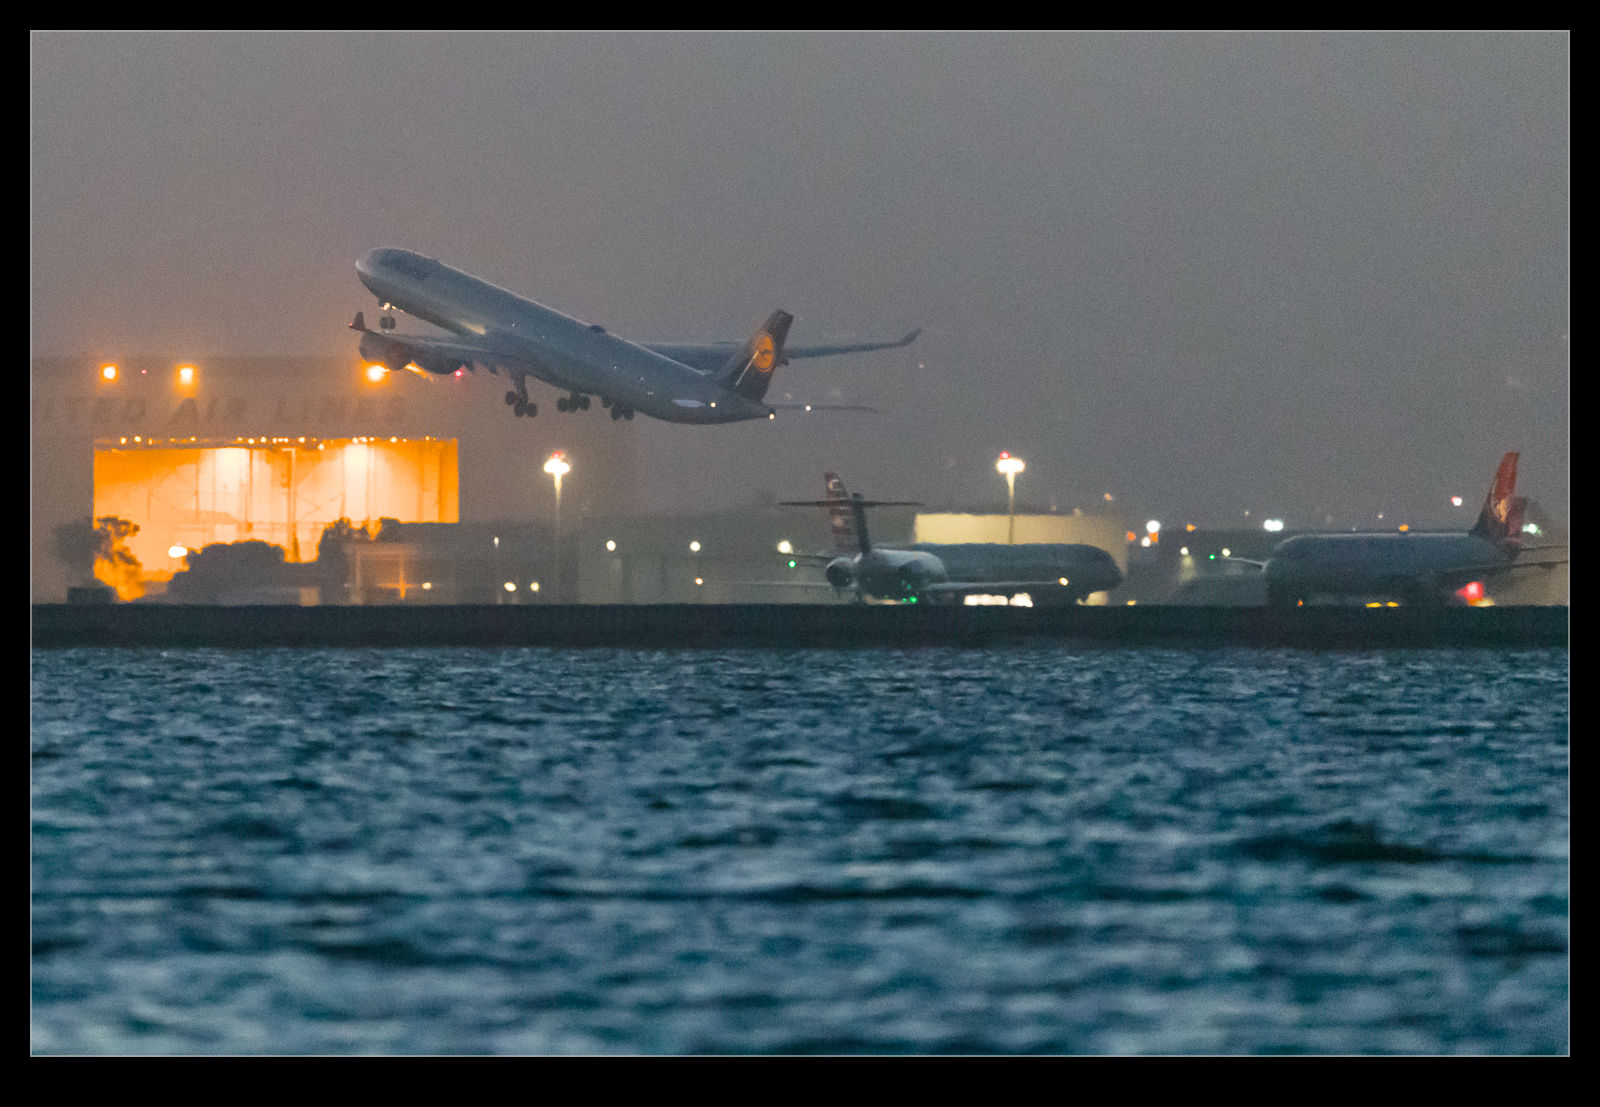 Consequently, while I do expect some improvement in capabilities – particularly given I skip generations of cameras when buying my own – I am skeptical that they will be quite so dramatic. Even so, I did anticipate some improvements from my previous bodies and I did get this. I am not talking about noiseless shooting at ridiculous ISO settings. I am able to work in a far higher range though. It is worth noting that a blog post involves relatively low image sizes so the worst of the noise becomes less apparent. Full size images are a lot more harsh. (For this post I won’t focus on a previous issue of mine which is how printing is far more forgiving of noise than a screen is.)
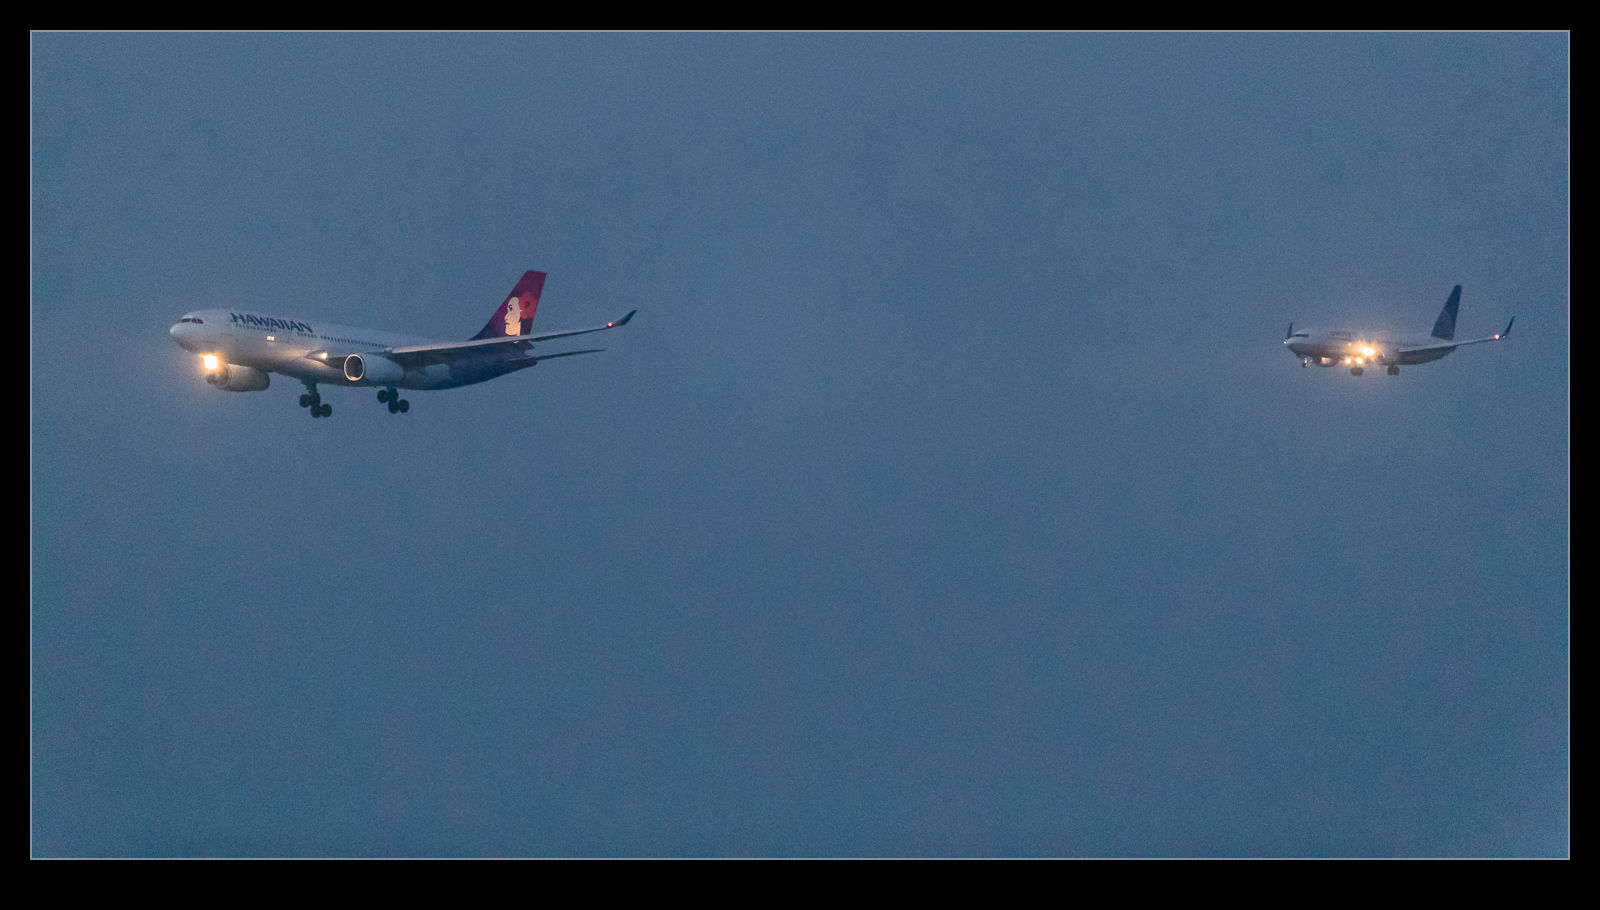 A tricky issue with shooting as the light disappears is the use of exposure compensation. From having some positive exposure comp during the day, as the night comes on, I go through normal exposure to having a bit of negative exposure compensation. It is dark so the shots should be dark. It shouldn’t look like daylight. I ended up playing around with the settings a bit to see whether -1 to -2 should be used. -2 ended up being a bit too much. However, it is a bit of a guessing game depending on what you are shooting and how much light there is in the background.
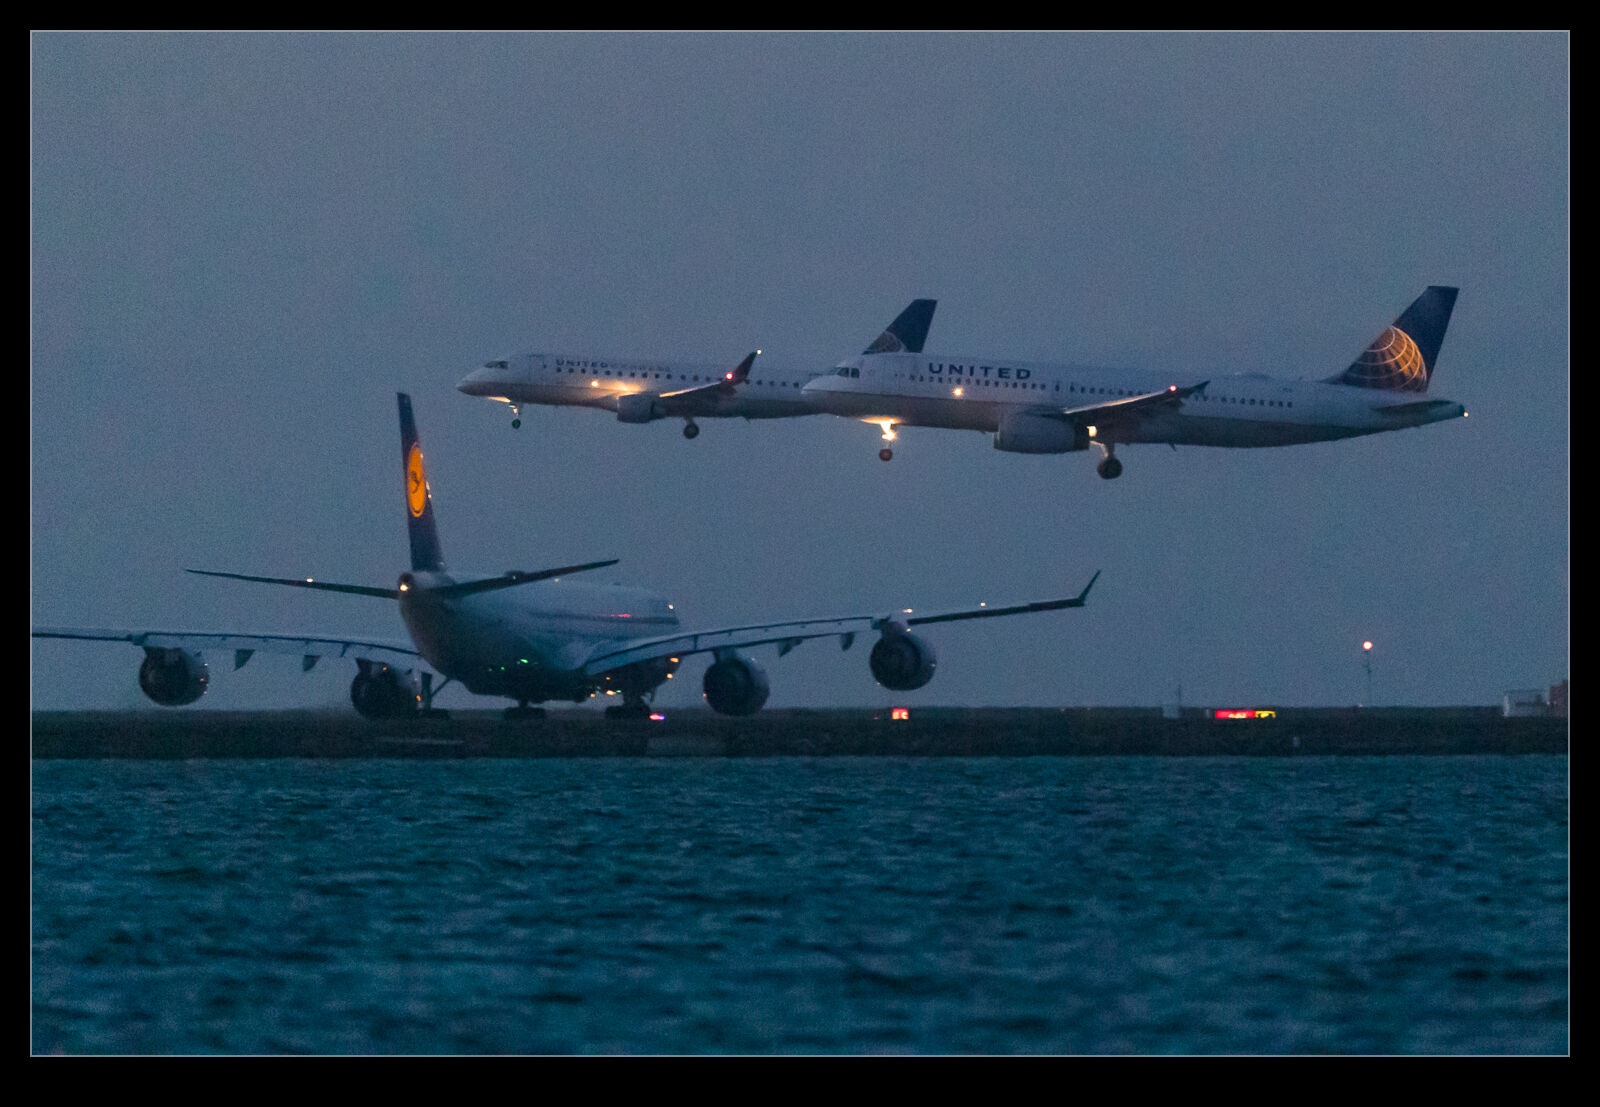 One good thing about these bodies is their ability to handle some post processing. If the shots were a bit dark, boosting the exposure did not bring as much noise into the shot as I would have expected with my previous bodies. I was able to mess around with them a lot more without things going horribly wrong. I am not getting amazing shots (unless you are comparing them to what you could do in film or early digital days in which case this really should be considered amazing – that’s how spoilt we have become). The contrast at night is harsh so things will always be a bit difficult. However, you can get shots in some very difficult conditions. You won’t get detail in the images like you expect in normal lighting but that really would be phenomenal!
Camera Profiling
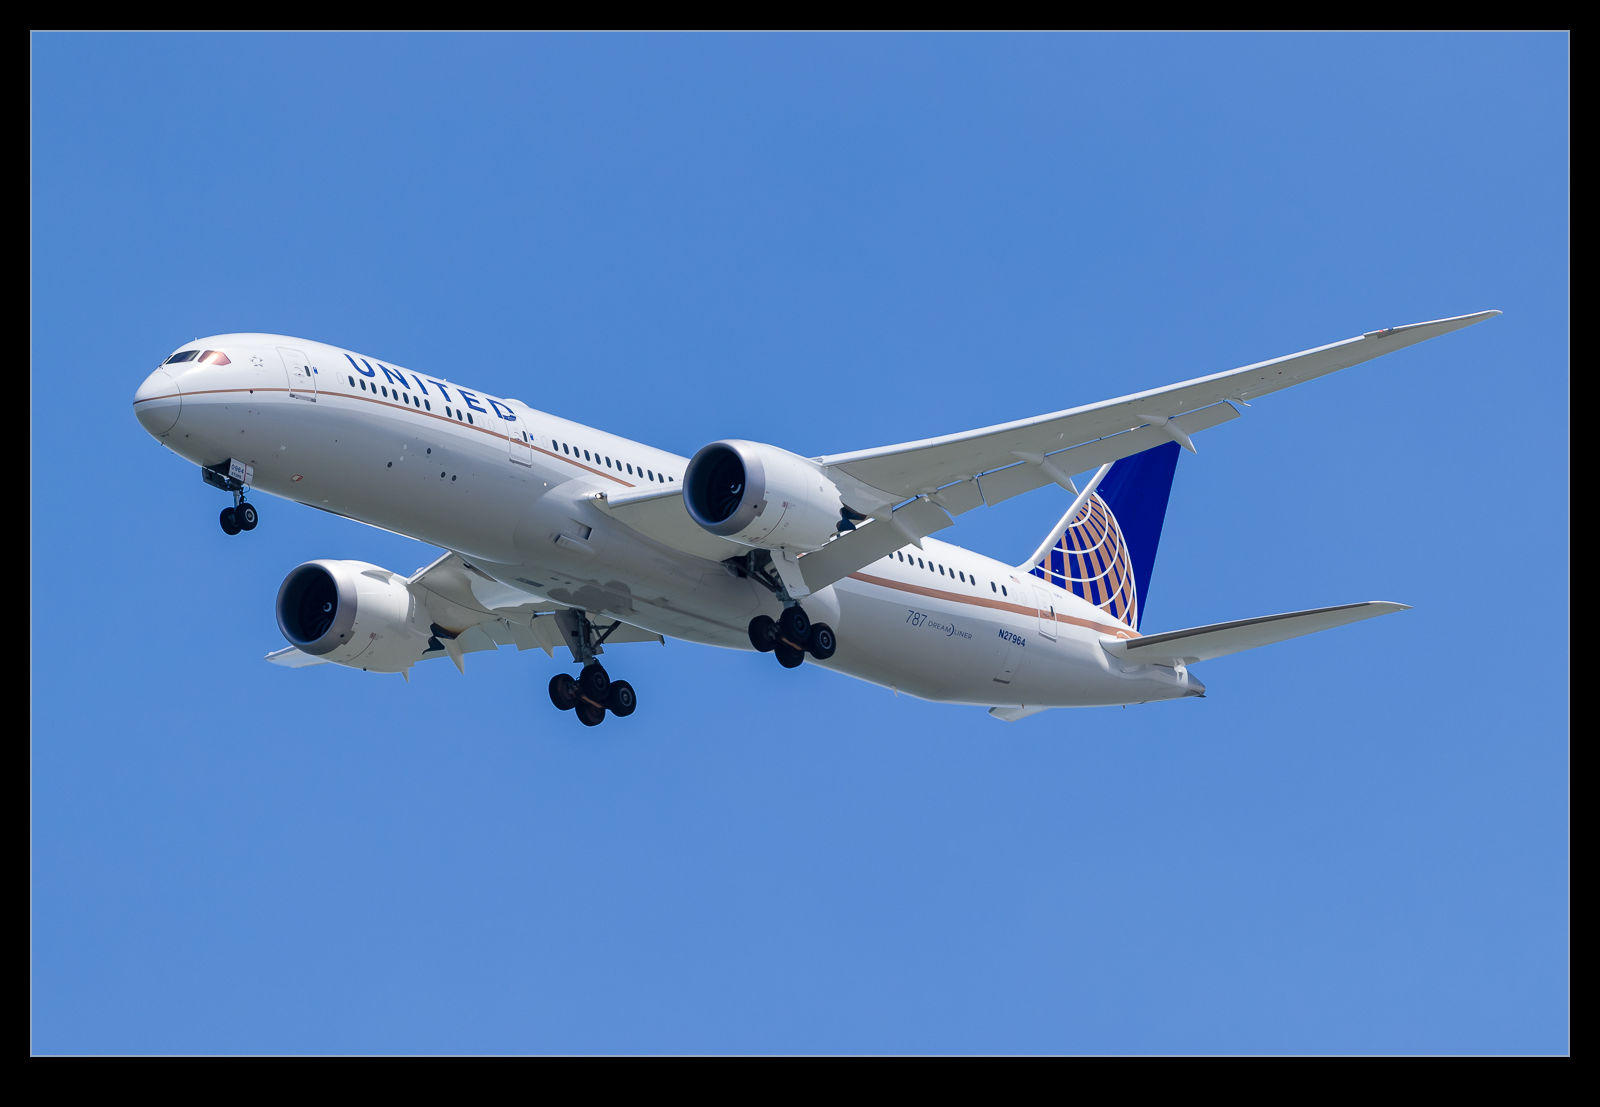
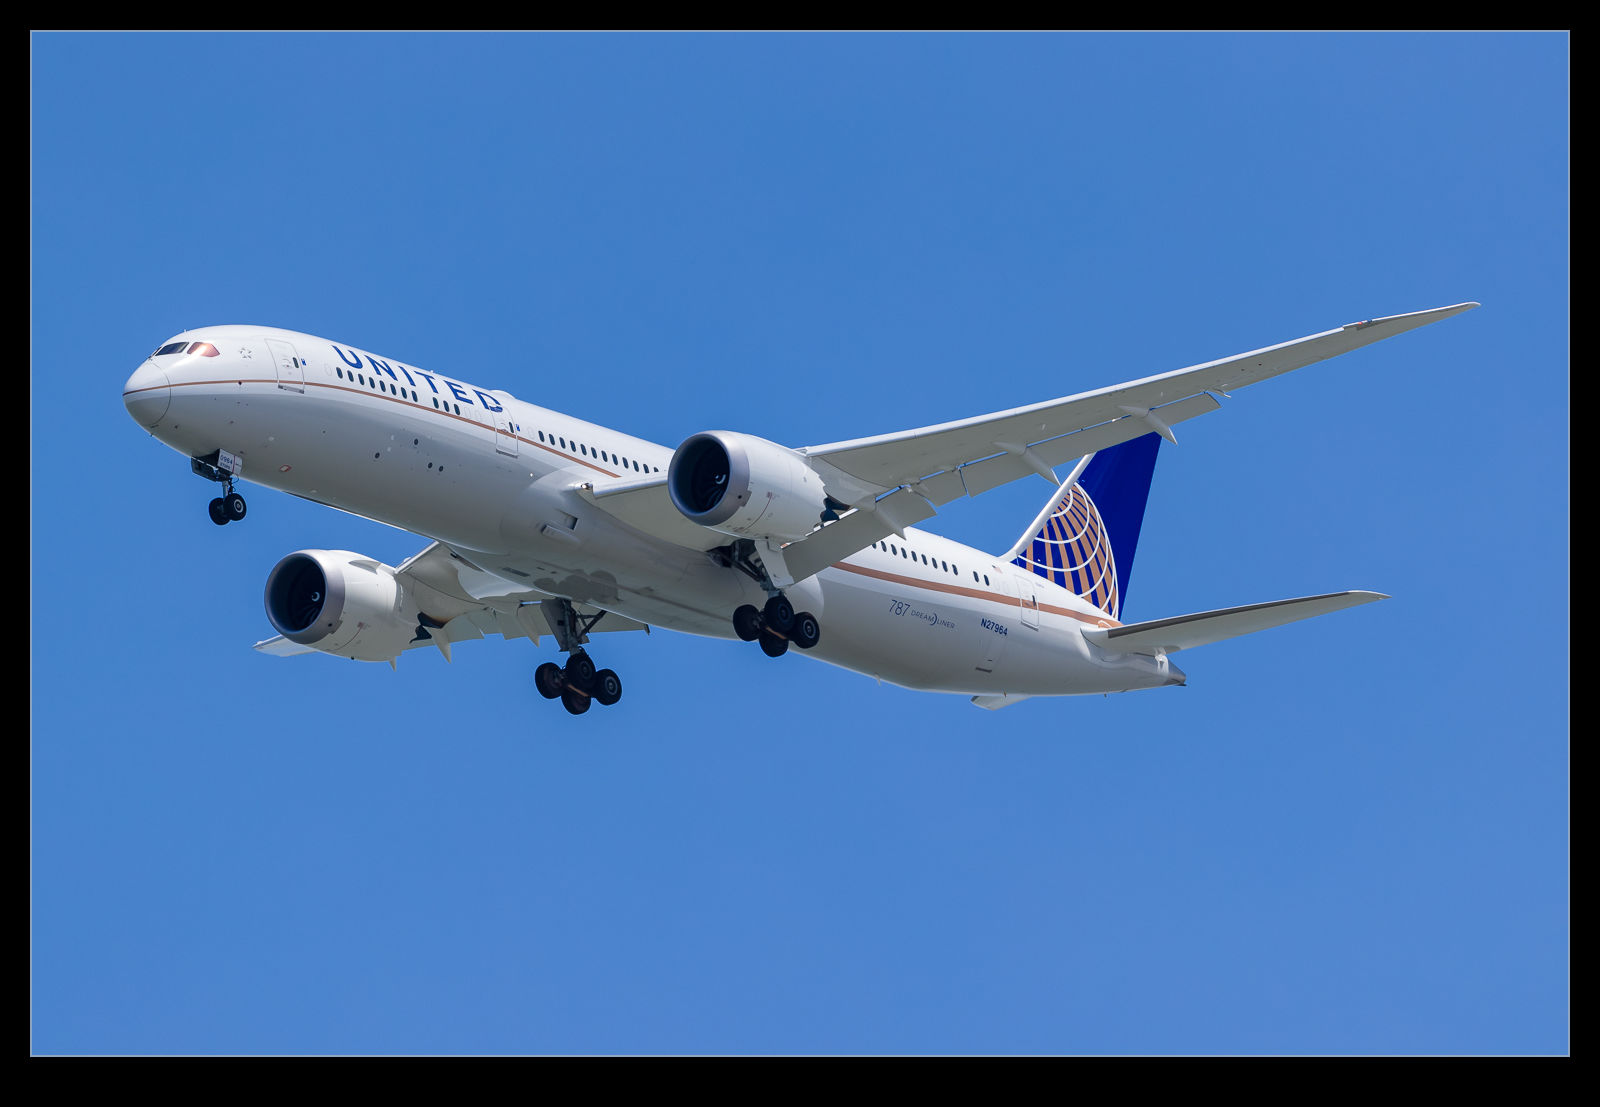 For all of my previous cameras I have created profiles. When I got the new cameras I decided not to bother and to go with the profiles that are built in to Camera Raw/Lightroom. This was working okay for a while but there were some shots where I felt like the adjustments were having slightly odd effects. It was almost like the files had less adjustability than my old Mark IV files. This didn’t seem likely. I figured I would have a go at creating profiles and see whether that made any difference.
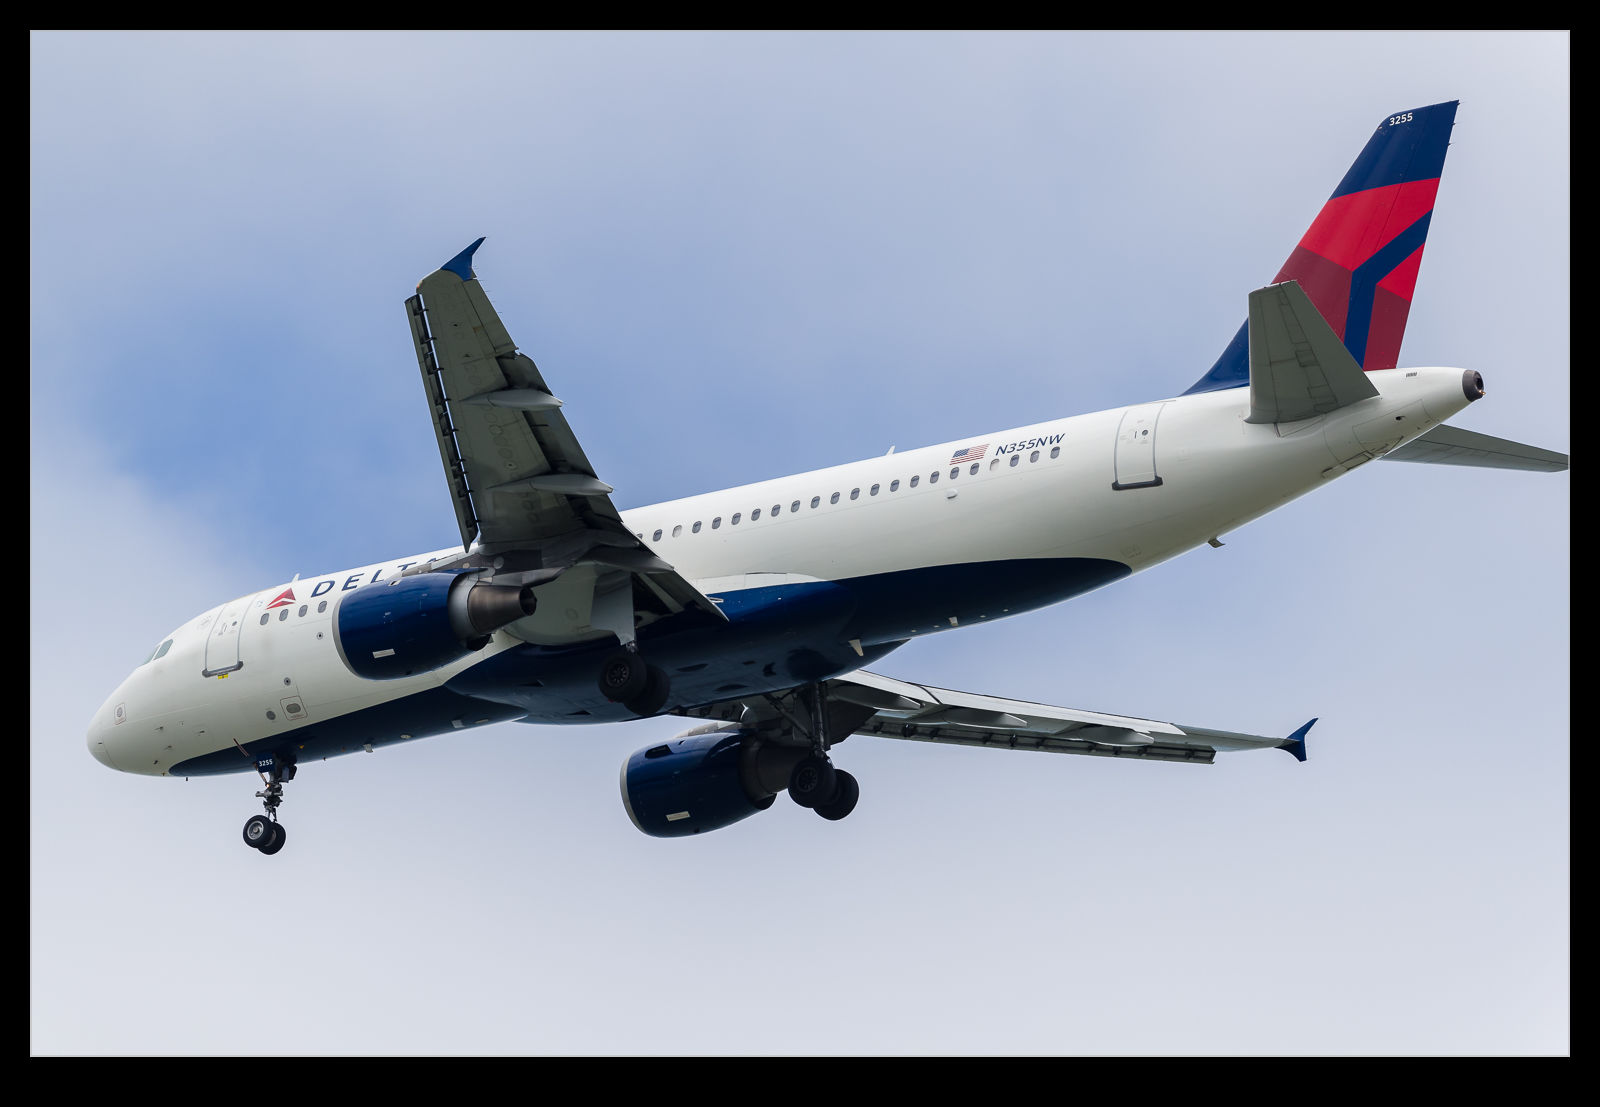
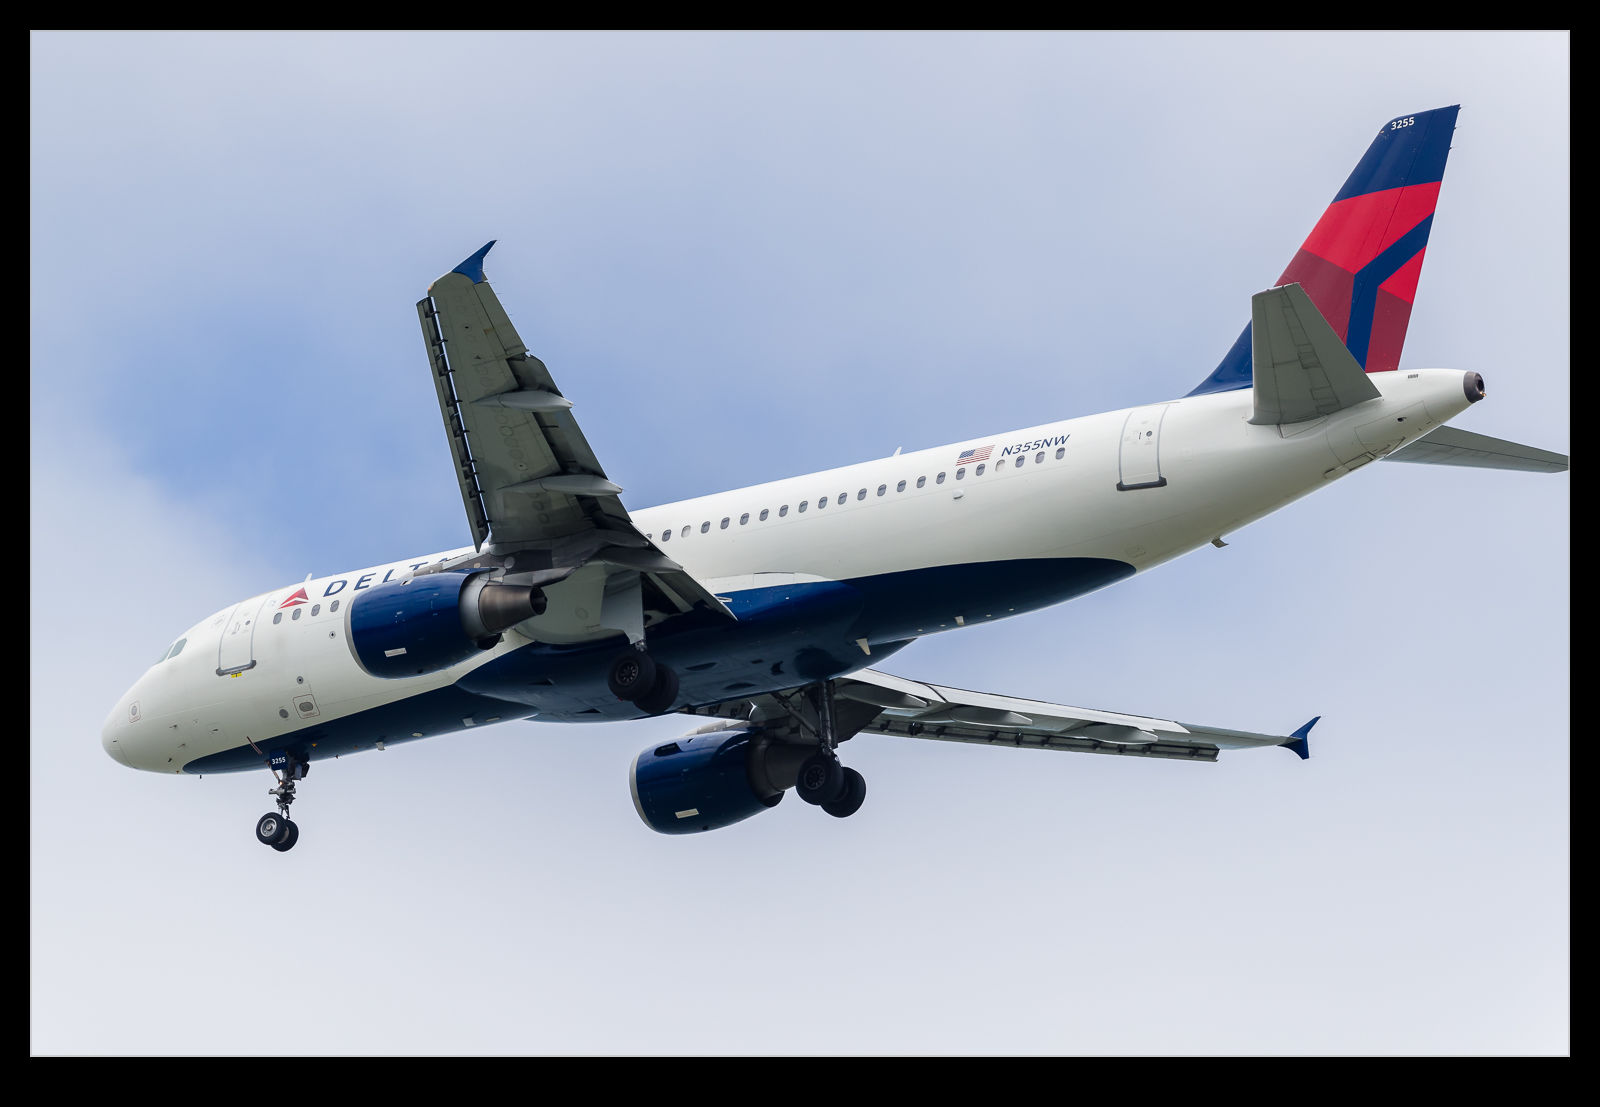 The profiles are relatively easy to create. I have a color card that has twelve different color squares. You take a shot of it in RAW mode. Then comes the slightly annoying step. You have to cover it to a DNG file. Not sure why, since this is all Adobe software, they can’t combine the steps but never mind. Then you open the profiling software. Pull up the DNG file, align the four color dots with the corner color squares and let it do its thing. Choose a name and the profile is saved on your computer where the Adobe software can see it.
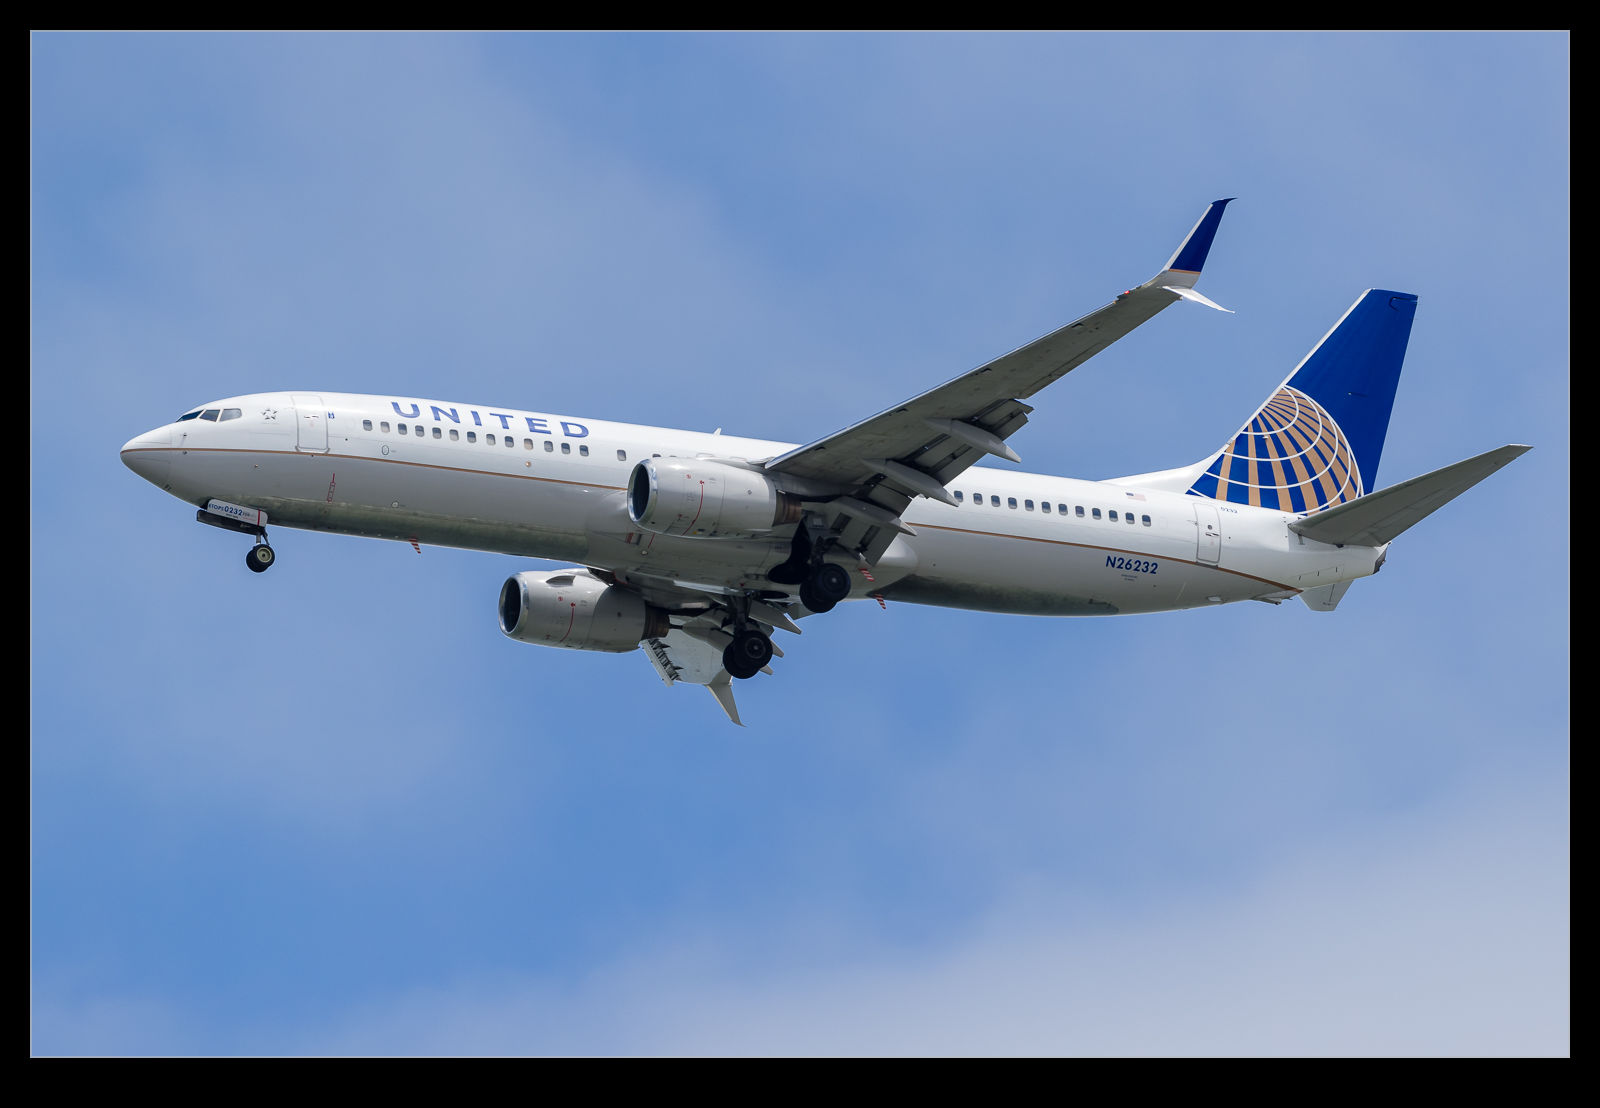
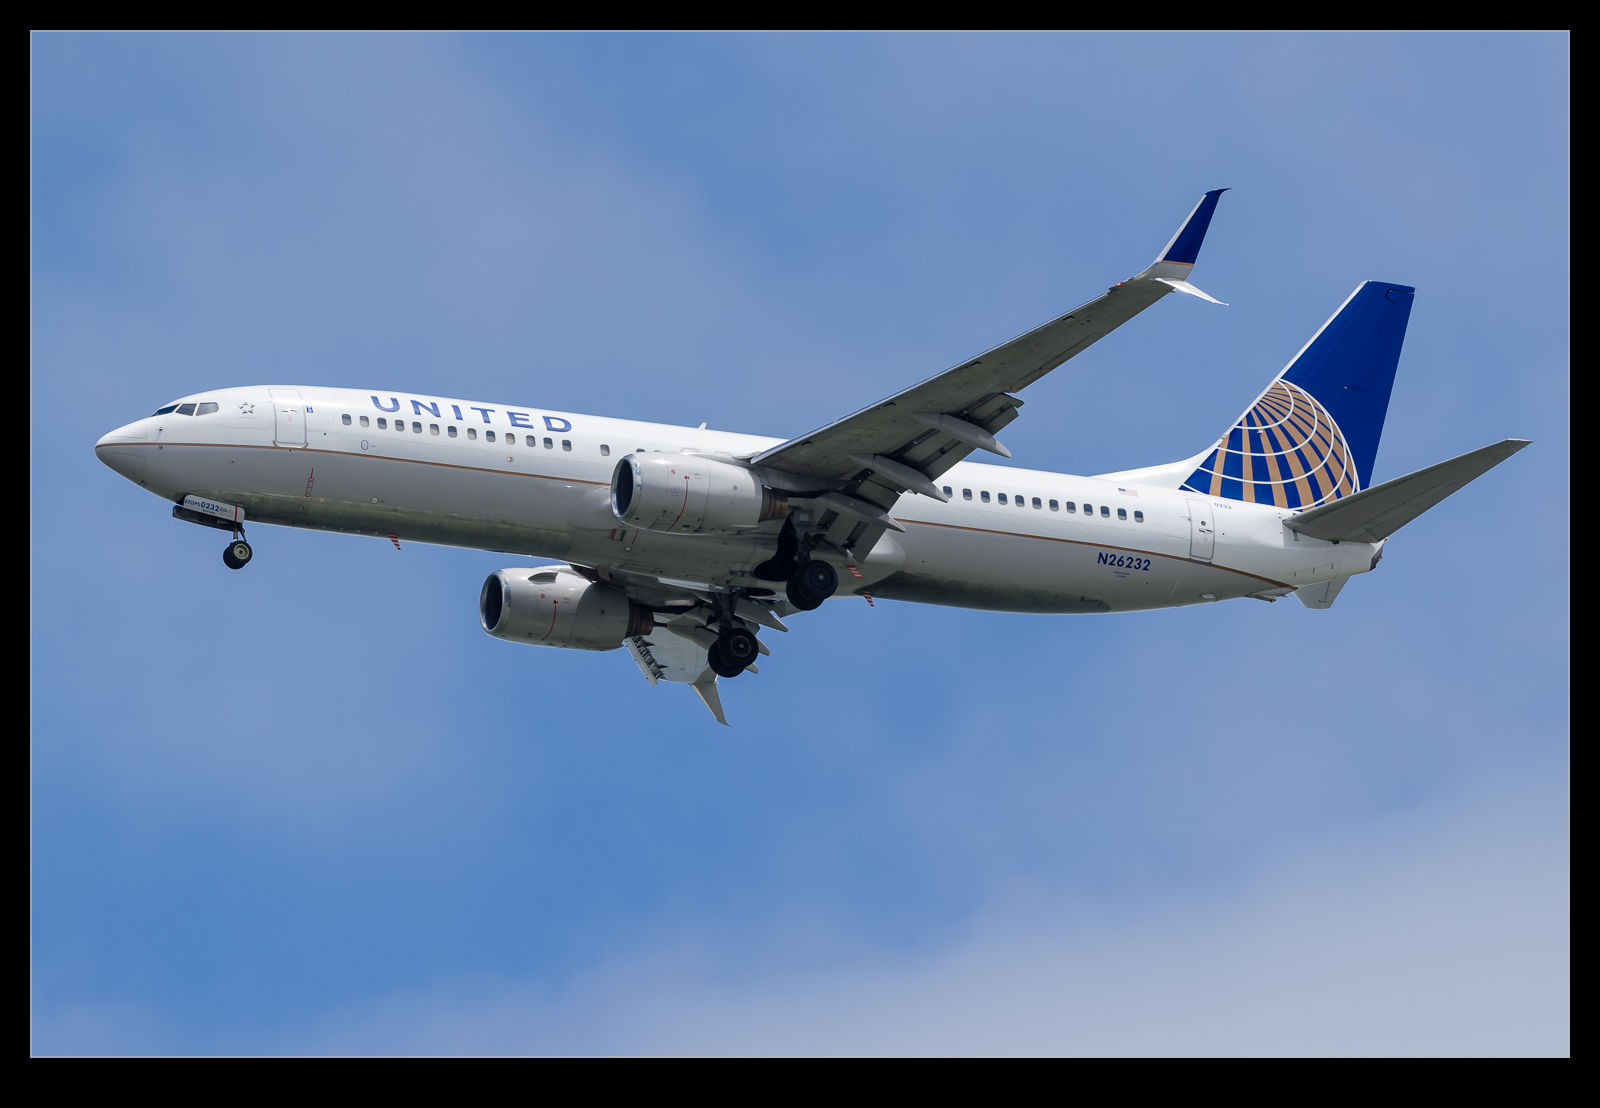 It does make a difference. The thing I found most interesting was that the profiles for the two cameras were quite different. It shows up most in the blues for my bodies which, given I shoot aircraft a lot, is no small deal. The shots here are versions of the same images with the default profiles and the new profiles for comparison. Everything else is the same so the difference is purely profile related.
