Tag Archives: video

Time Lapse Up the Old Tower

My trip up the tower at SFO got me thinking about what things I wanted to get done while I was there.  One thing I had in mind was a time lapse.  I was a bit bothered, though, because we would only have about 20 minutes and setting up the camera and getting it going would eat into that time.  Fortunately, Nancy had just given me a new GoPro to replace the one I killed in Hawaii.  This one had a time lapse function built in.  Also, because it is small, it would be easier to get it close against the glass to minimize (but not totally remove) reflections.

When we got up the tower, I went straight to the window, hit the start button and leaned the camera against the glass.  I had no idea whether it was working or not so just left it and hoped.  I then started taking the other shots I was after.  When our time was up, I had to remember to go and get it again.  Only when I got home did I find out that it had taken a steady string of images.  I then processed them using my usual software of LRTimelapse aided by the lens correction in Lightroom for the GoPro.  The result is this video.  It is a little wide angle for some of the distant action and it would have been fun to have a longer time to capture images over but, overall, it worked out quite well.

Sound for the Videos

While I have experimented with video a fair bit over time, one thing I haven’t done is put together a video with a presenter in it.  My mum was recently staying and she had an idea for something she wanted to do that involved her doing a presentation on video that could be shared at a later date.  My own experience and some information I had seen online made me think that the key to getting a good result was not going to be the video but was instead the sound.  The microphone on the camera is of okay quality but it picks up the sound of everything around it.  The voice is isolated and any video online that does not take a careful approach to audio is very obvious and sounds decidedly amateurish.

The ideal solution would be to have lav mikes, the small mike you see attached to the clothing of TV presenters.  These are actually pretty accessible and cheap but I didn’t have the time to sort something out.  However, a surprisingly good alternative was readily to hand.  I have an app on my phone for sound recording which I use when interviewing people for articles.  Instead of using the plugin microphone, I used the headphone/microphone cable.  By running it inside the clothing and just leaving the microphone up near my mum’s throat, we were able to make a very good sound recording.  The closeness of the mike to her mouth meant the sound was very localized and clear so the background noise was lost.  The room we used did not have bad echoes either so the audio ended up being pretty clear.

Then it was just a case of having a conspicuous clap on the audio track and the video file to allow me to synch the sound and audio together and we were off to the races.  I shot everything with two cameras – one head on and one from the side – with the idea of cutting between them.  However, when I did the first edit, the side camera didn’t seem to fit with the style of presenting to camera.  I imagine it works better for an interview style piece.  I reverted to the head on shot with some images cut in periodically to illustrate the piece.  Overall, it worked pretty well.  We did a number of takes and mum got progressively more relaxed in each one.  I had thought I might cut the best bits together but the final take was really good so I didn’t need to do so.  I hope her audience likes the result.

Tracking the Orcas

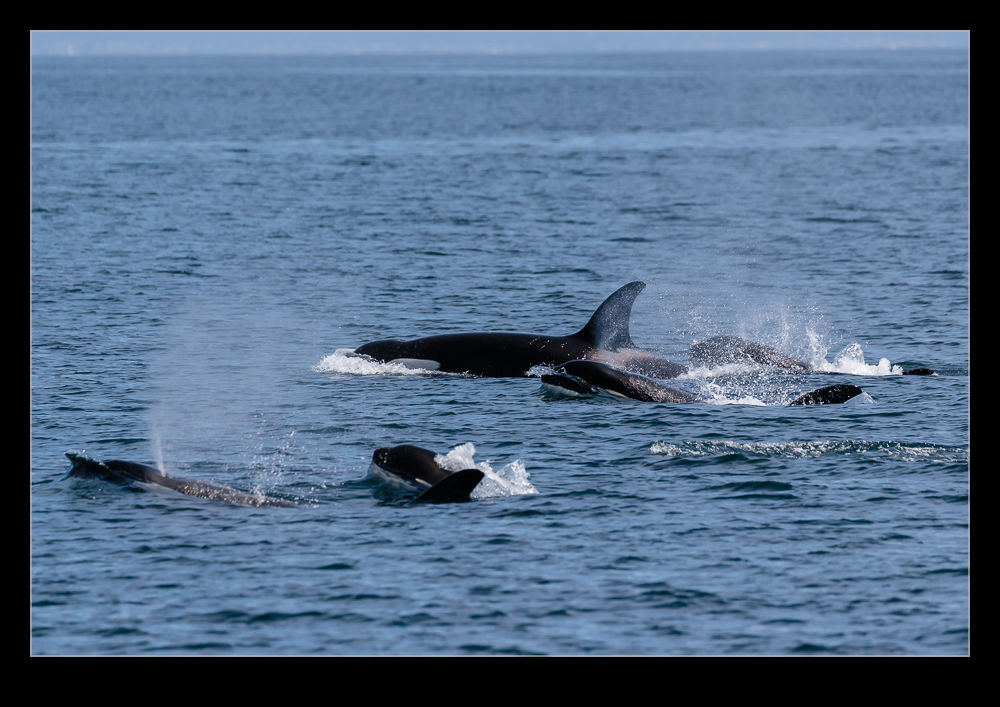
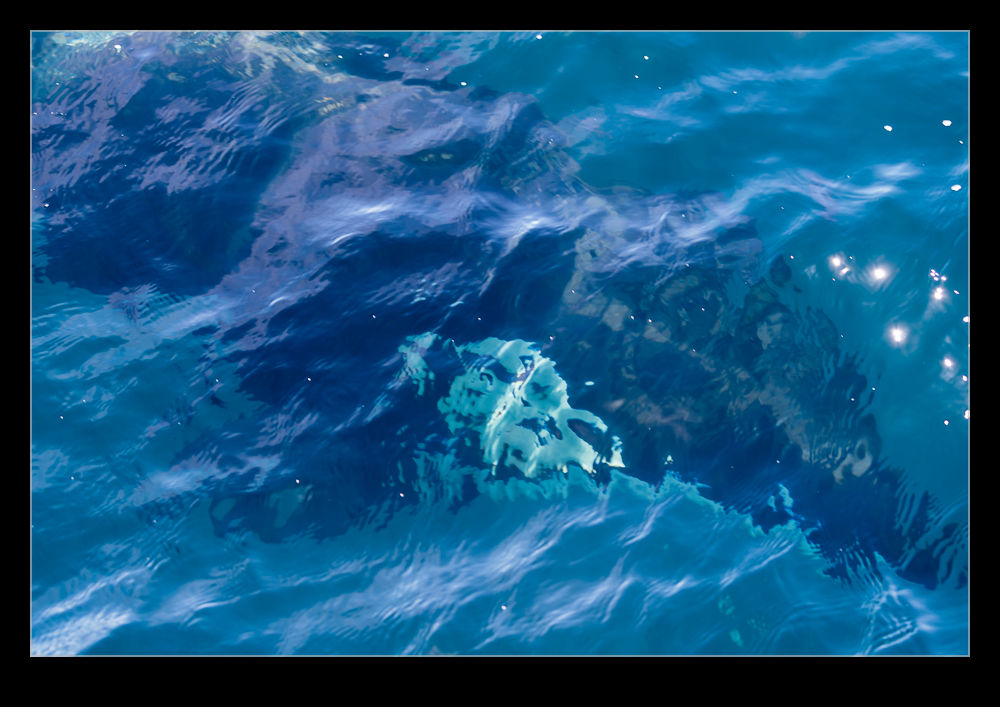
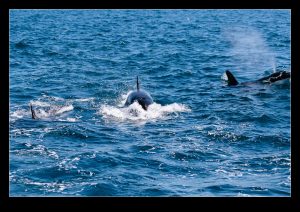
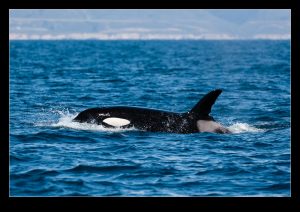
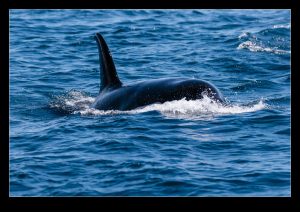
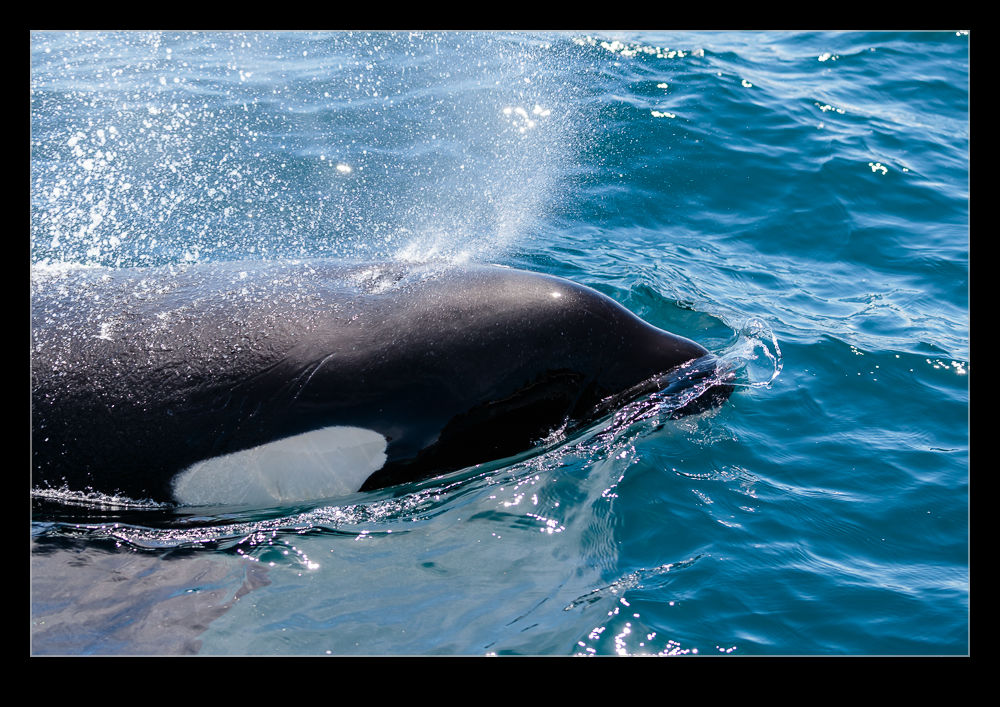
B11I1840.jpgOrcas are cool. No avoiding it, they are a great looking whale. We spent a lot of time with this group on our tour with Monterey Bay Whale Watch. Because they kept offering up good opportunities to interact with them, we followed them a long way up the coast. We ended up off Davenport which meant, when we turned back, we had a long way to go to get back to Monterey. However, it was worth it. As we got further away from the normal whale watching boats and the group got more used to us, they got more relaxed.

B11I1399.jpgWe occasionally got ahead of them at which point they would swim towards us, sometimes crossing right behind the boat. At times like this, the team on the boat would drop a towed housing off the back with a GoPro mounted in it. They got some cracking footage as the whales got curious about the line and took a look at the camera. Meanwhile, we got to see them at very close quarters. It was so cool.

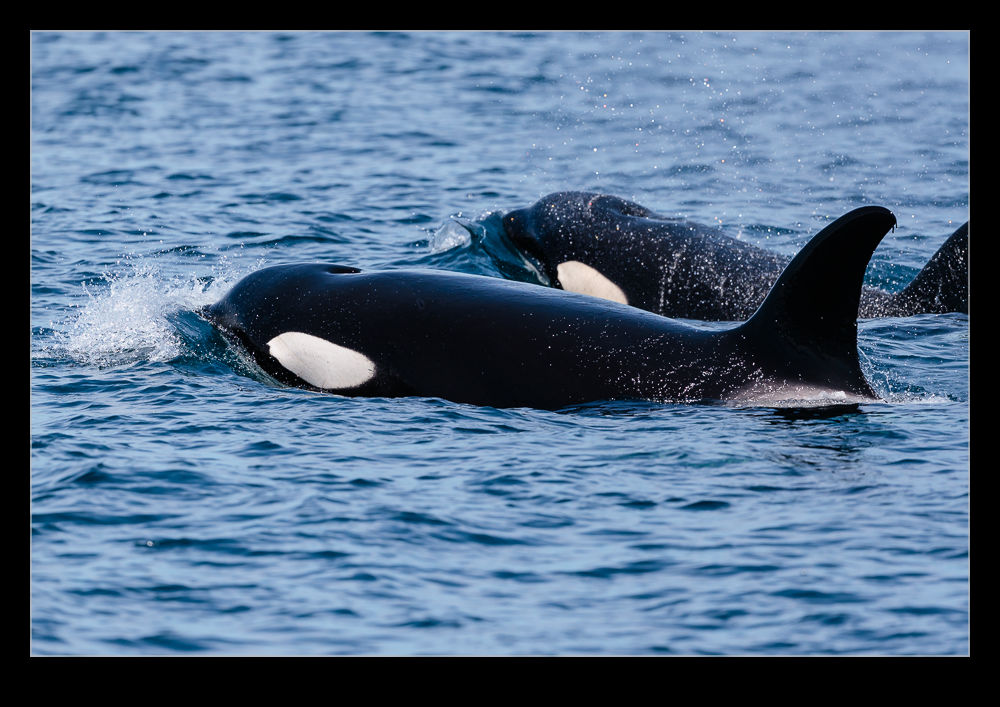
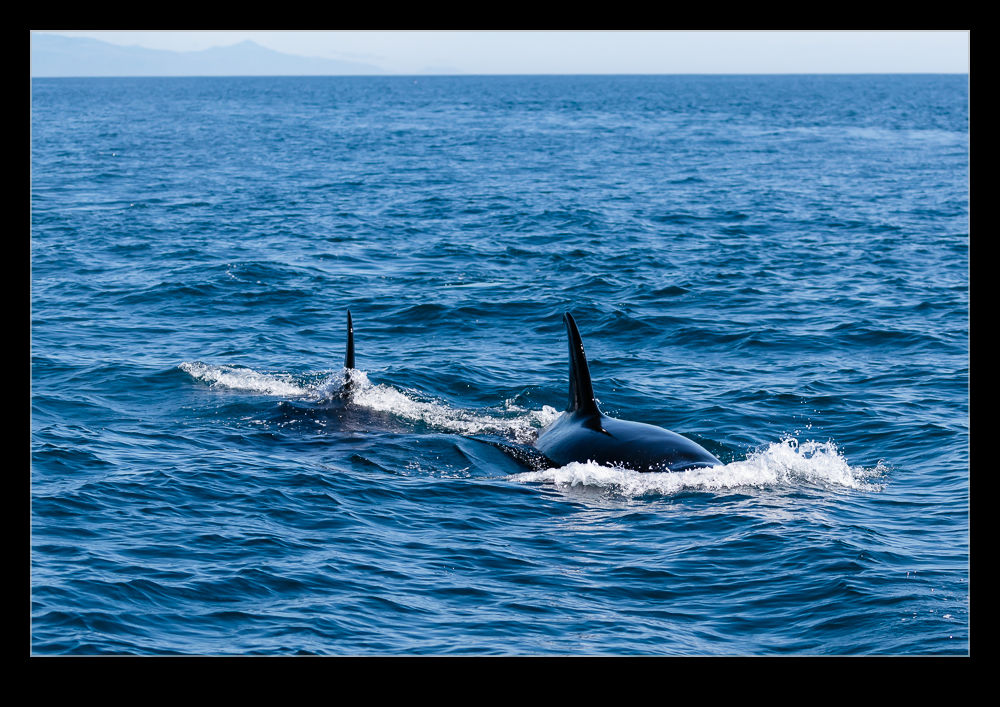
B11I1826.jpgGetting good shots of the whales was trickier than I expected. They stay down for irregular times and predicting where they will pop up is hard. If you don’t get them coming out of the water, the head quickly dipped back under which makes for a far less impressive shot. You want to see the head and get the black and white patterns on display.

AE7I2996.jpgWhen you have a few hours with the whales, though, sooner or later you will get some good shots. This blog does not need to see the number of shots that are the same and only show the back of a whale as it heads back below the surface. The ones with the head visible and the ones that will be shared. Trust me, though. There are a lot of shots of the backs of whales with no visible head.

B11I2158.jpgThe boat team weren’t the only ones that took some video. I also shot a bunch of video as we went. Some of it was unusable as a result of the movement of the boat. Other clips were no use because I was looking in the wrong direction and the whales weren’t doing what I anticipated – don’t they know what I need? However, I still got a few clips that were what I was hoping for.

1DX Mk II First Impressions

After a little bit of time shooting with the 1DX MkII, I have started to build my impressions of how it is working for me.  This is definitely only a first impressions review since there will be a lot of time before I have got totally used to it and have worked out the details of its functionality.  For reference, I have previously been shooting with the 1D MkIV so things have moved on a lot from that.

Focus is a good place to start.  I didn’t have a particular problem with the MkIV but this one does seem to be a bit snappier when it comes to focus.  I was recently shooting some subjects which had a lot of scope for the focus to get confused.  However, it seemed to be reliably on target – certainly far more than I used to experience.  There are a multitude of focus points and combinations.  I haven’t even started to get into them yet.  I tend to have simple requirements of the focus points, generally based around the center point but I will be trying more in due course.

Exposure has thrown up a couple of things of note so far.  First is the amount of light you get with a full frame sensor.  I have read a few things about the way camera manufacturers reference ISO and aperture combinations with crop bodies but I hadn’t had a chance to explore this.  Using the same ISO and aperture as I used to, I am getting shutter speeds noticeably higher than before.  I will now revisit what my settings are since I don’t need speeds that high.  The other change is in the handling of backlight.  I had got a good grip on what exposure compensation I needed for various sky conditions with the previous body.  Starting with those resulted in overexposure.  I find the body is better able to get it right itself so I have been tweaking the exposure comp down.

Video capabilities have been significantly expanded but I have yet to get too far into them.  I started out with the default HD settings but I have changed to a larger file size format to get more latitude for editing.  Having not done any detailed editing yet, I have not found out how much of a difference this makes.  I have not played with 4K at all yet.  The big thing in video is the dual pixel autofocus.  Previously I had to fix focus before the shot started and any zooming would tend to move things out of focus.  Now I can select by touch what I want to track and the camera seems to do a nice job of keeping that sharp during motion, panning or zooming.  This is a nice addition to have when dealing with motion relatively close in.

The setup of the control buttons is an evolution of what I know.  There are some additional buttons to work with and they are configurable.  I haven’t tried reassigning anything yet since I want to find out what I need most often before I do so.  They have made a switch in the stills to video control with that now having its own control.  I am still getting used to it compared to the way I did it on the MkIV but I firmly believe the new configuration will be a big improvement.  I just need to retrain myself to use it without thinking.

Preset configurations are a great addition.  I moaned about this to a Canon rep many years ago.  The 40D had preset configurations you could program and switch between quickly.  When shooting props and jets, this is a nice thing to be able to do very quickly.  Everything about the setup is programmed so it is a powerful addition.  Finally I have it on a better body.  There are three presets.  I have one for jets, one for props and the third I have configured so I can give the camera to someone else to shoot without having to explain back button focus and center points.  It is in a more user friendly configuration to hand off.  I shall see whether that gets much use or not.

The card configuration is now CFast in one slot and Compact Flash in the other.  The camera came with a 64Gb CFast card and I have put existing 64Gb CF in the other slot.  So far I have not had to use the CF so I haven’t noticed the write speed.  Buffer is huge so I doubt this will be an issue.  The CFast is working fine.  It does seem to download very quickly via the USB3 card reader that was also included.  The card does also get noticeably warm when working a lot.  No specific upside or downside so far.  The CFast is required for 4K at 60fps but otherwise CF will work fine.

Now for one of the big surprises.  Canon has upped the frame rate to 14fps.  It was 12fps on the 1DX and 10fps on my old MkIV.  I did not think that this would be a big deal.  A small increase?  I was wrong.  This thing flies along.  A quick squeeze of the shutter and suddenly I have three shots.  It buzzes rather than has the sound of individual actuations.  This means a slight variation of shooting technique for me.  I used to shoot short bursts for each view.  I could then pick my favorite of the burst during post processing.  I can still do this but now it is a shorter hold of the button to get the same effect.

A small addition I like is the built in GPS.  I have been using an app on my phone to create a gpx file tracklog during photo shoots.  I can then import this in Lightroom and it matches with the shot times to tag the images.  With a built in GPS, the shots are automatically tagged.  This will help when flying which often meant I couldn’t get the tracklog to work in the old process.  As a aside, the GPS allows the camera time to automatically update so no need to plug them in periodically to get the time synced up.

I can’t overlook the fact that the 1DX MkII is a full frame camera.  I was a little concerned about losing the crop factor I had on the MkIV.  Shooting aircraft sometimes makes the extra reach of the crop factor helpful.  The pixel density is a little below what it was before so I don’t have the virtual crop to play with.  However, so far I am finding that I am just shooting like normal based on what I see in the viewfinder.  We shall see if I notice the difference as I get to do a variety of shoots.

File size is a step up as a result of the higher pixel count.  This is resulting in a bit more effort for the computer when it is rendering the shots.  I can see a noticeable difference in the speed with which the 1:1 renderings get completed.  This is not yet causing a problem but I shall see whether a bottleneck develops.  I will also see how this impacts my backups.  I previously used to back up files in blocks of 1,000 per Blu-ray disc.  If there were no video or large edit files, the disc would have spare capacity.  Currently, it looks like I might still be able to do the same thing but with less margin.  Another thing to watch as experience is gained.

Battery life is officially down on the previous camera.  The increased processing power requires more juice from the batteries.  I have been on a couple of big shoots on consecutive days with many thousands of shots over the days without having gone through one battery.  If there is a reduction, it is certainly not causing me any operational concerns.

That summarizes everything I have identified so far.  I have a long way to go in learning to make good use of the camera but I have to say I am very happy with it so far.  It is a great piece of kit.  I have much to still try.  I have not even got in to the high ISO capabilities at this point.  This is something I want to play with before too long.  Longer days will make that a bit trickier but the opportunity will present itself.  When I do, anticipate a post on that too!  Overall, I love it.  Anyone want to buy a MkIV?
Black Hawk Welcoming Committee

A work trip recently took me through Chicago Midway.  I wasn’t there long before getting on my next flight.  We were taxiing out to depart and were coming past the National Guard air unit based on the field.  They operate a bunch of Black Hawks.  A couple of them were parked up on the apron and one was on approach.  My plane conveniently had to hold for a while so I got to see the Black Hawk fly its approach and land.  I only had my phone with me but here is some footage of the arrival.

Hyperlapse Oakland Approach

I was a sitting by the window on the approach to Oakland and decided to play with the video functions on my phone.  I have shot video clips a number of times of the approach but it takes a lot longer than you realize and makes for a very dull video without editing aggressively.  Also, the turbulence when handholding a phone means the video is very jerky.  Instead I switched the phone to time lapse mode and pointed it out of the window.  The result is an accelerated version of the approach.  The bumps are smoothed out by the compression of time and the maneuvers become more aggressive.  I let the thing run until we are at the gate since that provides a more natural finish point.  We spent a lot of time facing the water as we descended which is a bit less interesting than I would like but you can see that we are getting closer quite quickly.

Another Night Launch on a Cold and Windy Night

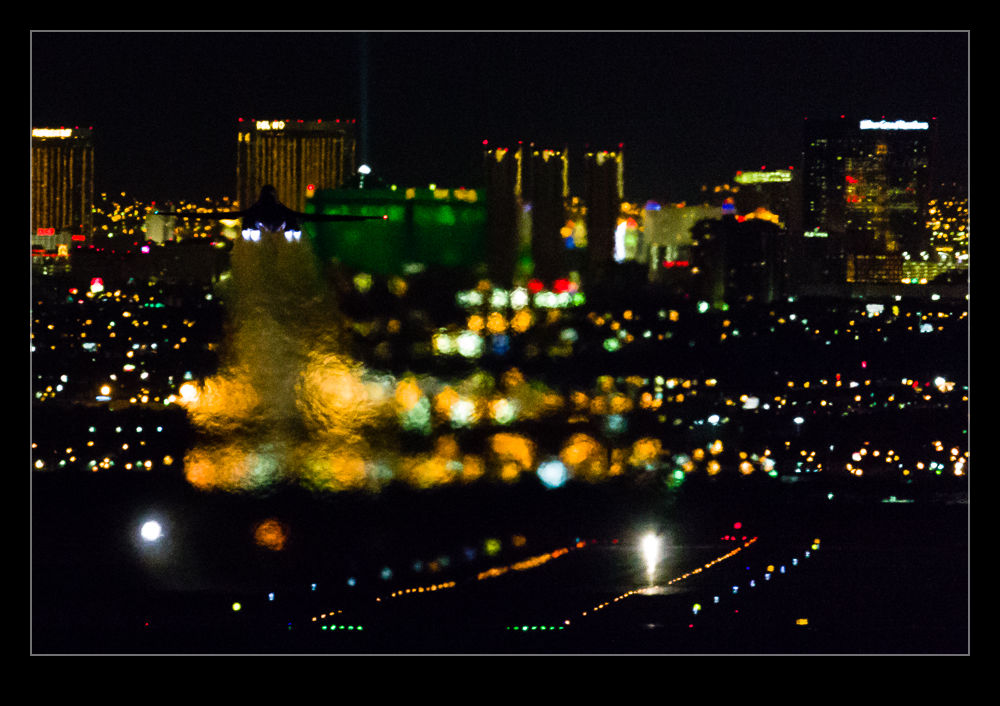
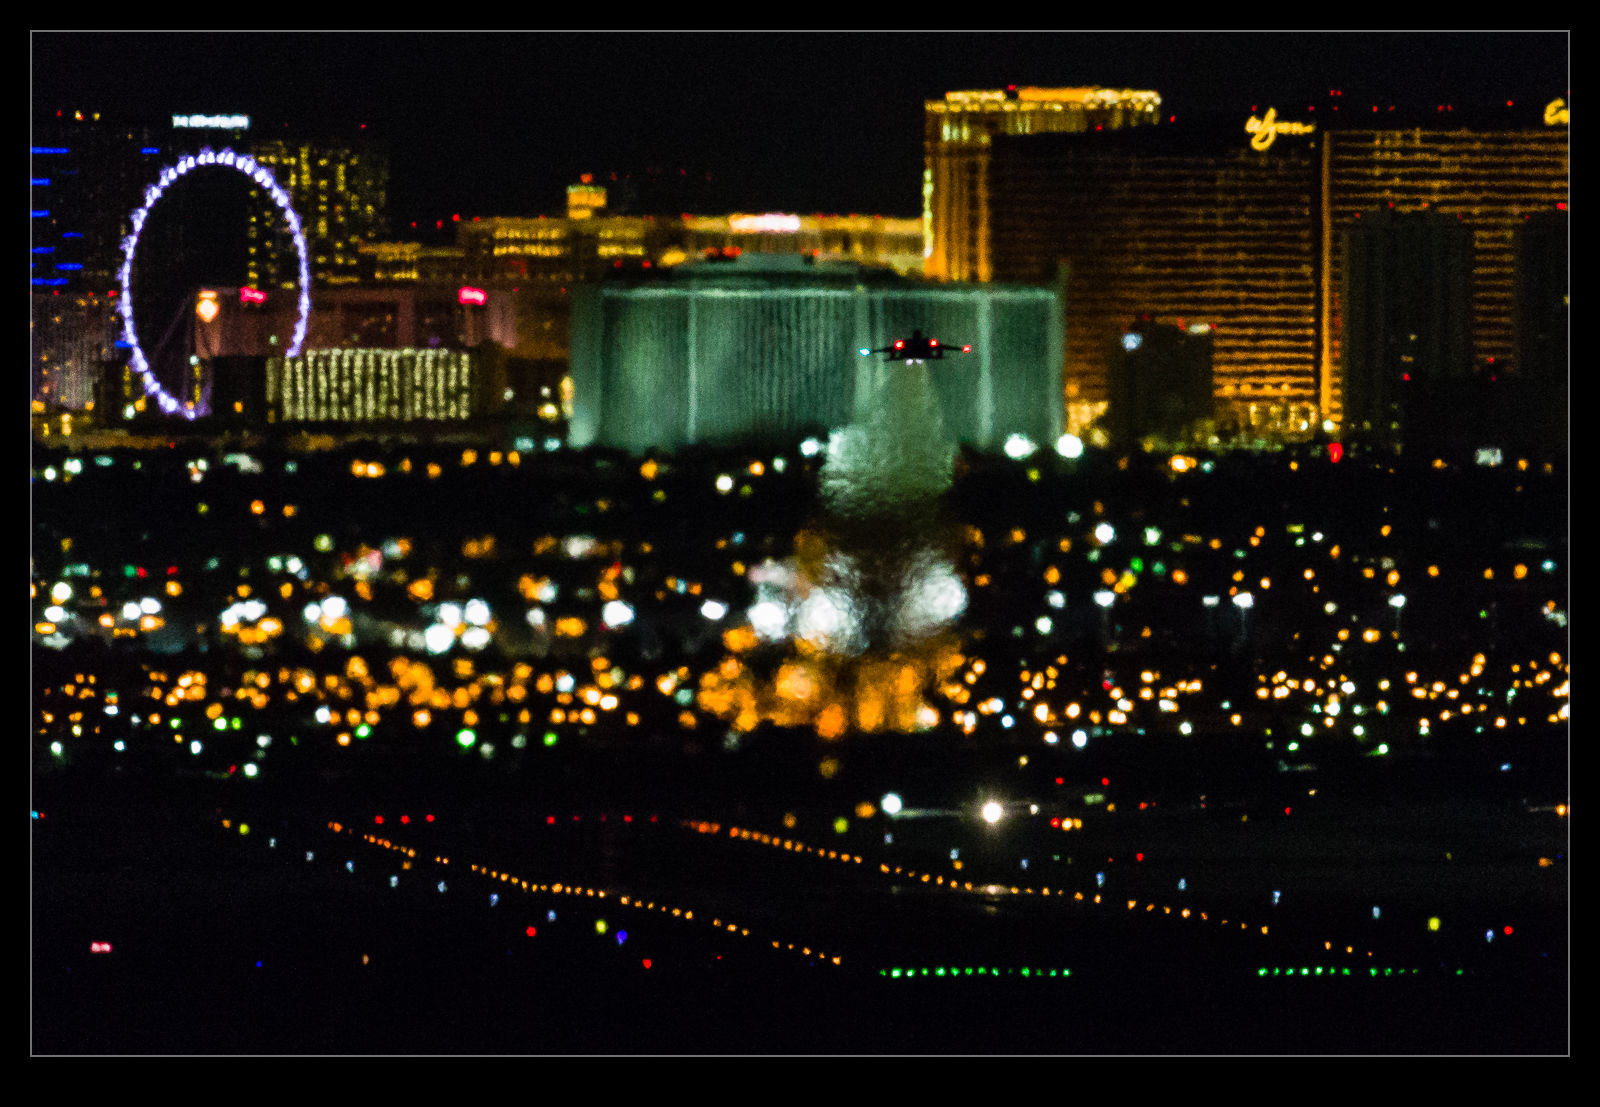
C59F5307.jpgThe evening launch at Red Flag is something I have had a go at on a number of occasions. Consequently, regular readers that pay close attention may feel that this post is a bit repetitive and they would be correct. I was a bit better prepared for the night launch than on previous occasions. I had brought a cable release and a Gorillapod to allow me to have a bit better a set up for the time lapse video of the launch. Meanwhile, I was shooting handheld with the second body.

C59F5147.jpgSadly, a couple of things were not working in my favor. First, it was pretty windy and, while I had the camera set up on the hood of the car, it was a bit vulnerable to movement as the car moved in the wind and the camera vibrated on the pod. Consequently, some of the video is less than ideal. However, conditions did seem to settle down a bit and the later part of the video seems to steady up a bit.

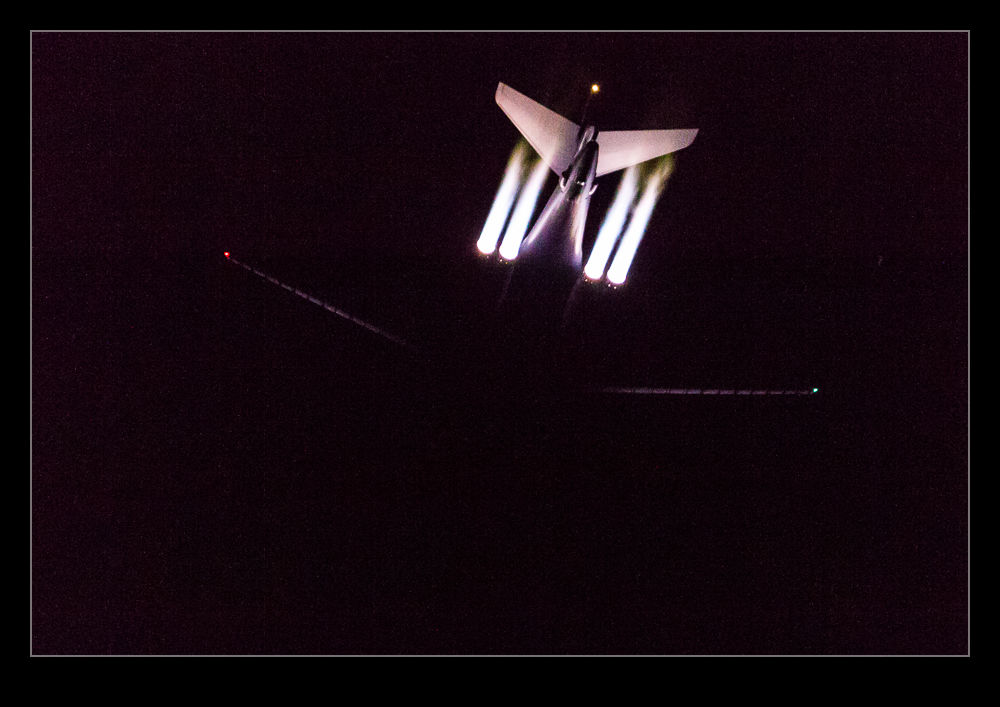
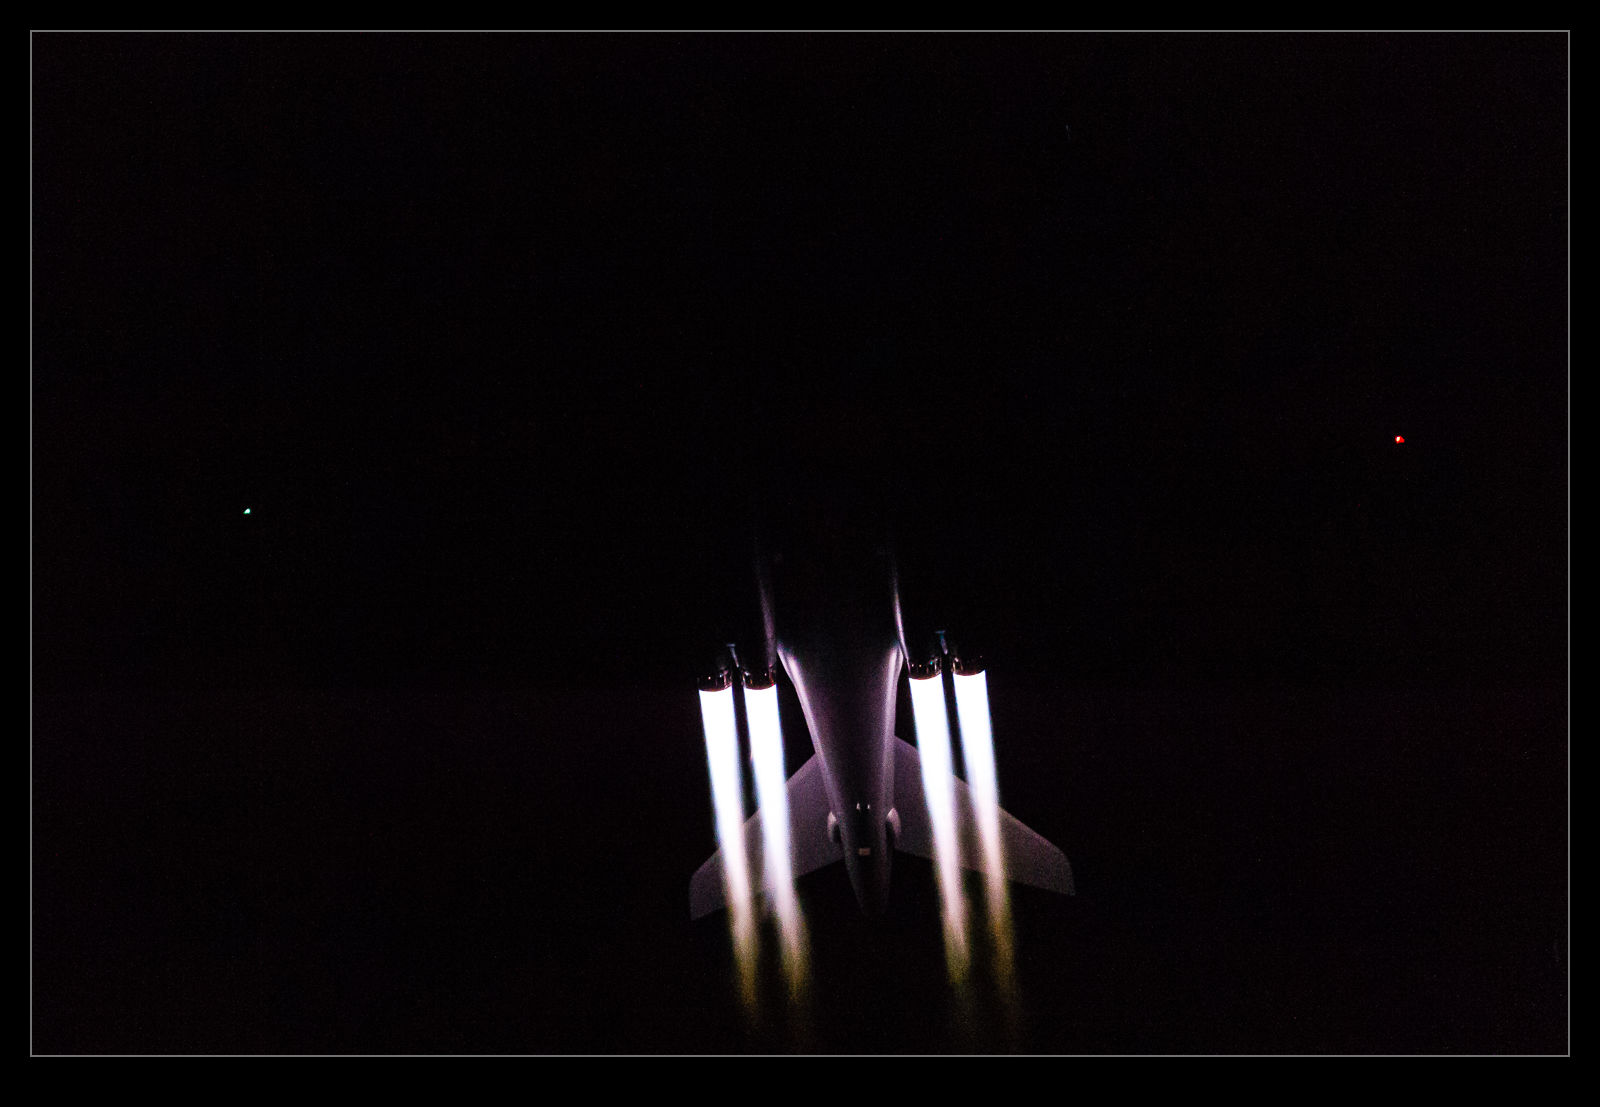
C59F5534.jpgSecond was that there was no moon. It was very dark and cold out there. I managed to get some shots of the B-1B launches but the only illumination was from the burners. No ambient light at all so they didn’t look as good as on previous attempts. I did try to stay for the whole launch and not to get the time lapse showing things in full swing when it ends but there is a limit to how long you want to hang out in the cold when everyone else has gone. I got most of the launch but I did see a bunch of jets head out as I passed the speedway. I probably should have tried getting some shots from there as they were still in burner at that point.

C59F5286.jpg

A Feel for the EOR

During the recent Red Flag 16-1, which I was covering for Global Aviation Resource, I got to spend a portion of the day at the South EOR.  EOR means end of the runway and this is where the planes come prior to taking off.  They go through their final checks before launching and we get to be very close to them.  I was mainly taking stills for the GAR feature but I got some video while I was there.  I wanted to have something that shows what it feels like and how close we were.  Consequently, some of the shots involve my fellow photographers so you can have some context of where we were.

Overview of a Nation’s Capital

The second leg of the journey that provided me with the storm video of Chicago was to Washington DC. For those that haven’t been there, Washington’s National Airport is located in the Potomac River. Approaches from the south come straight up the river but approaches from the north follow the winding line of the river to stay away from populated areas. It is quite a fun ride on a rough day.

On this day it was calm and evening was drawing in so there was a great view of the city as we made our approach. I shot some more video from the window using my phone and you can see all of the famous parts of the city. Enjoy!