Tag Archives: photoshop

Boeing 777-300ER Main Gear

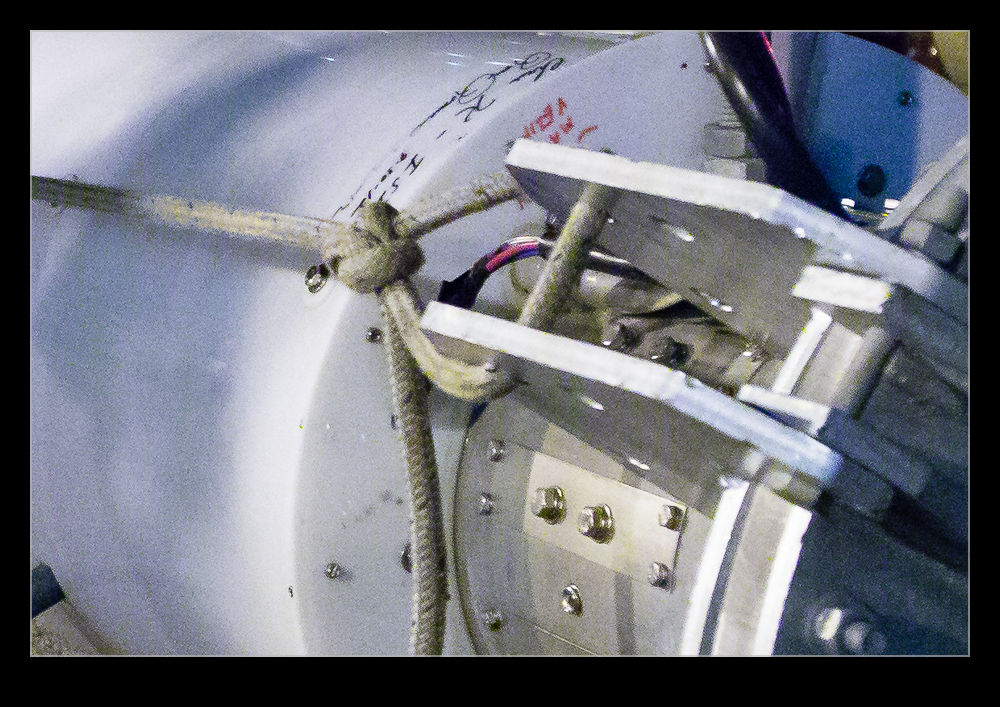
AU0E5067-EditWhen Boeing launched the 777-300ER, they took the stretched fuselage of the 777-300, a model that didn’t sell particularly well and married it to the updated wing that made use of the fuel capacity of the outboard portion of the wing that had been left when the original concept of a folding wing was contemplated.  The increased the weights of the jet, added far more powerful engines and, with the increased fuel capacity, came up with a winning formula that has done a very effective job of killing off the 747.

One problem that they had to deal with during development was runway length requirements for takeoff.  Even with the bigger engines, the long fuselage limited rotation angles at takeoff and meant a higher takeoff speed was required which meant a longer runway requirement.  Boeing came up with an interesting solution (after dumping some slightly more curious ideas).  The main gear on the 777 has a triple axle bogie.  Previously this had rotated about the pin attaching it to the main gear leg.  Boeing’s solution was to lock the bogie level during takeoff.

The result of this is to have the rotation of the jet at takeoff to take place around the rear wheels of the bogie rather than the gear leg pin.  The slight aft movement of the rotation point allows the aircraft to rotate slightly more nose up and gain a greater angle of attack.  This gives slightly more lift for a given speed.  This means an earlier takeoff and a shorter runway requirement.

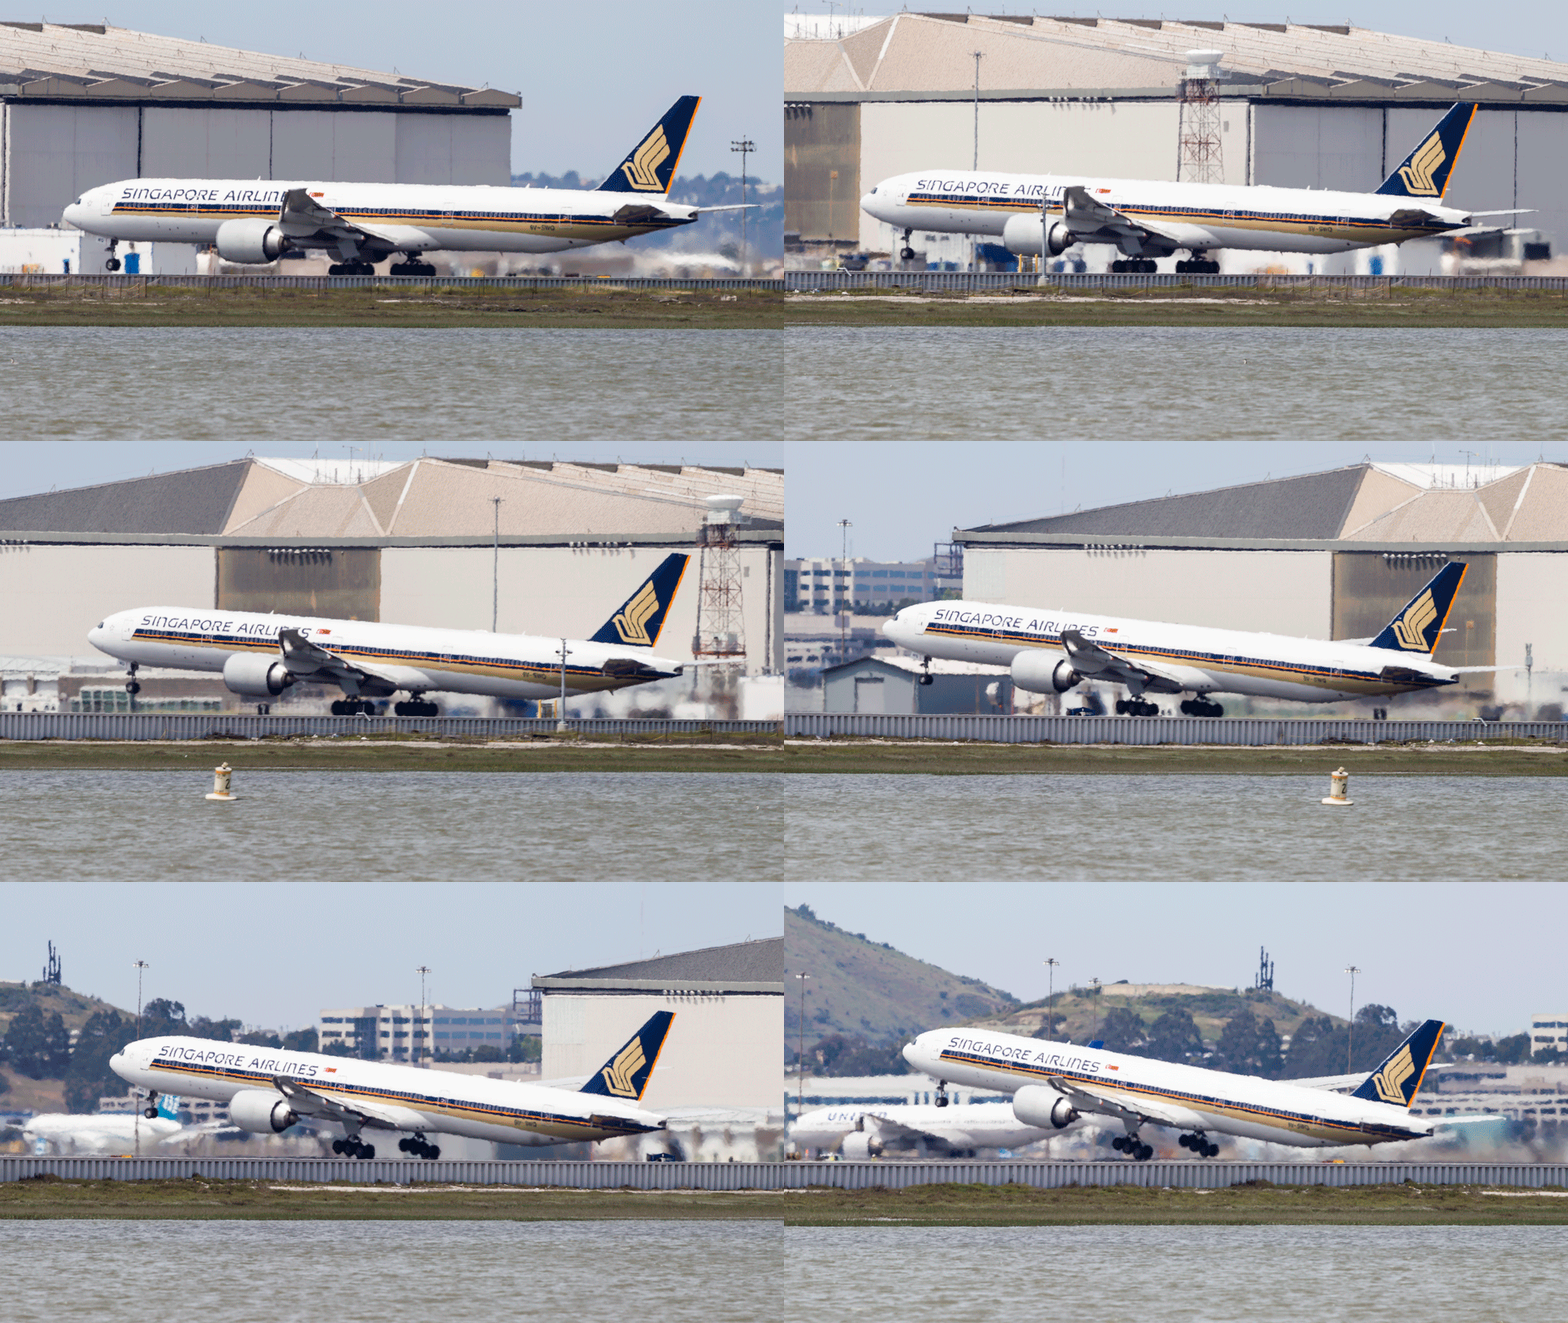
I have tried many times to witness this at work.  First, it happens pretty quickly.  Second, I am often in a poor position to see the rotation point.  Recently I was at SFO to pick up some people.  I was getting a few shots prior to their flight arriving and a Singapore 777-300ER was taking off.  The rotation point is quite far away (although, if you are in the terminal, you might have a good view) and the heat haze is a problem.  However, I decided to get a sequence of shots anyway.  Now, how to use them.

Heat haze is crappy on stills but less of an issue with moving images so I decided to animate the sequence.  I imported all of the shots into Photoshop as layers in a single document via Lightroom.  The hardest part was aligning them.  I started at the bottom layer and then progressively made each layer above visible.  I then changed the latest top layer blend mode to difference.  This makes aligning them a lot easier since everything is black unless it is different.  I was focused on the gear so used that as the reference as the fuselage rotated.  Once each layer was in place, I changed the blend mode back to normal and moved to the next layer up.

Once they were all aligned, I used the animation timeline to make frames from each layer (and reversed the order since every time I do this they seem to be the wrong way around).  Then I could crop in to get the overall view I was after and save the file.  A Save for Web allows the generation of the animated GIF and we are done.  The image at the top is the final result.  It does allow you to see a bit of what is going on if you look closely although it is still a bit hard given the distance, the angle to the ground and the heat haze.  I guess I will have to find a location closer next time.
Updated Approach to Lightroom Catalogs

I have been a user of Lightroom since Adobe release version 1 quite a few years ago.  It has been a very useful tool for me and something that dominates my workflow.  In the early days, there were issues with the number of images that a catalog could have before it started to respond sluggishly.  Consequently, I created a series of different catalogs for different subject areas.  Military aircraft were in one, civil in another, wildlife in a third, sports in a fourth and so on.  This system was fine to use although it had a few minor drawbacks in that some images would be in more the one catalog.  I would import them to one and then export them to the other.  However, as I edited one version, the other one did not always keep up despite saving the sidecar files to disc.

At some point, Adobe updated the functionality of the application and it was no longer so constrained by the number of files in a catalog.  However, I had a series of catalogs that I was familiar with so I didn’t pay much attention to this change.  However, over time, it occurred to me that I was making my life more complex than it needed to be.  I could probably cut down the number of catalogs dramatically and make the workflow a bit simpler.

I decided to have one catalog for all of my aviation related imagery and the other for everything else.  To do so, I created a new catalog for each of these and started importing from the other catalogs.  This was not as smooth a process as you might have imagined.  There were duplicate images as I knew and you could set the system up to make these virtual copies so nothing got lost along the way.  However, sometimes the import did not go well.  They were large catalogs coming into an even larger catalog and this caused some struggles.  I had to delete and start again at some points but ultimately I got it to work.  I did have to recreate some of the collections which did not transfer so easily in some cases but it is now done.

Did it make life easier?  Yes, it did.  Having just two catalogs is now a lot more straightforward.  Do they run just as well?  No.  The aviation catalog does seem to be a bit sluggish sometimes.  Usually it works fine but it is definitely not as responsive as the individual ones were.  I shall see how this develops over time.  A new machine is in the works so whether that will make a difference or not, we shall see.

Night Shoot at SFO

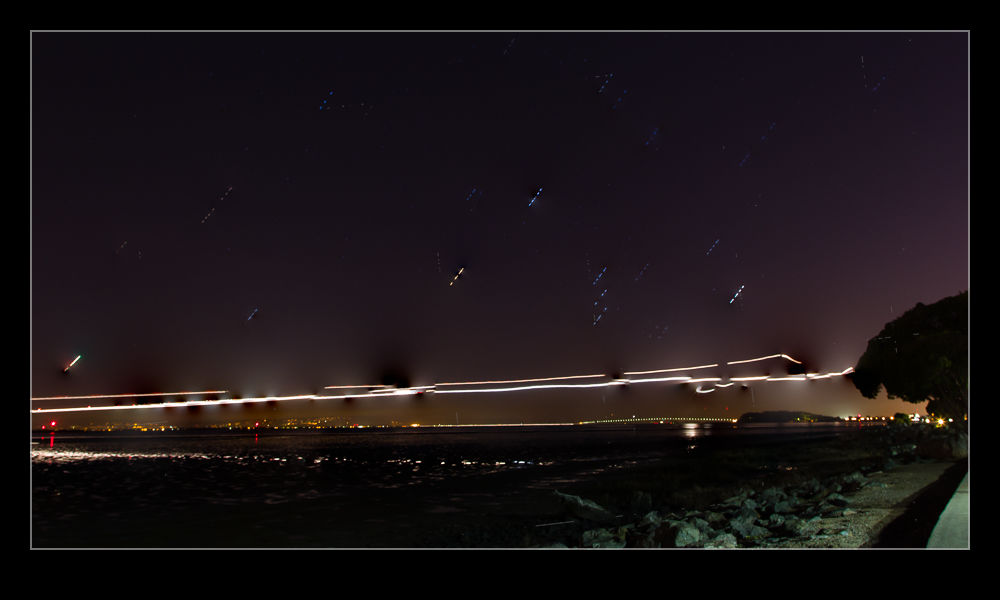
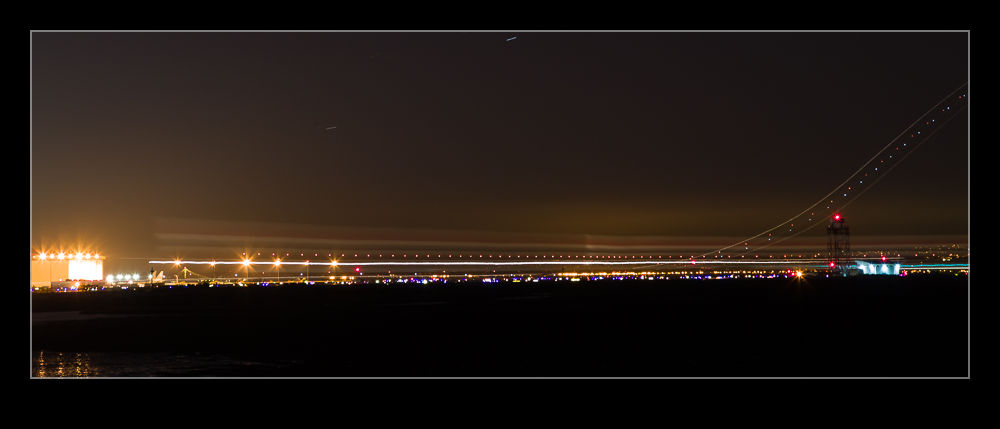
wpid8773-AU0E0813.jpgOne idea that Paul had was for us to have a go at shooting some light trails at SFO after it got dark.  This sounded like a good plan.  Unfortunately, we didn’t have any tripods or cable releases with us.  No matter.  Target was around the corner so we popped in there and bought a couple of $15 specials.  Hmm, these were quality items indeed.  Given how much a good tripod costs, can you imagine what a $15 tripod is like?

wpid8769-C59F4390-Edit.jpgHowever, we made the best of it.  Getting perfect alignment was tricky so some post processing cropping to level stuff up would be required.  The camera wobbled a lot on the tripod when touched so I chose to trigger it with the shutter button on a 2 second delay.  This allowed some wobbling to stop and, on a long exposure, any lingering wobble would be lost.

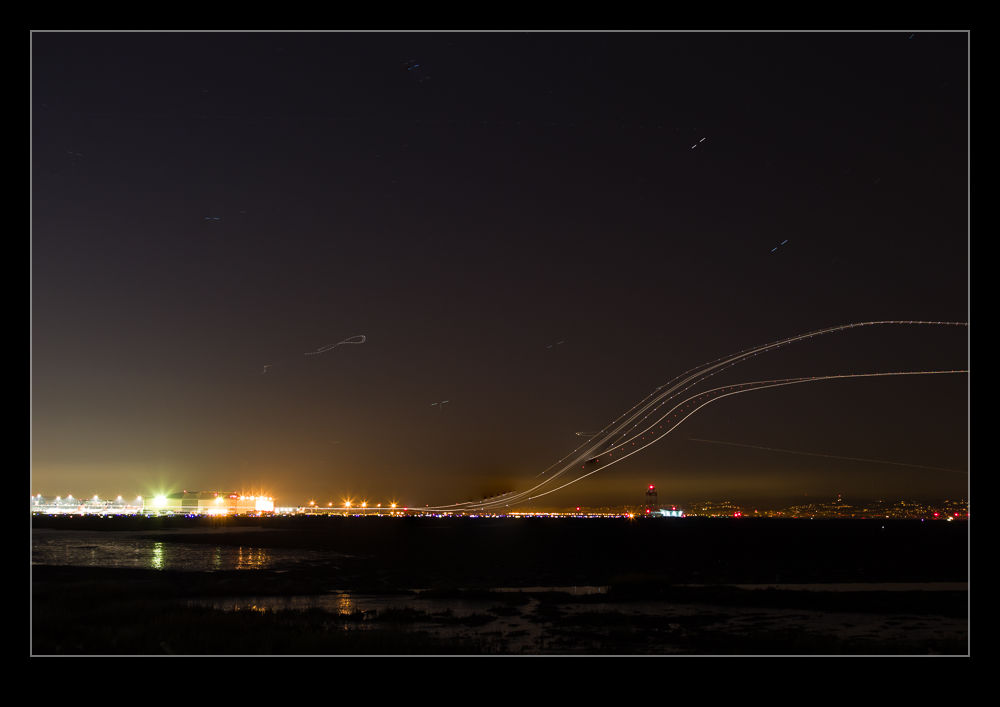
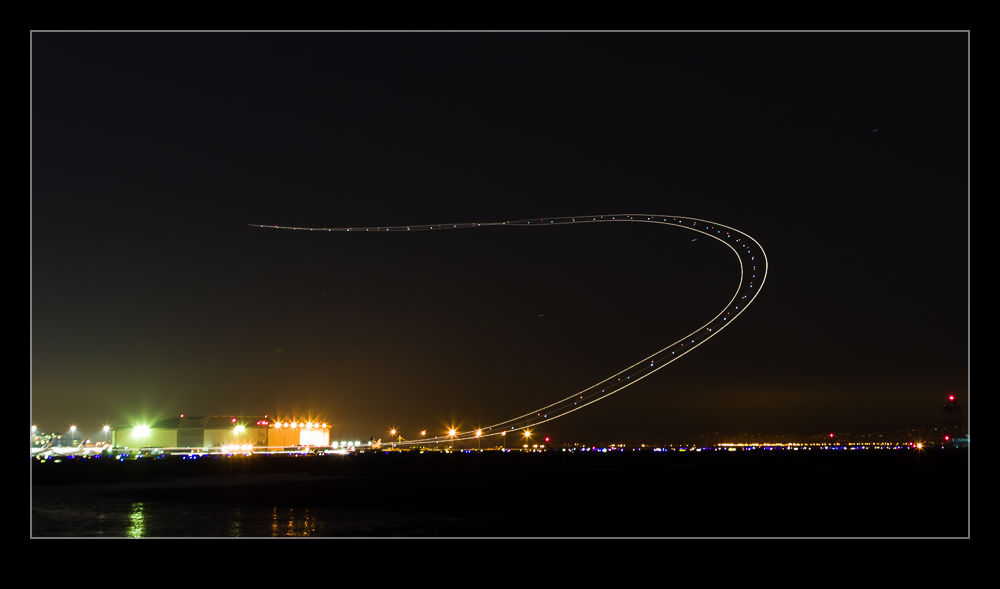
wpid8777-AU0E0811.jpgWe got some stuff but it wasn’t brilliant.  However, a short while later, I had to go to SFO to pick up some family members arriving on an evening flight so I decided to go a little earlier and try again, this time with some more appropriate kit in the form of a decent tripod and a cable release.  This time, I was able to control things a bit better and get a few shots of interest.  There wasn’t a huge amount of traffic so I didn’t get too many trails but I did get a slowly taxiing British Airways 747 which left an interesting smear across the frame.

wpid8771-AU0E0793-Edit.jpgThe alignment with the moving planes is not fantastic from where I was but it was okay.  Coyote Point looks like it might be better but I think it closes at sunset so I’m not sure whether that will be possible or not.  We shall see.

Playing with Blending Layers

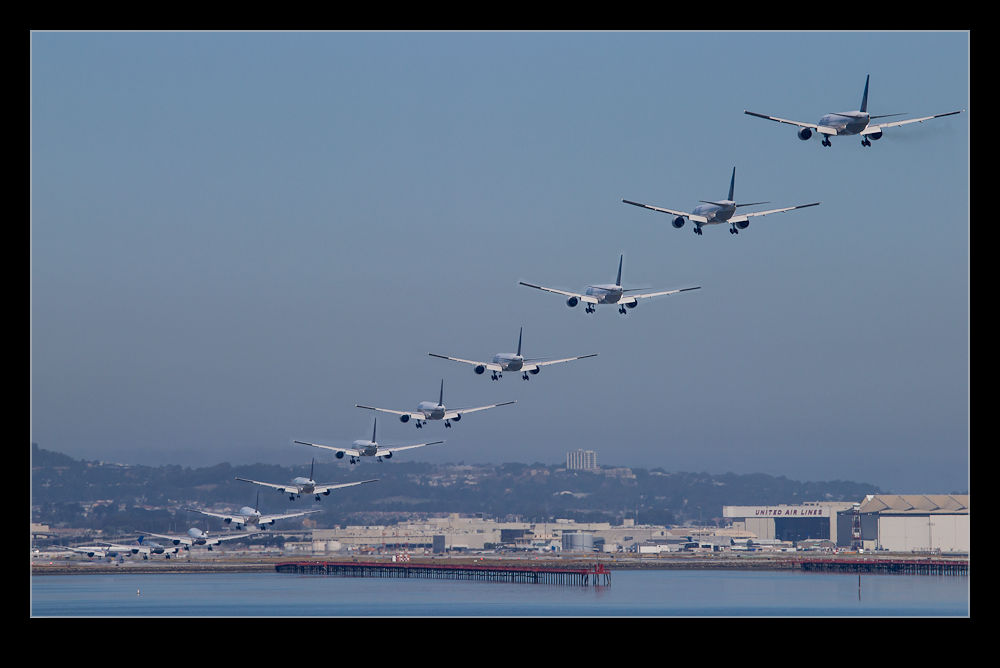
I have been making some shots with multiple exposures to overlay.  This is something I have posted about before and the shots here are similar to those from before.  However, this post is less about the shots and more about the post processing I used.  Previously I opened up all of the shots as layers in a single file and then auto-aligned them.  Once done, I then used the Auto Blend functionality to show each shot o the aircraft in place.

This was a lot quicker than my previous approach and was something I picked up from posts on photographing star trails.  However, recently, I have not been as happy with the results as I should have been.  Some of the planes, particularly those near to the edges, had some odd artifacts appearing.  Also, if there were any overlaps, the blending masks could give some weird effects.  Therefore, I have taken a different approach for a while.  This is slower, I admit, but I think it gives a better result.

Once the alignment of the images is done, I hide them all except the bottom layer by Alt clicking on the eye beside the last layer.  Then I add the next layer up back in but mask it out completely.  A white brush on the mask then allows me to paint back in the new aircraft positions.  This is a bit laborious but it does allow you to decide exactly what you want in and what you don’t.  if one file is not helpful to the composition, you can easily ignore it.

If the layers are not all exactly aligned from shooting on a tripod, you will also get gaps at the edges on different layers.  You can also fill these in by brushing in the layers that provide the right coverage and get a complete image.  Once you are happy, flatten the whole thing and you are done.

Changing My Approach to Panoramas

Ever since Adobe got their act together with the Photomerge function in Photoshop, it has been my default for creating panoramas.  Previous versions were a little unreliable but they cracked it a few versions back and I have not changed my approach since.  However, a recent bit of YouTube exploring has changed that again.  Russell Brown had a series of videos on making panoramas from aerial shots and, while I was watching them because they were aerials, the stuff he came up with on stitching panos was actually more useful to me.

Instead of using Photomerge, he uses the same functionality of Photoshop but in individual steps.  The technique involves opening all of the shots as layers in a single file (something you can do straight from Lightroom which maintains the re-import linkage that I like about Photomerge).  Then you select all layers and use Edit>Auto Align Layers.  This gives you the same options as Photomerge.  Apparently, according to Russell, if you have a series of shots where you have rotated position but are looking horizontally, Spherical works best.  If you are looking up or down, use Circular.

The result can be quite distorted if you use Circular but it will all get better soon.  If you aren’t happy, you can undo the step which is a lot easier than starting from scratch which is what you would have to do in Photomerge.  Once the alignment is done, Edit>Auto Blend Layers while take care of the rest of the stitching and blend everything together nicely.  It defaults to a Panorama blending option.

With the blend done, flatten the layers and open Filters>Adaptive Wide Angle.  This will default to a panorama setting and, if you have the distorted output from the Circular settings, now you will suddenly see everything come back to what it should be.  You can tweak this filter to get verticals and horizontals aligned as you wish and then you end up with a good pano output.  Some cropping and filling of blank areas with Content-Aware fill and the job is done.  I shall be taking this approach for all my panos from now on.  If you don’t use this approach already, you might want to give it a try.

Also, you can go to the original source on this and check out Russell’s videos on YouTube.

Photoshop CC Shake Reduction

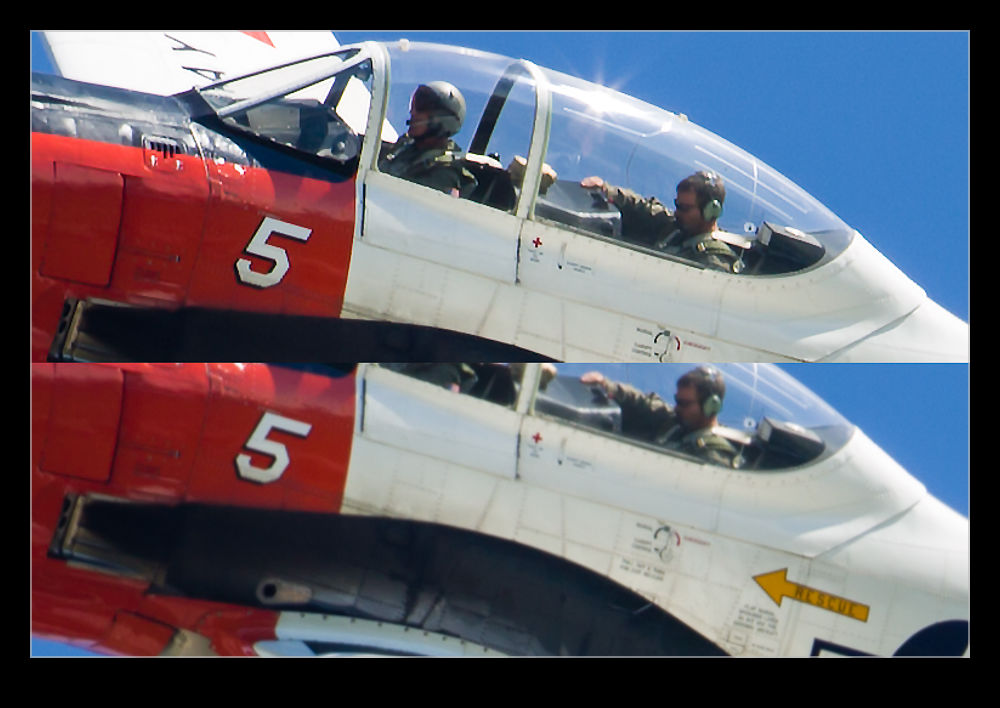
While a lot of people have been quite vexed by the introduction of a subscription based approach to the Adobe software suite including Photoshop, I decided to get over it and upgrade to Photoshop CC.  One of the features introduced in CC is Shake Reduction.  This is an effort at dealing with motion blur in images.  It isn’t going to rescue a crappy shot but it is potentially able to to take an almost good shot and rescue it.  I decided to experiment with it on an image I recently took.

wpid7287-C59F2218-Edit-2.jpgThe image above is a combination of the original image without sharpening and the filtered version.  (It is recommended that you turn off sharpening before running the filter or it will make things break up more.)  The effect actually seems to be quite useful.  I should note that I tried it on several shots and they didn’t all respond as well to the filter.  However, it did make quite a good upgrade to this image.  I shall potentially use this again if there is an image I really like that is not quite as sharp as I would like.  Another tool to potentially use but not one I think I can rely on.

32 Bit HDR

wpid5294-C59F0909-Edit.jpgWhile HDR might be a topic that causes all sorts of heartache for some people (they either love it or loathe it), I find it to be a really useful tool in some situations.  I have played around with some really over the top processing in the past just for the fun of it but my main interest has been in getting an image that can cope with the wide range of lighting that sometimes shows up in images.  While I have experimented with some of the third party HDR packages, I have ultimately ended up using the HDR Pro functionality of Photoshop.

This has been working okay for me but I was always a little less than satisfied with the results.  I have understood that the HDR merging process is only the first part of the technique and then the Develop settings in Lightroom (or ACR) are required to make the whole thing work a lot more effectively.  However, the slightly flatter look along with a level of desaturation that it was hard to bring back meant I was almost there but not quite.

wpid5292-C59F0909-Edit-2.jpgA recent change that has been introduced and which it took me a while to get around to playing with was the 32 bit HDR approach.  In this, the original files are merged to create a 32 bit TIF file.  Getting to this from Lightroom required me to tweak my settings slightly. I always had the file edit settings laid out to make a PSD file.  I had to tweak them to make TIF the preferred file.  I have to remember this so that I don’t always have TIF output instead of PSD which seems to have a smaller file size.

Once you get into HDR Pro, the choice in the tab at the top covers whether you want 8 biit, 16 bit or 32 bit output.  I had previously been using 16 bit.  This includes a lot of sliders that give you options as to what you want the output to look like.  If you change to 32 bit, there is a single slider. It shows you an effect of changing the white point but I don’t think it actually changes the output file.  You decide whether any ghost removal is required as with the 16 bit file and then click to get it on its way.  Once the final file is created, I just save it and go back to Lightroom.

wpid5290-C59F0911.jpgHere, the Develop module is changed in its functionality.  You can make some pretty aggressive changes with the sliders compared to a normal RAW file.  You can work with the exposure, the shadows and highlights and the contract as well as using the Clarity and Vibrance to punch up the image.  The nice thing is that the results are a lot more natural looking.  You don’t have the really crazy styles and you don’t have the flat look that sometimes is the result with the traditional approach.

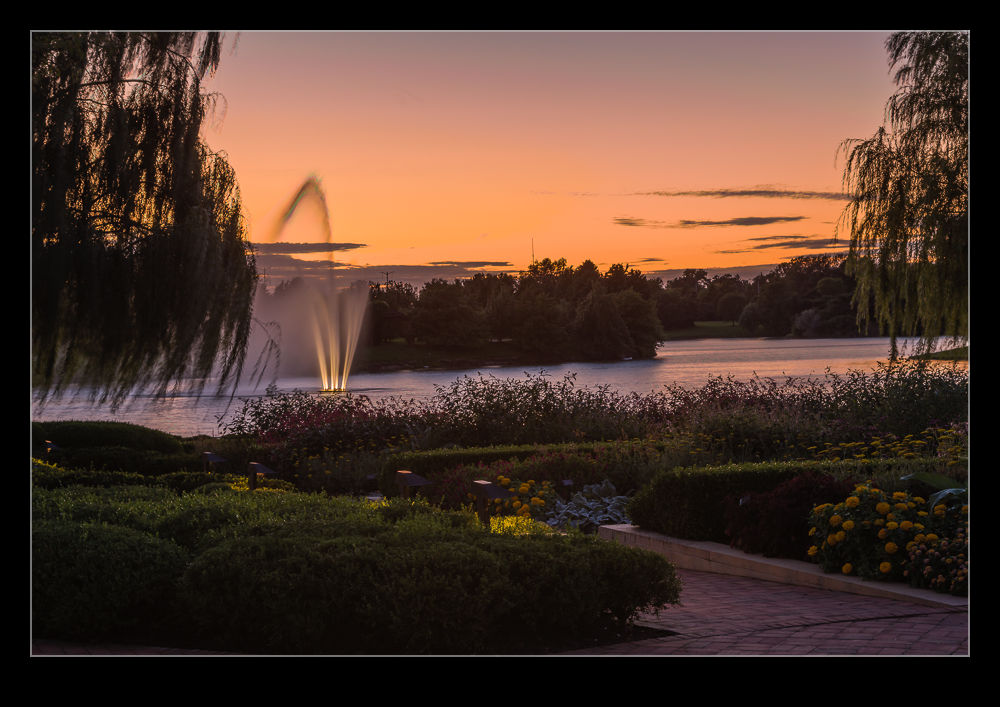
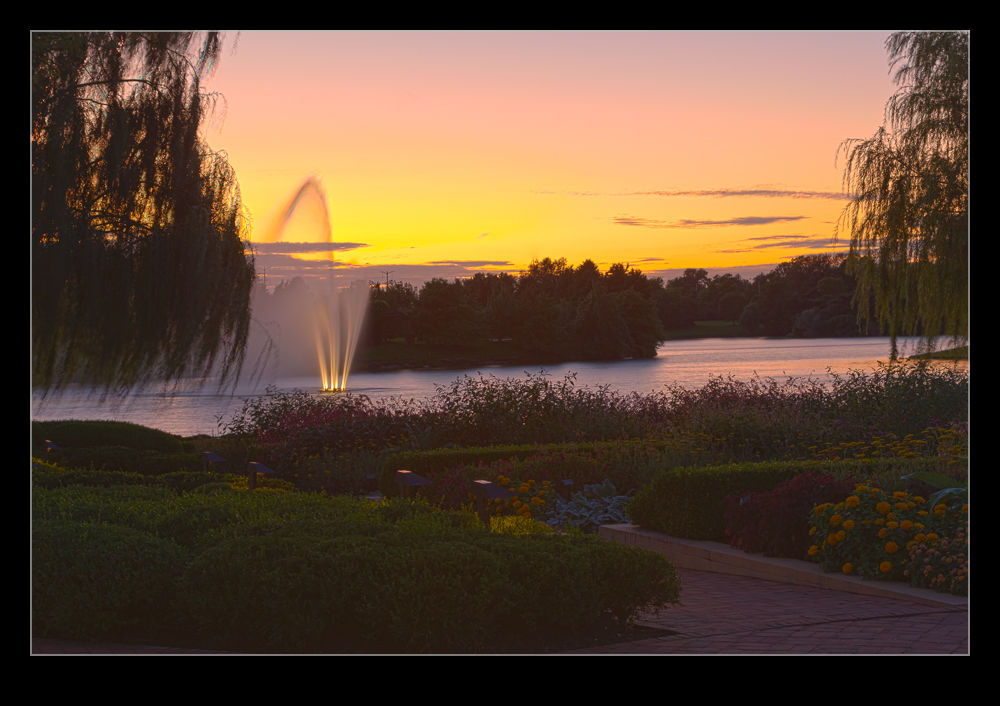
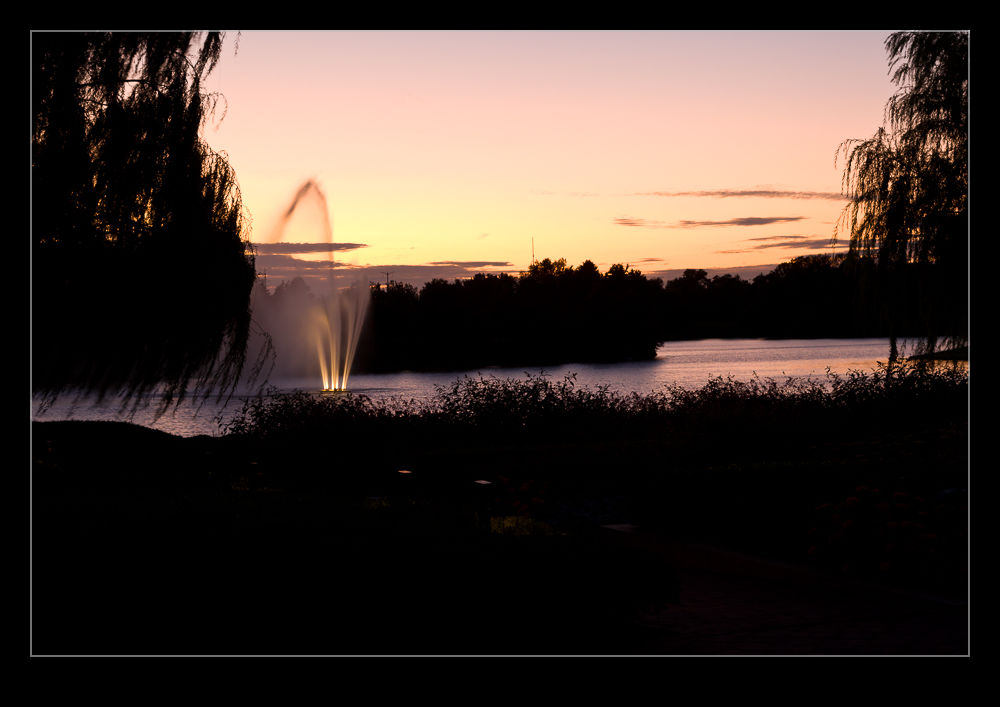
HDR is not a huge part of what I do but I am interested in having a better result.  I am not interested in investing in new software to achieve this when it is an infrequent issue for me and not usually something that a client cares about.  However, the fact I can now do a better job with the software I already have is a great step forward.  As for these three examples, the top is the new process, the middle is the old way and the bottom is using Lightroom to try and get detail from a single RAW file.

Playing with Noise Reduction

One of the biggest developments that there has been in digital imaging in recent years has been the improvement of performance in low light.  A few years ago, it was hard to get a decent image at above ISO400 and much post processing work was required to try and make the images workable.  Plug-ins for noise reduction were very popular.  However, the camera manufacturers have been very aggressive in developing chips and processors that allow shooting at ISO levels that would have been unthinkable a while back.  You hear of cameras being perfectly acceptable at ISO6400 and above.

My cameras are not the newest on the market but there are certainly not slouches in low light.  However, I have never been terribly happy with the performance at high ISO settings with the image breaking up a bit when viewed up close.  This is where I have to admit that I can be a complete idiot sometimes.

I shoot RAW all of the time and then process the images in Lightroom.  I have created some presets of development settings that I apply each time I import an image and which then acts as the starting point for any additional editing.  This is where my problem lies and why it has taken me so long to realize it I can’t imagine.  Anyway, enough of the self-flagellation and on with the topic.

The problem lies in the Detail section of the Develop module.  This is where sharpening and noise reduction are applied.  I have some basic settings I start with here and, when I was importing shots taken at high ISO settings, I was not changing them.  I would play with the noise reduction but things still didn’t look right.  The problem was, of course, the sharpening.  The basic setting I had entered was sharpening far too much for the ISO setting and was causing some odd breakup of the image.  I finally realized this one morning while lying in bed – I have no idea why I was thinking of this but it suddenly came to me.

I got up and opened some high ISO images and went to the detail area.  I zeroed out the sharpening and the noise reduction.  Everything looked awful.  Then I brought back the noise reduction and things suddenly started looking a lot better.  When I was happy with the noise, it was time to bring back some sharpening.  Things were a little soft after the noise was taken out so the sharpening brought back a bit of punch to the image.  A tweak on the amount and opening up the radius a bit made things look good.  Then a more aggressive level of masking of the sharpening and suddenly the image was looking way better than before.

When I was happy with things, I saved a new preset that was just sharpening and noise reduction and labeled it as High ISO Detail.  Now I can apply it to any images that need it and be in a far better starting position for further processing.  Each image will require its own approach if I am going to make more effort on post processing but I will now be starting from a far cleaner place.  The samples above are comparison of approximately 100% crops with my original settings and the revised approach.  Hopefully you can see the difference.  It might be annoying to realize you have been missing something for so long but at least I finally worked it out!

Experimenting with Multiple Exposures

Right away I must admit that this is not my idea.  I know that is true of many photographic tools but I once saw someone do something just like this and I wanted to try it out myself.  The question was how to go about it.  I improvised a bit and trusted the camera to do what I wanted which it didn’t always do so I have learned some lessons already.

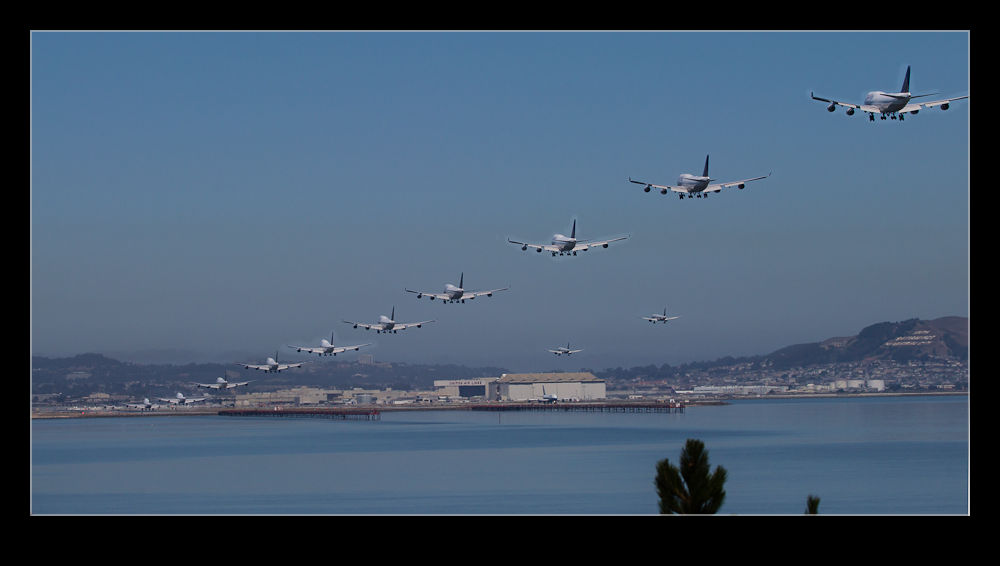
The idea is to take multiple exposures of aircraft on the approach and then combine them into one image in which the aircraft appear multiple times.  I would set myself up in a position and then take a sequence of shots as the aircraft moved through the frame.  My first mistake was that, because I was taking the same shot each time, I thought the exposure would not change.  Not true!  The camera will make some minor tweaks and this will make the whole thing less easy.  White balance may also vary but I shoot in raw so syncing that afterwards is no problem.

Since I was not using a tripod, the shots are not all perfectly aligned.  I took all the images in Lightroom and used the Open as Layers option to Photoshop.  Then I used the auto align layers option to get everything perfectly in place.  It is surprising just how much you move doing something like this!  I originally thought I could just set every layer above the base one to Difference blending mode and everything would pop right out.  However, that didn’t work as I had hoped.  The aircraft all had an odd color cast.

Instead, I put a layer mask on each upper layer and then painted in the aircraft one layer at a time.  This is more time consuming but it did the trick.  Of course, if the exposures are perfectly matched, you don’t have to paint too accurately.  if not, the sky color is different so a far more accurate painting on the layer mask is required.

This was a fun thing to experiment with.  SFO is a great spot since you can get parallel approaches in one direction and parallel departures on the cross runway.  This puts lots of aircraft in a single shot which makes it more interesting.  Another time, I will take the lessons from this time and try and get them a bit better.

Glorious Cheating!

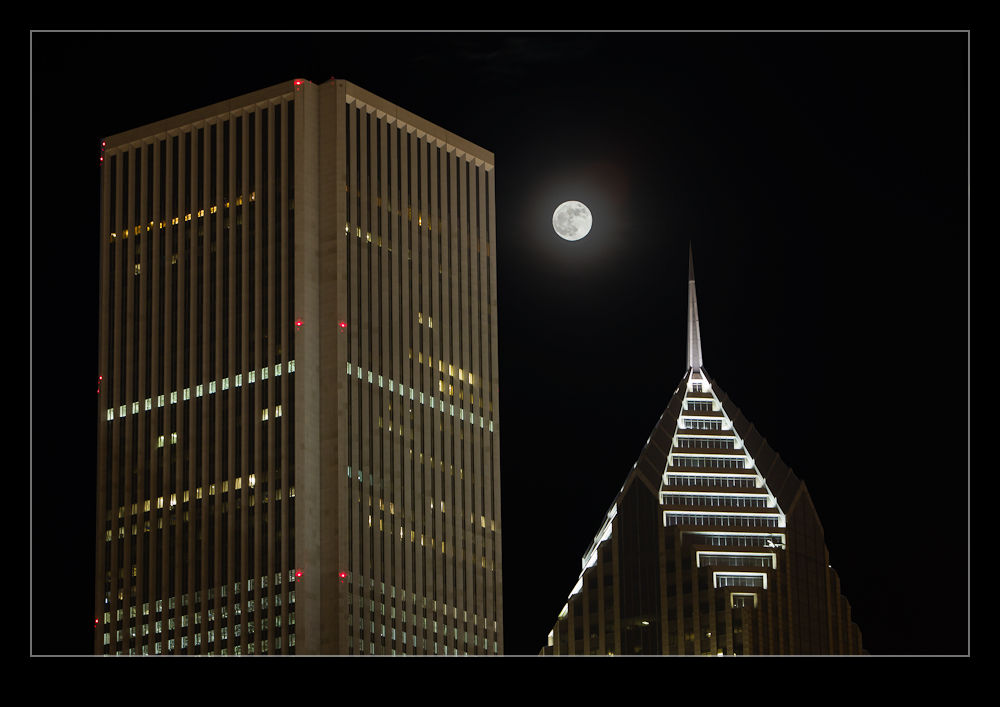
The moon was supposed to be at its biggest recently. I was all ready to head down to the lakefront and get some shots as it rose and the atmosphere magnified it to the greatest extent possible. However, as the afternoon started to wind down, the fog started to roll in. As the sun was setting, the fog banks were wafting between the buildings around us and you couldn’t see the harbor wall let alone the horizon. Oh well, what can you do?

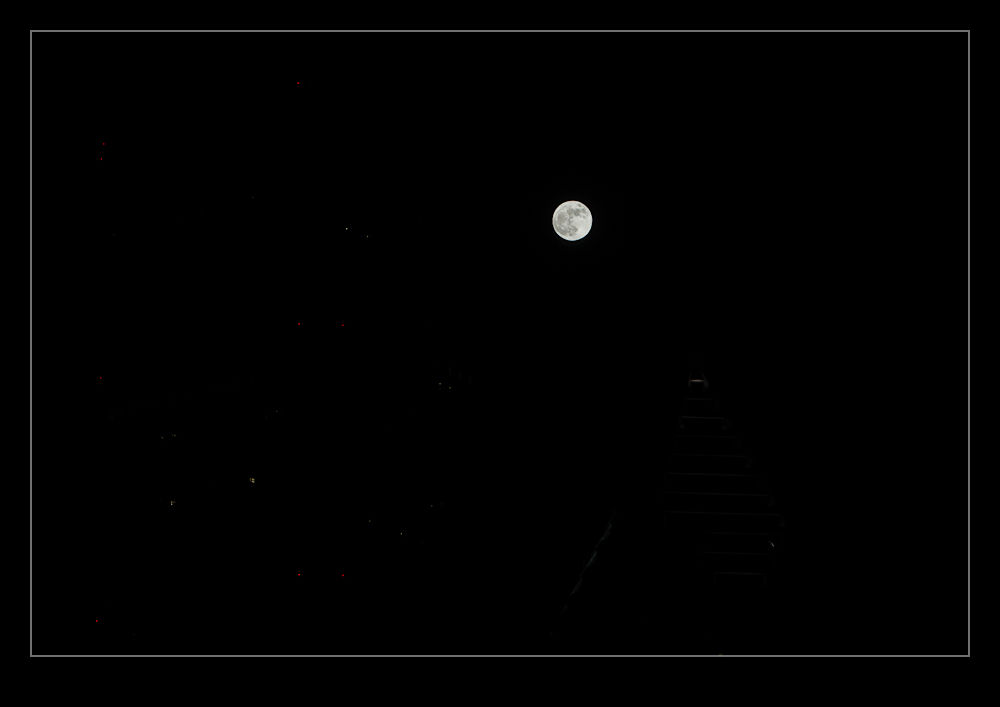
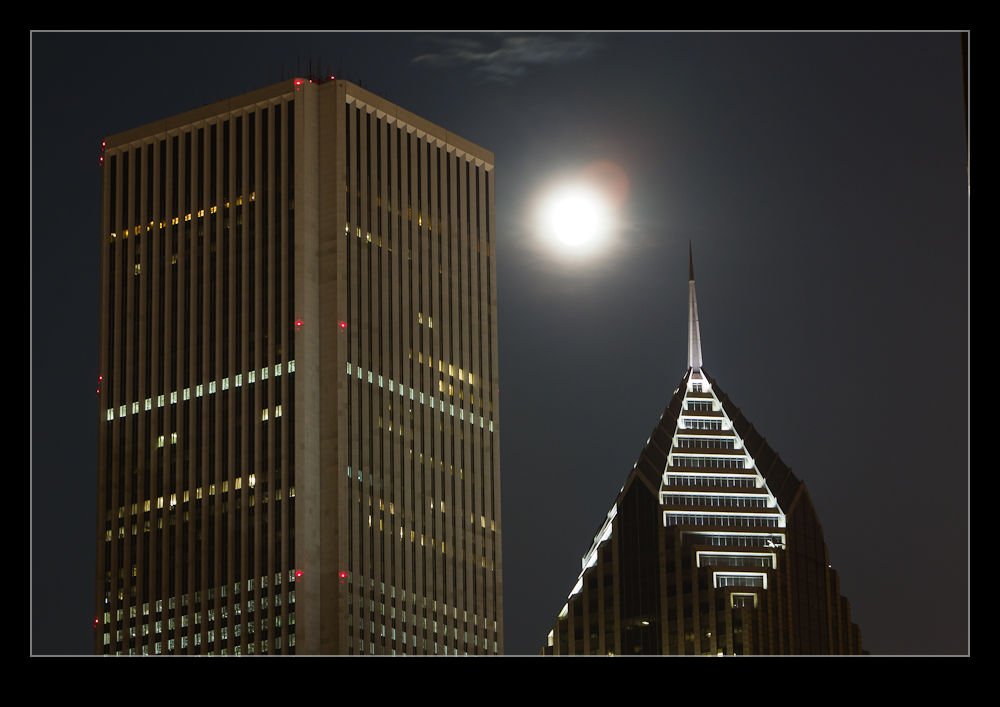
As the evening rolled on, the fog finally cleared out but, by then, it was too late. The moon did appear amongst some of the buildings so, while it didn’t look significantly different to normal, I still decided to get a couple of shots. The problem with this is that the moon is effectively in sunlight while the city is in night. The top picture is the cheat that resulted. Below are the two shots I took next to each other. One was exposed for the buildings and the other was for the moon. A bit of layering and masking in Photoshop was necessary to get the result at the top. I am not a Photoshop wizard and I suspect those that know their stuff would tell me why it is not as well executed as it could be but this was hardly a client job! Just a bit of fun.