One of the biggest developments that there has been in digital imaging in recent years has been the improvement of performance in low light. A few years ago, it was hard to get a decent image at above ISO400 and much post processing work was required to try and make the images workable. Plug-ins for noise reduction were very popular. However, the camera manufacturers have been very aggressive in developing chips and processors that allow shooting at ISO levels that would have been unthinkable a while back. You hear of cameras being perfectly acceptable at ISO6400 and above.
My cameras are not the newest on the market but there are certainly not slouches in low light. However, I have never been terribly happy with the performance at high ISO settings with the image breaking up a bit when viewed up close. This is where I have to admit that I can be a complete idiot sometimes.

 I shoot RAW all of the time and then process the images in Lightroom. I have created some presets of development settings that I apply each time I import an image and which then acts as the starting point for any additional editing. This is where my problem lies and why it has taken me so long to realize it I can’t imagine. Anyway, enough of the self-flagellation and on with the topic.
The problem lies in the Detail section of the Develop module. This is where sharpening and noise reduction are applied. I have some basic settings I start with here and, when I was importing shots taken at high ISO settings, I was not changing them. I would play with the noise reduction but things still didn’t look right. The problem was, of course, the sharpening. The basic setting I had entered was sharpening far too much for the ISO setting and was causing some odd breakup of the image. I finally realized this one morning while lying in bed – I have no idea why I was thinking of this but it suddenly came to me.

 I got up and opened some high ISO images and went to the detail area. I zeroed out the sharpening and the noise reduction. Everything looked awful. Then I brought back the noise reduction and things suddenly started looking a lot better. When I was happy with the noise, it was time to bring back some sharpening. Things were a little soft after the noise was taken out so the sharpening brought back a bit of punch to the image. A tweak on the amount and opening up the radius a bit made things look good. Then a more aggressive level of masking of the sharpening and suddenly the image was looking way better than before.
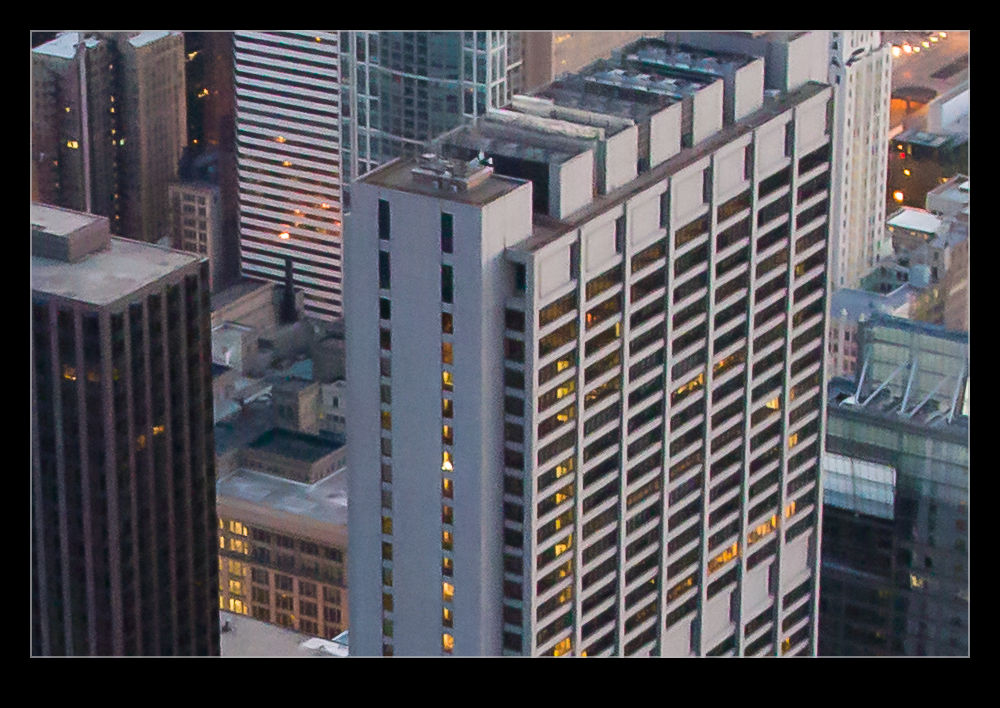
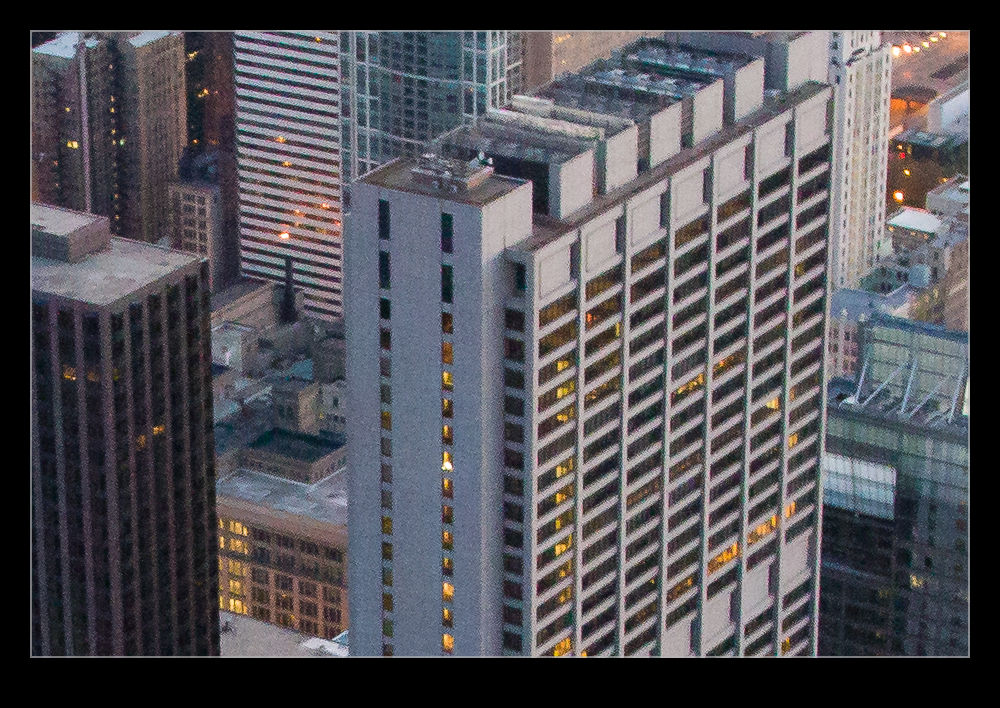
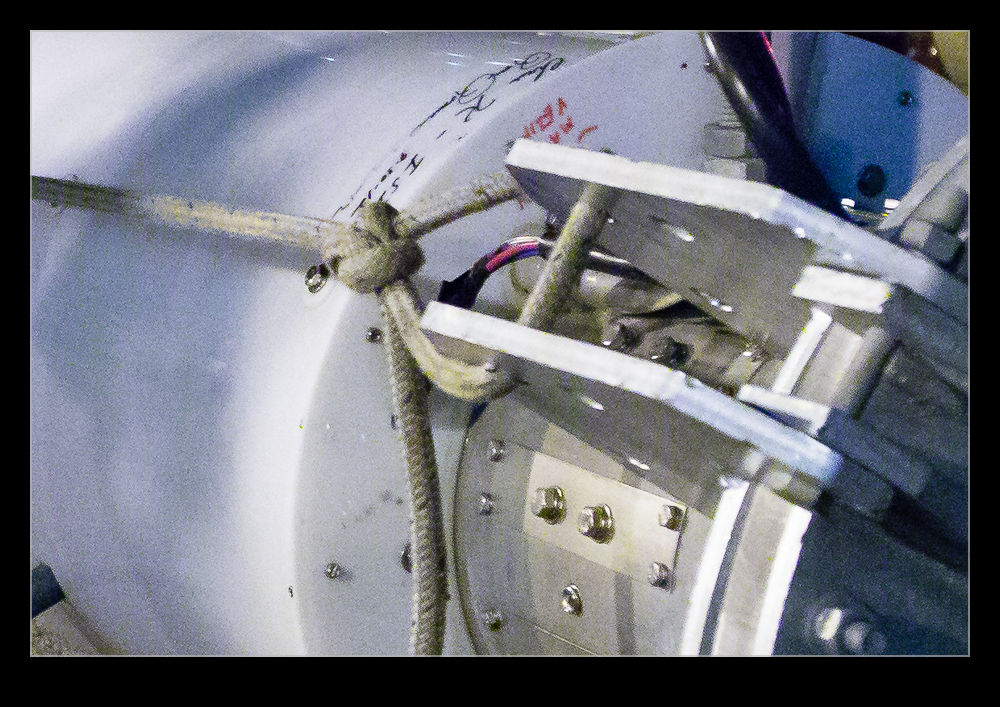
When I was happy with things, I saved a new preset that was just sharpening and noise reduction and labeled it as High ISO Detail. Now I can apply it to any images that need it and be in a far better starting position for further processing. Each image will require its own approach if I am going to make more effort on post processing but I will now be starting from a far cleaner place. The samples above are comparison of approximately 100% crops with my original settings and the revised approach. Hopefully you can see the difference. It might be annoying to realize you have been missing something for so long but at least I finally worked it out!