Category Archives: technique

HDR 32 Bit and Lightroom

This post is a plea for help. Anyone who is a regular user of Lightroom and Photoshop may be in a position to educate me a little. I use Photoshop to process my HDR shots. I start out in Lightroom, select the shots and use the Edit Photo>HDR Pro method to open them up in Photoshop. I then use the 32 bit version of the HDR Pro processor to create the file. I then take the Edit Using Adobe Camera Raw option for opening the file to undertake the final mapping. This works pretty well and I can usually get something I am happy with.

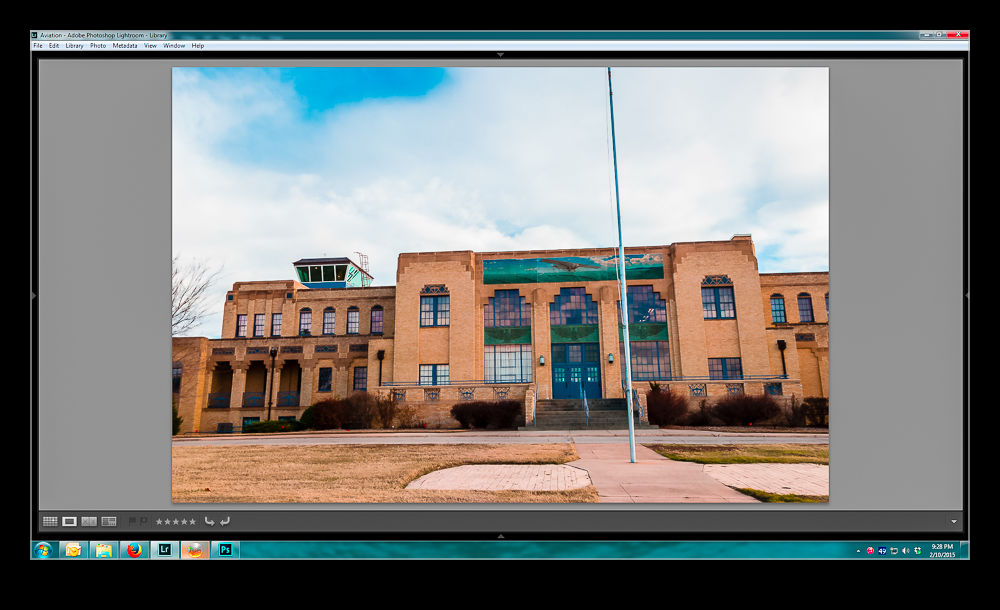
I then close the file and save it which automatically reimports the finished file back into Lightroom. This is when things go wrong. The view of the file in Lightroom doesn’t appear to make use of any of the edits I had done in ACR. The highlights are too bright and the shadows too dark. I can then use the Lightroom Develop settings to get something close to what I want but surely that should not be necessary. I might make further tweaks but shouldn’t it look the same when I close out of Photoshop.

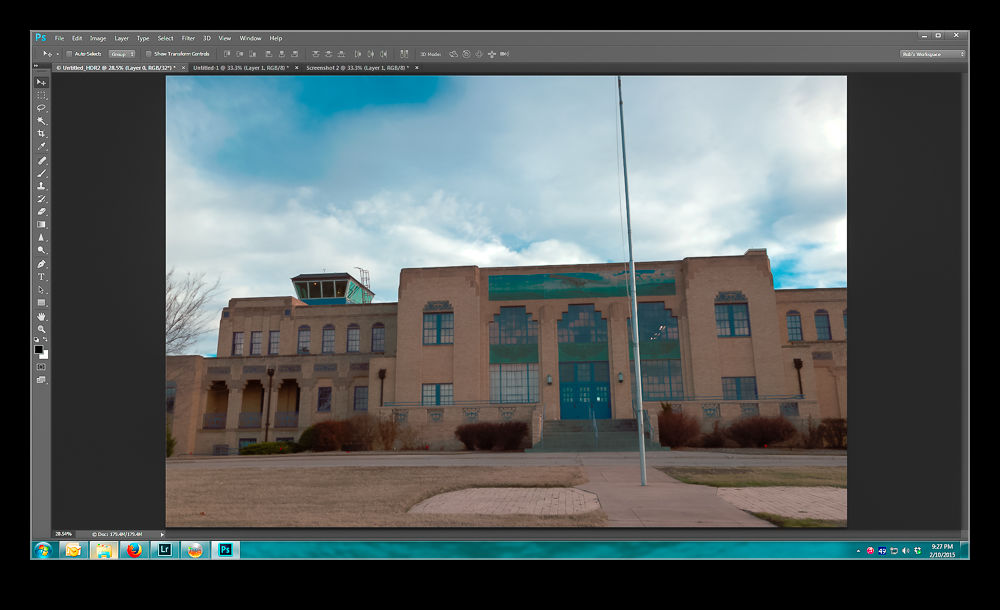
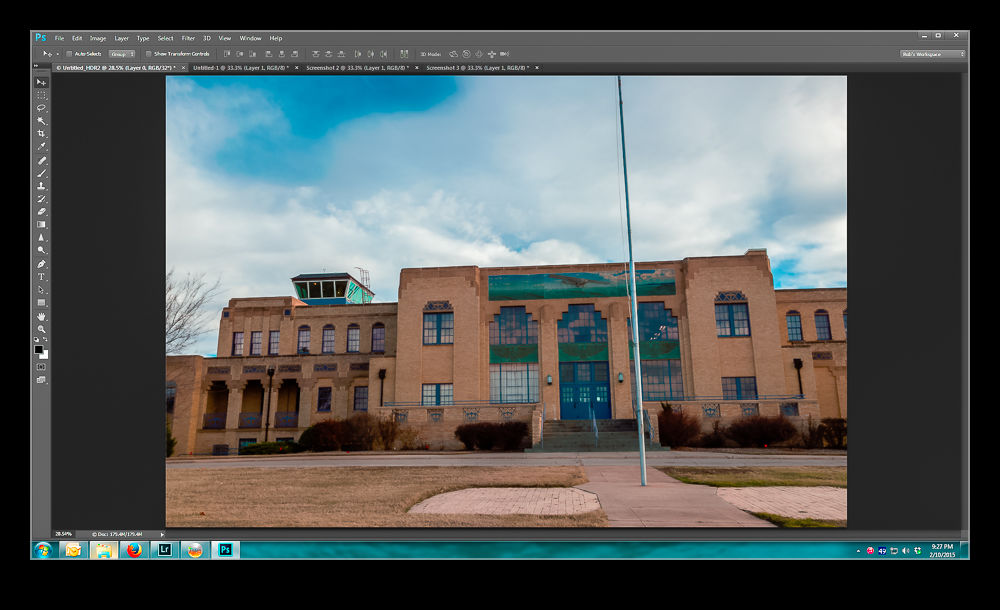
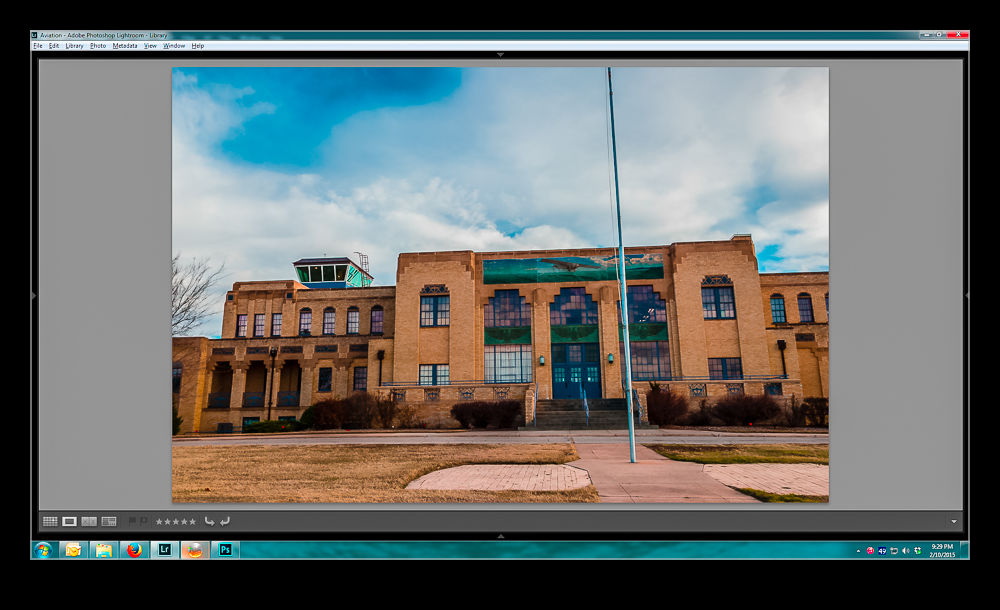
Below is a sequence of screen captures to show you the unprocessed shot in ACR, the finished version, what it looks like in Lightroom and then what I can tweak it to. Any suggestions are gratefully received.  (Note, I didn’t make this exactly match the two edited versions.  It is aimed to illustrate the disconnect and the recovery process.)

Original HDR merge pre tone mapping

wpid12810-Screenshot-3.jpg

HDR with ACR tone mapping appliedwpid12808-Screenshot-4.jpg

How the saved image appears when imported to Lightroomwpid12806-Screenshot-5.jpg

Using Lightroom to get back to something like I had in Photoshopwpid12804-Screenshot-6.jpg

Stead Field National Guard

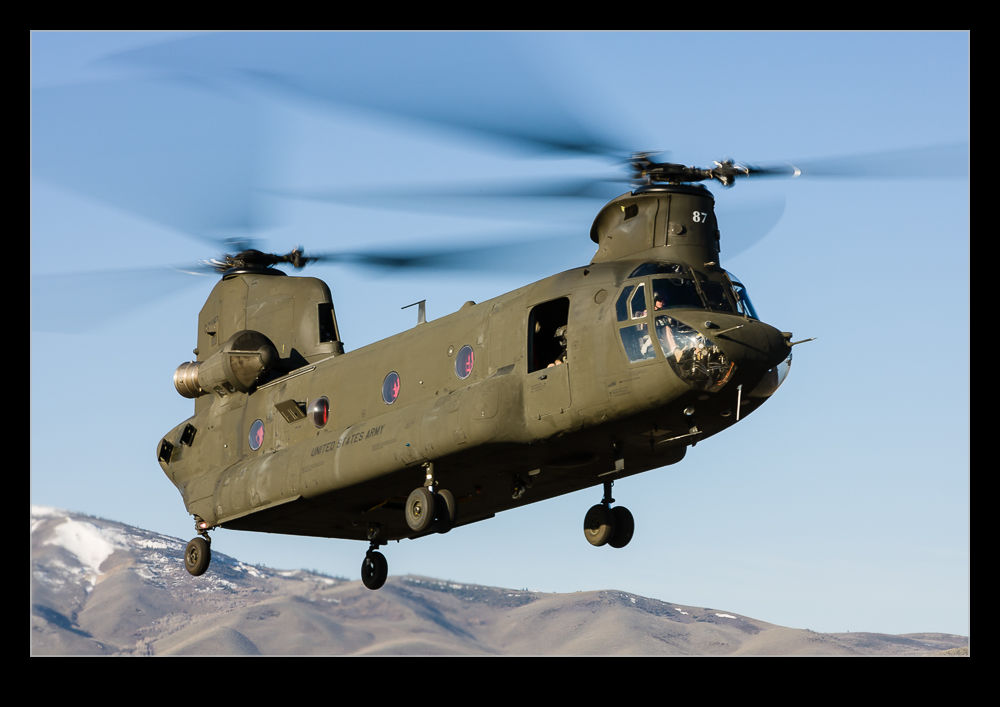
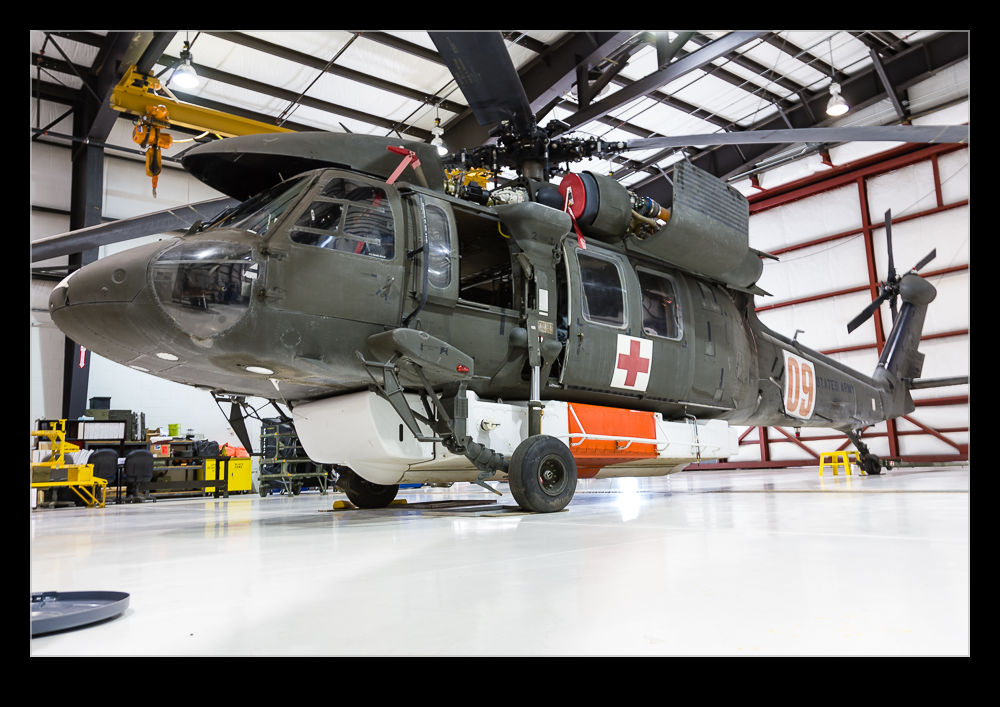
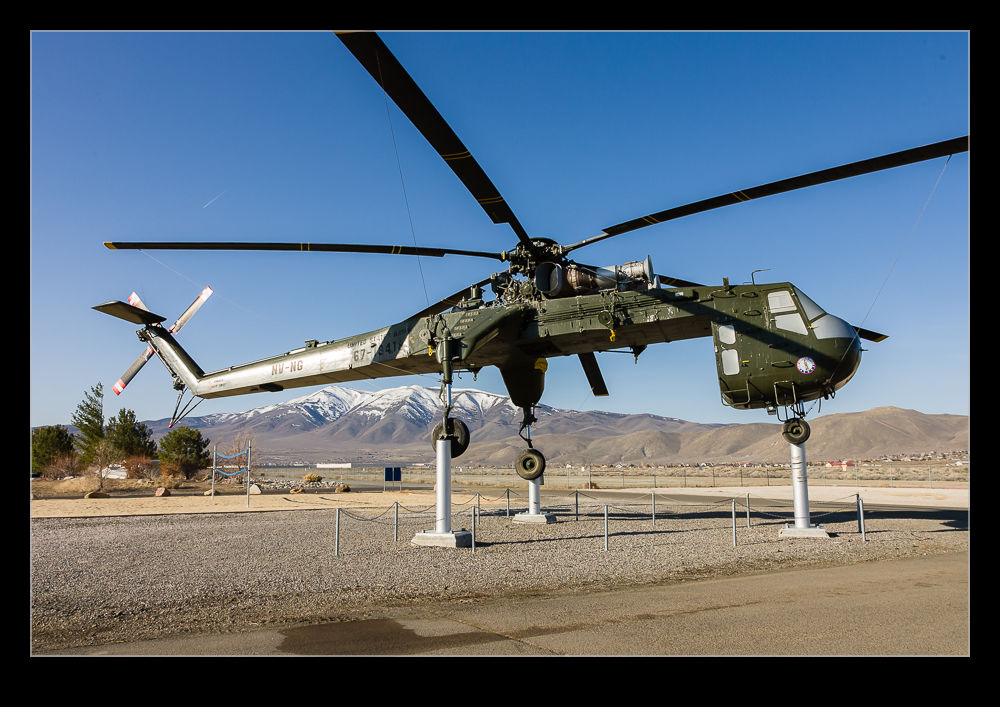
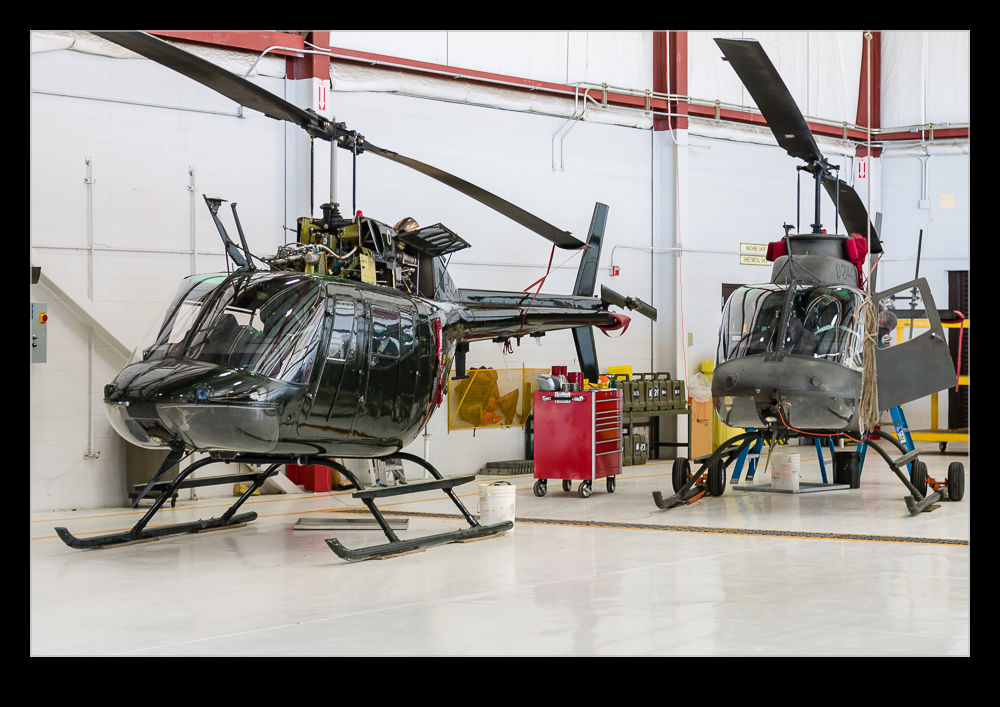
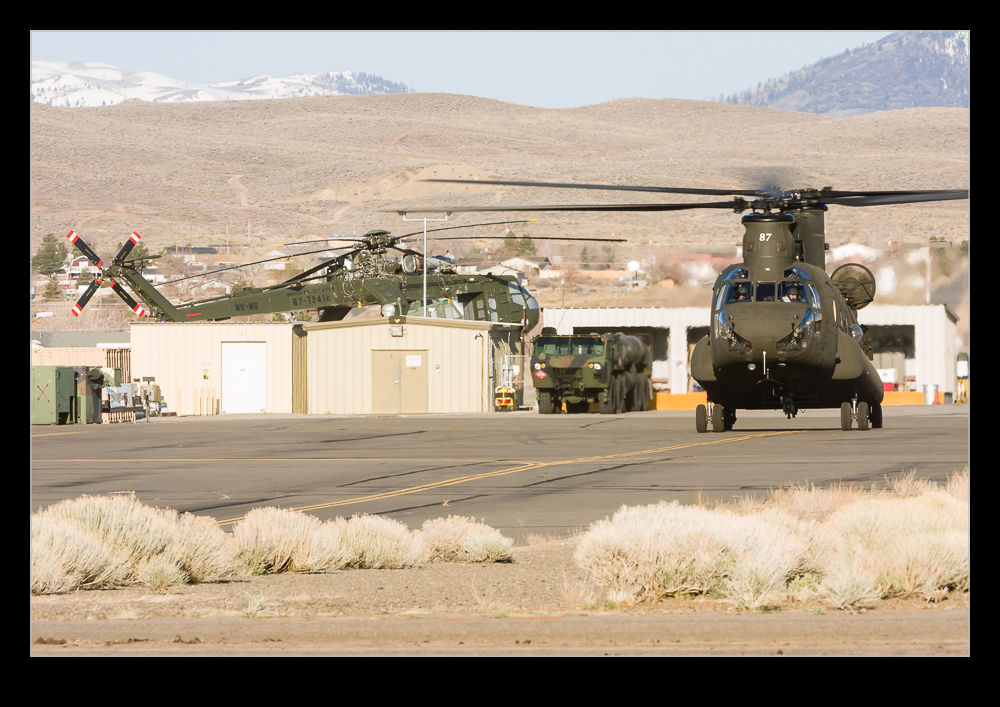
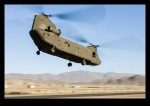
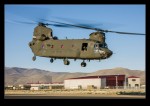
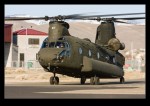
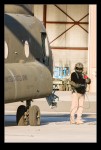
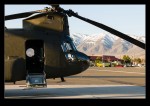
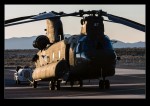
wpid12623-QB5Y7489.jpgQuite a few years ago, I was on a visit to NAS Fallon with my friend Richard. (You can check out his work at http://www.aviationimaging.com/ and I recommend you do.) Another buddy, Paul, was also along and the day after we were at Fallon, Paul had arranged a visit to the National Guard facility at Stead Field, north of Reno. (Paul’s work can be found at http://skippyscage.com/) This base operated a variety of helicopters including Chinooks, Black Hawks and Kiowas. It was also once the home of CH-54 Tarhes. It was in looking for pictures of the CH-54 that is preserved there that I came across the rest of the shots from that day.

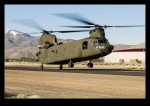
wpid12635-QB5Y7598.jpgI took one Chinook shot that morning that I have used a number of times but the rest of them had kind of been forgotten. We had a great time wandering through the hangars seeing what was ready for use or undergoing maintenance. The high point of the day was that a Chinook was launching and we were allowed out onto the ramp outside the fence to be in place when the Chinook taxied out and took off.

wpid12637-QB5Y7610.jpgAs it happened, the Chinook pulled up into the hover and stayed there for quite some time. Since I had time, I progressively lowered my shutter speed to try and get more rotor blur on the famously slow turning Chinook rotor. I had just got as low as I could go when he suddenly transitioned to forward flight. I was at totally the wrong shutter speed and ended up with some parallax issues as he flew by but it was all good.

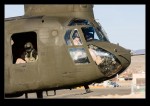
wpid12629-QB5Y7543.jpgThe Chinook obviously features here a bit but I wanted to share some of the other helicopters that were there that day. It was fun to see some shots that I had forgotten about long ago.

wpid12615-IMG_1548.jpg

HDR Pro Comparison

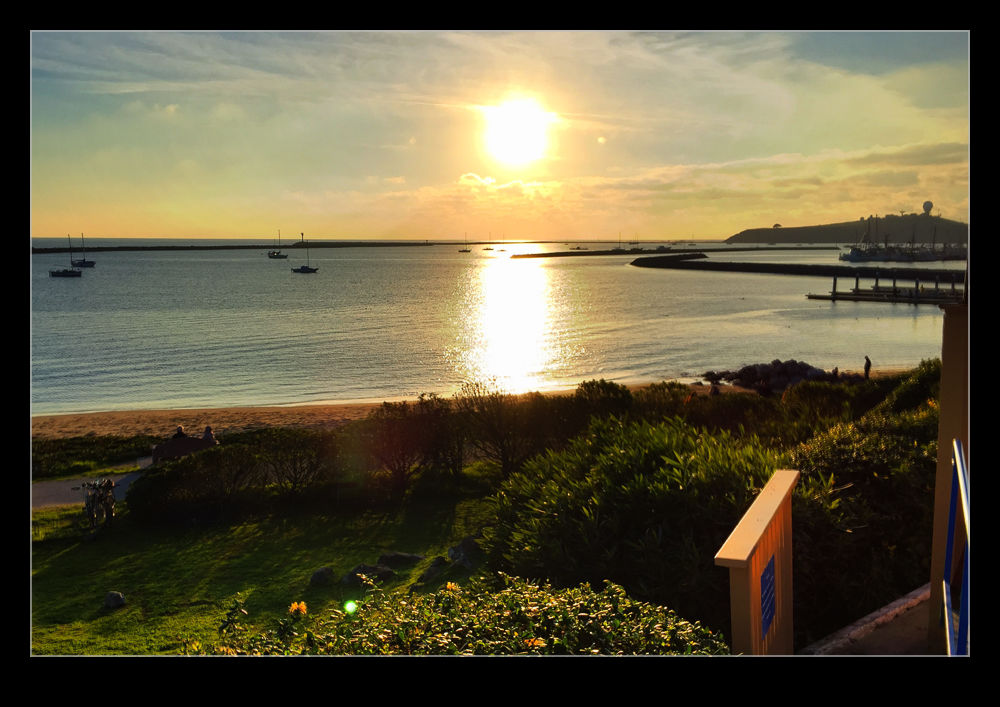
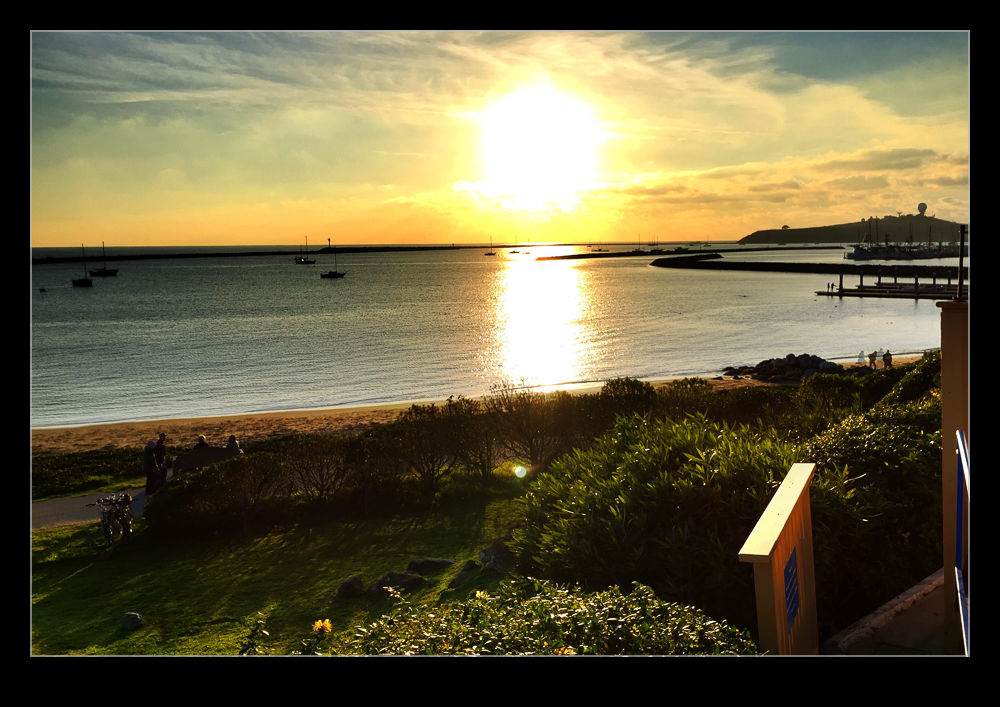
wpid12423-IMG_2448.jpgThe iPhone has an HDR function available in the camera’s software. However, it hasn’t impressed me in the past. My friend Hayman introduced me to an app called HDR Pro and I have used that as my default iPhone HDR app since. Recently, they introduced an updated version of the app called HDR Pro X. I decided to give it a go. I wanted to see what the images it produced were like, how the new controls worked and also to make a comparison with the output from HDR Pro.

wpid12425-IMG_2449.jpgThe top shot is from the new app.  The second one is the previous version.  The added control certainly seems to be beneficial and the blowing out of the higlihgts is far better controlled.  I am generally happy with the new version.  The controls could be more user friendly.  When you use Lightroom/Camera Raw all the time, anything less seems clunky!  See what you think of the results.

Golden Gate Sunset Time Lapse

After my buddy John had headed back into San Francisco, I had the choice to go home or to head back to the Marin Headlands to see whether I could get some shots across the Golden Gate to the city. The sunset was not too far off although the cloud levels looked like they might take away the best light. However, I figured the transition might make it worth a time lapse attempt.

I had come prepared with both a tripod and an intervalometer. As it turned out, I thought I had got this wrong when the intervalometer had dead batteries. However, I did have a backup plan with the Triggertrap iPhone app. (It turned out later that I had brought spare batteries with me for the intervalometer so I actually had more redundancy than I realized. However, I did manage to harm things a bit by nudging the tripod a couple of times when shooting so it didn’t all go well.

Even so, I did get a good set of shots to process. I was more conscious this time of having some spare footage before and after the sequence to make sure it didn’t have a sudden ending or one that cut off some aspect of motion. This ended up being the tour boats. They come out to the bridge and turn around. They provide some good motion in the sequence but also need to be complete or the eye is too aware of their sudden demise. Consequently, after shooting the sequence I wanted, I had to keep it running for a while in order to avoid the boat suddenly vanishing.

All of this was then processed in Lightroom and LRTimelapse, a program I have posted about before here.

Mt Tam in the Clouds

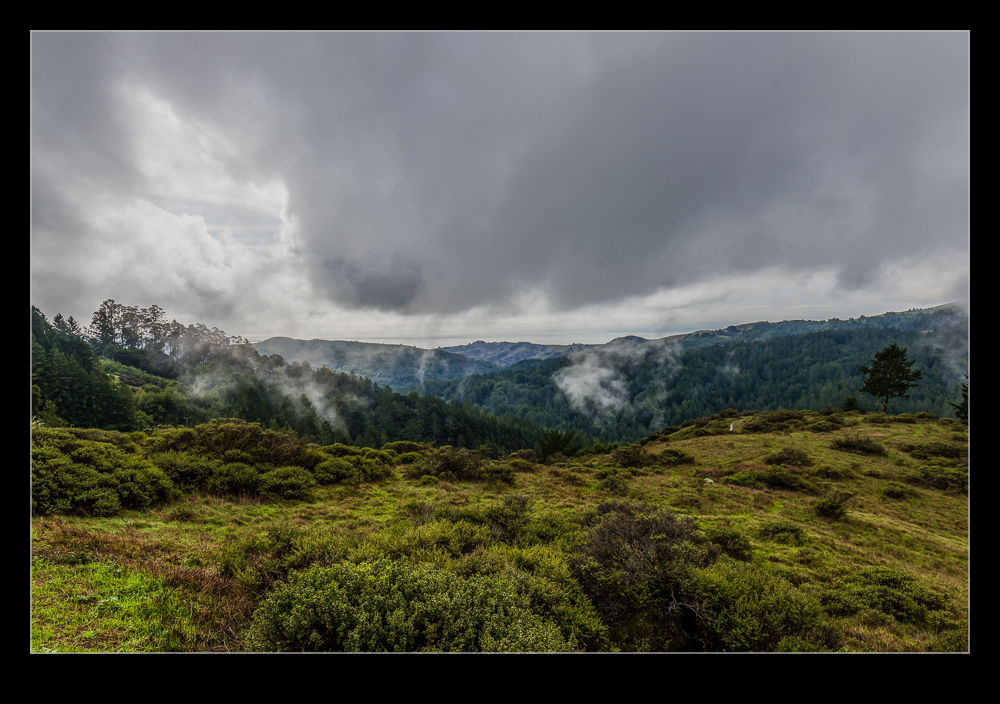
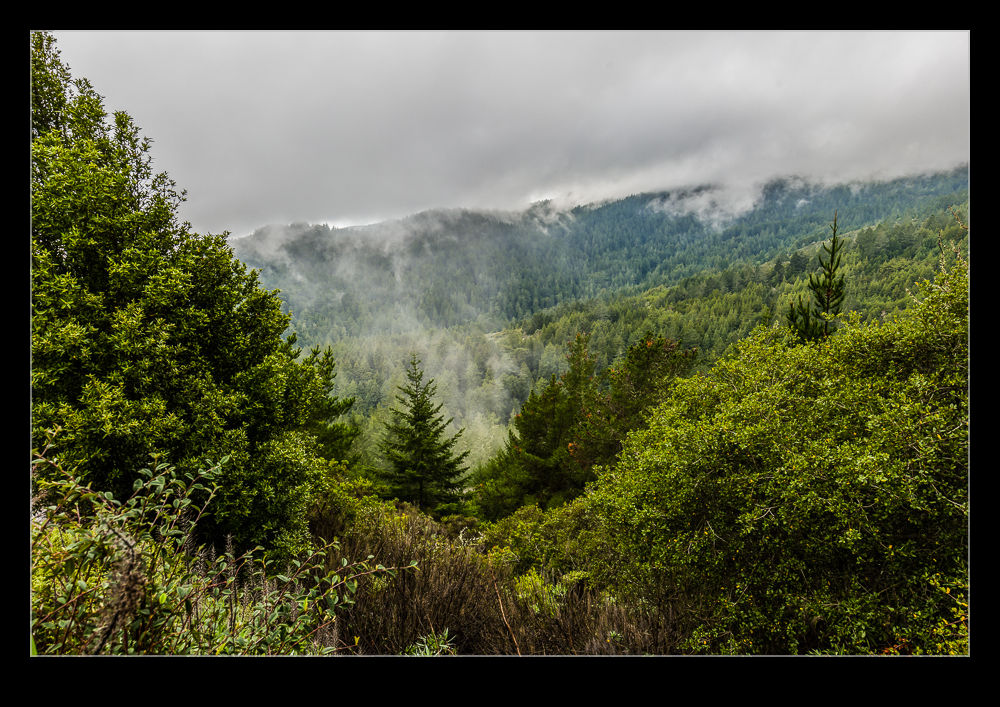
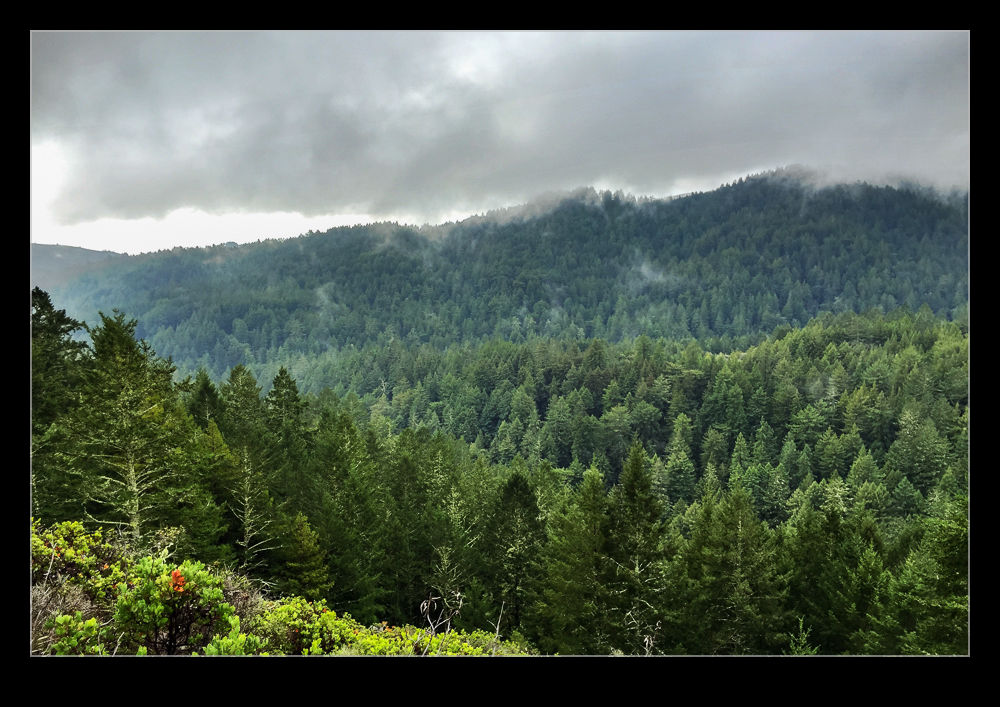
wpid12411-AU0E3541-Edit.jpgMy friend John from Chicago was out in San Francisco for the weekend and we arranged to get together for a walk up in the hills of Marin County. We headed to Mt Tamalpais to walk the trails there. The weather was not ideal with rain and low cloud when we set off but, as we got closer, the rain eased up, even if the cloud didn’t. Even so, it meant we were going to be okay to walk. What I hadn’t counted on was that I was going to warm up a lot as we walked and the uphill element of the second half of the walk was going to mean I was a touch overdressed! I was dry though.

wpid12405-AU0E3518-Edit.jpgI left the main camera in the car rather than lug it all around. However, I did have my phone and it was good for some shots. Also, I have been playing around with Photo Sphere from Google recently. I got a sphere while down in the woods. You can see it here. https://plus.google.com/u/0/104745382077938728957/photos/photo/6089868108315918482?pid=6089868108315918482&oid=104745382077938728957

wpid12403-IMG_2375.jpgWhen we got back to the car, we drove along the ridge above the valley where Muir Woods is located. The clouds were beginning to break up a little and the combination of the light and the clouds still on the hills looked great. I struggle to take what I see in those situations and turn it into a photograph but hopefully this gives you some idea of what was there. The dynamic range is one thing to deal with in processing but the feel is something harder to translate.

HDR for Snapshots

While you always want to produce great photographs, sometimes you are just getting snapshots to remind you of places that you have visited. This blog is full of such shots that will never go anywhere further. One of the shortcomings of those shots is that they are taken at a time of day that is not ideal.   If I am setting out on a photo trip, I can go at the time that suits the lighting. If we are visiting somewhere on our travels, I get the shots that are available at that time. That often means harsh lighting.

Here I have started to take a lesson from my friend Hayman. He was talking about using HDR to make something more interesting from an otherwise unflattering lighting situation. Consequently, I have been making a lot more use of HDR on my travels. While early processing techniques for HDR were focused more on the grungy style, the latest developments allow you to produce an image that is a lot more natural looking and is far closer to what you recall of the view when you were there.

When trying to provide a more interesting shot for sharing with someone who wasn’t there, this is a good option. The ability of raw processing to get a lot more out of a shot has certainly increased the potential of a single shot. However, as the contrast ratio gets larger, the limits of a single shot become apparent. An HDR image can cope with this situation a lot better.

I am now using the tone mapping in Adobe Camera Raw to work on the 32 bit file once Photoshop has created it.   Then, once it is back in Lightroom, I can use the same sliders to further work on it. (I am currently unsure about how well the edits in ACR show up in Lightroom as I seem to lose some of the effects but will figure that out in due course.). The resulting images are still a little less than real but part of the purpose is to show more of the shot than the light would naturally have given.

The examples below are a bit of a sample. One of the middle range image as it was without any significant work. Next comes an edit in Lightroom to bring out a lot of the shot. The last is the HDR effort. Hopefully it shows the various results possible for the same basic shot.  Interestingly, if the light is not totally harsh, the ability to get more out of a RAW file is not far short of what the HDR gives.  It has less flexibility and is more susceptible to halos but it is a close second.

Red Flag Night Launch

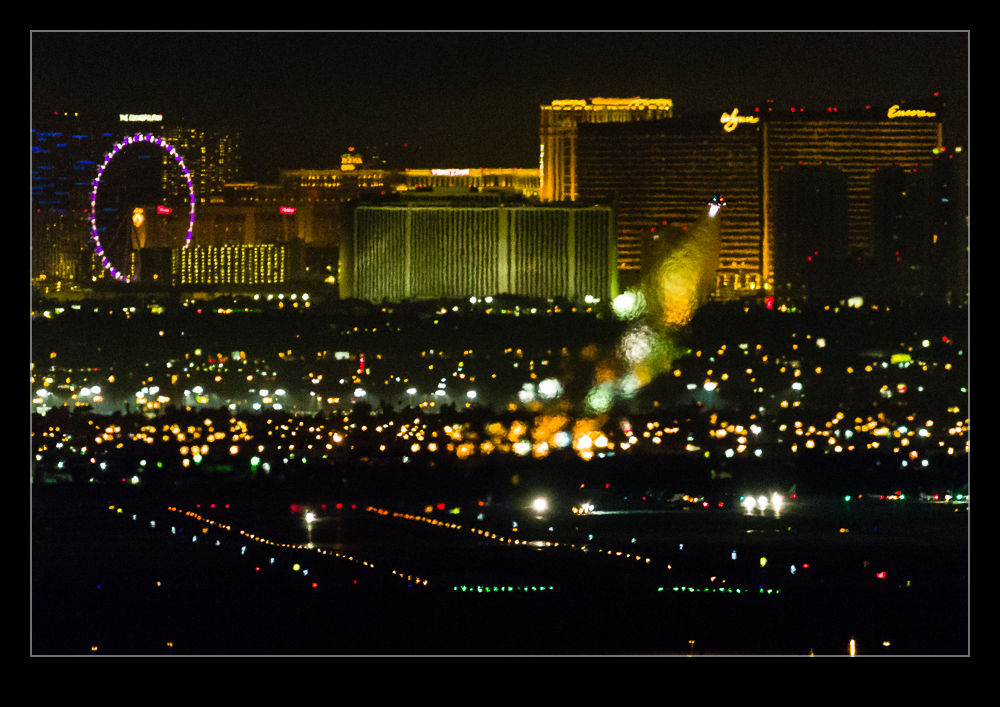
wpid10708-C59F4571.jpgThis is an example of what worked and what might have been. After night fell at Red Flag, we headed up to the far end of the base where you are looking down towards the runways and the city of Las Vegas is in the background. Here the jets are departing over your head for the night mission. Most of them are sufficiently high and fast to cancel afterburner before they reach you. However, the B-1s stay in burner for a lot longer. Getting a shot of them in the dark – or more accurately, a shot of their engine exhausts – was the aim o the game.

wpid10710-C59F4618.jpgThey really look very cool as they blast off the runway and head towards you. It is pretty dark so you have the lenses wide open and the ISO cranked up very high. Even then, the shutter speed is low so it is a bit hit or miss. I did get a few that came out pretty nicely. Meanwhile, I had been trying to get a series of shots with a second camera to make into a time-lapse. Unfortunately, I hadn’t brought a cable release with me. I was trying to bodge together something to keep the shutter depressed. It would work for a while and then I would have to try again. The result of this is that I was progressively moving the camera. No tripod for this effort. It was resting on the roof of the car! The resulting time lapse is shorter than I would like and obviously not very good but I include it below just so you can see what I was trying for. Another time perhaps. Meanwhile, the following week, Chris went back and had a better planned go. I think his results were far better.

wpid10712-C59F4733.jpghttp://youtu.be/UVP8Py1gnZw

Night Star Trails

wpid10634-C59F2512.jpgMy buddy Paul was in town and we had a day of shooting and exploring planned. However, we wanted to have a go at star trails in the evening as well. Consequently, we set up at Schellville as the sun went down to shoot the trails around the Douglas DST parked on the field. I set up two cameras at different angles and with different lenses to try and maximize what I got. The sun was still going down when I started so the exposure was varying a bit more than I was prepared for but a little tweaking in post got things back together. We also did some light painting on the airframe in a couple of frames to make the scene pop a bit more.

wpid10636-AU0E9010.jpgThe biggest thing I learned during this was to start when it is darker and to take mosquito protection. I got badly bitten during the early part of the shoot and the bites reacted quite severely! Also, doing this in the winter so you don’t have to wait so late for it to get dark might also be a good plan. However, it went reasonably well and I have a few things I will know to do differently next time. I might also try a trail on one camera and a time lapse on the other.

Negative Scanning

I have a lot of negatives and transparencies from my days of shooting film and various of them have been scanned at times either for projects or just because I wanted to have them as part of my digital library. For a long time, I have made use of a Minolta Scan Dual III film scanner. While it doesn’t appear to like modern operating systems, a few tweaks to the config files make it run with Windows 7. However, it is not a totally smooth process and the scanner has a habit of hanging at odd times which requires a lot of fiddling to recover.

When I built my latest computer, I didn’t bother to install the drivers and the box is sitting on a shelf. I was figuring I would come back to it if I needed to. Recently, I needed to scan a single strip of film and wondered whether I had an alternative. I do have a flatbed scanner that has a film scanning capability. I had previously dismissed flatbeds for film scanning since they were seen to be inferior to dedicated film scanners. However, my film scanner was pretty old and gave me mixed results and my flatbed is relatively new. Therefore, I figured I ought to give it a go.

First, the limitations. It will scan a strip of film of shots but you have to move a small device between each shot between scans. No scanning a full holder of film or slides. Big scanning jobs are therefore a lot less practical. As for the image quality, I have yet to find a way to have much control. A preview scan is done but if it comes out with a poor exposure, for example, I have yet to find a way to adjust it. The dedicated film scanner allows all sorts of tweaking. Then there is the speed. If I go for the highest resolution, the scans take many minutes for each exposure. I can wander off and do something else but, if you have more than a couple of images to scan, this is a slow and inefficient process

As for the output quality, it is a mixed bag. The scans are not too bad. Despite the lack of control, if the original is a straightforward image, it comes out okay. Large areas of a similar color such as a sky are subject to banding. I suspect this is a problem all of the time but most pronounced on large areas of one color.

So, am I going to make do or is the film scanner going to be resurrected? I think I will get it back off the shelf. The time and quality issues are sufficient to make the flatbed not helpful except for odd individual scans. It does a nice job on documents but that is it. Now I shall have to find a location for the film scanner and sort out the config files again.

Adobe Camera Raw and Video

Regular readers will be familiar with my gradual experimentation with video and video editing. In the early days of my playing with video, I discovered just how sensitive video is to exposure errors. The sort of thing that could be easily corrected in post on a raw still file were not so easily dealt with in video that was already compressed when it came out of the camera. Avoiding over exposure was one thing to do which is slightly different to shooting aircraft against a bright sky when having enough shadow detail on the aircraft is important and the sky can be recovered a bit to give a more pleasing outcome. For video this doesn’t work as well but having less shadow detail doesn’t seem to matter with motion as much as it does for stills.

Another change I made was to go with a development profile in the camera that is a lot “flatter”. This was something I read about on various blogs in that it gives the editor more to work with when grading the video later. This is certainly true but it means you definitely have to do some work in post to get the image back to something more pleasing.

I never cared for the editing tools in my old video editing application since they were weak and not as intuitive as what I was used to in Photoshop/Lightroom. Consequently, I embraced video editing in Photoshop when it became a better developed feature. However, I hadn’t found it as easy as I had hoped to get the right effect using levels and curves adjustments. Then it struck me (why it took so long when everyone else must have been doing this) that Camera Raw is the tool that combines all the things I need to enhance the video output.

I have now been using it on a couple of projects and I have to say it works very well. You have to convert the layer to a smart object first and then apply Camera Raw as a filter. If you don’t convert it, the filter only applies to the frame you are looking at and that is no use. However, one lesson I have learned is to work out the other parts of your edit first and leave this step to last. The rendering of the video with the filters applied is a huge amount slower. Short videos that would previously have rendered out in a minute or two may now take over an hour. This also applies to running through the video to make your edits. The real time rendering is lost. I suppose that you will be using a proper video editing suite if you do this on a daily basis so the use of Photoshop is moving away from its core role. However, it suits me to do so. Therefore, make all of the edits you need first and when you are happy with the final composition, convert to smart objects and filter away. Just remember that the conversion gets rid of transitions so those will have to be put back in again but that doesn’t cause me any problems. Then hit render and go and do something else. While Photoshop will do many things in the background, video rendering takes it over and you can’t work on another project while it works in the background so go off and write a blog post. That’s what I am doing right now!