I recently put together a post on an old event that I had shot in my film days. It was the demonstration of the BAe 146 at London City Airport and the post is here. When I got the negatives out and scanned them, they were not in good condition. Despite washing the negatives, they still had a lot of scratches and blemishes on them. In order to prepare them for the post, I spent a great deal of time cleaning up the shots.
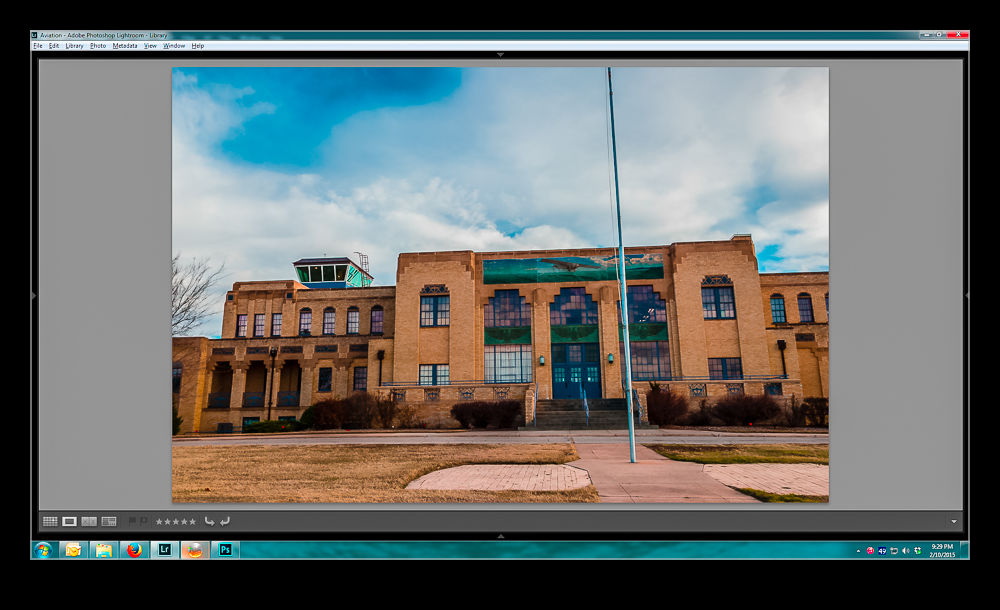
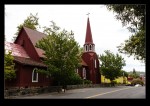
The tool I used was the Spot Healing Brush in Photoshop. I had used it occasionally in the past but never had I spent so much time using it in one session. It turns out I was not well aware of its functionality and I learned a little about it as I went. I had clicked on the tool and gone to work on it. The brush works by healing whatever you click on. You can click on a spot or draw across a section and it will then heal. However, it defaulted to certain settings which I wish I had known to change. It started out with Proximity as the setting. This makes it sensitive to picking up colors and patterns from things nearby.
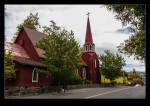
At some point, I thought to change it to Content Aware at which point it became so much more helpful. In proximity mode, I found that I could heal many blemishes but I ended up with patterns in uniform color areas that looked very conspicuous. With content aware it came up with a far smoother solution which made for a cleaner result. Skies were the real issue for this and the change worked well.
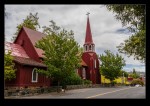
Also, when working across edges, I found the tool was fine if I went perpendicularly across the boundary. Trying to work along an edge was tricky but if I went straight across the line, the algorithms were clever enough to know to leave the edge intact and just take out the blemish. It is a very cool tool and one I now have a better idea of how to use when required.